Spray painting 3d printed parts
How to Prime and Paint 3D Printed Parts (With Video)
Primer
Primer is a special type of paint that adheres strongly to the part and provides a uniform surface for paint to bond with. Different primers have different uses. A spray-on primer is the best way to paint your printed parts because it quickly covers a surface with an even coating. Brush-on primers are available, but they are tricky to work with and better for fine touch ups. For best results, choose a primer and paint that are plastic compatible and from the same brand. We like Krylon and Montana (though both are thick formulas), but nothing really compares to Tamiya brand model paint - it goes on extremely thinly and evenly, preserving delicate surface details.
Rotary Tool
Because sometimes you want to sand fast. With interchangeable bits, rotary tools offer a variety of options for sanding and polishing parts. Drum sanding bits quickly sand down supports, while steel wire brushes smooth surface marks. Rotary tools are rough, so you will still need sandpaper for a smooth finish. There are plenty of great brands: Dremel and Craftsman are popular in the states, Proxxon in Europe. To avoid scorching your part, turn down the RPMs to the minimum (usually 500-1000) and use a light touch.
Hand Files
Not as clumsy or as random as a palm sander. A more elegant tool…for a more civilized age.
One of the most simple yet effective tools, a hand file removes supports and sands down surfaces. Using a firm grip, you can remove marks with more control than with a rotary tool. Keep a wire brush on hand and clean the file’s teeth often (otherwise plastic and resin will gum up teeth). Like a rotary tool, a hand file will leave a rough surface, so it’s best for removing the larger support marks.
Sand Paper
The most unglamourous tool in the shop, sandpaper has come light years in the last decade with the release of flexible sanding sheets. Available at home improvement stores, flexible sanding sheets last 15 times longer than paper ones.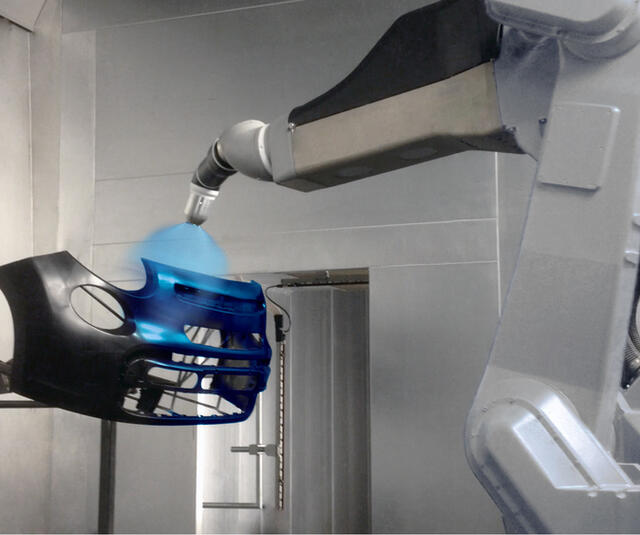 They don’t curl, puncture or crease.., and they hey can be used wet, which reduces dust and prevents buildup in the sanding tooth. Because they flex, they can easily reach small interior spaces and rounded surfaces.
Dust Removal
Even after wet sanding, some dust will remain. Remove buildup with water and a soft scrub brush (an old toothbrush works). For serious cleanup, an inexpensive sonicator can quickly remove fine particles caught in corners and cracks of a surface. If you work in an area with hard water, using deionized or distilled water will prevent spotting between painting.
Tack Cloth
Tack cloth is a soft, slightly sticky cotton cloth designed to remove remaining dust and leave a clean surface for painting. Let your model dry before using the tack cloth — the waxy surface does not work well with water.
Painting Block, Dowels & Drill
This simple trick will save you grief in the spray booth (we were excited when we saw this technique in a modelmaking how-to video by Adam Savage).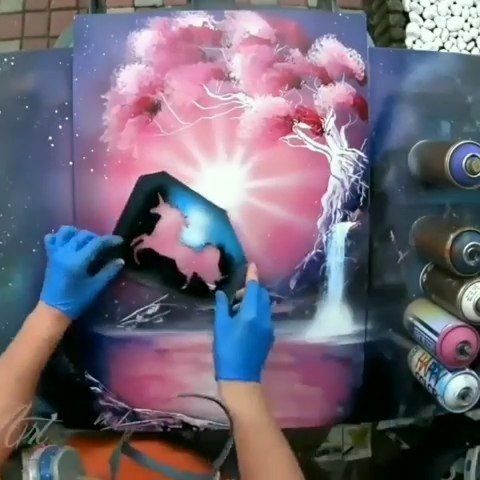 By mounting your 3D print on a dowel (often you can use a preexisting hole in the part), you can quickly maneuver while spraying, allowing you to get to all sides and into the nooks and crannies of the part without creating any fingerprints. When you want to add an even coat to all sides of your model, this is pretty essential. We recommend ordering a variety of size of dowels. To minimize the hole size on a part, start with a small size and work your way up until the model feels firmly seated. Drill a corresponding hole in a block of wood or MDF and insert the part with the dowel - now you can keep the model hands free while spraying.
Safety Equipment
Spraypainting means working with airborne particulates and solvents, both of which pose health hazards. Remember to use a NIOSH approved respirator and work in a well ventilated workspace. While painting, wear nitrile gloves to avoid spraying paint on your hands and and also protect your model from fingerprints.
Finishing and Painting 3D Printed Parts
With the high strength properties of continuous fibers and the surface finish of Onyx, beautiful, functional parts come right out of a Markforged printer. However, some applications require a slightly different aesthetic. We’ve previously covered dyeing nylon 3D printed parts, and now the Markforged team has been preparing some colorful office props for Halloween. Read on and learn our methods for painting 3D printed parts!
Finishing
Before painting your 3D printed parts parts they may require some finishing. This means smoothing the surface of your part out and making sure that there aren’t any rough features of the part that may prevent paint adhesion. Such features include residue left by support material, and strings or blobs of filament that may have been caused by low angle overhangs or material inconsistencies. If these occur, we suggest the following:
1. Cleaning off Glue:
If you have used our printer, you’ll know that laying glue down on your build plate before a print will vastly improve your printing results.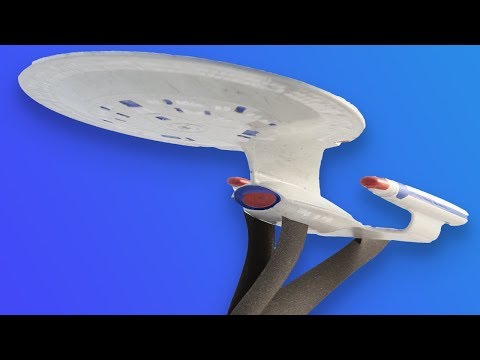 Once you remove the part from the build plate, some glue residue is left on the part. Wash this residue off with some water and let it dry.
2. Trimming with Flush Cutters or Tweezers:
To get rid of small strings or blobs of filament that have built up, a pair of wire cutters or tweezers to clip or pick off inconsistencies will clear these off easily.
Trim inconsistencies off while being careful not to cut into the part itself.3. Sanding:
If there are rough patches on your part, or you want to get rid of the well-known layer lines of FFF (Fused Filament Fabrication) printing, we advise wet sanding your 3D printed parts with 220 grit sandpaper. Wet sanding will clear scratches, blemishes, and bumps that may arise on your part. Because some of our materials contain carbon fiber, sand your parts in a well ventilated area with a mask.
Be careful not to over-sand: this will erode the wall, ceiling, or floor layers and all you’ll be left with is infill structure!4.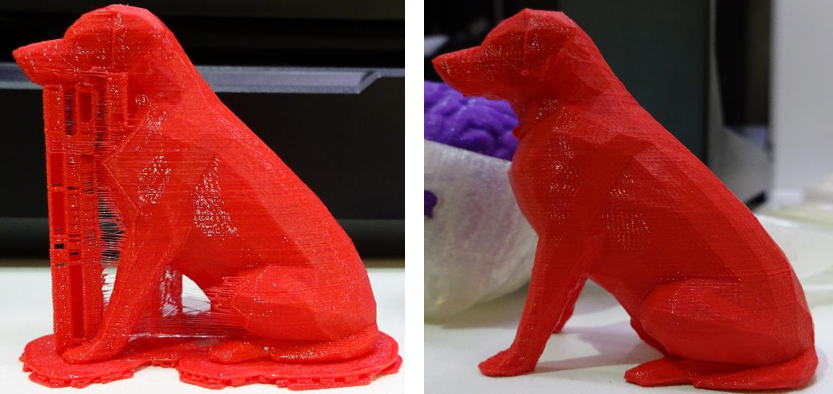 Removing Dust:
After sanding, some dust residue may remain on your part. To remove these fine particles, clean your part out with a wet scrub brush, making sure to get all the corners and cracks. Once your part is dry, you may want to use some tack cloth to get any remaining specks out.
Spray Painting
The process for spray painting 3D printed parts is very similar to spray painting most other plastics. Nylon turns out to be great for paint and varnish because it is a highly polar polymer. Unsurprisingly, paints specifically for plastics usually end up working the best for 3D printed parts. Usually Rust-Oleum or Krylon have a wide variety (in color and application) of paints that work on 3D printed plastics.
Paint in a well-ventilated area with gloves and a mask for protection.1. Selecting Spray Paint:Without primer both of our materials absorb paint, so a primer coat is necessary for our parts. Pick your primer and your paint, make sure they work on plastics, and you’re good to go!
2. Painting Precautions:
Make sure you spray paint and let your parts dry in a well-ventilated area – use a fume hood or spray booth if possible. Painting with a respirator and gloves is advised.
3. Setting Up Your Part:Because 3D printed parts allow for complex, intricate geometries, you may want to hang your part from some wire or place it on a stand so that you can reach all or most of the part with paint without having to turn it over – many spray booths have these. However, if your painting space is limited or you are just painting outside, just place your part on some newspaper so that you don’t damage the surrounding area. If you are only painting a specific section or pattern onto your part, use painters tape to conceal the parts you don’t want painted.
4. Apply Primer Coat:Spray the primer coat onto your 3D printed part. Different brands of primer have different suggestions as to technique, coats, and distance, so make sure you read them before painting! Make sure you cover all the areas you want to paint in primer – this may require letting the first coat dry before turning the part over to spray the back or underside of the part.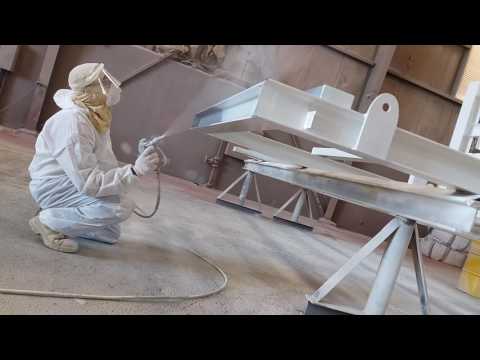
Once the primer coat is dry, spray the finish coat of spray paint onto your part as advised by the brand of paint you are using. If you apply too many coats or paint too close, you may drench the part and it will affect the quality of the paint job. Again, you may need to rotate or reorient the part to cover all faces.
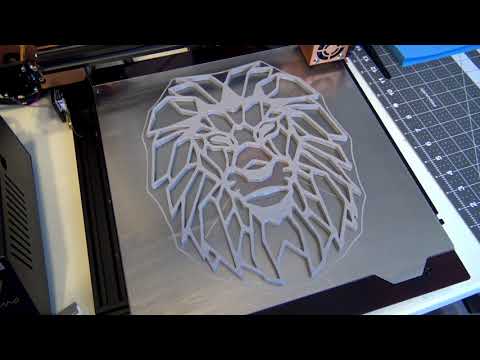
Apply the finish coat and let it dry.6. Let it Dry:Let your part dry before final use and handling as recommended by the paint brand. After that, your part is good to go!
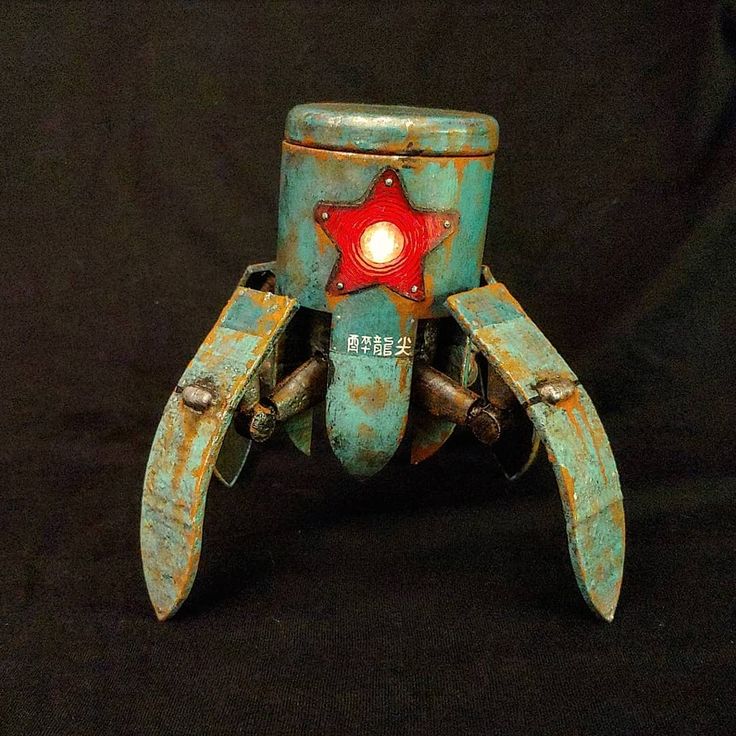
The finished 3D printed mask.Hand Painting
1. Selecting Hand Paints:While we haven’t tested all of the hand paints in the world, acrylic paint works pretty well with our plastics. As explained in the next step, you will also need primer for a base coating.
2. Eliminate Paint Absorption with a Primer Coat:One of the issues with hand painting 3D printed parts is that the plastic absorbs a lot of the paint. Even when hand painting, a primer coat is really important for a clean final product. As instructed above, spray a base coat of primer onto your part before painting.
3. Paint Away! Once the primer coat is dry, your part is an open canvas. Using a brush and some hand paint, paint your part however you desire. Remember to paint in a well-ventilated area!
Hand painting 3D printed parts can give your parts a personal or professional aesthetic.4.Let it Dry: Let your model dry, and once it’s complete you’re all set!
Happy Halloween everyone!Want to try painting a part for yourself? Download the mask and pumpkin files here.
Don’t have a Markforged parts to paint on? Request a sample part and give it a try.
How to prime and paint 3D printed models (with video)
Primer
Primer is a special paint that adheres strongly to the part and ensures that the paint adheres to the surface evenly. There are different primers designed for different purposes. Spray primer is the best way to paint 3D printed parts as it quickly covers the surface in an even coat. There are primers available for brush application, but they are difficult to work with and are better suited for fine finishes. For best results, choose a plastic-compatible primer and paint from the same manufacturer. We love the Krylon and Montana brands (although they are thick), but Tamiya's paint is unparalleled - it forms a very thin and even coat, retaining all minor surface features.
Rotary tool
Sometimes you need to finish sanding quickly. The use of interchangeable nozzles for rotating tools allows you to grind and polish models in various ways. The drum allows you to quickly grind marks from supporting structures, and steel wire cleans marks well on flat surfaces. Rotary tools are designed for rough cleaning, so you will need sandpaper to make the surface smooth. There are many great brands: Dremel and Craftsman are popular in the US, and Proxxon is popular in Europe.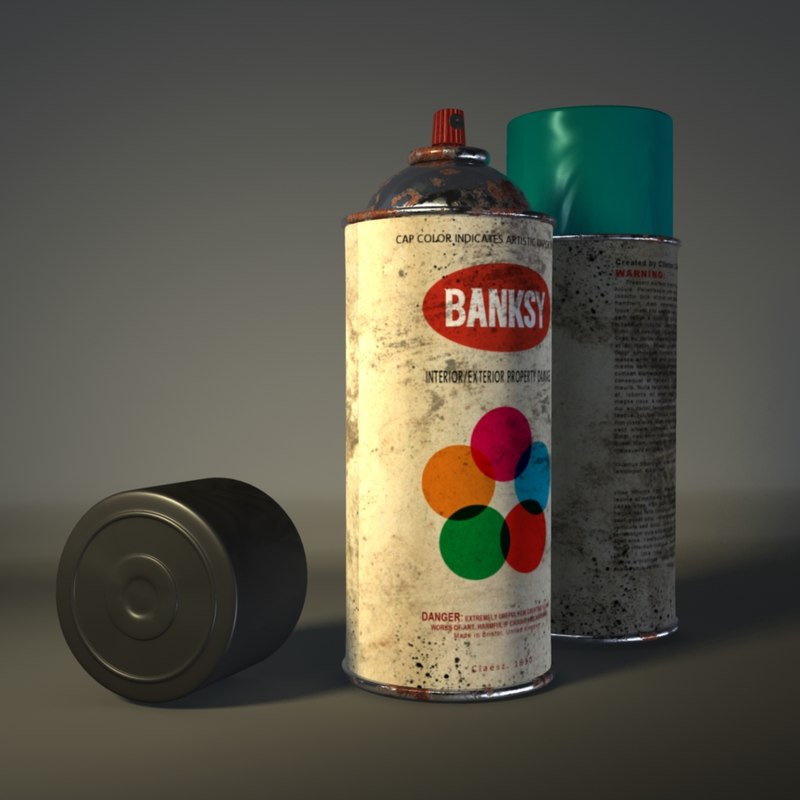 In order not to burn your model, reduce the speed to a minimum (usually 500-1000) and do not apply pressure to the tool.
Flat files
These tools are not as clumsy or inaccurate as a hand sander. An elegant instrument...for a more civilized age.
The flat file is one of the simplest yet most effective tools for effectively removing support structures and sanding surfaces. By holding it firmly in your hand, you can remove marks with greater precision than with a rotary tool. Keep a wire brush handy and clean the file blade regularly (otherwise plastic and resin can get stuck in it). Like a rotary tool, a flat file leaves a rough surface, so it is best used for removing large imperfections.
Sandpaper
Sandpaper is the ugliest tool in the workshop. Over the past decade, it has made a real breakthrough with the release of flexible sanding sheets. Flexible sanding sheets can be purchased at hardware stores. They last 15 times longer than paper ones.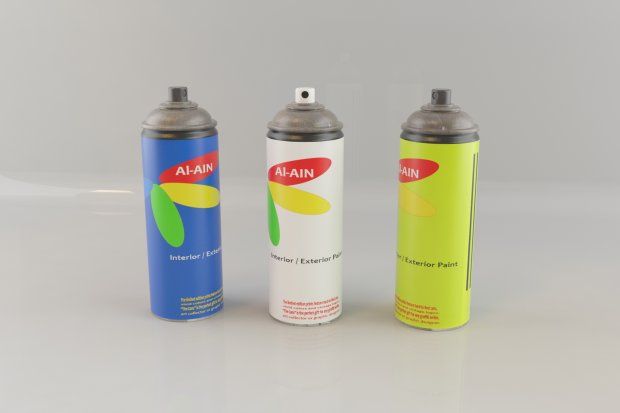 They won't curl, puncture or bend, and can be used wet to reduce dust and prevent build-up. Thanks to their flexibility, they easily reach small interior spaces and rounded surfaces.
Dust removal
Even after sanding with a damp tool, a small amount of dust remains. Remove plaque with water and a soft brush (an old toothbrush is fine for this purpose). For serious cleaning, you can take an inexpensive ultrasonic device that will quickly remove small particles trapped in corners and surface cracks. If you are working in a hard water area, using deionized or distilled water will help prevent blemishes between coats.
Dust Pad
The Dust Pad is a piece of soft and slightly tacky cotton cloth designed to remove remaining dust and provide a clean surface for painting. Let your model dry before using the dust cloth: the waxed surface reduces its effectiveness on wet surfaces.
Block, pins and drill
This little trick will keep you out of trouble in the paint booth (we were ecstatic when we saw this technique in Adam Savage's how-to video).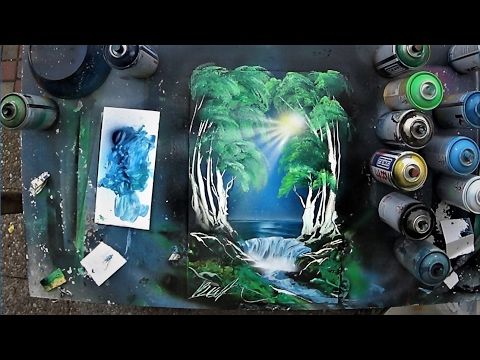 By mounting the model on a pin (you can often use a pre-drilled hole in the part), you can quickly maneuver while spraying and paint the model from all sides, penetrating hard-to-reach places and leaving no fingerprints. If you want to apply an even layer on all sides of the model, this is very important. We recommend ordering pins in different sizes. To make the hole in the part as small as possible, start small and increase until the model is firmly seated. Drill an appropriate hole in the block of wood or chipboard and mount the model to it with a dowel - now you do not have to hold the model with your hands while spraying.
Protective equipment
Spray paint involves working with aerosols and solvents that are hazardous to health. Be sure to use a National Institute for Occupational Safety and Health (NIOSH) approved respirator and work in a well-ventilated area. When painting, use nitrile gloves to keep the paint off your hands and to avoid leaving fingerprints on the model.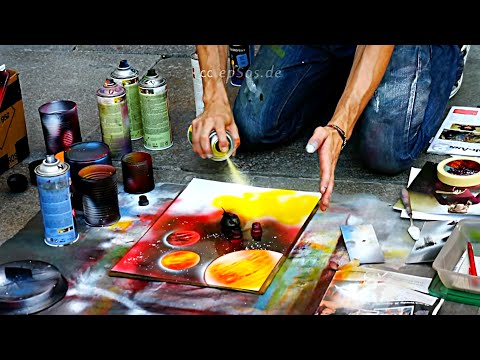
Painting recommendations for 3D models (PLA, ABS, PETG, NYLON)
3DPrintStory Reviews Recommendations for painting 3D models (PLA, ABS, PETG, NYLON)
Despite multi-material extruders and a stunning variety of 3D printable plastic colors, you'll still want to paint some of your 3D models sooner or later. The most common reason is to improve the external 3D model, especially if you are printing on an FDM 3D printer where the model is built up by layering material over time. It is FDM 3D printers that form a model with feature lines along the Z axis.
When finishing a 3D model, small cavities between layers are sanded, filled, or both. The result is a smoother surface. Painting can also help protect the model from the environment.
This article is divided into two parts: the first will introduce you to the different techniques for painting a 3D model, and the second will (hopefully) answer all your little questions about painting techniques and how best to do it. Read on to find out how to enhance your 3D models with paint!
Primer is paint's best friend
Priming the printed model improves ink adhesion. With any painting method (other than nylon dyeing), using a primer is a good idea. Spray primer is said to be the easiest way to get good results. The process for using the primer is very simple:
- Clean and sand your 3D model.
- Apply the primer in thin, even coats.
- Sand after first and last coats to achieve a smooth surface.
- Let each coat dry according to the instructions supplied with the primer.
Method 1: Paint with a brush
Best for: PLA, ABS, PETG plastics.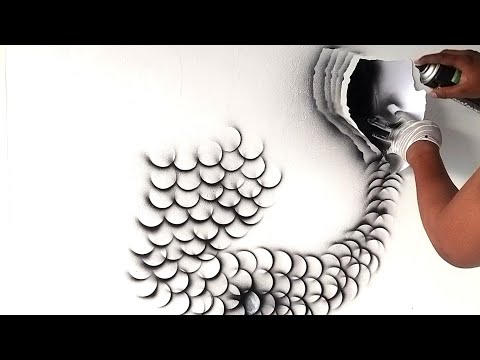
If you paint a 3D printed model with a brush, you will definitely achieve a unique "handmade" effect.
Try a few brushes first because it's easier to get good results with a comfortable brush. As a rule, it is enough to use only 1 or 2 different flat brushes.
Brush
- Choose a quality brush that is hard enough to handle the viscosity of the paint you are working on.
- Experiment with different bristle types and handle shapes to find the one that works for you.
- Pause the paint to clean the brush as soon as the paint starts to dry. Naturally, the brush must be cleaned after each use. Do not leave drying paint on the brush bristles.
- The brush must be stored on the handle after cleaning and not on the bristles.
Paint
When it comes to brush painting, you're better off with acrylic paints.
Painting process
- Clean and sand your 3D printed model.
- Apply the paint in thin, even coats.
- Let the individual layers dry.
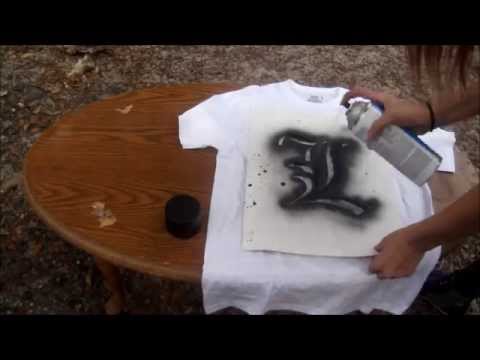
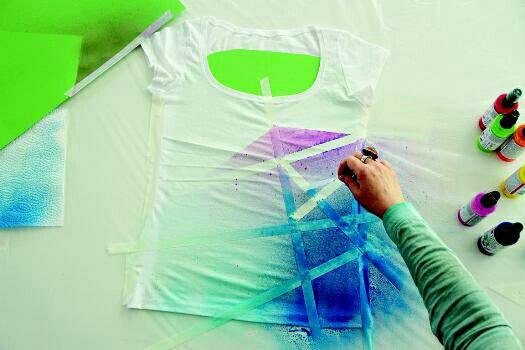
Method 2: Spray painting
Best for: PLA, ABS, PETG plastics.
If you want to paint a 3D printed model uniformly using one color, then using an aerosol will give the best result.
Spray can
Some brands offer nozzles with different specifications.
Shake can according to manufacturer's recommendations before use. Allows the paint to come out more evenly.
Keep the nozzle clean. This is usually achieved by spraying the inverted can slightly at the end of each session.
Keep can away from open flame and store in a cool place. Don't forget that this is a high pressure container!
Paint
When looking for spray paint, you will find that there are many varieties. If you want to use a specific shade, please read the RAL, CMYK and RGB values on the can carefully.
Painting process
- Clean and sand your 3D printed model.
- Start spraying by aiming the jet a little beyond the edge of the object you want to paint.
- Apply the paint by spraying on the surface you want to paint in slow, even strokes.
- Stop spraying by directing the jet a little beyond the object you want to paint.
- Let the paint dry.
Method 3 Liquid Color (nylon only)
Best for: NYLON plastics.
Instead of trying to get paint to adhere to the surface of your 3D printed nylon model, we recommend using liquid dye instead. Note that this will not work with other materials. Although PLA is hygroscopic and absorbs some water from the environment, it cannot be dyed by absorbing dye. ABS and PETG are also not suitable for this technique.
In order for the ink to give a good pronounced color after absorption, it is better to use a translucent or white nylon material when 3D printing. Darker nylon fibers can also be dyed, but the color will be much less pronounced.
Colorant
There are many brands of colorant to choose from, but MatterHackers recommends Rit DyeMore for example. But in general, if the dye is intended for synthetic fabric, then everything will be in order.
Staining process
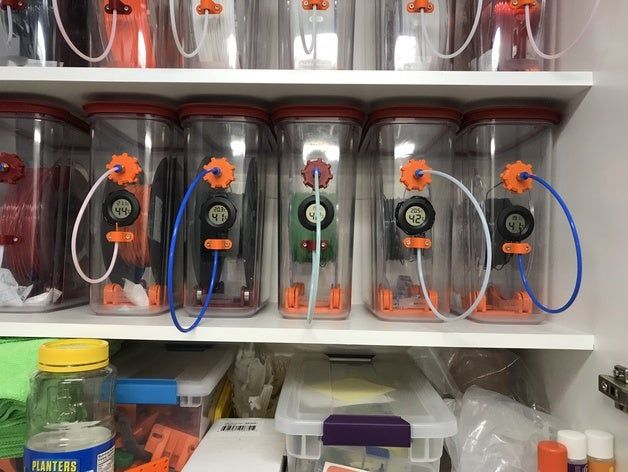
Since nylon is very hygroscopic, it absorbs water even outdoors. This is why you should always dry your nylon material before 3D printing. We recommend painting the finished model, not unprinted.
How to use
Read the manufacturer's instructions for your colorant. In short, using a dye is a pretty simple method:
- Clean up your 3D model. When sanding, remember that painting will not cover scratches and marks on the surface of your model. Everything will be visible even after staining.
- Mix the dye with water and heat in a saucepan.
- Use a thermometer to monitor the dye temperature. Follow the manufacturer's instructions, but keep the temperature below the thermal deflection temperature of the filaments.
- Attach the weight to the 3D print and drop it into the paint pot.
- After coloring, rinse well in a bath of cool water.
- To make sure you get the expected color, it's worth doing a few test coats.
How to tell if a paint will set with a 3D model
Probably the most important factor that causes the paint or liquid of your choice to stick to a solid surface is the difference in surface energy between the liquid and the solid. The one with the most surface tension always wins (surface tension has its own unit called dynamos, or dynamos per square centimeter).
The general rule is that the surface tension of the paint must be at least 10 units lower than the solid material for good adhesion. This means that we have a liquid with a high wetting ability on a solid, and we need wetting.
To get an idea of how well the surface to be painted is wetted, look at the shape of the drop of liquid on the solid surface:
- Apply a drop of paint or liquid to the surface of the 3D model you want to process.
- If the liquid forms a ball, it has too much surface tension to effectively wet the object, and the solid cannot "pull" the liquid onto itself.
- If the liquid spreads over the surface, forming something like a lens, wetting is better.
Is it possible to paint a 3D model from any material?
Painting 3D models from PLA and ABS plastics is a fairly simple task.
PETG can have paint durability issues, but the same techniques apply as for PLA and ABS. But if you really need a rich, vibrant color, then it's best to print your 3D PETG model in the desired color and leave it as it is.
When it comes to nylon, which is used for 3D printing, we must remember that the paint does not set well. In general, it is possible to paint with acrylics and nylons, but this will require some heat treatment to maximize the surface tension and allow the paint to wet. Often this is done with an open flame or plasma... In general, this does not look easy at home, so it is better to use dyes.
Planning before 3D printing
In order to facilitate the process of finishing and painting, before 3D printing your model, we recommend that you consider the following:
- Lower 3D printing resolution saves printing time, but increases processing time.
- Consider the geometry of your model. Your tools should reach where you want to sand or paint.
- Do the smallest details need sanding, priming or both? If so, can they handle it without breaking?
- If dimensional accuracy is important for some parts of your 3D model, you may need to take this into account when modeling. Add material to be sanded to size, or reduce size to make room for primer and paint.
- Primer and paint add thickness and can completely hide the fine details of your model.
- Sanding removes material and makes your 3D model less durable.
Items to improve paint adhesion
And finally, a few simple steps to improve paint adhesion:
- When working with a 3D printed model, wear clean gloves to protect the skin from chemicals and the surface of the model from sebum.
Learn more