Sparkmaker original sla 3d printer
Review of the SparkMaker Original Budget SLA 3D Printer
Log inSign up
Please ensure that JavaScript is enabled in your browser to view this page.
Most 3D printers today use the FFF (Fused Filament Fabrication) process, which is also sometimes referred to by the proprietary FDM (Fused…
Most 3D printers today use the FFF (Fused Filament Fabrication) process, which is also sometimes referred to by the proprietary FDM (Fused Deposition Modeling) name. Those printers work by melting thermoplastic filament, and then extruding the plastic onto the build plate in layers. That process is quick, affordable, and produces relatively strong parts. But the SLA (Stereolithography) printing process generally yields higher quality results. SLA 3D printers used to be expensive, but the SparkMaker Original is very affordable, and I recently tested one out.
The SparkMaker Original launched on Kickstarter back in 2017, and it’s still one of the most inexpensive SLA 3D printers on the market. The SLA printing process works using photopolymer resin that hardens when it’s exposed to UV light. That light can come from lasers or from LEDs that are masked by an LCD screen. The latter method is cheaper, and is what the SparkMaker Original utilizes. The XY resolution is determined by the resolution of that LCD screen — 720p in this case.
On paper, the SparkMaker Original has some respectable specifications: a 98*55*125mm build volume, a 0.1mm XY resolution, a 0.02mm Z layer thickness, and a single layer print time of 8–15 seconds. There are a variety of resin types available depending on your intended applications, and the printer is very compact and desktop-friendly. But to find out if it’s actually any good, I had to test it out for myself.
The first thing I noticed is how small the SparkMaker Original is — the entire machine is roughly the size of a gallon jug. It came packaged securely in styrofoam with everything I needed to get started, including a bottle of standard LCD-BW resin. Best of all, no assembly was required. The only thing that needs to be done before printing is to level the build plate, which is a process that takes less than a minute.
After the build plate is leveled, you can use the free SparkStudio software to slice an STL 3D model and copy it over to the included SD card. The software is very simple, and comes pre-configured for the SparkMaker Original and a handful of their resin types. The only downside is that you can only have one printable file on the SD card at any given time, as it has to be called “print.wow” to work.
Once your model is sliced and on the SD card, you can insert it back into the 3D printer. Then follow the proper safety precautions to fill the reservoir with resin — it’s toxic, so be very careful and wear gloves and safety glasses. Strangely, the power switch is on the cord coming from the power supply, and there is no switch on the machine itself. Once it’s on, you just push the dial in to start the print.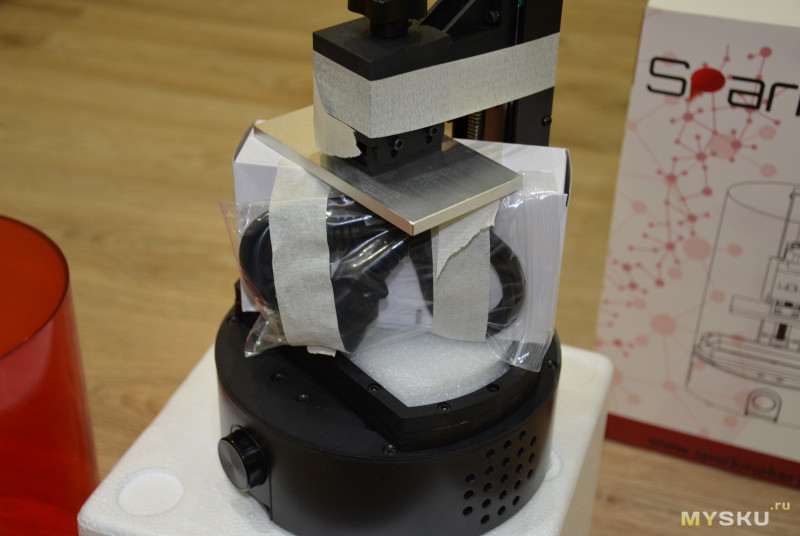 There is no screen, no way to select specific files, and no way to connect the printer to you computer.
After starting the print, be prepared to sit back and wait a long time. The process isn’t fast, even on the “fast” slicer settings, and I seriously doubt that “8–15 second” layer time specification is correct. The first model I printed, a Dungeons & Dragons figurine (pictured below) measures less than 50mm tall, and it still took approximately 7 hours to print on “balanced” settings. Unfortunately, even with that amount of time, I wasn’t impressed by the results.
It may be difficult to make out in the photo, but the fine details were muddled. SLA printers are supposed to be ideal for models exactly like this, but I can’t confidently say that the results from the SolidMaker Original were any better than from an FFF 3D printer. The main benefit is that there aren’t any noticeable layer lines.
I figured it might be possible that using the highest quality print setting would improve things, so I printed a second model using those.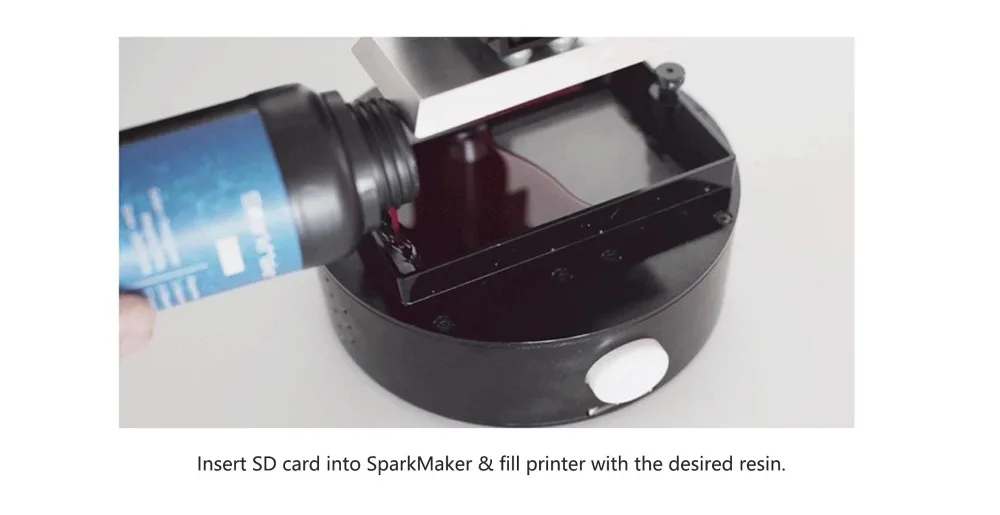 Sadly, as you can see in the picture below, the results really weren’t any better. As far as I can tell, changing the quality settings simply adjusts the layer height and does nothing for the XY resolution. So, once again, the fine details of the model were lost.
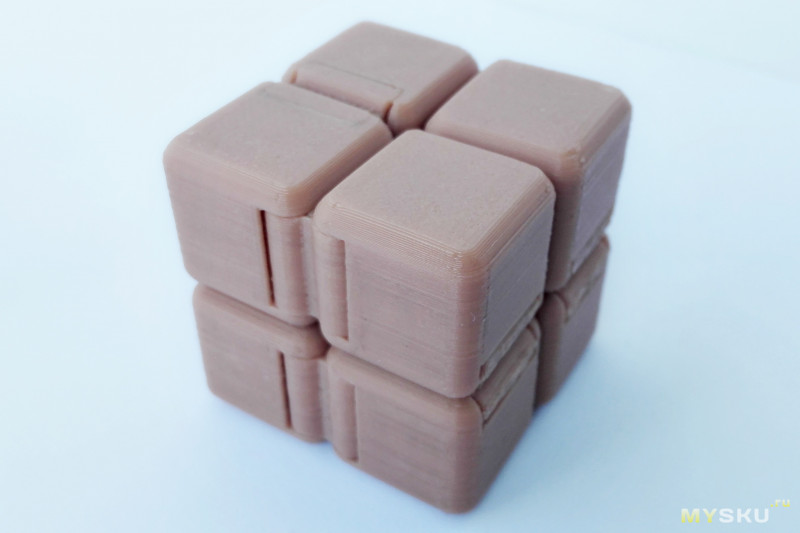
For one last test, I printed the sphere below. This one was printed on “fast” settings. This turned out well, likely because there were no fine details. This model is ideal for the smooth surfaces that the SparkMaker Original seems to want to produce.
But what if quality is less important to you than reliability? Unfortunately, that doesn’t seem to be a strong point here either. Every other print job I tried completely failed. That was because the LCD window would become covered in a layer of semi-cured resin. In order to get a successful print, I had to completely empty the reservoir and then carefully peel off that layer of resin. That’s a tricky job considering the toxicity of the resin.
Finally, I have some nitpicks about the mechanical design of the machine.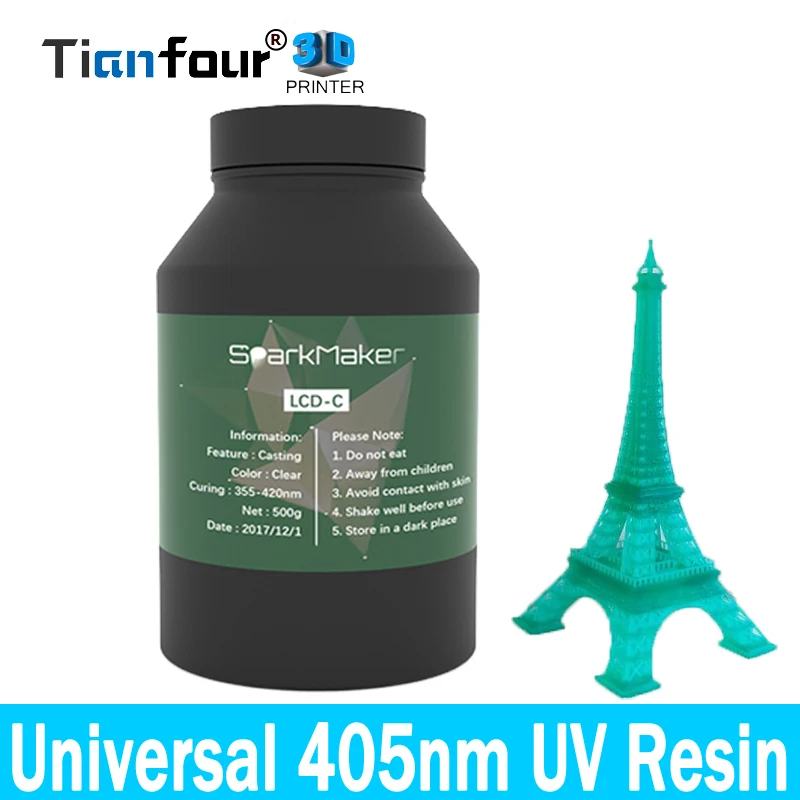 The most glaring is that the top of the build plate is completely flat, so resin will pool there. Virtually every other SLA printer has the top of the build plate sloped to avoid that, but it seems SparkMaker was cutting costs here. The protective UV-resistant cover also doesn’t have anything to hold it in place, so a bump can push it into the build plate.
At the end of the day, I can’t recommend the SparkMaker Original with a good conscience. It’s very affordable at just $249 (even less with a coupon), but there are other models on the market at comparable price points with better specifications, additional features, and more favorable reviews.
Cameron Coward
Writer for Hackster News. Maker, retrocomputing and 3D printing enthusiast, author of books, dog dad, motorcyclist, and nature lover.
Latest articles
Read moreRelated articles
SparkMaker Original SLA - 3D Print General
Skip to main contentClose Search
$139.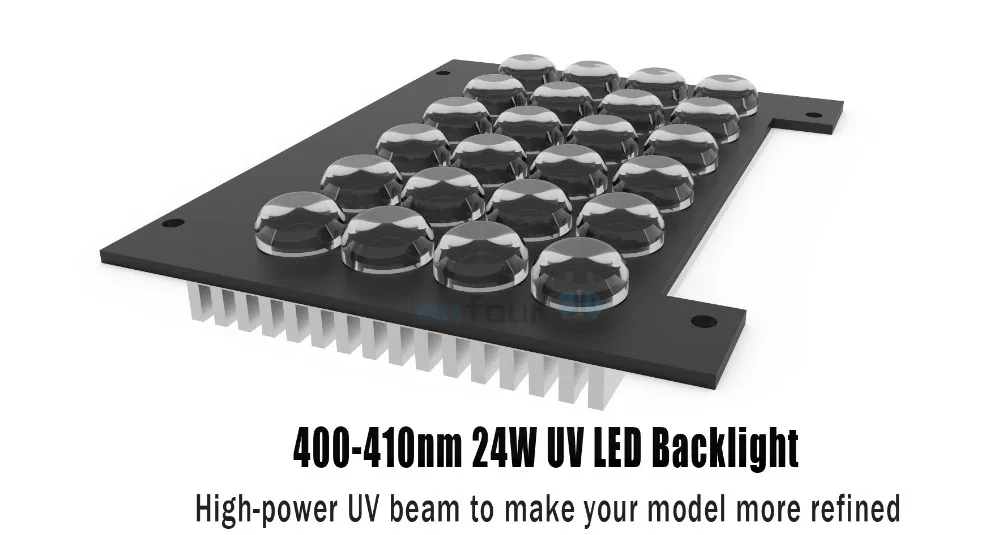 99
99
This was the second ever resin printer I tried. This one does not have a touch screen, but it is likely one of the least expensive SLA machiens you can find, and the prints still look good.
Here is my review video: https://www.youtube.com/watch?v=3mgEJ_atX2E
Category: Resin Tag: SLA
- Description
- Additional information
Description
- [SLA 3D Resin Printer for Precise Printing] – Solid built and industry-grade Z-axis linear guide is easy to level, allowed to print at 100 micrometer XY resolution and up to 20 micrometer Z layer thickness, ensuring a higher resolution and stability but avoiding wavy lines during printing. Unlike most FDM SLA LCD 3D printer, 24 UV LED light sources inside are uniformly distributed in each parallel panel, which delivers more evenly radiation so that print out a better-shaped and preciser model.
- [One-click Operation & Fully Assembled] – This family-friendly mini desktop SLA 3D printer is almost fully assembled, best choice for hobbyist, beginners and professionals or as a Halloween Christmas gift. Printing platform, leveling device, resin tank and slicing software are already set up, you can get started right out of the box. One click of the button to start, pause or stop as you required, so that you can operate it flexibly and worry free with this easy-to-use LCD 3D printer.
- [Professional Slicing Software & Off-line Printing] – This UV photocuring 3D resin printer is compatible with the built-in fastest slicer – ChiTuBox slicing software, which supports Mac, Windows, and Linux system. Relevant test files, preloaded models, software, guide videos are included in SD card to finish slicing instantly. Without connection problem, it will realize off-line printing and produce highly detailed & much smoother objects in an excellent ventilation and quite printing status.
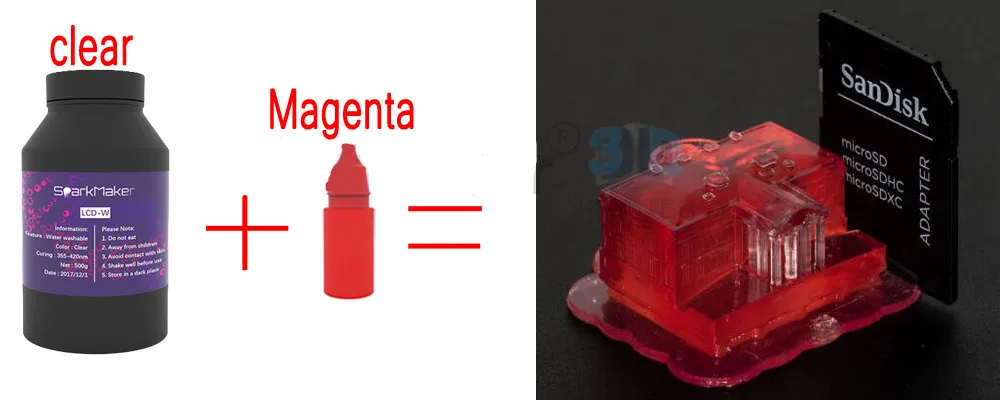
- [Multiple & High-end Resin Material] – SparkMaker photosensitive resin features standout rigidity, elasticity, hardness, super clear while they show great performance in kids education and family entertainment, industrial & medical parts modeling. We have adopted imported photoinitiator so it has stable color paste and helps model shape up faster and preciser with less smell producing. The durable all metal resin tank is removable and easy to clean, which also can avoid resin leakage.
- [Buy with Full Confidence] – Inspired by the advanced ergonomic technology, our professional R&D team with innovative experts is committed to designing this high quality, yet affordable SparkMaker 3D resin printer kit. Rest assured that we have one year warranty (LCD, light board & resin tank within 2-month, FEP film excluded) & UL certified for your safety. If you have any questions, please feel free to contact us via [email protected] to get reliable 24/7 after-sale service.
Close Menu
SparkMaker SLA photopolymer 3D printer: small and affordable
An interesting and inexpensive stereolithographic (SLA) 3D printer from SparkMaker.
The printer is perfect for beginners, as it works right out of the box and does not require any major settings / calibrations.
With the help of this 3D printer model, you can get the first experience of photopolymer printing, figure out what is what and try your hand at new creativity.
The printer provides printing of a layer up to 25 microns, a matrix resolution of 845 x 480 pixels, and for all its cheapness, it is compact and quiet. And prints - does not ask for porridge. There is no need to watch for constant heating, for drafts, to monitor the filament so that the thread does not overlap ... I put the model on for several hours, and it rustles to itself ...
If you are interested in photopolymer printing or want to know how it works, then you are here)))
Greetings to all visitors to the Mysku site!
For convenience, I will make a little content in the review.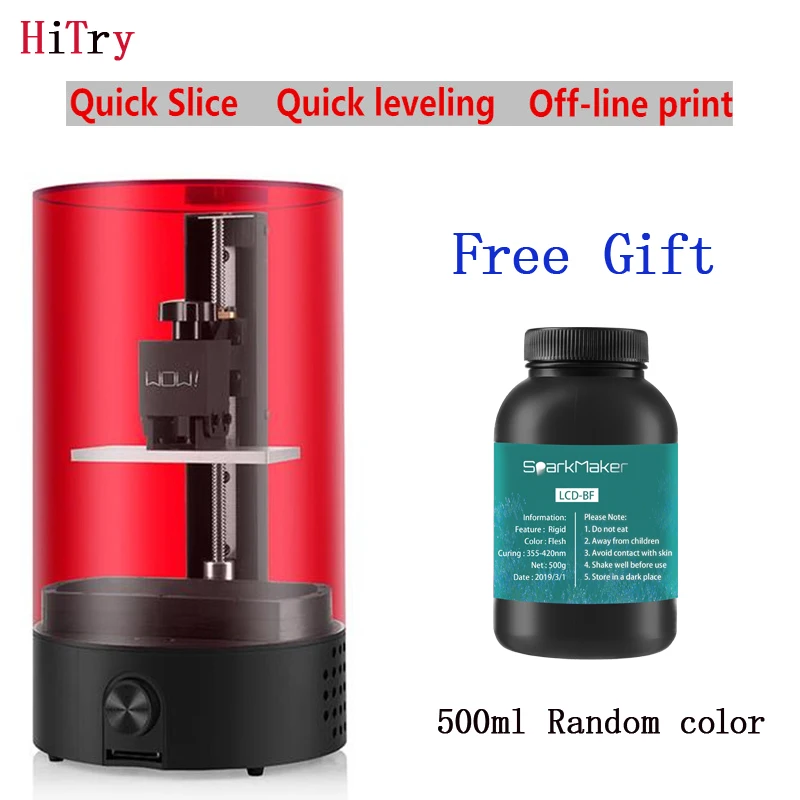
Contents and quick navigation through the text:
Startup description, characteristics
Shipping, packaging, kit
Appearance, first use
SparkStudio interface
Testing
Additional information
Conclusion
Description of the startup, characteristics
Top ▲
So, this printer comes from Kickstarter. Some time ago, an active young team fanned the development of the most budgetary Sparkmaker photopolymer printer, and very successfully.
Raised over half a million dollars to develop and launch a new budget SLA printer.
They raised over half a million dollars for their project.
The printer (then called SparkMaker WOW!) turned out to be very compact.
And now the SparkMaker 3D printer is available for sale, you can buy it from Gearbest store with free shipping. The coupon will be at the end of the review.
Features:
Brand: Spark Maker
Type: Complete Machine
Print speed: 8 - 15 s/layer
Supporting material: Resin
XY-axis positioning accuracy: 0.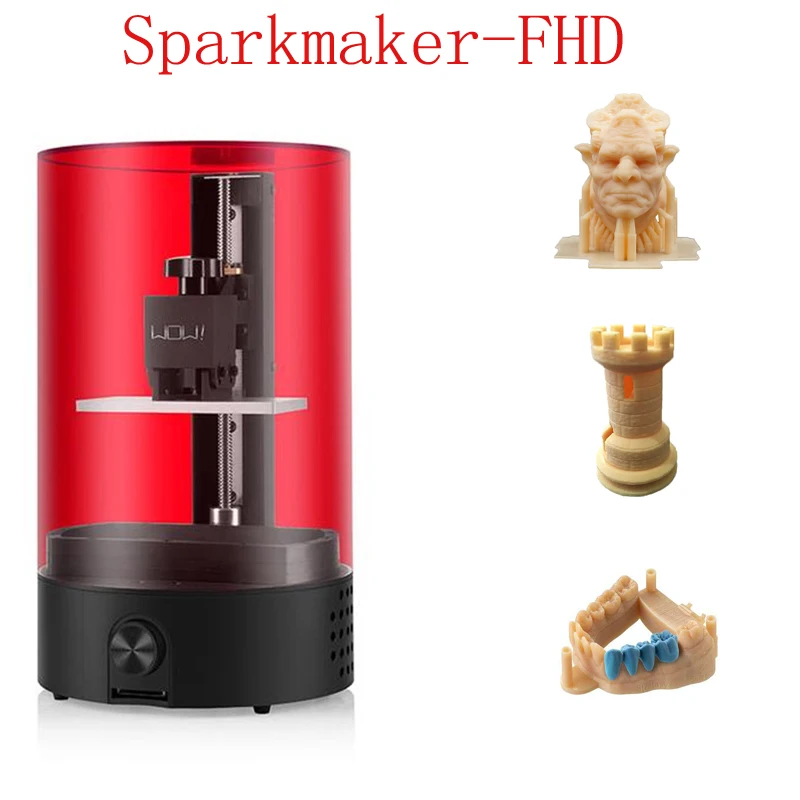 01mm
01mm
Z-axis positioning accuracy: 0.002 mm
Voltage: 24V
Working Power: 48W
Packing Type: Assembled packing
Connector Type: SD card
Product weight: 2.0000 kg
Package weight: 3.0000 kg
Product size: 17.00 x 17.00 x 27.50 cm
Package size: 34.00 x 34.00 x 34.00 cm
The manufacturer gives the following selection-comparison of prices and features of available 3D SLA printers, based on which we can conclude that the WOW! It turned out to be a very good printer. nine0003
The animation shows an "explosion diagram" of a 3D printer.
The printer is a mechanism with a tray and a Z-axis, on which the printing platform gradually rises. Layer by layer, the image is formed. The size of the tray, or rather the printing platform, is 98 x 55 mm, the lift height is up to 125 mm. Under the tray is a 4.5" IPS display with a resolution of 845 x 480. In this configuration, only printing from an SD card is available, in fact, the 3D printer is standalone.
This image flickers in the history of printer development: a sketch of the printer design and main components: MGN15 rail, T8 screw, motor for Z, 4.5" matrix, UV LED matrix, control board + encoder.
The main working components: a platform for printing (aluminum), a plastic bath, with a volume of approximately 100 ... 120 ml, an anti-adhesion film is installed at the bottom of the bath, a display and an illumination matrix are under the bath.
This is how the model formation process looks like (accelerated). nine0003
Package, package, kit
Top ▲
This is more than a compact 3D printer. It looks like a cylinder 27.5 cm high, 17 cm in diameter. Almost the entire visible part is occupied by a cap made of special plastic (red). This is a UV protective cover.
Came in a neat box. You can give this as a gift - it even makes an impression.
Inside the foam cocoon is a printer. Outside cardboard box.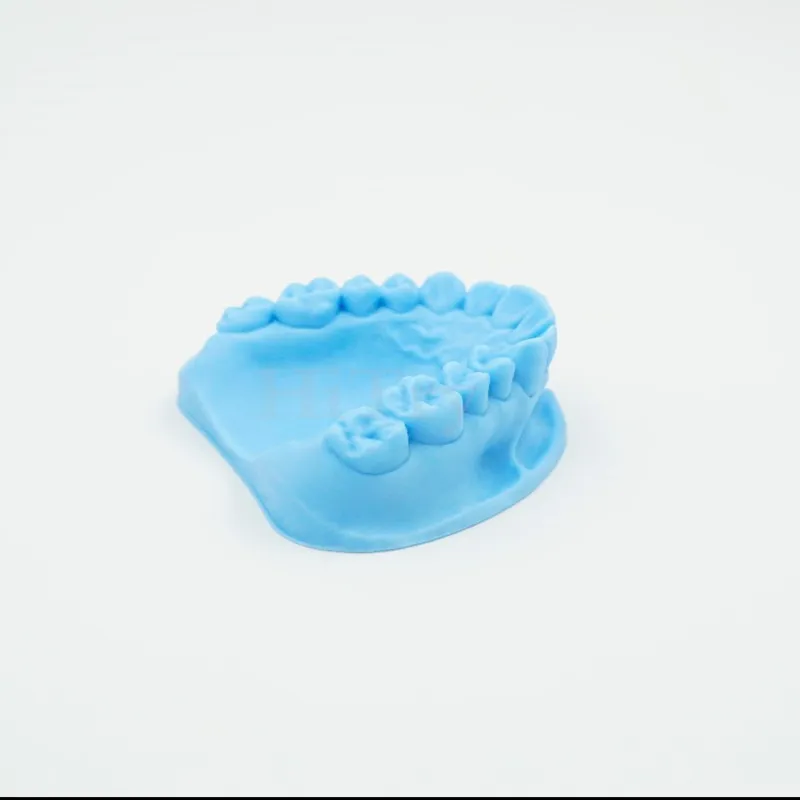 Reliable enough. nine0003
Printer in a bag, instructions are included separately.
Additional information - photo instructions, insert, QR codes from the insert for software
So, quite a detailed instruction.
I will duplicate it electronically. The link will be at the end of the review.
There are QR codes for downloading software and technical support
The printer is fixed in the transport position with masking tape.
Remove the protective cover, remove the shipping tape. nine0003
Under the carriage is the power supply, hex key.
The tub is protected by a block of polyethylene foam.
The power supply is simple, lightweight, with a standard Euro plug.
Parameters 24V/2A, standard round jack.
There was a WOWi sticker inside, you can glue it or not.
Appearance, first use
Top ▲
Printer details worth paying attention to.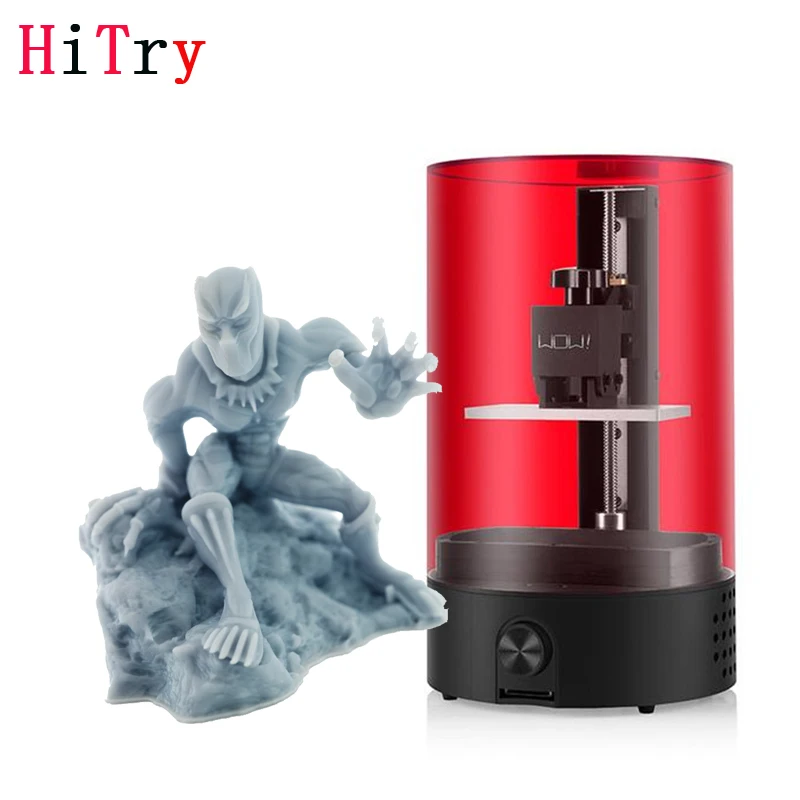 nine0006
Tray, small, plastic, collapsible. The new generation of the printer has a metal tray. It is removable and serviceable.
Anti-adhesive FEP film for bath from 3M.
Encoder and card reader
During operation, the encoder displays the status in 3 colors.
Green - ready, idle. It is possible to manually operate the platform (up and down) by turning the encoder.
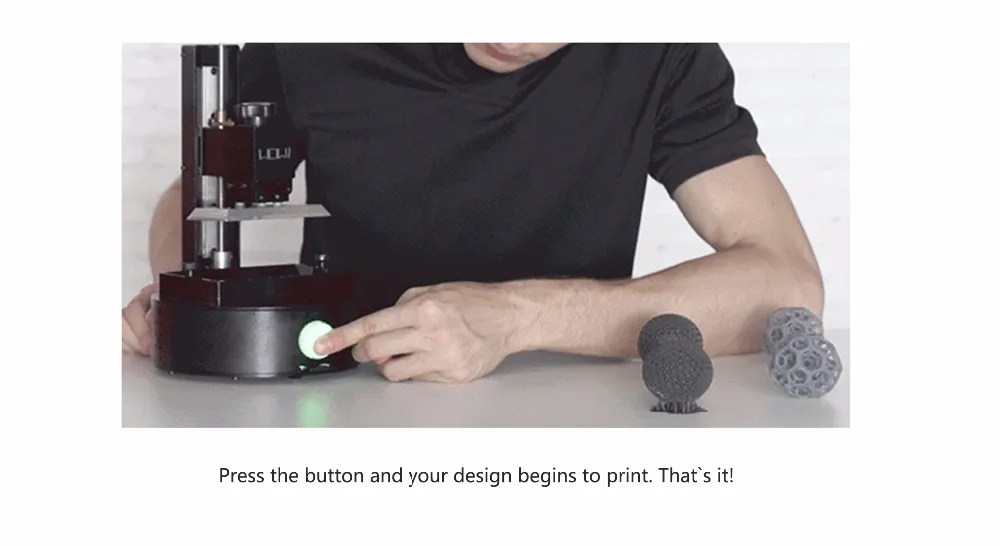
If a memory card is inserted, it is enough to press the encoder to start printing. The red color will light up. nine0003
If you hold down the encoder for a long time while printing, printing will be canceled.
Simply pressing while printing will pause. The printer will move up a little, you can evaluate the amount of remaining photopolymer and the progress of printing. In such cases, the backlight turns blue.
The print platform is mounted on one Z-axis in the form of a rail and a T8 screw.
The platform is a piece of aluminum. Not polished. Cut neatly.
Axle size approximately 210mm, but working stroke maximum printing height only 125 mm declared. This is also related to the volume of the bath, the volume is not more than 100 ... 120 ml, but you can “add” during printing if you are printing something voluminous.
A wing screw is provided for attaching the platform.
The Z axis is guided by an MGN15 rail with an extended carriage. For raising and lowering - the T8 screw, the nut of which is fixed on the carriage.
Below you can see the motor coupling and the optical sensor in Z. It is already calibrated in height, nothing needs to be adjusted. nine0003
Another photo of the mechanism
Left and right there are ventilation holes through which the filling is visible: matrix, board.
The whole thing is blown by a fan.
If you look inside, you can see an array of lenticular high-power LEDs with a UV spectrum. Very cheap and effective solution. And most importantly, you can always replace 1-2 diodes if they fail (unless, of course, you find analogues).
After unpacking and before printing, I recommend leveling the platform. nine0003 These 4 screws are used to fix the platform.
We loosen, lower the platform until the limit switch works.
The platform should lie freely, without gaps, evenly, on the bottom of the bath.
Tighten the screws as is. The complete hexagon is short, I used my own. 3mm hex screws.
Everything, the printer is configured)))
You can move on to the next step.
SparkStudio interface
Top ▲
Let me give you a little introduction to the SparkStudio software.
This is a simple slicer program with the usual set of features.
In the left block there are buttons for rotation, movement, scaling (as in Cura and other slicers), a little lower is the function to launch the slicer.
In the right block of the printer settings (duration of illumination of the layer and speed of movement).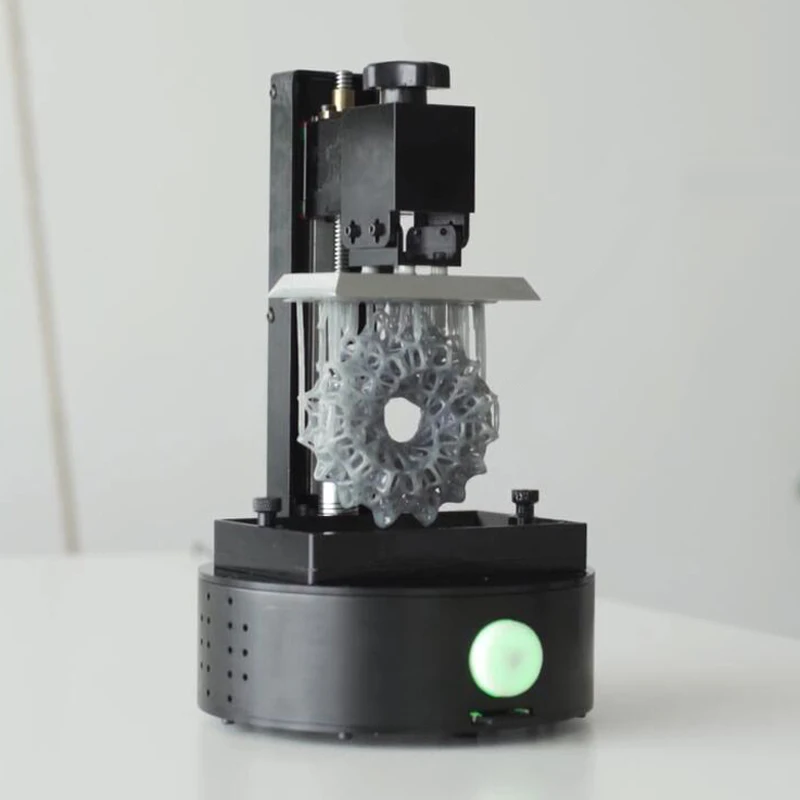
We upload any STL file, twist-twist, click on the slicing button, we get the file (the "native" format for Sparkmaker) and the print time. nine0003
A simple window, printing depends on the layer size (25, 50, 100 microns) and its exposure time. The smaller the layer and the longer the exposure, the more the working time increases. Well, on the size of the model, of course.
I will note the "chip" - the time is calculated for the entire "working field". One part, or several parts for the entire field will be printed with the same amount of time. Affects only the size of the model in height and the thickness of the standing
(number of layers), taking into account the exposure time of the layer. nine0003
You can’t cut the model in a slicer, the functionality is rather poor.
Press the button at the bottom left (layers) and launch the slicer. Before starting the process, the program will ask you to specify a folder or memory card for it. If the folder is without Cyrillic.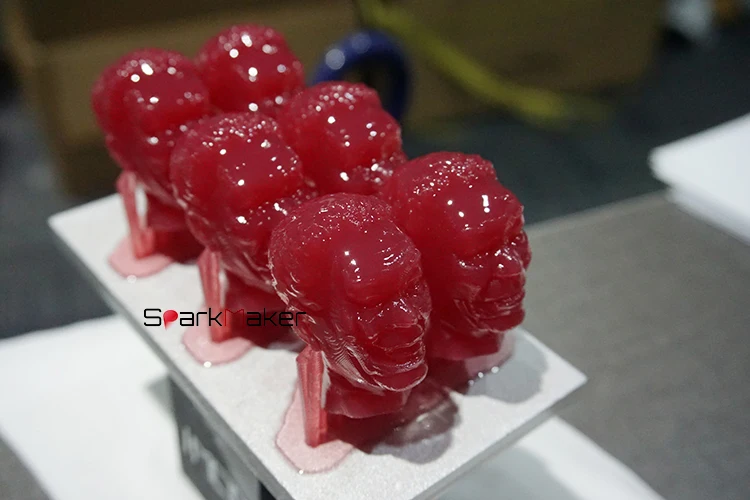
But support can be placed both manually and in auto mode. Very comfortable and well thought out.
We take a complex model.
At the top right, we switch to support mode and manually (Add) we put it where we considered it necessary to support it. nine0003 The shape/properties of the supporting structures are configurable.
You can run auto-arrangement.
If you need more information - under the spoiler a couple of videos using the slicer
General information about SparkStudio
Placement of supports
Testing
Top ▲
So, we put the model with the required parameters on the memory card, leveled the table, then poured some photopolymer resin.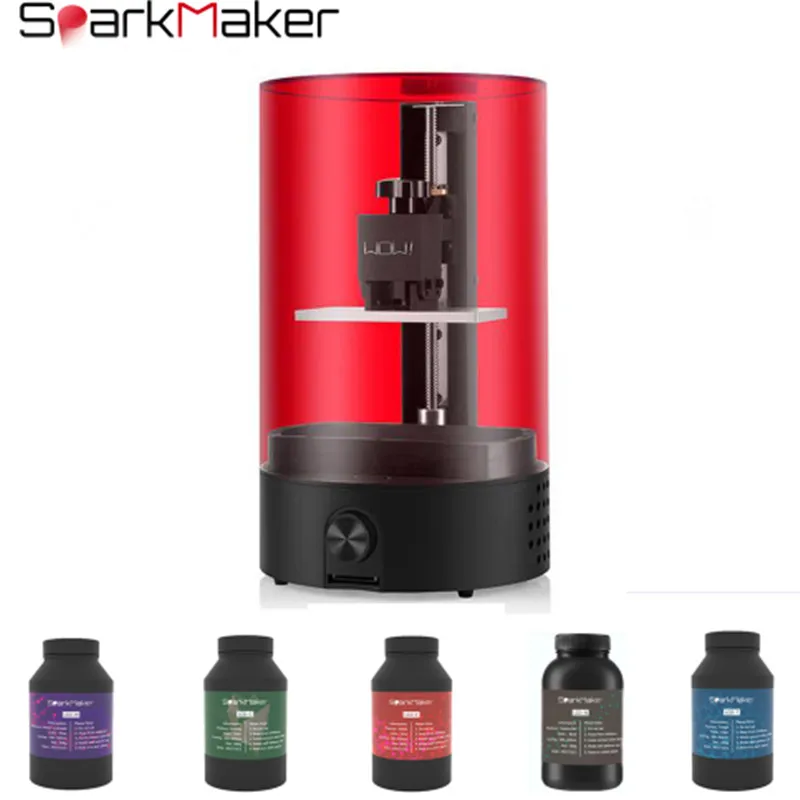 nine0003 It is moderately thick, be careful, you can’t pour a lot, as the platform is completely submerged. About 100 ml, preferably less, for the first test models.
I used a local photopolymer 3Dlab Basic, in a liter package. This is a good option for the price and quality.
We fill the bath, manually lower (or the printer in the machine will lower) the platform.
We close with a red cap.
We connect the power supply.
Insert a memory card. nine0003
In the encoder, by the way, there are 4 LEDs in a circle, of each color. A cool effect is created, including with a “welcome” flashing.
Idle in green, printing in red.
If you need to turn on the pause, then when printing, press the encoder. It lights up blue, wait. We are waiting for the completion of the exposure of the layer, as the task completes - the surface rolls back a couple of cm up, you can check the progress, quality, and add resin if you suddenly need it.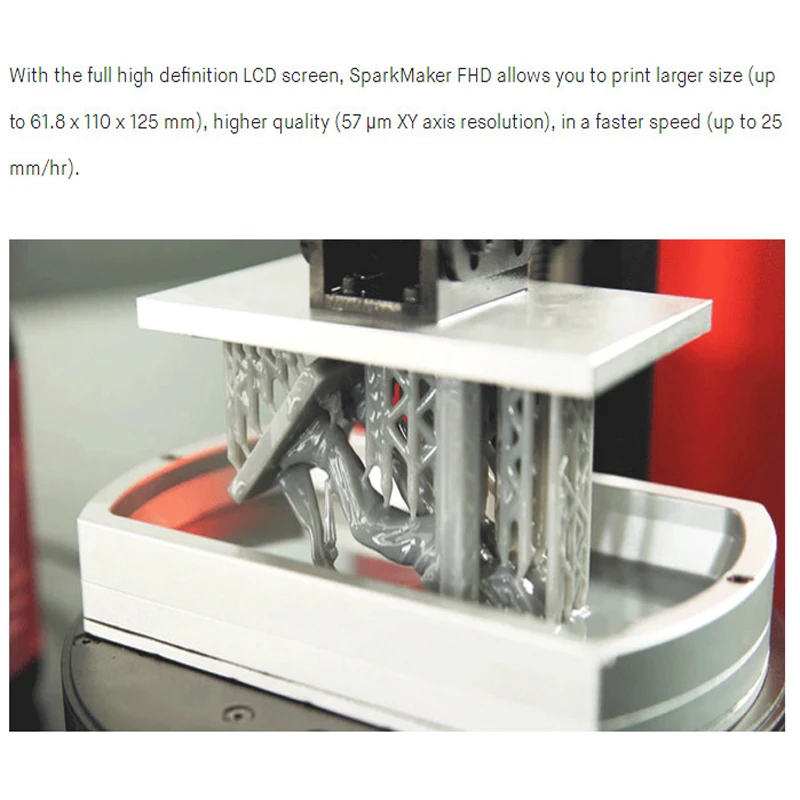
We “press” the button back, the printer lowers the platform and prints further, without displacement. In my opinion this is a big plus. nine0006
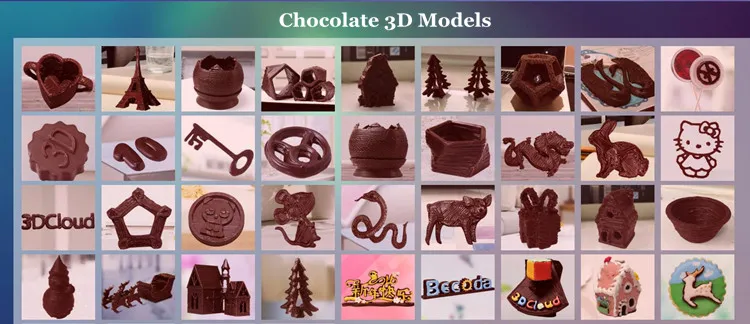
It should be like this. Picture showing models printed on this printer. The quality is more than worthy for such a baby (picture from the official website).
But it didn't work out right the first time for me. When starting the slicing process, pay attention to the values of the exposure time, it is better to choose the duration for a particular photopolymer in advance.
And also, a little advice - be sure to keep it clean - the polymer is very easily soiled and sticky, and follow safety precautions (the instruction is usually on the packaging with the polymer). nine0003 Platform and bath surfaces must be clean and free of grease.
Otherwise, it will be like this, as I did the first time)))))
For the test, I took one of the models from previous reviews. It was just interesting to see how it prints.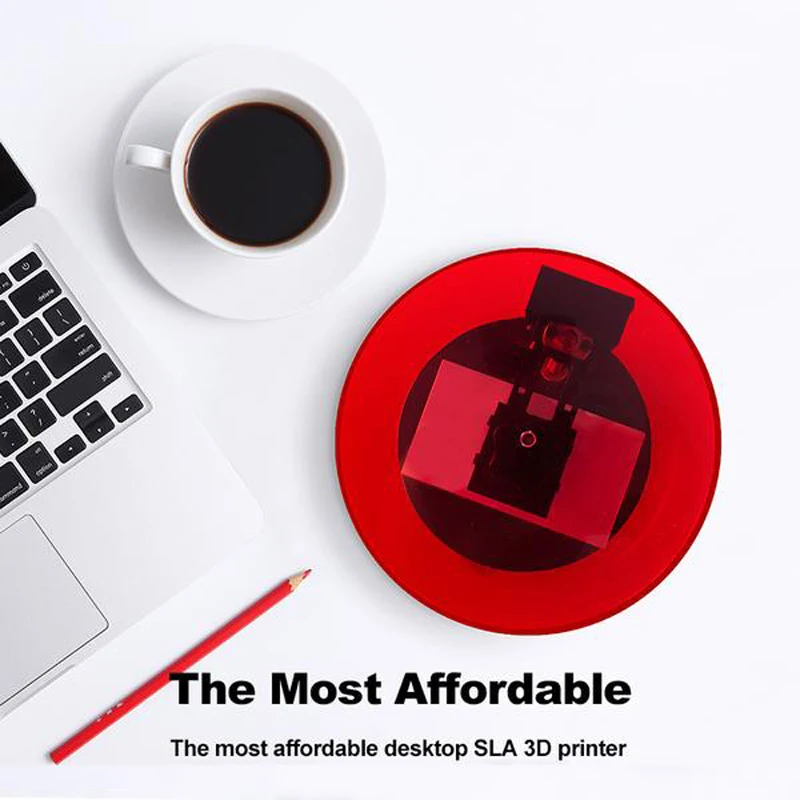 A flat low model is printed very quickly - it is convenient to select the exposure time. In my case, for a layer of 0.05 mm for a photopolymer from 3Dlab (Basic), the time was 18 seconds per layer, for a layer of 0.1 mm 20 seconds. The time is approximate, you can do ± a couple of seconds. nine0003
After you have taken out the platform, you can remove the part, it is advisable to rinse it in alcohol and additionally fix it under a UV lamp. A simple UV lamp for nail extension is suitable, it is enough to hold the model for 2-3 minutes. If you use supports, they can be separated after fixing under the lamp.
This is what happens (before fixing)
Photopolymer 3Dlab (Basic) is quite elastic.
The dimensions of the model coincide with the original drawing, if there is shrinkage of the resin, it is very small. nine0003
Above was a picture of a Gothic stained glass window in a slicer. Here's what happened when printed.
Alcohol-washed window.
I tried complex structures such as articulated models, at the same time I broke to see how it prints (fozzy fish).
And if in FDM printing you need to pay attention to how “bridges” are formed, then there is no such problem at all.
During printing, he paused, added polymer.
A little overdone - the platform is completely immersed, with the top))))
Printed stamps.
I took pictures from the Internet, just in the search for "contour drawings".
You can draw a sketch yourself.
We take / make / look for any desired stamp text or drawing.
We load it into Cura (when importing, we adjust the thickness of the substrate, the height of the picture, and the dimensions).
Save model from Cura to *.STL
The resulting model is loaded into Spark Studio.
Here's what happened.
Need a convenient holder for them
Do not forget to mirror images for stamps if necessary.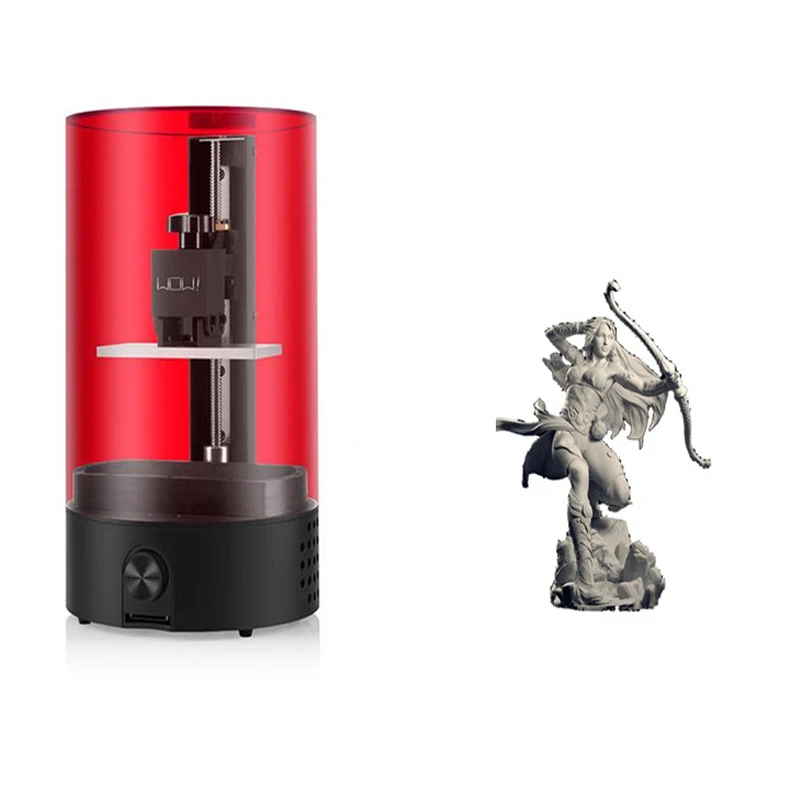
Test girls.
Test lock.
Mesh Batman. This is very difficult for FDM.
I give the models time to settle in, then you can show / play / put on the shelf.
Additional information
Top ▲
Please note that a special upgrade for the FHD printer is now available for purchase. nine0003 The kit includes a metal bath, a new FHD display, a new control board with bluetooth (and a smartphone app), a new UV light module. It makes sense to upgrade to the "older version".
The kit includes 1 x Metal Tank, 1 x Metal Panel, 1 x 1080p LCD Screen, 1 x Mainboard, and 1 x UV Backlight.
Found a type of special film (release) from 3M. This is fep film 3M ™ Dyneon ™, and specifically Fluoroplastic FEP 6303Z. You can buy in industrial rolls, I did not find it in retail. nine0006
Video presentation of the printer
Manual (tutorial)
User manual
Printer designer and manufacturer: WOW Innovation (Shenzhen) Technology Co., Ltd.
Printer's official website
Download Spark Studio V2.1 and SparkMaker firmware V1.5
Conclusion
Top ▲
The printer is perfect for beginner photopolymer printers.
For minimal money and effort, you get a working 3D printer. nine0003 It remains only to choose the right polymer for yourself and calmly engage in creativity.
After printing, the products are washed and additionally fixed in ultraviolet light. This provides additional strength to the models.
If you wish, you can take this printer for business - to complete the 3D laboratory at minimal cost (analogues are more expensive). You can take it for modeling and printing souvenirs, as the printer will allow you to print large-scale copies with very high detail. If you really get confused, then you can make a master model for casting, which in itself is more convenient than traditional FDM (the resin is easier to burn out). nine0006
Separately, I will highlight the ease of maintenance and work with the printer. The manufacturer offers already polished test models, which are quite interesting. We download - we immediately throw it onto the card, into the printer, and it remains to press the encoder button.
For wiping, it is best to use napkins or lint-free cloths, with alcohol, ethyl or isopropyl alcohol.
I recommend working with gloves - photopolymers can cause an allergic reaction.
I really liked that the printer is very very quiet. nine0003 During operation, only the fan is noisy - a uniform, slight noise. I am sure that with a thoughtful approach, you can reduce the speed and fan noise.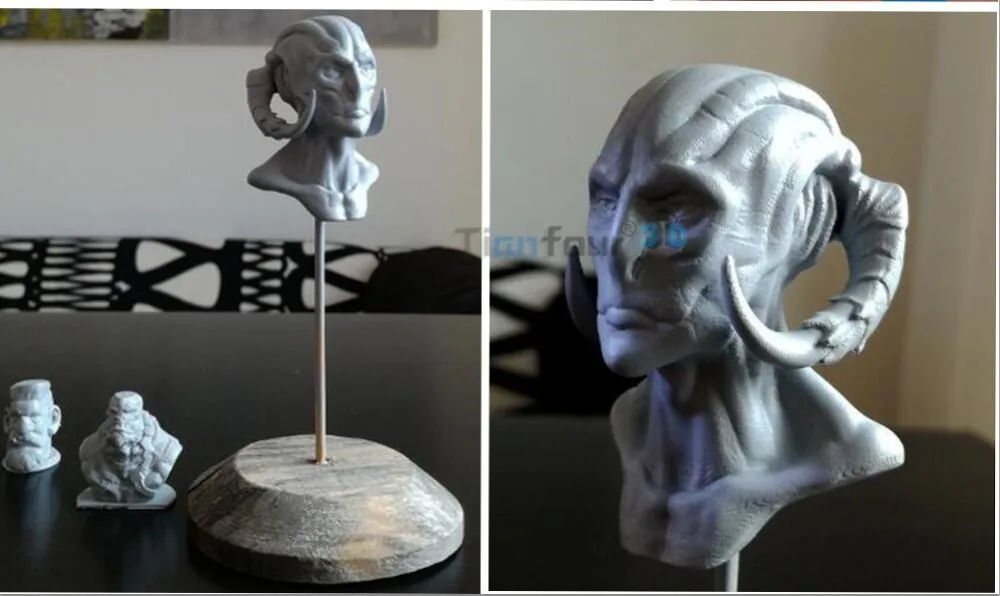 And of the engines, there is only one on the Z axis, which works from time to time when moving up through the layers. If you change the speed of moving up, then the sound of the engine will be significantly reduced. This is a consequence of the modern drivers used, or rather one driver that can split the step up to 1/128.
The new model turned out to be a little more “thought out”. The bath in the new Sparkmaker model was replaced with a metal one, and the matrix with FDH. You can also control it from your smartphone. In my opinion, a convenient and useful feature, which is missing in the old model (in the review). Well, at least you can buy an upgrade-kid for the old version ($9nine).
On my own note, there is no indication of the progress of the task, in fact, the time to completion can only be estimated visually, remembering the height of the model that was sliced. Or set an alarm.
I don't remember any other details. Pause works correctly.
Now the SparkMaker SLA photopolymer 3D printer can be purchased with a discount coupon GBRUSPARK109 , the price will be $229. 99.
99.
Update - new coupon GBSparkMaker , price 209.99
Fast polymer for photopolymer printers with small and medium print areas 3Dlab Basic photopolymer.
Product for writing a review provided by the store. The review is published in accordance with clause 18 of the Site Rules.
Flyingbear Shine and baby SparkMaker SLA / Aliexpress and more / iXBT Live
I present to your attention two inexpensive and interesting 3D printers for printing with photopolymer resin (UV Resin). Printers provide high accuracy of the resulting models (up to 50 microns), compact and relatively inexpensive compared to their counterparts. nine0006
Flyingbear Shine UV Resin DLP Color Touch Screen 3D Printer can be purchased for $569
Coupon must be used for discount: GBFlyingbear
Small SparkMaker SLA UV 3D Printer can be purchased for $250. discount: GBSparkMaker
So, let's start with the most interesting option - this is a promising 3D printer Flyingbear Shine. The printer has a metal frame, Z-axis ball screw, print resolution up to 50 microns, and a color display that supports printing via WiFi and from external drives. The maximum print area is 120 x 68 x 210 mm. nine0006
There is a large touchscreen display at the bottom of the housing that allows you to control, configure and calibrate the 3D printer. For protection during access, a translucent folding actuating cover is provided.
A strong metal frame is used as a supporting structure, which simultaneously holds two guide shafts and a ball screw to move the photopolymer bath along the Z axis (up and down). It is the use of a ball screw pair, as well as precise drives with modern drivers based on the TMC2208, that ensures the declared print accuracy of 50 microns. nine0006
All parts can be quickly removed and reinstalled, and have the ability to adjust the position.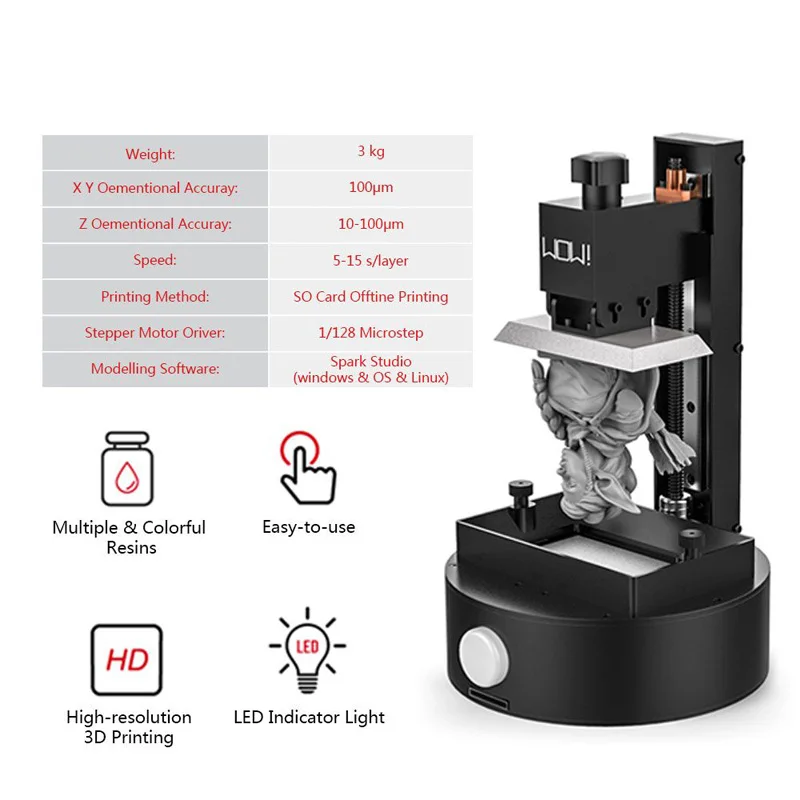
The Flyingbear Shine photopolymer 3D printer is powered by the included power supply (24V/72W) and is one of the most compact devices on the market - its dimensions are only 20 x 17 x 40 cm. 405nm UV resin, and the Creation workshop or the complete FLYINGBEAR Shine slicer is suitable as a control program. nine0006
The resolution of the DLP matrix is 2560 x 1440 dots. The printer provides printing speed up to 30 mm/h.
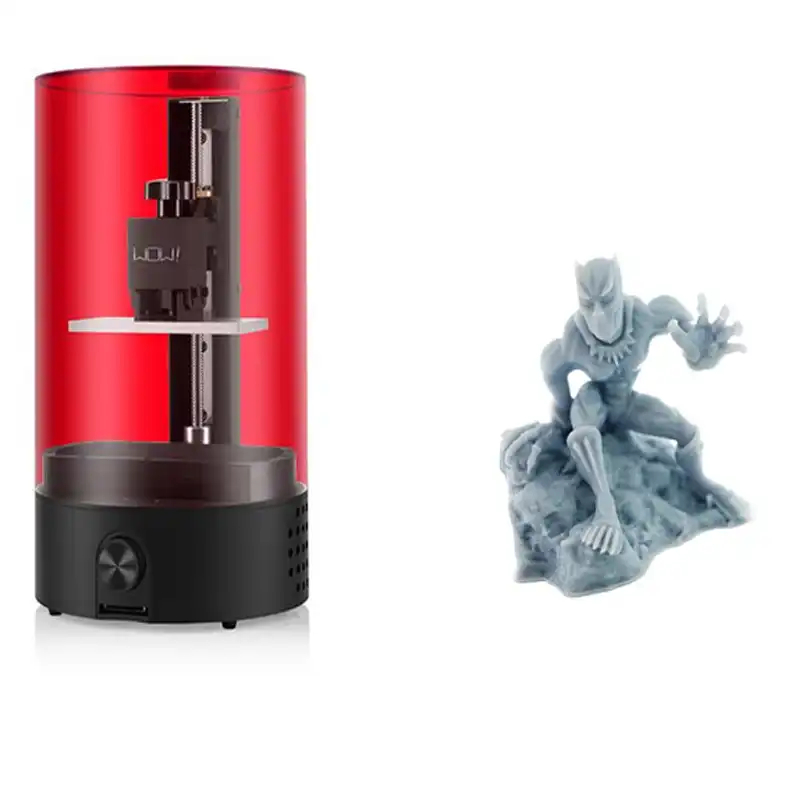
For comparison, I'll tell you a few words about a small photopolymer baby, which is suitable for beginner photo printers. This is a small and inexpensive SparkMaker SLA. Now it really has a "childish" cost - used photopolymer printers are more expensive than this baby!
The dimensions of the 3D printer are only 17 by 17 by 27 cm and is a small cylinder with a translucent lid. nine0006
Inside, under the cover, there is a mechanism for photopolymer printing of a modest size. The working area is only 98 x 55 x 125 mm. The print speed is 8 to 13 mm/s per layer. Consumables: photopolymer 405nm UV resin.
The printer may be of interest to a schoolboy or student, as well as the first device in photopolymer printing and is one of the most interesting in terms of price and quality.
In any case, all the above options are now discounted! nine0006
Welcome to Gearbest store!
News
Publications
After the frank delight that the Maono PD400X microphone caused me, I really wanted to try their other solutions. Model DM30, although much cheaper, but in terms of functionality ...
I am such a person that I constantly notice ordinary things and try to understand the logic of their origin. Once in the zone my interest was the dimming of the lights inside the cockpit just after...
Beelink SEi12 is a mini-PC that can easily replace a regular system unit at home, because. The performance of the Intel Core i5-1235u combined with 16 GB of RAM is enough for any home ...
OneOdio Studio Pro 50 are cheap full-size headphones designed for bassheads and DJs.