Rise 3d printer
Reliable, Affordable, Industrial 3D Printer Solution
Reliable, Affordable, Industrial 3D Printer Solution | Raise3DSearch for:
Raise3D products offer a range of solutions for Flexible Manufacturing.
Learn More
Don’t miss the opportunity to see our products in real life and find out what our team of 3D printing experts can do for you.
See when and where Raise3D solutions will be showcased this year.
Raise3D Events in 2022
Discover Raise3D’s industrial 3D printers for manufacturing with composite and metal materials, including the RMF500, a reliable, precise, and flexible 3D printer that produces high-performance end-use parts with repeatability; and the MetalFuse, a complete solution consisting of an indirect metal 3D printing process.
RMF500 MetalFuse
Professional 3D Printers
Discover Raise3D’s professional segment with the Pro3 Series, Raise3D’s latest line of professional dual extruder 3D printers; the E2, a desktop 3D printer with independent dual extruders; and the E2CF, an IDEX 3D printer optimized for 3D printing carbon fiber-reinforced filaments.
Pro3 Series E2CF E2 Pro2 Series
Software SolutionRaise3D provides software solutions for a seamless production workflow.
ideaMaker
RaiseCloud
ideaMaker Library
Materials
Raise3D premium and industrial filaments, and other compatible filaments and their manufacturers are available here.
Filaments Open Filament Program
Solutions
Find out more about the solutions Raise3D offers and see how Raise3D production workflow has helped many enterprises like yours.
Manufacturing & Engineering
Manufacturing & Engineering
Explore Raise3D 3D printing industry solutions in manufacturing and engineering.
Design, Education & Consultancy
Design, Education & Consultancy
Explore Raise3D 3D printing industry solutions in design, education and consultancy.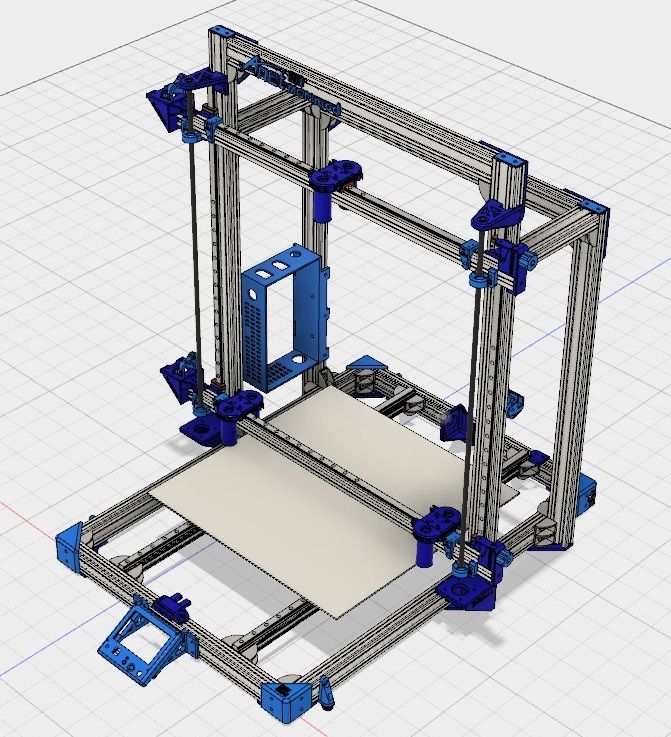
Medical
Medical
Explore Raise3D 3D printing industry solutions in medical field.
What Makes a Raise3D Printer Great?
At Raise3D, we set out to build an industrial 3D printer that is durable enough to withstand the rigors of industrial environments, reliable enough to run 24/7 and able to repeat the process of manufacturing finished parts with precise replication.
As a customer-driven company, our products are created with input from a diverse field of professionals on the cutting edge of design, engineering and manufacturing. The result is a 3D printer ready to integrate print factories and build customized parts on demand.
Discover the Pro3 Series from Raise3D!
We invite you to spend some time on our website to explore all the possibilities that a Raise3D printer can deliver. You may find the case study section of particular interest, from education and the arts to engineering feats and medical device breakthroughs. A few short years ago, these applications were all but impossible to cost-effectively manufacture.
Contact us with confidence; our staff is here to answer all your questions about owning an industrial 3D printer, understand your 3D printing needs, and offer the right solution. It’s your turn to build something extraordinary! Contact us today.
Recent Updates
Nov 10, 2022
Additive Productivity: a new era in FFF professional 3D Printing is born
Additive Productivity: a new era in FFF professional 3D Printing is born
Learn More
Nov 11, 2022
Raise3D Announces ideaMaker 4.4.0 Alpha versions
Raise3D Announces ideaMaker 4.4.0 Alpha versions
Learn More
Oct 26, 2022
Raise3D Announces Its Go Green Initiative
Raise3D Announces Its Go Green Initiative
Learn More
Oct 26, 2022
Raise3D E2CF review: a compact carbon-fiber low-volume production 3D printer for under 4k€?
Raise3D E2CF review: a compact carbon-fiber low-volume production 3D printer for under 4k€?
Learn More
Oct 28, 2021
Raise3D Launches MetalFuse, a 3D Printing Full in-house Solution
Raise3D Launches MetalFuse, a 3D Printing Full in-house Solution.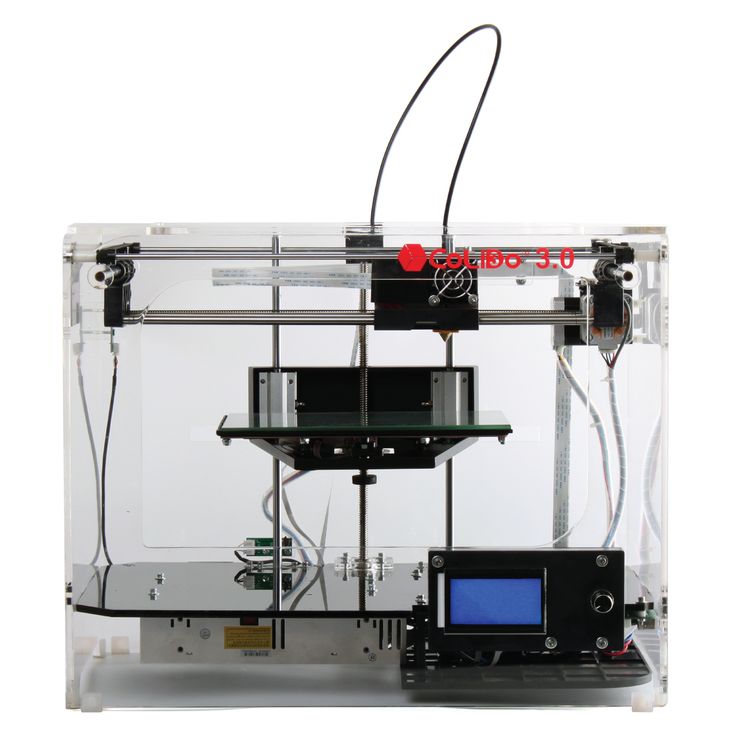
Learn More
Nov 15, 2021
Raise3D Announces the RMF500, a Large Format FFF 3D Printer
Raise3D Announces the RMF500, a Large Format FFF 3D Printer.
Learn More
3D Printer | Raise3D
3D Printer | Raise3DSearch for:
The line of Raise3D printers includes the Pro3 Series, the E2CF, the Pro2 Series, and the E2, with the RMF500 and Metalfuse coming soon.
The RMF500 is a large format 3D printer with a 500x500x500mm build volume, capable of producing high-performance end-use parts. Metalfuse is a 3D printing solution featuring an indirect metal 3D printing process capable of performing batch production.
The E2CF and Pro3 Series are Raise3D’s most recently launched 3D printers. The E2CF is an IDEX 3D printer optimized for printing carbon fiber composites. The Pro3 Series includes the Pro3 and Pro3 Plus, two professional dual-extruder 3D printers with easy-to-use features, giving users a better 3D printing experience and high-quality 3D printing results. The E2CF is optimized for PA12 CF (also known as Nylon Polyamide 12 reinforced with Carbon Fiber) and its break-away support material. Recently, Raise3D announced thirty-two new industrial filaments for the E2CF.
Other models include the E2 and the Pro2 Series. The E2 is an IDEX desktop 3D printer with specialized capabilities for small-batch manufacturing and educational purposes. The Pro2 Series features the Pro2 and Pro2 Plus dual extruder 3D printers with high resolution for manufacturing and rapid-prototyping projects of various sizes within an allocated budget.
Raise3D printers produce high-quality 3D printed parts with filaments such as PLA, ABS, ASA, PETG, TPU, PP, and PC.
All Raise3D printers connect seamlessly to our 3D printing software ecosystem for added benefit to our printers’ functionality and productivity. Finally, the Raise3D factory is certified with ISO 9001 and ISO 14001 certifications.
Industrial FFF 3D Printers
Professional FFF 3D Printers
RMF500
Flexible Manufacturing Productivity for Composite End-Use-Part Based on FFF ProcessThe RMF500 is a reliable, precise, and flexible 3D printer that produces high-performance end-use parts with repeatability, making it an excellent option for small batch manufacturing, as well as for other applications.
Learn More
MetalFuse Cost-effective Metal Printing Made PossibleMetalfuse offers a complete solution, consisting of an indirect metal 3D printing process, paired with a special edition of ideaMaker compatible with MIM equipment. With this solution, Metalfuse’s advantages include low overhead costs and the ability to perform batch production. Metalfuse saves more energy and is more environmentally friendly when compared to processes such as CNC and SLM (Selective Laser Melting).
Learn More
Pro3 –
Agile Production Made Simple Professional Dual Extruder 3D printerA professional dual extruder 3D printer with user-friendly features for a better 3D printing experience and a larger build volume, making it an excellent option for production and multi-sized rapid prototyping.
Starting at $5,599.00
Buy Now Learn More
Pro3 Plus –
Agile Production Made Simple Professional Dual Extruder 3D Printer for Large PrintingA professional dual extruder 3D printer with user-friendly features for an easier 3D printing experience, and a large build volume making it well suited for large-scale production and multi-sized rapid prototyping.
Starting at $7,599.00
Buy Now Learn More
E2CF –
Carbon Fiber Printing Made Simple IDEX 3D Printer for Carbon Fiber PrintingAn IDEX 3D printer optimized for carbon fiber-reinforced filaments making the printer well suited for applications requiring parts with a high strength-to-weight ratio.
Starting at $4,499.00
Buy Now Learn More
E2 –
Precise, Reliable, Affordable Desktop 3D Printer with Dual ExtrudersAdvanced 3D printing capabilities for desktop engineering, schools, and small batch manufacturing.
Starting at $3,499.00
Buy Now Learn More
Pro2 –
Fully Enclosed, Industrial Grade Workhorse Dual Extruder 3D Printer with High ResolutionPrint complex parts, support a variety of filaments and improve print speed. Recognized as the benchmark and gold standard for serious 3D printing applications and 24/7 reliability.
Starting at $3,999.00
Buy Now Learn More
Pro2 Plus –
Fully Enclosed, Dual Extrusion, and More Large Format 3D Printer with a Large Build VolumeWhen big jobs call for big parts, professionals choose the award-winning Pro2 Plus. With high-resolution printing capabilities, the Pro2 Plus was manufactured to produce final-product printing quality.
Starting at $5,999. 00 Starting at $4,999.00
 Buy Now Learn More
Pro3 Pro3 Plus E2CF E2 Pro2 Pro2 Plus
Pro3 Pro3 Plus E2CF E2 Pro2 Pro2 Plus
Pro3 Pro3 Plus E2CF E2 Pro2 Pro2 Plus
Pro3
Starting at $5,599.00
Build Volume (W × D × H)
Single Extruder Print
11.8 × 11.8 × 11.8 in/ 300 × 300 × 300 mm
Dual Extruder Print
10 × 11.8 × 11.8 in/ 255 × 300 × 300 mm
Print Head System
Dual-head with electronic lifting system
Build Plate Leveling
Mesh-leveling with Flatness Detection
Supported Materials
PLA/ ABS/ HIPS/ PC/ TPU/ TPE/ PETG/ ASA/ PP/ PVA/ Nylon/ Glass Fiber Infused/ Carbon Fiber Infused/ Metal Fill/ Wood Fill
Connectivity
Wi-Fi, LAN, USB port, Live camera
Filter
HEPA filter with activated charcoal
Power Loss Recovery
Available
Pro3 Plus
Starting at $7,599. 00
00
Build Volume (W × D × H)
Single Extruder Print
11.8 × 11.8 × 23.8 in/ 300 × 300 × 605 mm
Dual Extruder Print
10 × 11.8 × 23.8 in/ 255 × 300 × 605 mm
Print Head System
Dual-head with electronic lifting system
Build Plate Leveling
Mesh-leveling with Flatness Detection
Supported Materials
PLA/ ABS/ HIPS/ PC/ TPU/ TPE/ PETG/ ASA/ PP/ PVA/ Nylon/ Glass Fiber Infused/ Carbon Fiber Infused/ Metal Fill/ Wood Fill
Connectivity
Wi-Fi, LAN, USB port, Live camera
Filter
HEPA filter with activated charcoal
Power Loss Recovery
Available
E2CF
Starting at $4,449.00
Build Volume (W × D × H)
Single Extruder Print
13 × 9.4 × 9.4 inch/ 330 × 240 × 240 mm
Dual Extruder Print
11. 6 × 9.4 × 9.4 inch/ 295 × 240 × 240 mm
Print Head System
IDEX Independent Dual Extruders
Build Plate Leveling
Mesh-leveling with Flatness Detection
Supported Materials
PA12 CF, PA12 CF Support (PPA CF, PPS CF and PET CF Coming soon)
Connectivity
Wi-Fi, LAN, USB port, Live camera
Filter
HEPA filter with activated charcoal
Power Loss Recovery
Available
E2
Starting at $3,499.00
Build Volume(WxDxH)
Single Extrusion Print
13 × 9.4 × 9.4 inch/ 330 × 240 × 240 mm
Dual Extrusion Print
11.6 × 9.4 × 9.4 inch/ 295 × 240 × 240 mm
Print Head System
IDEX Independent Dual Extruders
Build Plate Leveling
Mesh-leveling with Flatness Detection
Supported Materials
PLA/ ABS/ HIPS/ PC/ TPU/ TPE/ PETG/ ASA/ PP/ PVA/ Nylon/ Glass Fiber Infused/ Carbon Fiber Infused/ Metal Fill/ Wood Fill
Connectivity
Wi-Fi, LAN, USB port, Live camera
Filter
HEPA filter with activated charcoal
Power Loss Recovery
Available
Pro2
Starting at $3,999. 00
00
Build Volume(WxDxH)
Single Extrusion Print
12 × 12 × 11.8 inch/ 305 × 305 × 300 mm
Dual Extrusion Print
11 × 12 × 11.8 inch/ 280 × 305 × 300 mm
Print Head System
Dual-head with electronic lifting system
Build Plate Leveling
Pre-callbrated leveling
Supported Materials
PLA/ ABS/ HIPS/ PC/ TPU/ TPE/ PETG/ ASA/ PP/ PVA/ Nylon/ Glass Fiber Infused/ Carbon Fiber Infused/ Metal Fill/ Wood Fill
Connectivity
Wi-Fi, LAN, USB port, Live camera
Filter
HEPA filter with activated charcoal
Power Loss Recovery
Available
Pro2 Plus
Starting at $5,999.00
Build Volume(WxDxH)
Single Extrusion Print
12 × 12 × 23.8 inch/ 305 × 305 × 605 mm
Dual Extrusion Print
11 × 12 × 23.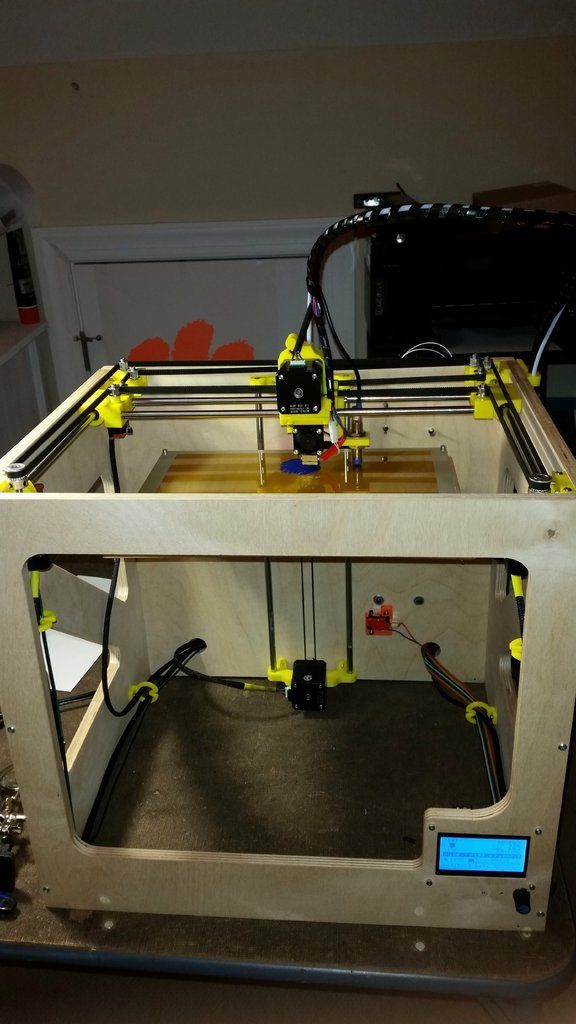 8 inch/ 280 × 305 × 605 mm
Print Head System
Dual-head with electronic lifting system
Build Plate Leveling
Pre-callbrated leveling
Supported Materials
PLA/ ABS/ HIPS/ PC/ TPU/ TPE/ PETG/ ASA/ PP/ PVA/ Nylon/ Glass Fiber Infused/ Carbon Fiber Infused/ Metal Fill/ Wood Fill
Connectivity
Wi-Fi, LAN, USB port, Live camera
Filter
HEPA filter with activated charcoal
Power Loss Recovery
Available
Filaments/ Spare Parts/ Certified 3rd Party Products
Beginner's Tips on Getting Started with a 3D Printer, Table Calibration and Slicer Setup
Despite the abundance of videos and articles, the information in them is scattered and it can be difficult for a novice 3D maker to understand such an abundance of facts. In fact, everything is not so difficult, at the first stages it is enough to deal with just a few important nuances.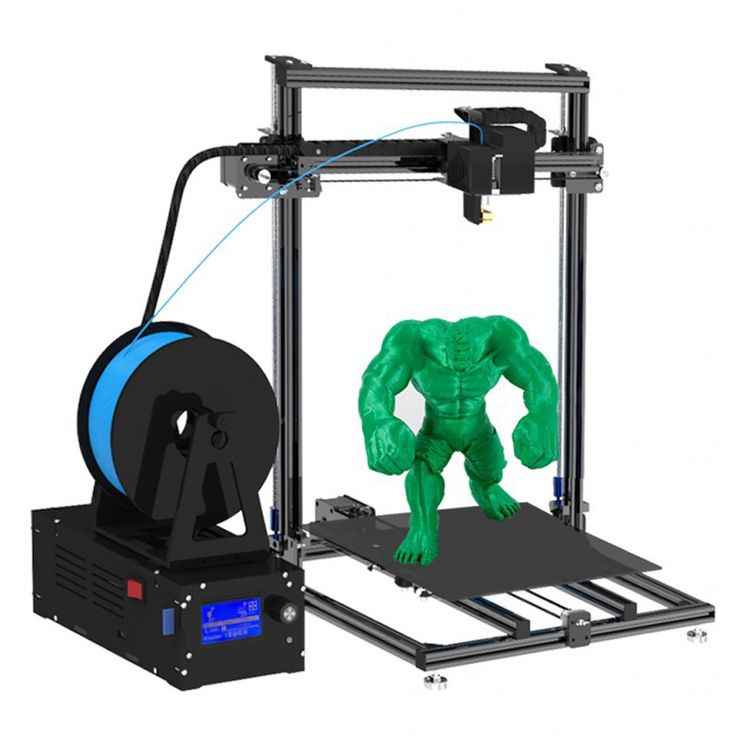
First use
Before using the printer for the first time, it is best to read the instructions. Each printer may have its own usage and settings. Some 3D printers are able to calibrate automatically, without user intervention, and some need to be configured manually.
If there was no paper instruction in the box, you can download it from the manufacturer's website. Some manufacturers stick a sticker on the box with a link to the current version of the instructions.
Before the first run, make sure all shipping locks are removed from the 3D printer. You can gently try to move the extruder along the axes with your hands to make sure that nothing interferes with its free movement.
Table calibration
The result of the entire operation of the printer depends on the calibration of the table. It is very disappointing to see that the model, after many hours of printing, came off the surface of the table and deformed or “moved out”. In order to prevent this from happening, it is necessary to correctly set the working plane and the gap between the table and the nozzle.
In many printers, manufacturers began to add an automatic print surface calibration sensor. A special sensor measures the distance from the table to the nozzle and makes a “map” of irregularities that are taken into account when printing.
Table auto-calibration sensor
There is a semi-automatic calibration. In this case, the printer, using a sensor, determines the distance to the table and tells you in which direction to turn the adjusting screw.
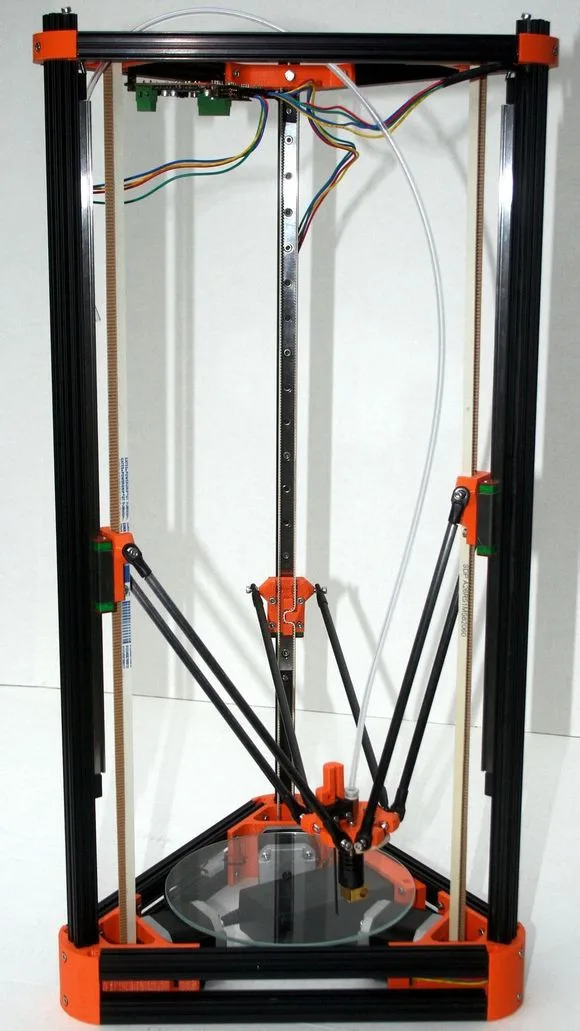
Here we will look at the manual calibration of the working surface of the most popular mechanics of FDM printers - Prusa, H-BOT, CoreXY, etc.
Table leveling
First you need to level the plane of the table. To do this, using the adjusting bolts, it is necessary to set the same distance between the table and the nozzle. Anything can be used as a probe, but it is better to take the probe recommended by the manufacturer (usually 0.1mm).
Table calibration
-
Heat up the table. The 3D printer table is made of a metal plate, when heated, the metal expands, so it is better to heat the table before calibrating.
-
Tighten the calibration screws as far as possible at the bottom of the print surface. This will help prevent the work surface from colliding with the nozzle in the next step.
-
Send table and extruder to zero position. Raise the table as high as possible or lower the extruder as far as possible with Prusa kinematics. This can be done from the menu with the HOME command. Make sure that the nozzle does not “crash” into the work surface.
-
Using the menu, move the nozzle so that it is above the calibration screw.
-
Place the probe between the work surface and the nozzle, use the screw to raise or lower the work surface so that the probe is firmly clamped.
 Repeat this for all table gauge bolts. There may be 3 or 4 of them.
 -
Move the extruder to the center of the table and use a feeler gauge to check the gap between the table and the nozzle. If the gap is the same as above the calibration bolts, then the plane is aligned correctly, if the gap is different, then it is worth repeating the calibration or checking the evenness of the printed surface.
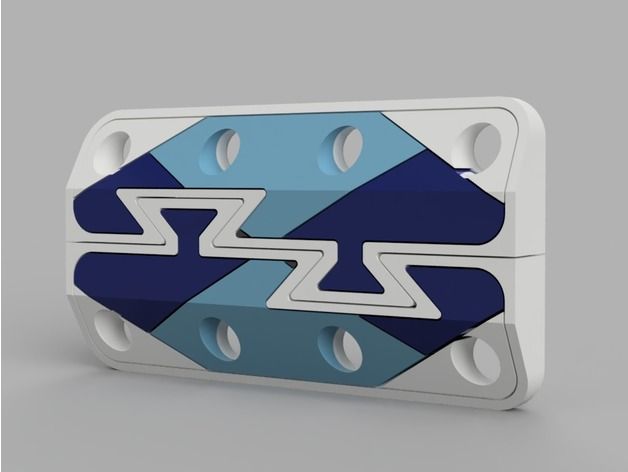
The square test can be used to check the uniformity of the table plane calibration.
Work surface flatness test
Depending on the size of the work surface, you can place test squares in different places.
Test squares on the printed surface 30x30 cm
For this test, you need to print several thin squares (1 layer thick) on the printed surface. Depending on how they are printed, you can see if the table plane is evenly calibrated.
Table for determining the correct calibration of the table and nozzle.
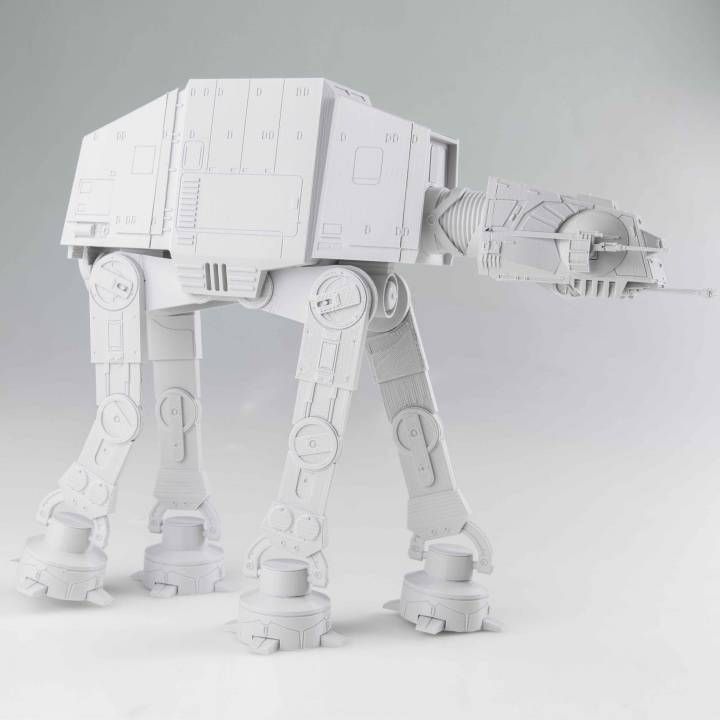
Sometimes the printed surface is a bit uneven on its own and there are some small depressions or bumps in some places. If it is not possible to change the working surface or there is no time to re-calibrate, you can try to print the model on the “raft”.
The raft is a thick substrate that is printed under the model. A thicker layer of plastic adheres better to the printed surface and “smoothes out” its bumps.
3D model printed on raft
Table to nozzle gap calibration
If a feeler gauge was used to align the work plane, which matches the required gap between the table and the nozzle, then the extruder does not need to be calibrated separately. If the printer has 2 extruders, then only the second extruder needs to be calibrated.
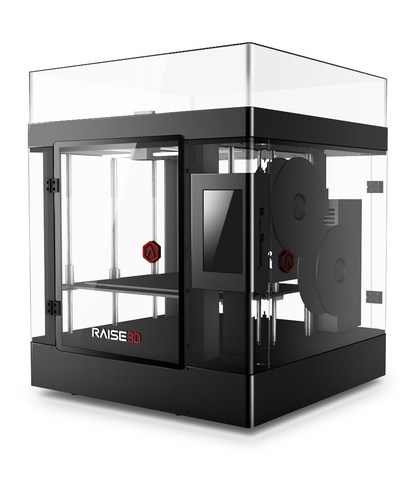
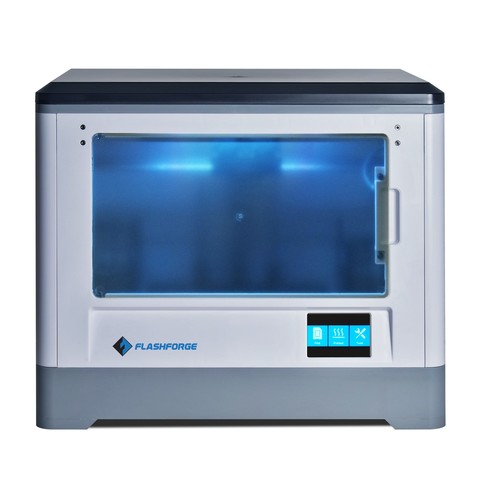
Some 3D printers, like the Raise 3D, come from the factory with a leveled bed, but it's a good idea to check the gap between the bed and the nozzle before printing.Settings may change during shipping.
-
Using the menu, you need to send the table and extruder to the zero position (HOME).
-
Using a feeler gauge, set the distance between the working surface and the nozzle recommended by the manufacturer (usually 0.1 mm). Some manufacturers recommend calibrating the nozzle “to the table” without clearance. The distance between the nozzle and the working surface can be adjusted by the calibration screw, which is located at the z-axis limit switch, programmatically or by the extruder.
-
If the printer has 2 extruders, then the calibration must be repeated with the second extruder.
-
It is necessary to heat the extruder to the melting temperature of the plastic filament. The temperature range is usually marked on the box or spool of plastic.
-
After heating the extruder to a predetermined temperature, depress the lever that presses the filament in the feeder and push the plastic into the extruder until it starts to flow from the nozzle.
-
If necessary, fix the pressure lever so that it firmly presses the filament against the feed gear. (If the lever is not spring-loaded and does not return to its original position).
After changing the nozzle, thermal barrier, table surface or moving the printer - it is necessary to check the gap calibration between the work surface and the nozzle, and sometimes the plane of the table.
Loading filament
After setting up the print platform, you can load the filament (plastic).
In some 3D printers, the plastic loading process is automated and starts from the menu.
After loading the filament, you need to push the plastic bar a little until the remnants of the old plastic come out of the nozzle.
Setting print options
In order to get a neat and accurate model of the insufficiently good mechanics of a 3D printer, it is important to properly prepare the model using a special slicer program.
Table and nozzle temperature
Perhaps the two most important parameters are the temperature of the nozzle and the working surface. These settings may affect other slicer settings.
Slicer CURA
Table temperature settings
A heated work surface is necessary for better adhesion of plastics with a high percentage of shrinkage, otherwise the part will simply come off the printed surface during printing. But due to too high a temperature, the lower layers can soften and deform under the weight of the growing model.
Depending on the surface of the table, the recommended temperature may vary. For example, if ABS is printed on a special substrate, the recommended table temperature is 100 degrees, and if glass with stationery glue is used as the work surface, the temperature should not be raised above 80 degrees.
Some manufacturers indicate the recommended table temperature on the box or on their website. But there are general temperature ranges that you can focus on.
-
PLA - 0 - 50 degrees. During printing, the plastic must be blown.
-
ABS - 80 - 90 degrees. Drafts should be avoided during printing.
-
Nylon - 80 - 90 degrees. Drafts should be avoided during printing.
-
Flex - 80 - 90 degrees. Drafts should be avoided during printing.
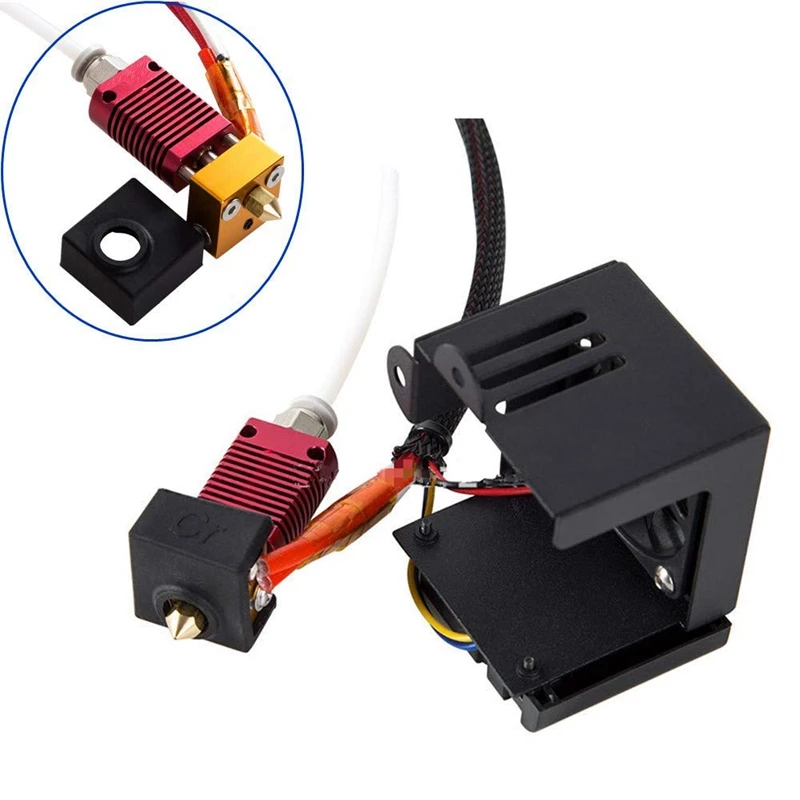
Nozzle temperature settings
The required temperature range is indicated by the manufacturer on the filament spool, but it is better to print a couple of small tests to determine the ideal temperature for a given filament.
After changing the nozzle to a nozzle with a different diameter or a significant increase in printing speed, it is necessary to slightly increase the temperature of the extruder. Due to the small “melt chamber”, the plastic may not have time to warm up to the desired temperature.
There are extruders with a large volume of "melting chamber" of plastic, but they are not suitable for every 3D printer and are designed to work with large diameter nozzles.
Conventional heating block and Vulcano block with enlarged “melting chamber”
Printed tests
To configure some slicer parameters, it is convenient to use special tests, rather than setting the settings at random. Some of the tests can be printed every time you change the spool of filament. For example, plastic from the same manufacturer, but with a different dye, may have slightly different temperature settings.
XYZ Cube
Printed cube
This is one of the most popular tests that can be used to evaluate the quality of the surface and the accuracy of the kinematics of a 3D printer (belt tension, number of steps per mm, etc.). You can download it here
Boat 3D Benchy
A small test boat that allows you to evaluate many 3D printer parameters and slicer settings. 3DBenchy has become so popular that enthusiasts have come up with various fun and practical accessories for it.
Parameters to pay attention to in the finished model
For two extruder printers, there is a boat that needs to be printed in two colors. You can download the model or find models of accessories for the finished boat here.
Boat for two-color printing
Simple temperature tower
Setting the correct print temperature is one of the most important factors in obtaining a strong model with a quality surface. Many factors can affect the fusibility of a plastic - the quality of the raw material, the addition of dyes, the speed of printing, the thickness of the layer, etc.
In order to understand how plastic behaves at different temperatures, enthusiasts came up with a simple test turret that prints at different temperatures at different heights. There are several types of these tests. Some have overhanging elements and “bridges”. You can download the test here.
Temperature tower with bridges and overhangs
Turrets
Retract Turrets
These small turrets allow you to fine-tune the retract in your slicer settings. Due to their small size, they print very quickly. You can download the model here.
Bridge printing test
Test Bridge
Some overhanging elements can be printed without supports, the slicer even has special settings for printing such “bridges”. To find the optimal parameters, you can use this small test model.
Surface overhang
Test model
A small test that allows you to understand how the plastic will behave when printing overhanging elements. With this test, you can configure support settings in the slicer. You can download the model here.
Test All-in-one
There are printed tests - all in one, but it can be difficult for a beginner to figure out which settings need to be adjusted. Therefore, to begin with, it is better to print simple tests, and with experience, you can use universal ones.
Printed test all in one
Model can be downloaded here
Common errors
Poor first coat adhesion
This is usually due to incorrect print surface calibration or poor adhesion of the first layer.
First you need to check the correct gap between the table and the nozzle. If necessary, calibrate the plane of the printed surface and the gap between the working surface and the nozzle.
To increase adhesion, you can use special adhesives that are applied to the printed surface. Check the correct temperature of the extruder, table and thickness of the first layer in the slicer settings. The higher the temperature of the extruder, the better the adhesion. The first layer is usually thicker than subsequent ones, because the thicker layer of plastic adheres better to the work surface.
Printer does not extrude plastic
If the printer stops extruding plastic and the feed mechanism starts to click, then most likely the problem is a clogged nozzle. The nozzle can be burned or cleaned, but in 3D printing nozzles are consumables and it is better to replace it immediately.
Plastic bubbles when printed
If the plastic bubbles when exiting the nozzle, then it must be dried. Some engineering plastics, such as nylon, need to be dried before each print.
Model is printed with errors
The slicer cannot always process the model correctly if it has errors. For example, inverted normals, internal walls, or the model is not closed. Such models need to be “cured” before printing.
Model printed with error
Some slicers are able to fix simple errors on their own, but if the slicer is powerless, you can use special programs designed to work with STL files. For example, Autodesk Netfabb allows you to fix model flaws with the click of a couple of buttons.
Repairing a Model with Autodesk Netfabb
Totals
Despite the fact that a 3D printer is essentially a CNC machine, manufacturers are trying to make it as easy as possible to work with it. There are many additional options that allow the novice user not to delve into the nuances of setting up and calibrating the printer, but to start printing right out of the box.
Most slicers are also simplified as much as possible for a more comfortable acquaintance with 3D printing. Universal profiles appear, in which the user only needs to specify the type of plastic and send the file for printing. And later, you can use the advanced settings menu for finer control of print settings.
How to calibrate the table correctly, and why the "paper" method doesn't really work
3D printing
would destroy the well-established myth that the level of the table must be adjusted using a sheet of paper.

Yes, I know that many people do this, and it even works for them - no, it doesn’t work, because physics is still a bitch. :)
everyone does this
To begin with, let's analyze what happens during the classic adjustment of the table level with a piece of paper: ) pressed a sheet of paper, repeated in all corners of the table.
what is wrong?
And it's not true that you hit zero on the Z axis!
A sheet of paper has a thickness of 0.15-0.25 mm (you measured it, didn’t you?), and by setting the level of the table in this way, you not only did it by eye, because the paper tends to sag under load, but also the gap between the nozzle and table made do not understand what.
what threatens?
And when the printer starts printing, say, with a layer of 0.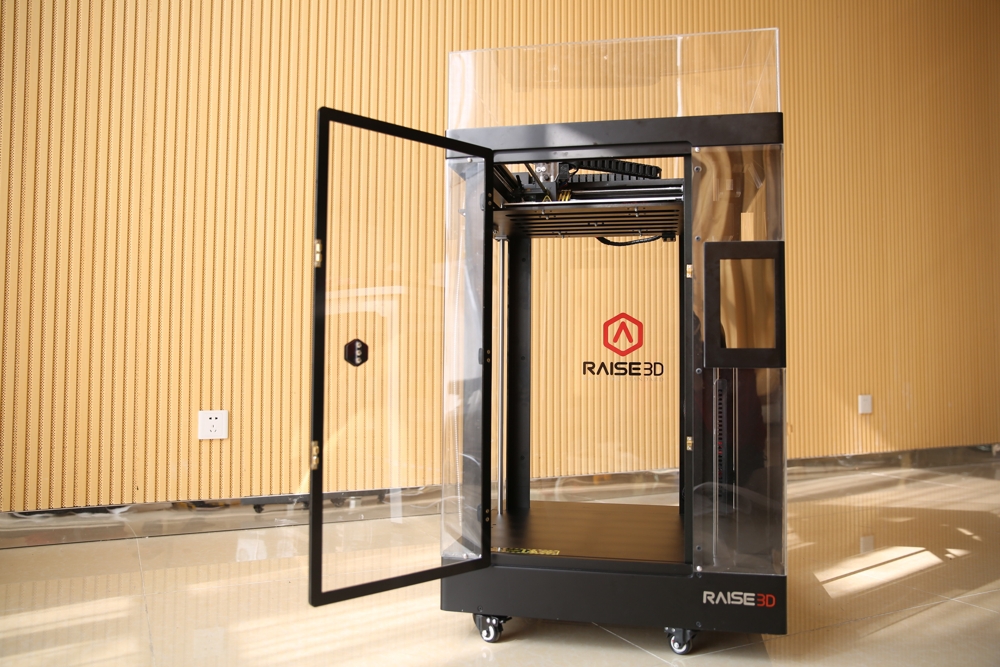 2 mm, it will start counting from your unrealistic zero, and instead of the distance between the nozzle and the table expected by the printer, it will get the layer height plus the thickness of the sheet of paper!
Hello dear delamination!
Now imagine printing with a layer of 0.15 or even 0.1 mm?
You will have a gap between the nozzle and the table three to four times the thickness of the layer!
Please don't create problems for yourself out of the blue. :)
Z-axis zero is zero - the nozzle touches the table! And nothing else is given!
how to set it up correctly?
- throw away the paper and buy a 0.2 mm probe (or a set of probes) in a car shop
- thickness of the probe
- align all four corners of the table with the thumbs so that the probe fits snugly into the gap between the nozzle and the table. Touched with its surface the lower part of the nozzle, but did not touch its side surface
That's it - the table is leveled and the actual zero on the Z axis matches the printer's expectation.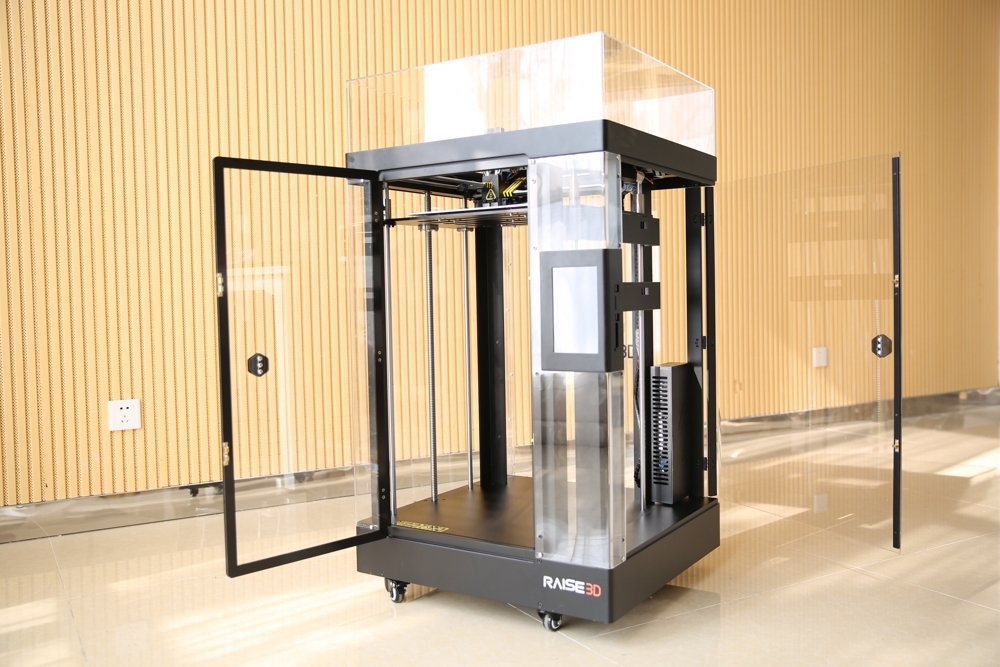
The plastic lays down as it should be, the adhesion improves dramatically.
What about the clearance? We need clearance! Doesn't work without it!!!111
Need a gap - make it for a specific print.
And that's all for me, I wish everyone a clean print. =)
Even more interesting articles
DrProg
Loading
11/08/2022
1331
9
Subscribe to the author
Subscribe
Don't want
We continue to reveal the incredible opportunities of enterprises from the Middle Kingdom, up to ...
Read more
0
Subscribe to the author
Subscribe
Don't want
Ones Technology is a research and development center under the Ministry of Industry of Turkey.