Rigidbot 3d printer price
RigidBot 3D Printer Review 2022
2.5
See Price
| Printing Area | 254 mm x 254 mm x 254 mm |
| Layer Resolution | 100 microns, 125 microns, and 254 microns |
| Supported Filament | PLA, ABS, Laywoo-D3, and Nylon |
| Filament Diameter | 1.75mm |
| Extruders | 1 |
| Extruders Diameter | 0.35 mm |
The story of the RigidBot 3D printer is as much a cautionary tale as an artifact from the heady days of the first commercially available home consumer printers.
Hot the heels of a phenomenally successful Kickstarter campaign that raised over $1 million, creator Michael Lundwall looked to offer budding makers with an affordable, quality product that was easy to use.
Marred by manufacturing issues, angered backers, and rising costs, the campaign barely managed to ship out all the promised units, culminating in Lundwall filing for bankruptcy after four years of toil and mismanagement.
Aside from the sad end to such a promising start, the RigidBot manages to remain a pioneer in today’s 3D printing landscape. So what exactly does the RigidBot offer? Let’s dive in.
Table of ContentsShow
Design and Features
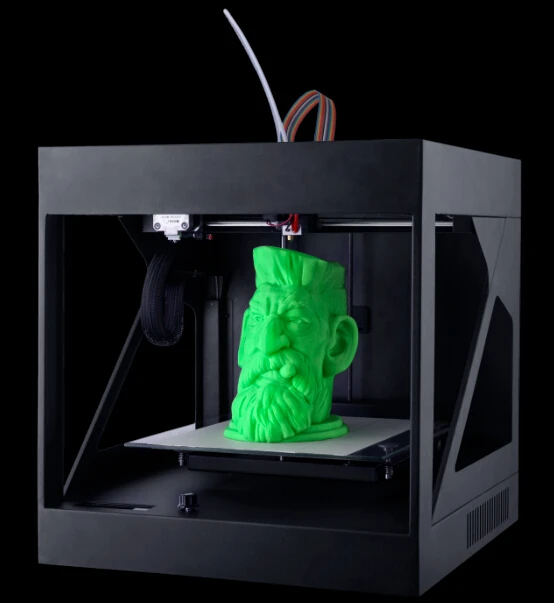
In keeping with its name, the RigidBot is a sturdy printer thanks in part to the robust frame made from steel frame rodes supported by injection molded corners and an acrylic build platform. The Rigidbot is among the most stable printers around and deserves praise for the simple, yet reliable build design.
In a twist on the usual setup of printers, the RigidBot is expandable through a set of injection molded plastic joints that allow the user to swap in and out steel bars of varying height to achieve their desired size on the X, Y, and Z axes. Said bars aren’t part of the shipped package, although they are readily available at any hardware store worthy of the name. The actual process is simple enough and involves unscrewing the existing rods and replacing them with the new ones.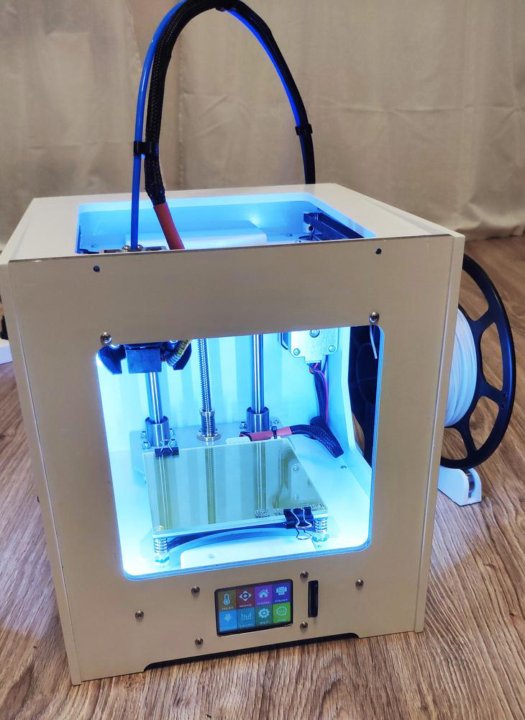
The aesthetics of the RigidBot aren’t anything to write home about by any stretch of the imagination. The design is minimal and functional with sharp angles and minimal embellishment all in a standard black color. We understand this lack of aesthetic appeal is linked to keeping the manufacturing costs down, but this sentences the Rigidbot 3D to a workshop rather than a home office.
The lack of protective casing means the RigidBot isn’t suited for educational contexts with younger users, which is surprising given this printer was often touted as a user-friendly, educational option. We would feel uncomfortable demoing prints in front of unversed crowds likely to unwittingly touch hot parts.
The Rigidbot 3D printer sticks to the Cartesian design with the XYZ supported by linear motion bearings. The stepper motors use 1.8 step angle with 1/6 micro-stepping with the X and Y axes managed by the extruder holding rods, while the build plate moves around on the Z axis.
The Rigidbot has a good build area of 254 mm x 254 mm x 254 mm.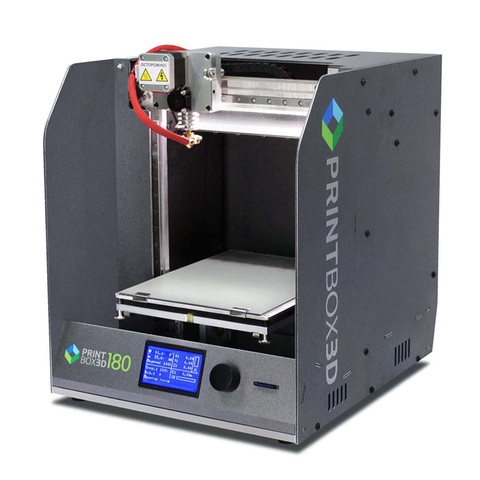 Layer resolutions vary from 100 microns at the highest speed setting, to 254 microns on the lowest, all using a 0.35 mm nozzle diameter.
The single extruder is of the direct drive variety and uses it uses Fused Filament Fabrication technology and ships with a heated bed (that can reach up to 100-degrees centigrade and displays a cluster of positioned red LED when in use) while the build plate itself is a standard aluminum build. Interestingly there’s scope for a dual extruder upgrade with the existing hardware already in place – a vestige of a Kickstarter pledge category that included dual extruders.
Filament wise, the Rigidbot uses standard fare 1.75 mm diameter filament and supports PLA, ABS, Laywoo-D3, and Nylon. It tends to work best with PLA, but we’ve had reasonable results with other materials.
The Rigidbot covers connectivity reasonably well with a USB port for untethered printing as well as a USB connection to a PC. As an open-source printer, it supports all manner of slicing software including Cura, Pronterface, and Slic3r.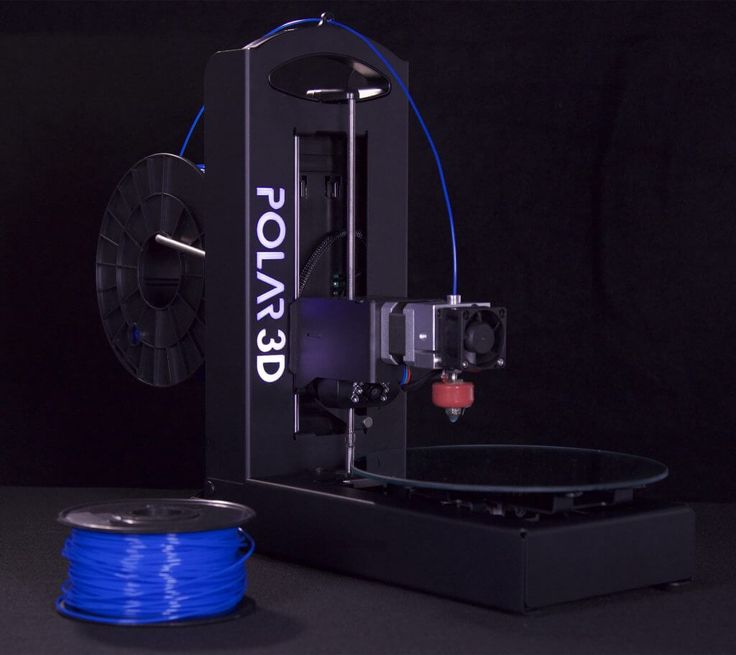 It can also read STL, Obj, GCode files. It’s the usual process of slicing in software, transfer to USB, plugging the flash drive into the printer, choosing the file and triggering the print.
An affixed LCD control panel manages on-printer controls with five button controls to navigate, which we found to be responsive and useful listing barebones information (temperature, X, Y, Z calibration details, and instructions), but more than enough for functional use.
Assembly
The RigidBot 3D printer is shipped in both a kit and assembled format. In kit form, the package includes all the parts including any add-ons linked to stretch goals on Kickstarter. Chances are if you are buying it now, you’ll get it second hand so what comes in the box is a matter of luck. Those that received them during the campaign did, however, complain about missing hardware, so be wary that there is a risk.
The printer is packaged well with ample amounts of styrofoam for transit protection. The components and accessories are organized in trays of protective styrofoam cutouts that protect each part separately – a nice tough that suggests some logistical foresight.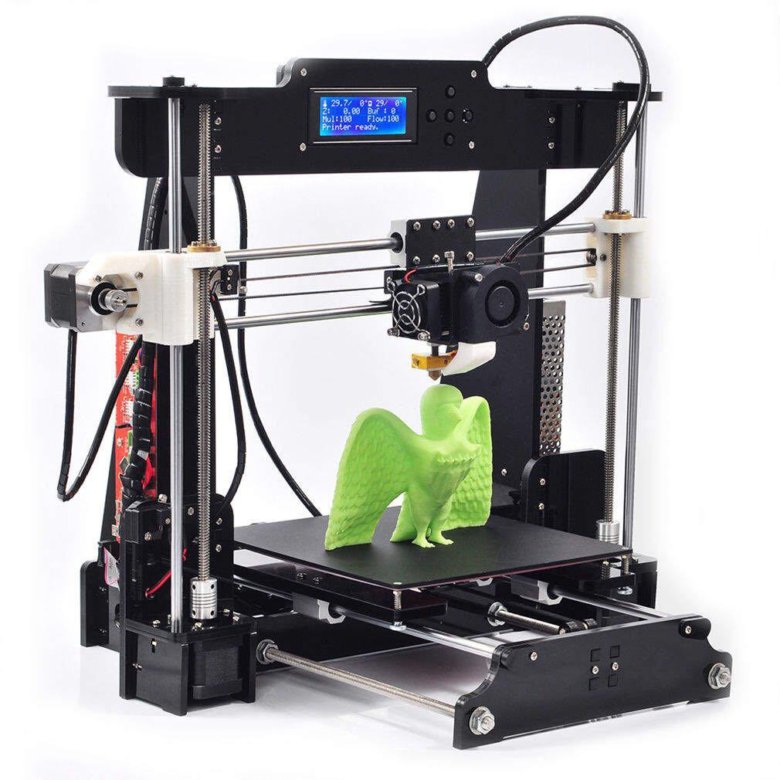
Our model was of the pre-assembled variety and once out of the box required calibration work. Plug in the PSU, switch to the correct voltage and then connect the USB cable. As a tinkerer’s dream, the mechanical setup of the RigidBot isn’t straight forward. It involves tightening axes screws, limiting axes, and leveling the build plate.
The calibration is manual and involves tweaking a set of leveling screws on each of the four corners of the bed. From there, it’s a frustrating game of back and forth between the edges trying to level the bed by eye.
First timers will suffer while veterans should find it arduous, but not overly complicated. At this point, we strongly wished the RigidBot had an auto-calibration feature. Note that once the bed is leveled, it is pretty hard to dislodge and stays perfectly in place, so there’s a silver lining.
Next, you’ll need to feed the spool through the thin steel rod that is called a spool holder, but which we feel is grossly insufficient and prone to movement.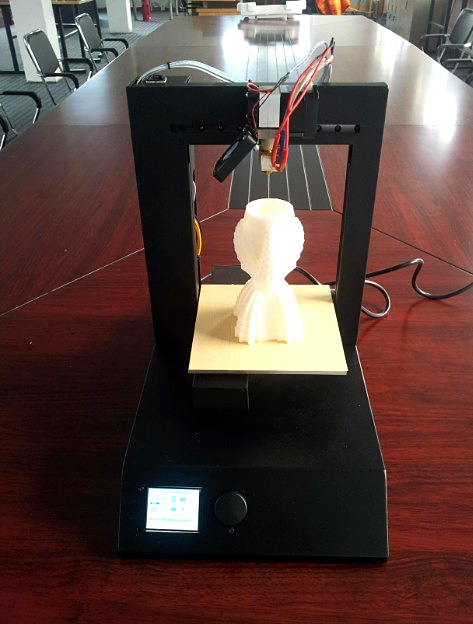 Then, you’ll have to feed the filament into the top of the extruder by pushing down on the gear release switch. Feeding the filament is surprisingly simple and easy to do.
From here, we can begin printing.
Printing
Belying its price and build, the RigidBot consistently produces quality prints even at fast speeds, although slower speeds produce better prints as is the case with any printer. We did encounter the occasional issue with layering mishaps, but these tend to be few and far between.
Overall, the RigidBot is versatile from small detailed prints to larger decorative pieces. The build area is a bit of a double-edged sword: ABS prints were prone to warping especially on the base, while PLA worked well time after time.
We also recommend using blue painter’s tape every time. Without out it removing finished prints involves more force than we were comfortable using especially for more intricate projects. There was always a sense that we could sentence 25 hours of work to the trash can with one false move.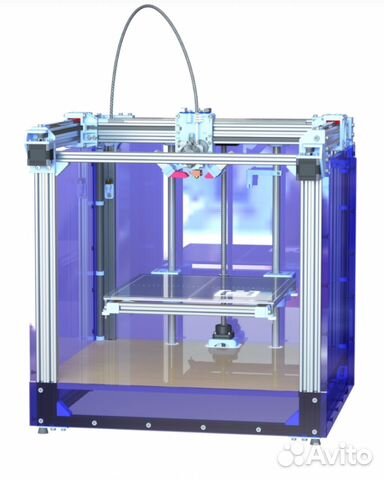
Our biggest gripe with the RigidBot is the straight up awful and dangerous power supply unit. We won’t mash our words, it’s a fire hazard, and though we didn’t experience this first hand, the internet is littered with horror stories of these PSUs catching fire unexpectedly.
The power supply unit is a mess of cost-cutting oversights with shoddy soldering, botched circuity, and low-quality components. There’s a shot circuit disaster lurking around every corner. Besides, it’s overpowered for the printer. Invest in a replacement PSU as soon as you can.
Support
Given that the RigidBot 3D printer is no longer produced and the company behind it is now defunct, there is no official, sanctioned assistance. The RigidBot website is also offline so what used to house a host of tutorial videos and articles is now empty.
There remains, however, an active community of RigidBot enthusiasts who are more than happy to provide a helping hand to first timers, as well as advice and access to official documentation. Invent-A-Part, a company associated with the RigidBot also has a few instructional videos on YouTube about the printer, which can be helpful, and also sells replacement parts.
When buying the RigidBot, more than likely second hand, you are taking somewhat of a risk. As such, we highly recommend picking it up for a low price to balance out the potential for a dud project and the cost of upgrades.
Verdict
Due to its age, the RigidBot is beginning to feel outdated with numerous improvements in both component technology, design, and functionality making the printer feel somewhat obsolete.
With that said, the RigidBot remains a highly customizable printer that cries out for modification. The near modular design means replacing and upgrading parts is relatively easy and encouraged.
The print quality isn’t in question: it performed well particularly if we consider the low price. The only real technical gripes were the PSU, the low-quality spool holder, the absence of parts that a selection of users experienced, and the sense that some of the hardware was manufactured with the sole aim of cutting down on manufacturing costs.
In many ways, the RigidBot is an ideal skeleton printer for a tinkerer that wants a strong starting block for an involved, mod-heavy project. The RigidBot offers the perfect foundations to build a stellar kit-style printer.
First timers might struggle with the intrinsic tinkering (and tricky leveling demands) involved in using this printer, and we can’t recommend it in that respect.
3D Printers – My Rigidbot Review
Posted on by admin • 0 Comments
I was looking at purchasing a 3D printer for our household for a few reasons. Reason 1: I wanted to be able to create parts from scratch. Reason 2: I want to be able to bring this to my kids schools and lead a class or two about 3d printers.
I purchased a 3D printer in April of 2014. There were quite a number to choose from, but I ended up buying one from a company that started a kickstarter campaign for their 3D printer called the Rigidbot ($599). I compared it to Makerbot (too expensive), the Phoenix 3D kickstarter, and others. There were specific things that I liked about this specific printer, the Rigidbot.
The Phoenix 3D printer had a couple of things going for it, and I actually ordered it but ended up cancelling the order. The 2 major benefits of this printer were the cost ($399) and the software. They have special software that allows you to rewind the printing and go back to a certain step to continue from there. No other printer has this feature. These 2 reasons are why I ordered this printer.
I ended up cancelling this printer for one very specific reason, durability. They were updating their kickstarter with updates on how they were having problems getting the printer shipped without breaking. I wanted something more robust. Even though I would be giving up the “rewind” feature, structural integrity won out.
The Rigidbot printer had one major feature over the rest of the printers: structural integrity. It is a large box frame. I ordered this post kick-starter (like the other printer) in April of 2014. I ended up receiving the printer after several delays, on my birthday August 15, 2014. Only 4 months to what was supposed to be 6 weeks. That’s ok as this is a new industry and many kickstarter projects are having lots of problems delivering. In fact, I can’t tell if the Phoenix has actually delivered (as of December 2014).
Now that I’ve had the Rigidbot for 6 months, how has it been? Well, there are lots of reports of various parts that are not up to snuff, such as the power supply being a fire hazard, the electronics board going out, cables that are underrated and pose a fire hazard, and a couple of other smaller issues. I’ve customized my Rigidbot to head off some of these problems: replaced power supply with a Meanwell 24v 450W supply, plan on replacing the main board, plan on replacing the heated bed wiring. The rest of the printer just works, even the original extruder. I’ve had some failed prints, but no mechanical or electrical failures yet.
My total cost so far is: $600+60+70 or approximately $750, not including any filament. I have about 10 rolls of filament and they are about $15-25 each depending on the brand.
Updates that I’ve done:
- Internally routed stepper wires to make things neater and cleaner
- Replaced the original power supply (rigidbrick) with a Meanwell SE-450-24 (about $60)
- Mounted power supply under the bed and inside the frame (about $10 in parts)
- Graphics LCD control panel that also allows me to print from SD cards (about $30)
- 12v LED Lighting run off the 24v power supply (about $10)
- Emergency Stop button on the front panel (about $10)
- Direct wire of the power supply bypassing the unreliable Kycon connector on the main board using XT60 connectors (about $10)
Upcoming modifications:
- I purchased a Cyclops hot-end, which allows me to use 2 different color filaments at the same time. I can’t wait to get this up and running.
 This is my first priority, and it requires that I purchase 2 bowden extruders to feed the filament.I am planning on using a modified airtripper extruder to handle the cold-end side of things.
 - Along with the dual extrusion, I want to replace the proprietary main board with a RAMPS 1.4 solution. This is the controller that is used for many 3d printers, and gives me standard wiring and standard open-source firmware. Both of these are an advantage to the proprietary Rigidboard.
- Another modification is to somehow enclose the Rigidbot. I would like to add panels to all the sides of it so that I can filter the air inside it better.
- I decided not to use the Cyclops hotend for dual extrusion. I’m heading along the path of dual e3d hotends. I have purchased 2 e3d lite hotends ($35 each) and will use Peter Stoneham’s dual e3d mount kit.
For Beginners
If you are thinking of purchasing a 3D printer, I would suggest getting stared with one of the following. I cannot recommend the Rigidbot as it has too many proprietary pieces that are poorly constructed. The Rigidbot frame kit may be just fine because you wouldn’t be using the proprietary board nor power supply that they spec.
Under $500:
- $349 – Printrbot.com Simple Maker’s Kit has a 4x4x4 build volume.
$500 – $1000:
- $599 – Printerbot.com Simple Metal Assembled has a 6x6x6 build volume.
- $999 – Dremel Idea Builder 3D Printer
$1000-2000:
- Printerbot.com Metal Plus Assembled has a 10x10x10 build volume.
- Flashforge Creator Pro Dual Extruder has an 8x6x6 build volume
- Ultimaker 2 has about a 9x9x8 build volume.
Filed Under: 3D printers
- Search
-
email Subscribe
Leave This Blank:Leave This Blank Too:Do Not Change This:Your email:
-
Ecology
- Far Too Much Info
-
Eye Health
- Clear Vision
-
Health
- Far Too Much Info
- Mark's Daily Apple
- Nerd Fitness
-
Real Food
- 100 Days of Real Food
- Bruce Bradley
- Cheeseslave
- Deliciously Organic
- Eating Rules
- Food Babe
- Food Renegade
- Fooducate
- Green Lemonade
- Mark's Daily Apple
- Nourished Kitchen
- Raw Family
- Reboot With Joe
- Stop Killing My Kids
- What Is That Ingredient?
- What's In This Stuff
- What's on my Food?
- Whole Health Source
- World's Healthiest Foods
-
What I’m Reading
-
About
I am a Father, a Techie, a Photographer, and more.
 Recently I've changed our family's way of eating. We've cut out almost all of the processed foods, and are eating much heathier. Explore this site and read on!
How to calculate the cost of printing on a 3D printer
For some ideas, 3D printing is the fastest and easiest solution. In some situations, purchasing your own 3D printer can be a good solution, but sometimes it is much more profitable and faster to order the necessary product from a company specializing in 3D printing. Yes, and many owners of a 3D printer are thinking about how to “monetize” their hobby, but how to correctly calculate their costs?
Despite the fact that it is customary to indicate the price per gram of working material, simply multiplying the weight of the model by the cost of 1 gram will be wrong. In addition to the cost of consumables, many more, at first glance, non-obvious costs are added to the price of the product.
Each 3D printing technology uses its own consumables.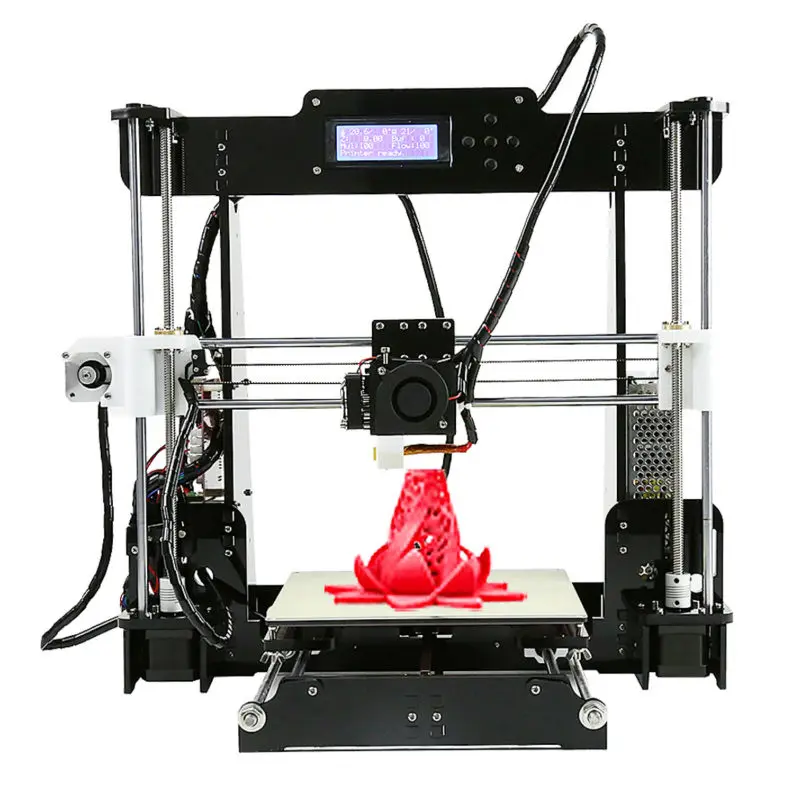 Let's analyze the most popular and affordable of them.
Available technologies and key differences
Currently, a huge number of 3D devices have appeared, from small desktop ones that fit on the desktop to huge industrial machines. Among the most affordable, 2 technologies can be distinguished - FDM and photopolymer printers (LCD / DLP / SLA).
FDM 3D printing
Today, the most affordable 3D printing technology is FDM. A variety of materials and 3D printers allow FDM to be applied to a wide range of applications.
Schematic operation of FDM printer
A large selection makes it easy to choose a 3D printer for a specific task or find a universal device.
The material for printing is a plastic thread - filament. On the market you can find filament for various tasks, for every “taste” and budget. These can be very inexpensive ABS and PLA plastics or specific ones - conductive, burnable, etc.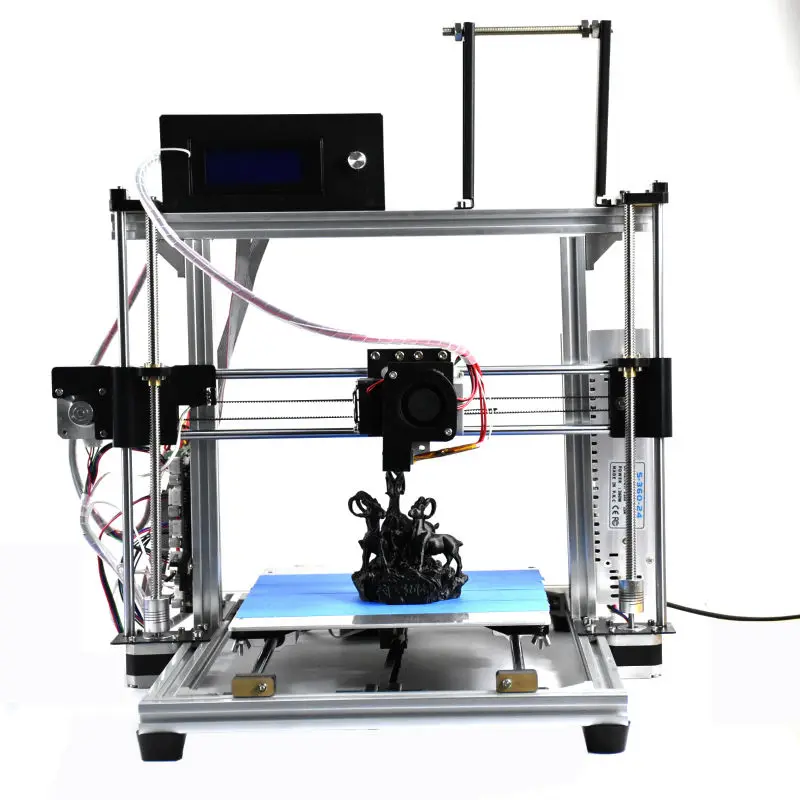
Pros:
Cons:
Despite the fact that FDM allows you to print a wide range of plastics with different properties, the technology has some limitations. For example, it is impossible to obtain a perfectly smooth surface, to produce miniature and very thin elements, or to produce parts with very complex internal geometry with high accuracy.
Photopolymer printing
Photopolymer printers can work on one of 3 technologies - SLA, DLP or LCD. These devices will come to the rescue if you need to make a small but very detailed model with many small details.
How photopolymer printers work
As a consumable material, a photopolymer resin hardened by UV radiation is used. Now there is a wide variety of photopolymer resins for every taste. From particularly strong and precise engineering or jewelry resins to soft flexes.
Pros:
-
High print precision
-
Good surface quality
-
A wide variety of printers and consumables
Minuses:
Photopolymer printers have shown themselves well in a variety of industries that require a perfectly smooth surface and high accuracy.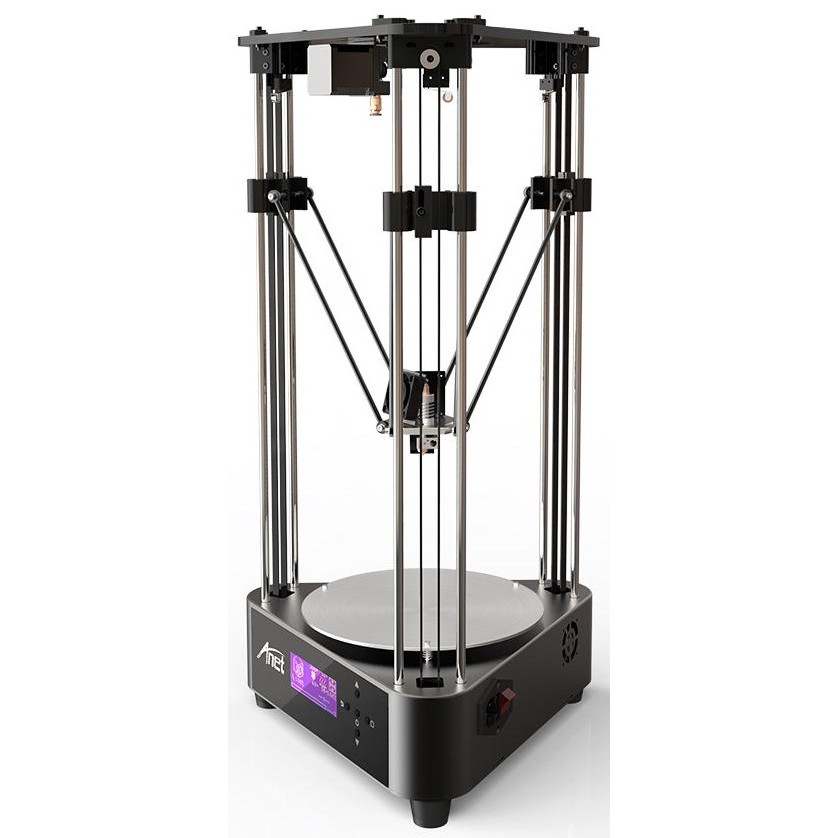 They are used in dentistry, the jewelry industry, for making miniature master models for casting, and much more.
Industrial printers
These are already industrial machines, which require a separate room and sometimes certain requirements for ventilation, etc. In this article, we will not analyze these devices in detail, but briefly consider the most popular technologies.
FDM
In addition to desktop devices using FDM technology, industrial printers that work on the same principle are common.
This category includes devices with a large print area (from 30x30x30 cm and more). For example, Raise Pro2 with a print area of 30x30x30 cm.
Raise Pro2
Or machines designed for printing with refractory materials (eg PEEK). Such 3D printers usually have an active thermal chamber, and the extruder can be heated above 400 degrees.
CreatBot F160-PEEK designed to work with refractory plastics
Photopolymer printers
Industrial photopolymer devices usually have a much larger working area, compared to their "home" brothers.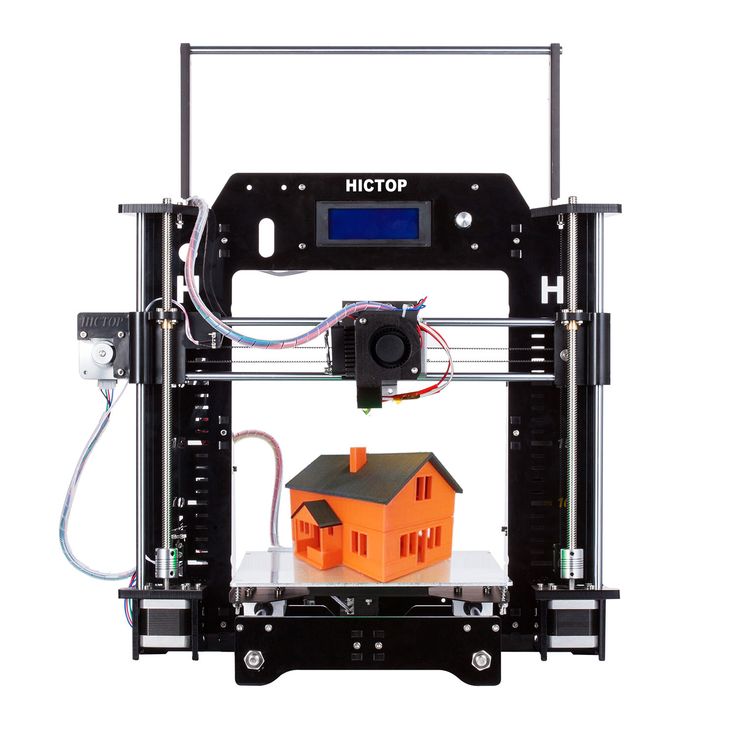 In addition, many processes have been optimized and automated for faster operation. On such printers, you can quickly and accurately produce a small batch of models, a large prototype or a master model.
Prismlab Large Area Industrial Resin Printer Family
3DP
3DP - Three-Dimensional Printing (translated as three-dimensional printing) is a logical continuation of conventional two-dimensional printers. Printing is done using nozzles that selectively apply a binder to the material (usually gypsum). A dye can be added to the binder and the model will be colored.
Colored plaster model
Since the plaster model is fragile, a similar principle is used for printing with metals. Only the finished product needs to be treated in an oven to remove the binder and improve strength. But despite the processing, such metal prints will still be inferior in strength to cast products.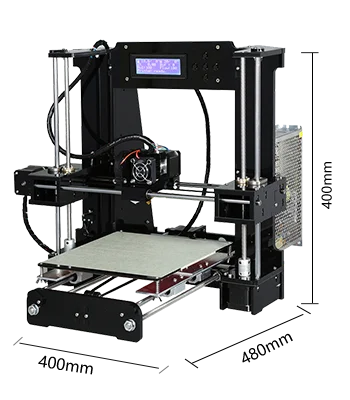
MJM
This is a proprietary technology of 3D Systems. MJM is a mix of FDM, 3DP and sometimes SLA (depending on material chosen). Printing is done using a variety of small nozzles (from 96 to 488) located on the head of the machine. The accuracy and quality of the surface of models made in this way is in no way inferior to photopolymer printers.
Models made with MJM technology
Such devices can work with photopolymer resins, wax or thermoplastics. You can combine several materials at once - for example, for complex models, you can use wax as a support.
SLM
SLM is the layer-by-layer sintering of metal powder using a powerful laser. There are several similar technologies - SHS/SLS. The principle of operation is the same, only a thermal print head is used instead of a laser beam.
SLM Turbine
As a material for printing, you can use powders of various metals - gold, stainless steel, aluminum, various alloys, etc.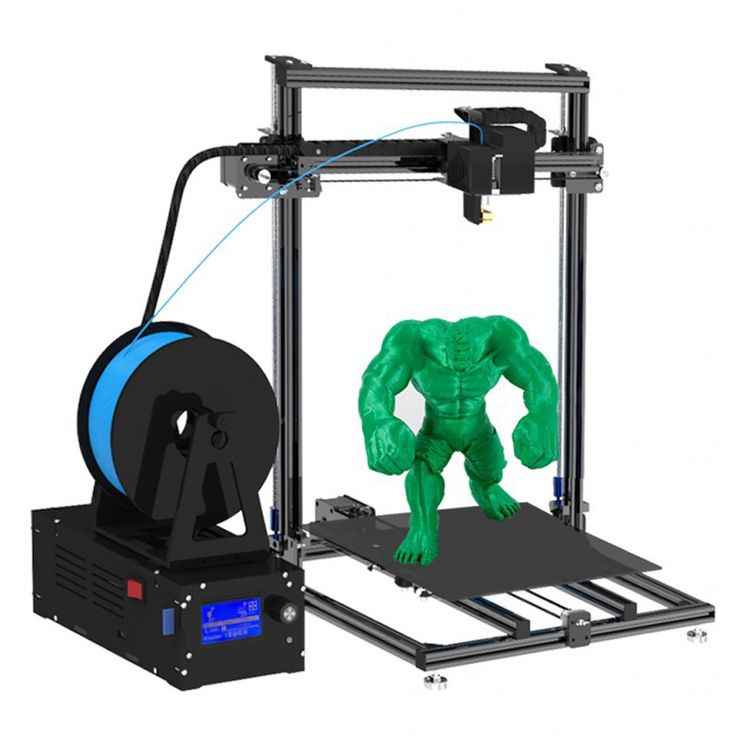
During printing, the working chamber is filled with an inert gas to prevent oxidation of metals. This allows printing even with titanium powder.
Models made by this method are in no way inferior, and sometimes even superior, to cast products. SLM allows you to produce models with complex internal geometry that cannot be produced by another method (casting or milling).
Cost of 3D printing
The cost of a model usually consists of several factors.
-
Equipment depreciation. The printer, like any machine, requires maintenance and periodic replacement of some parts. During operation, belts gradually stretch, bushings or linear bearings wear out. For example, when bushings or linear bearings are worn; shafts may wear out and need to be replaced.
Cost of materials
The main cost item for a 3D printer is, of course, the printed material.;
FDM (plastic filament)
Since FDM technology is by far the most common, the choice of filaments is very diverse.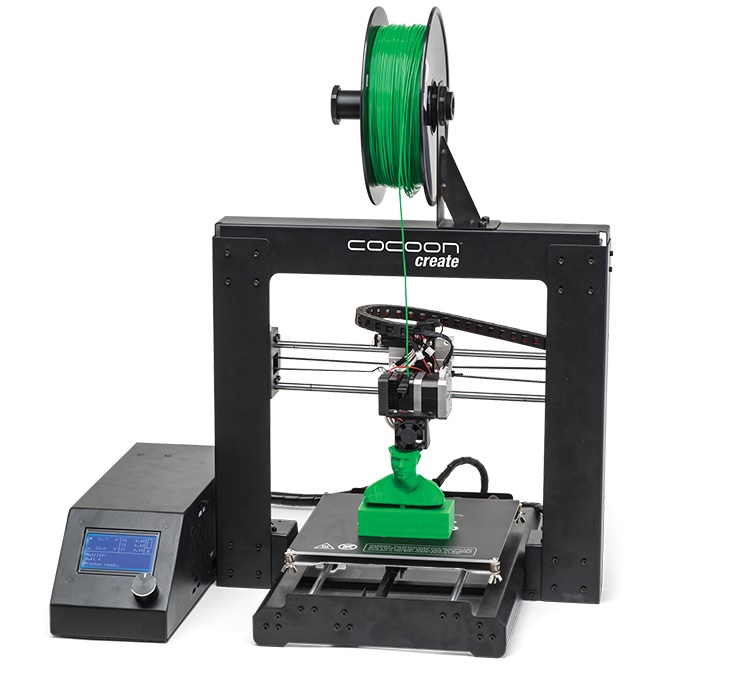
-
Engineering plastics are usually nylon with various fillers added to improve the physical characteristics of the finished model. Special cost. plastics starts from 2000r per coil and above. It all depends on the manufacturer and filler (carbon fiber, fiberglass, etc.).
-
Decorative plastics are used to imitate various materials. Plastic can simply be unusually colored (luminous, transparent plastics) or a special filler is added to it (plastics with metal powder). The cost of decorative plastics starts from 1500 rubles per coil and more, depending on the filler.
A big advantage of FDM is the diverse choice of materials to work with. This allows, having one printer, to produce almost any product - from a child's toy to a complex engineering prototype.
Photopolymers (resin)
Photopolymer resin printing technology is becoming more and more accessible. There are many different resins.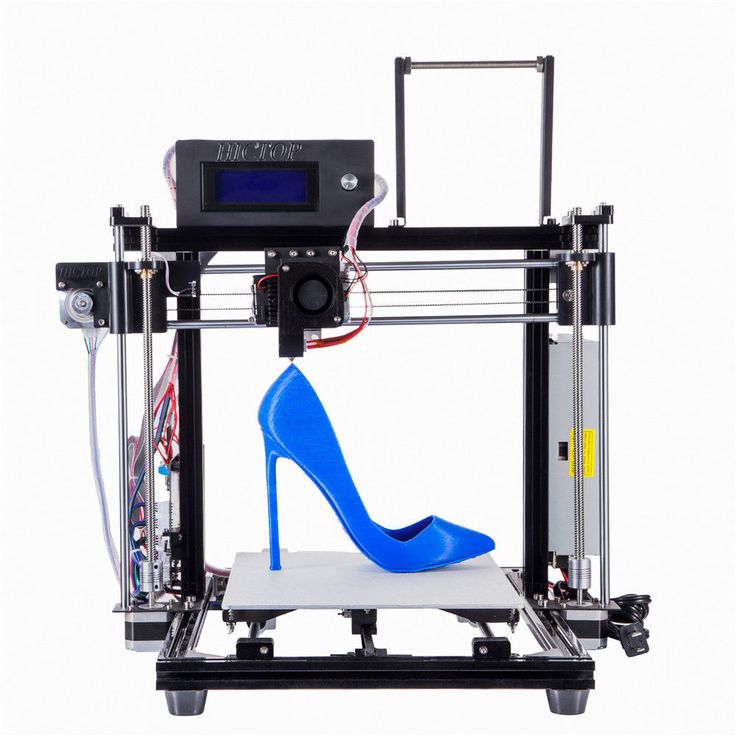
-
The cost of ordinary colored resin starts from 2500 rubles per 0.5 kg (volume +/- 0.5 l). You can find a smaller volume of resin (250 gr) on sale. You can buy several different resins in small containers and find out in practice which one is best for a particular model.
-
Engineering resins are resins with increased strength. They can be used not only for printing decorative items, but also for making functional prototypes and models. The cost for 0.5 kg starts from 5900r and above.
-
Special resins - burnable, dental, soft flexes, etc. Depending on the resin, the price for 0.5 kg can start from 4800 rubles and more. It all depends on the characteristics of the resin.
Photopolymer resins have not yet reached such a variety as FDM filaments, but they are surely catching up. Although due to the fact that a liter of resin costs significantly more than a spool of filament, the cost of the product is much higher.
Print examples
FDM
Mag Pull (quick release loop) for G3 magazines.
The model was downloaded for free from an open source (the file can be downloaded here). Printing with engineering carbon-filled plastic (price per spool from 4700 rubles). The weight of the model with support is about 25 grams. Post-processing was not needed. The cost of the finished model is 250 rubles.
Plastic fastener
The file was downloaded from an open source (can be downloaded here). Plastic - carbon-filled nylon (price per coil from 4700r). The weight of the finished product is about 20 grams. Print without post-processing. The total cost is 200 rubles.
Model watch
The model is modeled to order (the cost of modeling is from 1000 rubles). The product is printed on an industrial printer using soluble support. Print without post-processing. The cost of the finished product - from 700 rubles per piece (depends on the number of required products).
Traction prosthesis
The model is taken from an open source (you can download the modified version of the prosthesis here). The weight of the used material is about 600 gr, printed with ABS plastic (the cost of the coil is from 800 r). After printing, post-processing and assembly took place. The total cost of the product - from 3000 r (depends on the print material, support material, filling, etc.).
Pedal layout
Production of a 3D model according to the drawing (from 1000 r). The weight of the finished model is about 200 gr. The product was printed with engineering carbon-filled plastic (the cost of the coil is from 4700 r). Post-processing was not needed. The cost of the finished product is about 3000 rubles.
Photopolymer printers
Model jaws for crowns
Files for printing were obtained using a 3D scanner and finalized in a 3D editor (the cost of scanning is from 3000 r, the cost of manual revision is from 1000 r). Printing on an industrial photopolymer printer. Post-processing is not needed. The cost of the finished product is from 80 r per gram.
Burnout resin rings
The model is made to order. Printing on a desktop SLA printer with a burnable polymer. Post-processing is not needed. The cost of the finished product is 200 rubles per product.
Miniatures
The models were bought on the myminifactory website (the cost of the model is from $2). Made with a desktop DLP printer. Post-processing was not required. The cost of the finished figurine is from 70 r per gram.
Custom 3D printing
Many owners of 3D printers are thinking about monetizing their hobby. But you should understand that the price of 3D printing “for yourself” and the price of commercial printing are very different.
When starting to print to order, it is better to have several printers working on different technologies.
Cost of commercial 3D printing
In addition to the cost of the model, to the commercial production of products, you can add:
-
Modeling. Often the client needs not only to make a part, but to pre-model it. It can be a simple cogwheel that doesn't take long to model, or it can be a complex sculpture that takes more time to model than it does to make.
-
Model post-processing. This can be simply the removal of supports, with cleaning of the place of their contact with the product, or a complete processing cycle (puttying, surface grinding, painting, etc.).
It should be borne in mind that it is not always possible to print the model the first time. Sometimes it may take several attempts. And these are additional costs.
What is unprofitable to print
Despite the wide possibilities of 3D printing, there are models that are unprofitable to make on a 3D printer. For such models, it is better to use other manufacturing methods.
Commercial print examples
Jewelry for further casting
Manufacture of promotional items and souvenirs
Piece miniatures or master model for further casting
3D printed model
Profitable to print on a 3D printer:
-
If the item is only sold as an assembly. For example, a small gear broke in the mechanism, but the mechanism is sold only “assembly”. It is much cheaper to make the desired gear on a 3D printer than to buy the entire mechanism.
-
A small batch of parts. Small batches, especially models with complex geometry, are more profitable to produce on a 3D printer than by casting or other methods.
Totals
If you need several models or a small project, sometimes it will be more expedient to outsource manufacturing. After all, in addition to buying equipment and materials, you will have to understand the nuances of the settings and the characteristics of various materials.
Buying a 3D printer for commercial use is justified if you can fully load it with work or then it can be used for other purposes.
To print to order, you need to have several printers working on different technologies. It is better to get several devices with a smaller print area than to buy just one printer, albeit with a large working area.
How much does a 3D printer cost?
3D printing is a one-stop solution for a wide range of applications, from high-resolution model production to rapid prototyping, rapid tooling for traditional manufacturing processes, production of aids and end-use models.
However, when you consider investing in a 3D printer, the viability of a solution usually boils down to a simple question: Is it cost-effective for your business? How much does a 3D printer cost and how much time and money can it save your business?
3D printer prices range from $200 to $500,000 depending on the printing process, materials, and complexity of the solution.
In this guide, we'll break down 3D printing costs by technology, compare outsourcing versus in-house manufacturing, list factors to consider when calculating the cost of each model, and look at what else to look for when comparing different solutions. for 3D printing and other production methods.
Interactive
This interactive ROI tool will help you find out how much time and money you can save by 3D printing with a Formlabs 3D printer.
Calculate Your Costs
The three best-known plastic 3D printing technologies today are Fused Deposition Modeling (FDM), Stereolithography (SLA), and Selective Laser Sintering (SLS).
Each technology has its advantages and disadvantages - take a look at the infographic:
Download this high resolution infographic here. Interested in learning more about FDM, SLA and SLS 3D printing technologies? Check out our detailed guide.
Prices for 3D printers have dropped significantly in recent years, and today all three technologies are available in compact, low cost systems.
FDM generally produces models at a lower cost if you only print relatively simple prototypes in limited quantities. SLA technology offers higher resolution and quality, as well as a wide choice of 3D printing materials at a slightly higher price. But this difference is quickly offset when you print complex designs or larger batches due to the less labor-intensive post-processing process. Finally, SLS technology is the most cost effective for medium to high volume production of high quality functional models.
Comparing the total cost of different 3D printers by price tags alone will not give you a complete picture of how the cost of a 3D printer and a printed model will compare. The cost of 3D printing materials and labor significantly affects the cost of a model, depending on the application and your production needs.
Let's look at the different factors and costs for each process.
FDM, also known as Fused Filament Manufacturing (FFF), is a printing method where the parts of a model are made by melting and extruding a thermoplastic filament, which the printer's nozzle applies layer by layer onto the model being made.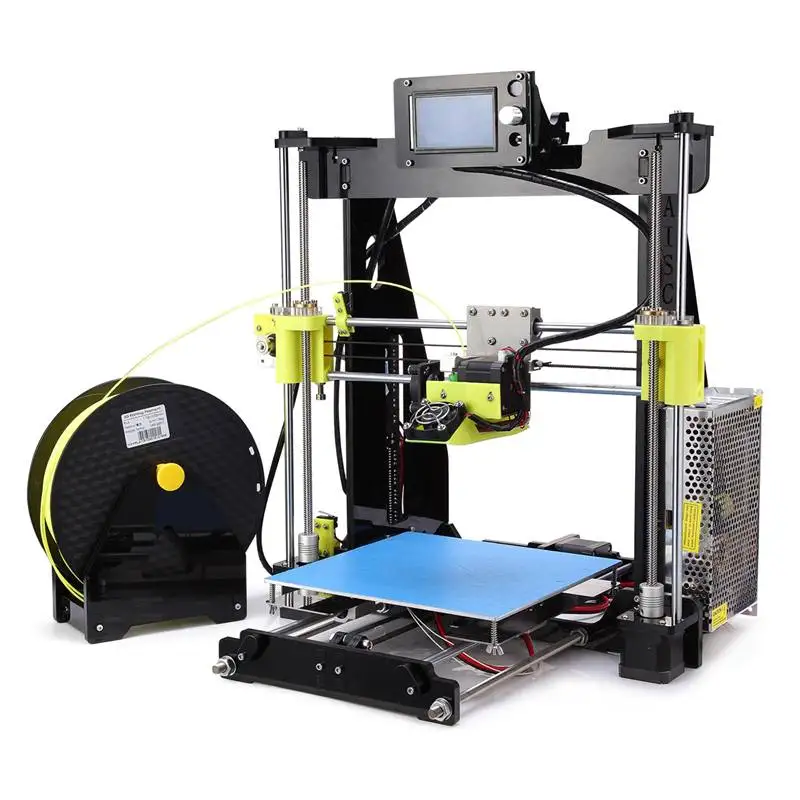
FDM is the most popular form of consumer grade 3D printing, fueled by the proliferation of hobbyist 3D printers. However, professional and industrial FDM printers are also popular among professionals.
The cheapest 3D printers are FDM printers. DIY kits for FDM 3D printers start at $200. However, most of these models are more like toys or DIY projects that require a significant amount of time to build, set up and calibrate. The quality of the print largely depends on the success of these operations. In addition, machines require repairs and regular maintenance to keep them working, so they are more suitable for people with a higher engineering education who have a lot of time and patience.
Hobbyist FDM 3D printers cost between $500 and $1,500, come pre-assembled or unassembled, require less setup, but have the same disadvantages as the cheapest 3D printers. More expensive models are capable of large print volumes and work with a wide variety of materials besides low temperature ones such as PLA.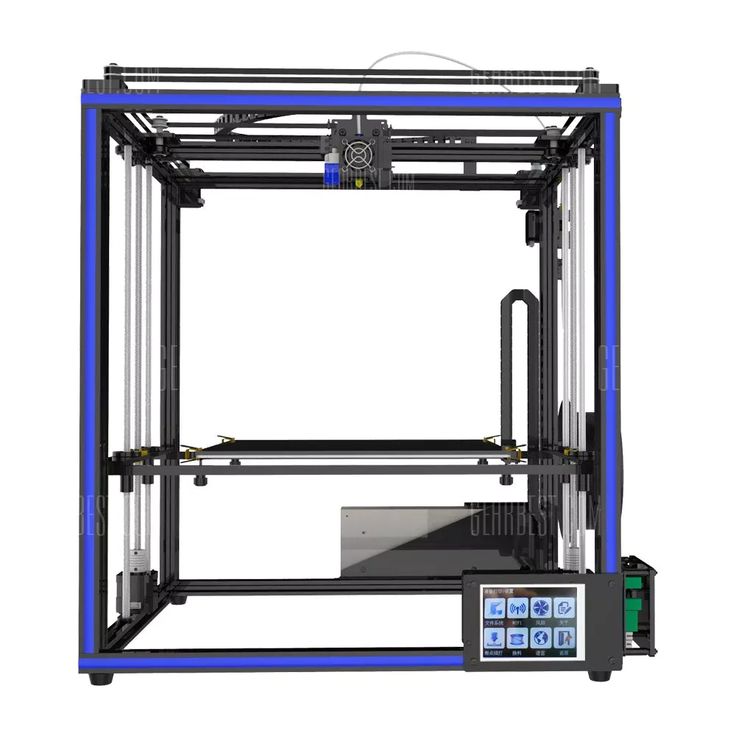
Professional 3D FDM printers start at $2,500 and large format professional FDM printers are available from $4,000. The cost of the most modern industrial FDM printers can exceed 10,000 US dollars. Most of these printers come pre-assembled and calibrated in the box, or they can be automatically calibrated. Printers in this category offer better print quality, a wider range of media, higher print volumes, improved reliability, and ease of use and maintenance. In addition, professional 3D printer manufacturers offer customer support services for troubleshooting.
Material costs for FDM 3D printing range from $50 to $150/kg for most standard and engineering filaments, and $100 to $200/kg for auxiliary materials. There are also cheaper alternatives, but they are of lower quality.
In addition, FDM printing can be very labor intensive. Successful printing of complex models requires support structures that must be removed manually or dissolved in water. To obtain a high quality surface and remove layer lines, lengthy manual post-processing of models, such as sanding, is necessary.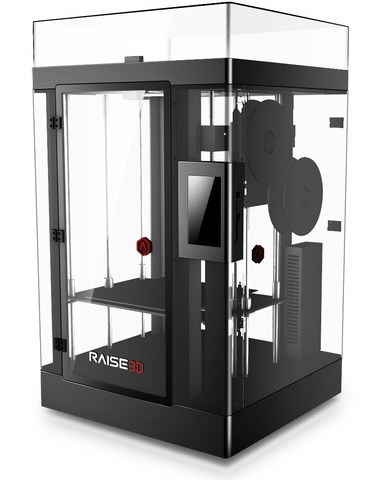
SLA 3D printers use the process of photopolymerization, that is, the conversion of liquid polymers into hardened plastic using a laser. SLA is one of the most popular processes among professionals due to its high resolution, accuracy and material versatility.
Models printed on SLA printers have the highest precision, sharpest detail and smoothest surface possible of any plastic 3D printing technology. But the main advantage of the SLA method is its versatility. SLA polymers have a wide range of optical, mechanical and thermal properties that match those of standard, engineering and industrial thermoplastics.
SLA 3D printers can handle a wide range of resin materials for a wide variety of applications.
SLA used to be used only in large and complex industrial 3D printers costing over $200,000, but the process is now much more affordable. With the Formlabs Form 3+ Printer, businesses can now use industrial quality SLA printing for as little as $3,750. With Form 3L, large format SLA printing starts at just $11,000.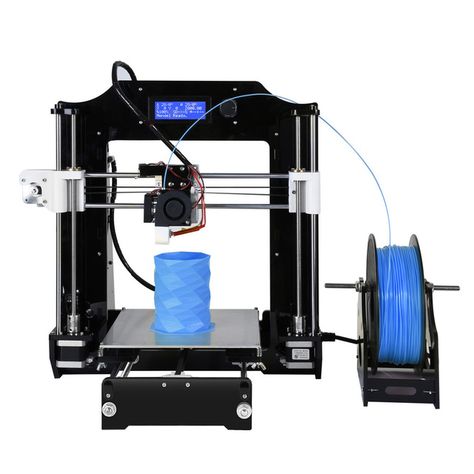
Stereolithographic 3D printers will be shipped in a box assembled and calibrated. These are professional tools that are highly reliable and require virtually no maintenance. Technical support is also always available. It provides troubleshooting in a critical situation (but its probability is extremely small).
Most standard and engineered polymers for SLA technology cost between $149 and $200 per liter.
SLA printers are easy to use and many workflow steps such as rinsing and final curing can be automated to reduce labor costs. Printed models have a high quality surface immediately after printing and require only simple post-processing to remove supporting structures.
Selective Laser Sintering (SLS) 3D printers use a high power laser to sinter fine polymer powder particles. The unsprayed powder supports the model during printing and eliminates the need for special support structures. This makes SLS ideal for complex geometries, including internal features, grooves, thin walls, and negative taper.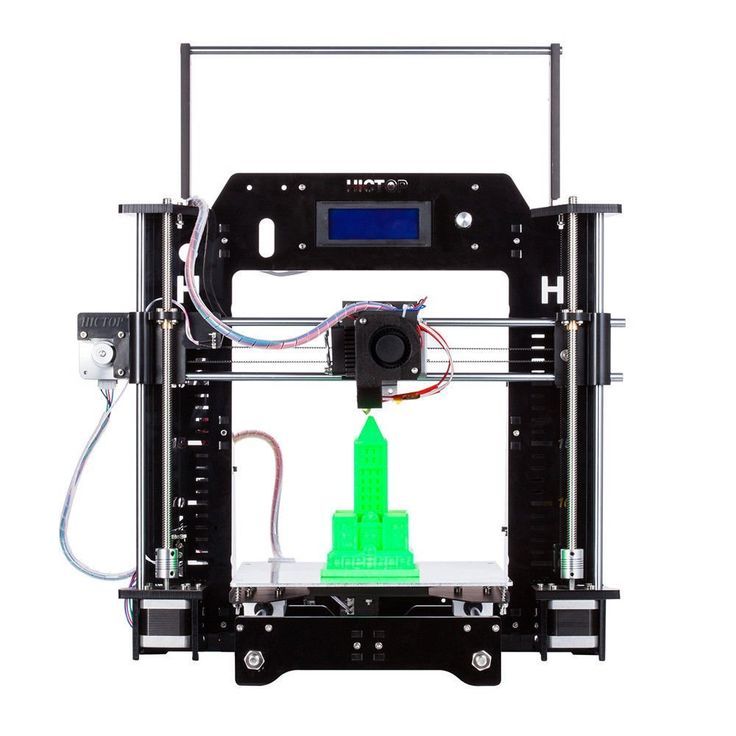
Models produced using SLS printing have excellent mechanical characteristics - their strength can be compared with the strength of injection molded parts. As a result, SLS technology is the most popular plastic 3D printing process for industrial applications.
SLS printed nylon models are ideal for a range of functional applications, from consumer product design to healthcare applications.
Like SLA, SLS was previously only available in large format, complex 3D printing systems costing $200,000 or more. With the Formlabs Fuse 1 stereolithography printer, businesses can now solve industrial-scale tasks with SLS technology starting at $18,500. The complete kit, which includes the post-processing and powder recovery system, costs $31,845.
As with SLA printers, stereolithographic printers are shipped assembled and calibrated in the box. They are reliable and can operate 24/7. The package includes in-depth training and fast technical support.
SLS nylon print materials cost about US$100/kg.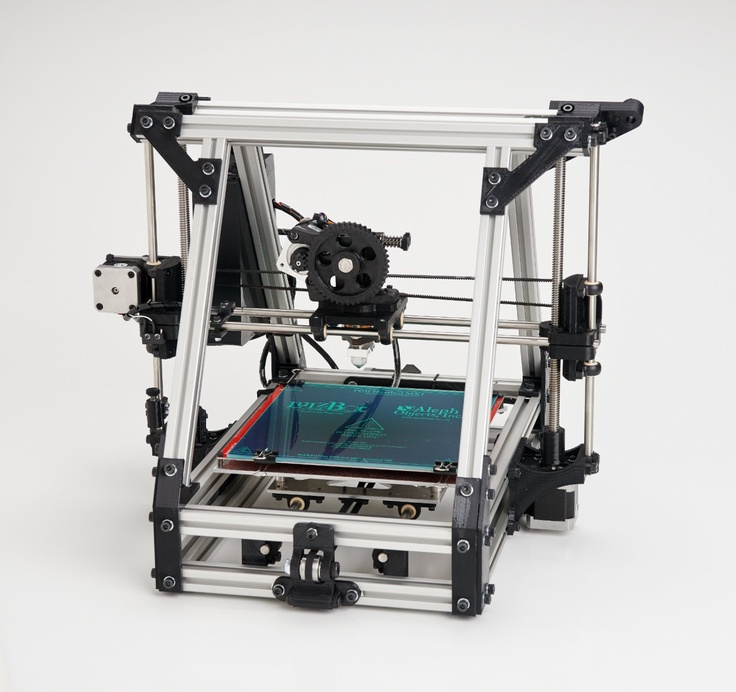 SLS does not require supporting structures and unused powder can be reused, reducing material costs.
SLS is the least labor-intensive plastic 3D printing process in the production environment, because the printed models are of high quality right away, and to remove excess powder, they simply need to be cleaned.
There are several processes for 3D printing not only plastics but also metals.
Metal FDM printers are similar in design to traditional FDM printers, but use extruded metal rods held together by a resin binder. The finished parts of the model are sintered in an oven to remove the binder.
SLM and DMLS printers are similar to SLS printers, but instead of polymer powders, they fuse metal powder particles layer by layer using a laser. 3D printers based on SLM and DMLS technologies can create strong, precise and complex metal products, making this process ideal for the aerospace, automotive and medical industries.
Prices for metal 3D printers have also begun to decline, ranging from $100,000 to $1 million today.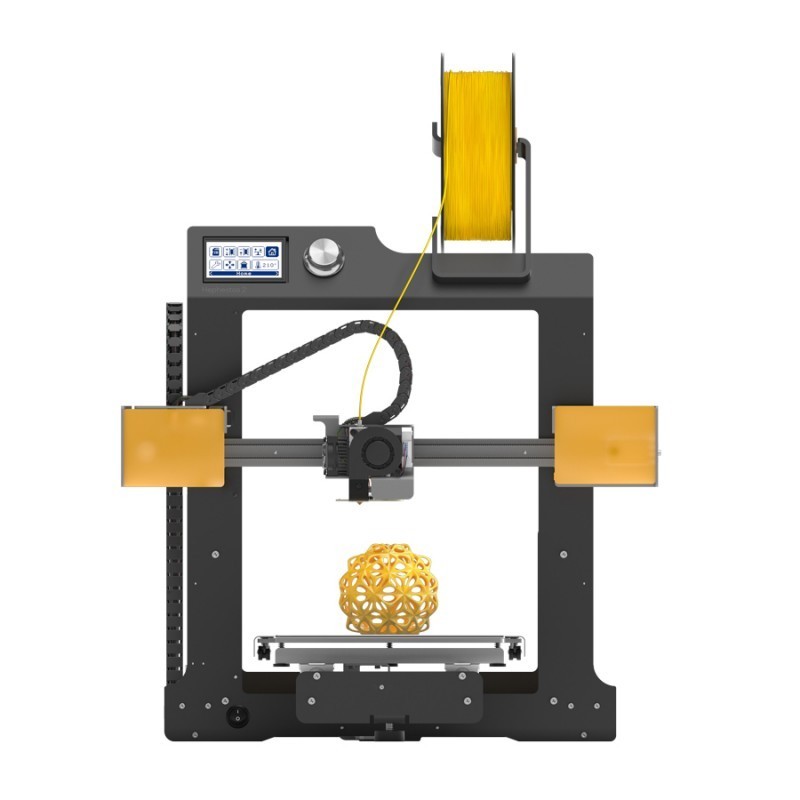 However, these systems are still out of reach for most businesses.
SLA 3D printing is available as an alternative for casting workflows that allow metal models to be produced cheaper and faster than traditional methods and provide greater design freedom.
Technical report
Get design guides for 3D printing samples, see the step-by-step direct investment casting process, and study guides for indirect investment casting and sand casting.
Download white paper
Different plastic and metal 3D printing processes have unique qualities that make them suitable for different applications. Below is a comparison of different printing technologies.
| Fused Deposition Modeling (FDM) | Stereolithography (SLA) | Selective Laser Sintering (SLS) | Metal FDM Printing | Selective Laser Melting (SLM) and Metal Direct Metal Sintering (SLM) 9 (21LS9)5050DM9 | |
|---|---|---|---|---|---|
| Resolution | ★cle ★☆ | ★ opa ★ Look | ★ opa | ★cle | ★cle ★ MyQAI |
| Surgery | ★ opa ★ opa ☆ | ★cle ☆ | ★ opa | ||
| Simplicity of use | ★ opa | ★ Look | ★cle | ★ opa | ★ ☆☆☆☆ |
| PROMISE | 9032 Up to # 300 x 300 x 600 mm (Desktop and Workshop 3D printers)Up to ~300 x 335 x 200 mm (Desktop and Workshop 3D printers) | Up to 165 x 165 x 300 mm (3D - workshop printers) | Up to 300 x 200 x 200 mm | Up to 400 x 400 x 400 mm | |
| Price range | DIY kits for 3D printers start at $200, while hobby printers cost $500-1500.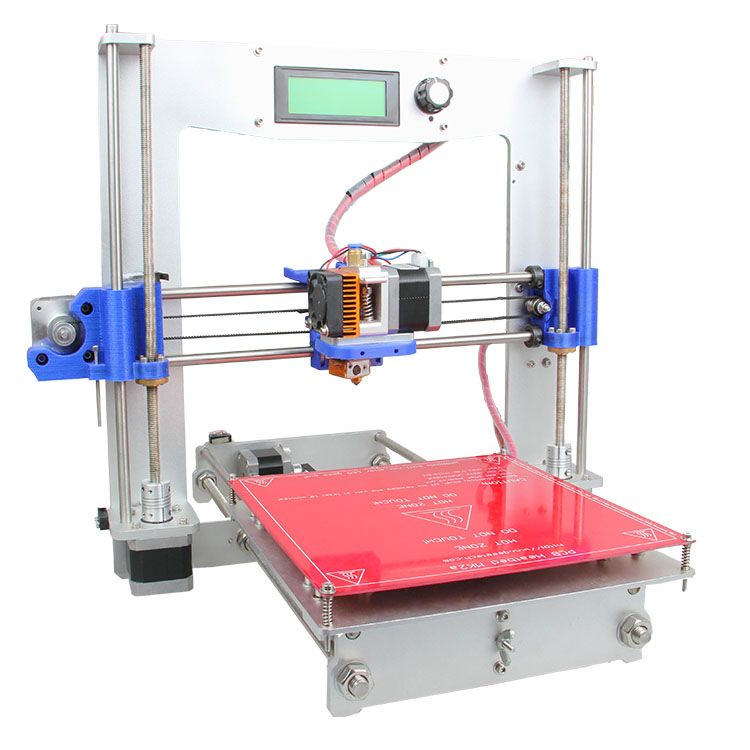 Professional 3D FDM printers start at $2,500, while large format professional FDM printers are available from $4,000. Professional 3D FDM printers start at $2,500, while large format professional FDM printers are available from $4,000. | Professional desktop printers start at $3,750, while high-volume large format desktop printers are available from $11,000. | Workshop industrial printers start at $18,500 and traditional industrial printers start at $100,000. | Metal FDM printers start at $100,000, but complete solutions including an oven are much more expensive. | DMLS/SLM solutions start at around $200,000. These printers require special infrastructure conditions, which can further increase costs. |
| Cost of materials | US$50-150/kg for most standard and engineering yarns and US$100-200/kg for auxiliary materials. | $50-150/L for most standard and engineering polymers. | $100/kg for nylon. SLS does not require supporting structures and unused powder can be reused, reducing material costs. | Depends on material and technology. Significantly higher than plastic. Significantly higher than plastic. | Depends on material and technology. Significantly higher than plastic. |
| Labor | Manual removal of support structures (soluble support structures may be used in some cases). Long post-processing is required to obtain a high quality surface. | Washing and final polymerization (both can be automated). Simple post-processing to remove supporting structures. | Easy cleaning to remove excess powder. | Washing and sintering (both can be automated). It is possible to use mechanical processing and other types of surface treatment. | Stress relief, support structure removal, heat treatment, and mechanical and other surface treatments. |
| Materials | Standard thermoplastics such as ABS, PLA and their various blends. | Various polymers (thermosetting plastics). Standard, engineering (similar to ABS and PP, similar to silicone, flexible, heat resistant, rigid), injection molding, dental and medical (biocompatible). | Engineering thermoplastics - typically nylon and its composites (nylon 12 biocompatible + sterilizable). | Stainless steel, tool steel, inconel, copper, titanium. | Stainless steel, tool steel, titanium, cobalt-chromium, copper, aluminium, nickel alloys. |
| Applications | Basic experimental models, low cost rapid prototyping of simple parts. | Prototypes with a high level of detail requiring close tolerances and smooth surfaces: molds, tooling, templates, medical models and functional parts. | Complex geometries, functional prototypes, low volume production or limited trial production. | Robust and durable models, tools and production aids. | Strong and durable models with complex geometries; ideal for the aerospace, automotive and medical industries. |
When calculating the cost of one model, the cost of ownership of equipment, material costs and labor costs are usually taken into account. It is important to understand the factors that affect each of these cost components, as well as the questions to ask in order to evaluate alternative production methods and uncover hidden costs.
Hardware ownership costs are fixed costs: 3D printer price, service contracts, installation and maintenance. These amounts must be paid whether your printer is idle or produces dozens of models per week.
Add up all projected fixed costs over the lifetime of the equipment, then divide by the number of models you plan to make. As a rule, the higher the performance and efficiency of your 3D printer, the lower the cost of ownership of equipment per model.
In recent years, desktop 3D printers have shown excellent results in reducing the cost of ownership of equipment. With a price 10 to 100 times lower than traditional industrial 3D printers and the ability to produce thousands of models over a lifetime, the cost of ownership can be negligible.
Questions:
-
Are there installation, training or additional initial costs other than the cost of the machine itself?
-
Do I need to sign a (mandatory) service contract? What does it include?
-
What accessories and tools are needed to make the final models?
-
What kind of maintenance is required for the machine to function properly? What is the expected annual maintenance cost? Will it change with an increase in production volumes?
The 3D printing raw materials and consumables you need to create models at an affordable price. These costs largely depend on the number of models you produce.
When calculating the cost of materials, determine how much material is required to create one model, and multiply this figure by the cost of the material. Count the amount of waste and any other consumables. As production grows, the cost of ownership of equipment decreases, and the cost of 3D printing materials tends to become more balanced.
Be sure to check what materials you need to create specific models, as the cost of 3D printing consumables can vary greatly. Please note that some 3D printers only work with their proprietary materials and thus limit your ability to use third party materials.
Questions:
-
What is the cost of each type of 3D printing material?
-
How much material is required to create one particular model, including waste?
-
What is the shelf life of the materials?
-
Do I need other consumables to create models?
-
Can the machine work with third-party materials?
While 3D printing can replace complex traditional manufacturing methods and provide significant time savings, depending on the 3D printing technology, it can still be quite labor intensive.
Professional desktop 3D printers are generally optimized for ease of use. DIY kits for 3D printers and hobby printers often require additional effort to adjust settings, while regular maintenance or material changes on traditional industrial machines can involve time-consuming tasks that require the assistance of a skilled operator.
Post-processing workflows vary depending on the 3D printing process, but in most cases include cleaning up models and removing support structures or excess material. However, there are solutions to automate some specific tasks. For example, Formlabs Form Wash and Form Cure simplify the wash and finish process for Formlabs SLA 3D printers, while Fuse Sift offers a turnkey post-processing and powder recovery system for the Fuse 1 SLS printer.
More complex processes such as SLA and SLS do not take long to achieve high quality models, while FDM models require lengthy manual post-processing to improve quality and remove layer lines.
Questions:
-
What is the whole model production workflow? What specific steps are required to set up printing, change materials, and post-process models?
-
How long does it take to post-process one particular model?
-
Are there any tools or devices available to automate some of these tasks?
Outsource production orders to 3rd party service bureaus or labs if you use 3D printing only occasionally or to make large models in non-standard materials.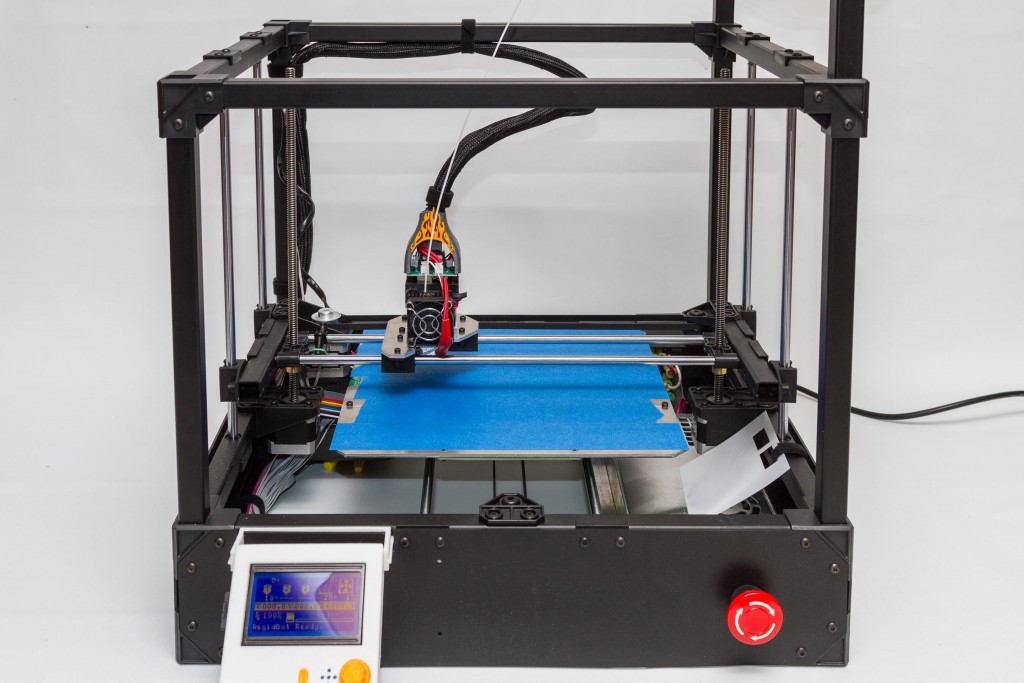 Typically, the bureau has several in-house 3D printing processes such as SLA, SLS, FDM, as well as metal 3D printers. They can also provide advice on a variety of materials and offer additional services such as design or improved finishes.
The main disadvantages of outsourcing are the high cost and duration of production. One of the main advantages of 3D printing is its speed compared to traditional production methods. But it is noticeably reduced if the delivery of the model produced by the involved organization takes several days or even weeks. And as demand and capacity grow, the costs of outsourcing are rising rapidly.
Desktop 3D printers are the perfect solution for fast model production. Depending on the number of parts needed and the volume of prints, the investment in a professional 3D printer can pay for itself in just a few months.
With desktop and workshop printers, you can pay for the capacity that matches your business needs and scale your production by adding more devices as demand grows, without the heavy investment of a large format 3D printer. Using multiple 3D printers also allows you to print models from different materials at the same time. But if there is a need for the production of large parts or the use of non-standard materials, service bureaus can come to the rescue.
Investment, material and labor costs are relatively easy to calculate. But what about indirect costs and hard-to-calculate factors that affect your business? Let's look at some of the main considerations when comparing a desktop 3D printer to outsourcing or other manufacturing methods.
Save time: What if you could get products to market a few months faster? Or reduce the delivery time of your products by a few days or weeks? 3D printing simplifies traditional prototyping and manufacturing workflows, helping you save time and stay ahead of the competition.
Best results: 3D printing allows you to create more iterations, overcome failures faster and produce better end products. Troubleshooting a design early on also helps avoid costly redesign and the use of additional tools.