Removing support material from 3d print
How to Remove Supports from 3D Prints
Design freedom is one of the main benefits that 3D printing offers. The technology allows users to create parts with complex structures and internal infill geometries. But there are some limitations to what 3D printing can do. For instance, fused deposition modeling (FDM) 3D printers struggle to print geometries with bridges or overhangs that exceed angles of 45 degrees.[1] But that doesn’t mean people have to avoid printing parts with such features. 3D printed support structures enable complex shapes with overhangs and fine details to be printed without trouble.
Supports are typically generated in slicing software and are applied automatically to areas of your 3D model that require the extra help. In addition to holding certain types of geometries up, supports can also help improve bed adhesion, reducing the risk of warping.
Printed parts with support structures do require some extra post processing. Specifically, it is important to remove the support structures carefully—either manually or using a solvent—to ensure that your 3D print is structurally sound and visually flawless. In this article, we’ll discuss the different types of support structures available for FDM 3D printing and explain the various methods for removing them without damaging your 3D print.
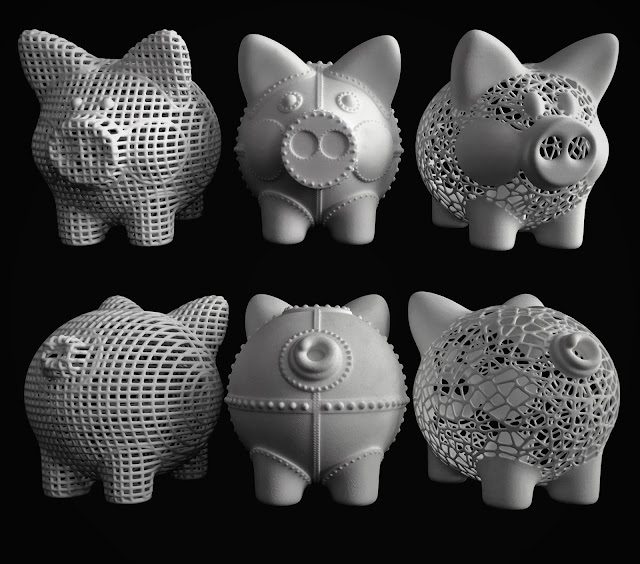
Types of support structures
When it comes to FDM, there are two main types of 3D printing support structures: linear supports and tree supports.
Linear Supports
Linear supports, also known as accordion supports or lattice supports, are the most popular style of support structure. Linear supports are characterized by straight vertical columns that grow upwards from the build platform to support overhangs and bridges. This style is popular because it is highly effective at supporting these features.
In Cura slicer software, linear supports are called “normal” and users have the option to choose from various support patterns, including grid, triangle, concentric, and line.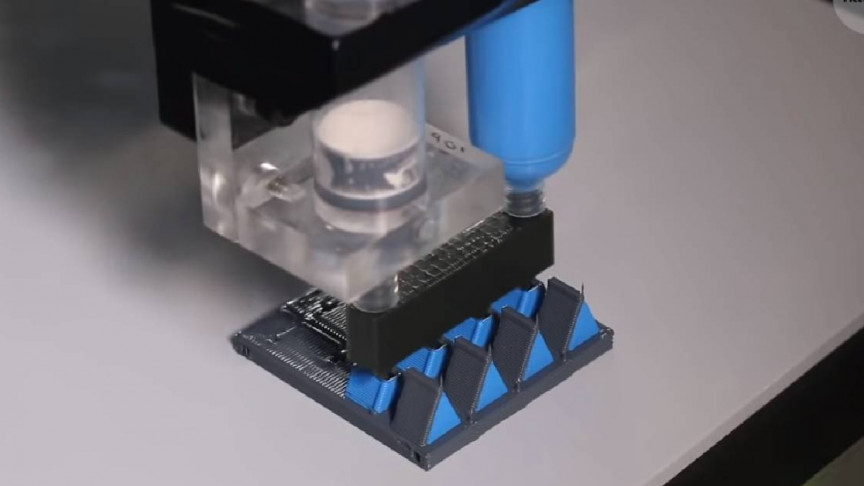 [2] You can also choose the support density and whether to print supports with a wall—though this is typically only recommended when printing with a soluble support material.
While linear supports are the gold standard for supporting overhang features in 3D printed models, they do have a slight downside. Because they support so much of the overhang, they can be tricky to remove, increasing the risk of damaging or marking the final part.
Users can choose to adjust support parameters, like density, in slicer software.
Tree Supports
Tree supports, or tree-like supports, are characterized by more organic structures that grow up from the build plate. Named for their similarity to tree branches, tree supports are most effective when printing angled overhangs. Because they have fewer contact points with the supported print, they are not very effective for holding up bridges or flat overhangs. That being said, tree supports are easier to remove than linear supports, since there are fewer touch points.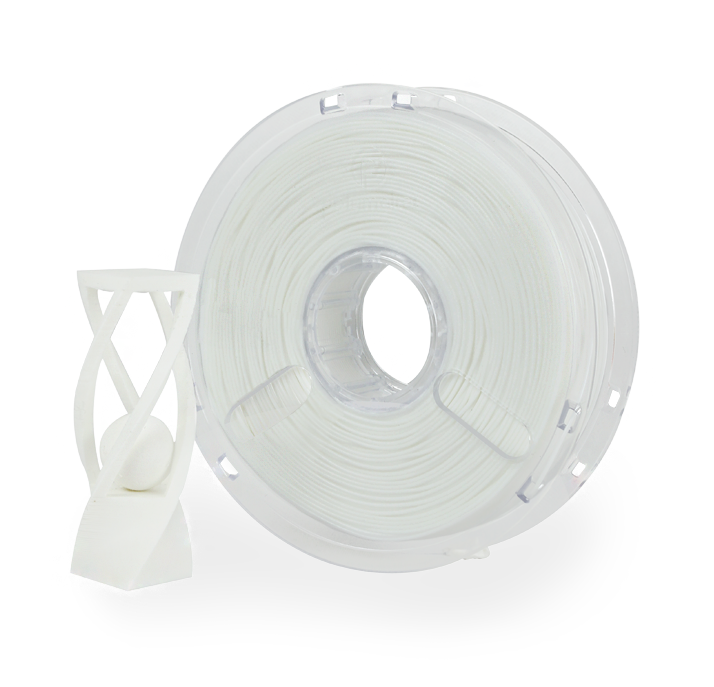
Tree supports are usually hollow, which reduces the amount of material required to print them. Like linear supports, slicer software will automatically generate the structures, so you don’t have to. Users can, however, choose to adjust a number of settings for tree supports, including branch distance (i.e. how far apart the touchpoints are on the 3D printed model), branch diameter, and diameter angle.
Recommended reading: Tree supports: Better looking prints with less wasted material
Removing support structures
Once you have your supports and model 3D printed, the next step is to remove the supportive structures. The support removal method depends entirely on the type of material you have used for the supports.
Breakaway support structures
If you have a single-extruder 3D printer, you will likely be 3D printing your supports using the same filament that your part is made of.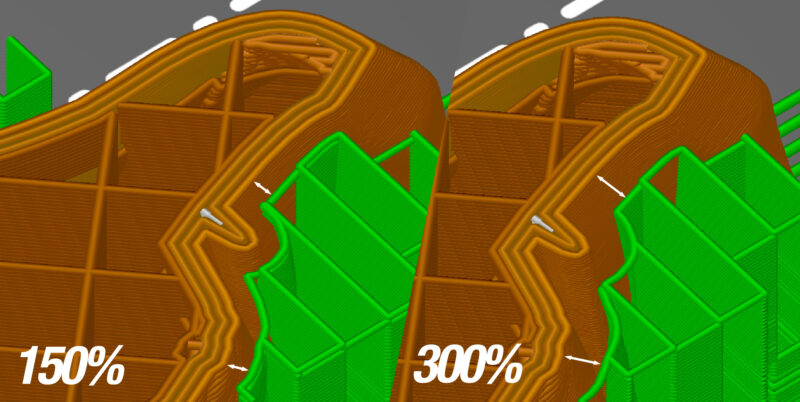 For example, if you are printing a PLA model, the supports will also be made from PLA filament. This means that they must be removed manually.
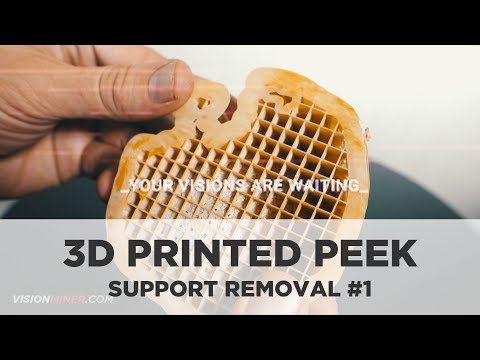
Because most support structures have a low density, it is possible in some cases to simply break them off from your 3D print. This technique does increase the risk of breaking or damaging your 3D printed part. For more precise support removal, you can use a knife, needle-nose pliers or flush cutters to carefully cut and break off the extraneous 3D printed supports. Carefully heating a knife blade can help to seamlessly remove the support from the print surface. The most important thing to keep in mind is to work gently, especially for harder to reach supports.
Once you’ve removed or broken off most of the support structures you can then go over the rough spots with some damp sand paper. This will smooth out the surface where structures were attached and polish the printed part. Alternatively, you can use a solvent, such as acetone or nail polish remover, to smooth out any blemishes caused by support removal.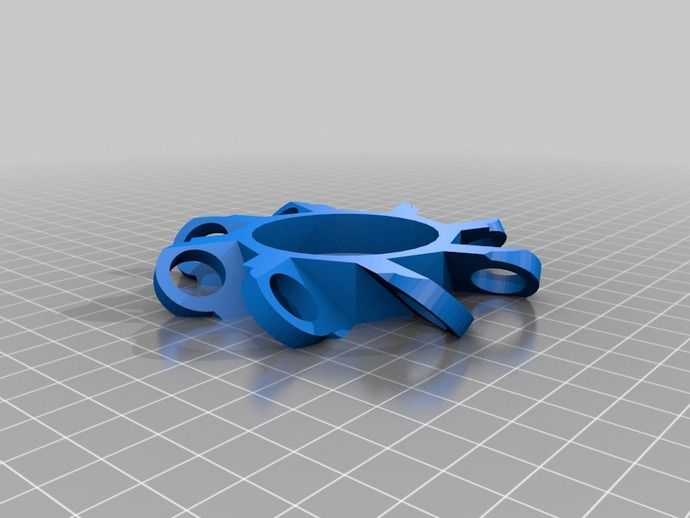
Recommended reading: Smoothing PLA 3D prints with sandpaper, solvents, and more
With a single extruder 3D printer, supports have to be manually removed from the print.
Soluble support structures
If you have the chance to work with a dual extrusion 3D printer, support removal can be far easier, requiring little to no manual intervention. This is because you can print with two different types of filament: a classic build material (like PLA or ABS) for your model, and a soluble print material (like PVA or HIPS) for the support structures.
With soluble supports, you simply have to take the 3D printed object from the print bed and submerge it in a liquid bath. PVA filaments will dissolve easily in warm water, while HIPS must be placed in a solution of Limonene. In both cases, it is important not to submerge the parts in water that is too hot, as it can warp the actual model. Keeping the water moving while your part is submerged will also help to dissolve the supports faster.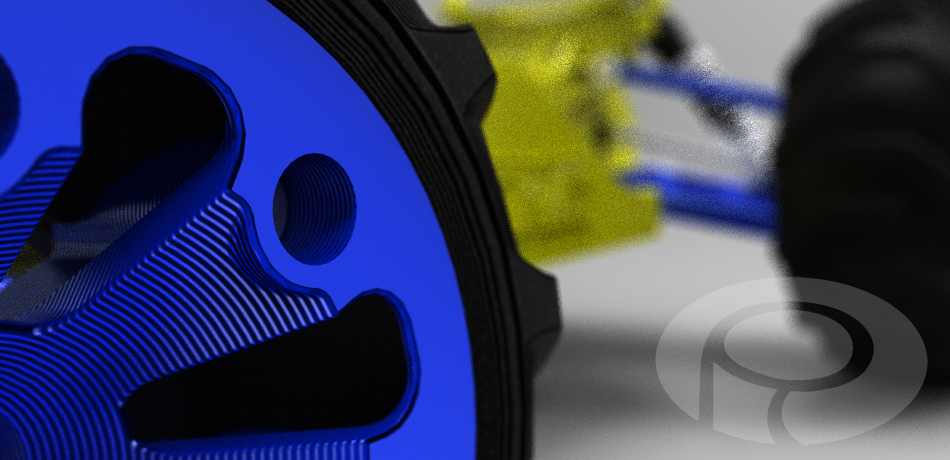 If you are in a particular rush, you can let the supports soften for about 10 minutes and then cut the bulk of them off using pliers. Place the part back in the bath to remove the remaining traces of support.[3]
A final note about PVA is that if your soluble material of choice: be sure to store the filament in a dry place. If it absorbs too much moisture from the air, the filament can clog up your 3D printer nozzle.
Recommended reading: How to Dry Filament
Conclusion
In the end, supports are essential to 3D printing: they let you create complex geometries with overhangs and bridges that would otherwise be impossible to print. This means that, whether you’re a beginner maker or an experienced one, support removal is an important step in the 3D printing process.
References
[1] Sculpteo, 2022. “What is important to know about 3D printing supports?” [Internet] https://www.sculpteo.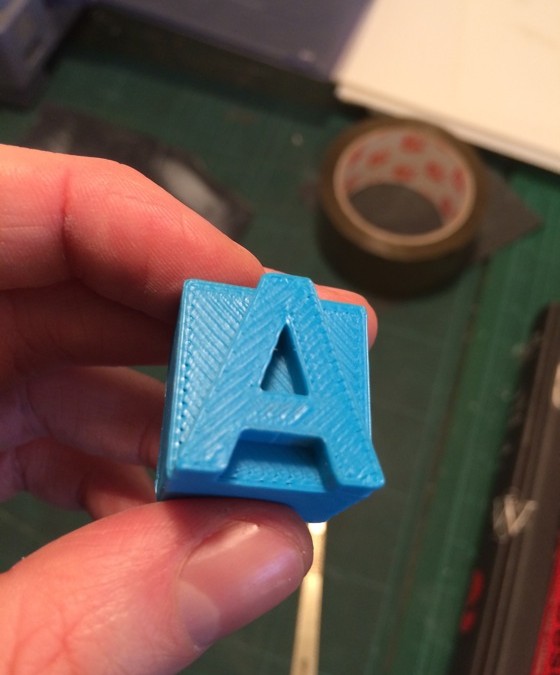 com/en/3d-learning-hub/design-guidelines/understanding-3d-printing-supports/ [Accessed May 19, 2022]
[2] Ultimaker, March 9, 2022. “Support Settings” [Internet] https://support.ultimaker.com/hc/en-us/articles/360012612779-Support-settings [Accessed May 19, 2022]
[3] Ultimaker, June 29, 2021. “How to dissolve Ultimaker PVA” [Internet] https://support.ultimaker.com/hc/en-us/articles/360011959100-How-to-dissolve-Ultimaker-PVA [Accessed May 20, 2022]
How to Remove Support Structure from 3D Prints | 3D Printing Blog
Begin typing your search above and press return to search. Press Esc to cancel.
by Fabian | March 25, 2020 | Tutorials
How to Remove Support Structure from 3D Prints
by Fabian | March 25, 2020
Some 3D printing processes will require what is known as support. Since we cannot print into thin air and the laws of physics and gravity also account for 3D printing, some objects with overhanging parts need support structure. In this blog post you will discover which materials use support structure, what this means for you as a customer, and how you can remove support structure from resin prints yourself.
If you order through online services like i.materialise the short answer is: you never have to design support structure. Most of our materials (especially those that use power-based technologies like laser sintering) work completely without support structures. Some other technologies, such as resin-based stereolithography or filament-based FDM printers do need support. However, online services automatically design support structures when necessary and trained personnel remove them after the printing process.
However, there is one exception to this rule. In order to make your prints cheaper, you can order prints in Standard Resin “with support structure” at i.materialise. This means less manual work for us, and low-budget prints for you. If you don’t feel comfortable to remove the support yourself, you can choose the option “without support structure”.
A Standard Resin 3D print with support structure.
General tips for removing 3D-printed support structure- First of all, a general reminder: work slowly and cautiously when removing support structure. Thin and detailed Standard Resin parts are much more brittle than thick and solid ABS parts. So, caution and precision are key
- Before you work on your main print, make sure to start with a test piece or with the least visual part of your model
- Support structure that was added by i.materialise is generated with high-end software that automatically designs and attaches those lightweight structures to your print. The support is typically connected to the print with very thin connection parts. It is advised to cut off the support very close to the actual print. This will make sanding the part much easier
The connecting parts between the design and rest of the support structure for Standard Resin are very thin by default.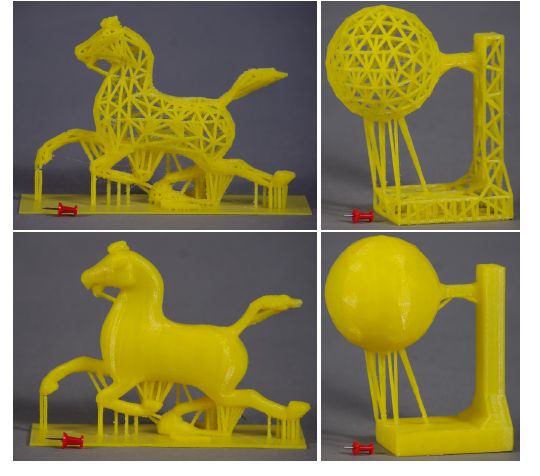
- There are tons of blades and tools to choose from. Which tool works best for you depends on many variables such as the shape and size of the print, the material, and your personal preferences. It often makes sense to use a combination of these blades. These are the most common and most popular tools that our community uses:
- Many people use a needle nose plier. These are typically used for support that can be broken away, rather than cut away. So while this is a great tool to work relatively fast, it is less suitable for parts that need precise control. A flush cutter might be a good alternative since it combines strength and precision
- Putty-type knives, scraper knives, or pallet knives with sharpened edges are sometimes used for removing support as well. They are most often used for large-scale models without small details.
 So it might only make sense to remove the rough and outer parts of the support with these kinds of knives
 - Xacto knives are a popular choice and give you lots of precision. With these, you can cleanly cut away the small elements that connect support structure and objects in Standard Resin. The only downside is that they are really sharp and a single slip can result in a sliced finger or a scratch in your 3D print
- Some people like heating the blade or even the model in order to make it easier to slice off the support structure since it will be much softer. Typically, a tiny butane torch is used for this. If you want to go for this option, make sure to be very careful, for the sake of both yourself and your model
From top left to bottom right: needle nose plier, flush cutter, scraper knife, and Xacto knife.
After the cut: sanding off the surface of the 3D print- Once the cutting is done, you probably want to get rid of the small remaining support elements and marks.
 This is why the next step is all about polishing your model. For this, sanding with high grit sandpaper between 220 and 12000 can work wonders. While using sandpaper will make your part smoother and eliminate the last remaining support parts, it will change the color of the print. Basically, it will be possible to see which parts of the print have been sanded. This is why it makes sense to color the print afterward
 - Some users even go for a small drill-like tool such as a Dremel. These handheld grinders, with a variety of bits and attachments, can smoothen parts. For Standard Resin, we would suggest against using them, however. They are simply too fast and powerful. They produce heat that can deform the part and offer too little control for delicate details
Design by Bert de Niel. Printed in Standard Resin.
Design by Bodo-Lutz Schmidt. Printed in Standard Resin.
Now that you know how to remove support structure, make sure to check out our Standard Resin.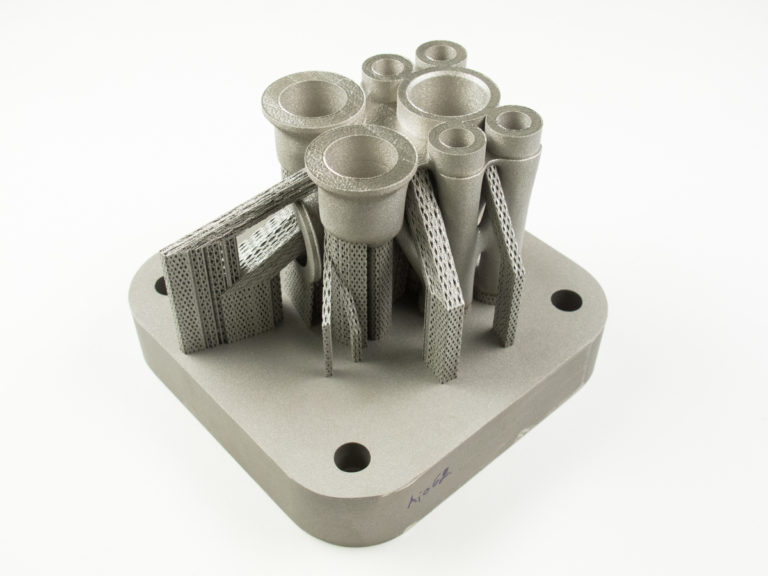 It’s a low-budget material that comes at an even lower cost if you go for the option to remove the support yourself.
How do I remove the 3D printing media?・Cults
3D printing support is required to successfully design your 3D printed part. Once the 3D printing is complete, these support structures must be removed from the printed model. Cults shows you how.
There are various methods for removing supports for 3D printing. To get a quality printed part without debris, learn here about methods for removing unwanted 3D printing supports.
Manual removal of 3D printing support structures
This is the easiest technique to remove support material that is damaging your 3D printed model. All you need to process the printed parts is your hands and small sharp tools. To do this, you need to go through several stages.
Plate Removal
Using a cutter or thin blade, carefully remove the plate seal from your printed model .
Media Removal
Removing the print layer makes it easier to remove the support material from the 3D print. However, you should be careful not to damage the 3D printed part, because without the printed layer, it becomes more brittle. The best way to do this is to cut the support structures at various points of contact. The cutting pliers that come with your 3D printer are essential for this operation.
Elimination of deficiencies
Now you have your part, but with fragments of supporting structures and imperfections. To get better access to certain parts, use your cutter or other small sharp tool and remove any remnants of printed paper.
Sanding
After removing excess printed material from the printed part, you should already be able to see its shape, but it still looks rough. To bring the printed model to perfection, it must be polished. To do this, you can use ordinary files or sandpaper. If you chose the latter, use sandpaper 9 first0005 low grit (150).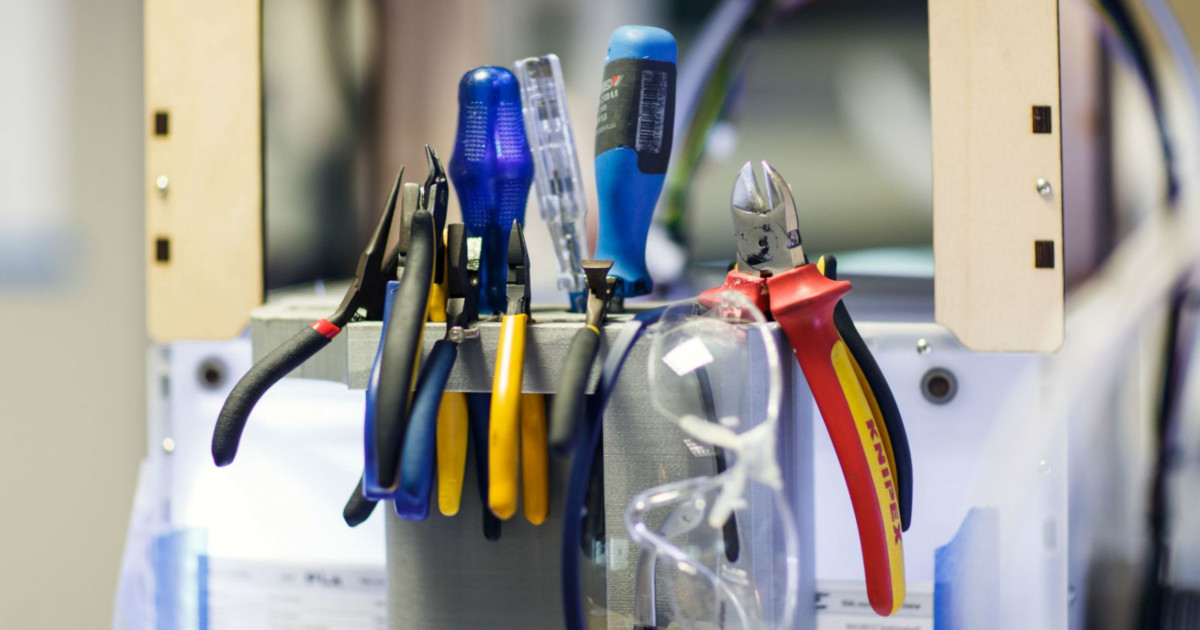 Then, if necessary, continue with a finer grit sandpaper.
Whichever tool you use, sand the printed part in small sections. After filing, part of your printed model becomes more brittle.
Finishing part
Dust may remain on the printed object after sanding. To remove it use a soft cloth or microfiber cloth . You can also clean the dust layer with mineral oil. The advantage of this technique is that it instantly adds shine to the print. However, be careful not to use too much mineral oil. A few drops are more than enough.
Always have a photo or image of your 3D printed model handy. This will prevent you from cutting the printed part. Use a small knife or a heated blade to make cutting easier, especially if the material is a bit hard. 9The 0005 Dremel and the hand sander can be useful if the backing material is resistant to the sharp object you are using.
It is important to be careful when doing this, as you may break some of the staples with your fingers.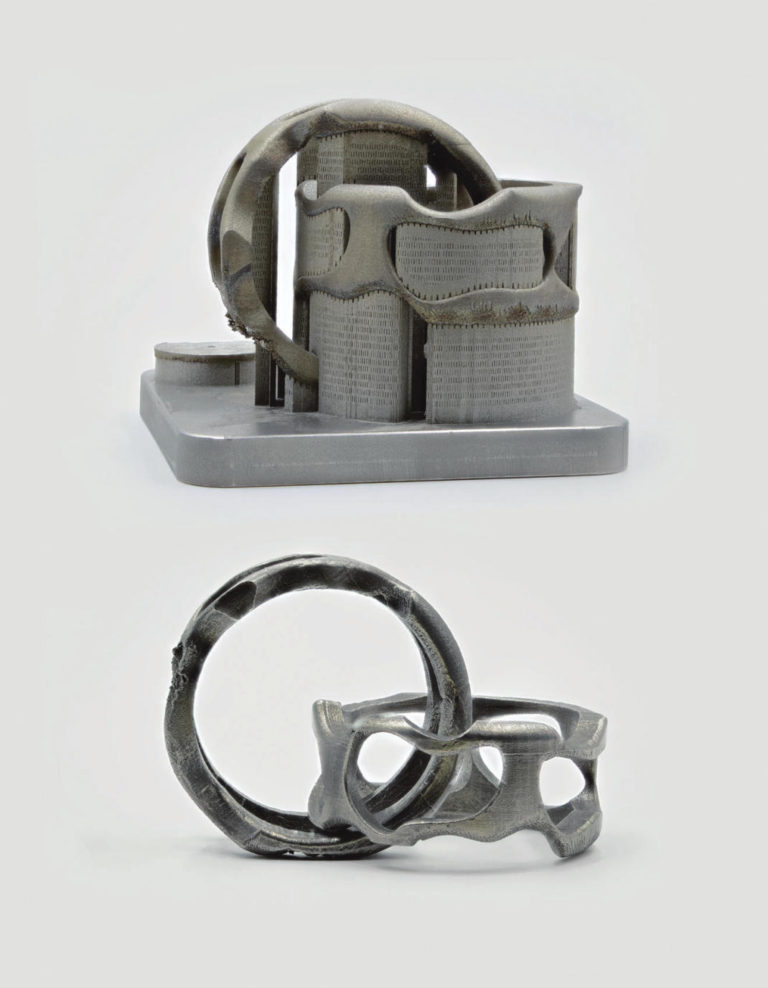
Other methods are also effective for removing the 3D print support from your printed object. However, they are more complex and require the use of special products and equipment.
Acetone vapor smoothing for finishing your 3D model
This post-processing method is for small parts made of ABS filament and FDM . It is mainly used to improve the 3D printed model. During the vapor smoothing process, your 3D printed part will be exposed to acetone vapor in an enclosed area. The fumes will melt the remaining supporting structure and layer lines. After removing the backing material, the acetone vapor polishes and smoothes the surface of the printed model's outer layer, giving it a glossy appearance.
In practice, you will need acetone, a glass or metal container and a lid. A piece of wood or a block of rigid cardboard wrapped in aluminum foil will also come in handy to support the printed product, as well as a hot plate from a printer (any other hot plate will do).
Proceed as follows:
- Pour a few millimeters of acetone into the container.
- Place the container on the hot plate of the printer and wait for the acetone to boil.
- Place the holder at the bottom of the container if the acetone does not reach the part where you will place the 3D printed object.
- Place the 3D printed part on the holder and close the container.
- Let the acetone vapor work. The smoothing time depends on the size of the part (for a small part with a surface area of 3 cm, for example, it may take 3 to 4 minutes).
- Remove the workpiece from the container as it is still soft at this stage.
3D printed part should be allowed to air dry for at least 2 hours .
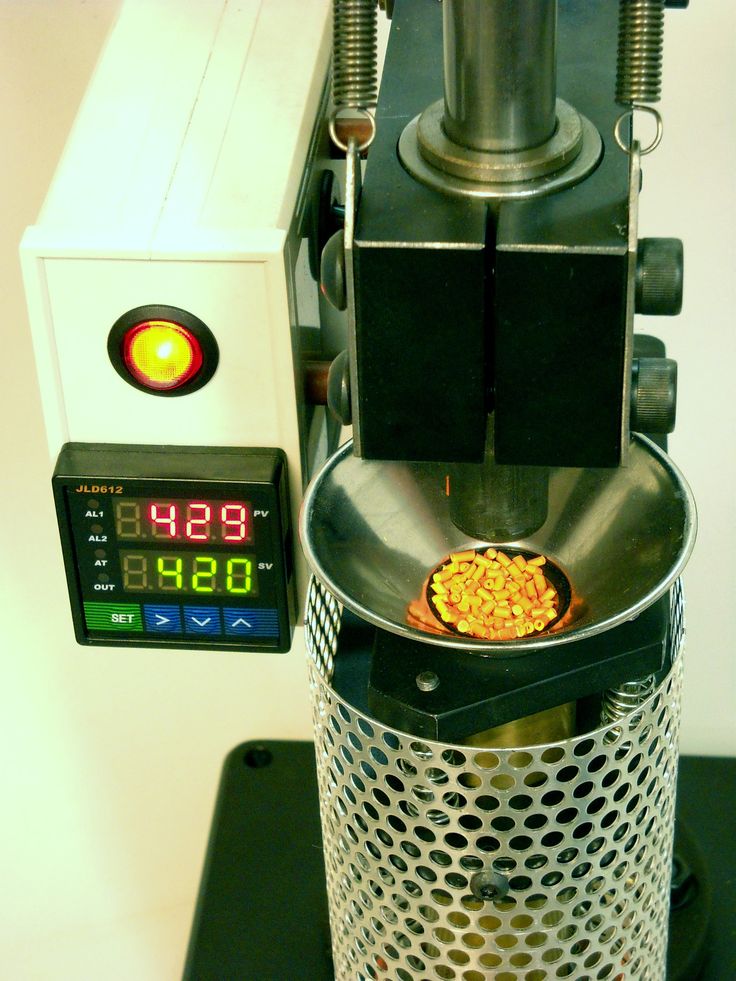
Using the Support Removal Machine
There are machines on the market today that remove print media from a 3D part for you. Such a device is designed for faster cleaning. This not only ensures that there is no media in the printed part, but also gives it a uniform look.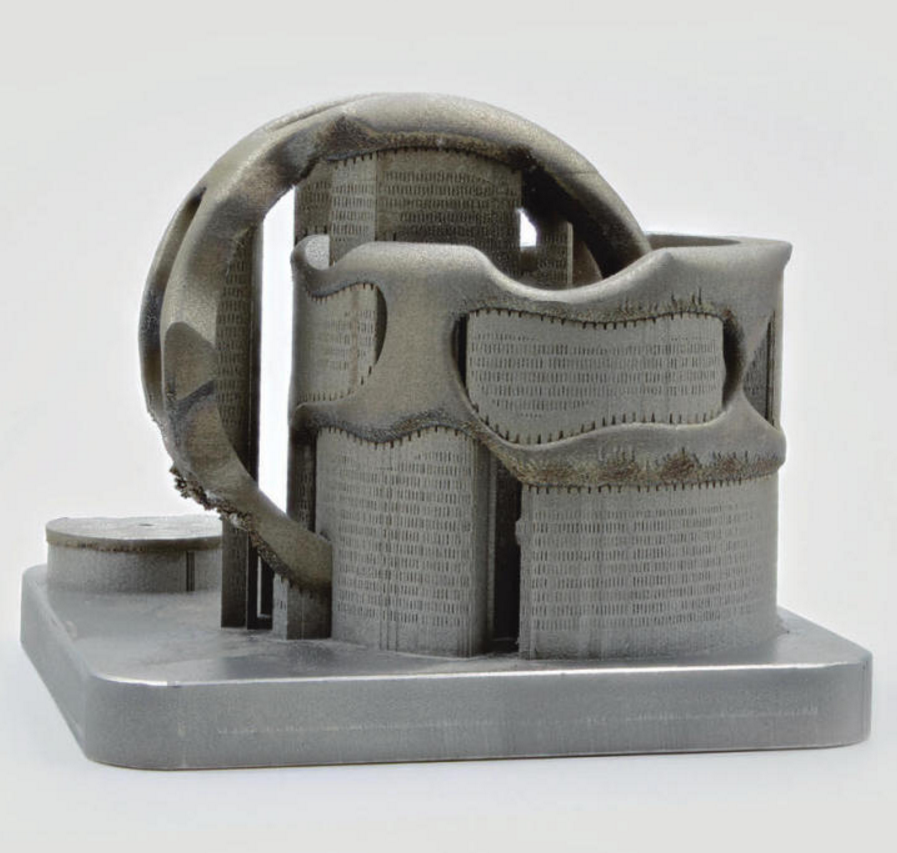
Ultimaker Cura software
If you use the 3D printer, you must have heard of Cura. It is often seen as a solution for removing unnecessary supports from a 3D object. In reality, Ultimaker Cura is a software slicer. More precisely, it is for setting up your 3D printer. ¿Cómo se retira el soporte de impresion 3D?
How to remove the 3D printed support structure
Lean far enough and you'll fall. This is an obvious law of physics, but when you start working with a 3D printer, you may not think about it. When you try to print something with a protruding or protruding part, say an outstretched hand or the brim of a large hat, or perhaps a bridge-like distance between two points, you are rediscovering the laws of physics and gravity.
3D printing often requires support. Any object that has a ledge or nothing but a basic shape - thinks it's a cylinder, block, or something flat - needs a support element to keep it from falling, sagging, or melting.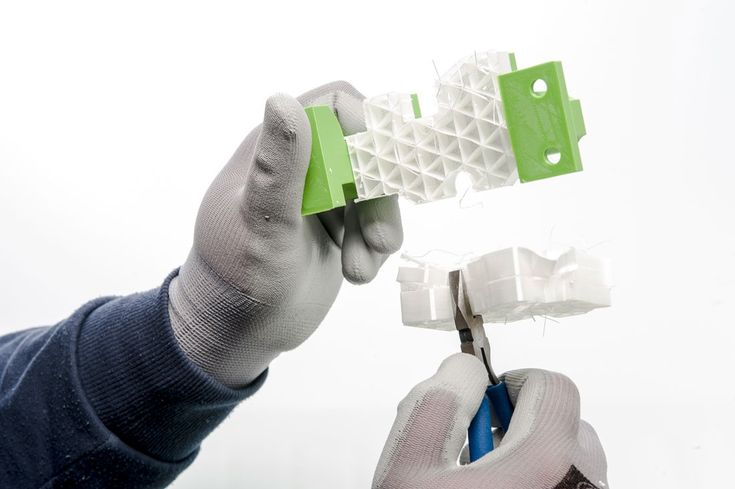
Adding Supports for 3D Printing
Support can be added manually in the CAD software when the model is designed, during the repair phase using specialized software, or during the printing phase using slicing software. Simplify3D, a paid program, is often cited by 3D professionals as an effective option for adding support. Free programs like Meshmixer and Netfabb are great options for those on a tight budget.
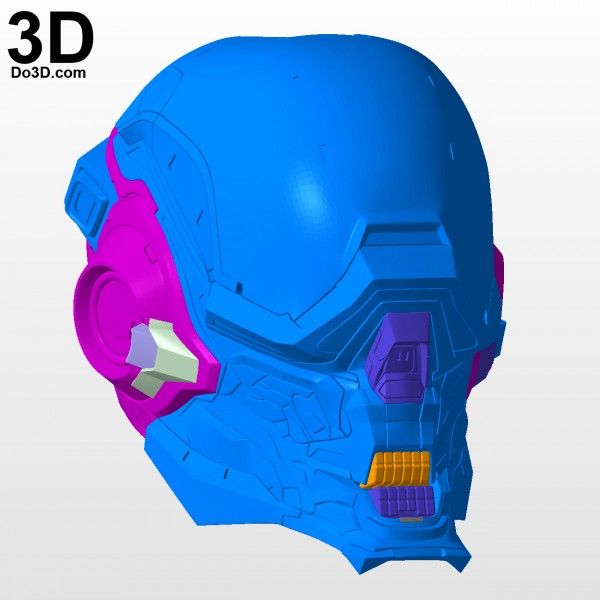
How to remove support in 3D printing
Most 3D printers remove support material using one of the methods described here. The image accompanying this article shows two objects (both with a Voronoi diagram or figure) and two red arrows pointing to the most obvious supporting structures.
In this case, most of the support material can be broken off with your fingers. Then use needle nose pliers or a pointed spatula to remove the rest of the support. The process only requires time and a steady hand.
The best way to easily remove the support is to use a dual extruder 3D printer, as you can load standard PLA or ABS material for the main extruder and a lower density support material for the other.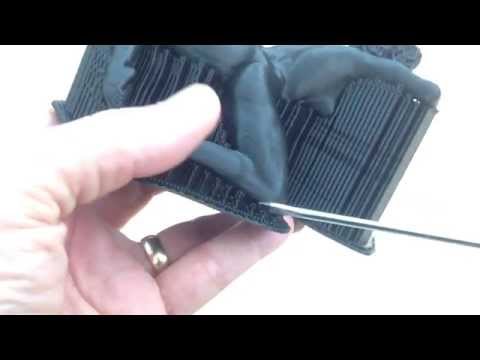 This carrier material is usually dissolved in a chemical bath of water. The Stratasys Mojo 3D printer offers an approach that is enjoyable, but not within the budget of the typical consumer.
Whether you are designing your own facility or purchasing a finished product through a 3D printing service bureau, you can choose the level of finish you prefer or choose to have someone else do all the finishing work for you.
3D Support Removal Tips
Keep these tips in mind when you are experimenting with the best methods for removing supports from your 3D printed models:
- When using any knife or scraper, heat either the model or the blade to make cutting easier. A tiny butane flashlight can help, but be careful with it for the sake of your model.
- Sandpaper works wonders. Wet sanding with high grit sandpaper - from 220 to 1200 - removes the supporting structure and polishes the model.
- With PLA material you can get stress marks when the support material moves away from the model.
Learn more