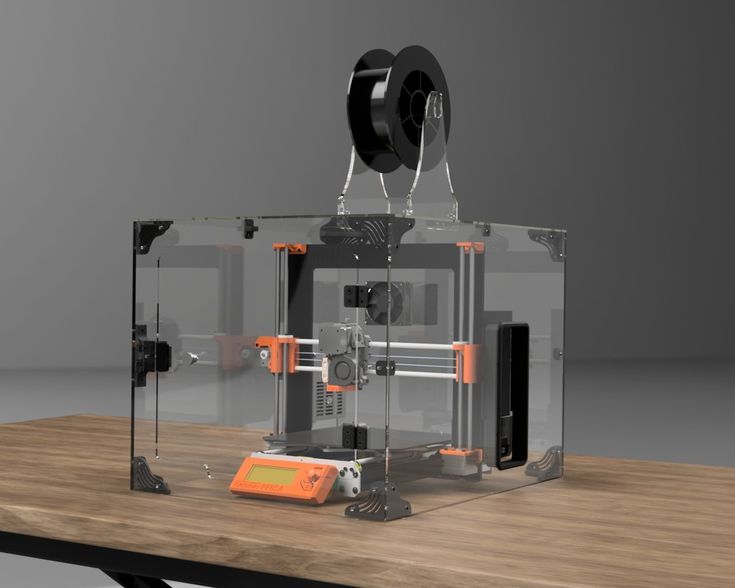
Raspberry pi 3d printer shield
PrintHat v1 - 32-bit motor controller board for Raspberry Pi | 3D printing experts
Overview Description Documentation Specifications
Extension board to the Raspberry PI, allowing you to run a 3D printer
- Fast, space efficient daughter board for Raspberry Pi
- Runs Klipper firmware with Octoprint controller using customized Raspbian OS
This product is no longer manufactured and therefor not available for sale. You can however find alternative products, related upgrades and supplies on this page.
Product description
Fast, space efficient daughter board for Raspberry Pi. Runs Klipper firmware with Octoprint controller using customized Raspbian OS.
The WreckLab PrintHAT is a high performance controller board for the Raspberry Pi and currently the only such board on the market specifically designed around the increasingly recognized firmware called "Klipper", the new kid-on-the-block in the 3D printing community. In simple terms: Klipper's architecture is designed to distribute the computational overhead for high speed, high resolution motor steps to a powerful microcomputer (e.g. Raspberry Pi), freeing up the controller board to execute those steps with greater smoothness and precision.
The PrintHAT is directed primarily at printing enthusiasts and small businesses who are looking into (or already using) OctoPrint as one of their primary 3D printer controller interfaces, since Klipper (and PrintHAT by extension) have been extensively built around OctoPrint's well established and highly developed GUI. While the PrintHAT & Raspberry Pi work behind the scenes, Octoprint provides the user with an advanced, flexible and highly extensible Human-to-Machine controller interface, which now include integrated options for automated processes (macros), event-driven interrupts (filament runout sensors) and web cameras.
Transitioning from other controllers and firmwares? No problem! The PrintHAT comes with a dummy-proof installer package that makes installation a breeze for busy beginners, while also being customizable to the requirements of more experienced users.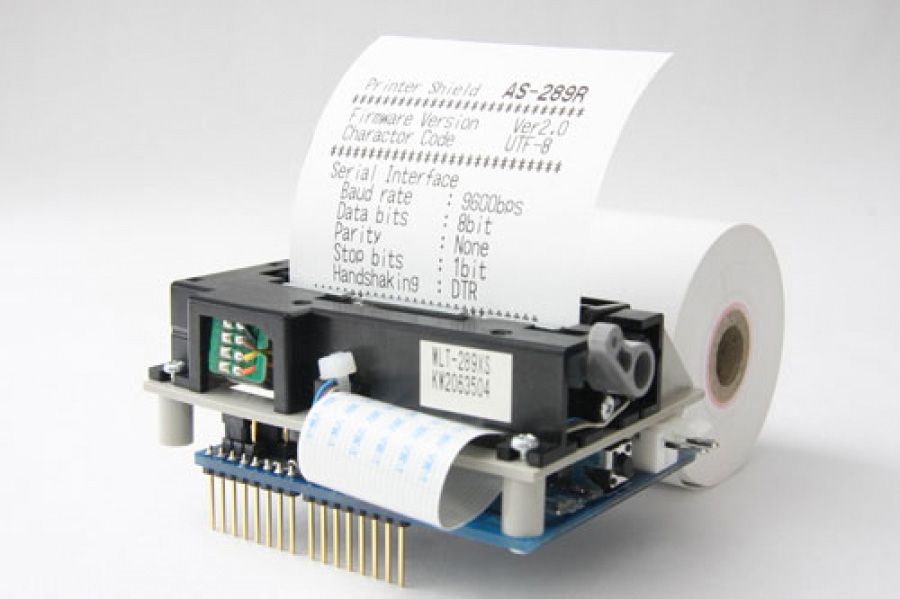 Whether you are in the market for a new machine or wish to upgrade your current configuration, the PrintHAt + Raspberry Pi configuration packs features, power and convenience in a small, clean form factor with minimum hassle and plenty of documentation.
NOTE: A Raspberry Pi is required to operate the printHAT and must be obtained separately. PrintHAT is compatible with Raspberry Pi v0/1/2/3, but the best performance is obtained with v2 & 3.
Specifications:
- Powerful 32 Bit ARM Cortex processor (TM32F103)
- 9-26V input voltage
- 4x TMC2130 stepper drivers
- Enhanced endstop accuracy with the stepper phase detection smart correction
- Sensorless homing
- StealthChop supported for extremely quiet operation and smooth motion
- Up to 256 microsteps per full step
- 4x PWM output (up to 10A per channel)
- 8x GPIOs fully configurable (endstops, filament sensor, etc)
- 2x ADC input
Package contents:
- 1x printHAT board
- 1x boot jumper
- 1x 2x2 pin header
- 3x Molex 395100002
- 1x Mounting Kit (2x M2.
 5x11 hex spacers,4x M2.5x5 Phillips screws)
Documentation
Datasheet User Manual Github Repository (Config files & STLs)
Specifications
| sku | WLPRINTHAT |
|---|---|
| gtin | 8719345012617 |
| Processor | |
| Technology | ARM |
| Type | Cortex |
| Frequency | 72 MHz |
| Dimensions | |
| Length | 87 mm |
| Depth | 56 mm |
| Height | 10 mm |
| Features | |
| Thermistors | 2 |
| Endstops | 8 |
| Stepper drivers | 4 |
| Sound | |
| LCD | |
| External SD card | |
| Ethernet | |
| WIFI | (w/ Pi) |
| Seperated heated bed input | |
| MOSFETs | 4 |
| Dimensions | |
| Product Dimensions | 94x57x19 mm |
Price breaks
| 1 - 9: | excl $ 82. 50 50 |
| 10 - 29: | excl $ 78.50 |
| 30 - : | excl $ 74 |
| Need a larger quantity? Contact our Sales department. | |
World's First Raspberry Pi Controlled 3D Printer is Created by Engineering Student - 3DPrint.com
Raspberry Pi has become quite the useful tool in creating projects which involve 3D printing. In fact, close to 3 million Raspberry Pi boards have been sold so far, and each and every day designers, engineers, and students come up with even more unique uses for this credit-card sized, single-board computer. With a cost of only $25-$40 per device, the Raspberry Pi is perfect for those of us who love creating our own electronics from the ground up. We’ve seen people come up with some very intuitive ideas when combining the boards with 3D printing, but one man may have come up with the ultimate machine.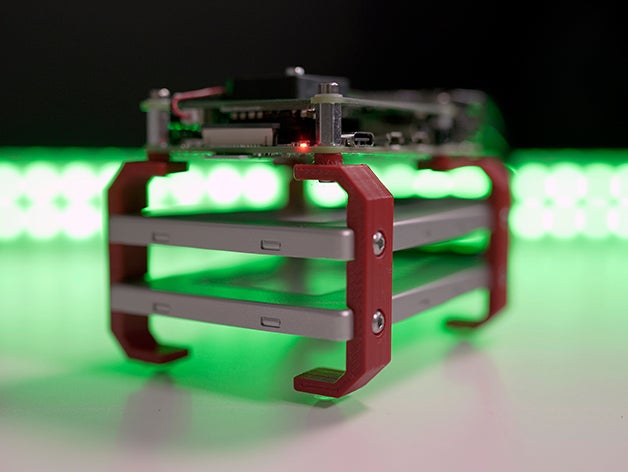
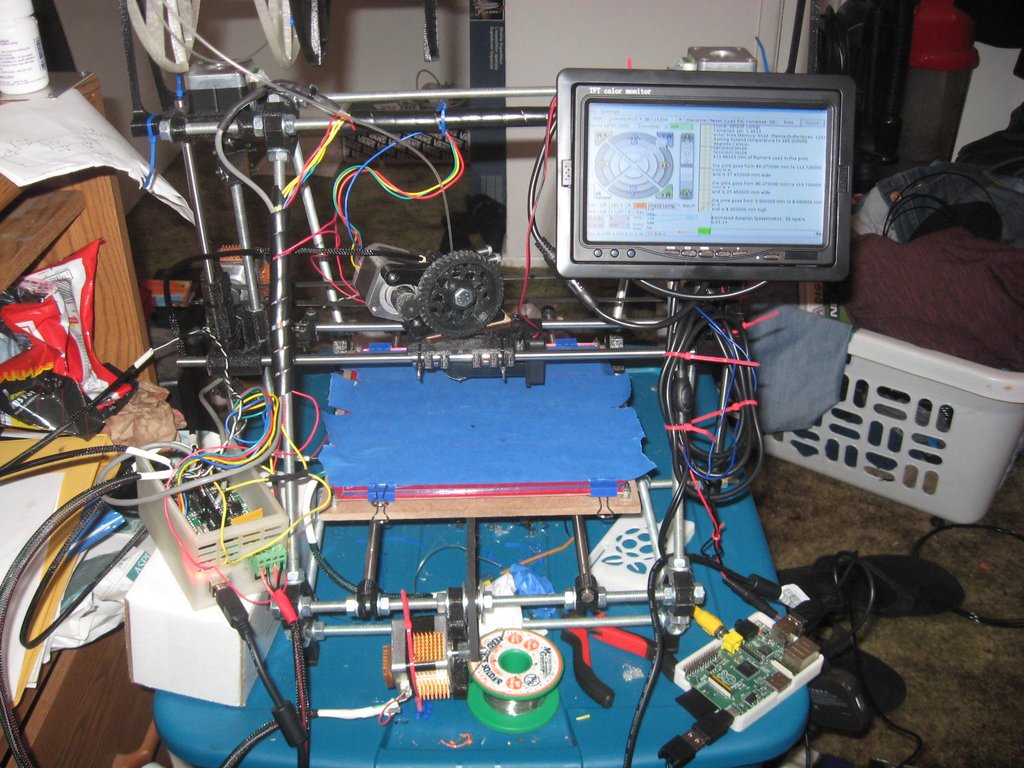
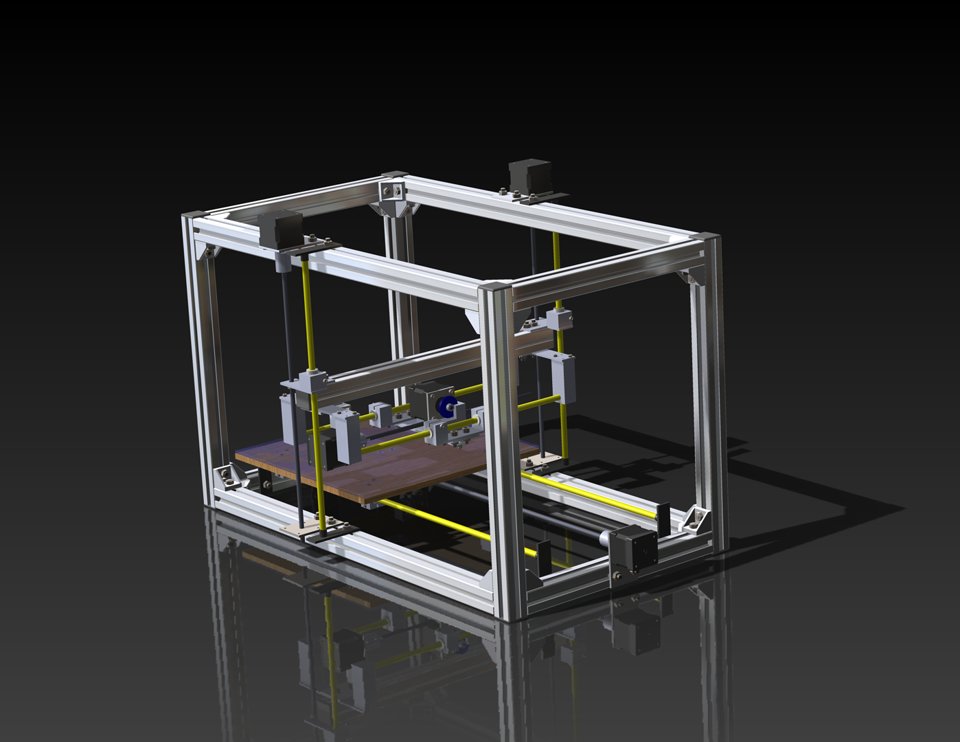
Owen Jeffreys, a level 3 engineering student, took a Raspberry Pi board and combined it with the technology of 3D printing. He came up with what he claims to be the very first Raspberry Pi 3D printer.
Printed on Jeffrey’s 3D Printer
“If you Google Raspberry Pi 3D printer, you will find several people who claim to have made “Raspberry Pi *Powered* 3D Printers”, but if you examine them in detail, they are not actually *powered* by the Raspberry Pi at all,” explained Jeffreys. “These people use the standard firmware which comes with the 3D printer and replace the PC interface with the Raspberry Pi – hence the Pi is not controlling/powering the printer at all, but simply sending buffered GCODE commands to the pre-built printer and acting as a neat user interface to display print progress etc. This unique 3D printer is not like those; the PI actually controls every part of the machine including, but limited to the motors, heaters and temperature sensors.”
It took Jeffreys 8 full months to develop and build, not only the 3D printer from the ground up, but also the C++ program that runs the Raspberry Pi. Just about every part on his 3D printer has been made from scratch. This includes the aluminium frame, the drive system, and even the circuit board.
The Raspberry Pi can be hooked up to a laptop or other HD display in order to show details of the print progress or other information. At the same time though, it doesn’t require an additional display in order to run. Currently the printer only runs at a quarter of the speed of typical consumer-level 3D printers, but that is mainly due to Jeffrey’s selection of stepper motors and gears. He is still looking to improve upon his machine by increasing its speed, and adding on features such as an additional extruder head. “One such improvement which is underway is to modify the interface board used to connect the PI to the 3D printer from a hand-etched, double-sided PCB to a compact ‘shield’ which will stack neatly on top of any PI,” explained Jeffreys.
It should be very interesting to see his final results. This just goes to show you that the Raspberry Pi is a lot more powerful than most people give it credit for.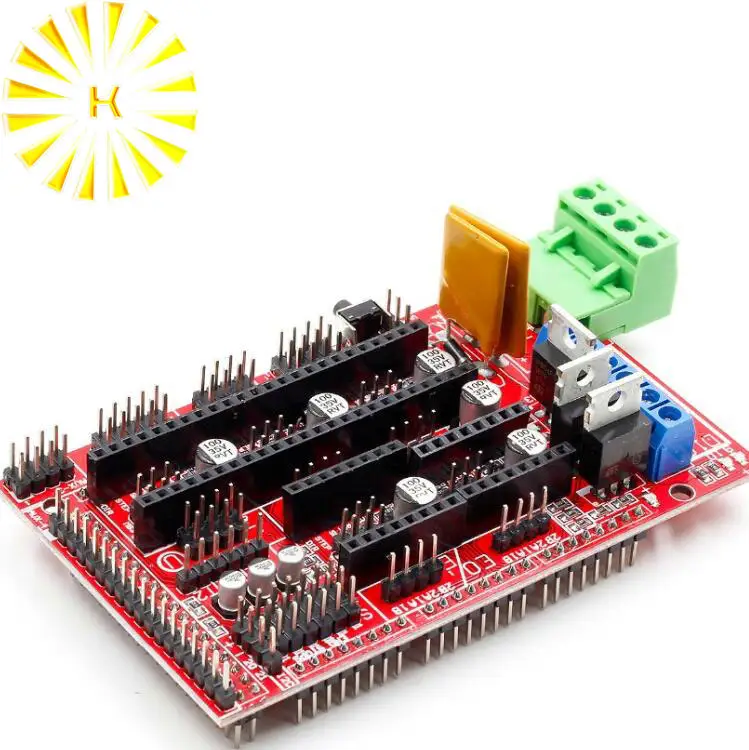 It is truly amazing what a $35 computer can do when the right person gets their hands on it. Will Jeffrey’s design encourage more manfacturers, and DIY’ers to begin using a Raspberry Pi as a control system for other 3D printers?? Only time will tell.
Let us know what you think about Jeffrey’s incredible ground-up built 3D printer in the Raspberry Pi controlled 3D Printer forum thread on 3DPB.com. Check out the video below of this incredible 3D printer.
Stay up-to-date on all the latest news from the 3D printing industry and receive information and offers from third party vendors.
Tagged with: diy • diy 3d printer • raspberry pi • raspberry pi 3d printer
Please enable JavaScript to view the comments powered by Disqus.
PoE Compute Module IO Board for Raspberry Pi CM3/CM3L/CM3+/CM3+L
Compute Module PoE Board is an expansion board (Fig.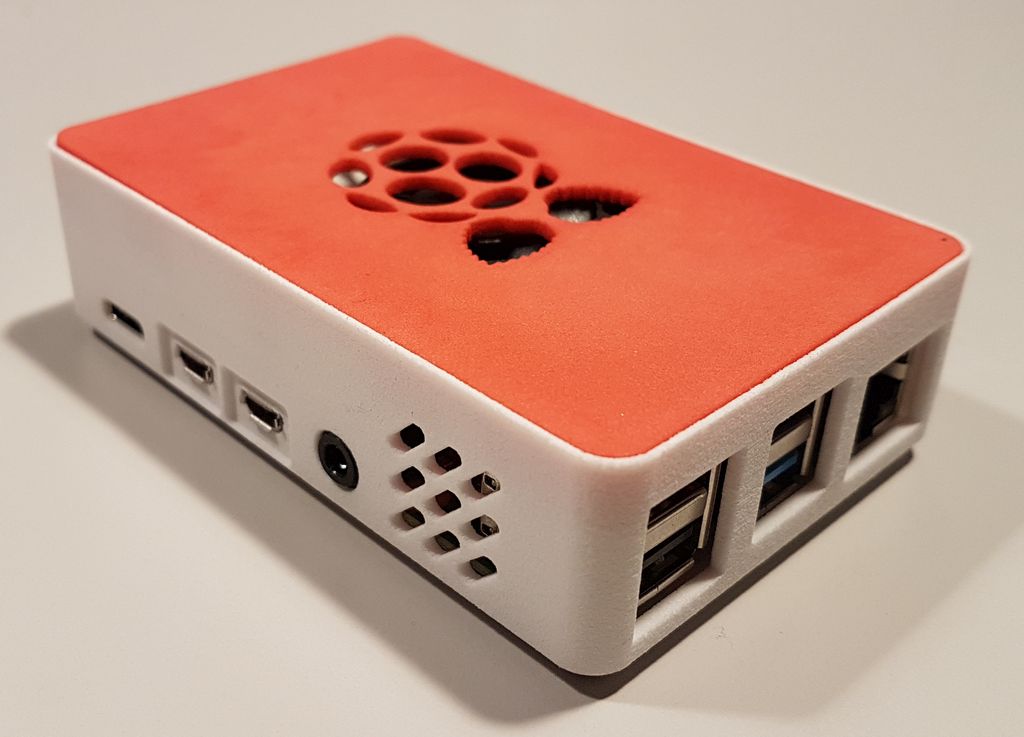 1 - Fig. 4) to which you can connect a Raspberry Pi Compute Module (not included) and use Pi resources more flexibly. With its PoE (Power over Ethernet) function and versatile built-in peripheral interfaces, it is suitable for a comprehensive assessment of the computing capabilities of the Raspberry Pi module, and is also an ideal choice for end products using PoE technology. nine0011
Specification
- Power supply: micro USB port/PoE Ethernet port
- PoE input voltage: 37V - 57V DC
- PoE output voltage: 5V/2.5A DC
- .3af network standard: PoE 8
- Dimensions: 114 mm ? 84.4 mm
- Mounting hole diameter: 3.2 mm 1. Compute Module PoE Board with compute module installed
Fig. 2. Components of the Compute Module PoE Board Note: Compute Module is not included.
Board Features (Figure 2):
- Compute Module Interface : for connecting RPi Compute Module (CM3/CM3L/CM3+/CM3+L)
- Raspberry Pi 900 GPIO connector: for connecting Raspberry Pi 900 HAT
- PoE-enabled Ethernet port : 10/100M auto-negotiation, for connecting a PoE router or switch
- DSI interface : display ports, for connecting Raspberry Pi LCD
- USB ports: 4 USB ports for connecting USB devices
- CSI interface: 2 camera ports CSI port for connecting Raspberry Pi camera
- HDMI 9
- USB to UART interface : for serial debugging
- USB SLAVE interface (slave) : allows you to write a system image to the compute module 3/3+
- Power port: 5V, 2.
 5A
5A - TF card slot (bottom side): Insert a Micro SD card with a pre-recorded system image to run Compute Module 3/3+ Lite variant
- Interface cooling fan
- LAN9514 (bottom side): fully integrated USB hub and 10/100M Ethernet controller
- Si3404 PoE power management IC (bottom side)
- Output Configuration UART:
- on the left: connects the sequential port CP2102 and the sequential port RASPBERRY PI
- on the right: Dischants the sequential port of the CP2102 and the sequential port RASPBERRY PI18
- software via P34 pin
- EN: fan directly powered by 5V
- DIS: Disables Poee
- EN: includes Poee
Fig. Figure 3 Compute Module PoE Board Figure 3 Compute Module PoE Board | Dimensions 4. Compute Module PoE Board Circuit Diagram |
Distinctive Features:
- Raspberry Pi GPIO connector for connecting various Raspberry Pi HAT
- Auto-negotiating 10/100M Ethernet port with PoE support
- 4 USB ports allow you to connect more USB devices
- 2 x CSI camera interfaces
- Built-in HDMI/DSI interfaces for connecting displays
- Built-in USB - UART for serial debugging
- Cooling fan interface, auto-start on power-up or control via I/O pins
- Isolated SMPS (switch-mode power supply)
Development resources
Author: Alexander Shraga
Manufacturers: Wvshare
Published: 04.02.2020
how to install OctoPi on Raspberry Pi
3DPrintStory 3D printing process Installing OctoPrint: How to Install OctoPi on Raspberry Pi
What is OctoPrint? To answer this question, here is a list of OctoPrint features:
- Wirelessly upload G-code files from a computer to a 3D printer
- Manually control the 3D printer (move the X, Y and Z axes, and force plastic extrusion)
- Temperature control printing and changing print settings
- Set up a webcam to view in a browser
- Slicing a model with CuraEngine
- Setting up work with a variety of plug-ins (you can even write them yourself!) USB port.
 This means that you need to, for example, insert an SD card into your computer, load a G-code onto it, and insert it into the 3D printer every time you want to print something. And for a printer without an SD card slot, the computer must be connected throughout the entire 3D print. nine0011
 With OctoPrint, there are no such inconveniences. It works with almost all 3D printers to make managing your 3D printer much easier with its wireless capabilities. It's not necessary, but thousands of hobbyists use OctoPrint to make their lives easier.
Various plug-ins available that provide additional features, including custom time lapse creation, external monitoring/control via smartphone, and even Telegram integration for remote monitoring. nine0011
What do you need?
To get started with OctoPrint, you will need the following:
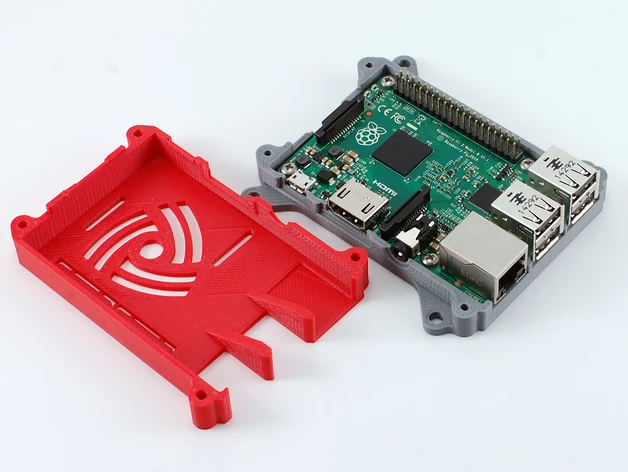
- Raspberry Pi : Although the official recommendation for OctoPrint is Raspberry Pi 3 Model B, the latest Raspberry Pi 4 can be used, although it is recommended to add a cooling fan because this model can get very hot.
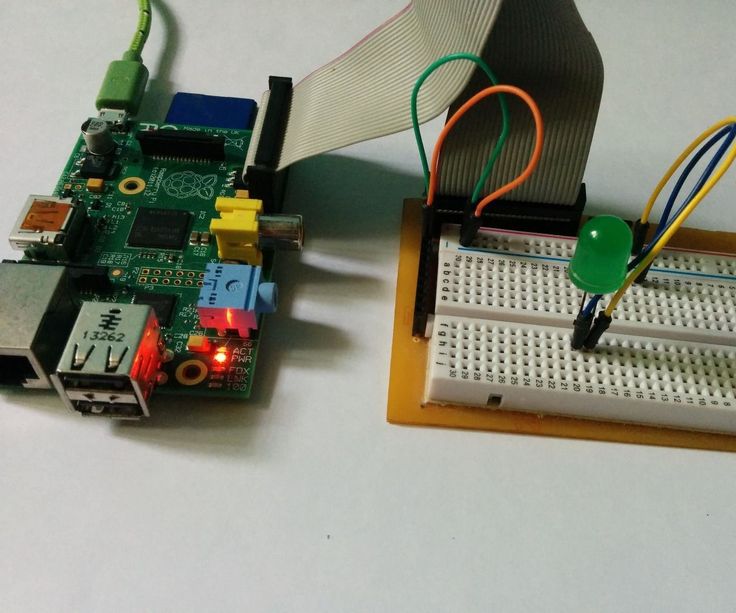 Raspberry Pi versions 1 and 2 may also work, however they will require a USB Wi-Fi adapter as they do not have this feature built in. Unfortunately, the cheaper Raspberry Pi Zero isn't quite up to the task. nine0018
 - Power adapter for RPi : This item is usually overlooked, but it is actually very important to ensure that enough power is supplied to the board. According to the OctoPrint website, the Raspberry Pi 3 is powered by a 5.1V micro-USB power supply, and the 2.5A power supply should provide enough power to run OctoPrint. Undervoltage can cause performance issues and should be avoided.
- Micro or full size SD card : Purchase whatever fits your Pi, along with an SD adapter to connect it to your computer. If you don't plan on queuing a lot of 3D models with OctoPrint, an 8 GB card is sufficient. For users planning to print in large volumes, it is worth looking at 16 or 32 GB cards.
- USB cable : used to connect the Raspberry Pi to a 3D printer.
 Pay attention to which output on your 3D printer is USB type A, type B, mini or micro. On the Pi, it's USB-A. nine0018
Of course, you will also need a 3D printer that works with OctoPrint.
Loading the OctoPi image
The easiest way to get OctoPrint up and running is to boot the Raspberry Pi with the OctoPi image. To do this, you will need an SD card flashing tool. And for that, we recommend Etcher, which is free for Windows and MacOS.
The steps are:
- Download the latest version of OctoPi (currently 0.18 or newer).
- Unzip the downloaded image by double-clicking on it. You must have an image file with an ".img" extension. nine0018
- Insert an SD card into a computer (or connect with an adapter). Please note that when using Etcher, there is no need to pre-format the SD card. In fact, OctoPrint specifically recommends "do not format the SD from within your operating system, even if prompted to do so".
- Open Etcher, select your SD card, select the OctoPi image and click Flash.
 Once this is done, you can begin!
WiFi setup
Now that the OctoPi image is installed on your SD card, you will need to enter your Wi-Fi network name and password in order for your Pi to actually connect to the internet.
- If Etcher removed your SD card when it stopped flashing, be sure to reinsert it into your computer.
- Open your SD card (the directory is usually called "boot"). It should be located where external drives usually appear.
- There's a whole bunch of files here, but don't be alarmed. We need "octopi-wpa-supplicant.txt". nine0018
- For Windows users, open the file in Notepad. For MacOS users, open the file in TextEdit. (Under "Preferences" select "Plain Text Format" and uncheck "Smart Quotes"). You can also open the file in other text editors such as Atom or VSCode.
Here's how to change your Wi-Fi details and country code:
- Most Wi-Fi networks are WPA / WPA 2 protected. In the first network block, remove the first "#" from the four lines as shown in the image above.
 nine0018
 - Enter the name of the Wi-Fi network in the "ssid" line and the password in the "psk" line, keeping the quotation marks in place.
- If you want OctoPrint to connect to multiple networks (eg home Wi-Fi and telephone hotspot), just copy and paste the network box (four lines) and fill in the details.
- Enter your country code below. If you are in the UK, this has already been done for you. Otherwise, you will need to enter "#" in front of the word "UK" and remove the "#" in front of your country name. nine0018
- Make sure the blocks match the image above, especially the "#" character matches.
- Save the file and remove the SD card from the computer.
If you run into any problems, be sure to check out the official OctoPrint WiFi Setup FAQ, which includes troubleshooting tips for many potential issues.
Securing Communications
Each Raspberry Pi comes with a default username and password for SSH access. Therefore, it is highly recommended to change the password to prevent other users from connecting to your OctoPrint and controlling your 3D printer.
 nine0011
 - First boot up the Pi and connect to it via SSH.
- Insert an SD card into the Pi slot. If a Wi-Fi adapter is required, make sure it is plugged into the Pi's USB port.
- Turn on the Pi by connecting the power cable to the micro USB port. Connect the other end to the power adapter.
- Open CMD (Windows) or Terminal (macOS) and run ssh [email protected] (or replace octopi.local with the IP address assigned by your Raspberry Pi router).
- If it returns "Are you sure you want to continue connecting (yes/no)?" type "yes" and press Enter. nine0018
- Enter the Pi's default password: raspberry. Press Enter.
At this point, you should have been logged into the Pi system. To change the default password, do the following:
- Run sudo raspi-config. It should ask for the default password again.
- The first option should be "Change User Password". Press Enter.
- Enter the new password twice.
All.
 Your OctoPrint instance is now protected. Use this new password every time you want to access the Pi via SSH. nine0011
 Connecting the Pi to a 3D printer
It's time to put everything together. In this step, we will connect the Raspberry Pi to your 3D printer:
Power off the Pi by unplugging the power cable from the micro USB.
Connect the cable to the 3D printer and the USB end to the Pi.
Turn on the Pi and your 3D printer.
OctoPrint interface setup
Once the Pi has booted up, you will be able to access OctoPrint via LAN. nine0011
- Enter "http://octopi.local" (or the IP address assigned by your RPi router) in any browser. Make sure your computer is connected to the same network as the Pi.
- You should see the OctoPrint interface and setup wizard pop up. Follow the instructions and don't forget to enter your OctoPrint username and password. Please note that this is not the same as the username and password you have set for your Raspberry Pi.
Learn more
- Raspberry Pi : Although the official recommendation for OctoPrint is Raspberry Pi 3 Model B, the latest Raspberry Pi 4 can be used, although it is recommended to add a cooling fan because this model can get very hot.


