Kinect2 3d scanner
3D Builder Tutorial Part 5: 3D Scanning with Kinect V2
Episode
3D Printing
In this video, Alex Blondin and Gavin Gear demonstrate how you can plug a Kinect V2 sensor into your PC and turn it into a portable 3D scanning setup using the latest version of 3D Builder.
In this video a custom "turntable" was used so that the person being scanned us rotated smoothly, but you can also use an office chair, or move the Kinect sensor and keep the subject stationary. An Alienware 17 laptop was used for scanning because the powerful onboard GPU can process scan data at a high rate, which means you can achieve a high level of detail and fidelity when scanning.
Once your scan is complete, you can either use a 3D printer to print out a copy, or order prints online in a variety of materials. Here's what a 3D print looks like with PLA filament using a 3D Systems Cube 3 3D printer:
And if you want to take advantage of the full color detail that 3D scanning produces you can order a Cubify Colorstone 3D print via the "Buy Print" feature in the 3D Builder app. Here's a Cubify Colorstone 3D print of a 3D scan captured using the 3D Builder app and a Kinect V2 sensor:
Trust me, with a scanning setup like this, you'll have hours of fun scanning people and things. I'm even wondering how I can get my cat to stand still for 30 seconds (too bad that won't happen).
Here's what you'll need to get a setup like this up and running:
- A Windows PC running Windows 8 or greater OS
- Kinect for Xbox V2 sensor or Kinect for Windows V2 sensor
- (optional) Revolving platform/support
Your PC hardware must also meet some basic requirements:
- 64-bit (x64) processor
- Dual-core 3.1-GHz (2 logical cores per physical) or faster processor
- 4 GB RAM
- Graphics card that supports DirectX 11
- A compatible USB 3.0 port (Intel or Renesas)
If you want to know more about 3D Builder, please check out the other videos in this series:
- Part I: Viewing your first 3D object
- Part 2: Transforming and printing your first 3D object
- Part 3: Object Mode and Settings
- Part 4: Building 3D Models with Edit Mode
You can download 3D Builder HERE.
Follow @AFBlondin
Follow @gavingear
In this video, Alex Blondin and Gavin Gear demonstrate how you can plug a Kinect V2 sensor into your PC and turn it into a portable 3D scanning setup using the latest version of 3D Builder.
In this video a custom "turntable" was used so that the person being scanned us rotated smoothly, but you can also use an office chair, or move the Kinect sensor and keep the subject stationary. An Alienware 17 laptop was used for scanning because the powerful onboard GPU can process scan data at a high rate, which means you can achieve a high level of detail and fidelity when scanning.
Once your scan is complete, you can either use a 3D printer to print out a copy, or order prints online in a variety of materials. Here's what a 3D print looks like with PLA filament using a 3D Systems Cube 3 3D printer:
And if you want to take advantage of the full color detail that 3D scanning produces you can order a Cubify Colorstone 3D print via the "Buy Print" feature in the 3D Builder app.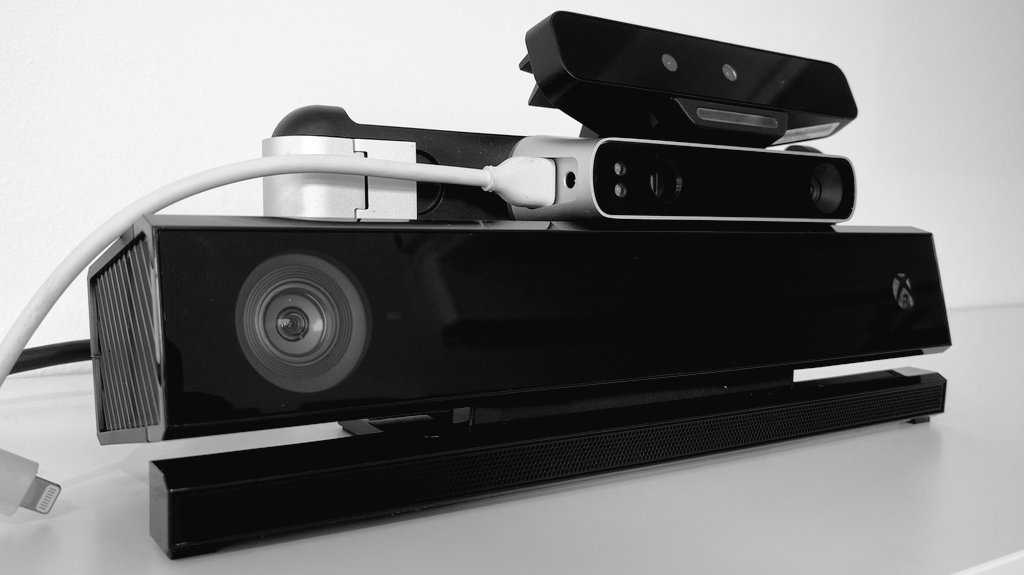 Here's a Cubify Colorstone 3D print of a 3D scan captured using the 3D Builder app and a Kinect V2 sensor:
Trust me, with a scanning setup like this, you'll have hours of fun scanning people and things. I'm even wondering how I can get my cat to stand still for 30 seconds (too bad that won't happen).
Here's what you'll need to get a setup like this up and running:
- A Windows PC running Windows 8 or greater OS
- Kinect for Xbox V2 sensor or Kinect for Windows V2 sensor
- (optional) Revolving platform/support
Your PC hardware must also meet some basic requirements:
- 64-bit (x64) processor
- Dual-core 3.1-GHz (2 logical cores per physical) or faster processor
- 4 GB RAM
- Graphics card that supports DirectX 11
- A compatible USB 3.0 port (Intel or Renesas)
If you want to know more about 3D Builder, please check out the other videos in this series:
- Part I: Viewing your first 3D object
- Part 2: Transforming and printing your first 3D object
- Part 3: Object Mode and Settings
- Part 4: Building 3D Models with Edit Mode
You can download 3D Builder HERE.
Follow @AFBlondin
Follow @gavingear
Windows
Structure Sensor vs. Intel RealSense SR300 vs. Kinect V2 for 3D Scanning
This post was originally published in August 2016 and has been updated in February 2017 with more information and example scans
I just got this question as a reply to my Facebook Page:
It’s an interesting one, and the reply I wrote was so long that I decided to put it up here so it’s available for everyone with that wants to start 3D Scanning — and 3D Printing — on a budget:
Occipital Structure Sensor
Buy on Amazon ($379 including bracket)
Let’s start with the Structure Sensor (Review), because that’s the one that I have most experience with. In fact, I think I scanned about 100 200 300 objects and people with it in the last couple of months. It’s is wireless and has great standalone iPad apps and the option to scan wirelessly to a Mac or PC with Skanect (Review). That last feature means you can make scans that a tablet can’t handle, like large objects and rooms.
For 3D scanning with the Structure Sensor in general, but especially in combination with 3D printing, you should read my Review of the itSeez3D app, which adds a few handy—fully automated—features specifically for 3D printing selfies. The one-click “hollowing” procedure saves a lot of money on 3D printing.
Here are some example scans (all with itSeez3D) of a small object, medium object and human bust:
Teddy — itSeez3D 4.1 Review by Nick Lievendag | 3D Scan Expert on Sketchfab
Bust — itSeez3D 4.1 Review by Nick Lievendag | 3D Scan Expert on Sketchfab
Patrick — itSeez3D 4.1 Review by Nick Lievendag | 3D Scan Expert on Sketchfab
As you can see they’re all pretty nice. If you put the embeds in MatCap render mode you can see the geometry without textures. This might not be as detailed as a professional scanner like the Artec Eva (Review) but those cost upwards of $10,000.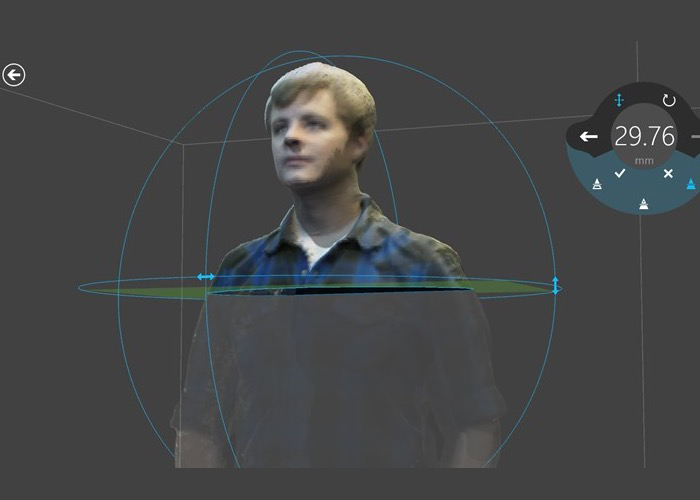 The textures are actually great and you can make 3D prints of these scans on small scale pretty well — especially in full color where the nice texture will compensate for the lack of geometric detail.
These scans are made with Structure Sensor, itSeez3D and 3D Printed in Full Color Sandstone by Shapeways at 10 cm height.
Intel RealSense SR300
Buy 3D Systems Sense 2 ($355.26) on Amazon
Buy Creative BlasterX Senz3D ($199) on Amazon
Buy Razer Stargazer ($149) on Amazon
There are currently three versions of Intel’s RealSense: The RealSense R200 (world-facing) sensor is a bit older, but still being sold. There used to be a F200 (user-facing) version but this has been replaced by the newer RealSense SR300, which is technically a user-facing sensor, but has enough range for 3D scanning up to human size subjects.
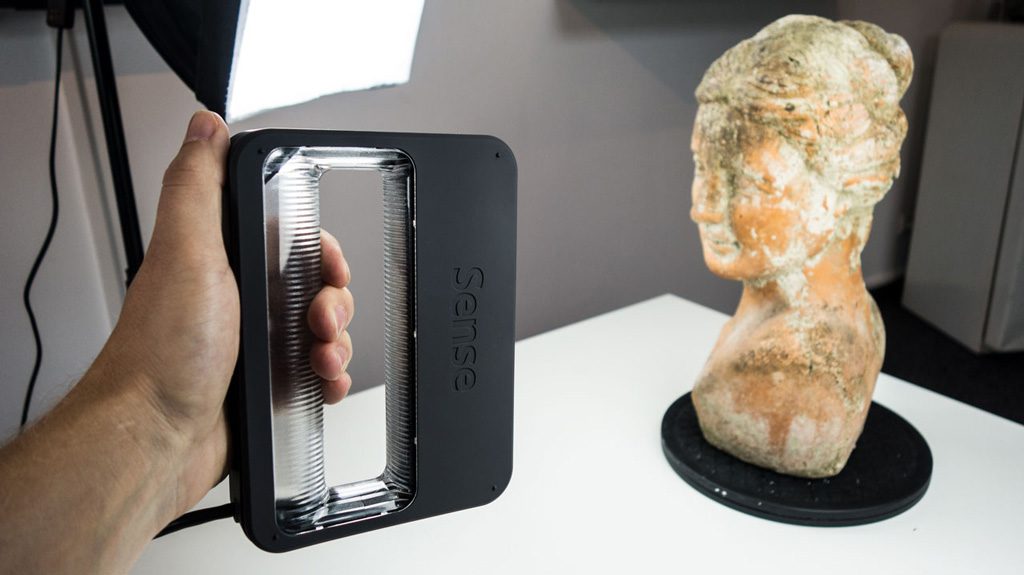
The SR300 is integrated into various devices by third parties. For 3D Scanning, the most important one is the 3D Systems Sense 2 (Review) pictured above.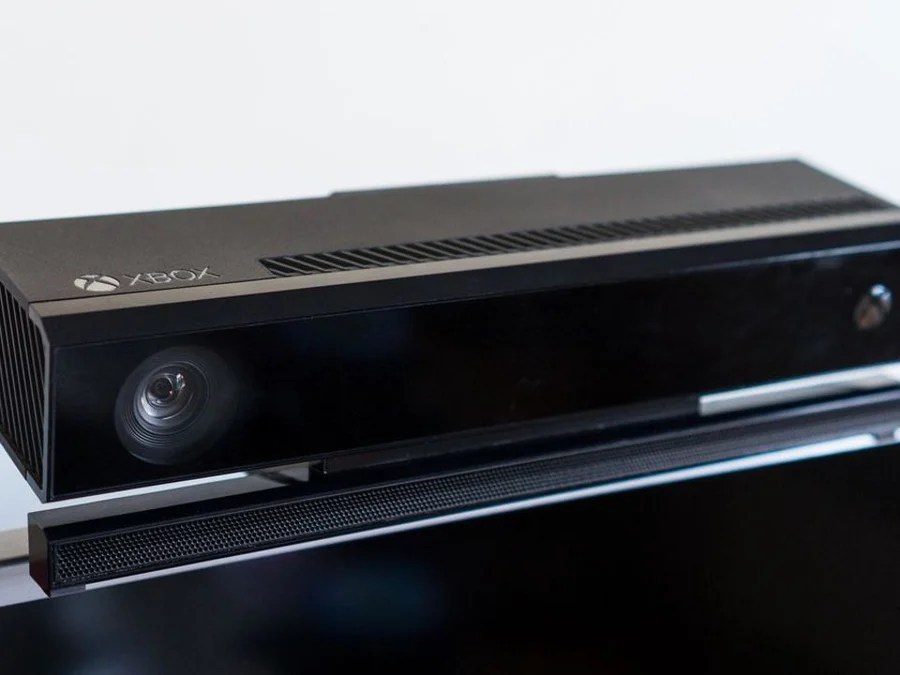 This version is really intended for 3D scanning and comes in a housing that makes it easy to hold it in upright position. It works with the great (and free) Sense for RealSense software.
Other products that feature the SR300 are the Razer Stargazer and Creative BlasterX Senz3D (pictured in the header image). I have a Sense 2 and the Creative device (which I purchased as a SDK from Intel earlier) and they both work with the Sense for RealSense Software. But multiple people have let me know that the Razer Stargazer doesn’t work with that Software and I’m not sure if retail versions of the Creative device will. I’ve reached out to 3D Systems to clarify this.
For those devices you can use the free Intel RealSense SDK 3D Scan app which admittedly is less good and a lot more basic than 3D System’ Sense for RealSense software.
You can also use RealSense devices with RecFusion (which I will review soon) — a comprehensive software suite that costs $99. Or with Artec Studio 11 Ultimate (Reviewed as part of my Artec Eva Review) but that costs €800 a year which might be a bit steep for compared to the price of the hardware.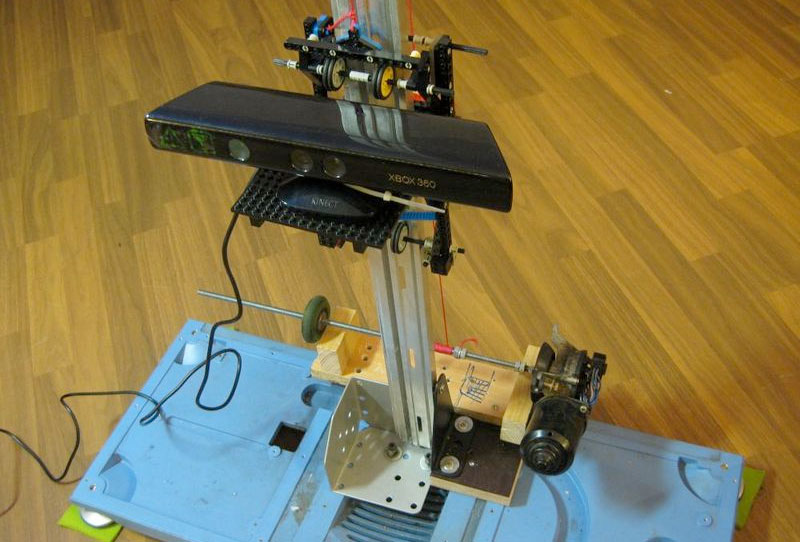
If you want a depth sensor to make 3D Scans on a Windows 10 machine, the RealSense SR300 is a great option. Because of the with free, versatile software I currently advice to get the 3D Systems Sense 2 instead of the slightly cheaper webcam-style alternatives.
Here are the same subjects I scanned with the Structure Sensor, scanned with the SR300:
Teddy (Medium-High) — Sense 2 Review by Nick Lievendag | 3D Scan Expert on Sketchfab
Bust (High) — Sense 2 Review by Nick Lievendag | 3D Scan Expert on Sketchfab
Patrick Bust (Low) — Sense 2 Review by Nick Lievendag | 3D Scan Expert on Sketchfab
As you can see the object scans are comparable to those made with the Structure Sensor, albeit with slightly less crispy textures. For scanning people, I found that the SR300 works okay for busts but that things get a bit tricky when trying to do full body scans (see examples of that in my Full SR300 Review). The Structure Sensor is better in that field.
Microsoft Kinect for Xbox One (a.k.a. Kinect V2)
Buy Sensor on Amazon ($99.99) | Buy Windows Adapter on Amazon ($39.99)
Microsoft’s original Kinect for Xbox 360 (V1) has been responsible for the uprising of low-budget 3D Scanning. That sensor is still widely supported by many 3D Scanning apps like Skanect. This sensor is now outdated. It might still be okay for basic geometry capture, but the texture quality isn’t good enough for today’s standards.
On paper, Kinect V2 solves that by upgrading the RGB camera to HD resolution. Microsoft even used to sell a version branded as Kinect for Windows which is no longer being sold. You can still get a Kinect (V2) for Xbox One but you’ll need to buy the Windows Adapter separately. I did that because it’s still cheap and I was curious to the quality and user experience.
Sadly, both aren’t very good and can’t compare to either the Structure Sensor or the RealSense SR300. For starters, many applications that support the Kinect 360 — like Skanect, ReconstructMe and RecFusion — don’t support Microsoft’s latest depth sensor.
Microsoft does have its own 3D Scan app for Windows, but I couldn’t get anything pretty out of it. Here’s a try on the bust:
Bust — Kinect V2 with MS 3D Scan by Nick Lievendag | 3D Scan Expert on Sketchfab
The only program I could get to work with the Kinect V2 and get somewhat decent results was Artec Studio 11, but as I wrote before that costs €800 a year which is probably not the budget of people that are seeking to make 3D scans in the cheapest possible way. Here’s the result:
Bust — Kinect V2 with Artec Studio Ultimate 11 by Nick Lievendag | 3D Scan Expert on Sketchfab
That result isn’t extremely bad or anything, but as you can see the texture brightness is very inconsistent. That’s because the exposure of the Kinect V2’s RGB camera cannot be locked. This means that it will adapt the brightness based on the direction you’re pointing the sensor. And because the camera’s on the Kinect V2 are very wide-angle this is a real problem.
This wide angle makes the Kinect V2 perfectly suitable for sensing motion and depth of people in front of a TV playing games, but less for 3D scanning — certainly not small things. It also makes it nearly impossible for 3D scanning on a manual turntable, because the tracking gets confused by your arm entering the frame. I scanned Teddy for comparison:
Teddy — Kinect V2 with Artec Studio 11 Ultimate by Nick Lievendag | 3D Scan Expert on Sketchfab
As a final note, it’s good to realize that the while the Structure Sensor is battery powered and the RealSense SR300 is USB-powered, the Kinect V2’s Windows Adapter needs to be plugged into a power outlet to operate. The cables are very long, but it’s still a hassle that impacts the overal user experience.
Needless to say I don’t think Kinect V2 is a contender for depth sensor 3D scanning in 2017.
This might be a good Kinect alternative!
I will soon review the $149 Orbbec Astra S which offers OpenNI2 & Android support and can be used with software like RecFusion (you can even use multiple ones simultaneously in with RecFusion Pro). The “S” version I’ll test is the Short Range version optimized for 3D Scanning people and objects. For Long Range scanning at a more Kinect-like range, take a look at the similarly prices Astra and Astra Pro (which offers HD RGB quality).
Which one should you buy? (updated)
My advice is very simple.
Don’t get a Kinect V2 for 3D Scanning. Period. Even the original Kinect 360 is more versatile if you don’t need the (texture) resolution.
If you already have a compatible iPad or the budget to buy one, you should really consider the Structure Sensor. It’s indeed “elegant 3D scanning” as Occipital calls it. It works great as a standalone device (itSeez3D is a gem!) with just the iPad and you have the extra option of streaming scan data to a PC or Mac with Skanect (again, that software review is really coming soon now!). You can scan medium to large objects by walking around them or on a turntable with ease. Scanning people is also a breeze. Just mind that you have a good light kit (I’ve written separate post about that).
If you have a decent Windows laptop (let’s say not older than 1-2 years) the Intel RealSense SR300 is also something to consider.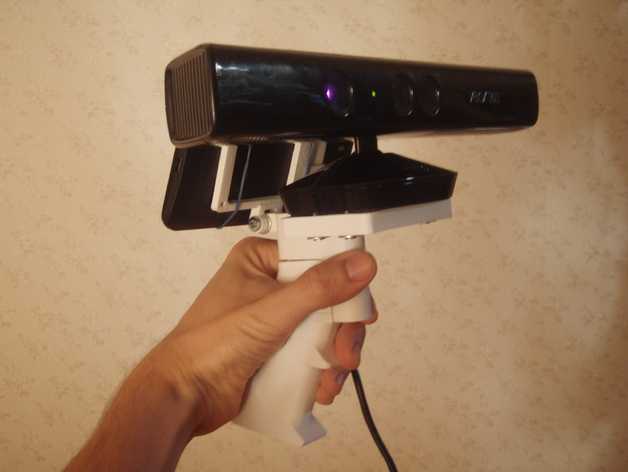 3D Systems has made that sensor into a great value-for-money 3D Scanner, especially because of the software. It’s great for objects, but scanning people will require some more practice. Busts are doable, but Full Body Scanning is not this sensor’s strong point.
Follow me on Twitter, Facebook or Instagram for future updates. And if you think this post could be useful for your friends and followers, please share it on your favorite social network by clicking one of the buttons below:
Subscribe to my Monthly Newsletter
Get great contents delivered straight to your inbox everyday, just a click away, Sign Up Now.
Email address
Full-scale color 3D scanning and printing with Microsoft's 3D Builder
Of course, it's only to be expected that the company will venture into 3D printing technology after all. The 3D Builder app was developed about a year ago. With it, you can print effortlessly while uploading models or creating something new and original.
The 3D Builder app can be downloaded from the Windows Store. With it, you can download, view, edit, and print from a computer running Windows 8.1. But don't rush! One or two changes have been made to 3D Builder: now, thanks to a new product from Microsoft, you can enjoy really innovative and original works. The 3D Builder editor has been upgraded with the Kinect v2 sensor for Windows, which allows you to do full-scale color scanning yourself.
With the power of 3D Builder and Kinect, even inexperienced users can scan and print objects in full color. For example, if you want to scan yourself, then you will need someone who is very familiar with the device and the scanning process. And with Windows Kinect, you just have to stand still while the system scans you. The result is almost immediately displayed in the 3D Builder application, where you can improve the quality of the image and then print it.
With 3D Builder you can:
- Scan color in 3D using Kinect for Windows Sensor v2;
- improve and correct models automatically before printing;
- fix models to prepare them for printing;
- print directly from a 3D printer or order models through 3D Systems;
- add inscriptions or drawings to any model;
- combine and divide objects or cut them into pieces.
While we're all excited about bringing Kinect and 3D Builder together so you can scan yourself and your friends, Microsoft's Kinect Software Development Kit 2.0 is in the pipeline. It was supplemented with 200 new features in order to make Kinect even more convenient and accessible to users. At the same time, developers managed to place their applications for Kinect in the Windows Store, including:
- 3D Builder;
- Nayi Disha - an interactive application for early childhood education;
- YAKiT is an application for creating 2D/3D character models.
“This has been frequently requested by users, and we're excited to give you the opportunity to personalize your PC experience even more with gesture control, body movement, and object recognition available to Windows users worldwide. Access to the Windows Store opens up a whole new market for businesses and consumers,” said a Microsoft spokesperson of the Kinect-integrated apps available in the Windows Store.
For best results, Microsoft highly recommends running 3D Builder with a Kinect v2 sensor for Windows.
All of these are completely free to download, except for the adapter to connect the Xbox One Kinect to a PC via USB 3.0. It can be purchased for $49.99.
Slicing an object in 3D Builder
The new Kinect Adapter for Windows also requires a USB 3.0 port, which costs 19$9, won't work with Xbox 360 Kinect sensor. The Kinect for Windows Application Development Kit (SDK) version 2. 0 is currently available for free download. There are simply no additional fees for the commercial use of this software.
Source: Ink-Market.ru.
Top Ten 3D Scanners from $100 to $100,000 / Habr
Do you need a 3D model for 3D printing? There are several ways for you: you can of course create your 3D model from scratch in a 3D modeling program or find a suitable one on the Internet, but you can also scan an existing object! The purpose of this review is to help you understand the variety of 3D scanners available and offer the best in every price segment from a photogrammetric smartphone app to professional 3D scanners.
Scanners are listed in ascending price order so you can choose the one that suits your budget and use the resulting 3D models for both 3D printing and animation.
If you are not satisfied with the proposed solutions, there is an extended overview at this link.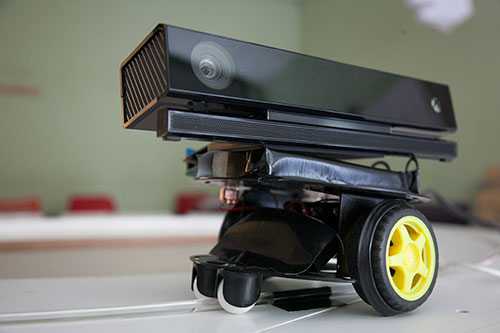
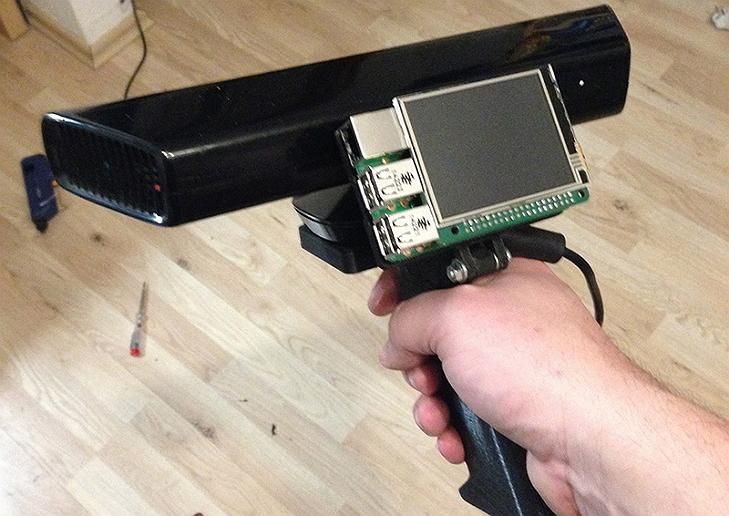
3D scanner in hand:
1. Best smartphone app: Autodesk 123D Catch (free)
Autodesk 123D Catch is a free photogrammetric application. It allows you to create a 3D model from photographs of an object taken from different angles. You can use it to scan objects, people, and even the landscape. For some applications, if you don't need perfect accuracy, you don't need special equipment. This application actually provides quite good detail and is easy to use. However, it will take you at least 30 minutes for the app to process your photos as the processing takes place on the server and it takes time to send them.
2. Best DIY 3D Scanner: Kinect ($99.99)
The Xbox Kinect is designed to expand your gaming experience. It is not designed for 3D scanning, but you can easily find manuals and third party software (like ReconstructMe) to turn it into a 3D scanner. If your arms are growing out of your shoulders, this is an interesting and inexpensive solution for 3D scanning.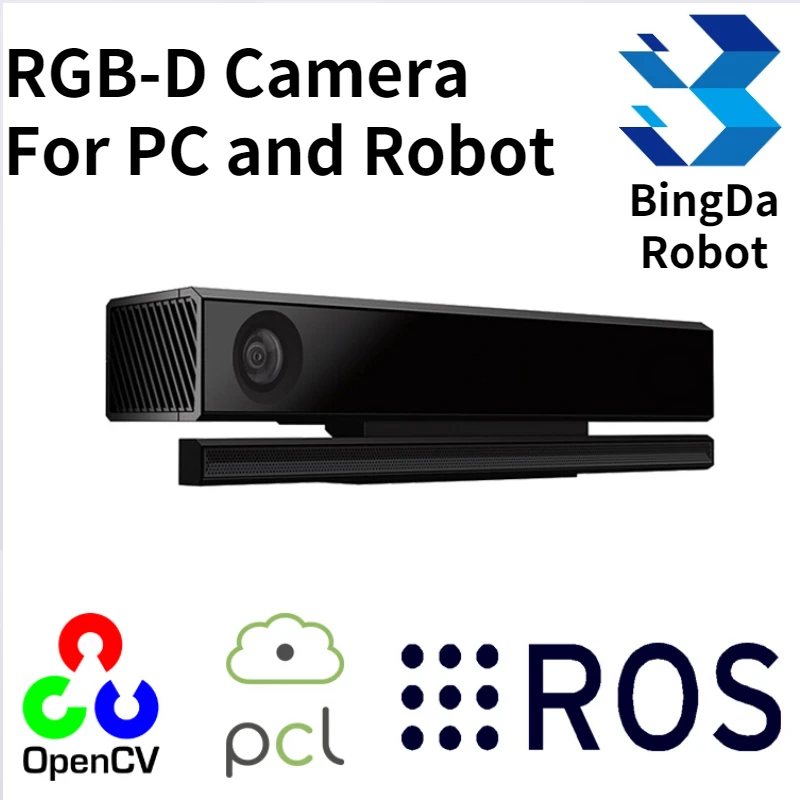
Price: $99.99
Resolution: 0.051 mm
)
This scanner can be attached to your tablet or phone (generally designed for iPad, but can be adapted to other devices). Lightweight and easy to use, with a very good resolution. Suitable for large items (can scan a full-length person) and outdoor scanning. You will be able to use it with software running on Occipital's SDK. This will increase the resolution and give you access to special features like room scanning. It probably won't be something you'll use for 3D printing, but it's interesting for game development, for example.
Price: $ 379
Resolution up to: 0.5 mm
accuracy to: 4 mm
4. The best of cheap manual 3D scanners: Cubife ($ 399)
3D 3D 3D 3D 3D 3D-scanners may be quite affordable and easy to use if you choose from inexpensive portable models. Cubify fits these criteria very well and has a relatively good resolution. But still, its capabilities are not enough for texture scanning and it is better to use it for subsequent 3D printing of one-color models.
Price: $ 399
Resolution: 0.9 mm
Resolution at a distance of 0.5 m: 1 mm
3D scanner on the table:
5. Best and cheapest table 3D 3D 3D 3D 3D 3D 3D 3D 3D 3D 3D 3D 3D 3D 3D 3D- Scanner: Matter and Form ($519)
If you're looking to take your quality to the next level, you can purchase a desktop 3D scanner. This model is compact, easy to use, and delivers good resolution, especially considering the price (not your go-to option if you're looking for perfection, but great for educational and demo purposes). The scanning process takes place with the help of a laser and a rotating platform. The scan takes about five minutes and simultaneously reads the texture of the object.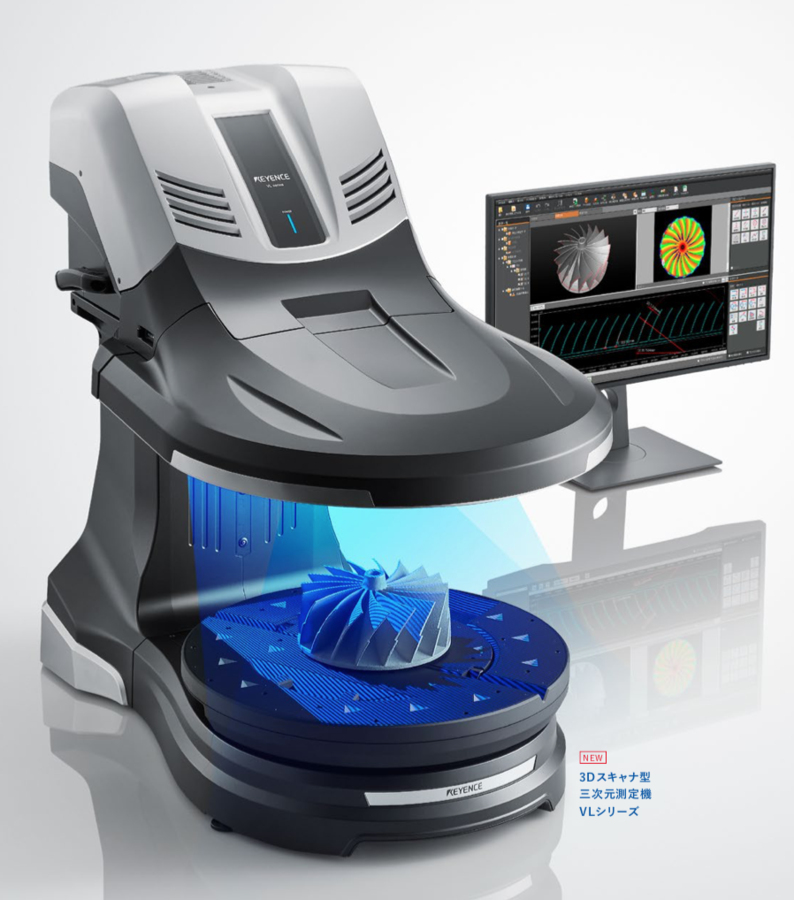
Price: $ 519
Resolution: 0.43 mm
accuracy: ± 0.25 mm
6. The best device "two in one": XYZPRINTING DA VINCI 1.0 ($ 600)
This combines a 3D scanner and a 3D printer. The quality of the models is not too high, but the price is very low for such a combined device. This makes the XYZprinting Da Vinci the easiest solution for beginners who want to get into the world of 3D scanning-printing.
Professional 3D Scanners:
7. Best Value for Handheld 3D Scanner: Fuel3D Scanify ($1490)
Very easy to use, intuitive, and feels good in the hand, this scanner delivers good accuracy and texture quality. The only limitation is that the size of the scanned area is limited, which is great for small objects, but for scanning a full-length person, for example, it will not work.
Price: $ 1490
Resolution: 0.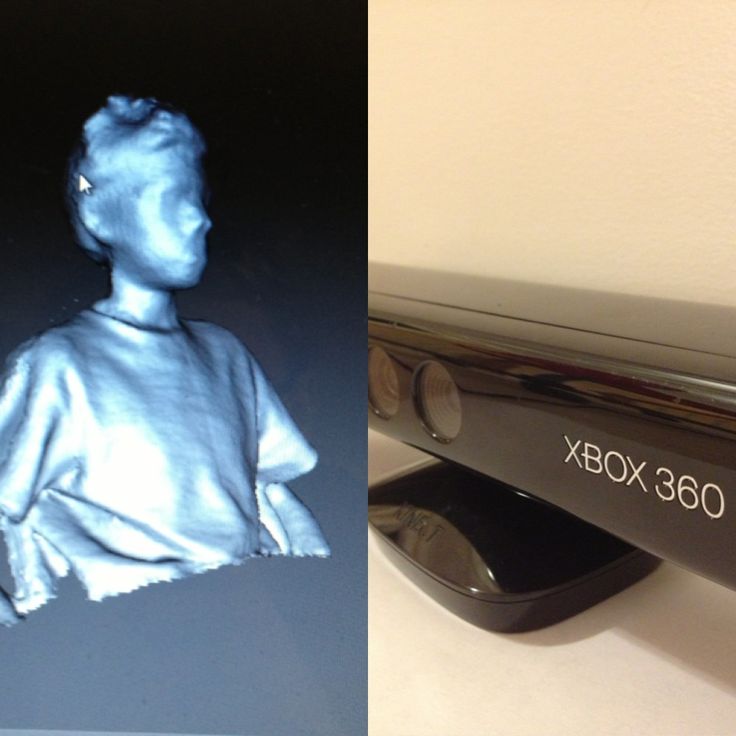 35 mm
35 mm
accuracy: to 0.3 mm
8. Best price The scanner uses a different scanning technology than others. Instead of a dual laser scanning system, it uses a structured light source and cameras for fast scanning with very fine detail down to 0.06mm! The scanner comes with DAVID Pro Edition 3 software that works with OBJ, STL and PLY 3D file formats that can be exported to other programs for further editing.
Price: $ 3995
Resolution: 0.06 mm
accuracy: 0.5% of the size of the object
9. The best desktop professional 3D-scanner: SolutionIX Rexcan 4 ($ 79 900)
is a professional The 3D scanner and its price provides much better scanning quality. Solutionix Rexcan is equipped with two cameras for greater accuracy. It uses optical phase shift triangulation technology and two high-resolution CCD cameras to provide high-precision data. The scanner can be used to scan larger objects by increasing productivity with a photogrammetric system.