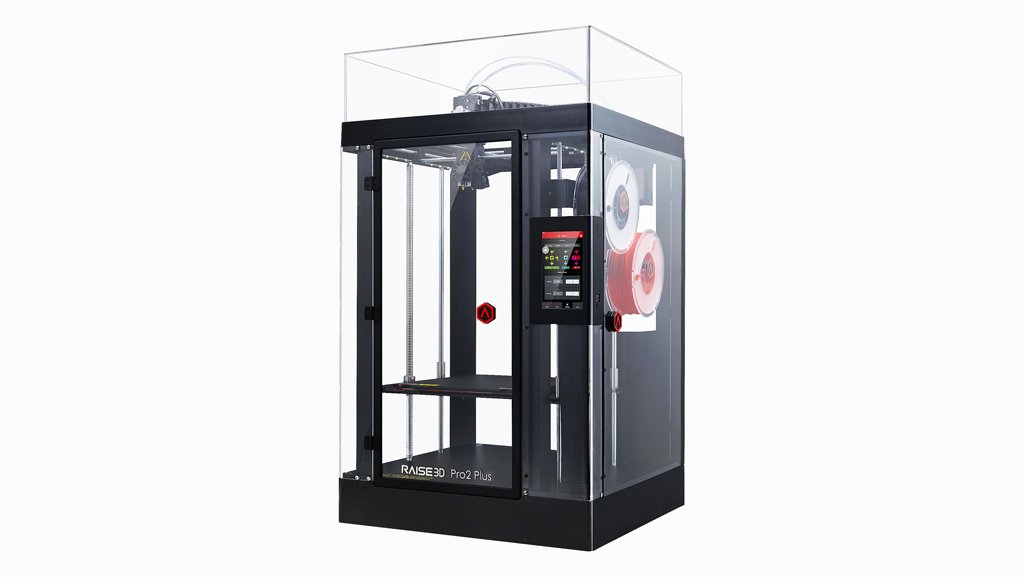
Matlab 3d scanner
RaspberryPi + MATLAB based 3D Scanner - File Exchange
You are now following this Submission
- You will see updates in your followed content feed
- You may receive emails, depending on your communication preferences
Version 1.0.0.1 (35.6 KB) by Siddharth Vaghela
A Simple Single Camera 3D scanner using a line LASER
1.3K Downloads All time: 1,276" data-original-title="Downloads" aria-describedby="popover506129">
Updated 1 Sep 2016
View License
- Overview
- Functions
- Version History
- Reviews (5)
- Discussions (3)
This project implements a simple 3D scanner using the Raspberry Pi, Pi Camera and a line LASER. The algorithm is still a work in progress but gives a decent scan output. I am still working on getting the correct conversion formula from pixels to world coordinates.
I will be uploading the article detailing the project within a few days.
Cite As
Siddharth Vaghela (2022). RaspberryPi + MATLAB based 3D Scanner (https://www.mathworks.com/matlabcentral/fileexchange/56861-raspberrypi-matlab-based-3d-scanner), MATLAB Central File Exchange. Retrieved .
MATLAB Release Compatibility
Created with R2015b
Compatible with any release
Platform Compatibility
Windows macOS LinuxCategories
- Code Generation > Embedded Coder >
- MATLAB > Graphics > Formatting and Annotation > 3-D Scene Control > Camera Views >
Tags Add Tags
3d image processing raspberrypi scanning
Community Treasure Hunt
Find the treasures in MATLAB Central and discover how the community can help you!
Start Hunting!
| Version | Published | Release Notes | |
|---|---|---|---|
1. 0.0.1 0.0.1 | Updated license | ||
| 1.0.0.0 | Updated Copyright notices |
Select a Web Site
Choose a web site to get translated content where available and see local events and offers. Based on your location, we recommend that you select: .
You can also select a web site from the following list:
Europe
Contact your local office
matlab-scanmesh-toolbox - File Exchange - MATLAB Central
You are now following this Submission
- You will see updates in your followed content feed
- You may receive emails, depending on your communication preferences
Version 1. 0.0 (17.4 MB) by Nikolas Lamb
Toolbox of matlab functions to process scanned 3D meshes
https://github.com/nikwl/matlab-scanmesh-toolbox
89 Downloads All time: 89" data-original-title="Downloads" aria-describedby="popover506129">
Updated 17 Sep 2021
From GitHub
View License on GitHub
- Overview
- Functions
- Version History
- Reviews (0)
- Discussions (0)
This is a toolbox of matlab functions to import, process, and export 3D meshes.
Primary appliation is for processing scanned 3D meshes. Our lab generates 3D reconstructions using photogrammetry software with extremely high resolution input images. These meshes often have millions of vertices, are incorrectly scaled, and display hard-to-find artifacts. This toolbox provides methods to help deal with these side-effects.
All of the provided methods run "fast" on very large mesh files. Parallelization is implemented using default matlab functions whenever possible. If you find any potential missed opportunities for optimization contact me and I'll check it out.
Cite As
Nikolas Lamb (2022). matlab-scanmesh-toolbox (https://github.com/nikwl/matlab-scanmesh-toolbox), GitHub. Retrieved .
MATLAB Release Compatibility
Created with R2018b
Compatible with any release
Platform Compatibility
Windows macOS LinuxCategories
- Mathematics and Optimization > Partial Differential Equation Toolbox > Geometry and Mesh >
Tags Add Tags
3d scanning graphics graphs wavefront obj
Community Treasure Hunt
Find the treasures in MATLAB Central and discover how the community can help you!
Start Hunting!
Versions that use the GitHub default branch cannot be downloaded
| Version | Published | Release Notes | |
|---|---|---|---|
1. 0.0 0.0 |
To view or report issues in this GitHub add-on, visit the GitHub Repository.
Select a Web Site
Choose a web site to get translated content where available and see local events and offers. Based on your location, we recommend that you select: .
You can also select a web site from the following list:
Europe
Contact your local office
3D scanning at home. Cheaper and easier than ever!
In the world of 3D technology, scanning is the yin to the yang of 3D printing. While the printer turns computer models into real things, the scanner turns real things into computer models. Along with sketch-based modeling, 3D scanning - in which a real part is scanned into a model in a computer - is another technology for preparing prototypes for subsequent printing.
Advanced 3D scanners are available, but they can be quite expensive and sometimes even more expensive than professional 3D printers. nine0005
Fortunately, today there are home 3D scanners that can be used to achieve outstanding results. Today, there are three scanning methods: laser line scanning, structured-illuminated scanning, and image-scanning modeling.
Line laser scanning.
Probably the most popular scanning method for personal scanners. It obtains data about the model by illuminating it with a laser beam. These scanners work best with a neutral background, such as an all-white back set at an angle of 90 degrees. Such a background is inexpensive to make, and scanners based on this technology are cheap. The addition of a 360-degree rotating platform on which the scanned model can stand can greatly improve the quality of the scan.
When everything is ready, you simply turn off the light, illuminate the model with a laser from all sides, the software does the rest.
Although it is possible to use, for example, MATLAB to convert raw scanned images obtained in this way into a full-fledged 3D model, since 2006 the German company David Vision Systems began to develop special low-cost software for this purpose. This software simulates a 3D model in real time, and you immediately see the result of your work. It composes images taken from different angles and forms a 3D model in a format that is convenient for you. The latest versions of the software also support structured-illuminated scanning (see below). You can even use the free trial version to try it out. nine0005
Patterned Illuminated Scanning
This method combines a light projector, digital camera and image analysis software for the 3D scanning process and is generally faster than the line laser method. An additional plus is that there is no need to prepare the background from behind. The projector imposes a certain light pattern on the scanned model, often a grid of light and dark stripes, so that the program can determine the shape and coordinates of the object, depending on how the light pattern is distorted on it. The light pattern can be both visible and made in the form of infrared radiation, which you will not even notice. nine0005
Infrared scanning has its advantages, for example, because this radiation does not interfere with external light radiation. For example, the Microsoft Kinect device for the XBOX gaming platform uses exactly the method of structural lighting through infrared radiation.
Prior to the use of infrared radiation, ordinary visible color was commonly used. Using this technology, for example, Radiohead's video for the song "House of Cards" was filmed in 2008. The software that supports structured-illuminated scanning is David's software, as mentioned above, as well as ThreePhase, a utility designed specifically for working with structured-illuminated scanning. Most programs are usually written for Mac OS X, but ThreePhase can run on all platforms - Mac OS, Windows, Linux. nine0005
However, since the introduction of the Kinect by Microsoft in 2010, scanning at home has changed a lot. After several years of development, as well as millions of dollars invested in its research, the Kinect device was obtained, consisting of five elements: right and left microphones, an RGB video camera, an infrared radiation projector, and a monochromatic sensor suitable for a laser. A pair of sensor / laser and allows you to scan and analyze the movement of a person. nine0005
In general, the release of the Kinect device prompted many to develop this technology, including in the field of 3D scanning. Against this background, as well as the inexpensive price of the device, interest in structured-illuminated visible light scanning has completely disappeared. Kinect is an incredibly powerful device at a very cheap price and is a great alternative to visible light. At the time of writing, the Kinect sensor costs about $100.
Among all the programs for 3D-scanning, one of the leading programs is the ReconstructMe program from the Austrian company Profactor. This is a quality commercial product that can easily be used for personal purposes. ReconstructMe scans the model immediately at its actual scale, so no further scaling is required. Unfortunately, the program is only available for Windows. nine0005
Skanect from the French company Manctl is another popular program that works with both Windows and Mac OS.
Modeling based on image scanning
If you have many photos of the same part from all angles, then special software will convert them into a 3D model. This method is sometimes called photogrammetric, and it has often been used in forensics to analyze crime scenes, car accidents, and so on. based on conventional 2D photos. In this method, the most important thing is to choose the right photos, shooting angles, and also choose the right software. nine0005
Programs like Eos Systems' PhotoModeler, David's D Sculptor, and Autodesk's 123Catch make it very easy to select anchor points for photo alignment and then create a 3D model.
This simulation works best when you have full access to the subject and the ability to take an unlimited number of photos. The more photos, the better the lighting and the more correctly the photo shooting angles are chosen, the better and clearer the models will be. nine0005
With good observance of all the factors described above, the programs themselves find a way to combine photos to obtain a model, and human intervention is not required at all.
What should I use?
The choice of one of the three methods described above is based on what equipment you have, what size models you are going to scan, and access to the object - the ability to turn and inspect the model from all sides. If you need some kind of rough rule of thumb to start with, then use laser line scanning for small models (less than a human head), for medium-sized objects, structured-illuminated method, and for something large (for example, for scenery) the optimal choice there will be a simulation based on image scanning. nine0005
My own 3D scanner / Sudo Null IT News
My goal was to make a fully functional scanner that can make computer 3d models.
At the same time, I did not want to spend more than $ 20 on all this. True, I did not consider the cost of materials, but still it turned out no more than $ 100.
Preparation
There are several ways to find points in 3D space.
The simplest of these is to use 3 numbers to describe the position of one point in relation to another. nine0059 This method is used by most computer models.
Another way is to use 3 planes or a plane and a line.
As you can see, the easiest way is to use the third method, and then bring its result to the first.
However, the question arises, how to find the plane and its points?
As it turned out, the first is implemented by hardware, and the second by software.
Hardware implementation
I like to explain the main idea first and then move on to the implementation. This will help you find your own solutions. nine0005
So, we need to find a plane and somehow write down where this plane is so that the computer can make a model.
Although many people use to find the edges of the shadow for this, I decided to go the other way.
I found a very bright green laser (you can use a laser from a regular laser pointer if you don't have one).
I directed the laser through a cylindrical lens, which turns it into a line. I used this line to find the plane. This works great, but be aware that the size of your scanner will be severely limited by the size of the lens: my lens is about a third of an inch in diameter, and I'm limited to a scan space of about 2' by 6" by 6". Smaller lenses will work better, but I don't need it. nine0005
Case
First we need to make a box that will contain the scanner. The bottom and back of the drawer are made of melamine, the sides are made of plywood. After everything was done, I decided that melamine was unnecessary: take some plywood and paint it white. This will save you a few dollars.
Laser installation
The next step is to install and mount the laser.
I used an old piece of wood. The rollers are set in such a way that the laser rolls along the rails at the top of the window. There, the laser and lens are mounted so that the plane of light falls perpendicular to the top and bottom of the window. nine0005
Mounting the camera
The camera must be mounted on the side, above the object. This ensures that the laser line will deflect properly.
Now you can put some object. I used gnome. Look at the camera and make sure the laser is noticeably deflected over the object. Look at the photo below to get an idea of what I mean.
Software
The idea behind the software is also quite simple. There are a series of dots, each corresponding to a pixel on the camera. The trick is to learn how to translate points between two spaces. As it turns out, this boils down to a fairly simple equation. nine0005
Scanning in progress
It's time to test our scanner!
Now only one part of the object is being scanned - the one that is directed to the camera.