How to use 3d printer software
What software to use for 3D printing: The complete guide
David Roberson13 May 2021
Guide
Before starting to 3D print, you will need to make sure you have gathered all the necessary software “ingredients” that will guide you through the printing process, from preparing your 3D model to managing printers themselves.
These include:
CAD software to create a 3D model (you can also use an existing 3D model, if you do not wish or need to design one)
Slicing software
Software to operate your printer remotely (this is optional, but can be convenient)
This article will go through each of these ingredients, and will also touch on how the Ultimaker platform creates a seamless end-to-end flow between hardware, software, and materials, empowering you to unlock the magic of 3D printing and make innovation happen.
What is a “slicer”?
A 3D printing slicer – also known as slicing or print preparation software – is a program that converts a 3D model into a language your 3D printer understands.
Slicing software, such as Ultimaker Cura, digitally cuts a model into flat layers, which your printer can then print one by one. With the Ultimaker platform, however, slicing software is not always needed, thanks to integrations that allow you to print directly from CAD or the Ultimaker Digital Library.
Preparing a 3D print using Ultimaker Cura software
What is the best CAD software to design 3D prints?CAD, or computer-aided design, software enables you to design a 3D model from the ground, up. There are many types of CAD software, each with its own benefits. AutoCAD, created by Autodesk, is perhaps the best-known among them since it was one of the first CAD software programs available for personal computers when released in 1982. Other CAD platforms include:
Fusion360 – great for designing and creating efficient mechanical parts
3ds Max – used in all types of 3D model creation, including video game design, architecture, and 3D printing
TinkerCAD – A free, browser-based CAD tool that allows users to build 3D models out of various shapes.
 Popular with CAD novices and for STEAM education
Blender – free, open-source 3D model creation software
Siemens NX – for designing and creating advanced 3D models
Solidworks – for designing and creating professional parts for industrial use
Catia – Advanced design software used for creating surfaces and engineering systems
Before you begin 3D printing, be sure to do your research and pick the CAD software that’s right for your use case. This way, you’ll get the most out of the model you choose to design and print.
Also check which file types your slicing software is compatible with, so you can make your 3D designs into 3D prints.
A design in CAD software (left screen), slicing software (right), and the finished print
How to design parts for 3D printing?
When designing for 3D printing, there are best practices to help you get the best results from your 3D printer and the parts it creates.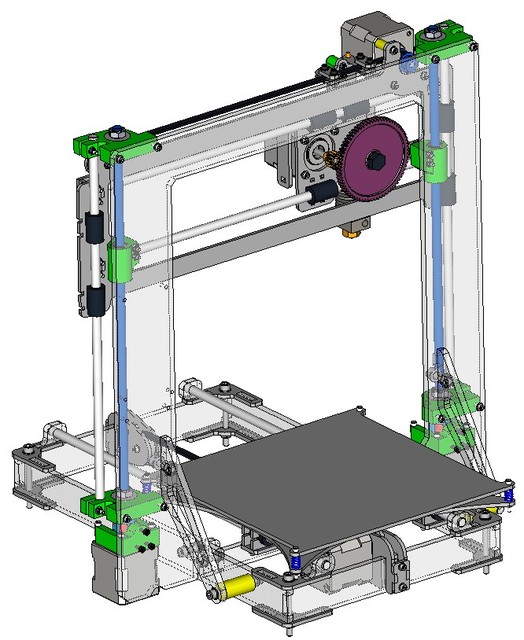 Design parts optimized for 3D printing will improve print success rates, reduce costs through lower wastage, and boost the speed of your product development cycle.
Consider build volume. Your 3D prints can only be as large as your printer’s build volume. Be sure to know its dimensions, then create a part that can either be printed within those dimensions in one go, or plan to use modularity (printing then combining separate parts).
Decide orientation early. Because FFF prints layer by layer, determining the print orientation early in the process helps drive design choices, text alignment, and snap features.
Evaluate overhang support requirements. FFF printed parts are self-supporting up to 45 degrees. Overhangs below 45 degrees must be supported from below with support material.
Follow bridging support guidelines. For most basic filaments, FFF printing does not need support when bridging materials within a 10 mm gap.
Pay attention to nozzle size.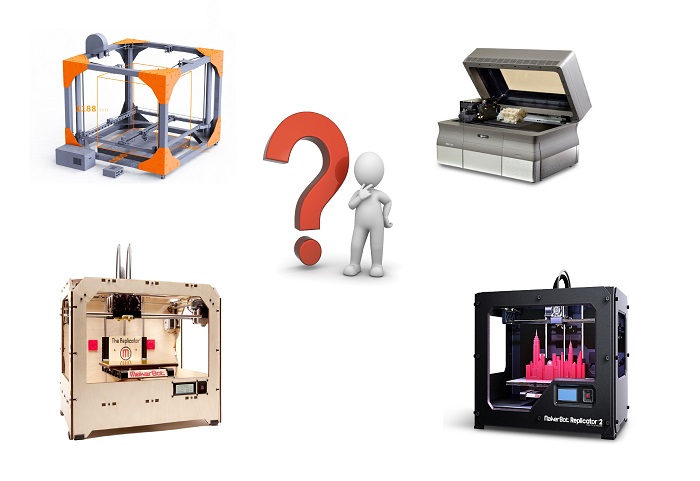 When designing small features, you should consider height, wall thickness, and nozzle size. Larger nozzles will print faster than smaller nozzles, but at a cost of increased minimum thickness and height for your models.
Design with hole diameters in mind. Generally, 3D printed hole features should not be smaller than 2 mm. If accurate holes are required, it is recommended to design the holes smaller than intended and post-process with a drilling operation.
Avoid sharp corners. Sharp corners can be modelled in CAD, but the print may warp. Increasing the area of the surface in contact with the bed will decrease the likelihood of the warpage.
For a deep dive into these factors and more, check out our blog on design for 3D printing.
What software do I need to start a 3D print?
This depends on how much of the 3D printing workflow you need to perform.
As long as you already have access to a 3D model, you will typically need software that can slice that model, so your printer can get to work. Once you have started to print, you can also use software to manager your 3D printer (or printers) remotely.
But as we saw earlier, the slicing step can be avoided if you have a 3D printer integration installed in your CAD tool. If you already have access to a 3D printable file (such as a G-code on a USB stick) you can also go ahead and print without the need for any slicing software, as your digital file is already ready to print.
Controlling 3D printers remotely with Ultimaker Digital Factory software
Managing 3D printers remotely
Ultimaker S-line printers, the Ultimaker 2+ Connect, and the Ultimaker 3 can make use of a network connection to access cloud-based services on Ultimaker Digital Factory. By linking a printer to your Ultimaker account, your printer can then be controlled remotely, from outside of its local area network.
Want to learn more about 3D printing software?
Download our free white paper, “Important 3D printing software features,” which will help you determine the best 3D printing software for your business needs, as well as examine settings, print profiles, and other features that can help you get the most out of your printing experience.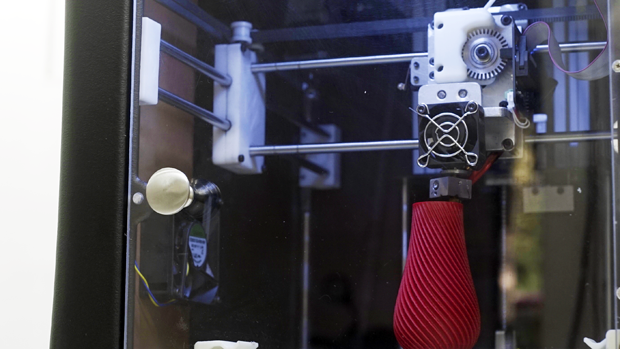
Get the white paper
Software for 3D Printing - 3D Modeling Software/Slicers/3D Printer Hosts
An Overview Of The Best 3D Printing Software Tools
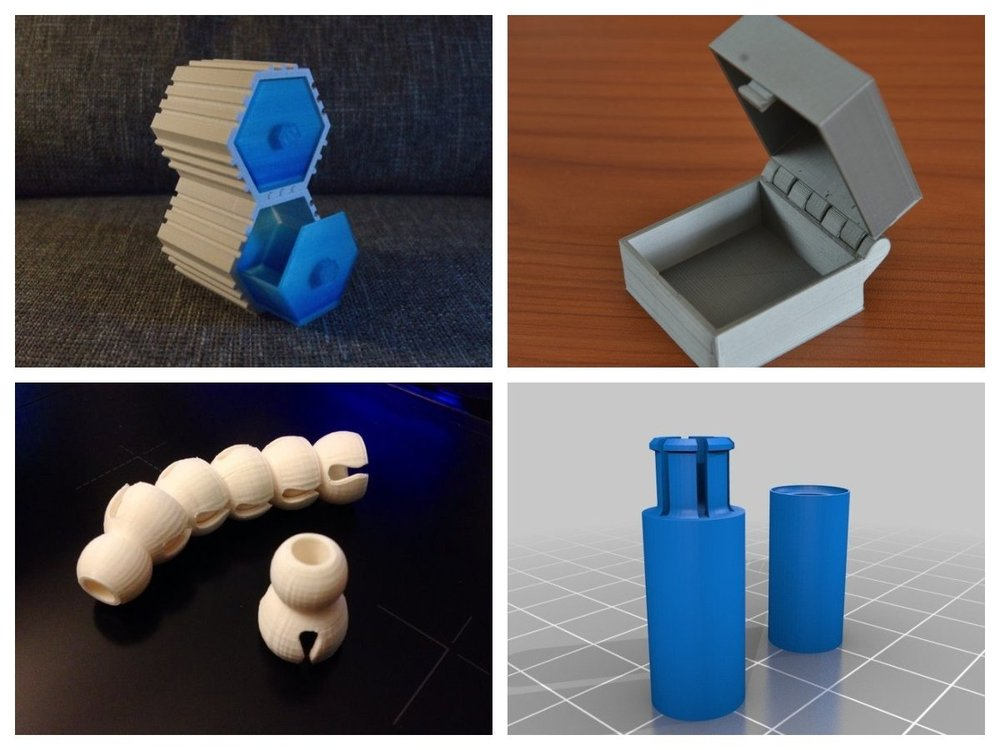
Every 3D print begins as a 3D model generated in a modeling program. Years ago, we had to spend lots of money and time to acquire and learn modeling software. Now, there are many easy-to-use modeling software options available, many of which are free. This list includes some of the best options and is sorted by price, with the free ones sorted alphabetically.
The list also indicates whether the software uses solid modeling, a type of 3D modeling that always generates models that are “manifold” or “water tight.” A manifold model is one in which all walls of the model have some thickness, which is necessary for 3D printing. By contrast, software that uses polygon modeling can generate walls that have zero thickness; that’s fine for creating computer graphics for games and movies but not useful when 3D printing the models. Manifold models can be created with polygon modeling software, it just takes more steps and experience. All the software in this list can create 3D printable models, but every model that comes out of solid modeling software is 3D printable.
Additionally, we’ve noted what skill-level of user each software is designed for: beginners, amateurs, advanced users, and professionals. In general, the easiest to use options are near the top and the most powerful options tend to be near the bottom, though there are some outliers found throughout. Most of these software can be tried for free and there are free tutorial videos available for all of them.
Quick jump to:
3D Modeling Software
- Shapr3D
- Tinkercad
- Blender
- BRL-CAD
- DesignSpark Mechanical
- FreeCAD
- OpenSCAD
- Wings3D
- 3D Slash
- SketchUP
- Fusion 360
- MoI 3D
- Rhino3D
- Modo
- Cinema 4D
- SolidWorks
- Maya
- 3DS Max
- Inventor
Slicers & 3D Printer Hosts
- Ultimaker Cura
- Simplify3D
- Slic3r
- Repetier
- KISSlicer
- ideaMaker
- OctoPrint
- 3DPrinterOS
3D Modeling Software
These tools are all about creating models for 3D printing. Some of them are pretty easy to use while other programs are only suitable for professional users with years of experience.
Shapr3D CAD Modeling
- Price: Free, $239/year for professional
- Solid modeling: Yes
- Intended for: Beginners and Professional
- What makes it special: An intuitive multi-device CAD experience allows you to design anywhere with ease.
Shapr3D is superb for professionals and hobbyists alike. It has an extremely intuitive and innovative user interface which will allow you to create models faster with the same high level of precision.
With their Visualization feature you’ll also be able to preview models in AR to ensure that your print will be perfect in its intended location.
Shapr3D is available on iPad, Windows, and Mac – and it will keep your files synced between them! I would 100% recommend checking them out.
Tinkercad
- Price: Free
- Solid modeling: Yes
- Intended for: Beginners
- What makes it special: It’s designed to allow anyone to create 3D printable models and serves as an introduction to solid modeling.
This is a browser-based 3D design app geared towards beginners. The software features an intuitive block-building concept, allowing you to develop models from a set of basic shapes. Tinkercad is full of tutorials and guides to aid any aspiring novices get the designs they’re looking for. It even allows you to share and export files with ease.
With a library of literally millions of files, users can find shapes that suit them best and manipulate them as they wish. It also has a direct integration with 3rd party printing services, allowing you to print and have your print at your door-step at the press of a button. Even though it can be a bit too simple to the point of limitation, it serves as a great way to learn about 3D modeling.
Blender
- Price: Free
- Solid modeling: No
- Intended for: Amateurs and advanced users
- What makes it special: It’s open source, feature-rich, and includes tools for sculpting, animation, simulation, rendering, motion tracking, and video editing.
In essence, Blender covers many facets of 3D creation, including modeling, animation, and simulation amongst others. This open-source software has a steep learning curve and is ideal for users who feel ready to transition to designing complex 3D models. Check out our Blender tutorials for 3D Printing page.
Blender is actually a free 3D modeling software which was originally for 3D animation and rendering using polygonal modeling techniques. Despite its origins as a software for artists, it is considered quite accessible. One of the software’s interesting features is the photorealistic rendering option. This gives the models an air of realism that few free software can achieve.
BRL-CAD
- Price: Free
- Solid modeling: Yes
- Intended for: Advanced users
- What makes it special: Developed and used by the US Army to support ballistic and electromagnetic analyses.
 Also includes ray tracing and geometric analysis tools.
This open-source software is an advanced solid modeling system with interactive geometry editing. It is apparently used by the U.S. military to model weapons systems, showing that it is quite dependable but also very advanced. BRL-CAD offers a high level of precision due to its use of specific coordinates to arrange geometric shapes.
It offers a large library of simple and complex shapes users can implement into their own designs. They can take multiple shapes and combine them at their leisure, as well. The software used to be quite costly, however it was converted to open source a few years ago. It includes over 400 tools in its arsenal. It also runs at great speeds, especially considering how dense its features are.
DesignSpark Mechanical
- Price: Free
- Solid modeling: Yes
- Intended for: Amateurs and advanced users
- What makes it special: A library of 3D models from industrial suppliers and the ability to generate a bill-of-materials for designs.
 Electrical and PCB CAD tools are also available.
This nifty and free CAD software is ideal for professionals and advanced hobbyists alike. The user interface is relatively straightforward and the software runs quickly, meaning efficient designing. You also have the capability to generate a bill-of-materials that calculates the cost of printing potential 3D design projects.
DesignSpark Mechanical allows users to utilise an in-built library to mix with own drawings. Another feature that new users might find useful is the pull feature that allows users to create 3D models from only a surface. It is feature-rich for a free software and quite beginner-friendly.
FreeCAD
- Price: Free
- Solid modeling: Yes
- Intended for: Amateurs and advanced users
- What makes it special: Models are fully parametric and recalculated on demand with an undo/redo stack. Other features include robotic simulation, architectural tools, and a path module for CAM (Computer Aided Manufacturing).
A parametric 3D modeling tool that is open-source and enables you to design real-life objects of any size. The parametric component makes editing your design a piece of cake. Simply go to your model history and change the parameters, and you’ll have a different model. As the name suggest, it is in fact totally free. The upside of this is that none of the tools are blocked behind a pay wall, so you can tweak your models to your heart’s desire.
It’s not the best for professional purposes, but it’s a great training tool. Despite it’s basic options and design elements it’s worth a try if you’re new and don’t want to have to invest in something before you dip your toe in the water.
OpenSCAD
- Price: Free
- Solid modeling: Yes
- Intended for: Amateurs and advanced users
- What makes it special: Designed for programmers, models are generated through typing scripts.

OpenSCAD is a free software with a ton of features and a unique way of creating models. This software takes a programming approach to 3D modeling, making it a unique addition to this list of 3d printing software tools. Instead of the traditional interactive modeling interface, users write code in a script file that describes the parameters of the 3D object. Once you’ve entered your code, you can view the shapes you’ve created by clicking a “compile” button.
Another great feature that OpenSCAD has is the ability to import 2D drawings and extrude them as 3-dimensional. It uses a part profile from drawings made in a standard sketching software and use the SXF file to do this. With its stronger focus on programming, OpenSCAD may appeal to some while alienating others. Regardless, it is still a powerful tool.
Wings3D
- Price: Free
- Solid modeling: No
- Intended for: Amateurs and advanced users
- What makes it special: Polygon modeling enables the creation of more organic shapes.
 Standard tools can be accessed through a right-click menu.
Wings3D is another open-source polygon model tool. Despite being freeware, it comes with a wide range of mesh and selection tools. Tools like mirror make symmetrical modeling a breeze. Seeing as it is a program for beginners, it is very user-friendly and the learning curve is quite steady. Features like the customisable hotkeys and easy to use interface are indicative of its status as an ideal tool for starters.
Despite the ease of use, it has no shortage of useful features such as plane cut, intersect, inset, bend, sweep, circularize, and sheer, making it capable of some very impressive models. It also supports a very wide range of file formats for both import and export. Despite its simple and plain looks, it is definitely worth checking out if you’re just starting out.
3D Slash
- Price: Free web version; Premium license is $24/year and a Commercial license is $240/year
- Solid modeling: Yes
- Intended for: Beginners and amateurs
- What makes it special: Models are created through “slashing” 3D blocks away to shape them as desired.
3D Slash focuses on providing design software with a uniquely fun user interface and enough advanced features to work with a high level of precision. You can also make logos and 3D text with this software. 3D Slash is free to use and ideal for beginners, however there a range of price packages that add in features for cooperative use or commercial use depending on the needs of the consumer. Additionally, the free versions has limitations in terms of functions, higher resolutions and colours you can apply. It’s intuitive interface with a block cutting style to create shapes makes it simple enough for anyone to use.
Even if you can’t find the creative spark to start a design from scratch, there are a multitude of files available for download that you can import and then cut apart into something new. Novel features like the cursor mode that makes interior designing much easier are great additions. Aside from its ability to run on standard mode, it an can also be used with VR head sets.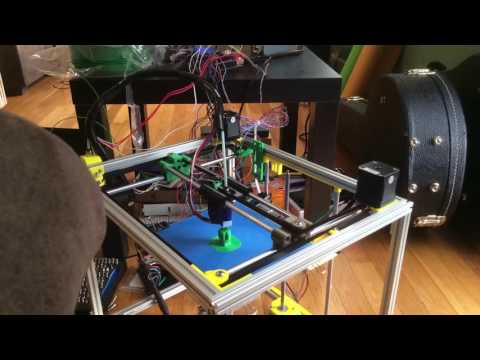 While the blockish style can be limiting in terms of range of shapes one can make and less pleasing to the eyes, it is nonetheless efficient and practical. There are few software that are as quick from concept to finish as 3D slash.
SketchUp
- Price: Free web version; Pro version is $299/year
- Solid modeling: No
- Intended for: Beginners to advanced users
- What makes it special: Intuitive and powerful, with a library of user-generated and manufacturer-produced models.
SketchUp is another good modeling software because it maintains that balance between usability and functionality, making it ideal for most skill levels. The software has an easy learning curve and there are advanced features available for professionals at an extra cost. It is especially good for designing interior and exterior architectural projects but also has tools for a diverse range of other purposes.
Anything complex can take quite a while, but simpler designs aren’t too time-consuming. A freeware version, SketchUp Make, and a paid version with additional functionality, SketchUp Pro, are also available.
Fusion 360
- Price: Free for personal use and startups, $595/year for commercial license
- Solid modeling: Yes
- Intended for: Amateurs to professionals
- What makes it special: Lots of features, such as tools modeling and sculpting, generative design, simulation, assemblies, collaboration, 3D printing, and CAM.
This is a unique addition to the list of 3d printing software tools. Fusion 360 is a cloud-based 3D CAD program that utilizes the power of the cloud to bring design teams together and collaborate on complex projects. Another advantage of the cloud platform is that Fusion stores the entire history of the model including the changes to it. Numerous design options are available, including freeform, solid, and mesh modeling.
Fusion 360 operates on a monthly payment subscription basis. The developers also regularly update the features, making it better as new instalments come along. It runs on multiple platforms and allows users to access their information wherever they want.
MoI 3D
- Price: $295
- Solid modeling: Yes
- Intended for: Amateurs to advanced users
- What makes it special: Can create smooth meshes from CAD models and is pen-tablet friendly.
Short for Moment of Inspiration, MoI offers a sleek UI and powerful range of CAD tools for users specializing in polygonal modeling. The program comes with advanced boolean functions that enable quick design of “hard surface” models. It is a user-friendly software that uses the NURBS modeling system.
While it isn’t free, it is cheaper than some of its competitors. It has a good amount of functions in it, yet avoids being too cluttered with pointless features. The system which uses curves and booleans makes workflow quicker as well.
Rhino3D
- Price: $995
- Solid modeling: No
- Intended for: Advanced users and professionals
- What makes it special: Very powerful and full of features for modeling, analysis, rendering, 3D capture, CAM, and 3D printing.
The company behind this software markets it as the world’s most versatile 3D-modeler. The software is available for download in a variety of bundles on their website at various prices. The program uses a precise and mathematical model known as NURB, allowing you to manipulate points, curves, meshes, surfaces, solids, and more in all sorts of ways. Ultimately, given the range of design features available with Rhino3D, it’s hard to argue against its claims about unrivaled versatility in creating complex 3D models.
Users have commented on how the software can be very difficult to learn. This is a natural trade-off between capabilities and user friendly many designers have to make when creating a detailed software. While it is not the most accurate software at capturing user intent, it is one of the best on the market.
Modo
- Price: $599/year or $1,799 for Perpetual license
- Solid modeling: No
- Intended for: Amateurs to professionals
- What makes it special: Procedural modeling and artist-friendly tools for modeling, animation, texturing, and rendering.
Modo provides creative 3D polygon and subdivision surface modeling tools with a lot of flexibility, allowing you to create both freeform organic models and precision meshes using the same software. This is a professional-grade program with a range of features designed for advanced 3D designers, and the price reflects this.
Even though it isn’t the most user-friendly software, it hosts a large set of features while running smoothly. The speed of the software is particularly evident in terms of baking textures. It also works with partner software and extensions as additional customisations.
Cinema 4D
- Price: $720/year or $3,945 for Perpetual license
- Solid modeling: No
- Intended for: Amateurs to professionals
- What makes it special: An intuitive interface, parametric modeling, and procedural workflow.
This is an extremely powerful 3D modeling tool that lets you create complex 3D designs. Cinema 4D’s quite flat learning curve makes it approachable for beginners intimidated by software with advanced features. The program is regularly updated with free service packs, which help to optimize how it runs on various operating systems.
The user friendly options present the prints in very accessible ways. Scaling and shading options make modeling far easier. It’s sculpting tool is a great example of why this software is ideal for editing models and pre-existing files.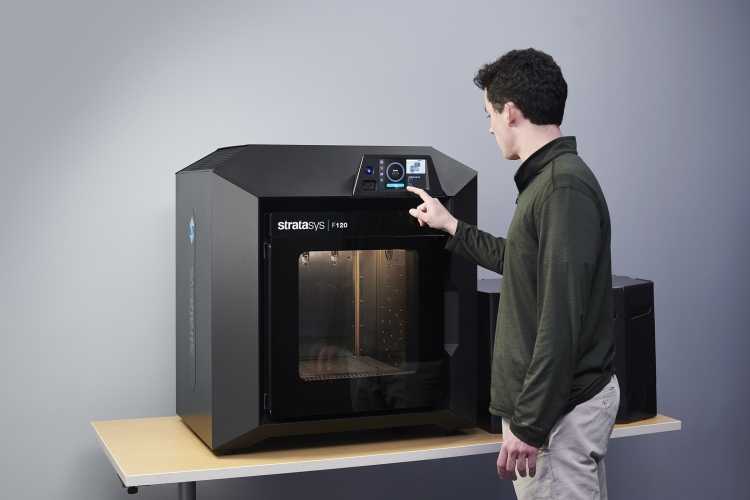
SolidWorks
- Price: $1,295/year or $3,995 for Perpetual license
- Solid modeling: Yes
- Intended for: Amateurs to professionals
- What makes it special: Powerful editing tree and tools for manufacturing, assemblies, simulation, cost estimates, CAM, and 3D printing.
Now we move on to SolidWorks. This is a CAD program often used by professional 3D designers. There are a plethora of advanced features included, such as design validation tools and reverse engineering. Solidworks comes in three distinct packages, depending on the exact features you need.
Solidworks tends towards the industrial side of things. It is practical and detailed. While most software, mimic curves through gently inclining flat structures, Solidworks uses a system of nurbs that create averages of the edges to produce fantastically detailed curvatures. It only does away with polygonal modeling, opting instead for dimensional sketching.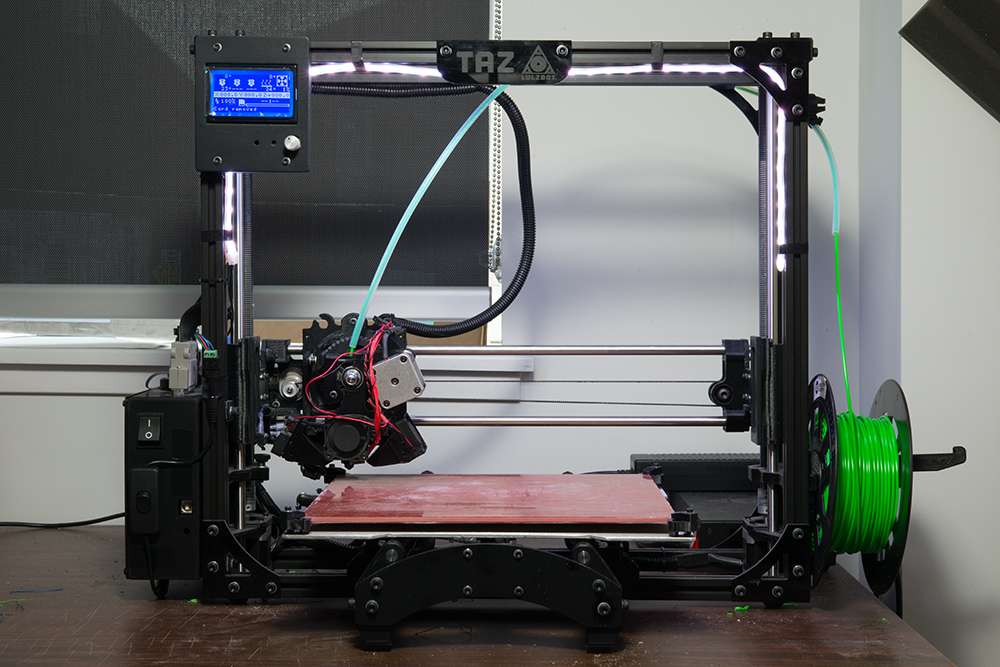 As a result, resizing becomes far less of a hassle.
Maya
- Price: $1,545/year
- Solid modeling: No
- Intended for: Advanced users and professionals
- What makes it special: Procedural effects and powerful world and character creation tools.
Primarily marketed at animation professionals, Maya is useful for many aspects of 3D modeling, especially in terms of mathematically smooth surfaces and shapes. Maya was originally slated as a 3D animation software, but is very useful in 3D printing as well. Thus, a lot of the interface options are more reminiscent of sculpting and animation.
Maya is more applicable to artistic printing requirements. It has a fast rendering engine and is best for highly detailed models with many intricacies. The downside is that it is very expensive (it is, after all, the same software used for high-budget movie CGI|). Nonetheless, it allows for realistic representations of reflection and colour on a software with smooth operation.
3DS Max
- Price: $1,545/year
- Solid modeling: No
- Intended for: Advanced users and professionals
- What makes it special: Advanced users and professionals
Another program that focuses on animation, 3DS Max offers some great 3D modeling features such as shading tools, parametric mesh modeling, and polygon modeling. This Windows only software is a favourite among video game developers, many TV commercial studios and architectural visualization studios.
Inventor
- Price: $1985/year
- Solid modeling: Yes
- Intended for: Advanced users and professionals
- What makes it special: Tailored specifically for product design and engineering applications and loaded with tools for simulation and manufacturing.
Inventor 3D CAD software offers professional-level 3D mechanical design. The program comes with freeform, direct, and parametric modeling choices. Furthermore, you also get automation and simulation tools.
Developed by Autodesk, Inventor comes in different packages depending on level of proficiency (student, professional etc.). One of the great things about Inventor is how they improve the software with user feedback. New versions include improvements to visual data representation and the ability to easily reference 3rd party designs without the need to convert file formats.
Slicers & 3D Printer Hosts
The second section of this list of the best 3D printing software tools focuses on programs that help you to execute a 3D print. Slicers are the easiest way to go from a 3D model to a printed part because they take a CAD model, slice it into layers and turn the model into G-code. The slicer software also includes 3D printer settings like temperature, layer height, print speed, etc. to the G-code. The 3D printer can read this G-code and make the model layer by layer following the instructions set in the G-code.
Ultimaker Cura
Despite its name, Cura can be used with almost any 3D printer because it is an open-source slicer. The program is ideal for beginners because it is intuitive and fast. Most of all, it’s easy to use. More advanced users can access a further 200 settings to refine their prints.
Simplify3D
Simplify3D is an extremely powerful premium slicing tool that helps you drastically improve the quality of 3D prints. Not only does Simplify3D slice your CAD into layers, it also corrects any problems with your models and allows you to preview the end result, helping to further identify any other issues. Advanced users will need to decide if the premium features are worth paying for compared to open-source slicers.
Slic3r
This open-source software includes real-time incremental slicing, 3D preview, and more. It is one of the most widely used 3D printing software tools. The incremental real-time slicing ensures that when you change a setting, the slicing doesn’t need to start from scratch. Only the G-code for affected parts is recalculated. The end result is a fast, flexible, and precise slicing program.
Repetier
This open-source slicer software supports three different slicing engines; Slic3r, CuraEngine, and Skeinforge. Repetier can also handle up to 16 extruders with different filament types and colors simultaneously, and you can visualize your end result before printing. There is a lot of customization and a lot of tinkering involved, making Repetier ideal for more advanced users. You also get remote access to your printers with Repetier host.
KISSlicer
This slicing software does its job well, although the user interface is somewhat basic. Still, if you just need a slicer that delivers great results, use KISSlicer. Note that the basic version is for single-head machines only. You’ll need a PRO version for multi-head machines.
ideaMaker
This free slicer is distributed by Raise3D and provides fast, simple slicing for most 3D printers. Team members can share print profiles and supports can be automatically or manually placed. The adaptive layer height tool allows the software to adjust layer height depending on the level of detail in the model, maximizing print quality while minimizing print time. Remote monitoring and control is also available.
OctoPrint
A free open-source web-interface that allows for remote control and monitoring of 3D printers. It’s compatible with most 3D printers and allows users to watch their prints with an embedded webcam feed. Prints can be started, paused, and stopped remotely, and plugins are available to track print statistics and send push notifications on job progress.
3DPrinterOS
This nifty cloud 3D printer management software comes at a cost. The essential idea is the management of the entire 3D printing process with one platform. Users can edit and repair designs, slice STL files from the cloud, and even send files for printing from anywhere in the world. The software also features the capability to share CAD files.
instruction how to work from scratch for beginners and dummies, how
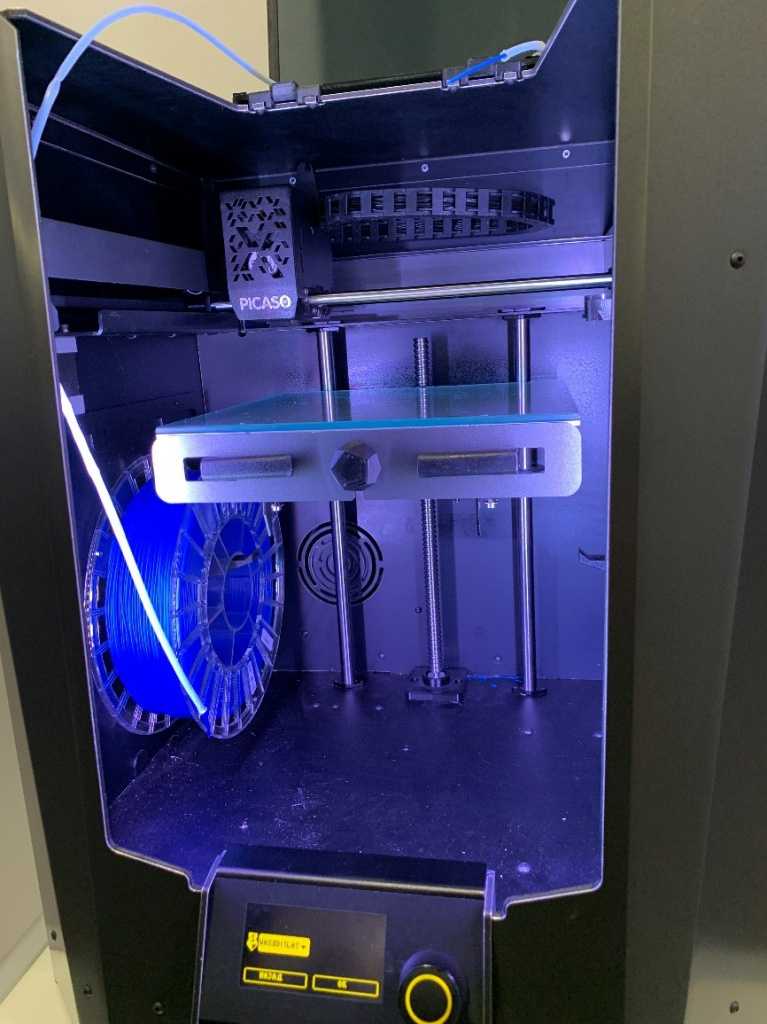
looks likeThree-dimensional printing has become increasingly introduced into our daily lives. Thanks to new technologies, it has become possible to easily print from a small detail to a large building. The range of products is also pleasing - today you can find a lineup that includes both affordable devices and more expensive ones. But how to work with a 3D printer? This is a completely normal question that any beginner will have, it is for this reason that we will try to answer it as simply and accessible as possible.
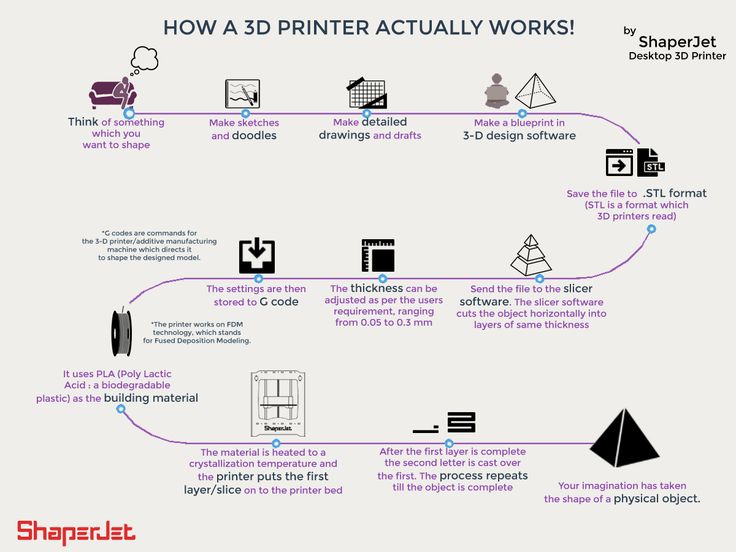
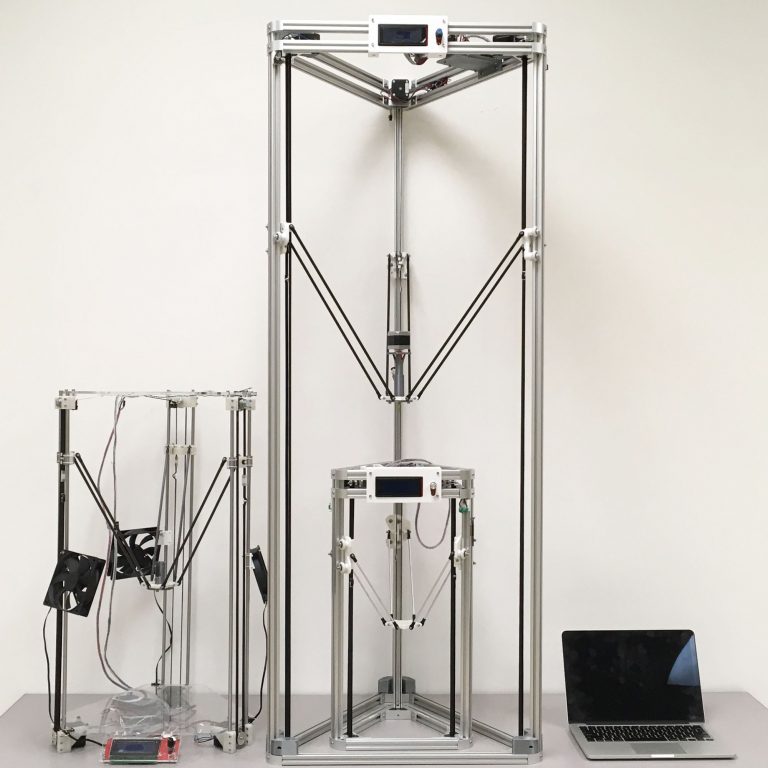
What is a 3D printer and how does it work?
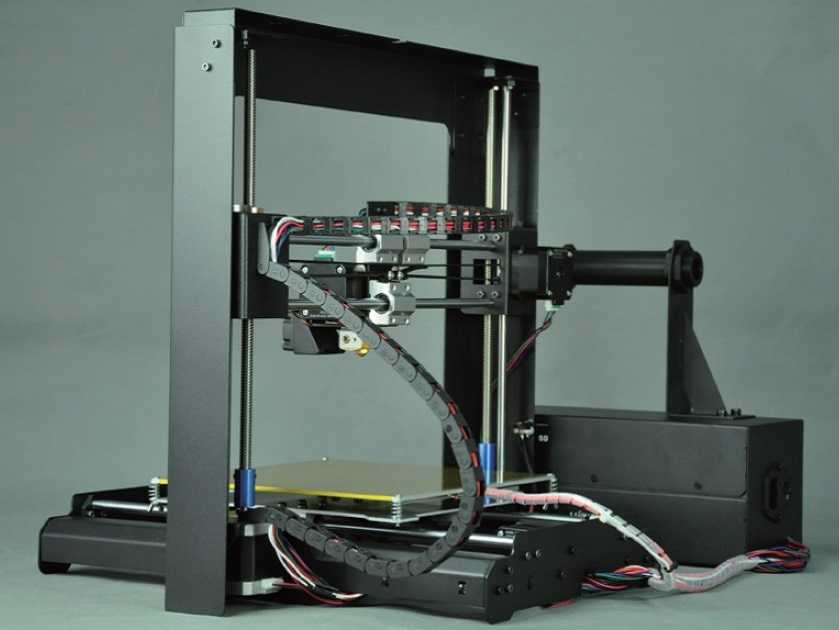
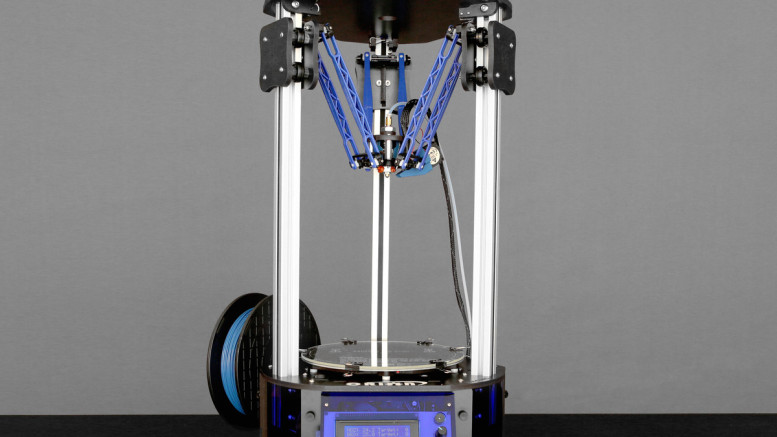
The 3D device consists of the printer itself and a computer that controls all processes. The principle of operation of such a design is to create 3D models by superimposing layers of liquid material. There are a large number of printer models - from large industrial ones to compact ones, but they all have the same principle of operation and component parts:
- Extruder - the print head through which the thread passes.
 The head heats the thread to a semi-liquid state and evenly supplies the material to the working surface.
 - Work surface - a printing platform on which a 3D model is formed.
- Motors - mechanisms responsible for the accuracy of movement and speed of printing.
- Sensors are electronic devices that limit moving parts to specified coordinates.
- The frame is the structure that connects all parts of the printer.
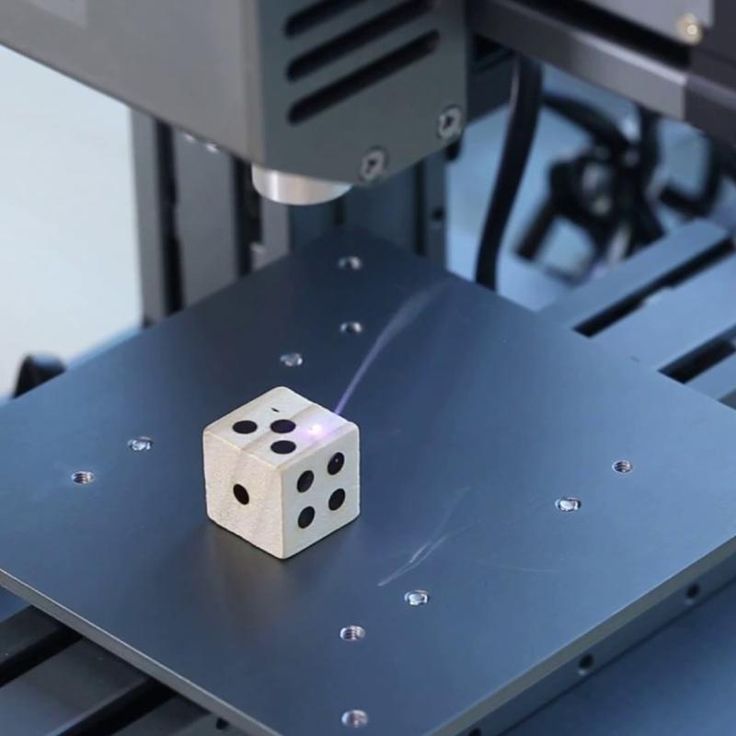
How a 3D printer works: features
Work with the aim of building a three-dimensional model begins with a sketch, which is created in a special program. After that, the software independently generates a plan for the movement of the print head and a print sequence. The 3D model is reproduced by strongly heating the plastic and distributing it evenly.
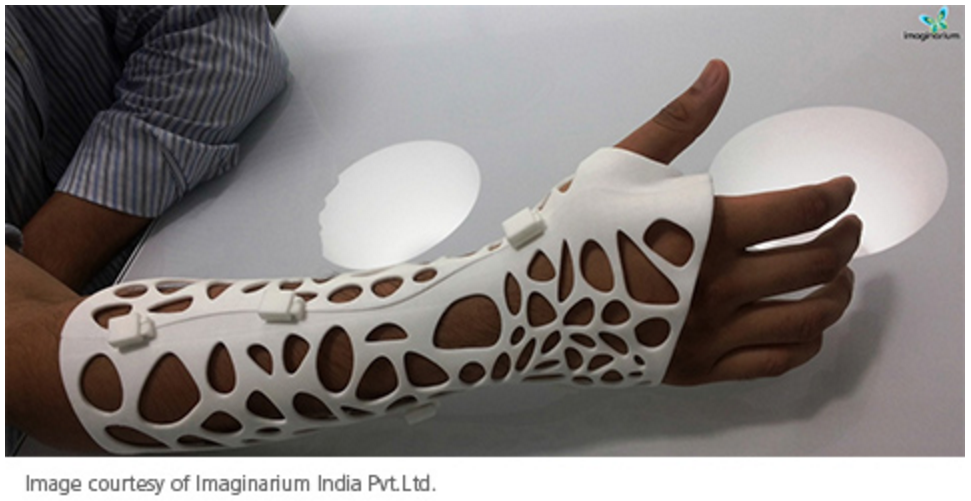
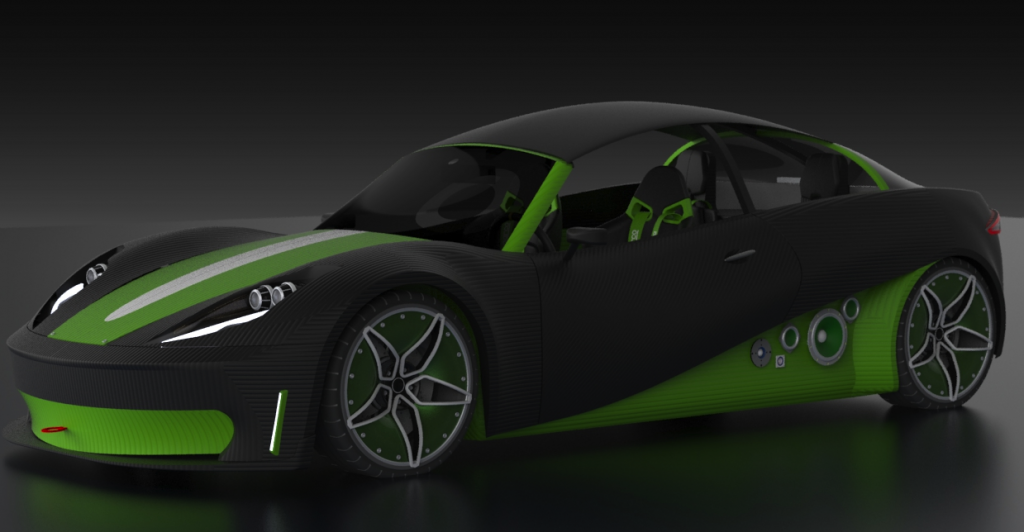
3D printers are used in many areas. Let's list some of them:
- Architecture - creation of models of buildings.
- Medicine - dental prosthetics, making models of organs for study.

- Construction - production of houses using 3D printing technology.
- Education - a visual aid for learning 3D printing.
- Automotive - creation of tuning parts, prototype layouts and other products.
This is a small list of industries where 3D printing is actively used. Today, almost every entrepreneur and just an enthusiastic person can afford a printer.
The following printers are distinguished by design features:
- RepRap - self-reproducing printers that can create their own copies.
- DIY-kit - the device comes disassembled with instructions, the assembly of which will take a sufficient amount of time.
- Completed - Models are delivered assembled and ready to use.
- Commercial and Industrial - devices capable of printing metal, concrete, polymers and other materials.
How to use a 3D printer: tips for beginners, where to start
Mastering the technique of 3D printing is not difficult if you follow the recommendations and tips. Especially for those who plan to learn the basics of 3D modeling, an up-to-date list of questions and detailed answers to them has been prepared.
Printer Installation
To begin, you will need to carefully unpack the box and remove any stops. The next step is to install the printer on the surface using the building level. This will allow you to place the device as evenly as possible, which will provide better printing.
Note. Some 3D printers come with a level for installation.
Next, you will need to connect the printer to your computer and install the necessary drivers. The software disc comes with the 3D device.
Preparation for work
To get started, you need to calibrate the working surface - without this, printing quality products is impossible. This process is carried out automatically or manually. The attached instructions have detailed information on how to perform manual calibration.
Extruder patency test
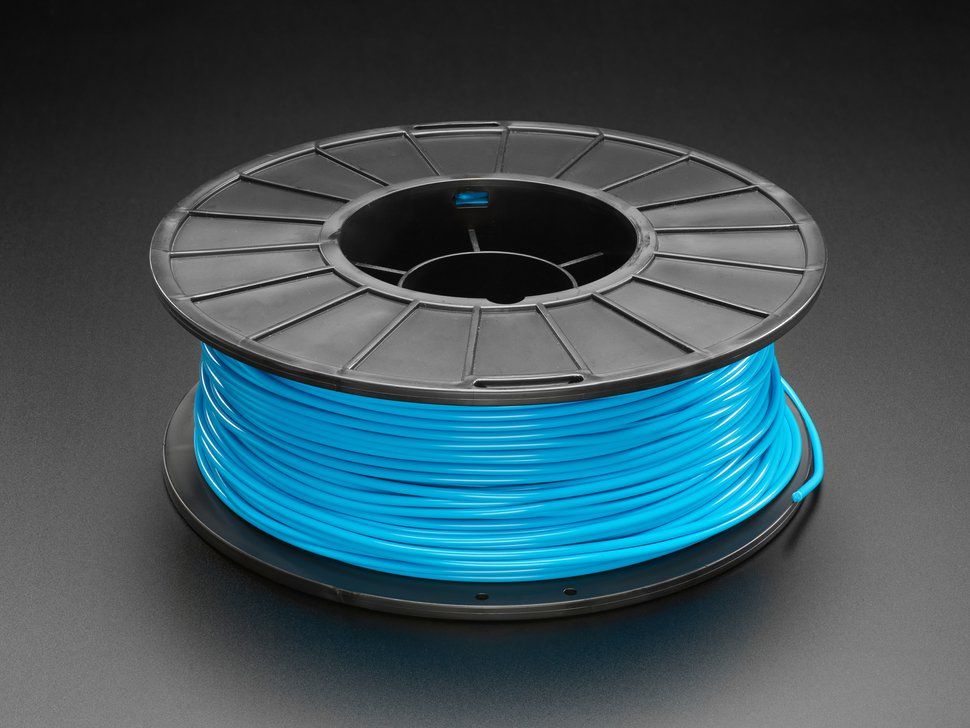
The next important step is setting up the extruder. First of all, you will need to check its nozzle. If the printer has already been used, the nozzle should be cleaned of solidified particles that will interfere with the throughput of the material. Refueling the 3D printer The thread is fed into the extruder directly from the spool. But there is one caveat - for this you must first warm it up. To thread the thread, you will have to make a small effort in order to loosen the presser mechanism.
Working with models
Models can be created using a variety of 3D modeling programs. The process of manufacturing three-dimensional parts is creative, requiring careful preparation. The better and more detailed the model is drawn, the better the 3D layout will be at the output.
Start printing
After creating the model in the program and preparing the printer for work, you need to send the file for printing and wait for the result. The print speed varies depending on the printer model and specifications, as well as the media used.
Processing the finished product
3D printed products usually do not please the user with an ideal appearance: the parts have an uneven surface. But this is typical for models of 3D printers on FDM, SLA and DLP devices, which are distinguished by higher print quality. Owners of FDM printers should not despair - a simple processing of products will give products an attractive appearance and make the surface smooth.
Several powerful ways to post-process 3D printed parts:
- Mechanical - carried out by sanding the surface with sandpaper or a special sponge for grinding.
- Chemical - Surface treatment with aggressive solvents such as acetone and dichloroethane.
- Mixed - In this case, the above two processing methods are used.
What are the possible errors and how to avoid them?
Even a novice can master the technology of 3D printing, but, despite this, the production of the first products causes excitement for the user.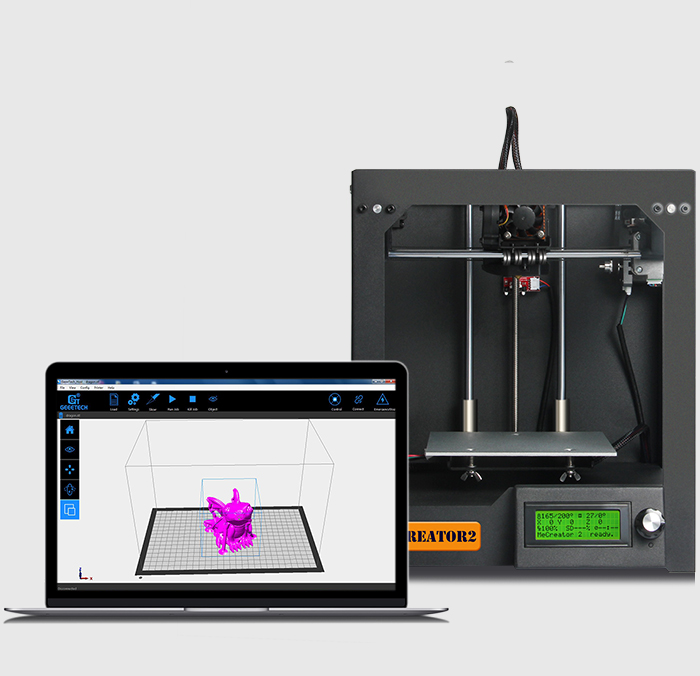 Simple operation, detailed instructions and recommendations on the Internet will allow everyone to deal with almost any printer model. But there are a few useful life hacks, the knowledge of which will help you avoid typical beginner mistakes:
- Calibrate and test the 3D printer before starting work.
- Be sure to use the correct file extension for quality printing.
- Do not remove the finished product from the printer immediately after it has been processed: this may damage the part and cause defects.
- If errors occur during the 3D printing process, try restarting the device - this usually helps.
- If restarting the printer still does not help, try changing the settings or re-entering the model.
- When assembling the 3D printing devices, follow the enclosed instructions carefully.
- Use only the correct materials for your 3D printer.
- Subscribe to useful 3D printing channels and articles.
Following the above tips will allow you to set up your 3D printer, get it ready for operation and, most importantly, print your first 3D products.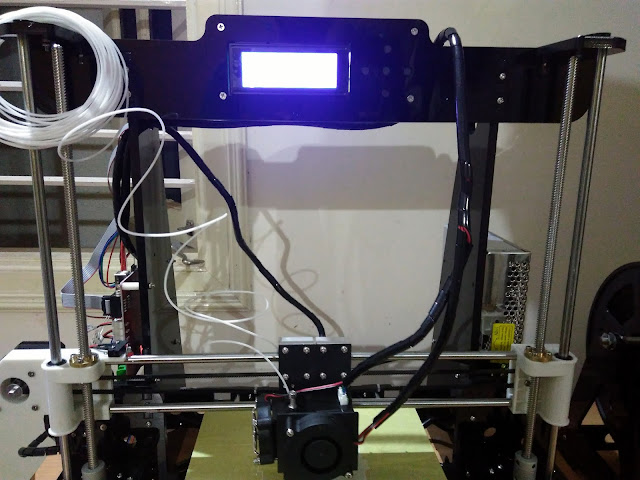 Choose a model according to your budget and capabilities, and it will not be difficult to master the basics of 3D modeling and get the first details if you follow the instructions and recommendations.
- March 21, 2021
- 6825
Get expert advice
How to use a 3D printer? 3D printing software
3D printing software
In order to get into 3D technology and learn how to operate a 3D printer, you need to master some 3D printing software. This includes specialized software and applications for 3D modeling. In today's article, we will look at all categories and determine which 3D printing software is best to use. So what you need:
- 3D modeling software. Here, 3D models are designed, which will later be reproduced on a 3D printer;
- Programs for correcting errors in digital models;
- Slicer programs.
 They translate 3D models into control code for a 3D printer.
Now let's start describing each category and give a short list of the most used applications.
3D modeling software
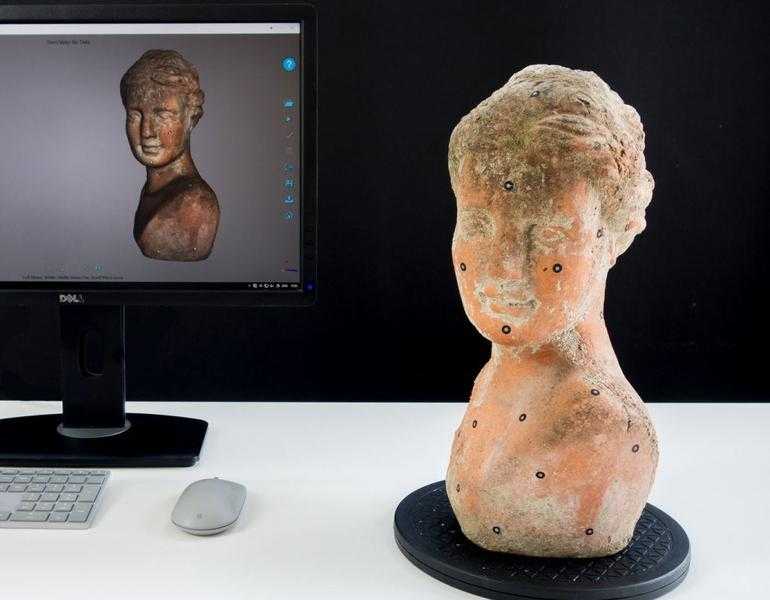
3D printing software can be divided into several branches, one of which is 3D modeling software. You can’t do without them in your work, because it is here that voluminous digital figures of the required products are created. There are two ways to build a 3D model: using a 3D scanner or manually. And here is a list of popular software for designing and editing digital models:
- Autodesk 3Ds Max. One of the most popular and functional 3D editors. Suitable for creating any objects, but it is better not to design organic elements in this program. A favorite tool for designers all over the world, 3Ds Max is difficult to learn, but comes with a free license. As a plus - a large number of training lessons on the Internet. Minus - the program is not suitable for preparing for 3D printing, it is better to refine the created 3D models in other software;
- Blender.
 A program that is gradually gaining well-deserved popularity. Multifunctional, convenient and easy to use;
 - SolidWorks. Program for solid-state 3D modeling. The objects created in it are ideal for 3D printing. In addition, it allows you to create detailed and detailed 3D drawings, making it the best choice for engineers. SolidWorks tutorials are also easy to find online;
- Autodesk 123D Design. Another product from Autodesk. The program is very functional and has a nice interface. It can rightly be called the best 3D editor for beginners. It is simple and easy to learn. The only drawback is the lack of training lessons and Russian-language forums.
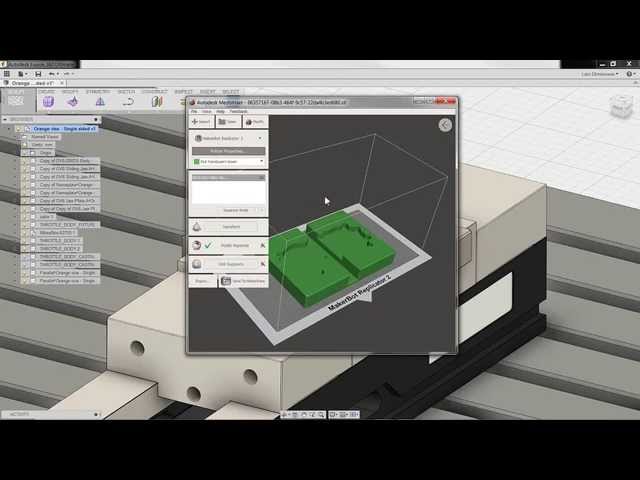
3D printer software
Now let's list the 3D printer software. Here we include both slicer programs and editors of damaged models. Such 3D printing programs allow you to prepare an oversized or “broken” 3D model for reproduction, and then generate a control code for a 3D printer.
If the model is too large, Autodesk 123D Make can cut it into several pieces.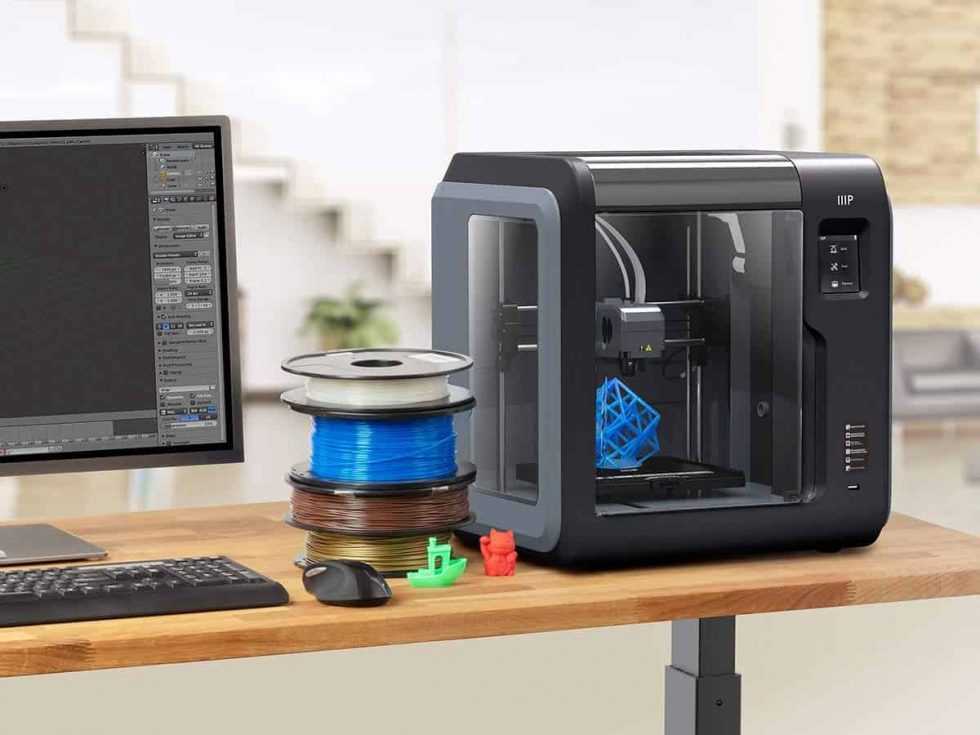 After the actual reproduction on the 3D printer, they are connected.
Autodesk's NetFabb product also helps to edit a damaged 3D model if necessary. To do this, you just need to load it into the application and select the correction mode.
Other questions and answers about 3D printers and 3D printing:
3D printer software
3D printer software is the slicer software needed to translate a 3D model into g-code for the printer. Here, an operation algorithm is generated, thanks to which the device understands how it should behave in printing. There are different versions with different, but generally similar functionality. We list such programs for 3D printing:
- Universal, free and functional slicer software. Pleases with a large number of options and speed of work;
- Available in both paid and free versions. Also a very popular and functional slicer. Known for a well-designed menu for generating supporting structures;
- A simple and user-friendly program, especially for beginners in 3D printing.
 Of the pleasant, it is worth noting free access and constant software optimization;
 - Makerbot desktop. Accompanies the equipment of the same company. A good and functional slicer, the lack of which is insufficient flexibility of settings. It is understandable, this program is “sharpened” for native 3D printers.
These were the basic 3D printing programs that will help you in all stages of working with a 3D printer. If you have additional questions that we have not covered, write to us by e-mail and we, if necessary, will add your questions! Best regards, 3DDevice team.
Our services
We also invite you to our online store, where you can find a variety of products - 3D pens, 3D printers and 3D scanners, consumables and spare parts. In addition, we offer the following services:0003
- Modeling;
- 3D scanning;
- 3D printing;
- 3D modeling;
- 3D design;
- Manufacture of a product according to the description;
- Creation of a product according to drawings;
- 3D design;
- Color 3D plaster printing on a professional printer;
- Repair of damaged products;
- Development of a 3D model according to a sample;
- Development of a 3D model from a photo;
- Post-processing and painting of finished products;
- Small-scale production.
Learn more