3D printing bed adhesive
What are Bed Adhesives in 3D Printing?
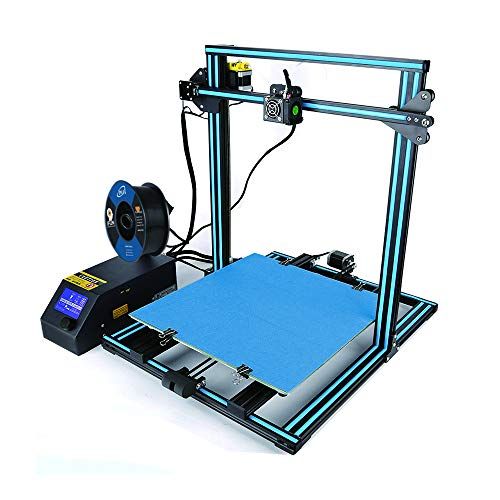
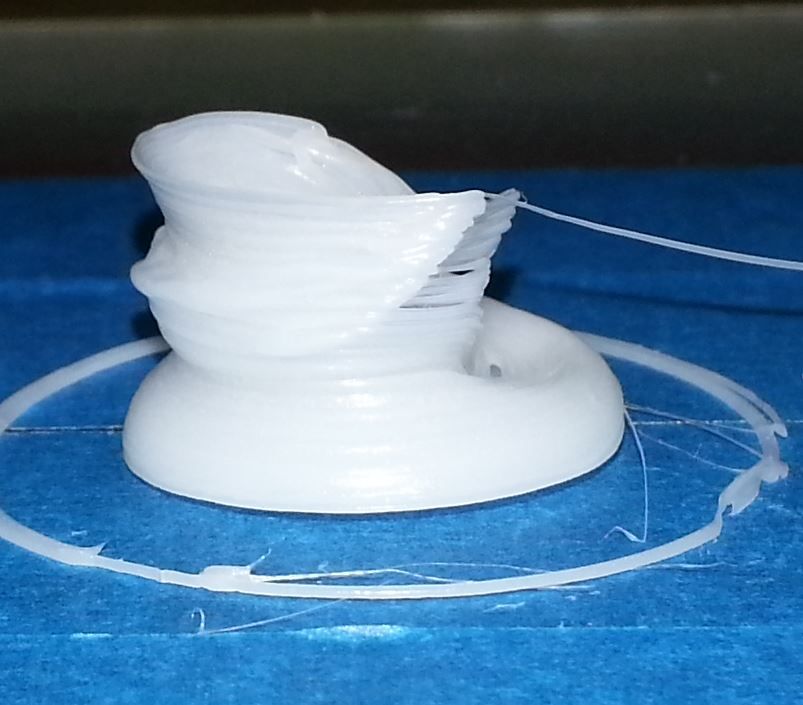
One of the issues that people face when 3D printing is getting their prints to stick to the build plate. If a print does not stick to the build plate properly, then it could move during the print process which will cause it to fail.
Manufacturers have, of course, devised remedies for this. Ultimaker 3D printers have a heated build plate for better bed adhesion and reduced warping and curling (the heated plate stops prints from cooling down rapidly, avoiding contraction). Some manufacturers have taken a simpler route, though – MarkForged recommends people use an Elmer’s Glue Stick to create a sticky layer on the build plate.
The simple truth of bed adhesives – whether they are cheap glue or expensive tapes – is that all of them have the same aim: to prevent warping, curling, print failure and to reduce waste. It is important to point out though that not all materials require a bed adhesive to stick to the build plate. PLA, for instance, adheres well to a heated build plate without adhesive. However, when glue or tape is used, the risk of warping and curling is reduced considerably.
How do bed adhesives work?
Simply put, bed adhesives work by forming a stickier layer for prints to adhere to. In the case of heated build plates (which are necessary for printing materials with a higher melting point than PLA), hard materials like ABS and CPE can warp even with support structures. The reason for this is the smooth glass plate with the introduction of heat; the print material sometimes doesn’t cool quickly enough to be strong. By introducing a layer of glue, print-bed adhesion is improved, and the glue also acts as a layer of protection for the glass.
Adhesives also eliminate the risk of print movement. If a print moves just a little during the print process, then it will fail. We regularly receive questions from people asking why their prints keep failing, and it is more often than not because they aren’t using an adhesive on their build plate.
Are there alternatives to external adhesives?
It is possible to print a ‘brim’ with your print, which is a thin platform around your print that helps ensure successful adhesion. These work because your part or model will be printed on a layer of filament, rather than directly on the build plate itself. Cura, Ultimaker’s software, allows you to create a brim quickly and the brim itself can simply be cut away afterwards. However, even with a brim, we still recommend using a bed adhesive to protect the build plate.
What are the best adhesives?
We are of the belief that what works best for manufacturers and the 3D printing community will work best for you.
So, here’s a list of products and who uses them:
Elmer’s Disappearing Purple Glue Stick – Recommended by MarkForged and other brands
Cheap and effective, Elmer’s Disappearing Purple Glue Stick is used by pros and hobbyists alike to improve print bed adhesion.
UHU stic- Recommended by the 3D printing community
If you can’t get hold of an Elmer’s sick, the UHU stic is the next best thing. It works just as well, and like Elmer’s stick, it can be used with PVA support material.
Makerbot Build Plate Tape – Recommended by Makerbot.
Makerbot’s Build Plate Tape is designed for Makerbot printers, but it can be used with any printer. The textured surface improves adhesion and lasts for several prints.
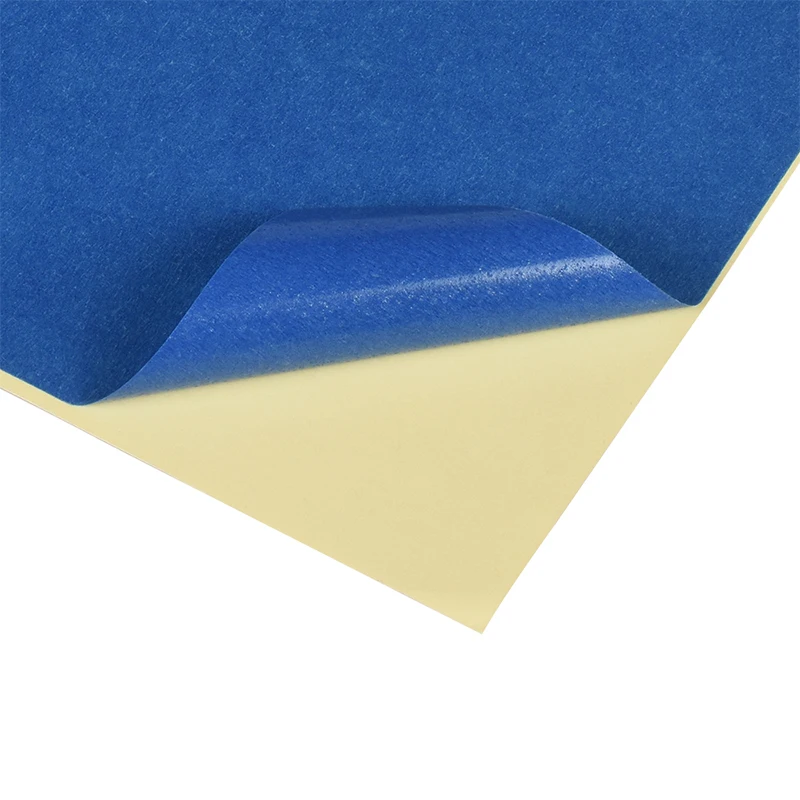
Blue Painter’s Tape – Recommended by 3D Platform
If you don’t want to use glue, the textured surface of blue painter’s tape lends itself well to bed adhesion. It can be used with PLA, ABS and high-temp thermoplastics.
Essentium’s 3D Printing Bed Adhesive – recommended by Essentium
Essentium 3D Printing Bed Adhesive is for printing nylon filaments. It works with nylon filament and other high-temp materials, formulated to reduce contraction.
Out of the above adhesives, we have had excellent results with Elmer’s Disappearing Purple Glue Stick, the UHU stic, and blue painter’s tape. Blue painter’s tape can be picked up at any hardware store, or even your local supermarket. It can be pulled away from a glass build plate easily, without leaving any residue behind, and the grippy surface is ideal for ABS and CPE. Glue sticks are another excellent option, and they don’t cost very much either.
Just be careful with what glue sticks you use. Elmer’s Disappearing Purple Glue Stick and the UHU stic are tried, tested and proven. We tried the Original Pritt Glue Stick but didn’t get good results and this sentiment is echoed by most people who’ve tried it.
Also, remember to calibrate your build plate periodically. Today, most 3D printers will do this for you, but you will need to calibrate manually if you have manual levelling. Having a level build plate is crucial for good bed adhesion, print quality and reliability.
3D Printer Adhesive | MatterHackers
- Home
- Store
- 3D Printer Accessories
- 3D Printer Adhesive
Adhesives, glues, and bonding agents can make all the difference when it comes to the quality of your prints. Whether you want to improve bed adhesion and minimize warping or combine prints together, MatterHackers has the tools to keep you covered!
3D Printer Adhesive Collections
All 3D Printer Adhesive 3D Printer Accessories
3D Printer Adhesive
Magigoo 3D Printer Bed Adhesion Solutions
Easy, no-mess 3D printing adhesive
Stick Stick 3D Print Bed Adhesion
Get the best first layer for all your 3D printed parts.
Guides & Articles
How to Succeed with Quantum Dichromatic PLA Filament
Follow this guide for tips and tricks on how to get the best results when 3D printing with Quantum Dichromatic PLA filament.
How To Succeed with LayerLock SLA Build Surfaces
Successfully achieve strong bed adhesion for Laser, DLP, and SLA resin prints using LayerLock SLA Resin 3D Printing Build Surfaces.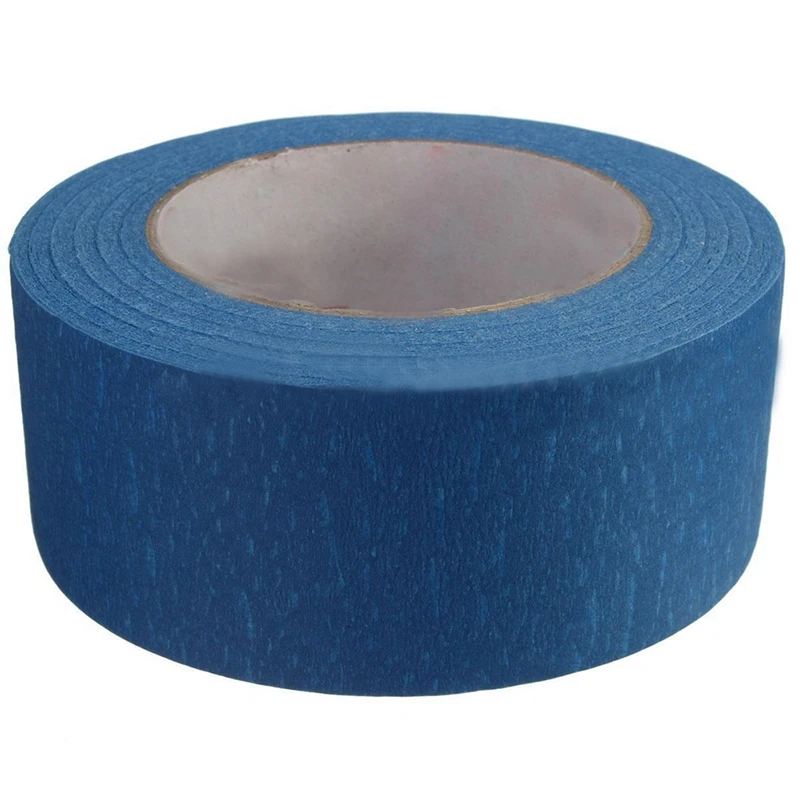
How To Build A Successful Makerspace
Find out the necessary components to create an effective space for your maker community.
How to Succeed When 3D Printing with Polypropylene
Successfully produce 3D printed parts out of polypropylene filament with these tips on achieving stronger bed adhesion and minimizing shrinkage.
Tech Breakdown and How to Succeed: Ionic Hybrid Support Material
Supporting engineering-grade filament has been difficult without a support material dedicated to higher temperature 3D printing. Ionic aims to solve that.
How To Succeed with OBC 3D Printing Filament
From Dow Chemical, OBC combines flexible and rigid into one unique material with properties of both.
How To Succeed with LayerLock Garolite Build Surfaces
Successfully achieve strong bed adhesion for NylonX, NylonG, and standard filaments using LayerLock Garolite Build Surfaces.
How to Succeed with LayerLock Powder Coated PEI Build Plates
Powder coated PEI steel sheets are a great alternative build surface for strong bed adhesion. Here's how you can succeed using this durable build plate.
How To Succeed When 3D Printing With Nylon
Learn how to 3D print Nylon like a pro. Nylon is a stronger and more durable alternative to PLA or ABS and easy to 3D print with using these Tips and Tricks.
How To Succeed When 3D Printing With ASA Filament
Follow this step-by-step guide to learn how to print with ASA, the perfect material for any outdoor projects.
Testing liquid adhesives for adhesion
Technician
Subscribe to the author
Subscribe
Don't want
10
So we managed to assemble the whole team of liquid products to increase the adhesion of the table in 3D printing. And this means that Mnogo3D, obsessed with adhesion, is back with you. Picaso 3D glue, 3DM 3D glue and I made 4D glue gathered in our hands at the same time. The first two are already familiar to the readers of the portal according to the test "Adhesion means: professional versus amateur". The last one just arrived. And so we will do a test of who is capable of what. In order not to be bored, the glue stick "Kalyaka-Malyaka" and Eeeee ... Povidone on isopropyl alcohol will take part in the test. Kalyaka is the standard of adhesion and it is needed as a guideline. And povidone to debunk or confirm the myth that a professional remedy can be created at home.
Since the last test, we have diluted our "Nurofen", bringing the concentration to approximately 1 sachet of medicine per 0.5 liter of alcohol. And very thoroughly mixed, getting rid of the flakes. Thanks for the recommendations on finalizing the solution to Ilya Pinchuk and advice on the test in general.
This time we decided not to test on nylon, ABS is enough. For the purity of the experiment, we will carry out the test on the material from two manufacturers..jpg) Black is Chinese, sold under the Good3D brand, and gray is from REC.
Black is Chinese, sold under the Good3D brand, and gray is from REC.
Disclaimer: I express my gratitude to the portal 3DToday because 3DM glue, as well as REC gray plastic are winnings in competitions held by him. Let's not forget Top3DShop either. Glue Picaso provided by them for the last test free of charge.
4D glues "I made" and "Kalyaka-malyaka" were bought from office. dealers without informing about the intention to conduct testing.
Introducing the participants. Glue from Picaso and 3DM are longtime players in the 3D printing market. Their composition is declared the same: Water, Isopropyl alcohol, P-complex and flavor. But manufacturers are different. 3DM smells stronger of alcohol. Either they saved on the fragrance, or the spirit was vigorous. 4D glue "I made" is different. In its composition, PVP is immediately indicated. It has a yellowish tint and is thicker. The smell of alcohol is less noticeable. On the contrary, there is a pronounced woody smell. Apparently the wombat is on the label for a reason. All three are supplied in 250 ml squeeze bottles. "I did" is also available in 100 ml bottles.
Homemade remedy is simpler and cheaper. In a pharmacy, we buy a sachet of medicine Enterodez 5 grams with the active ingredient POvidone and dissolve it in 0.5-1.0 liters of isopropyl or ethyl alcohol. Doesn't dissolve well. Therefore, you need to periodically shake the bottle until the flakes disappear. Why Povidone and where does the pharmacy?! It's simple, PVP is polyvinylpyrrolidone. And its other name is just povidone or polyvidone. This substance has a very wide range of applications in medicine and chemistry. But it is one thing to know the composition, and another to know the recipe. In the last test, homemade did not show itself in any way. Let's see what happens this time.
Magic glue stick "Kalyaka-Malyaka" is also not simple and has its own legends. We took several briquettes of this glue. we prefer this particular method of adhesion and can debunk a few more myths about it. Actually everything is in the photo.
Even in one briquette there are tubes of different shades of yolk with contents of different shades of pink. Also different ends of the glue. Some are pointed, while others are flat. And all this in one sealed pack from the dealer.
And so... to the test!
Test piece:
Frame with 0.8mm wall, 15x150mm, 50mm high. We print with a nozzle of 0.8 mm and a layer of 0.3. The first layer is 50% of the base layer height. Speed up to 50 mm/sec. Brim at 5 perimeters. Printer open Corexy with ball screw. The temperature in the room is 22-25 degrees, without drafts. The surface is a mirror. The conditions are deliberately set to be unrealistic, so that it would be easier to evaluate the result by the amount of printed material.
The idea was to put 4 parts side by side and see what happens.
But the idea turned out to be so-so. A part that went out of the way caused the test to stop. Here, either apply the Olympic system, or test it for a long time and dreary piece by piece.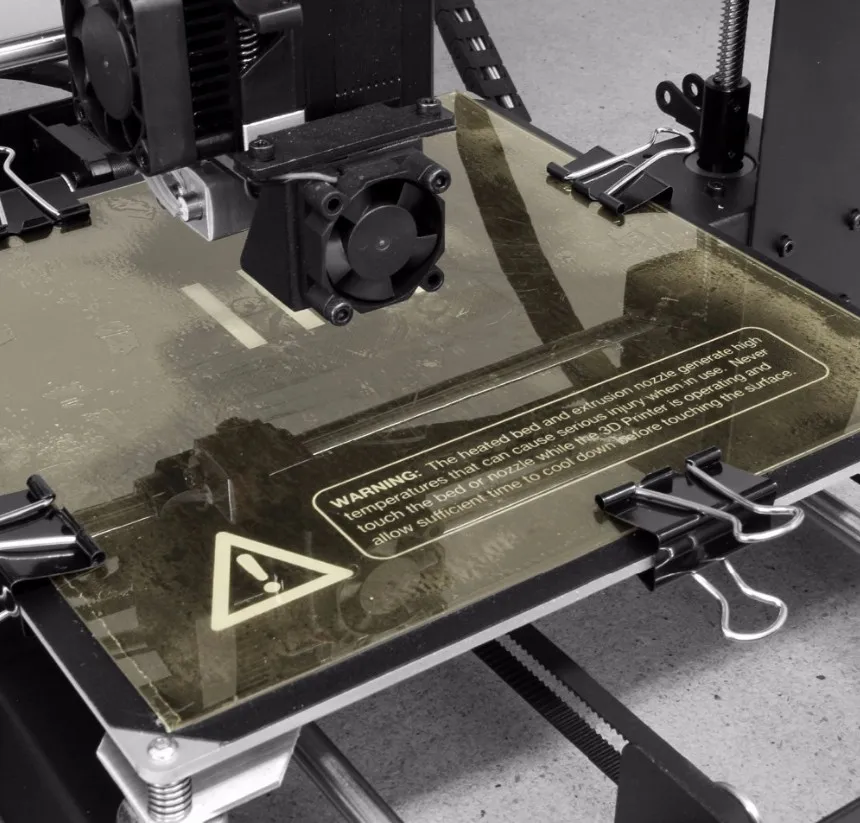
We settled on the last method and started printing the same code with different adhesives. Accordingly, they waited for the platform to cool down, washed it, dried it, degreased it with pure alcohol, dried it, and applied the composition.
Contrary to advertising, one coat of compound does not work! Not even two work. Applying a large amount is also not an option. You need at least three layers. And for 3DM, even three layers do not work. In this regard, for the outsiders of the first round, the adhesives 3DM and "I did" were given a second chance to prove themselves. In the second attempt, only 3DM was given a second chance. The concentration of the substance, apparently, is less in it. Therefore, after a failed attempt on 3 layers, the printing was repeated on 4. The difference, as they say, is "on the face." Assigned seats are our subjective decision on typing comfort. And it wasn't easy. You run the test. You control that the brim began to stick to the table. If the composition is small, then a new layer of the composition was applied and the test was started again. If the print has gone, then you sit and wait for the coveted click and crackle of the extruder on skipping steps. You fix the % of the task completion and the separation. Stop printing. Table cooling, washing, drying and new. Over 100 photographs were taken. Let's show some.
Picasso 1st attempt.
Most printing stopped within 30-50%. The best results were shown only by "Kalyaka-Malyaka".
3DM glue and its 3rd attempt.
It should be noted that REC plastic, unlike Good3D, is more rigid and more prone to delamination. On it, the subjects showed poorer results. In particular, in the second attempt, when printing on a painter, the plastic tore the brim, and not completely tore it off, as in all other cases.
And almost broke another corner
Well, actually the results.
And in tabular form:
Thanks for reading.
Sincerely, Mnogo3D (3D printing in Ryazan and beyond)
PS Eta4Ever was the first in our VK mini-survey to guess which of the trinity of liquids is the best. Cool!
Cool!
adhesion glue
Follow author
Follow
Don't want
10
ATECO BASIC - adhesive for 3D FDM printing
ATECO basic
best adhesion for base materials
Adhesive varnish is designed to create adhesion between the first layer of the model and the 3D printer desktop. It works only on a hot table, when the surface on which the adhesive is applied cools, the adhesion weakens and allows you to remove the finished product from the printing table. It is a clear, alcohol-based liquid that can be easily washed off with water.
Harmless
Contains no harmful substances and is completely safe when used as directed.
fast application 2-5 sec
The adhesive is applied to a cold working table before heating. After application with a lint-free cloth, the desktop is ready for printing in just a few seconds.
thin adhesive layer
After applying the adhesive, a very thin polymer film is formed that is difficult to see with the naked eye. With proper uniform application, you can achieve a perfect glossy surface of the lower layer of the model.
wide range of materials
Ateco BASIC 3D printing adhesive has been tested on a wide range of base materials such as PLA, PETG, ABS, HIPS, TPU, ULTRAN, CARBEX, CREADUR.
approved by 3D printing experts
Our adhesive has been tested and recommended by leading 3D printing studios and 3D printer manufacturers.
hot bed
When used on hot bed of 3D printer
* bed temperature may vary depending on the materials the user is printing on
60℃
to 135℃
A variety of volumes for everyone
We made different volumes because different people have different needs, and whatever you don't overpay, you can take just such glue by volume that is most convenient for you.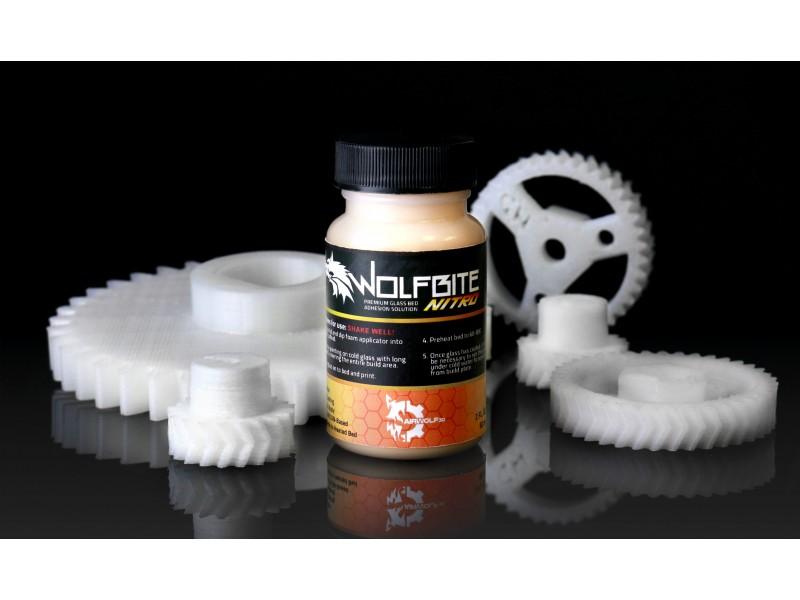
Volume 100 ml - very compact and does not take up much space, suitable if printing is not frequent or you want to take it with you on a trip.
The 250 ml capacity will last you for a long time, according to the survey and the reviews collected, this is the best adhesive in terms of price and quality.
400 ml - a volume for luminaries of 3D printing, it lasts for a long time and is designed as an aerosol can, due to which the consumption is reduced without excessive spraying.
* one application is enough for 3 to 10 prints depending on the thickness of the application and differences in the geometry of the models
100 ml
250 ml
400 ml
ATECO BASIC
Adhesive adhesive for FDM printing with base materials, allows you to securely fix the first layer on the printing platform and is suitable for printing on hot flat surfaces:
- Glass
- Metal (aluminium, steel)
- Basalt
- PEI
The number of surfaces may be more, the list is constantly updated as tests are carried out.