How to remove filament from 3d printer
How to properly change 3D printer filament?
Treat your printer nicely, and it'll print you nice models
When you are changing filament, did you ever experienced one of the following problems below?
- Filament stuck in the hotend.
- Need to use excessive force to pull out the filament.
- Having a hard time feeding the filament back in the right place.
- Having bad print result after changing filament.
If so. STOP! You are damaging your hotend. Not only you will have poor quality prints, one day your hotend will give up and stop extruding. I learned it the hard way and have to throw out few hotends. To avoid all this from happening all you need is to follow our step by step guide for changing filament. I promise you that you will be glad you take the time to read this article. This video show you how I change filament.
BotFeeder - How to properly change filament? 1280HD
Article you might be interested: How to properly print first layer?
Before you start you should have the below information and tools ready.
Information:
The extrusion temperature settings for both the current & replacement filaments (based on manufacturer’s recommendations)
Below is the BotFeeder temperature guide:
Material - Recommended Extrusion Temperature
- ABS - 150 to 260C
- PLA - 200 to 220C
- NEO-PLA - 188 to 200C
- Filaglow Glow in the Dark - 205 to 225C
- Filastic Flexible - 220 to 240C
- Filatron Conductive - 200 to 220C
- reFilactive Reflective - 230 to 240C
Tools:
- A pair of scissors
- A pair of tweezers
- Current filament
- Replacement filament
Removal of current filament
Step 1: Preheat your hot end based on the temperature guidelines of your current filament.
Step 2: Wait until the hot end heats up to the required temperature.
Step 3: Manually extrude a small portion of the filament.
- Unclamp the filament
- push the filament through the hot end until melted filament squeezes out from the nozzle.
 This process ensures easy extraction of the filament.
Step 4: Push down the coupling to release the filament from the hot end.
Step 5: Gently unplug the filament from the hot end.
Step 6: Clip off the blob-like end of the filament.
Step 7: Unwind the filament back to the spool holder.
- Unclamp the filament
- slowly wind them back on to the spool holder. Please note: secure the loose end at all times.
Step 8: Secure the loose end through the hole of the spool holder or by binding it with filament clip or tape.
Step 9: Remove the current spool.
LOAD REPLACEMENT FILAMENT
Step 1: Load the replacement spool on the filament slot.
Step 2: Preheat your hot end based on temperature guidelines of your replacement filament.
Step 3: Unclamp the filament and feed the filament through and up to the hot end.
Step 4: Prepare approximately 10cm of filament ready to be fed into the hot end.
Step 5: Wait until the hot end heats up to the required temperature.
Step 6: Start feeding the filament into the hot end until melted filament begins to squeeze out of the nozzle.
Step 7: Secure the coupling.
Step 8: Manually force down 3-4cm of filament through the hot end to flush out the old filament. Please note: flexible material may take more filament to flush out completely.
Step 9: Carefully clip off any excess filament from the nozzle with a pair of tweezers. Please note: do not touch the brass nozzle tip.
Step 10: Cool down your hot end.
Can You Leave Filament in a 3D Printer? – 3D Printerly
There are many factors that people think about when it comes to 3D printers, but leaving the filament in your printer isn’t usually one of them. It’s just a thing that clicks in your mind, which also happened to me, so I went and did some research to find the answers.
You can leave your filament in a 3D printer if the environment isn’t too humid or hot, otherwise, you can start to notice a decline in filament quality. Filament has a tendency to absorb moisture in the air, especially Nylon & Polycarbonate, so measure your humidity and try to keep it in a low range.
Even though many people leave the filament in their 3D printer without worrying it can negatively affect your 3D printing experience.
This article aims to inform you about what you can do to fix moist filament, storage options and other useful tricks.
Do You Have to Remove Filament After Printing?
Most people experience no serious problems after leaving the filament in the extruder.
However, there can be a few exceptions too. Whether to remove filament immediately or let it stay overnight, basically depends on the filament type. Several particular plastics such as Nylon will absorb moisture rapidly and get spoiled.
However, most others won’t go that bad so quickly. Hence, preferably in the case of Nylon, it is better that you remove it once you know you have finished using it for the day.
On the contrary, many people using other filaments do leave it overnight and face no issues, so maybe it isn’t as important as we think. I think you would start to see a gradual decline in print quality the more moisture your filament absorbs though.
Will Leaving Filament in a 3D Printer Damage It?
A 3D printer melts the plastic filament that has been loaded to create objects. Leaving filaments loaded inside a 3D printer for an extended amount of time will not necessarily harm the printer.
It may compromise the quality of the objects the printer will produce with that filament.
Leaving filaments loaded for a long amount of time will result in them turning brittle and producing low-quality objects, especially if they are hygroscopic (absorbs moisture).
Nylon is a type of filament that turns brittle quite fast whereas ABS can stay loaded for weeks and there won’t be a noticeable amount of physical change.
Hence, it depends on the type of filament being used and how long it stays loaded but not utilized. The finest option is to always secure your filaments in a vacuum bag after you have finished printing.
How Long Can You Leave PLA Filament Out?
Some filaments need storing away from moisture because they tend to absorb moisture. It results in them not printing well due to the high heat that the filament has to go through.
It can actually create air bubbles and lead to a popping sounds, which is common when you are 3D printing in a humid environment.
Most commodity filaments including ABS, PLA and also PETG do not suffer from this problem as such. According to some users, PLA can absorb moisture as well, however, in my experience, no such thing happened.
I basically believe that the physical conditions of the environment you store your filament in matters the most. If you cautiously keep your filament away from humid and moist environment nothing will get it ruined. It also depends on the filament brand you’re using.
According to most users, even with 40% humidity, their PLA filament was alright for up to 4 days. The filament might become a bit brittle but overall it is not very risky to leave it out there.
If you feel your filament is getting too brittle or unsuitable for use, you can always seal them up once they cool down in ziplock bags as they are vacuum-sealed.
Apart from that, comparatively PLA filaments are safer to leave out. PLA does not degrade as quickly and as noticeably as compared to other materials.
How to Fix PLA Filament Popping
This is a common grievance of most people especially who are beginners. If you notice popping or bubbling while printing, this is mainly because your machine is heating up too much and is boiling the plastic literally.
There are specific working temperatures for specific print materials which you shall carefully observe. If you firmly follow the working temperature guidelines, you won’t face this issue quite as much.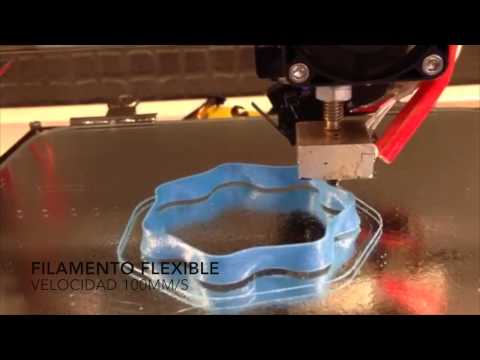
Moreover, the popping can also be a sign of moisture absorption. If the filament has absorbed too much moisture making it unfit for printing, you might notice popping there as well.
To solve this problem you just need to follow a few basic steps. For PLA filament popping, just make sure your working temperature should be in the range of 190-220°C.
You can also clean and check your nozzle. In addition, you also might want to try taking a closer look at your filament’s condition. If it’s too brittle, you can bake it at 60°C in the oven.
Also, if your filament is out for too many days and has absorbed moisture, you must replace it. Try changing the filament type or brand as well.
What Oven Temperature Should I Use to Dry Filament?
Different print materials have different bake temperatures. For ABS, it is suitable if you set the oven to about 65°C. Moreover, materials like PLA, the optimum temperature is around 50-60°C.
For PETG it’s advised to use the oven with the temperature around 65°C. However, for Nylon it’s better to have a bit higher temperature of 70°C.
How Do You Store 3D Printer Filament?
To keep your printer’s filament in a better and durable condition, you must avoid its contact with air so it doesn’t absorb moisture. It is better not to leave it overnight or out in humid air. You can also store them in a ziplock bag once the filament has cooled down.
You can opt-in for an airtight container which has desiccants to absorb the moisture from the air. Some people get humidity sensors which tell them the level of moisture in the air within the container, so they have good gauge on the storage conditions.
How to Unload/Remove Filament From 3D Printer (Ender 3)
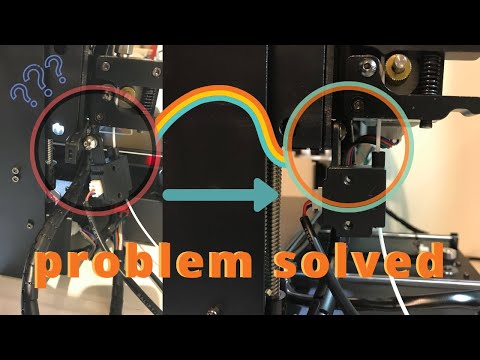
The simplest way to remove filament from your 3D printer is to manually pull it out while pressing down the extruder lever to loosen the grip. You can take the PTFE coupling from the extruder end to make removal a little bit easier.
It’s a good idea to first heat up the hotend then pull after it has reached temperature so it doesn’t get stuck within the nozzle, making it harder to properly pull out. If you get a blob that makes it hard to pull through, this is where you can take the Bowden tube off.
How to remove a 3D print from the platform without destroying anything or injuring yourself
the printout is firmly stuck to the platform on which it is printed. The materials for covering the surface of the platform are different. Blue masking tape, Kapton (polyamide film) and borosilicate sheets (which break easily) are the most common options. Some tricksters when printing with ABS plastic lubricate the surface with a glue stick, which helps to avoid distortion of the printout (when the outer edges begin to protrude after cooling).
But it seems that no one has paid attention to the best ways in which even the most stubborn objects can be separated from the base. We drew, we bring to your attention 6 such best methods.
Do you have more? Feel free to write.
Method #1. Shoot 3D prints with reasonable effort
Be careful with fragile objects and your brute force .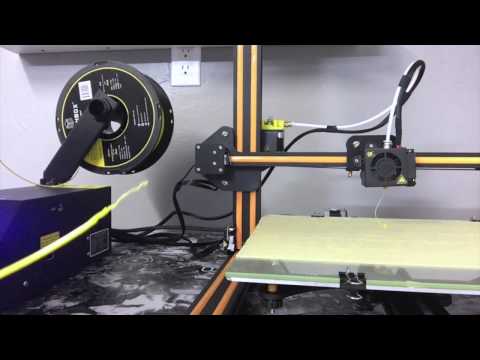 Grab it carefully and try to separate it from the platform. Stretching, twisting and rotating usually help.
If not, you need to put in a little more effort. If the object is not too fragile, the process turns into a kind of game. If you have a rubber mallet, you can pull out the build platform and try (carefully!) tapping the sides of the object. Aim for solid surfaces, otherwise you always run the risk of radically solving the problem by hitting a weak spot.
If there is a small gap where a screwdriver can be slipped, a light tap on the handle of the screwdriver will give a good amount of force and the printout may come off.
Method #2. Use a sharp, flat object
A palette knife is a painting tool that visually resembles a spatula or spatula.
A razor blade will always slip through It can be anything from a spatula to something thinner, like a palette knife, the stuff that is sold in art stores. This is a special knife.
The thinnest blade available is usually a razor blade, but you have to be very, very careful not to injure yourself. In such a case, it is useful to have a blade holder. This one, for example. It was designed specifically for taking 3D prints from the platform.
The disadvantage of this method is that you will most likely damage the surface. You can cut off the top layer of the desktop, wrinkles may form, which will negatively affect subsequent printouts. If you leave everything as it is, i.e. scratched, next time you will definitely need to replace the film.
Method #3. Take advantage of the temperature difference
There is always room in the refrigerator for 3D printing
This method is more subtle than the previous ones. When it comes to heated tables, sometimes the printout can stick completely, it would seem, tightly.
Therefore, the first thing to do when printing is finished is to allow both the printer and the table to cool completely. If you're lucky, the printout will then pop off by itself. If you're not lucky, you can take advantage of the fact that the physical properties of the plastic and the platform (glass, aluminum or other plastic) are different. When bodies are cooled, they contract, and because they contract differently, the bonds are broken.
You can take advantage of this effect, even at lower temperatures than in a conventional refrigerator. You can take a special cooling bag (try to cool either the platform or the object). Containers containing CO 2 are also suitable and can be purchased from hardware stores. If such a vessel with carbon dioxide is turned upside down, liquid will begin to flow out. It will change its state of aggregation from liquid to gaseous, absorbing energy and quickly cooling the surrounding space. It will also help if you put the platform with the object in the refrigerator or freezer for half an hour or an hour.
Method No. 4. Thinner to the rescue
Thinners can be ordered from any decent online 3D printing shop
In the worst case, thinners can help, but then the next time you print, you will need a new tape to cover the desktop. You can try pouring a little isopropyl alcohol around the edges of the printout and let it soak into the tape. Then it will be easier to separate the object. But if in doubt, you can simply remove the entire tape.
On platforms where glue stick has been used, warm water works great as a solvent.
Method No. 5. Dental floss
It would seem, what does dental floss have to do with it? (Photo: Instructables)
You probably don't know, but flossing isn't just good for your teeth, it's also good for taking printouts. It is necessary to fit the thread under the edge of the printout and begin to move it, the thread, back and forth, like a saw.
Depending on how much material is stuck, it may be necessary to “saw off” the whole bottom. The good thing is that the tape remains intact and the method works for all platforms.
Method No. 6. Buy a flexible printing platform
Screenshot from the video about the features of Tiko (Kickstarter)
Do you think that all the described methods are complete bullshit? Then you need to move to a flexible platform. Just shake it and the printout will come off.
Flexible Print Plates are available online from Zebra Printer Plates, which offers them in all custom and standard sizes. Fleks3D has launched a successful Kickstarter campaign to create flexible platforms for virtually any printer.
Tiko's popular crowdfunded 3D printer comes with a flexible silicone platform cover for easy 3D printing.
A similar homemade version was invented by the craftsman MikeTheMaker. He glued masking tape into a kind of removable rug. This method seems to work well for him, so it is useful to pay attention to this option and decide whether it is suitable for your case.
how to change, insert and eject
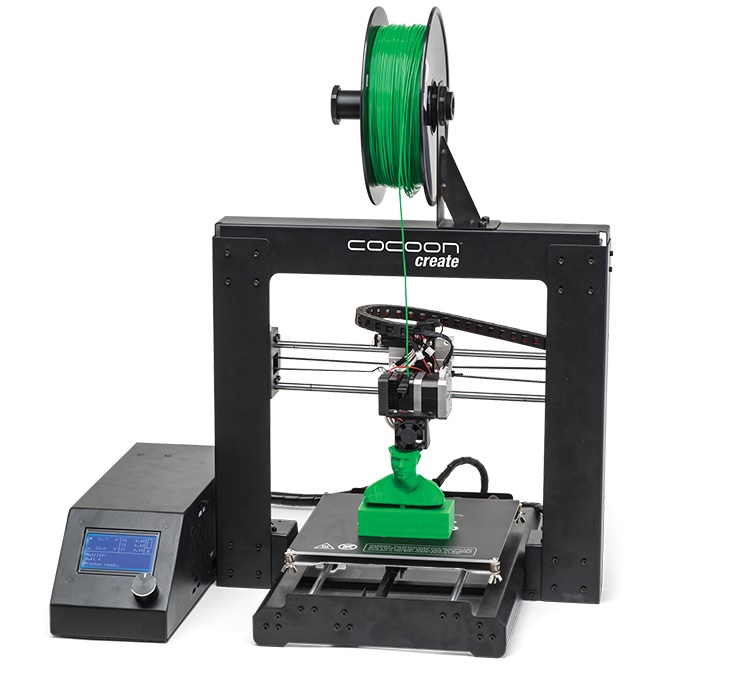
Modern 3D printing allows you to create objects and models of amazing complexity. However, the process requires experience and knowledge. Improper maintenance of the equipment, including changing the filament if necessary, may damage the device or result in loss of quality when printing products.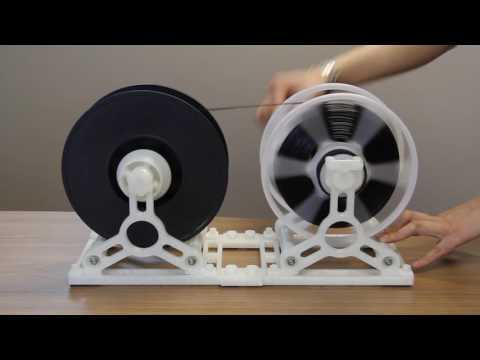 In order to avoid such a problem, it is necessary to carefully study the nuances of the procedure before proceeding to change the filament. As a rule, for home 3D printing, plastic is used, which manufacturers have shaped into a filament, supplied in spools. It is about the replacement of this type of material that will be discussed in our article.
How to prepare a 3D printer for plastic replacement?
Since refilling is one of the most difficult tasks in 3D printing, it deserves more attention.
A key task for a user who needs to change the bobbin filament in their 3D printer is device preparation. Printer preparation must be carried out in a strictly defined order:
- First of all, make sure that the device is connected to the computer with a USB cable. It is necessary to check how tightly the cord is inserted into the input jacks, and then check the operation of the device and its “visibility” to the system.
- Use the control panel of the 3D printer to start warming up the device to operating temperature.
 It is almost impossible to remove the old filament from an unheated printer without damaging the mechanism.
 - After the printer is sufficiently warm, inspect the extruder outlet for visible damage and excessive drips, and prepare the necessary materials and tools for changing the spool.
How do I remove the plastic?
When changing the filament, most of the breakdowns occur when the remnants of the old plastic filament are removed from the working head of the extruder.
IMPORTANT! Do not remove filament residue until the printer has warmed up sufficiently. Otherwise, the operating mechanism may be damaged and print quality may be noticeably reduced.
In order to remove the filament from the extruder, you will need:
- Turn on the heat of the 3D printer.
- Wait until the required temperature is reached. The temperature regime parameters must be set based on the characteristics of the replaced and refilled materials.
 For example, ABS and PLA plastics have different melting points, so replacement must be done as quickly as possible. When exposed to elevated temperatures, PLA deforms quickly and can clog the nozzle.
 - Next, if the installed software supports the reverse function, you must enable this option and wait for the thread to exit the corresponding hole.
- If the software does not have a reverse function, you must manually clear the channel, cutting the old thread as close as possible to the exit hole and inserting a new one.
- During the run, the plastic from the old spool will gradually come out of the extruder nozzle and the new filament will take its place.
IMPORTANT! When old material is replaced by new material during a run, it is recommended to adjust the head heating temperature based on the characteristics of the new plastic.
Replacing plastic
In order to replace the old plastic filament in the extruder with new material, you must:
- Remove the remnants of the old filament.
- Set the extruder head to Maintenance mode.
- Remove the channel tube by pulling it up.
- Pull the filament rod out of the extruder head by pressing down on the presser and gently pulling the plastic filament up.
- Thread the end of the filament from the new spool by loosening the pressure mechanism and gently pressing on the end of the rod.
- When new filament is threaded into the feeder, the channel tube must be returned to the extruder.
- The final stage is the drawing of the filament. It is recommended to eject 30 to 50 units of material by warming up the printer to the required temperature and immediately removing the ejected material. You can perform this action from the control panel by selecting a command.
- The signal that the replacement of the plastic filament in the 3D printer was successful will be the uniformity of the emitted material and the absence of streaks in the process.
Resuming work
In order to resume work after changing the filament spool, the 3D printer must be returned to its original position.