Google glass 3d printer
3D Printed Lenses for Smart Glasses
Remember Google Glass?
It was a nose-mounted smart product that offered the moon and delivered ridicule and paranoia.
And do you remember the expectations versus the reality? We were promised a futuristic HUD with the ability to pipe information from the interweb directly into our eyes…
But in reality, it seemed to be used mostly for obnoxiously recording every face-to-face human interaction the wearer was involved with in their daily existence.
For that reason, the term “glasshole” entered the lexicon, and shortly afterwards, the Google Glass project just kinda disappeared…up its own glass, much to the lament of tech-savvy early-adopter hipsters all around the world.
Well, that’s not strictly true. The prototype/dev Explorer edition just faded away and was eventually replaced by the Enterprise Edition, which basically nobody cared about either.
When was the last time you saw someone wearing a Google Glass? Exactly.
It was just too weird for public consumption.
Smart Lens
If you were one of those folks who feels that wearable face-tech disappeared too soon, then lament no more because the next generation of smart glasses could be winging their way onto your faces very soon thanks to 3D printed lens company Luxexcel.
Luxexcel, who are headquartered in Eindhoven, Netherlands, have been 3D printing lenses since 2009 and are patent holders to some of the main technologies required for 3D printing lenses. These patents make up the core of their VisionPlatform, which includes a 3D printer, a collection of custom resins for printing lenses and the proprietary software (VisionMaster) for designing and printing lenses, of both smart and traditional varieties.
How does it work?
The lenses are printed in the normal manner, and during printing the process is paused and the electronic hardware is placed on the lens surface. The printer is resumed and the electronics are seamlessly encased within the lens body.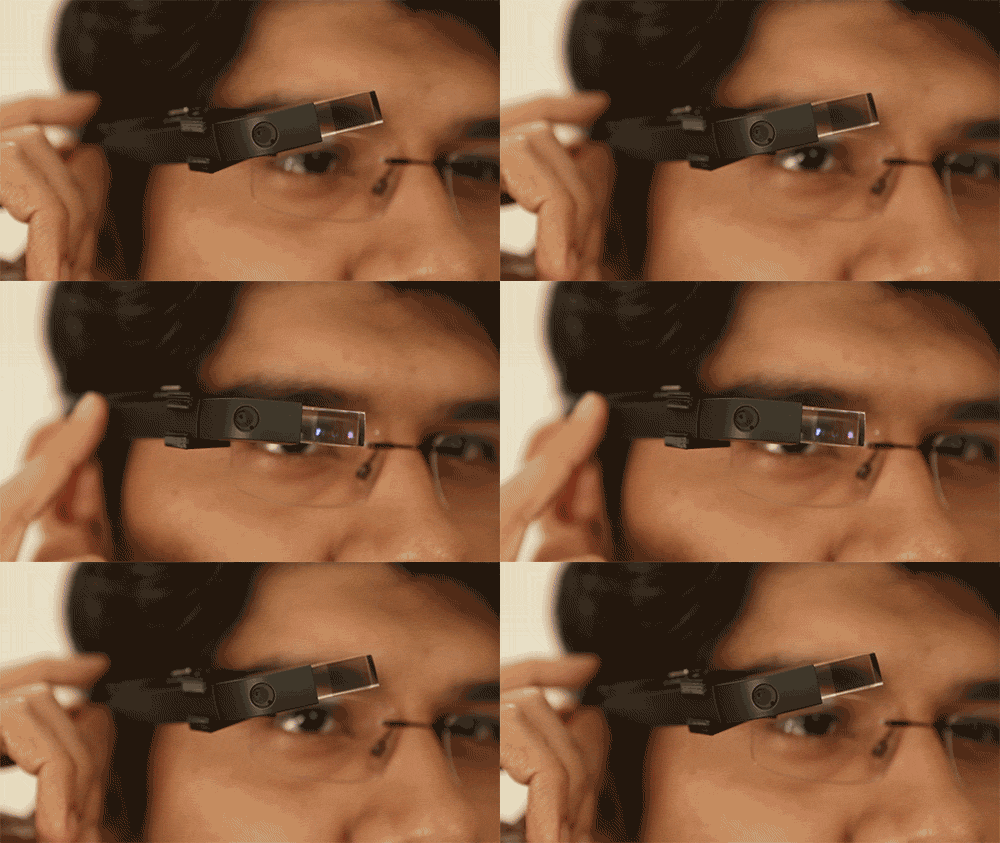 The video below explains that process in much more depth.
Why 3D Print Lenses Anyway?
Having worked as a lens maker, this writer has some experience in this field, and I have the scars on my fingers a decade later to prove it. Ground lens edges are SHARP. Like razor sharp.
In a nutshell, a lens manufacturer will typically take a plastic/glass lens blank from a variety of optical options based on customer requirements. The blank looks like a transparent hockey puck.
It is then loaded into a grinding machine with the tooling, which is shaped to provide the correct curvature to the front and back of the lens. The grinding machine is pumped full of milky abrasive fluid, and you just sit back and wait a while until the abrasive covered tools do their job.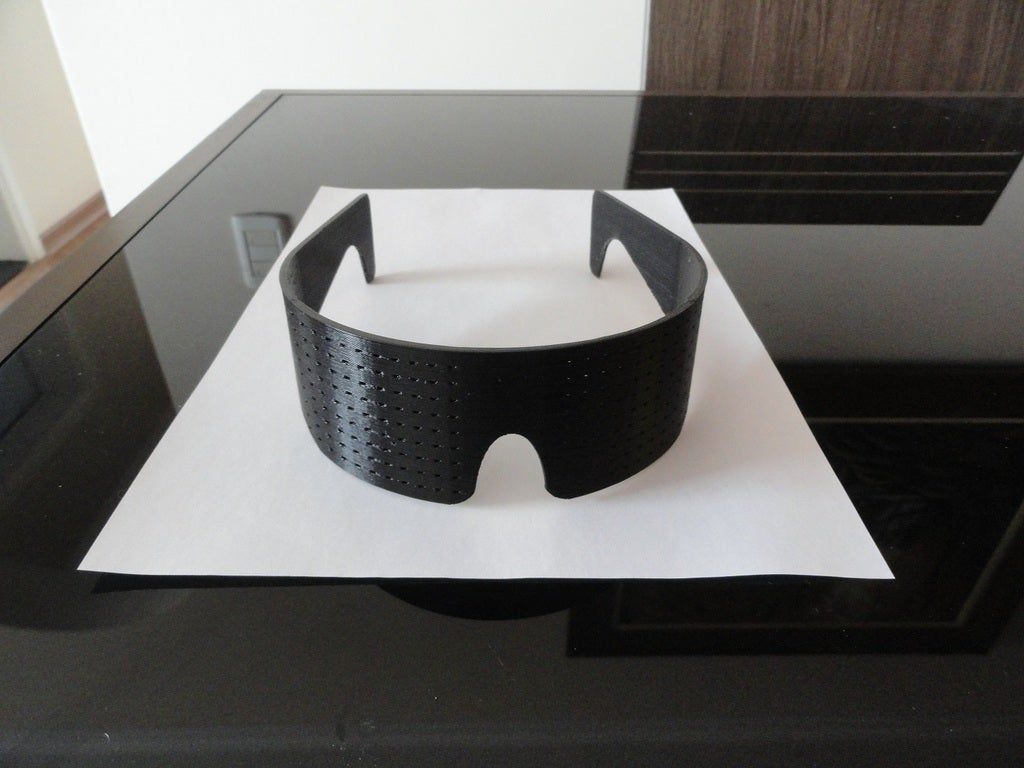
It then goes onto another machine and is polished in a similar way.
The ground/polished lens is removed and cut down to shape so it fits the spectacle frame before going through some QC process where the refractive index of the lens is measured before being fitted into customers’ spectacle frames.
By 3D printing the lenses, you can cut out all of that black selection process, and the grinding and polishing, and simply 3D print the lens into its final form.
No need for polishing and grinding machines. No need for a storeroom full of blanks. You can see the value already, right? Reduced processing steps equals reduced machine costs, and reduced staff costs too.
And as traditional lens grinding is a subtractive process, it can waste up to 80% of the material in manufacturing. With AM, that wastage is reduced significantly.
How is it different from Google Glass?
While the Google Glass had a single little screen positioned just above the eye for you to stare into, the Luxexcel models have the screen inside the lens itself.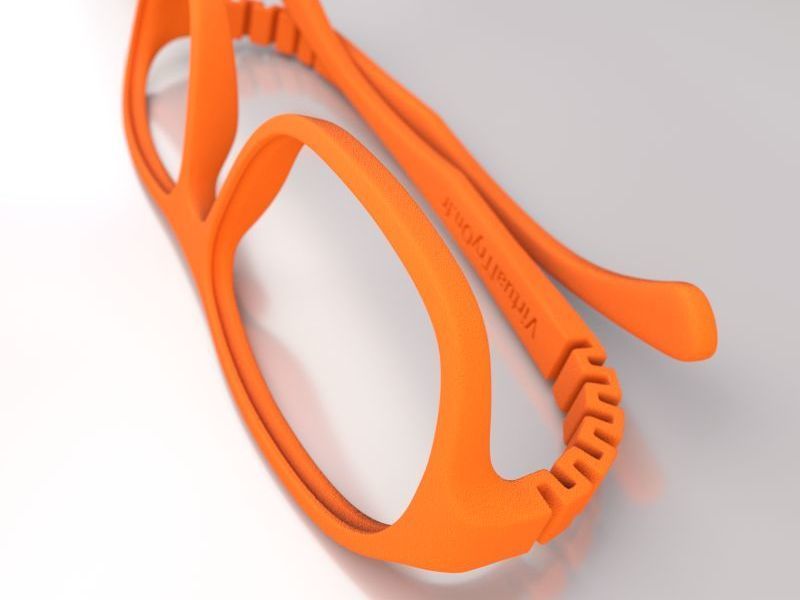
And there are two lenses, just like real glasses.
The lens itself can be designed to whatever your prescription demands. The main difference is of course that Luxexcel is a dedicated optical lens company as opposed to Google, who aren’t.
Consequently this technology feels like it has been designed from the ground up to actually look like glasses (and function like them) rather than the Google product which looks like someone has glued a Pez dispenser onto a frame.
The result is a pair of AR glasses that actually look like glasses, with larger screen real estate than Google’s weird effort. And because the electronics are embedded into the lens, there are some weight reduction benefits also.
Let’s just be clear: Luxexcel are primarily a lens manufacturer rather than a smart-glasses product maker. They are largely designing smart lenses for other companies to put into their own products.
For example, a couple of years ago they provided lenses for the Vuzix Blade AR glasses.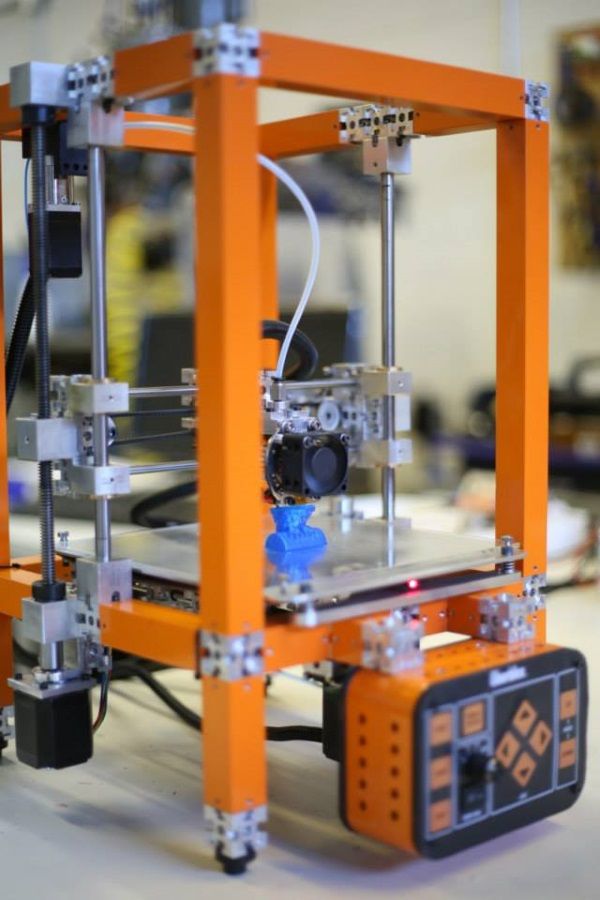
Will this help bring about a true AR killer app? Or will we be doomed to wearing the likes of Magic Leap and Microsoft HoloLens for our AR jollies?
Let’s hope it is the former.
Hassle-Free 3D Printer Breaks Paradigm Mold
In 2014, the biggest brains in 3D printing, from the inventor of 3D CAD software to the developer of inkjet 3D printing, stealthily joined forces to create a company whose goal was to break industrial 3D printers out of the lab and make them safe and easy enough to use in an office.
This week, that Boston startup, Rize Inc., the additive manufacturing dream team has emerged from the shadows to unveil its new desktop industrial printer, the Rize One (starts at $19,000).
It eliminates nearly every pet peeve you’ve ever had about industrial 3D printing. Post-processing time? Gone. Weak material? Not anymore. Complex software? Simplified.
The 21.4 x 36 25.4 in. printer uses a patented Augmented Polymer Deposition process and game-changing material, Rizium One, that have been shown to cut overall turnaround time by 50%.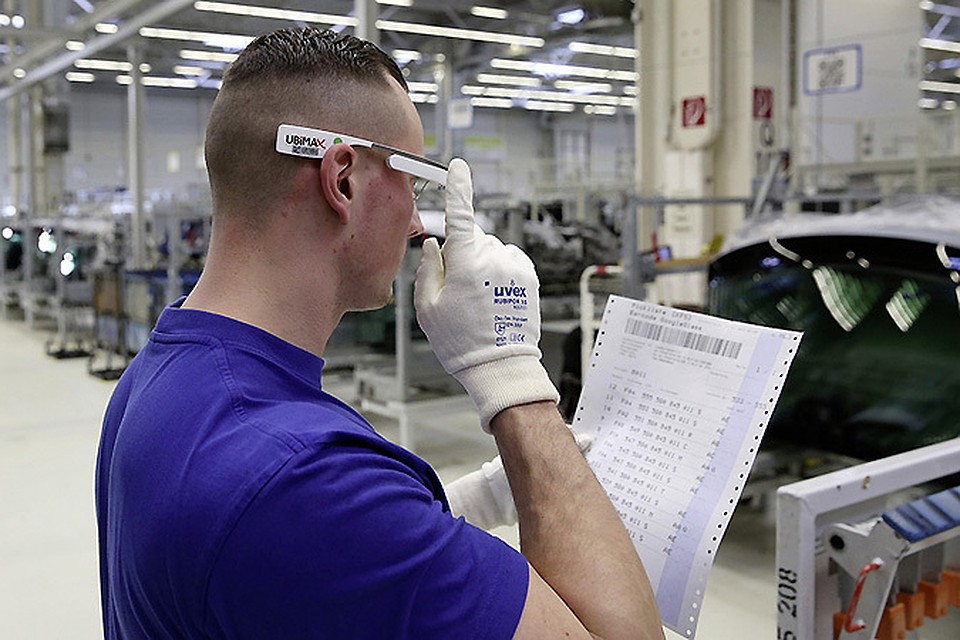
We asked Frank Marangell, President and CEO of Rize and former president of Objet North America, to tell us why this is the finally the 3D printer you’ve been waiting for.
NED: How did the team get together?
Frank Marangell: CTO and founder Eugene Giller, who developed the material for Google Glass came up with the idea to solve the limitations in 3d printers and thought there has to be a better way. He tested his patented material, which has a mechanical strength that is twice that of materials used on FDM systems, enough to convince many of us it was a good idea. He connected with Leonid Raiz, the architect of Pro/Engineer 3DCAD software.
They were looking for a CEO, and I just left Stratasys after the merger. I said “Sign me up!” I knew this thing was going to be significant in the industry.
After an Investor presentation, we got funded in late 2014 (by Longworth Venture Partners and SB Capital with $4M in seed funding. )
)
NED: So why is this going to be so significant?
FM: It’s an industrial printer, with a build area of 12 x 8 x 6 in., or 300 x 200 x150 mm, made to run 24/7 that competes with larger $100,000 printers. The print takes the same time, but the post processing can take mere seconds. Our patented technology and materials allow us to change mechanical properties of the thermoplastic, voxel by voxel (3D pixel). That gives us the ability to jet a release layer, normally at 300 dpi, that separates the support from the model. The support material would normally lock to it, but because of our secondary process, which puts down a layer of Release One material between the support and layer above so it can’t attach to it, we’re able to pop off the support material without any post processing, and doesn’t create any marks on it, and no filing or sanding is needed.
Even on models with complex geometries, Rize One affords zero post-processing.
Photo: Rize
NED: How much time does post-processing really consume though?
FM: One of our beta customers, Reebok, which made everything from shoelaces to lacrosse heads, found that by eliminating post-processing, you could save on average 50% production time. That’s if you’re working 24/7. It could be you’re missing a shift because of post-processing and that costs you 24 hours. We have that example ourselves. With print jobs that could take 6 to 8 hours, we’d print overnight using another technology prior to our printer was ready to use, and want to use it right away the next day, but it needs 8 hours in soluble support tank. If we’re not careful we could miss the day’s shift for use later that night and have to wait until the next morning.
Our technology saves that entire day of work and makes production quality parts.
Reebok told us the lack of labor in post-processing labor could pay for this in less than a year. That doesn’t even include the time to get the designs out earlier and post-processing materials needed with other systems. Better design integration is very hard to put a dollar amount on, but everybody’s striving for it.
NED: What other features stand out?
We have from a filament standpoint, spots for two cartridges. Each has a tool at the end and the spool just plugs right in and is automatically fed into machine. When the first one empties, it swaps over to the next cartridge automatically. It was one of my requirements. It was always a pet peeve of mine that you don’t know if you have enough material to complete build. You get ¾ of the way through a build and run out.
NED: Short of giving us the recipe, what can you tell us about your patented material, Rizium One?
FM: The thermoplastic strength in z-axis creates a bond that is almost equal to the x and y. The recipe gives us something above 60 mega pascals in x, y, and z in strength. And it has high Heat Deflection temperature (HDT) strength. It’s comparable to polycarbonate. Compared to 3D Systems SLA or Stratasys’ ABSplus, it’s less than half the price. Those are about $260/kg; we’re going to be less than $100/kg.
And it’s made of eco-friendly material. It doesn’t give off any volatiles when extruding. ABS gives off styrene, PLA gives off lactide. It’s safer than what’s on 2D printers today. It makes the Rize One the first non-toxic 3D printer that is safe for the office environment.
The non-toxic Rizium One material "breaks the chains of the 3D printing lab," making the industrial printer safe for the office.
Photo: Rize
NED: When will Rize One be available?
FM: We have beta machines ready. We’re going to start at Reebok, and move on from there with other well-known names a couple hours drive from our office. It’s more an early adopter system than true beta. We’re taking orders in Q4, and they’ll get them Q1. The machine is self-installed and is designed to run and run and run and not need a service package. Service package will be available, though.
The first release will be grey-scale, but it has the ability to print in full-color, which will be available in the next upgrade. The carriage to hold the heads is already in place. Then you can get into spare parts replacement.
Rize One 3D prints of high definition text and images "anywhere, anytime." Full color should be available in a future hardware and software patch.
Photo: Rize
NED: What industries will benefit most?
FM: The sky’s the limit where you can use it. Most 3D printers are known for form and fit, but not function. With ours, because of the Z strength, you’re able to get the function. You can produce handlebar on bicycle, any mechanical gear structure, all mechanical parts .
An auto mechanic could produce custom parts on-demand without worrying about the complexity of software or the post-processing nightmare. A doctor’s office can model CAT scan data, or surgical tools to explain surgery to patient or to help with procedure. These are made today, but made in labs far away from the user.
For more information on the Rize One, please visit www.rize3d.com/
(There is a solution) My heated glass plate is cracking.
 How to prevent it?
 heated bed fdm hbp fff
My FDM thermoplastic printer has a heated desktop and uses glass as the print surface. Sometimes the glass cracks or breaks completely when I take my print. Most often this happens when the print has a large area of contact with the glass.
What can I do to prevent this from happening?
@martin, #15
Discussion
5 answers
Best answer:
▲ 6
Some things that I tried, helped:
Put a layer of adhesive tape. Most people who do this use artist blue duct tape. The plastic should adhere well during printing, but release easily enough when you remove the print from a heated bed.
Set aside the Kapton tape later. The principle is the same as adhesive tape, but Kapton tape has a smooth surface and is more durable than adhesive tape. On the other hand, kapton tape is much more expensive and applying it correctly is a MUCH more job since you have to use water and you have to keep bubbles out of it.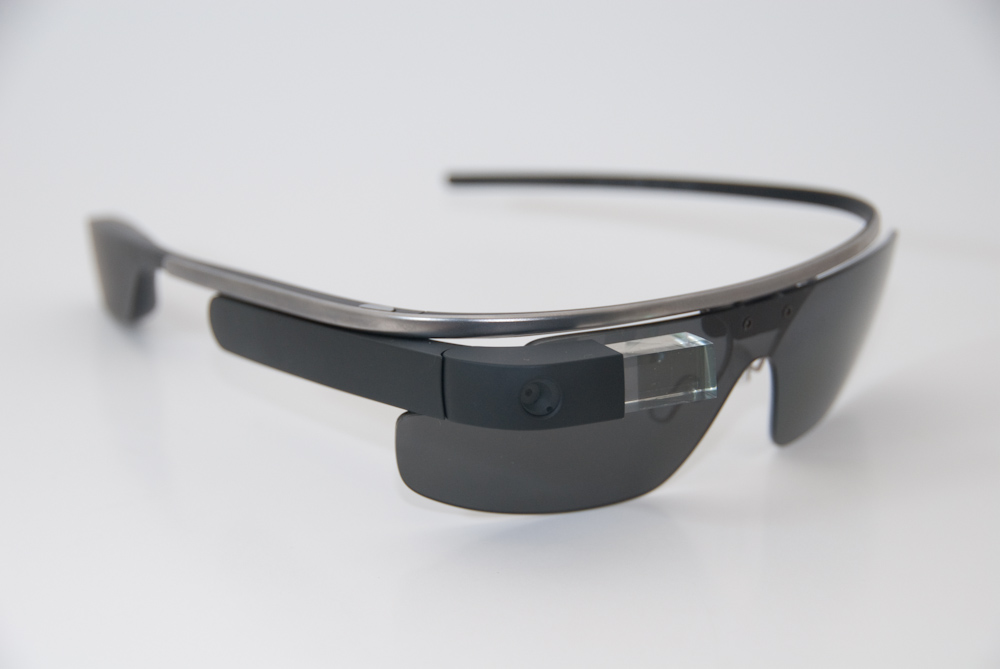
Put some ABS scraps in a bottle of acetone and let the acetone break down the ABS until you have a slurry. Spread this suspension as evenly as possible over the mounting plate and let the acetone evaporate. This leaves a thin film of ABS on the plate and will stand out much better than if you printed directly onto the build plate. I recommend using transparent ABS if you can, as some of it will stick to your print and transparent will be the least visible. You will need to reapply it regularly as it will come off with your print where it contacts the build plate. WARNING : Use proper ventilation and avoid contact with acetone. This crap doesn't suit you. It is also highly flammable, so keep a fire extinguisher nearby.
I prefer the ABS/acetone slurry method, but it requires good ventilation and a handy fire extinguisher. Also note that you do not need to print in ABS to use the ABS/acetone slurry; I print mostly in PLA and it doesn't matter.
I've also heard of others that use adhesive stick or some other surface coating that provides good adhesion during printing while still being easy to remove.
, @ Martin
▲ 1
You can try using a raft with a bottom that is not 100% strong. Anything with lines or intersecting lines will reduce the contact area with the table, making it easier to remove.
Note: Decreased adhesion to the table will increase the chance of print failure.
, @ Eric Johnson
▲ 8
I use the glue stick method. I like to take out my buildable plate and put it in the freezer. The different coefficients of thermal expansion between glass and plastic usually means the part just pops out in the freezer.
, @ tir38
▲ 1
Richrap had a detailed blog entry on the subject.
TLDR: Glass screen protectors (for ipad or other tablets) are good for protecting glass from chipping.
, @ mblaster
▲ 0
I have 2 suggestions.
First, get the best glass. high-quality borosilicate sheet glass with a thickness of at least 3 mm should not even be scraped off with a razor.
Second, don't scratch it with a razor, put it all in the freezer (or refrigerator, or in front of a fan, anywhere), borosilicate is known for having a very low thermal coefficient, so plastic will shrink more than glass and should pop right out
, @ entropicCreator
As a beginner I bought a 3D printer. Choosing, setting up, problems and solving practical problems / Sudo Null IT News
A few months ago, I was thinking about getting one because I wanted to print a broken part of my robot vacuum cleaner. About a month ago I bought a device I liked on eBay.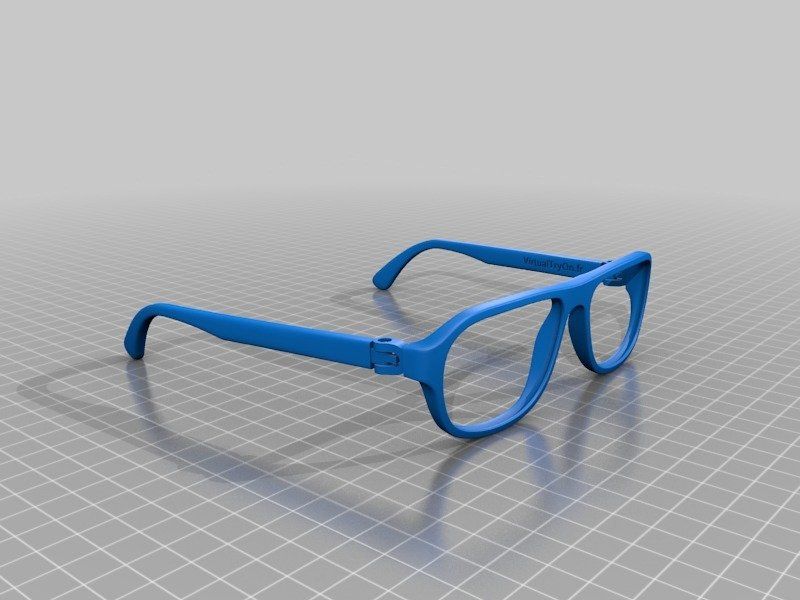 That's what was important to me when choosing a 3D printer.
Which printer do you need?
Considering that I knew almost nothing about 3D printers (except for a few articles read here on Habré), the important points were:
- Printer performance out of the box. I have seen several articles describing how long it takes to set up a "simple Chinese printer". It needs to be assembled from a large number of parts, and it is not a fact that there will not be defective ones among them. Once assembled, you can mess around with the device for a couple of days, and then it turns out that for some reason it does not work. In short, I needed a printer that didn't need to be assembled and that could work right out of the box.
- It shouldn't be too expensive. Seriously, I'm new, I was not sure that after a couple of days I would not abandon the device. And a printer for 500-600 euros would be too expensive a toy. So I was willing to spend a couple of hundred, no more.

- It should not be too big. Before buying, I allocated a little space for installing the printer, somewhere around 50 * 50 cm. Therefore, the printer had to stand on the allocated area without any problems.
- It shouldn't be too difficult to maintain. This point is closely related to the first. I didn’t want to spend a lot of time on operation and maintenance work - there is sorely not enough time, so constantly eliminating emerging glitches is not an option.
- I wanted to get a printer with WiFi, it was not critical, but important.
What did I end up buying?
Model Geeetech E180. It was shown by Google after the query “3D printer for beginners”. There were other models in the search results, but this one was liked by the design and the presence of WiFi.
The developers of this printer raised money for it with the help of Kickstarter and a couple of years ago it appeared on the free market.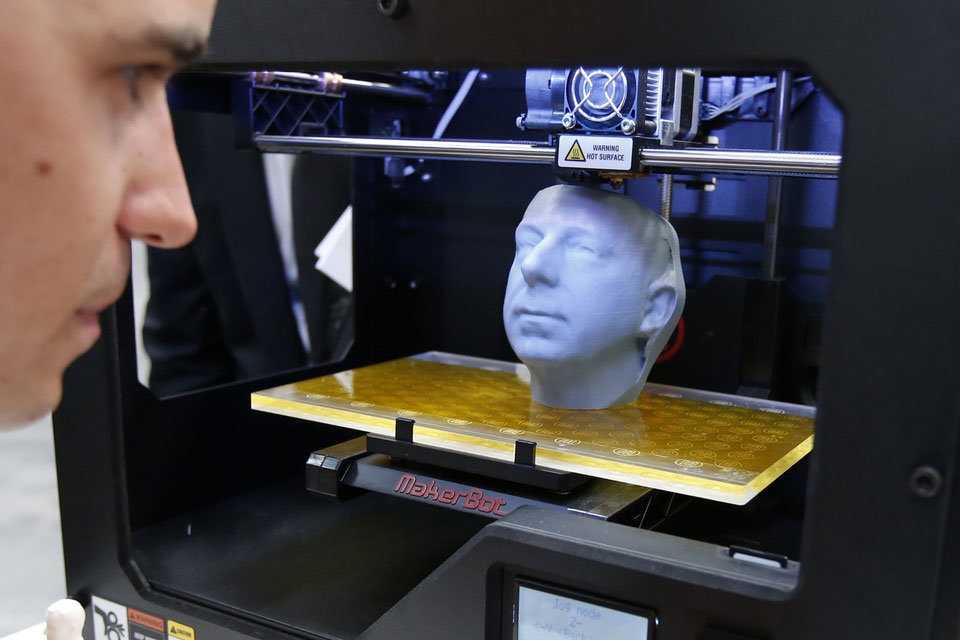 Its price is from 200 to 350 euros, depending on the company that sells it and the store.
Bought on eBay, starting price was 200 euros, but the seller agreed to drop 50 euros, so the total price is 150.
Printer specifications:
- Print technology: FDM
- Working space dimensions: 130 x 130 x 130 mm
- Printing accuracy: 0.05 mm
- Positioning accuracy: X / Y 0.11 mm, Z 0.0025 mm
- Print speed: 80-110 mm/s
- Thread diameter: 1.75 mm
- Nozzle diameter: 0.4 mm
- Supported material: manufacturer claims PLA, but may work with other materials
- Operating system: Windows
- Management software: EasyPrint 3D
- File format: .STL, G-code
- Maximum extruder temperature: 230 °C
- Power supply: DC 12V 6A
- Connectivity: WiFi, USB, TF card (offline printing support)
- Display: 3.2" full color touch screen
- Chassis: metal plate + injection molding (portable console 3D printer)
- Work table: aluminum alloy plate
- XYZ Rods: wear resistant, stainless steel screw and lead (Z axis)
- Stepper motors: 1.
 8 degree stepped angle with 1/16 micro stepping
Unpacking and setup
Before setting up, I looked at several reviews and tests of the printer. If not for them, I would not have done it myself, the explanation in the instructions is slurred. The setup is simple, but not for a beginner.
The printer "wound up" as soon as I connected it to power and a laptop. I calibrated the position of the table - it turned out to be simple - inserted a microSD card into the slot, found the contents through the menu on the printer screen, inserted the fiber into the channel and started printing. The printer made a noise and started printing. Or rather, I thought that he started typing, in fact it was not so.
Problems
The printhead moved, the temperature reached 205 degrees Celsius, but there was almost no plastic - in the first few seconds, a few plastic “hairs” came out and that was it. The printer continued to work, but the plastic was not squeezed out of the head.
I wasted several Saturday hours trying to figure out why. I tried to look for an explanation on the net, but solutions to similar problems did not suit me.
The joy of buying disappeared in the first couple of hours of fuss. I wanted a printer that “just works”, but it didn’t work out. As a result, I realized that the fiber was not being fed - the feed mechanism hidden under the plastic cover simply did not work. It did not work because the constituent elements did not rotate. There was no movement at all.
I have decided that the printer has a defective electric motor that is responsible for feeding, and I cannot repair it. The next step is to click the Return to Seller button on eBay. After clicking the button and describing the problem, I decided to pack the printer for shipping. Before sealing it in a foam box, just in case, I decided to carefully examine those “insides” that are visible through the holes in the case.
And the reason was immediately found - the assembler at the factory simply forgot to connect the power supply to the engine. Seriously, the cable just dangled inside the case. I connected it to the right connector with tweezers without disassembling the printer. Then I turned on the device again and this time everything was fine, the plastic feed worked as it should.
Then a few more minor problems arose:
- Misaligned table. This caused the table to skew and the printhead was pressed against the surface in one place. As a result, the plastic could not be squeezed out of the head, which led to solid print defects;
- Impossibility of direct printing of models downloaded from the Internet. Being a beginner, I thought that everything works like with a regular printer - I downloaded a document, sent it to print. It turns out that slicing is also needed. I will not repeat what it is and why it needs to be perfectly described in this article on Habré;
- Slicers are not compatible with the printer model.
 The slicer needs to set the printer desktop size. Some slicers for some reason did not want to work with the dimensions of my printer (13*13*13 cm). Some even crashed (including the printer's native application), some did not "understand" the dimensions. As a result, I settled on ideaMaker;
 - No WiFi. As it turned out, there are two types of E180 - one with an integrated WiFi module, the second - without a module, you need to buy it in addition. At the seller, the inscription "need a separate module" was applied to one of the photos of the printer, small and in French (everything else was in English). Not a scam, but close to it. The module decided not to buy more, it is not really needed;
- Long print time. I thought it would take several tens of minutes to print. I was not ready for the fact that large models can be printed for 6-8 hours. This is my own fault - I did not carefully look at the reviews.
Practical use
I didn’t buy a printer for a game, I wanted to get a device that would allow me to create things I need in everyday life, and not run to the store.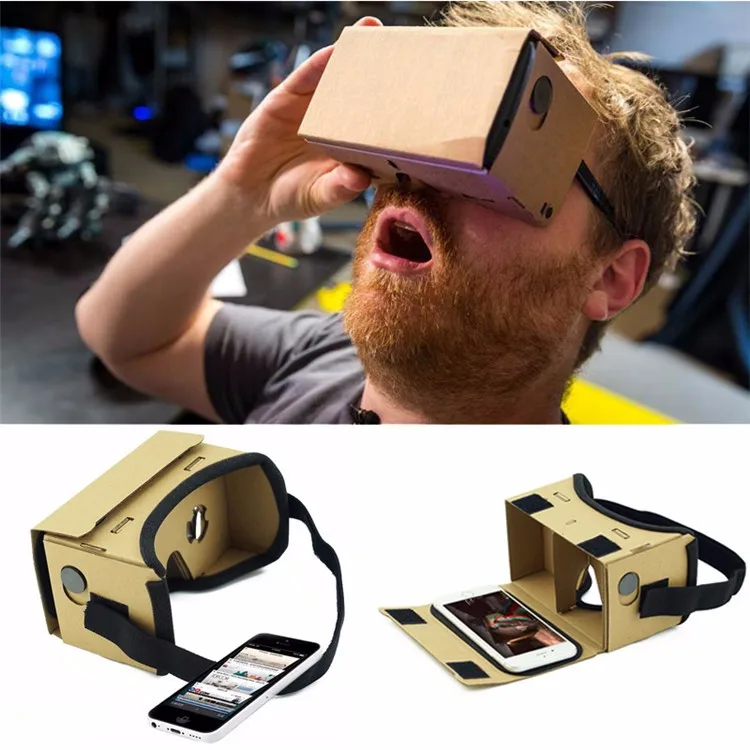 Before buying, I outlined what I wanted to create:
The lever for separating the water tank in the iRobot Scooba robot vacuum cleaner, the repair review of which I published on Habré. His native pen broke, he did not want to spend money on buying a new one (they are relatively rare, since Scooba is no longer produced and expensive).
Finally found a suitable model on Thingiverse and printed it. To my surprise, everything fell into place the first time, the pen still works quite normally (it's been about a month since this part was printed).
Chinese electron microscope stand. I needed it for soldering small parts. I do not want to buy a professional microscope for 400 euros, since I myself do not do repairs very often. A Chinese microscope connected to a laptop is quite an option. But his native tripod is just terrible. Therefore, I wanted to make a new, normal one with my own hands.
Soldering iron stand. You just need a comfortable stand, from which the soldering iron will not fall, like from a Chinese stand that I once bought.
Paste tube squeezer. Yes, the thing is not the most necessary, but practical.
iPhone stand. Convenient, there is a hole for the cable, sound amplification.
Toys for children. Why buy another small doll or dollhouse piece when some things can just be printed out?
Stylus for Nintendo DS Lite. I had a game console bought at a flea market for a long time. The stylus was lost and I (and my daughter) played using the PDA stylus. Recently I found a stylus model for the console, printed it out - it turned out perfectly. It fits into the connector like a factory one.
Extractor for printed parts stuck to the table. Virtually all parts stick to the substrate of the printer's desktop. You can’t do without a special device - an ordinary knife will scratch and cut a special sticker. I found a model that is compatible with the blades of a standard utility knife - works great.
The printer lived up to my expectations.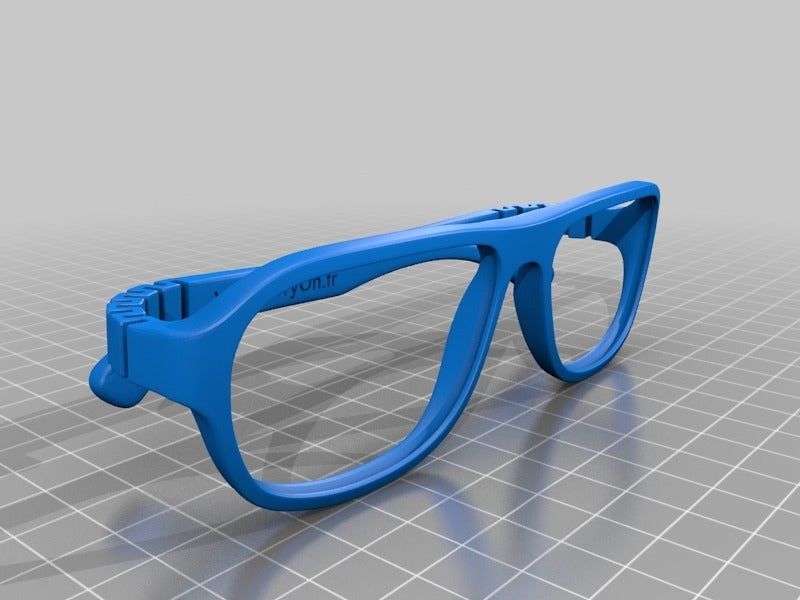 It was possible to print almost everything that is indicated above. All these things fulfill their purpose, and most importantly, I am not afraid that any of them may fail. You can always print a new one.
There are a lot of ready-made models on the net. If you need some detail or thing, in 90% of cases you can find everything you need.
Troublesome little things
Printed parts are far from perfect. In some cases, deformation of some elements occurs and it is necessary to “finish” manually, using a knife and, in fact, a file. It doesn't happen that often, but I wish the printed part didn't need to be reworked (yes, I know you can get it by buying a professional 3D printer).
Sometimes parts are printed, but for some reason the actual and declared size do not match. So, I tried several times to print different dispensers for AA and AAA batteries, but for some reason the ready-made dispensers did not fit. The diameter of the holes into which the batteries are inserted was always somewhat smaller than the diameter of the batteries themselves. I still do not understand whether the problem is on my part, or the model is problematic. As a solution, you can simply increase the scale of the part in the slicer, by 10 percent. But it’s a pity for the spent plastic - after all, you can find out whether a quality part will turn out or not only after a solid part of it is ready.
It takes a long time to print a part. Some printouts take hours to complete, so making a simple car phone stand can take half a day.
In order to develop something of your own, you need knowledge of CAD , at least at an elementary level. Otherwise, you will have to look for ready-made objects on sites that host models created by someone. In the end, I never found a battery cover for one of the remotes. I am not able to develop it myself - there is almost no time to master CAD.
My printer desktop size is small .