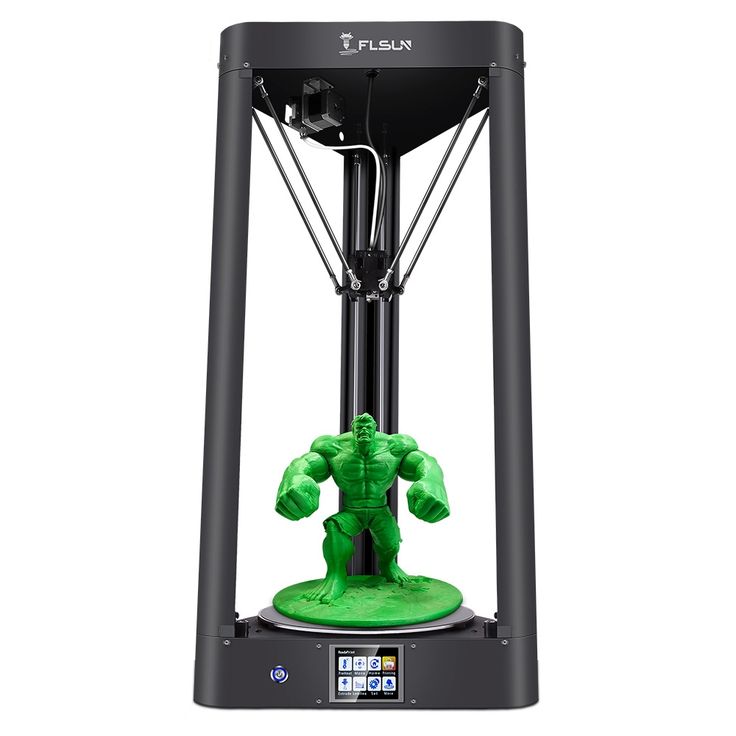
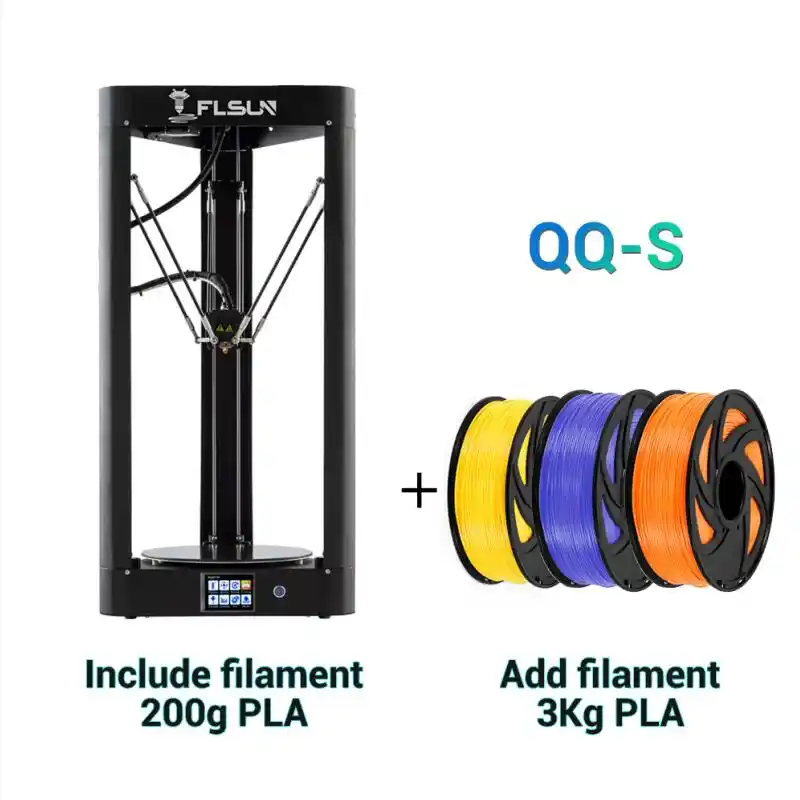
Flsun qq 3d printer
FLSUN QQ-S Review: Price, Specs & Print Quality Test!
Within the last decade, FDM 3D printers have transformed from expensive, industrial machines, and become cheap 3D printers you can fit on your desktop and print with ease for just a few hundred dollars. The RepRap movement spurred these innovations, and now a variety of Chinese companies have further expanded on these low cost printers to make 3D printing more accessible than ever before.
One of these companies, FLSUN, make a number of great delta 3D printers, including the FLSUN QQ-S, an upgrade on the original FLSUN QQ. We were lucky enough to be sent one of these by Gearbest to test and review.
We are very grateful to Gearbest for sending us the QQ-S to try out, and they have given us some discount coupons for your own FLSUN QQ-S. Simply click this link, and enter code: W4FFA008885EB001 at checkout to get $20 off!
FLSUN QQ-S Specs, Build volume, price, speed
- Price: $309 — Available on Gearbest here / Available on Amazon here
- Build volume: 255 x 255 x 360 mm
- Weight: around 12kg in the box
- Speed: up to 300mm/s, minimum speed 30mm/s, default running speed 60 mm/s.
Improvements from the QQ-S over the original QQ
- Improved lattice glass bed. This makes prints easier to remove, easier to adhere to, and reduces warping in the case of filaments like ABS. It also heats up far quicker, speeding up your time to print. The print bed can reach 100C in under 5 minutes with ease.
- Titan extruder: titan extruders are known for their high quality. The FLSUN comes with standard 0.4mm nozzle, but you can change this based on your printing needs. There are also plenty of spare parts. The E3D brand is not present however.
FLSUN QQ-S: Building Process
The FLSUN QQ-S advertises itself as coming 90% assembled, with only the actual structure of the printer, with the three panels and six metal rods, as well as the tracks, filament holder, and a dozen screws to tighten left to do once you’ve unboxed it. The only parts that you need to assemble are the ones that give the printer its height, as otherwise the FLSUN QQ-S would not be able to ship in such a compact package.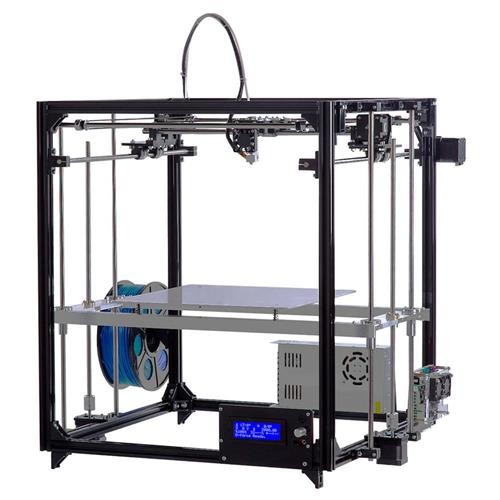
Assembling the FLSUN QQ-S 3D printer kit took around 45 minutes with two colleagues, though this could have been around 30 minutes if really trying. Take your time to ensure all the bolts are fully screwed in, and that all the gear belts are free and untangled.Assembling the rods that hold up the printer.
Once you’ve built the printer, you just need to let the printer level itself, which takes around 5 minutes. Then, fix the Z axis and feed the filament in to the top of the printer, and you’re ready to go.
FLSUN QQ-S: 3D Printing
The FLSUN QQ-S comes with a USB stick and microSD card for printing, but the USB stick carries assembly instructions and cannot be used to 3D print with. Only the microSD card can be used, so if you do not have a microSD drive for your laptop or computer, you will need to buy an adapter, such as a SD card to USB stick adapter. These only cost around $7 and can be bought here.
From there on, all you need to do is install Cura, an easy to use and fast 3D slicer that we love, and export your sliced STL file to the SD card and stick it in the back of your printer.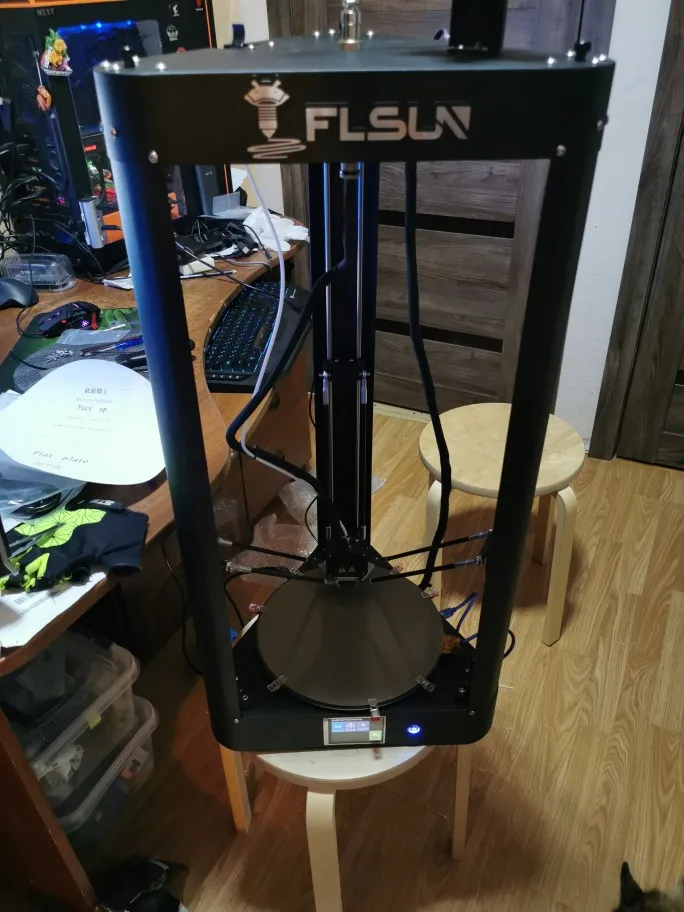 It’s really easy and works well. Cura has FLSUN QQ-S presets, so all you need to do is select your printer, and a number of default settings for the printer will load up. You can still change these as you wish, but for beginners, these settings are fine.
First print: FLSUN Elephant
The first model we printed was one of the default 3D printer models that came on the SD card, an FLSUN-branded elephant. This took a little over an hour to print, and came out looking great. The printer handled the intricate FLSUN indents perfectly, as well as the elephant’s eye, and without any stringing.
The only imperfections were the first couple of layers did not adhere as well, but this can be corrected in your print settings by starting your print at a higher temperature for the first few layers. The glass print bed makes removing prints easy and with no marks, and the printer itself comes with a glue build surface.
The next prints: intricate, small character printing test
Now we had tested a larger, more uniform 3D printed part, we moved to more intricate pieces.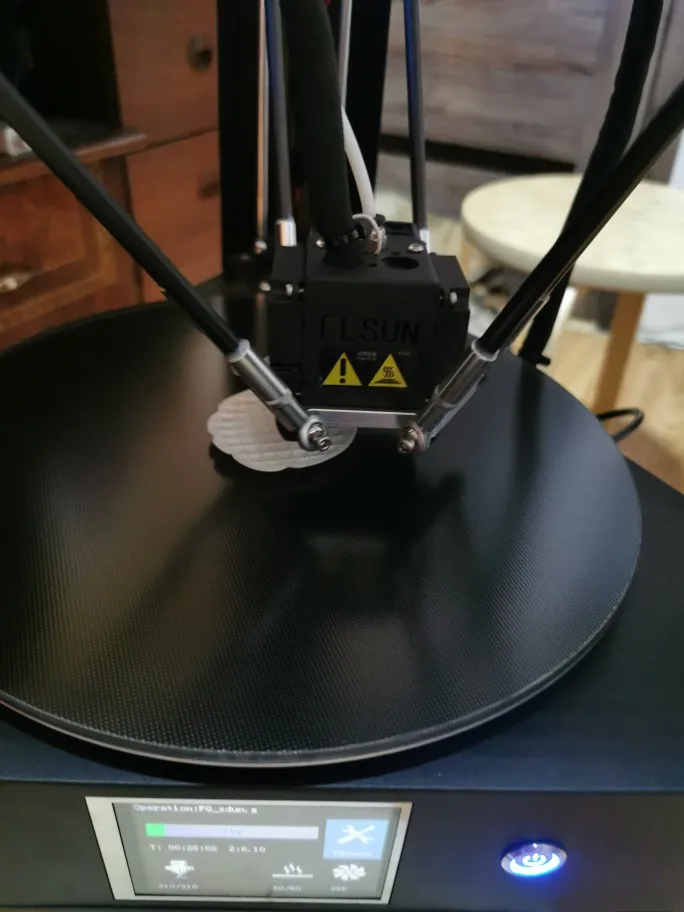 To test this, we used models found on Thingiverse of a Bulbasaur pokemon, and to try a very thin and intricate model, the Peacekeeper 3D printed gun from the popular game Apex Legends.
They were printed simultaneously on default settings and with supports, and both models took around 80 minutes altogether. Both came out well, but because they are both such small models, the supports were difficult to remove and left slight marks, especially on the underside on the Bulbasaur’s face. A larger model print, and better positioning of the object, would have left less areas necessary for supports and would have made printing better.
Scroll to see each model in more detail.Benchy, vase and more pokemon
The standard test of any good 3D printer, we printed a 3DBenchy with zero supports. The result was an almost perfect Benchy — barely any imperfections even in the overhangs to create the inside part. Very impressive from the FLSUN QQ-S 3D printer.
We also tried printing a small vase with some interesting geometric shapes, also shown below.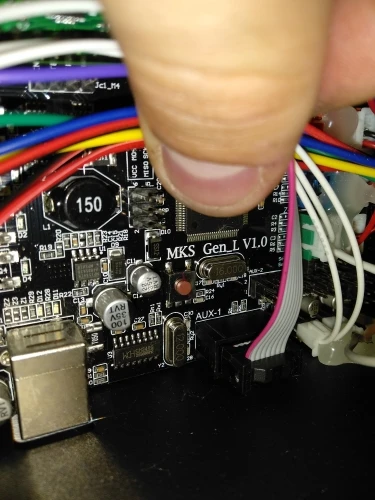 The FLSUN QQ-S again passed every test, creating a beautiful vase model with crisp features and no errors.
Next, we tried a larger Pokemon model, of a Venonat. This took around 2 hours, and came out looking crisp and well defined, even in the antennae and top spikes which are printed vertically with no supports. There were small amounts of stringing but this is to be expected in this situation. We printed it with supports, but turned on its side the model could probably have been smoother. Again, this does not reflect on the FLSUN QQ-S, but on our haste.
There are some imperfections on the model, but not because of the 3D printer, but because of the support settings. They were set to print everywhere, which led to them taking around 10 minutes to remove, and made them more difficult to remove. As a result, imperfections from cutting supports off were left on the model, as shown below, but this can be fixed by smoothing the part.
Learning from our mistakes, we then tried an Oddish 3D printer model, but changed the supports to come from the build plate up only, rather than to completely encompass the model. The results were far less invasive supports that could be removed more easily and left less clear signs that they were ever there.
FLSUN QQ-S Review: Advantages and Disadvantages
Pros
- Very large 3D printer, capable of printing large prints that can form cosplays and other large, fun projects.
- Very sturdy, due to the anchoring from the lower and side panels that keep the delta 3D printer stable, and printing accurate.
- Easy to assemble: you can get the FLSUN QQ-S working in under an hour.
- Fast: the FLSUN QQ-S – though default settings are around 60mm/s – can become one of the fastest 3D printers around. Delta 3D printers are known for their speed due to differing extruder builds and weights.
- Easily usable with Cura, which is itself an easy to use 3D printer software
- Has auto leveling and since it has no moving print bed, only needs to be leveled once.
 This is a major plus for beginners without as much technical skills.
 - Workhorse: no print failed, and any messier prints were because we should have better optimized the support settings.
- Easy to use touchscreen, with all auto levelling settings and printing settings easily accessible in just a few clicks.
- Comes with pre-installed models on a microSD card for those who want to get going straight away and don’t have a laptop handy with Cura.
- Handles lots of materials: beyond PLA, the FLSUN QQ-S can print PVA, wood-filled filaments, ABS, and flexible filaments like TPU.
Cons
- Change default print settings to ensure better first layer adhesion. Otherwise your first layer may hang like a loose string.
- Tall and large: this thing stands at not far from a meter tall! Therefore, if you’re looking for a compact, small 3D printer that can fit quietly and neatly on the side of a desktop, look elsewhere.
- Noise: Though it says it is is quiet, the printer’s machine noises on reaching certain coordinates can still be fairly loud. It would be difficult for most makers to concentrate on work or another pastime while the FLSUN QQ-S prints in the same room.
- Open build chamber: this makes it slightly more dangerous if you have a young family, as a child touching the heated bed or extruder can be burned. This also affects ABS printing somewhat as ABS warps more without a heated chamber.
Simple FLSUN QQ-S Review – Worth Buying or Not? – 3D Printerly
3D printing is definitely growing in popularity and as a result we’re seeing plenty of manufacturers getting into the development of 3D printers. FLSUN is up there with their release of the FLSUN QQ-S (Amazon).
The QQ-S 3D printer offers a bigger printing size of φ225 x 360 mm which is perfect for most projects or designs out there.
It has a whole host of features that give it the ability to print fast, reliable and even remotely using Wi-Fi. The all-metal structure gives it that solid foundation necessary for high quality prints, along with the precision in its physical dimensions.
The futuristic, clean look of this 3D printer is desired by many so this review will look in-depth at the FLSUN QQ-S to determine whether it’s worth buying or not.
- All Metal Structure
- 90% Pre-Assembled
- Lattice Glass Platform
- High Printing Speed With Three Axis Linkage
- Resume Power Feature
- New 32-Bit Motherboard
- 24v PSU, 15A Power Supply
- Titan Extruder
- Wi-Fi Remote Control
All-Metal Structure
Metal 3D printers are definitely the preferred material when it comes to stability and precision on a large machine. You’re getting a high quality metal structure which gives you durability and safety for the machine. When done correctly, as the QQ-S is, you’re getting a sturdy 3D printer that you can rely on.
90% Pre-Assembled
Everyone loves things being simplified for you, so the assembly process isn’t much different. Once you receive your QQ-S, you’ll notice that most of it is already pre-assembled for you, requiring around 20 minutes to fully assemble the 3D printer.
Lattice Glass Platform
We shouldn’t overlook the importance of the print platform that your model will be built on. You’ll be receiving a surface called the Lattice Glass Platform which gives great adhesion for the initial print, and easy print removal after your print has cooled down.
This ceramic glass platform is well-loved by users of this 3D printer.
High Printing Speed With Three Axis Linkage
The three-axis linkage sounds pretty complex, but just know it’s what gives the QQ-S the ability to move fast for your printing desires.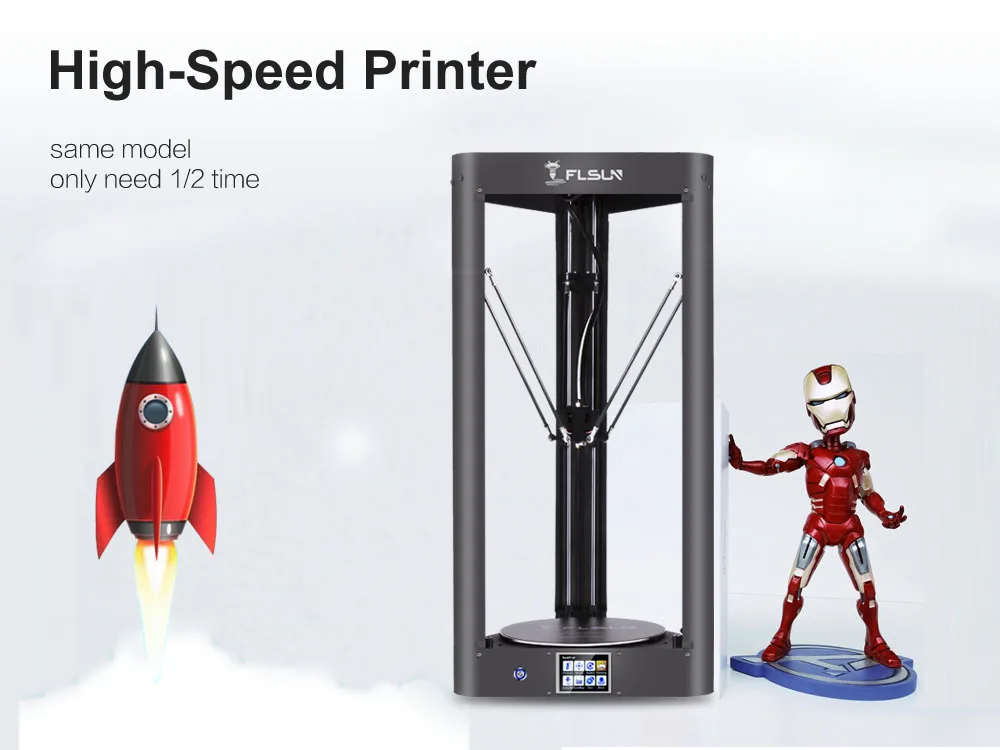 It has a well-developed structure which provides high speeds, up to 60% faster than some other types of printers.
Once you hit print on your 3D printer, seeing the speed at which this Delta 3D printer can work is serious business.
Resume Power Feature
No one likes the unlikely event of a power outage, but even worse is having one while in the middle of a 15 hour print! All we would need to counter this is the resume power feature, which the QQ-S so conveniently has. It means that when your power is accidentally cutoff from the 3D printer, the last printing position is committed to memory, so it can resume the print after turning on.
New 32-Bit Motherboard
Compared to the original QQ, the QQ-S has a nice new motherboard addition which improves the stepper response and positioning accuracy, for better overall quality and peace of mind.
24v PSU, 15A Power Supply
The accompanying power supply to this 3D printer contains the mosfet module which can keep the heated bed heating for long periods of time without issues. You can heat the bed to 100°C for 48 hours.
Titan Extruder
This extruder gives the ability to print flexible filament, with a good grip on the filament to guide it through the printer.
Wi-Fi Remote Control
You can smartly control the 3D printer through your phone with the Wi-Fi remote control feature.
Benefits of FLSUN QQ-S
- Easy to assemble and setup, taking around 20 minutes
- Auto-leveling is also easy to do, just make sure to clean and pre-heat the nozzle
- Get great looking prints straight out the box without tinkering
- Relatively quiet 3D printer so it doesn’t have to be a disturbance below 50dB
- 32-bit controller gives a smoother printing experience
- Ultrafast 3D printing speeds
- Supports flexible filament
- Cooling system increase lifespan of the 3D printer
- Nice responsive touchscreen with simple icons
- Each 3D printer factory-tested 48 hours before packing
- Peace of mind with the power resume function
- FLSUN Facebook group for support and assistance
- Great packing on the 3D printer
Downsides of Simple FLSUN QQ-S
There have been some reports of the 3D printer coming in dusty, so make sure to give it a little clean inside and out.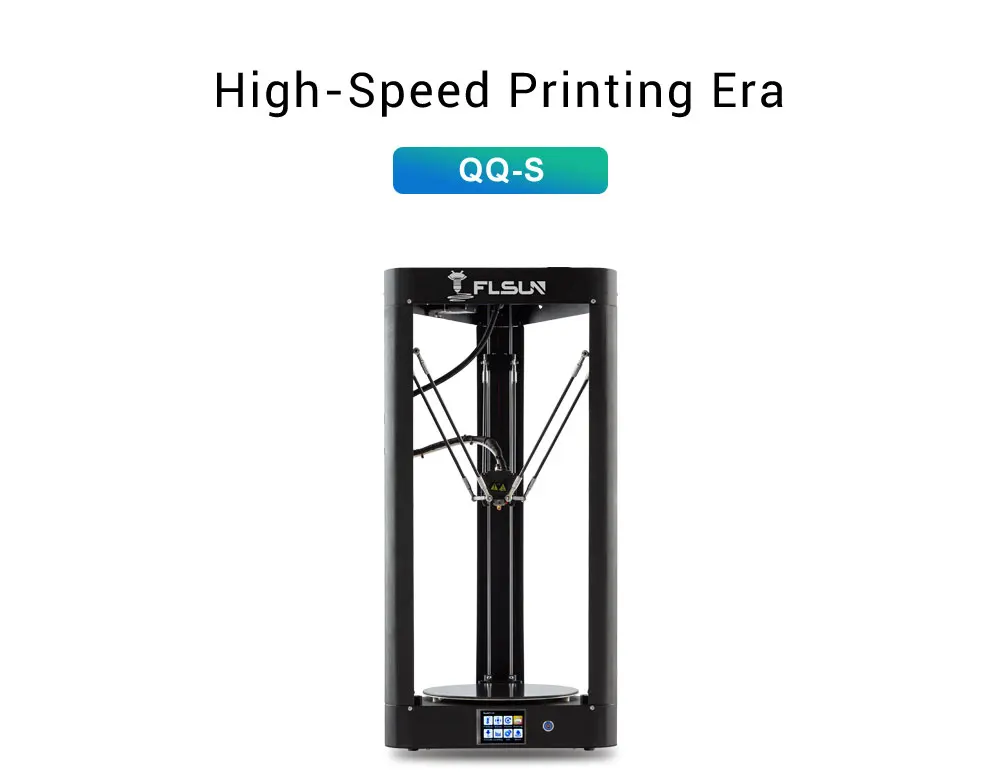 This could have been a transport or warehouse issue with the production and packing process, so I wouldn’t worry too much about this, as it can easily be corrected.
Make sure you correctly change the PSU voltage, where it will guide you in the instruction manual or you can run into problems. The switch for changing the voltage can be found after removing the bottom cover.
The color of the wiring has been known to be non-traditional which shouldn’t affect operation, but can be confusing when first seeing it. Instead of the usual green or yellow color for the Earth wire, it may be red.
There may be an issue with the wiring of the extruder stepper motor since it goes through the metal case in the assembly process. Unfortunately there isn’t a rubber grommet to stop it from rubbing against the metal, so you should try putting some type of insulating tape around the point of contact.
You might not be abler to upgrade to a dual extruder system unless you change the motherboard since the 32-bit MKS Robin Mini only has one extruder motor connection.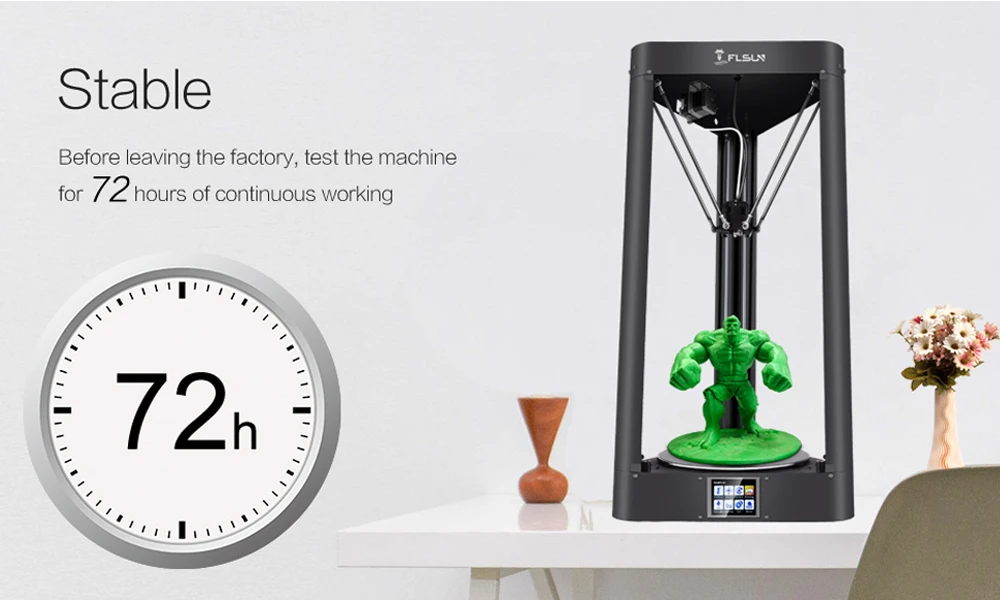
Specifications of Simple FLSUN QQ-S
- Build Volume: 255 (D) x 360 (H) mm / 10.0 (D) x 14.1 (H) inches
- Number of Extruders: Single
- Print Speed: 10-300mm/s
- Nozzle Diameter: 0.4mm(can be replaced with 0.3mm and 0.2mm)
- Max Nozzle Temperature: 270°C
- Max. Heated bed temperature: 110°C
- Layer Thickness: 0.05-0.4mm
- Filament Diameter: 1.75 mm
- Printable Materials: PLA, ABS, flexible, HIPS, wood, PVA
- Connectivity interface: SD card and USB
- Display: 3.2″ Full color touch screen
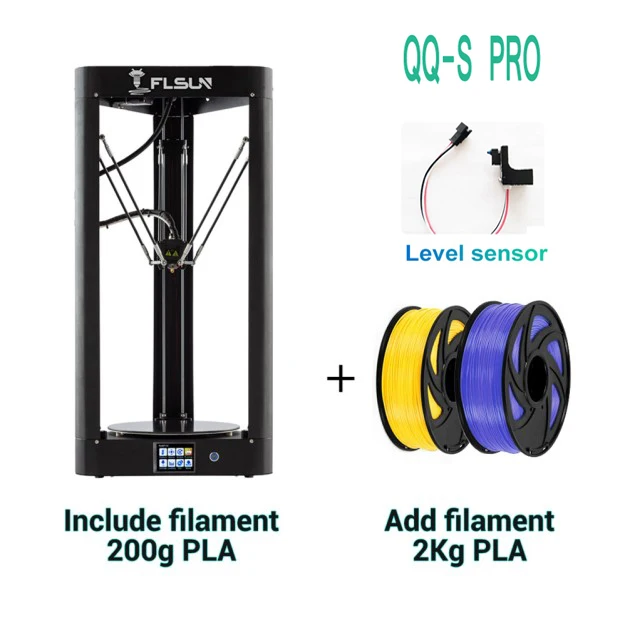
- Leveling: One Click Automatic with auto level sensor
- Supported Software or Slicing: Cura, Repetier-Host
- Supported OS: Mac OSX, Windows
- Supported File Formats: G-Code, OBJ, STL
- Input Power: 110 / 220V
- Output Power: 24V
- Product Dimensions: 290 x 350 x 800mm
Customer Reviews
Many users love how the FLSUN QQ-S is a great 3D printer for a first time user, since it doesn’t take much to get it started and you can begin making high quality prints soon after assembly.
You’re not limited to just PLA like many 3D printers out there. Being able to expand your material usage from PLA to PETG to TPU is a great feature, along with the actual speed you are getting from this machine. Print quality does however increase when using slower speeds.
People have reported great customer service by FLSUN on their Skype chat and getting assistance from the official Facebook group.
It’s not uncommon to run into some kind of issue down the line, where one person had a failed part cooling fan and the bed wouldn’t level properly. They actually ended up sending them a replacement fan and glass bed, along with a firmware update.
This solution solved all their problems, giving a serious improvement to their 3D printing journey.
Rather than the bundle SD cards you get with other 3D printers, this one comes with a brand name SD card and a good amount of bundled PLA filament for your printing pleasure. You also get a few spares and tools as a gesture to keep things smooth.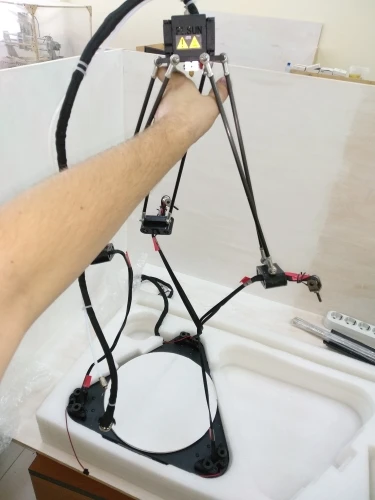
It’s great for beginners, but even an engineer who had 3D printing experience was stunned at the quality and number of features provided at such a good cost. Users love the speed of the QQ-S and how it works very well with several types of filament.
One user did have a complaint about their bed leveling, how after one year the leveling process was coming to be a hassle. It resulted in some poor first layers, but there are definitely methods to fix this, like the review mentioned above.
The automatic bed leveling definitely helps out with this process, where most people have no issues with it.
Make sure not to put the calibration face plate the wrong way around like one person did, because it has a slightly sticky side which can stick to the build glass.
You have the freedom to make upgrades to your 3D printer.
Most people show their appreciation for this 3D printer, albeit with a few troubleshooting issues and whatnot. It has a rating of 4.1/5.0 which is pretty solid.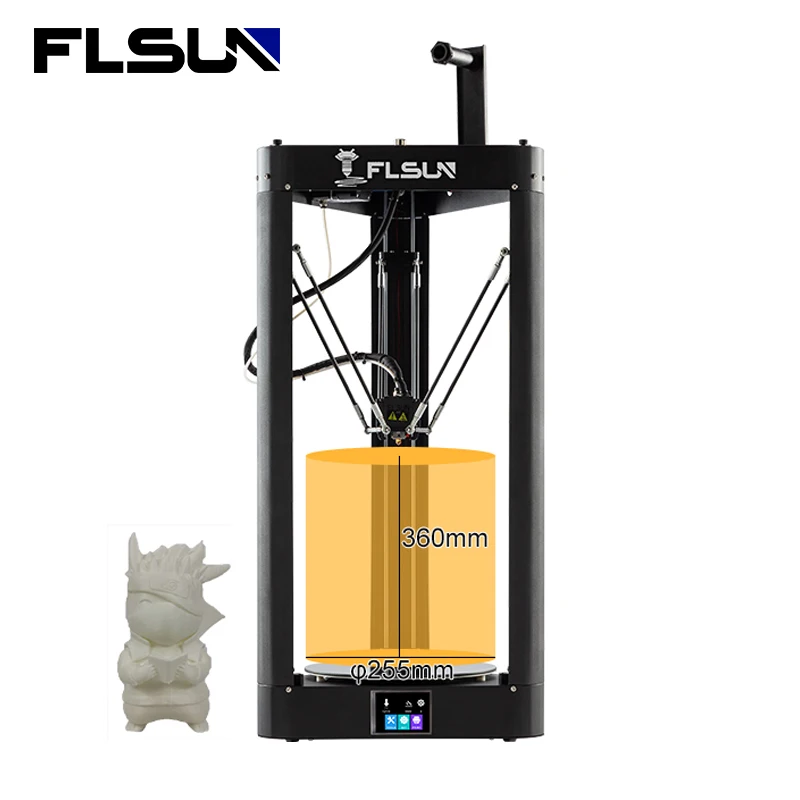
Conclusion
Whether you are a beginner or expert, the FLSUN QQ-S has shown its presence professionally, although it has had some blips along the way. With time and experience, things slowly develop and become better.
I think if you were to get yourself this 3D printer, you would love the features, speed and print quality along with the very competitive price and good build volume.
You can really show off your creativity with this 3D printer and proudly show off your prints to friends, family and impress yourself!
Get the FLSUN QQ-S 3D printer from Amazon today.
FLSUN QQ printer
Personal diaries
Follow author
Follow
Don't want
9
Hello everyone ... accept 'printers' into your ranks
''''I’ll immediately make a reservation that I’m not literate and if anyone wants to ‘be smart for mistakes’ I will read everything with due humility and put it in a plump notebook)))))'' ''
Some time ago I ordered a 'alika' printer FLSUN QQ
summary of parameters from the seller
- working area size 260*370
- layer thickness 0. 05-0.4
- print speed 30-300mm/s
- the printer comes with a 0.4mm nozzle
- and the printer can be controlled from a smartphone via WiFi 9003
arrived in a week, they brought it right into the hands and handed it over)))
there is no time to explain!!! open and assemble!
laid everything out....'neighed' from the Chinese pre-assembly
the belts for the bottom brackets 'went' crosswise.... quickly fixed everything.... I found a couple of cracks on the bottom brackets (the 'chinese' swore to send new ones) ))
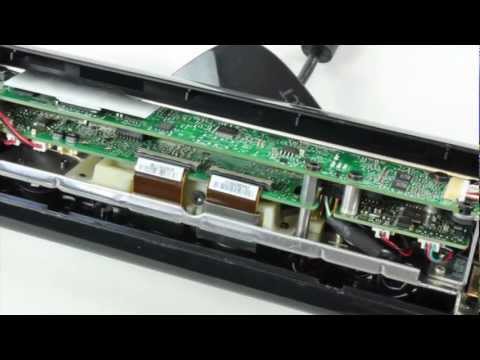
after assembling everything in a heap, I wanted to look inside where the electronics are located and then a 'surprise' awaited me, the threads were torn off in many places by the Chinese assembly .... not so critical, but not pleasant
everything there quickly took a picture looked at the web of wires and yes, cable management cannot be carried out there without a complete replacement of all the wires, because all the wires are short along the kosenka stretched .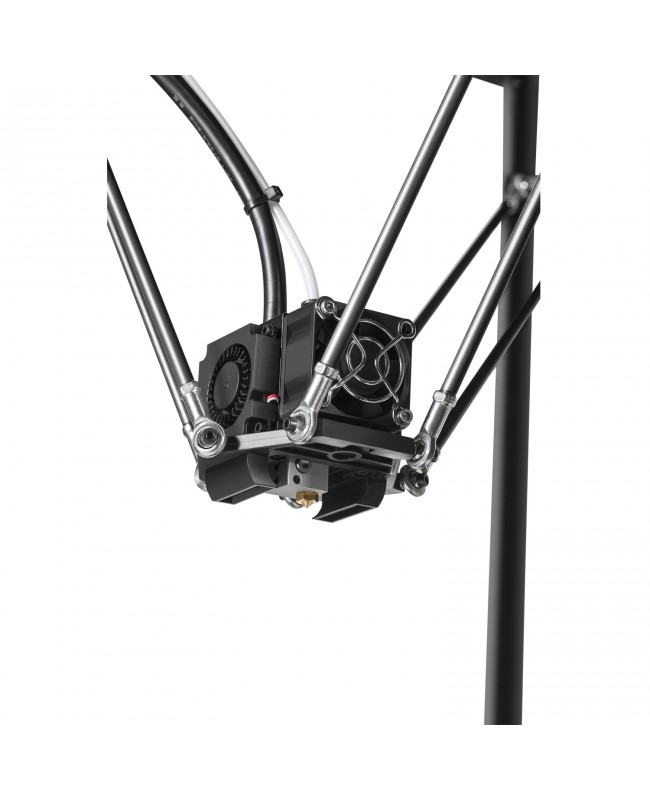 .. then everything was screwed into place, everything seemed to be normal, but the sediment remained))))
the whole assembly of the printer took 40 minutes
then the process of calibrating the table followed ... here I dug for two hours ... although when it dawned on me it became clear that here and 3 minutes is a lot for the entire calibration of the settings
the whole the plug was that I pressed the 'auto-level' printer head probed several times the whole table went home and like ''everything is ready''
pasted this film for printing on the table started printing and the head above the table rises visually by a millimeter got into the setting poked the z-axis at -0.05 did not see any special changes and my suffering began
and only when I found a video of a foreign owner of the same printer and looked at how he set 0, I was able ... well, then the launch and the first model that was on the memory card with the printer ....
was not printed))))) after an hour of printing in the spool with plastic, a sentry occurred, incredible turns intersected and all the end of printing)))
0006 kick_2
Loading
11/16/2022
2650
9
Subscribe to the author
Subscribe
Don't want to
As many could guess, my dream was perhaps the most original Russian printer in 2014.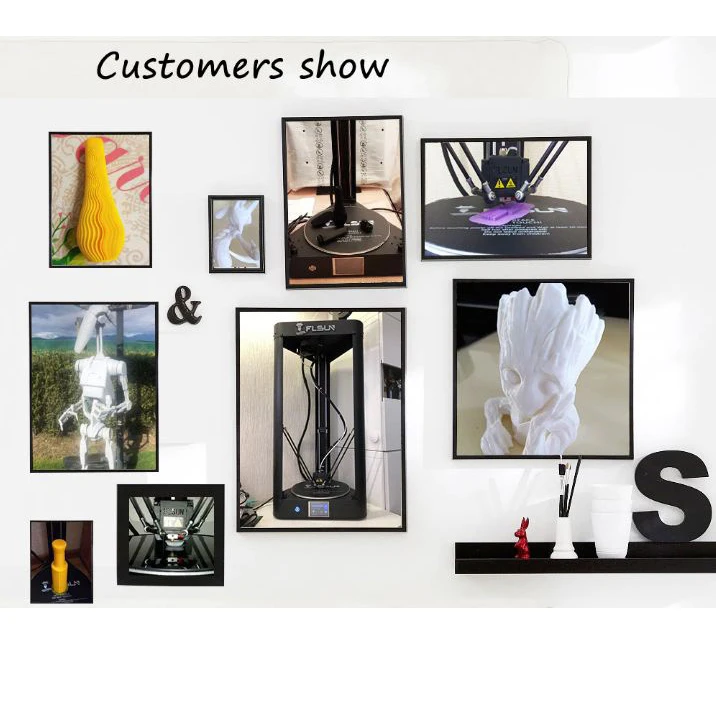 ..
..
Read more
eight
Subscribe to the author
Subscribe
Don't want to
This order was made for Western colleagues who are engaged in small-scale 3D printing, to use...
Read more
103
Subscribe to the author
Subscribe
Don't want
So I had the opportunity to try to implement everything based on MMU2 (1h, 2h, 3h, 4h, 5h,). I have...
Read more
FLSun QQ-S. Personal experience and how I overclocked it to 3500mm / s2.
Just a note so that those who want to buy understand how much time and effort they may have to invest in QQ-S to make it really fast and still not a sensible delta.
Owned FLSun QQ-S in January 2019. This was the first version with a plasticine effector and calibration not with a limit switch, but with a "nozzle on a conductive plate".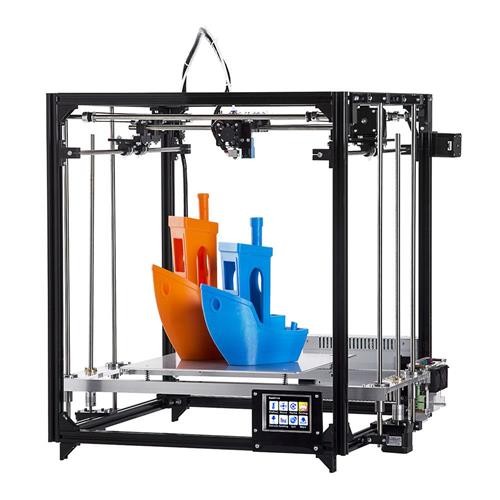
There was no obvious need to print a lot of 3D parts (although with all the shortcomings, the printer managed to print quite a few parts I needed to work with quite sufficient quality), so it was decided to take not a good printer for work, but an interesting one for myself.
In principle, it was clear to me that the FLSun QQ-S is, if not a bad printer, then never a good one. But it was not clear why. At the time of buying the printer, there were no reviews at all, a week later a "review" from Voltnik appeared.
What can I say about Kukusik as a user? Did you see Dima Sorkin's review? Dima did not touch on 60-70% of the minuses of this "unit". I don't think Dima tried to print ABS/SBS/HIPS/PP-GF. If he tried, he would talk about this unit in completely different words and expressions :-)
But this is a lyric. In short, the result at least somehow similar to the quality standards of 2019 (adjusted Ender-3) on QQ-S can only be obtained when printing PLA plastic at speeds of 30mm/s.
Well, it was interesting for me to fall in love with the delta and I realized my love almost completely. And the printer after 11 months is still far from the state of "prints normally".
How the printer looks now can be seen in the photo above. And here is the result of printing Pet-G, nozzle 0.4, layer 0.2 at at a speed of 100mm/s (just 100mm/s, and not these tricks, when the internal filling is 100, and the outer perimeters are 20mm/s) and acceleration 3500mm/s2, jerk - 30mm/s .
In life, the cubes do not look completely terrible, and certainly many times better than the cubes printed by my stock QQ-S with an outer perimeter speed of at least 60mm / s (while in stock acceleration is generally ridiculous - 1000m / s c2).
Well, PLA on the same parameters (100mm/s, 3500mm/s2) layer, 0.2, but the cube itself is 40x40.
To understand what the stock QQ-S is - when Marlin came out on QQ-S in May 2019 (thanks to Alexey Polyakov - he is a hero) and I was able to use the standard G33 test, he gave me Std Dev = 0.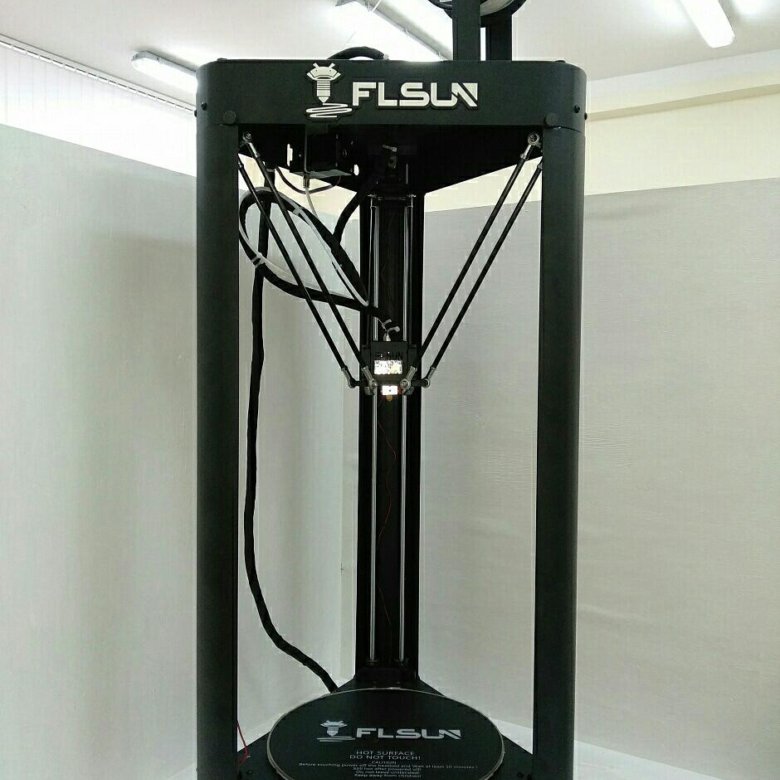 440). That is, the delta at least somehow printed solely due to Auto Bed Level, wildly tilting the nozzle, but somehow printed). After all the improvements, I have sd around 0.060 and it's still bad just mechanically for a delta printer).
For those who want (God forbid) to buy Kukusik a list of upgrades already made:
1) Motherboard. Native motherboard wild FAIL - I replaced it with a Chinese clone of Duet 2 Wi-Fi. Good TMC drivers (keep in mind that the Wi-Fi version has only SpreadChop, not StealthChop, the Maestro version of Duet has StesChop), very easy setup and selection of parameters on the go. In principle, some SKR 1.3 or Gen.L will also be normal, but you still have to master the compilation of Marlin 2.0. Smoothie, Clipper, Repeater... Anything will be better than a native board. So that you understand how bottom she is. The native board combines its own 5V and 5V source via USB. Finish, dude. You can't do that. On the same SKR, a toggle switch was made to select the operating mode.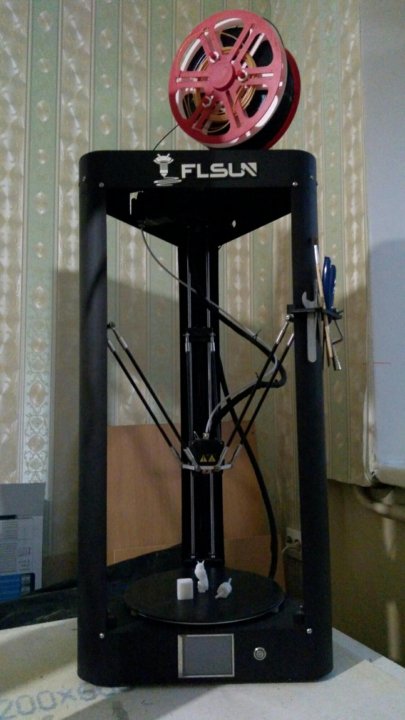
2) Shafts came to me 7.92-7.94mm. It is clear that the complete bushings on them backlash like crazy. Replaced with IGUS (they can be pulled together to sample the backlash). By the way, LM8UU for a month of operation quite distinctly "rolled" clearly visible tracks on these shafts. So with hardening my shafts are also not so hot.
3) Replaced the head (native hotend is a Frankenstein with a wild mess of spare parts of different versions. Here's how it is written about it in the "people's FAQ": It's a combination of: XCR BP6 block, mk8 nozzle, V6-clone heatsink & throat. And all this is assembled with glue.), plus a 40x40x15 fan near the native head blows over the TOP radiator fins, increasing the melt zone, after which the air blows down along the hot end. ABS and a failure in the form of Th-Error3 (see the paragraph about a bad motherboard) say thank you :-) ) So now I have the whole BP6 installed (thermal barrier on cogs) to make it easier to maintain and to be able to change the hotend with Teflon to full -metal hotend in a minute or two (replaceable effectors are still "in work").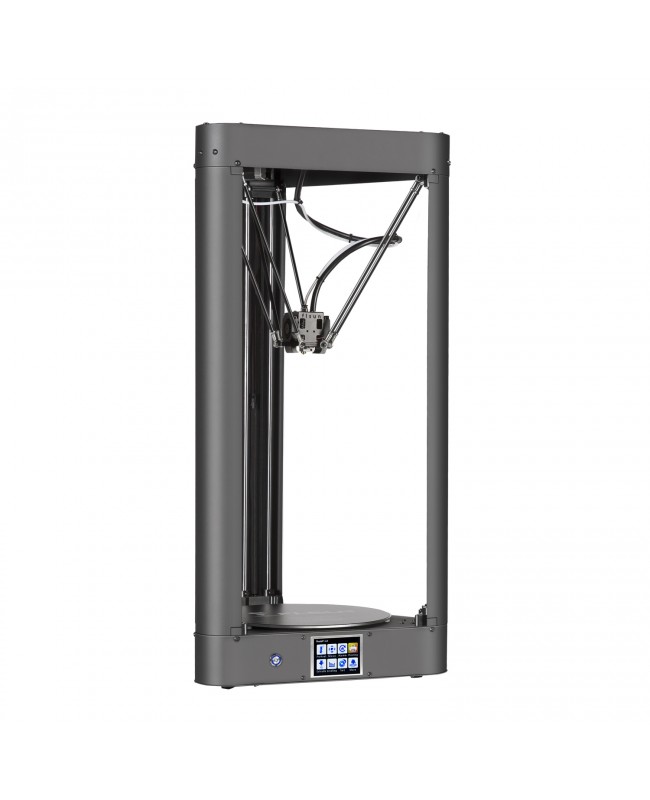
I replaced the rods on fish-eye friction bearings (literally after 3 months of working with lubrication, there were too large backlashes) for rods of normal strength with magnetic friction bearings.
5) Installed an extruder (a solid complete clone of Titan) in the form of a "flying extruder"), reducing the length of the feed tube from 80cm to 30cm (the retract became 2.5-4mm versus 8-12mm).
rigidity: dismantling of a frail bottom with legs, "shoes" on the axle motors, holders of 8mm shafts, strut/cover struts.0003
7) Little things, like wiring/resistors to calm the radiator/backlight, replacing sloths and so on.
8) Passive thermal chamber.
9) Refinement of the heating table. It defaults to on ABS spacers Karl! The table, which heats up to 110 degrees, so that the ABS starts to "flow", stands on ABS spacers! And also, Karl, they put ultrabase on 2mm aluminum on thermoplastic adhesive . On thermoplastic glue, Carl! It's good that not on the usual "thermal nails" that float at 70 degrees. But at 110 degrees my table began to "puff".
What do I plan to do next?
1) Airflow must be designed and ducted to precisely guide the flow. At a real speed of 100 mm / s, 40x40x10 impellers blowing just "somewhere approximately under the nozzle" are no longer enough for PLA, you either need to aim them more accurately or make air ducts.
2) Belts. Came GATES and PU with steel cord. I want to see how it will work with them. Just wondering.
3) Reprint printed parts from new plastic (there is one plastic in mind that is promising for 3D printer parts, it promises to be better than ABS and even PLA).
4) Replace the shafts with 12mm steel gauge.
5) Replace the plastic spacers on the rods with spacers with deeper "holes" or generally remake the rods with even more powerful magnets (after upgrades to the stiffness of the effector / shafts, this very place became the "weak" point of the structure and the head began to be sometimes "teared off" from them (previously, she could simply walk 0.