Ender 3d printer program
Ender-3 Software& Firmware Download - Creality 3D Printer
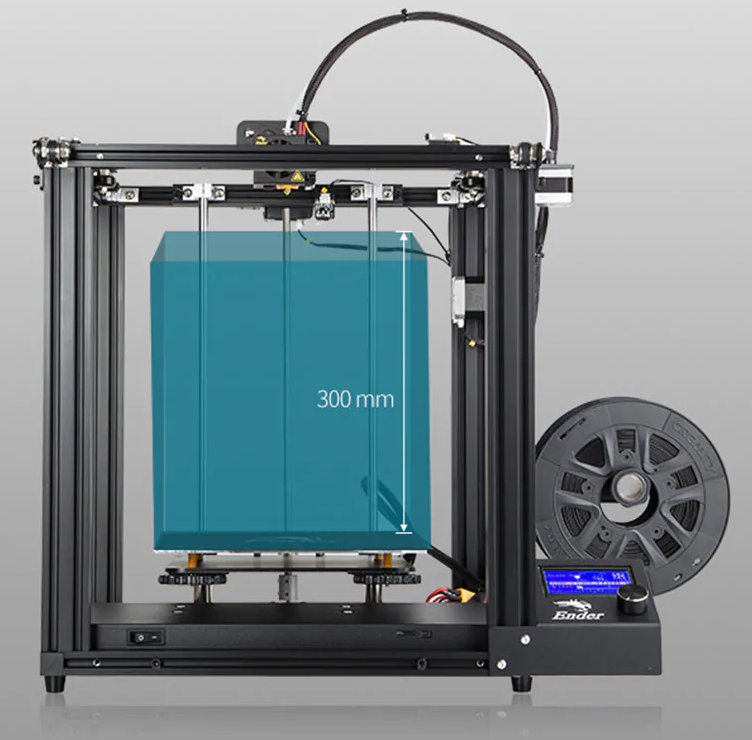
Ender-3
Get Updates
Enter your email for any updates here.
Thanks for subscribing
Download Product Manual
Ender-3 User Manual V1.1
DownloadRelease Notes
Follow this operation manual.
BL Touch Introduction
DownloadRelease Notes
Download Product Firmware
GD-Ender-3HW4.2.2SW2.0.8.2CRTouchFilamentEuropeMulti 09 Nov. 2022
downloadRelease Notes
Firmware applicable model and mainboard version
Printer model: Ender-3
Printer mainboard version: V4. 22
Notes.
The firmware is Ender-3 CR-touch/BL-touch version, compatible with support for filament detector.
Mainboard update.
1. Put the firmware file "GD-Ender-3HW4.2.2SW2.0.8.2CRTouchFilamentEuropeMulti.bin" into the root directory of TF card.
2. Insert the TF card into the card slot of the printer.
3. Reboot and wait for the update to finish.
GD-Ender-3HW4.2.2SW2.0.8.2EuropeMulti 27 Sep. 2022
DownloadRelease Notes
Ender-3Marlin2.0.6HW4.2.2BLTouchGD 16 Aug. 2022
DownloadRelease Notes
Ender-3Marlin2. 0.6HW4.2.2GD 16 Aug. 2022
Release Notes
Ender-3 Marlin2.0.6HW4.2.7 BLTouch Filament 02 Mar. 2022
DownloadRelease Notes
Ender-3 BL TOUCH (without adapter board) + Filament Detection 31 Mar. 2022
DownloadRelease Notes
Ender-3 BL TOUCH (without adapter board) + Filament Detection
Ender-3Marlin2.0.6HW4.2.7 24 Mar.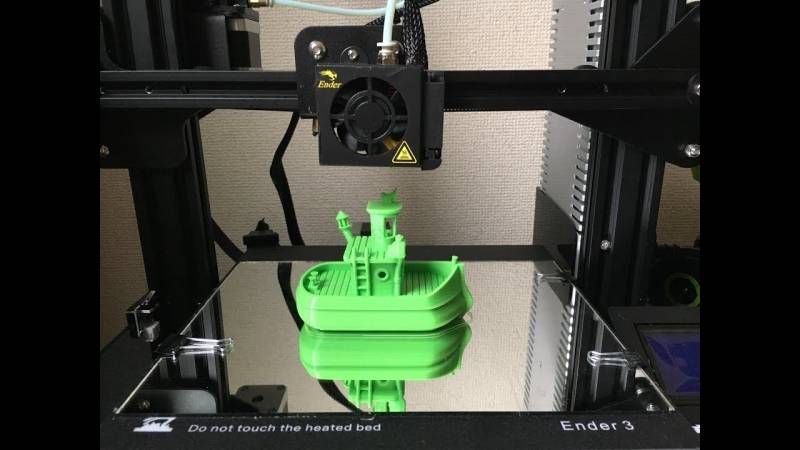 2022
2022
Release Notes
Firmware of 4.2.7 motherboard without accessories.
Ender-3 Marlin2.0.6 CR-touch or BLtouch firmware 05 Aug. 2021
DownloadRelease Notes
Ender-3 Marlin2.0.6 CR-touch or BLtouch firmware
Ender-3 4.2.7mainboard--High Temperature Full Hotend Kit firmware 15 Jun. 2021
DownloadRelease Notes
Ender-3 4.2.2mainboard--High Temperature Full Hotend Kit firmware 15 Jun. 2021
2021
Release Notes
Ender-3 Series Touchscreen firmware (Excect Ender-3Max) 08 Mar. 2021
DownloadRelease Notes
Ender-3 Zaxis raised 350mm (8 bit) 03 Mar. 2021
DownloadRelease Notes
Ender-3 4.2.7 mainboard (32bit) 28 Jan. 2021
DownloadRelease Notes
Ender-3 4. 2.2 mainboard (32bit) 28 Jan. 2021
Release Notes
Ender-3 1.1.5 silent mainboard (8bit) 28 Jan. 2021
DownloadRelease Notes
Ender-3 1.1.4 mainboard (8bit) 28 Jan. 2021
DownloadRelease Notes
Ender-3_1.1.6.2V_Source Code 22 Jul. 2020
DownloadRelease Notes
Ender-3 SD Card File 22 Jul. 2020
2020
Release Notes
Download Slicing Software
Ender-3 Pro Software& Firmware Download
Ender-3 Pro
Get Updates
Enter your email for any updates here.
Thanks for subscribing
Download Product Manual
Ender-3 Pro User Manual V.2.2
DownloadRelease Notes
Follow this operation manual.
Download Product Firmware
GD-Ender-3 ProHW4.2.2SW2.0.8.2CRTouchFilamentEuropeMulti 09 Nov. 2022
DownloadRelease Notes
Firmware applicable model and mainboard version
Printer model: Ender-3Pro
Printer mainboard version: V4.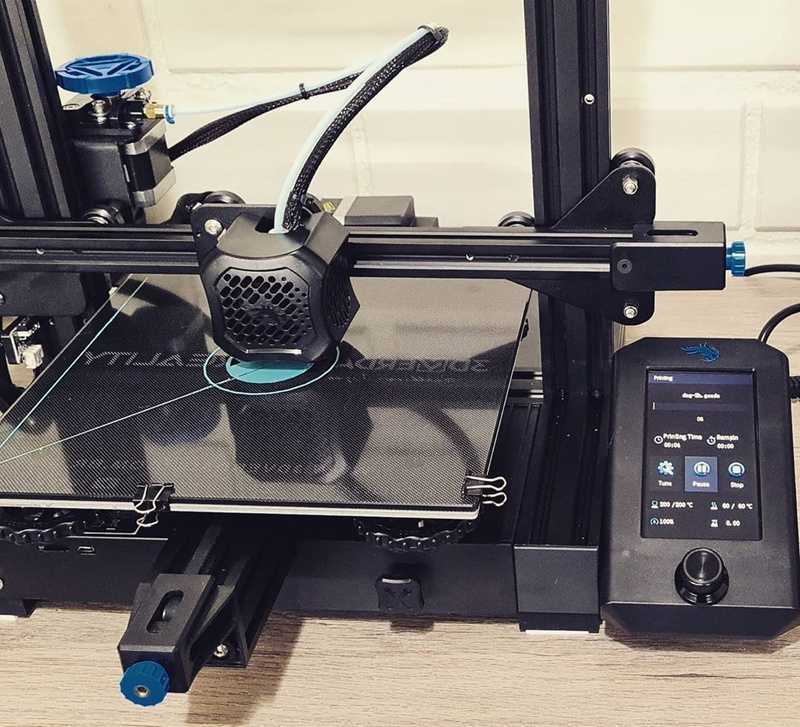 22
22
Notes.
The firmware is Ender-3Pro CR-touch/BL-touch version, compatible with support for filament detector.
Mainboard update.
1. Put the firmware file "GD-Ender-3 ProHW4.2.2SW2.0.8.2CRTouchFilamentEuropeMulti.bin" into the root directory of TF card.
2. Insert the TF card into the card slot of the printer.
3. Reboot and wait for the update to finish.
Ender-3 ProMarlin2.0.6HW4.2.2EuropeMultiLanguage 09 Nov. 2022
DownloadRelease Notes
Firmware applicable model and mainboard version
Printer model: Ender-3Pro
Printer mainboard version: V4.22
Notes.
The firmware is the nine-language version of Ender-3 Pro.
Mainboard update.
1. Put the firmware file "Ender-3 ProMarlin2.0.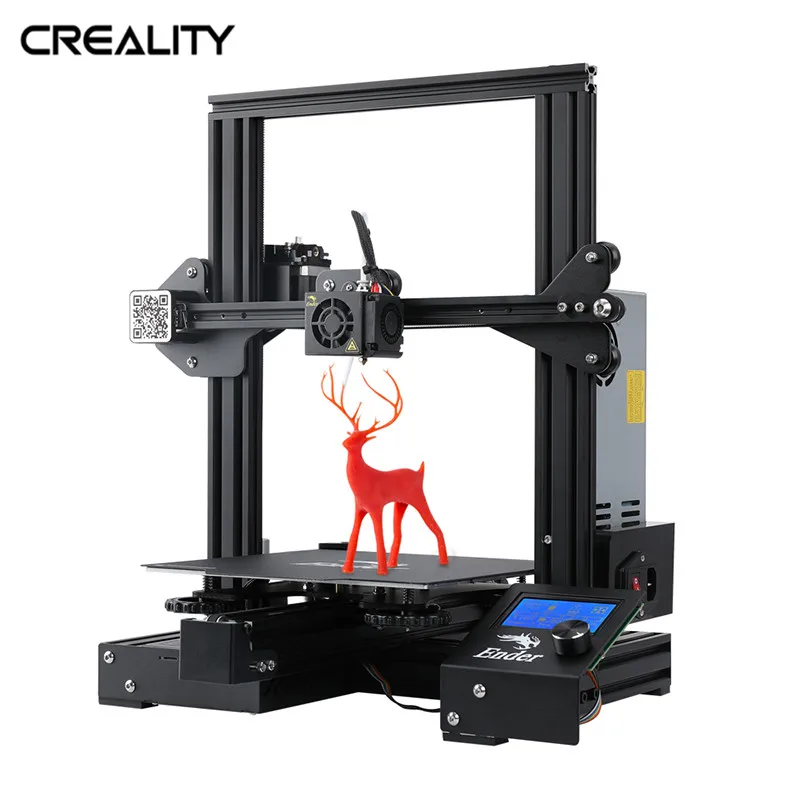 6HW4.2.2EuropeMultiLanguage.bin" into the root directory of TF card.
2. Insert the TF card into the card slot of the printer.
3. Reboot and wait for the update to finish.
GD-Ender-3 Pro-HW-V4.2.2-SW-V2.0.8.23-CRTouch-FilamentEuropeMulti 09 Aug. 2022
DownloadRelease Notes
For the mainboard chip with GD word.
Ender-3Pro_HW4.2.2_SW2.0.9.03_SpritExt_h400 02 Aug. 2022
DownloadRelease Notes
Realize 300-degree high-temperature printing and support automatic leveling.
Ender-3Pro_HW4.2.7_SW2.0.9.03_SpritExt_h400 02 Aug. 2022
2022
Release Notes
Realize 300-degree high-temperature printing and support automatic leveling.
GD_Ender-3 Pro_HW_V4.2.2_SW_V2.0.8.2 09 Oct. 2021
DownloadRelease Notes
Ender-3 pro 4.2.7mainboard--High Temperature Full Hotend Kit firmware 15 Jun. 2021
DownloadRelease Notes
Ender-3 pro 4.2.2mainboard--High Temperature Full Hotend Kit firmware 15 Jun. 2021
2021
Release Notes
Ender-3 Series Touchscreen firmware (Excect Ender-3Max) 08 Mar. 2021
DownloadRelease Notes
Ender-3 pro 1.1.5 mainboard firmware (8bit) 20 Jan. 2021
DownloadRelease Notes
Ender-3 pro 1.1.4 mainboard firmware (8bit) 20 Jan. 2021
DownloadRelease Notes
Ender-3 pro 4. 2.7 mainboard firmware (32 bit) 16 Jan. 2021
Release Notes
Release Notes
Ender-3 pro 4.2.2 mainboard firmware (32 bit) 16 Jan. 2021
DownloadRelease Notes
Ender-3 Pro SD Card File 16 Jan. 2021
DownloadRelease Notes
Ender-3 Pro_1.1.6.2V_Source Code 16 Jan.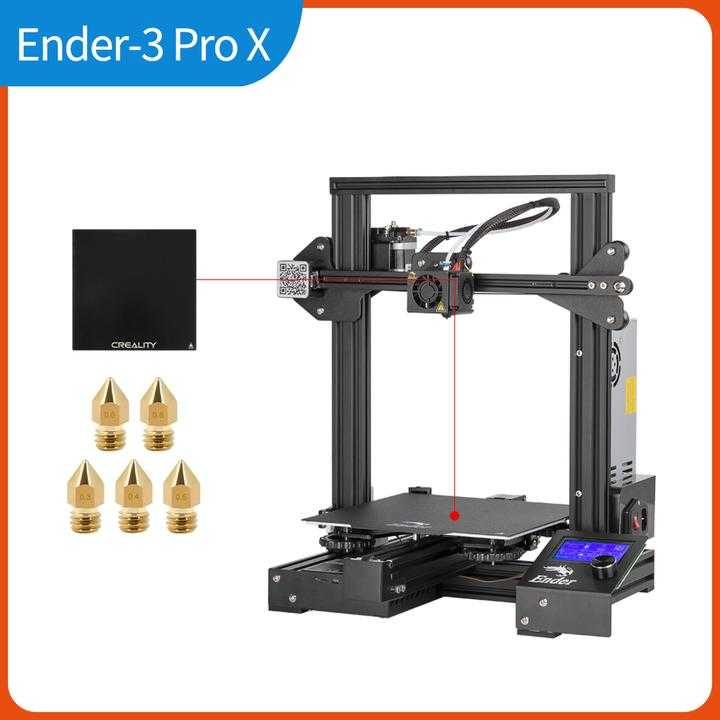 2021
2021
Release Notes
Download Slicing Software
Top 5 software for Creality Ender 3
TheCreality Ender 3 is arguably the most popular 3D printer currently on the market. It's incredibly good and accurate, and it's extremely affordable, allowing just about anyone to have it in their household.
Of course, having a car is only half the battle. This is because you need to pair a 3D printer with good software to get the job done.
Even if you don't know much about 3D printer software, you can imagine that you at least need a program that will allow you to do 3D modeling.
Due to the popularity of Ender 3, we decided to compile a list of the best programs that come with it.
-
1
Fusion 360
3D Printer Core is a program that you can use to create a 3D model.
That's why you can't just use a tool, and why you should opt for a premium program like Autodesk's own Fusion 360.
This CAD system has all the features you need to create detailed models, parts and more.
Pros:
- Receives ongoing updates
- Designed by Autodesk
- Easy to learn and comes with lots of textbooks
Cons:
- Price tag
Get it now
-
2
Ultimaker Cura
One of the most important software you can use when owning a 3D printer is the slicer software. Of course, why should you pay money when there are free alternatives like Ultimaker Cura.
This tool is extremely easy to use, and despite the non-existent price tag, it is updated regularly and has quite a few features.
Pros:
- Free
- Open-sourced
- Regular updates continually improve features and printing experience
Cons:
- Not as functional as paid programs
Get it now
-
3
Meshmixer
Meshmixer is a de facto universal program for any 3D printer.
 Another of Autodesk's creations, Meshmixer lets you edit and sculpt individual models to make them exactly the way you want.
 It comes with a variety of tools, including optimized props for splitting objects into multiple sections, making it useful for Ender 3 owners as there isn't an overly large build volume on the machine.
Pros:
- Can be used to create 3D models
- Comes with some nice cutting tools
Cons:
- Not updated too often
Get it now
-
4
KISSlicer
KISSlicer (Keep It Simple Slicer) is another software tool that can be extremely useful for anyone with a 3D printer, not to mention Ender 3. It is constantly updated and the free version has all the main features which you will need in order to get good models.
Pros:
- Incredibly simple interface
- Supplied with free version
Cons:
- Many non-essential features blocked behind paywall
Get it now
-
5
MatterControl 2.
 0
0 MatterControl is a great software tool for 3D printers as it comes with some slicing features, design tools that allow users to design parts, and more.
Once you've created the parts, you can then attach them to a much larger structure, or go straight to printing it out and then attaching it in real life.
Pros:
- Can be used for 3D modeling
- Has slicing function
- Intuitive interface
- Free and open source
Cons:
- Not as functional as other paid versions
Get it now
Final Thoughts on Creality Ender 3 Software Tools
3D printers are the latest in consumer electronics as they can be used to make anything from toys to parts or even prosthetics.
However, the machine is nothing but the body, and the software is the brain. That's why good software will let you do wonders with your Creality Ender 3 3D printer.
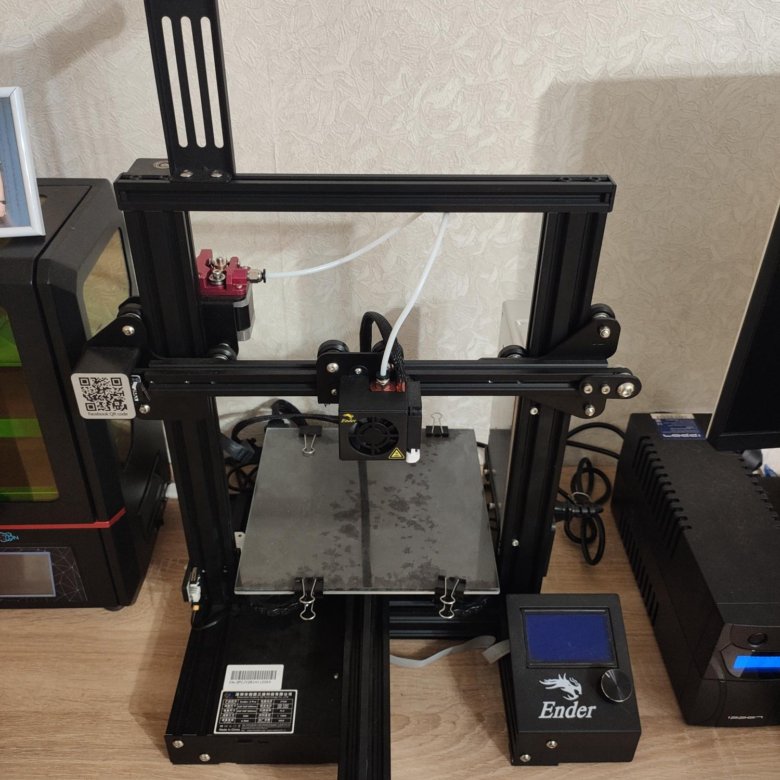
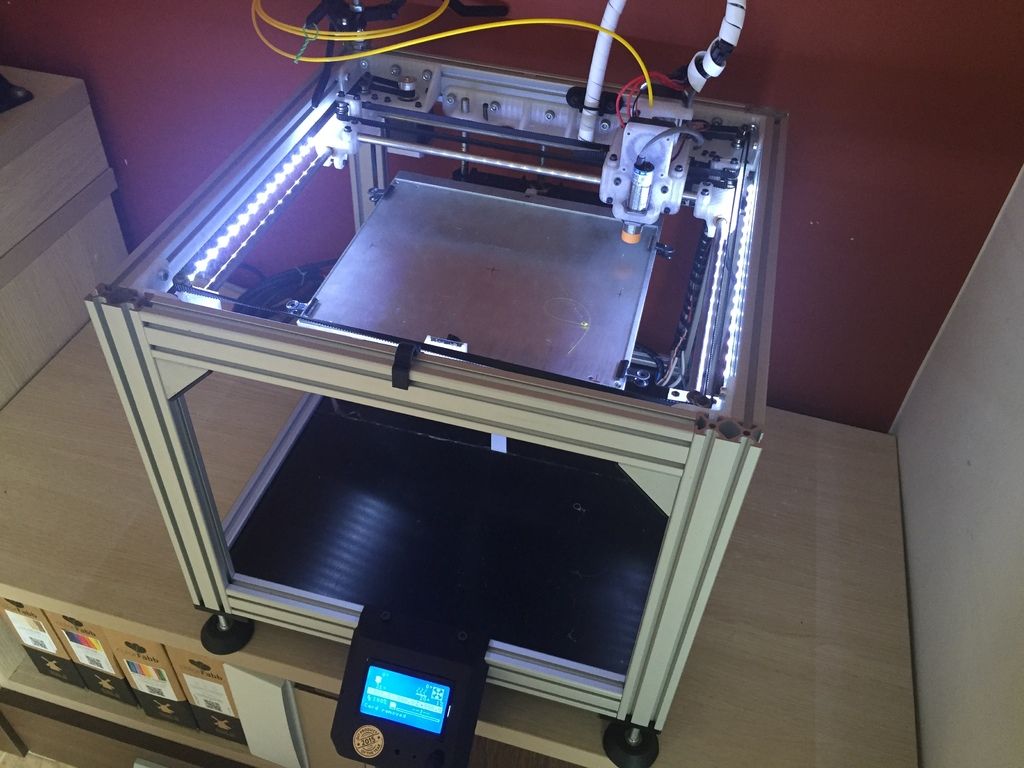
Your first 3D print with the Creality Ender-3 V2 / Ampere
Let's assume that you've already completed the printer assembly quest and you can't wait to print something. Here's how to get started printing with the Creality Ender-3 V2, and what settings to look out for in order to get the most out of your 3D printer.
Before printing on a 3D printer, the model must be prepared and divided into layers. Usually 3D models are distributed in STL format - this is a kind of JPEG in the world of modeling. A three-dimensional object in the STL format consists of a set of polygons - triangles, the coordinates of which are described in the file.
However, printers are unable to process STL files themselves. First, the selected model must be converted into a G-code - special commands for the printer that tell you where to move the head and at what speed to extrude plastic during the printing process. To convert an arbitrary 3D model into a G-code, there are special programs - slicers.
We will show how this operation looks like using the Creality Ender-3 V2 3D printer as an example. Let's process the popular 3DBenchy boat model in the Cura slicer.
This model is specially made to detect printing imperfections on 3D printers and calibrate settings. You can download any 3D model in STL format from specialized sites.
Slicer download
Any slicer program is suitable for converting models to G-code. In this example, we will use the Cura slicer - the most functional of the free programs. Download the slicer from the official site and run the installation.
Skip the welcome screens and accept the terms of use.
Setting up a printer in the slicer
Add a printer to the program using the "Add a non-networked printer" button.
Select "Creality Ender-3" from the list. This is the previous model, which has identical characteristics.
Any printer name can be entered in the "Printer name" field.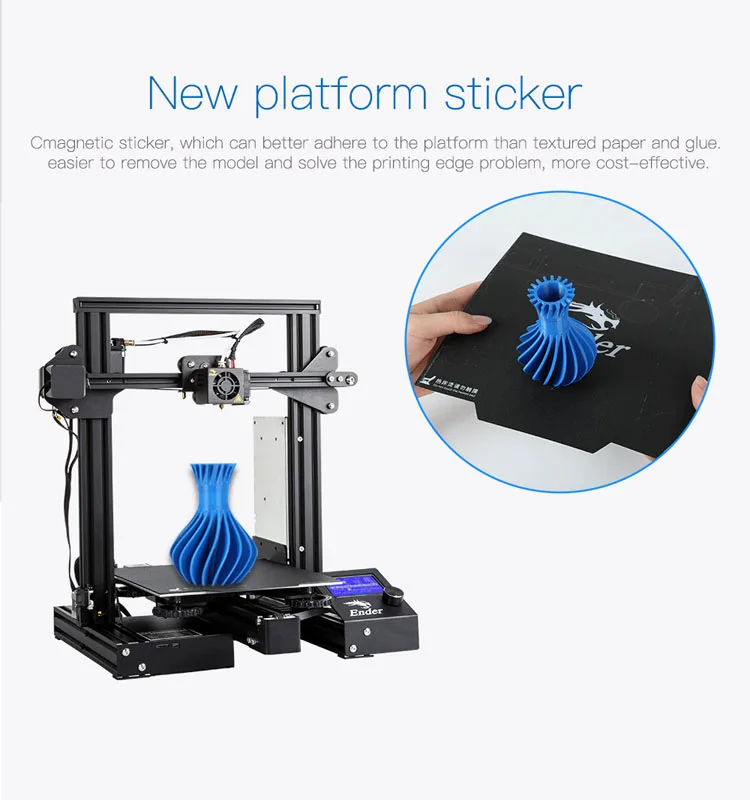 It is needed to distinguish between several printers or several settings profiles of one printer. Name it "Creality Ender-3 V2".
All printer settings are the same as Ender-3, so nothing needs to be changed on this screen. Click the "Next" button.
Changing the program language
For convenience, we will immediately change the program language. Go to the settings using the “Preferences” → “Configure Cura…” button
Select Russian in the “Language” drop-down menu.
The interface language will change only after the program is restarted. Close Cura and reopen - you will be greeted by Russian-language menus.
Adding a model to the slicer
Click the button with the folder icon and select the downloaded 3D model file.
Print settings
All program management is placed in the top panel with three buttons.
Printer selection
The name of your printer is displayed in the upper left corner. We only added one model, so this item should be Creality Ender-3 V2.
Plastic and nozzle selection on the printer
Your Creality Ender-3 V2 printer is capable of printing with a variety of plastics and nozzle sizes. Make sure that the standard 0.4 mm nozzle is selected in the program, which is installed in the printer from the factory.
Open the plastic and nozzle selection shutter. In the "Material" section, select your plastic. We print with PLA, so we chose "PLA" in the "Universal" section.
Selecting slicing settings
By clicking on the long button on the right, a list with basic slicing settings opens. The developers of Cura tried to make the program more understandable, so they built hints into it. When you hover over an unknown parameter, a tooltip will appear that will help you understand what setting it is responsible for and what it affects.
Custom button opens detailed settings with many options.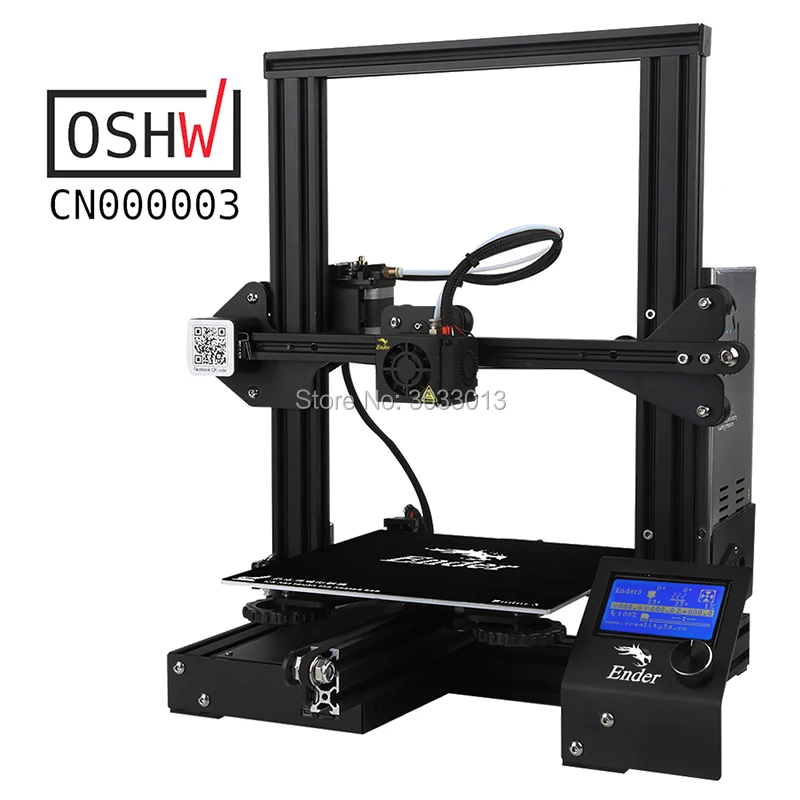 Leave all professional options at their defaults. We have enough basic settings.
The top slider "Profiles" is responsible for the height of one layer. The thicker each layer, the faster the model is printed. At the same time, by reducing the layer thickness, a more accurate print quality is achieved.
Set the layer height to 0.16 mm. This is the golden mean between speed and quality.
The second "Infill" slider is responsible for the interior of the model. The printer can print only the walls of the model, and leave the internal volume empty. This will greatly reduce plastic consumption, but will negatively affect the strength of the model. So that the finished plastic part does not fall apart in the hands, its insides do not remain empty, but are filled with a mesh. The resulting edges increase the rigidity of the model.
To strike a balance between model strength and plastic consumption, set the infill to 20%.
Also in the slicing settings menu are two additional options: supports and sticking.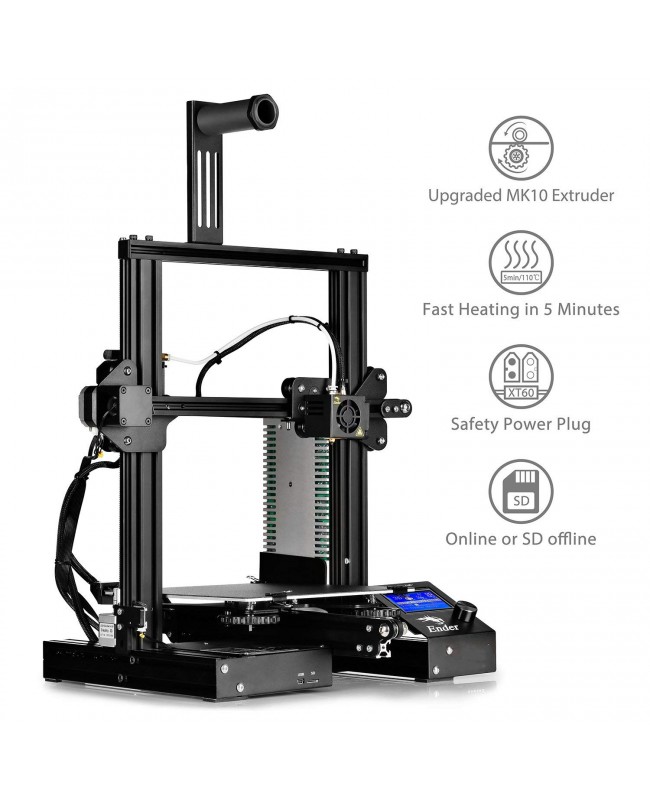
If the part has protrusions that hang over the table, then the printer will not be able to print them - they will simply fall. To prevent this from happening, activate the "Supports" option with a checkmark. Under the overhanging parts, columns will be printed that will support the part.
In our test model of the boat, there are no such parts, so the "Support" parameter does not need to be activated. But if you print your own model - do not forget about the supports.
The "Stick" setting improves adhesion. This is the adhesive force between the workpiece and the table. If the adhesion is insufficient, the part may come off during the printing process. The printer will print a skirt around the model, which will increase the contact area with the table. After printing, it can be cut off, but it will not allow the model to come off the table in the middle of the process.
Activate this option, because the bottom of the boat is quite shallow, and an additional surface for stronger adhesion will be very useful.
Preview
Click the Slice into Layers button. After that, the slicer will calculate the trajectory of the head and generate a G-code.
Switch to the "Preview" tab, where you will see the built layers of the model. The preview helps you check your print settings and understand how your model will print.
G-code export
To record the finished file, it is easiest to connect a microSD memory card to the computer through the adapter supplied with the printer. The slicer will immediately detect the removable device and offer to save the file to it. Save the G-code to a memory card, or use the drop-down list to save to a file, and then manually copy to the card.
Table Calibration
We have already done the initial setup when assembling the printer, but over time the table may go astray. If the model does not adhere well or, conversely, the first layer is too thin and the extruder starts to click, then the table must be recalibrated using the four corner screws.
Use the encoder on the screen to enter "Prepare".
Select "Auto home". The printer will set the nozzle to the zero position.
Then turn off the motors with the "Disable stepper" command.
Place a sheet of paper between the nozzle and the table. Adjust the screw. The nozzle should scratch but not tear the sheet.
Move the print head and table by hand. Repeat this operation in each corner of the table to set the most even position in the horizontal plane.
Replacing the filament
Before the test print, we already loaded the filament spool, but sooner or later you will have to change it. For example, if you want to print in a different color or try a different type of plastic. To do this, you first need to remove the remnants of the old plastic. We will change the plastic to another one, or remove the remnants of the old one.
The filament melts in the nozzle during printing. If the nozzle is cold, then the plastic will fuse to the nozzle, and you won't be able to get it out. Heat the nozzle to the melting temperature of the plastic. To do this, go to the "Prepare" item.
Select "Preheat PLA". The nozzle will start to heat up.
Use the "Back" button to exit to the main menu.
Make sure the nozzle is at the correct temperature.
Use the indicator wheel to unscrew the plastic thread from the Teflon tube and extruder.
Cut off the end of the new plastic. In order for the plastic to get into the fitting and not get stuck in the extruder, it is more convenient to cut the end of the plastic at an angle. Printing will not start immediately. The printer first needs to heat the bed and nozzle to operating temperature.
Thread the end of the spool into the extruder and use the indicator wheel to push the plastic up to the nozzle.
Plastic should flow from the nozzle.
Printing from a memory card
Adhesion must be considered before printing. The glass has a special coating that improves the adhesion between the first layer of plastic and the table, but larger models may have curled edges. To improve adhesion, you can thinly anoint the table with a glue stick or sprinkle with hairspray.
Insert a memory card into the bottom of the printer.
Enter the Print menu.
Select the boat file that we prepared in the slicer.
Printing will not start immediately. The printer first needs to heat the bed and nozzle to operating temperature. Wait until the temperature rises.
During printing, you can adjust the nozzle temperature, print speed, and several other settings. We've set everything up in the slicer, so you don't need to change anything.
Finally
We have shown you the shortest way to start using the Creality Ender-3 V2 3D Printer right after assembly. This will serve as a cheat sheet for printing arbitrary 3D models and experimenting with different types of plastic.