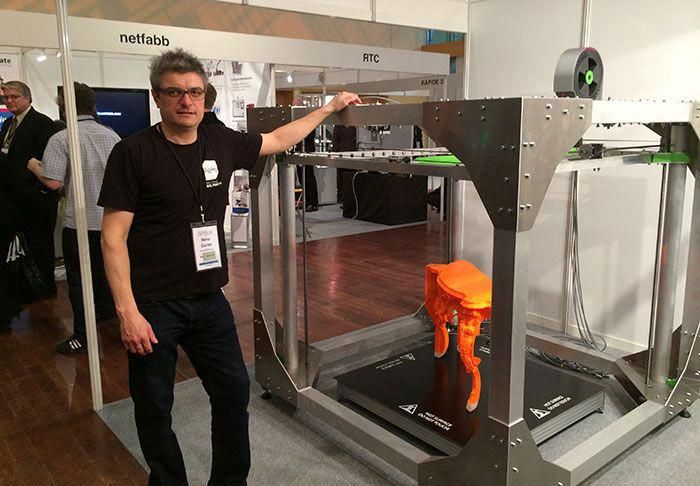
Change filament 3d printer
How to properly change 3D printer filament?
Treat your printer nicely, and it'll print you nice models
When you are changing filament, did you ever experienced one of the following problems below?
- Filament stuck in the hotend.
- Need to use excessive force to pull out the filament.
- Having a hard time feeding the filament back in the right place.
- Having bad print result after changing filament.
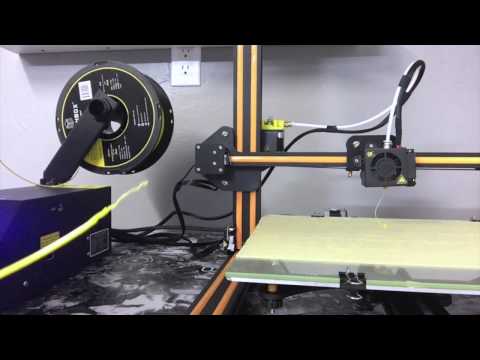
If so. STOP! You are damaging your hotend. Not only you will have poor quality prints, one day your hotend will give up and stop extruding. I learned it the hard way and have to throw out few hotends. To avoid all this from happening all you need is to follow our step by step guide for changing filament. I promise you that you will be glad you take the time to read this article. This video show you how I change filament.
BotFeeder - How to properly change filament? 1280HD
Article you might be interested: How to properly print first layer?
Before you start you should have the below information and tools ready.
Information:
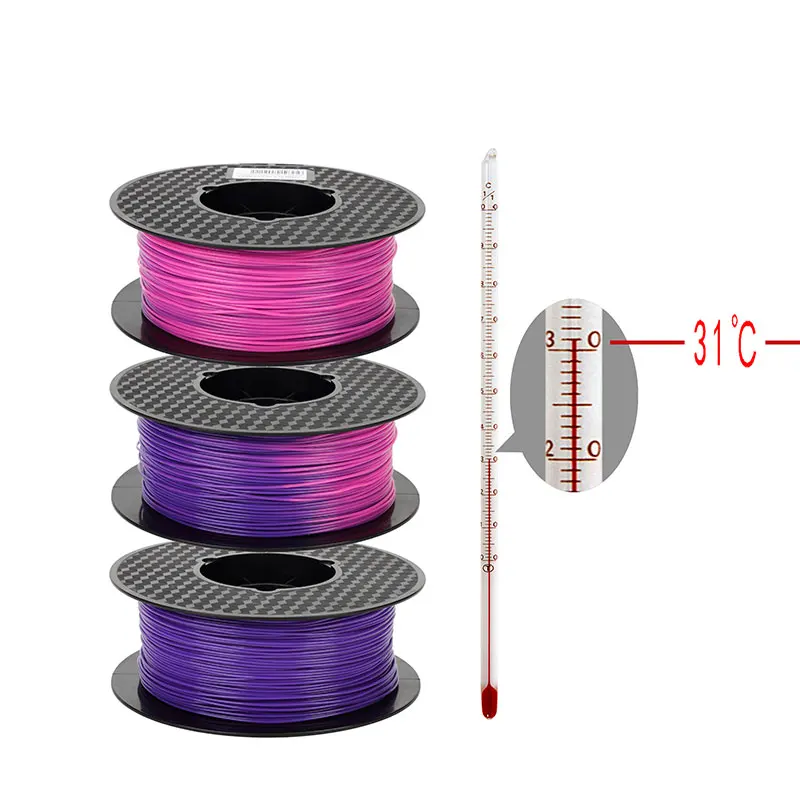
The extrusion temperature settings for both the current & replacement filaments (based on manufacturer’s recommendations)
Below is the BotFeeder temperature guide:
Material - Recommended Extrusion Temperature
- ABS - 150 to 260C
- PLA - 200 to 220C
- NEO-PLA - 188 to 200C
- Filaglow Glow in the Dark - 205 to 225C
- Filastic Flexible - 220 to 240C
- Filatron Conductive - 200 to 220C
- reFilactive Reflective - 230 to 240C
Tools:
- A pair of scissors
- A pair of tweezers
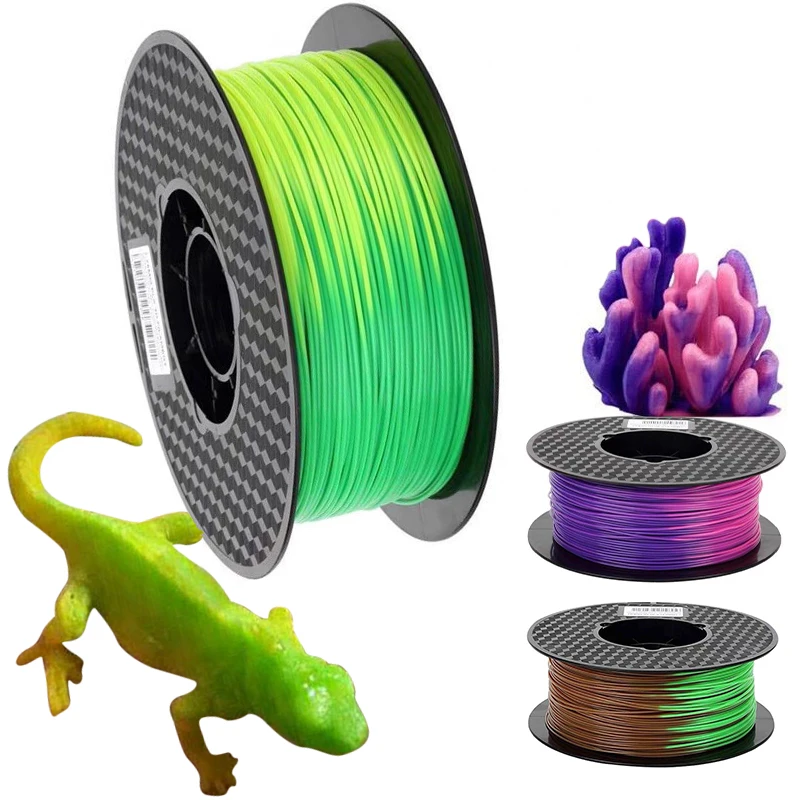
- Current filament
- Replacement filament
Removal of current filament
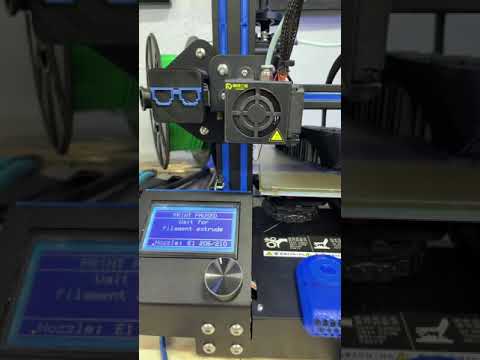
Step 1: Preheat your hot end based on the temperature guidelines of your current filament.
Step 2: Wait until the hot end heats up to the required temperature.
Step 3: Manually extrude a small portion of the filament.
- Unclamp the filament
- push the filament through the hot end until melted filament squeezes out from the nozzle.
 This process ensures easy extraction of the filament.
Step 4: Push down the coupling to release the filament from the hot end.
Step 5: Gently unplug the filament from the hot end.
Step 6: Clip off the blob-like end of the filament.
Step 7: Unwind the filament back to the spool holder.
- Unclamp the filament
- slowly wind them back on to the spool holder. Please note: secure the loose end at all times.
Step 8: Secure the loose end through the hole of the spool holder or by binding it with filament clip or tape.
Step 9: Remove the current spool.
LOAD REPLACEMENT FILAMENT
Step 1: Load the replacement spool on the filament slot.
Step 2: Preheat your hot end based on temperature guidelines of your replacement filament.
Step 3: Unclamp the filament and feed the filament through and up to the hot end.
Step 4: Prepare approximately 10cm of filament ready to be fed into the hot end.
Step 5: Wait until the hot end heats up to the required temperature.
Step 6: Start feeding the filament into the hot end until melted filament begins to squeeze out of the nozzle.
Step 7: Secure the coupling.
Step 8: Manually force down 3-4cm of filament through the hot end to flush out the old filament. Please note: flexible material may take more filament to flush out completely.
Step 9: Carefully clip off any excess filament from the nozzle with a pair of tweezers. Please note: do not touch the brass nozzle tip.
Step 10: Cool down your hot end.
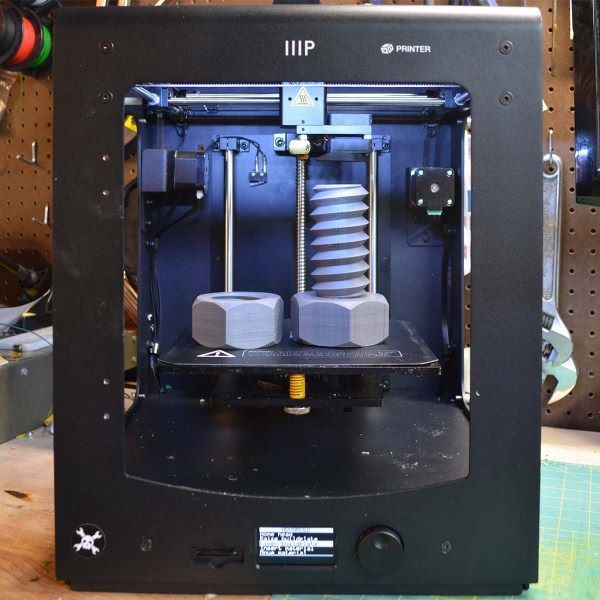
How to Change Your 3D Printer Filament
One of the first things you’ll want to do with a new 3D printer is learn how to change the filament. This step-by-step guide teaches you how to swap filament spools without damaging or clogging the extruder nozzle.
These instructions will work for most FDM printers—from the Creality Ender 3 to the Voxelab Aquila S2 to the Anycubic Kobra. That said, it’s always good to read the manual for your 3D printer, especially if you’re new to 3D printing or you’re using a model you’ve never used before.
Table of Contents
How to Change the Filament on Your 3D Printer
There are several common reasons to change filaments.
- You’ve reached the end of the filament on the spool.
- You want to use a different type of filament.
- You want to change the filament mid-print to achieve an effect.
- The current filament is damaged.
Whatever the reason you want to change filaments, the steps are essentially the same.
1. Power Up Your Printer
Make sure your printer is on. The nozzle has to be hot to change the filament. If it’s not, you might not be able to purge the old filament, and you’ll be unable to load the new filament all the way to the tip of the nozzle.
2. Set the Desired Temperature of the Hot End
You need to know the recommended printing temperature range for the filament already loaded into the printer (if any) and the recommended temperature for the filament you want to load. Preheat the hot end to the higher of those two temperatures. This will prevent extrusion problems later.
Here’s why. While you’re loading the new filament, there may be two different types of filament in the nozzle at the same time—a little bit of the old filament as well as the new filament you’re loading. The nozzle temperature needs to be high enough to melt both types. Otherwise, you might wind up with a clogged nozzle.
For example, imagine you are printing with PETG, and you want to switch to PLA filament. Because PETG melts at a higher temperature, if you were to set the temperature for PLA, the PETG might not fully melt and may not be fully purged during the filament change. This is the most common mistake people make when changing filaments.
3. Remove the Old Filament
Some printers will have a menu option on the printer’s LCD screen to unload the existing filament. On other printers, this might be a completely manual process. Refer to your printer’s documentation. If it’s automatic, use that option and follow the on-screen instructions.
When manually removing the old filament, if the nozzle is too close to the printer bed for you to get your fingers under it, find your printer’s Move axis command and raise the z-axis about 50mm.
Next, disable the stepper motors. That’s usually in the control settings. Alternatively, you can send a g-code command, m18.
Some Bowden tube printers, like the Ender 3 Pro, have a manual extruder lever to release the filament from the stepper motor. Very gently pull the filament until it’s completely separated from the printer. Be careful not to pull too hard. You might break the filament.
If there’s a lot of resistance, double-check the hot end temperature; make sure the stepper motors are off, and, if you have a Bowden extruder, ensure that you’re using the manual extruder lever if necessary.
After you’ve removed the filament, consider blowing some compressed air into the extruder gear to remove any plastic flakes that might have accumulated.
4. Prepare and Load the New Filament
Inspect the new filament. Make sure there aren’t any bends, weak spots, or gouged areas. You want the filament to look and feel pristine. Fingertips are very sensitive, so run your fingers along a few feet of the filament to see if you can feel any flaws. If you do, cut that part of the filament off and discard it.
While you’re inspecting the filament, make sure it doesn’t unwind from the spool. You don’t want the filament to get crossed or tangled.
To prepare the new filament, use a wire snip or razor blade to cut the filament at a 45-degree angle. It should feel sharp at the tip. This ensures that it easily slides into the printer. Put the filament spool on the spool holder before you continue.
If your printer has a menu option for loading filament, find it, and follow the on-screen instructions. If it does not and is a Bowden printer, make sure you use the manual release as you thread the new filament through the Bowden tube.
If your printer has a filament runout detector, make sure you load filament through it. Push the filament through until purging is complete, and you see melted filament coming out of the nozzle. Confirm that the color matches the color of the new filament you’re loading.
After you’ve changed the filament, make sure your hot end temperature is set to the recommended temperature for your newly-loaded filament. If you loaded it manually, once it has hit the target temperature, push a little more filament through. If the hot end temperature is set higher than the filament you’re loading, you’ll want to load the new filament quickly and adjust the hot end temperature right away so the filament doesn’t get too hot.
Remove any filament that has been extruded. Make sure the nozzle is clean and ready to go.
What to Do If You Run Out of Filament in the Middle of a Print
If you have a filament run-out detector, your printer will alert you that you’ve run out of filament. Follow the steps above for removing the old filament and loading the new filament.
In general, you want to load a new spool of filament before the existing filament completely runs out. If the filament is so short that it moves past the extruder gear, you might have to take your hot-end apart to get it out. A filament run-out sensor is a must-have, in our opinion. If your printer doesn’t have one, consider adding one.
If replacing the filament with the same type, you can leave the hot end temperature as-is. Otherwise, follow the instructions above.
If your printer doesn’t have a settings menu option to change filament, you can send an m600 g-code to the printer. That will pause the print and move the print head out of the way so it’s not touching your print. Now you can load the new filament as described above. Send the m602 g-code to resume the print.
To troubleshoot any other problems, refer to our troubleshooting tips for 3D filament prints gone awry.
how to change, insert and eject
Modern 3D printing allows you to create objects and models of amazing complexity. However, the process requires experience and knowledge. Improper maintenance of the equipment, including changing the filament if necessary, may damage the device or result in loss of quality when printing products. In order to avoid such a problem, it is necessary to carefully study the nuances of the procedure before proceeding to change the filament. As a rule, for home 3D printing, plastic is used, which manufacturers have shaped into a filament, supplied in spools. It is about the replacement of this type of material that will be discussed in our article.
How to prepare the 3D printer for plastic replacement?
Since refilling is one of the most difficult tasks in 3D printing, it deserves more attention.
A key task for a user who needs to change the bobbin filament in their 3D printer is device preparation. The printer must be prepared in a strictly defined order:
- First of all, make sure that the device is connected to the computer with a USB cable.
 It is necessary to check how tightly the cord is inserted into the input jacks, and then check the operation of the device and its “visibility” to the system.
 - Use the control panel of the 3D printer to start warming up the device to operating temperature. It is almost impossible to remove the old filament from an unheated printer without damaging the mechanism.
- After the printer is warm enough, inspect the extruder outlet for visible damage and excessive drips, and prepare the necessary materials and tools for changing the spool.
How to remove the plastic?
When changing the filament, most of the breakdowns occur when the remnants of the old plastic filament are removed from the working head of the extruder.
IMPORTANT! Do not remove filament residue until the printer has warmed up sufficiently. Otherwise, the operating mechanism may be damaged and print quality may be noticeably reduced.
In order to remove the filament from the extruder, you will need:
- Turn on the heat of the 3D printer.
- Wait until the desired temperature has been reached. The temperature regime parameters must be set based on the characteristics of the replaced and refilled materials. For example, ABS and PLA plastics have different melting points, so replacement must be done as quickly as possible. When exposed to elevated temperatures, PLA deforms quickly and can clog the nozzle.
- Next, if the installed software supports the reverse function, you must enable this option and wait for the thread to exit from the corresponding hole.
- If the software does not have a reverse function, you must manually clear the channel, cutting the old thread as close as possible to the outlet and inserting a new one.
- During the run, the plastic from the old spool will gradually come out of the extruder nozzle and the new filament will take its place.
IMPORTANT! When old material is replaced by new material during a run, it is recommended to adjust the head heating temperature based on the characteristics of the new plastic.
Replacing plastic
In order to replace the old plastic filament in the extruder with new material, you must:
- Remove the remnants of the old filament.
- Set the extruder head to Maintenance mode.
- Remove the channel tube by pulling it up.
- Pull the filament rod out of the extruder head by pressing the clamping mechanism and gently pulling the plastic filament up.
- Thread the end of the plastic filament from the new spool, loosening the pressure mechanism and gently pressing on the end of the rod.
- When new filament is threaded into the feeder, the channel tube must be returned to the extruder.
- The final stage is the drawing of the filament. It is recommended to eject 30 to 50 units of material by warming up the printer to the required temperature and immediately removing the ejected material. You can perform this action from the control panel by selecting a command.
- The signal that the replacement of the plastic filament in the 3D printer was successful will be the uniformity of the emitted material and the absence of streaks in the process.

Resuming work
In order to resume work after changing the filament spool, the 3D printer must be returned to its original position. To do this, you will need to reuse the RepetierHost control panel section and the Home command.
In the event that all actions have been performed correctly, printing can be resumed.
3D printing technology has opened up new possibilities for users around the world. But equipment that allows 3D printing requires careful setup and competent maintenance. Replacing the bobbin filament is an important step in the work. When changing the plastic thread, it is necessary to strictly follow the manufacturer's recommendations. This will avoid many errors that can occur due to incorrect plastic replacement, and poor quality printing later.
- May 17, 2021
- 8357
Get expert advice
Single extruder 3D color printer
top sellers
-
Bearing 604UU U604ZZ
U-bearing U604ZZ 604UU 4*13*4
35.
 00 UAH
 -
Thermal mat for 3D printing 200 x 200 mm
3D printing thermal pad
UAH 150.00
-
Buy epo3d+ 3D printer
Epo3d+ Ukrainian FDM 3D printer on HIWIN rails. Thanks to reliable...
UAH 35,000.00
-
ABS granules
ABS granules for extrusion
400.00 UAH
-
PLA
PLA environmental plastic from Plexiwire.
 100% advance payment....
 UAH 375.00
-
Buy ABS plastic (ABS)
ABS plastic from Plexiwire. 100% prepayment. Free shipping...
UAH 220.00
-
Mini motor reducer 12v 100 rpm
high torque mini electric motor. Its size is...
UAH 150.00
-
Nozzle for 3D printer 1.75 mm, for E3D and MK8 hotends
Nozzle for 3D printer 1.75 mm 0.2/0.3/0.4/0.5
35.00 UAH
-
PETG plastic for 3D printer
PETG plastic from Plexiwire.
 100% prepayment. Free...
 UAH 360.00
-
SHF-20 shaft support
SHF-20 shaft support is used for CNC
60.00 UAH
-
A4988 stepper motor driver
35.00 UAH
-
Buy epo3d 3D printer
Ukrainian epo3d 3D printer built on the basis of modern kinematics...
UAH 18,000.00
All best sellers
Categories
Information
Single extruder 3D printer in color
Until recently, multi-color 3D printers were high-end printers that were beyond the reach of the average consumer.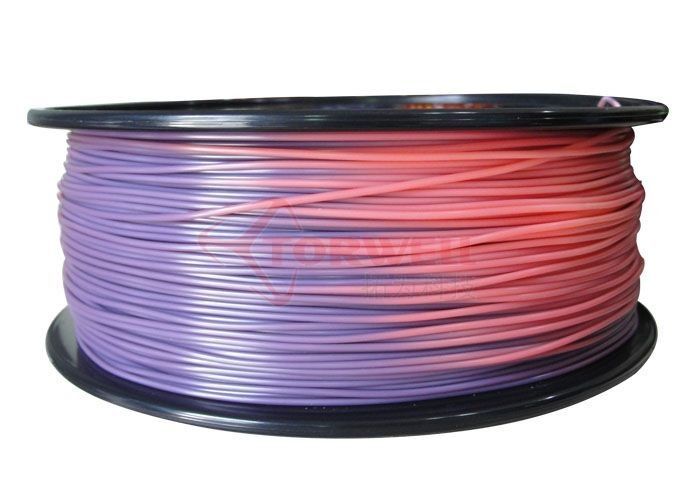 Now there are various options for creating colorful 3D models.
Let's take a look at direct color 3D printing, where the color comes from multi-colored filaments used in a single nozzle FDM printer.
This article will discuss color printing with a single extruder by assigning multiple tasks to the software. The resulting G-code will give tasks to the printer, start with a single colored thread, and then pause at a certain layer height. At this point, the new filament is replaced and the print job is resumed. This method allows anyone with a standard single extruder printer to create a multicolor object.
If changing filament during printing seems tedious, you can install an external device Mosiac Manufacturing, Prusa MMU 2.0 or a device with a large print head standing on the Micro, Crane Quad.
But if you do not have such multi-color devices, but you need to complete the task, you will have to resort to manual color replacement.
3D printing with layering a certain color at a certain height can be used in the production of: logos, board games, patches, badges, key chains, etc.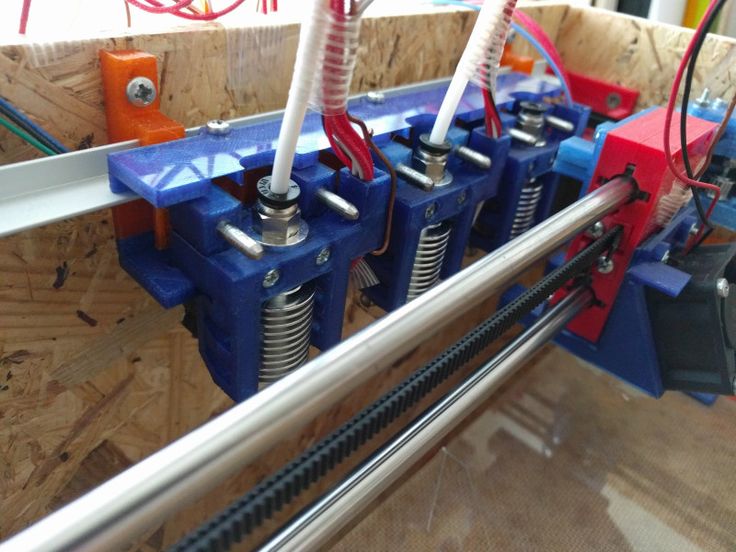
How to set pauses when printing in Gcode to replace the thread in Simplify3D and CURA
This quick guide will help the user without knowing Gcode to easily insert pauses into the code using standard slicers.
Simplify3D
this piece of code will do all the magic:
G91; Set to relative position
G1 Z20 F5000; Raise the nozzle (lower the table) 20mm along the Z-axis at a speed of 5000mm/min.
G90; Return to absolute position
M0; Pause and wait for user input to continue printing
At this point, change the thread with a different color.
In Simplify3D we will use the Process > Scripts > Post-Processing setting to inject the above Gcode (no comments) something like this:
{ REPLACE "; layer 3, Z=" " nG91 nG1 Z20 F5000 nG90 nM0 n; layer 3, Z = "}
Of course, you will need to choose a layer number for the pause (more on that in a moment). Also note that the " n " parts of the code just create a newline in GCode.
Switching to the slicer preview of your model will make this part easier. In Simplify3D, it's a matter of dragging the slider at the bottom of the preview screen (or entering the layer number).
CURA
These settings will give you complete control over print pause:
• Pause Height / Layer: The height or number of the layer where you want to pause printing.
• X and Y Parking Printhead: Moves the nozzle to the specified coordinates when printing is paused.
• Head Movement Z : Raises the nozzle (lowers the table) during pause, bringing it to the specified value.
• Retraction: parameters for retraction during the pause period.
• Extrusion amount and speed : amount of material to be extruded when reloading new filament.
• Repeat Layers: You can repeat all previously completed layers to increase adhesion.
• Standby temperature: Nozzle temperature in pause mode.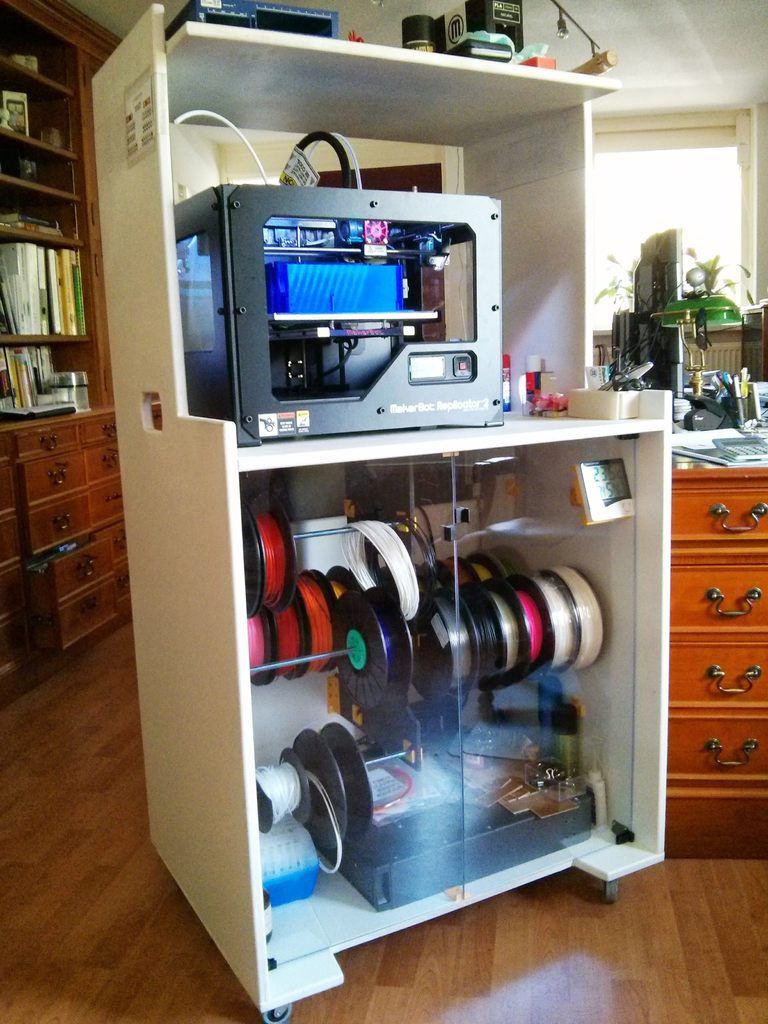
Slic3r
Locate the Custom G-code section on the Printer Settings tab.
Scroll down to the heading After layer change G-code and paste the following code:
; LAYER: [layer_num], Z HEIGHT: [layer_z]
{if layer_num == 45}M600 ; Color change {endif}
If you want to do more filament swaps, just duplicate the last line like this:
{if layer_num == 45}M600 ; Color change 1 {endif}
{if layer_num == 65}M600 ; Color change 2 {endif}
{if layer_num == 85}M600 ; Color change 3 {endif}
Gcode Edits
If you're a little versed in G-code and you're interested, then this method is for you.
Select the desired saved file with *.gcode extension. Open with a simple text editor - for example Notepad (Notepad) and start editing.
To do this, we determine on which layers it is planned to replace the color or material. Press Ctrl-F (search by text) and enter in the search window “layer 10” where for example the number 10 is the layer where the replacement takes place and click “Find”. After the line “layer 10”, paste the previously copied text with the code.
G91; Set to relative mode
G1 Z10; Lower table (raise print head) 10 mm
G90; Return to absolute mode
G1 X0 Y0; Zero (Home) X & Y
M0 Click to reset; Pause and wait
G91; Set to relative mode
G1 Z-10; Go back 10mm
G90; Return to absolute mode
After executing these commands, the 3D printer returns to the last location it was in when the print was saved.
Team M600
This method, like the previous one, allows you to manually insert the M600 command into the G-code.
The advantage over the above is that you insert only one line with the M600 command into the code, and the printer itself rolls back the head to a safe place, ejects the filament and then loads it, and continues printing from the interrupted place.
If this command was not activated in your printer during firmware, the device will ignore it.