Cat 3d print model
Cat best 3D printing models・Cults
Walking Duck Automata 行走的鸭子
Free
CAT BUDDHA / EASY PRINT NO SUPPORTS
€1.92
SET OF 3 BUDDHA ANIMALS / EASY PRINT
€5.78 -20% €4.62
Whale cat (The battle cats)
Free
Cat light led 40 cm
€3.75
Cat Paw Print Christmas Ornament
€0.97
Cat Face Spring Tongue Keychain
€2.28
Cat resting (model for 3D printing)
€3
Cat Love STL Poster
€2
Doraemon - Winter
€2. 99
Cat Skull #3
€1.60
kitty Christmas tree decor
€0.50
Christmas kitty decoration
€0.50
kitty freddy
€0.90
FISHERMEN
€25
FISHERMEN
€22
FISHERMEN
€22
FISHERMEN
€22
FISHERMEN
€22
FISHERMEN
€22
FISHERMEN
€18
fishermen
€17
Stray Cat Logo LED
€2.41
Flynn the Flexi Feline
€1.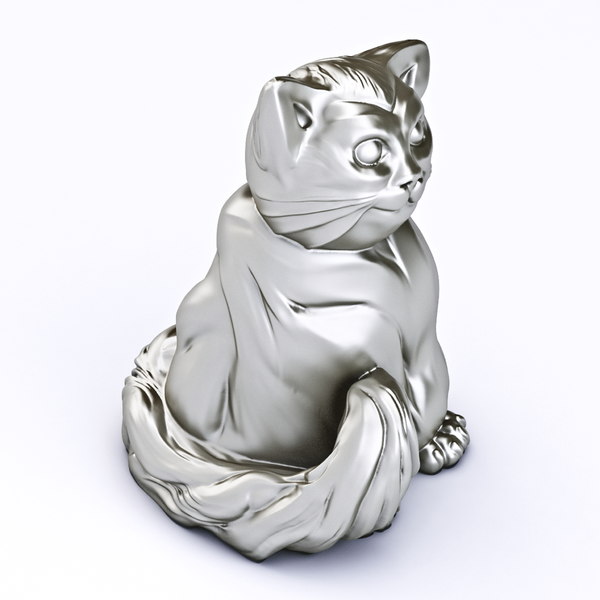 93
93
Keychain Doge frog // llalavero Rana Doge
€0.63
Bad cat
€0.90
kitty hallowen
€0.90
kitty batman
€0.90
kitty dracula
€0.90
cats
€28
lion head
€19
lion king
€19
cat
€20
kitten cats
€25
cats toy
€19
HELLO KITTY MANEKI NEKO LUCKY CHARM
€6.58
PANTHER
€24
panthera
€24
christmas bauble cat to personalize
€0. 60
60
tube squeezer for snacks cats
€0.87
sleeping cat
€19
Candlestick - Chat
€1.20
Dog, cat and horse ornament
€1.86
Cat and Dog Ornament
€1.86
Cat and Dog Heart Ornament
€1.86
Dog and cat in heart ornament
€1.86
Cat and person ornament
€1.86
Mario cat pack
€4.34
3d Printed Cats - Etsy.de
Etsy is no longer supporting older versions of your web browser in order to ensure that user data remains secure. Please update to the latest version.
Take full advantage of our site features by enabling JavaScript.
Find something memorable, join a community doing good.
(1,000+ relevant results)
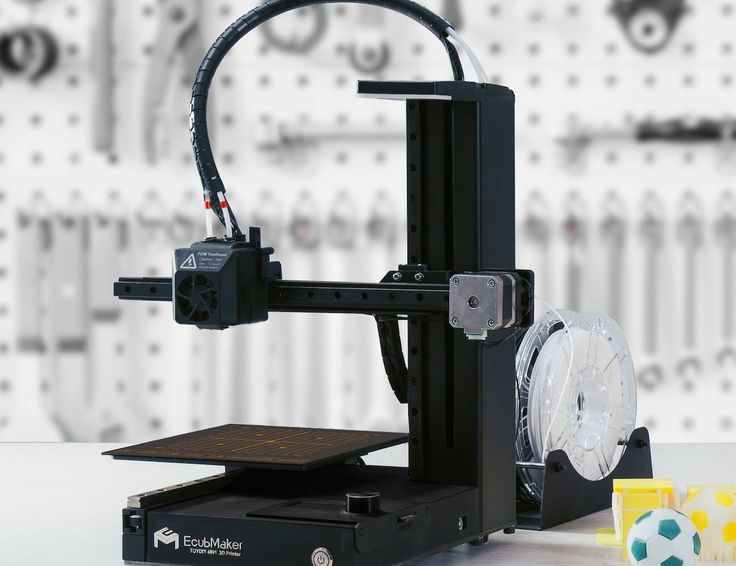
Creating a master model of a cat with Raise3D N2
We share an unusual case of 3D printing of a master model provided by our clients.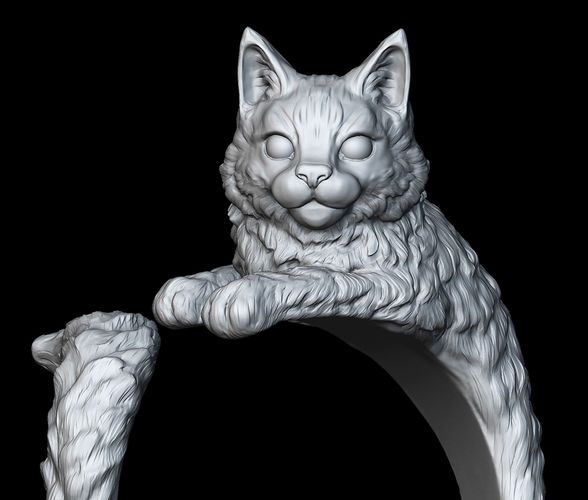 The guys are engaged in the design of new forms, the production of prototypes, master models, the manufacture of products from reinforced polyethylene and much, much more. We can’t name the company, the guys are very modest and don’t want attention yet =)
Our first steps in 3D printing
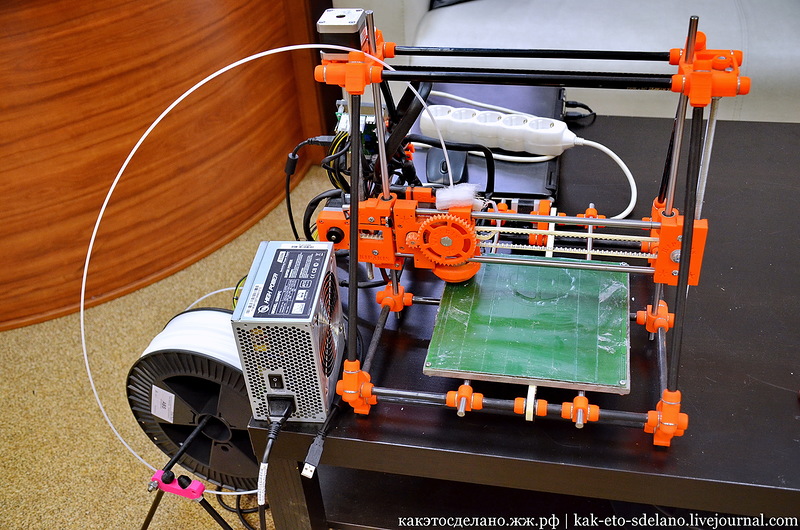
At the beginning, we thought for a long time which method would be more suitable for making master models, but settled on FDM printing. This method is cheaper than, for example, printing with photopolymer resins, and we don’t need super precision. If necessary, you can manually modify the printed models. And if you choose a thickness of 0.1 when printing on Raise3D, you can get just super-accurate results and very high quality results.
There was no doubt that 3D printing is one of the best ways to produce prototypes. Renders alone are not enough for visualization. And it’s easier for the eye to perceive a real model, because renders always look great, but only in a tangible model you can see all the jambs and problems that are easy to fix and as a result get something perfect.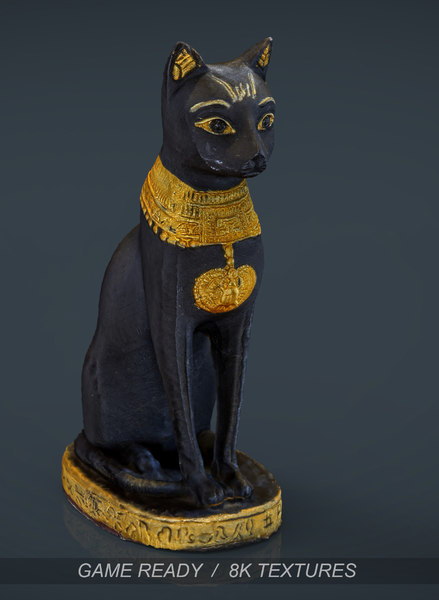 True, our first 3D printer almost killed the desire to print =) It was a manual Chinese device with a small area of 10x10x15. He typed, of course, disgusting. But then Raise appeared and instilled faith in 3D printing =)
Studied the market 3D printers in search of an ideal commercial and not exorbitantly expensive. No bad reviews were found for Raise3D, while there were reservations for other printers, and in all respects it was completely suitable. The N2 has a large camera, print resume function, omnivorousness on plastic, and most importantly, stable, accurate printing, which was confirmed after purchase. Of course, there are problems, without them nowhere. But everything is solved.
At the beginning, we encountered the problem of "biting" the thread, as a result of which the gear pushing the thread was clogged with small crumbs from the thread itself. As a result, the supply of plastic was stopped, and at the point of bite, the thickness of the thread was reduced by half.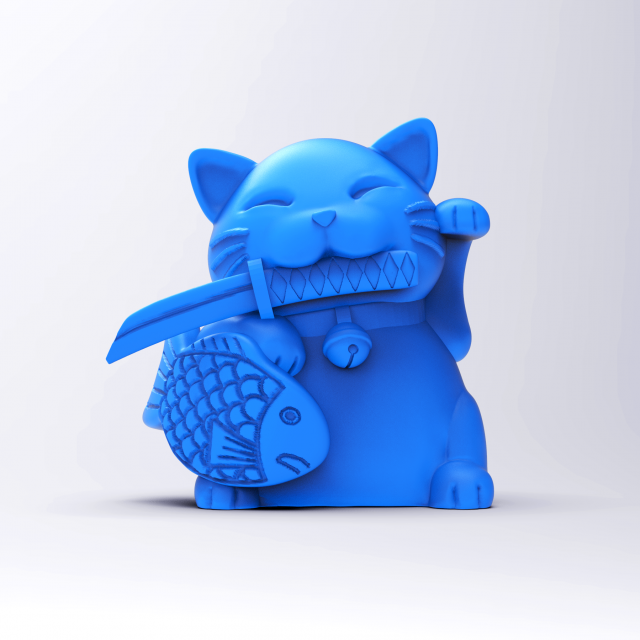 This problem arose several times, I solved them with the help of cleaning plastic - I disassembled it completely and cleaned the nozzle.
There were also problems with setting the correct table temperature. After a series of experiments, he deduced his ideal temperature for sticking plastic - about 65 degrees.
On our N2 we mainly print models in 1:4 or 1:6 scale. If you need a full-size prototype, we make it from polystyrene foam on a CNC machine. But sometimes master models in 1:1 scale.
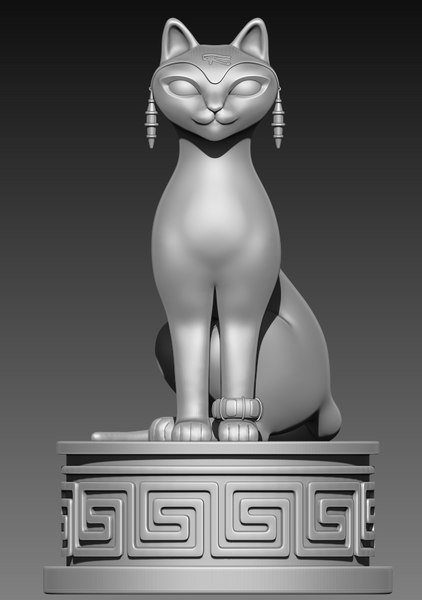
Operation Sleeping Cat
One of our latest projects is the creation of a cat sculpture in metal from scratch. This is not a commercial story - a friend's cat died, and we decided to make a monument. The Raise3D N2 printer purchased from Tsvetnoy Mir was chosen as a tool for making the master model.
Of course, this is not our only project involving a 3D printer, we will definitely share the rest of the results after the release of the products. Nobody canceled the trade secret =)
Let's get back to the cat...
We didn't want to use free access models, so we created a model in 3DMAX based on the cat's photo.
Based on the modeled figurine, a couple of samples were printed on a small scale to see if any corrections needed to be made to the file. The goal was to print a life-size cat in several parts, and it was important to understand how the model would look when finished.
The model was cut into 4 pieces of approximately equal size, given the same length and width, it seemed the most convenient. White Esun PLA was used for printing.
The result was a cat measuring 40x40x25 cm.
Printing time was 12-14 hours for each of the four parts.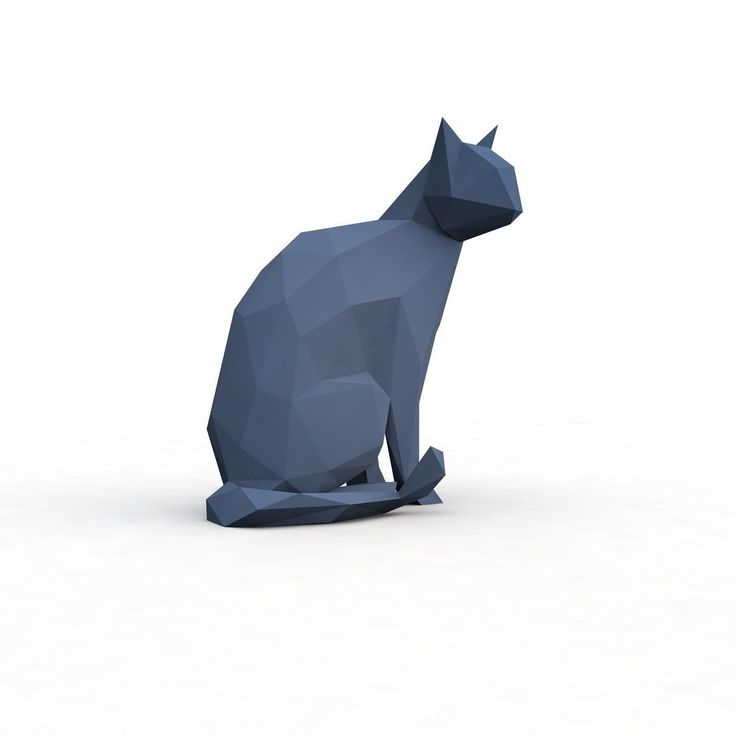
Layer thickness: 0.2 mm
Infill: 5%
Printed cat glued, filled and sanded…
Then we made a silicone mold, with its help we got a wax copy, then a burnt model, and the last step was the casting of our cat!
As a result, we got such a creation, which we were very pleased with =)
3D model from 2D photographs of a moving object
unable to create a 3D model of a moving object - his cat - he decided to develop his own solution to accomplish this task. He decided to start solving this problem with experiments, and as a result he received a technological innovation. This is quite an interesting option, and almost everyone can do this. In this article, we will tell you what Mark created and how he solved the task assigned to him.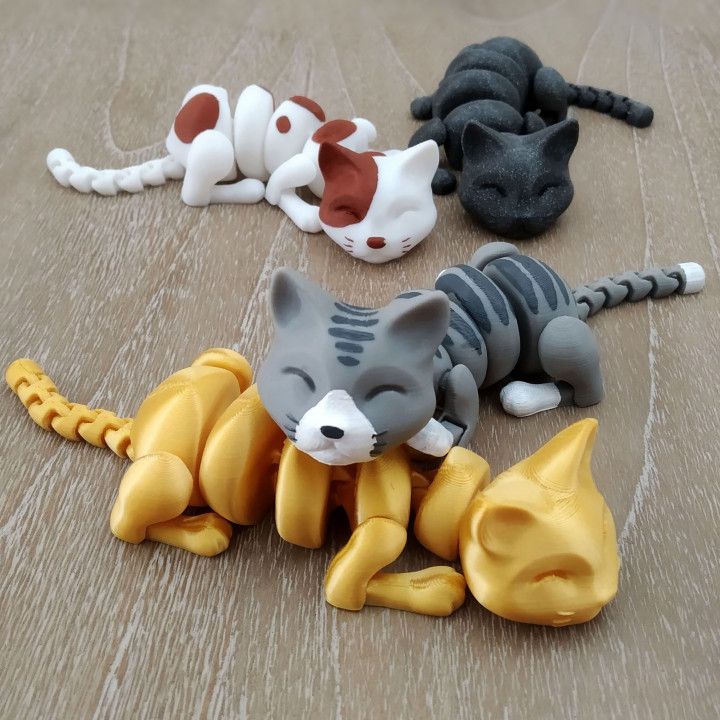
Cats are literally everywhere - they live in people's houses, walk through gardens and squares, and there are even more of them on the Internet. Cats have a reputation for being rather vain creatures, and it was Mark's love of photography that started this story, although his cat Solya looks rather happy in his 3D appearance, but we will talk about this a bit later.
In addition to experimenting with the 123D Catch iPad app, Mark started thinking about how to get a 3D image of a constantly moving animal. In mid-2012, he decided to experiment with three cameras - two digital SLRs and a Hewlett Packard soap dish. He used a remote control to fire all the cameras at the same time, but HP had to start it manually. Mark also found that in direct natural light, more precision was needed, requiring a flash with a very fast shutter speed to improve depth of field.
After these experiments, he postponed the project for a while, but already in mid-2013 he decided to try again, and got impressive results.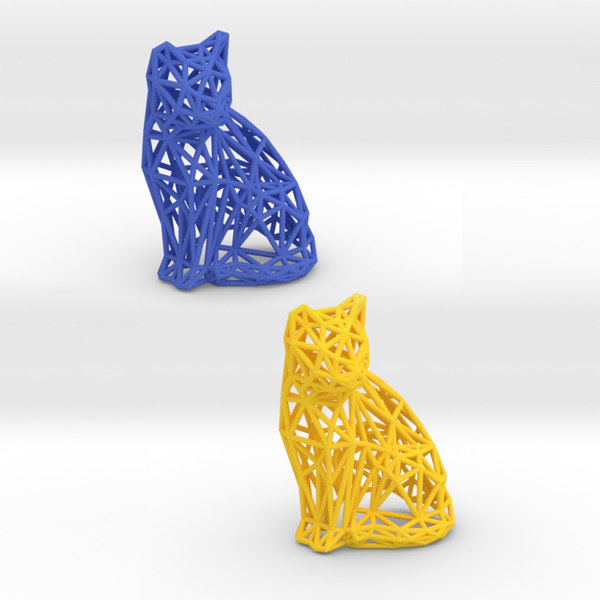 It is worth noting that the cameras can be rented rather than investing such large sums; such expenses will be justified only for wealthy people, photographers and companies that work in the field of photography.
This time Mark used Canon PowerShot cameras with the Canon Hack Development Kit, an add-on to Canon Powershot / Digital IXUS camera firmware that gives the camera a wide range of functions. CHDK works with a range of Canon cameras, it is akin to an SDK - a development kit that allows software engineers to create applications for a specific software package, base development software software, hardware platform, computer system, game consoles, operating systems, and others. Thus, the camera user gets additional features beyond what is currently provided on his camera software. Without going too much into the technical details of this particular aspect of the project, Canon CHDK features include the following:
Motion detection - allows you to set the reaction to movement, fast enough to catch lightning.
- USB Remote - remote control of the camera from a computer.
- "Zebra-Mode" (Eng. Zebra-Mode) - in the process of autofocusing the camera, areas that will turn out to be over- and underexposed in the picture are marked with a certain color on the LCD screen.
- Overwrite camera parameters - shutter speed from 1/40.000 to 64 seconds. Full manual control of exposure, ISO and focus.
Mark used Stereo Data Maker because this software allows very accurate synchronization of multiple cameras, and in this particular case this is one of the main requirements. Mark began his first experiments to confirm the correctness of his guesses with three cameras, and gradually, as his confidence in the correctness of his solution for creating a 3D image of a moving object grew, the number of cameras increased to six.
Mark ran some tests on static objects to determine the minimum number of shots the software would need to create a good model. Then, using PVC pipe, he made a base for the cameras, added flashes, and began experimenting with lighting and photographic exposure.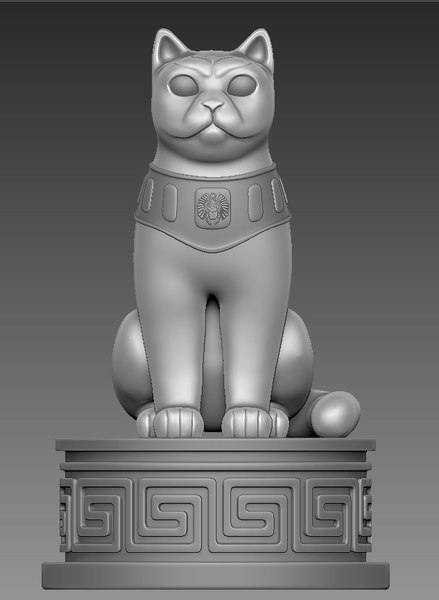 All this work has been done to be able to capture all images with an accuracy of at least 1/125 of a second, i.e. to "freeze motion". The flash fires at 1/1000th of a second and the camera should take a picture plus or minus 1/1000th of a second after the flash. Of course, you can use other cameras and software.
Then 24 camera images are imported into Agisoft PhotoScan to create a 3D mesh and surface structure. Mark says that after much experimentation, he found that PhotoScan produced much more accurate models than 123D Catch. This makes sense, since 123D Catch was originally designed as an entry-level software that allows literally anyone to take a few 2D shots from a smartphone and create a 3D model based on them. In addition, PhotoScan provides the ability to iris, which greatly improves the accuracy of the 3D model. The video below shows the process of creating 3D models using Agisoft PhotoScan:
Next, Mark used 3D CAD, free software for manual editing and finishing.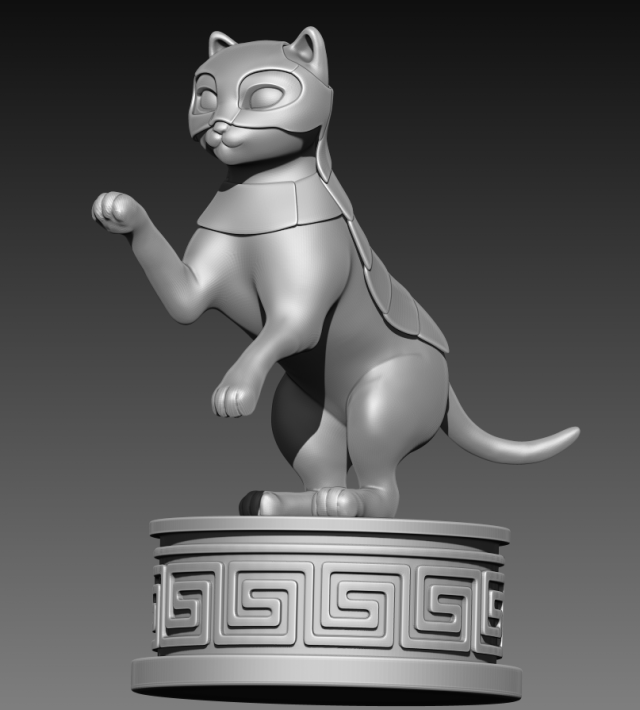 It's not the easiest program, but there are a number of others to choose from, such as a program called Meshmixer. He used tools to smooth surfaces and fix problem areas that PhotoScan couldn't handle, such as the processing of the ears. He cropped the model and created a model ready for 3D printing.
Mark then exported the final model as an X3D file, along with JPEGs for surface color and texturing, and uploaded the files to an online 3D printing service. Today, if you don't have a 3D printer at home, there are a number of non-professional 3D printing services available, such as UPS in the US and Asda in the UK.
Today we see a wide range of interpolated solutions that 3D printing is driving, especially the 3D selfie trend, from the huge 3D Systems corporation in collaboration with Predator movie merchandise to iMakr's London based 3D internet service, which is not so has long introduced the Selfridges mini-store, whose services are even interested in politicians who want to use 3D selfies as the latest advertising trend.