Bronze 3d print
Shapeways: Bronze 3D Printing
Copper-Tin Alloy (90% Copper, 10% Tin)
Wax Casting
Upload a model
Loading contents...
Show menu
Copper-Tin Alloy (90% Copper, 10% Tin)
Wax Casting
Upload a model
Material info
About Bronze 3D Printing
Bronze is a copper-tin alloy featuring a deep red color, similar to rose gold. Jewelry, accessories, and home decor are all popular applications for use with Bronze 3D printing. This metal material exhibits a subtle marbling effect with silvery highlights, giving each piece unique character with a vintage look. Composed of 10% Tin and 90% Copper, Bronze 3D printing materials are capable of showcasing intricate details, and offering a professional, finished look and feel. This material will tarnish over time, but can be polished back to achieve a like-new surface.
Color & Finishes
Technology
- Wax Casting
Description
Material Highlights
High-quality, shiny finishing, intricate detail and great value are all characteristics of Bronze 3D printing.
Handling and Care
Like all Bronze 3D printing materials, Polished and Natural finishes will tarnish over time and may require polishing or cleaning.
Design Guidelines
Bounding Box
Bounding Box Max
89 × 89 × 100 mm
75 × 75 × 40 mm for Interlocking Parts
Bounding Box Min
2.4 × 2.4 × 0.6 mm
The bounding box is a 3D imaginary outline of a box that encloses the smallest area occupied by your model. Your model must be within the minimum and maximum bounding box sizes. If the size of the model is close to the maximum bounding box, then the printing orientation will be restricted.
Supported Wall Thickness Min
0.6 mm (Natural)
0.8 mm (Polished)
Unsupported Wall Thickness Min
0.6 mm (Natural)
0.8 mm (Polished)
A supported wall is connected at least on two sides of the wall, while an unsupported wall is connected only on one side of the wall.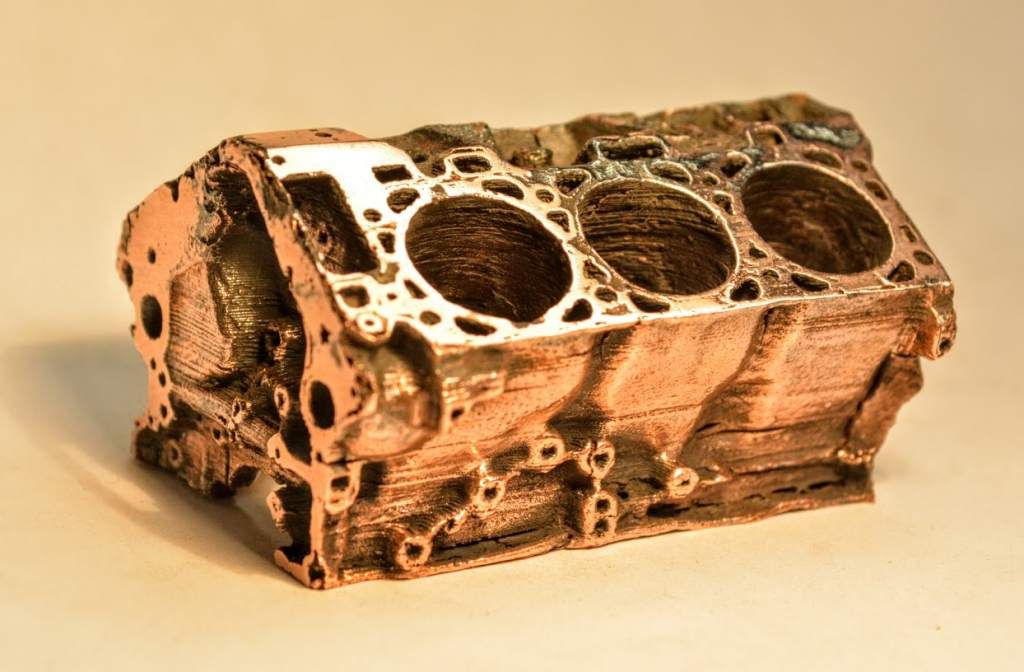 Walls that do not meet the minimum requirements may not survive printing and cleaning processes. Additionally, models may still be rejected based on the wall geometry of the model. Please consider the size of your model and reinforce the walls or add support structures as needed as minimum guidelines will not always be adequate for large models.
Supported Wires Min
0.8 mm (Natural, Polished, Fine Detail Polished, Antique)
1.5 mm (for Interlocking Parts)
Unsupported Wires Min
1.0 mm (Natural, Polished, Fine Detail Polished, Antique)
1.5 mm (for Interlocking Parts)
A wire is a circular, rectangular or even triangular feature that is thinner in its unconnected directions than its length. A supported wire is connected at least on two sides of the model, while an unsupported wire is connected on one side of the model. Wires that do not meet the minimum requirements may not survive printing and cleaning processes.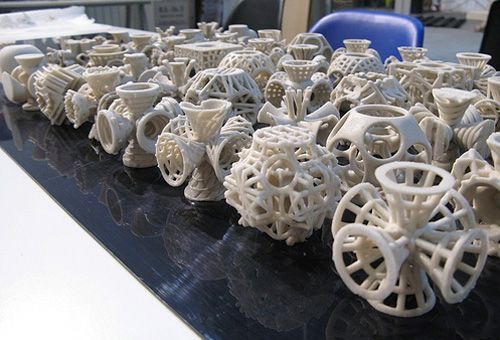 Additionally, models may still be rejected based on the wire geometry of the model. Please consider the size of your model and reinforce the wires or add support structures as needed as minimum guidelines will not always be adequate for large models.
Details
Details Min Embossed
0.35 mm high & wide (Natural)
0.4 mm high & wide (Polished)
Details Min Engraved
0.3 mm high & wide (Natural)
0.35 mm high & wide (Polished)
For text, the ratio between width and depth, should be 1:1 and sans-serif fonts are preferred for line weight consistency.
Escape Holes
Single Escape Hole Diameter (Min)
4.0 mm
Multiple Escape Hole Diameter (Min)
2.0 mm
Escape holes are necessary to empty the support material of a hollow model.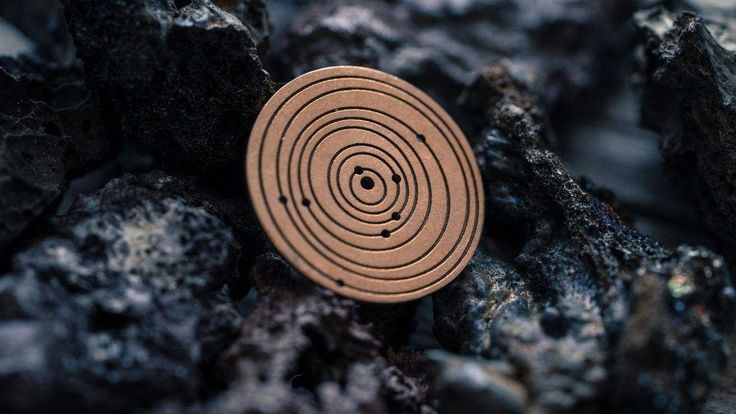 Two escape holes at the opposite ends of the model is optimal for the support removal process. Please consider the size of your model and make the escape holes bigger or add more escape holes as needed as minimum guidelines will not always be adequate for large models.
A single escape hole at the end of a cavity will not allow material in the corners near the escape hole to fully escape. So we recommend multiple escape holes at both ends of the cavity.
Clearance
Min
0.3 mm
1.0 mm for Interlocking Parts
Clearance is the space between two individual parts in a model. If the space among the individual parts do not meet the minimum clearance, then parts can fuse together or can be difficult to clean. This is important for movable pieces like hinges, gears, etc.
Interlocking & Enclosed Parts
Interlocking
Yes, up to six for Bronze 3D printing.
Enclosed
No
Parts in File
Max
Up to two identical parts (like earrings or cufflinks) may be uploaded in the same model file for Bronze 3D printing. We cannot accept multiple, unique, non-interlocking parts ordered in the same model file; there should be one file for each unique part for successful Bronze 3D printing.
Accuracy
Accuracy Your Bronze 3D printing model may shrink about 0.25 mm plus 2.5% after casting and finishing. For rings, the inner diameter is accurate within +/- 0.1 to 0.15mm. On average, the Bronze 3D printing model shrinks about 2.5% after casting and finishing. We do our best to polish the internal diameter to match your bronze 3D printing model file.
For example: A product with dimensions of 50 x 50 x 100 mm can be 0.25 mm + 0.025*100 mm = 0.5 mm smaller in any direction.
Stay up to date on promotions, case studies, and more.
Newsletter Sign up
Stay up to date on promotions, case studies, and more.
Email Address
Online Bronze 3D Printing Service
Design Specifications
Minimum Wall Thickness
0.6 mm
Minimum Details
0.35 mm
Accuracy
±5% (with a lower limit of ±0.15 mm)
Maximum Size
88 x 88 x 125 mm
Clearance
0.3 mm
Enclosed Parts?
No
Interlocking Parts?
No
Pricing Info
The pricing for Bronze is based on model volume, which is the volume of your model used to calculate the material cost (mm³).
Additionally, a startup cost is applied to the price of your model.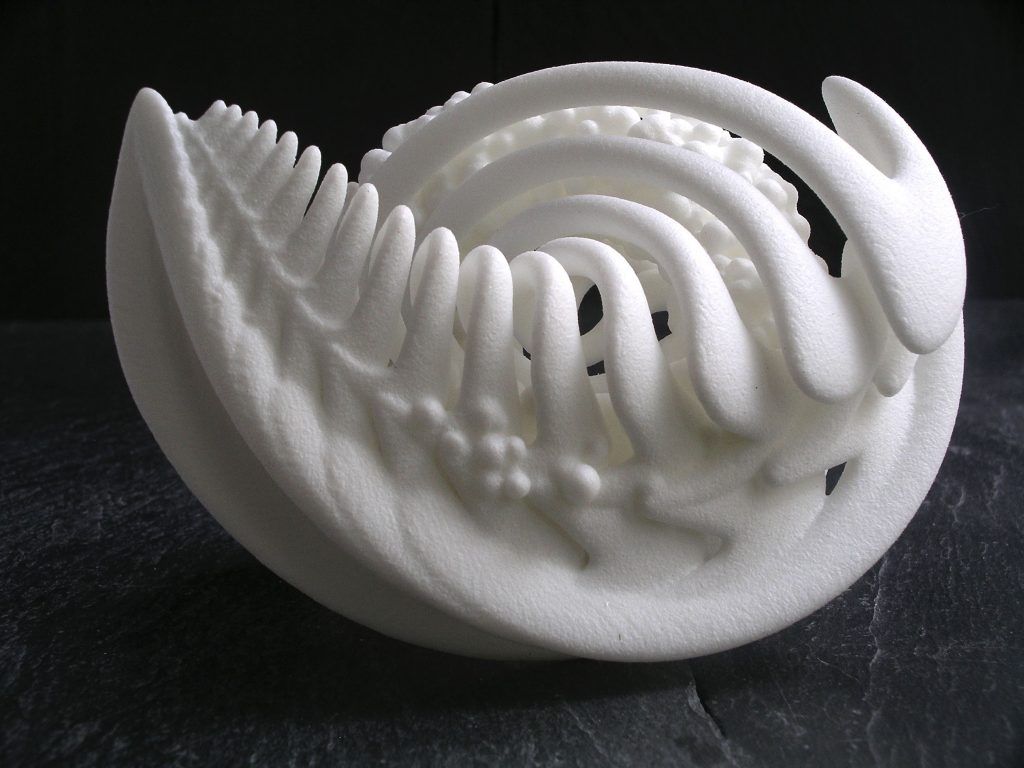 This is a fixed cost independent from the parameters of your model. If you order two or more copies of a model, the price automatically decreases because the preparation of multiple copies can be carried out more efficiently.
Typical Use
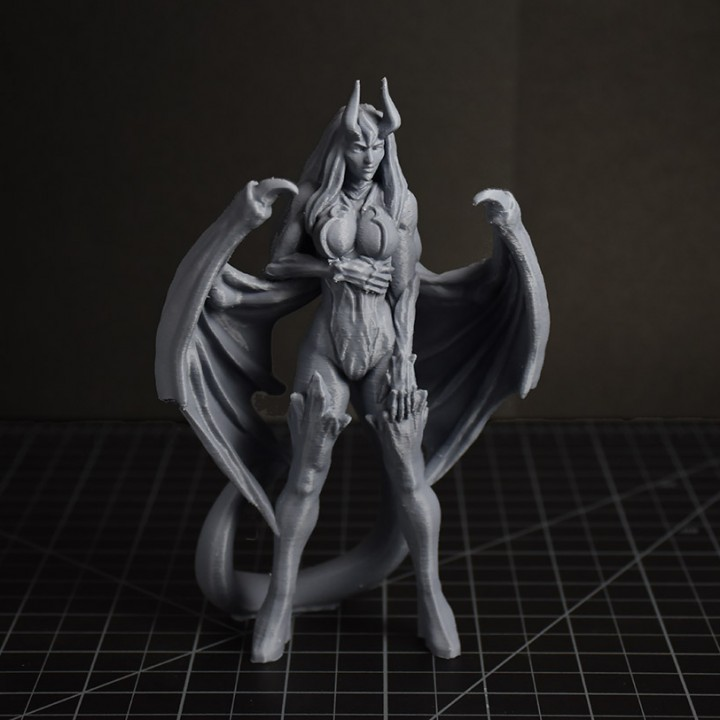
Bronze can be used for steampunk designs, miniatures, sculptures, antique-looking jewelry or pre-print tests (e.g. to form-fit before ordering gold or silver).
View more on
Technology
Wax 3D printing and lost-wax casting are used to build your design when using this material. The wax printing process is a type of Stereolithography that uses a wax-like resin. Support structures are printed along with the model to make sure your model doesn’t fall apart. These support structures are automatically generated and manually removed after the printing process.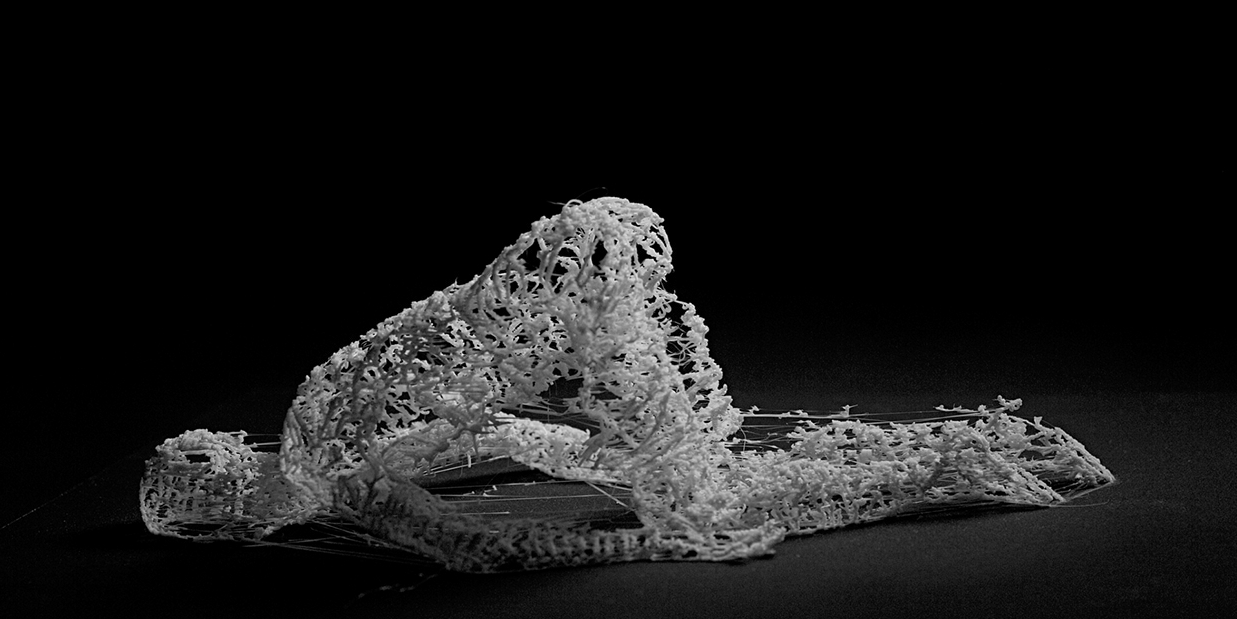 After support structures are removed and your model is cleaned, the model can be prepared for casting.
First, one or more wax sprues will be attached to your model. Next, the sprue and model will be attached to a wax ‘tree’, together with a bunch of other models. The tree is then placed in a flask and covered in fine plaster. When the plaster solidifies, it forms a mold for bronze casting. The plaster mold is then put in an oven and heated for several hours to a point where the wax is completely burned out.
Then, molten bronze is poured in to fill the cavities left by the wax. Once the bronze has cooled and solidified, the plaster mold is broken and the bronze models are removed by hand. Finally, your model is filed and sanded to get rid of the sprues. Depending on the selected finish, it will be polished and/or PU-coated.
Additional Information
- With time and wear, bronze will naturally tarnish but a PU coating can be added to slow down the process
- Due to the nature of the process (lost-wax casting and printing) used in the production of bronze, interlocking or enclosed parts are not possible
- Bronze consists of 90% copper and 10% tin
Sample Kit
Learning about our materials is one thing, seeing and touching them another.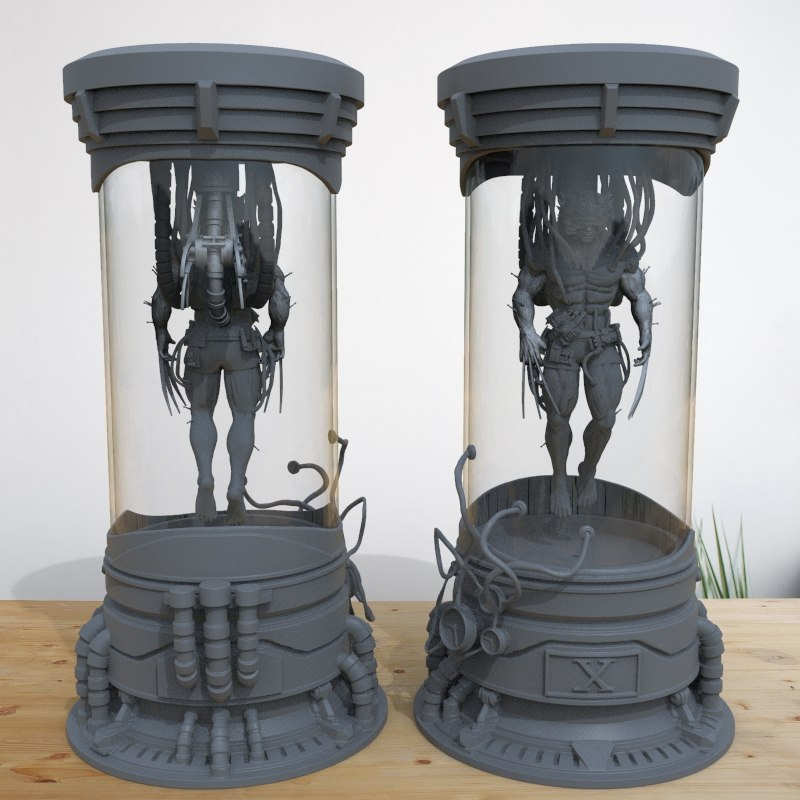 That's why we've designed sample kits based on our Periodic Table of Materials.
Bronze Natural Uncoated
Includes a natural uncoated Bronze sample.
21.00 €
INCLUDES 25 € VOUCHER
Bronze Natural PU Coated
Includes a natural PU coated Bronze sample.
21.00 €
INCLUDES 25 € VOUCHER
Bronze Polished PU Coated
Includes a polished PU coated Bronze sample.
21.00 €
INCLUDES 25 € VOUCHER
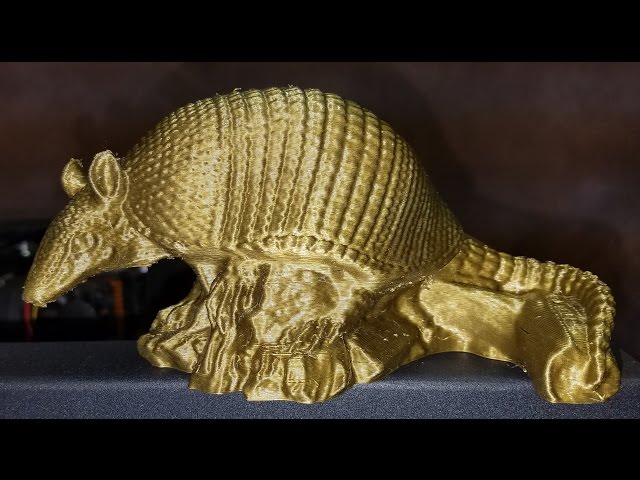
Print in bronze (+ video)
We print
Subscribe to the author
Subscribe
Don't want
14
For a long time I wanted to share my method of how to print with bronze. I printed bronze from colorfabb but the principle would be the same for any other manufacturer. Let's understand what a bronze filament is. And this is nothing more than a polymer, usually PLA with the addition of bronze powder (usually within 40%). Bronze is expensive, that's a fact. It also comes out expensive because the specific gravity of the material is much larger than classical materials due to the addition of natural metal. Bronze inclusions work as an abrasive, gradually increasing the diameter of the nozzle.
I do not recommend printing with bronze on nozzles with a diameter of less than 0.4, since with a small nozzle diameter the polymer comes out faster, and bronze grains do not have time to pass through the nozzle and form a bronze plug in the nozzle.
Tip: Print bronze with 0.4-1.2mm nozzles. You still cannot do without processing to achieve a decent result.
After printing with bronze, the product looks like when printed with the most common brown filament.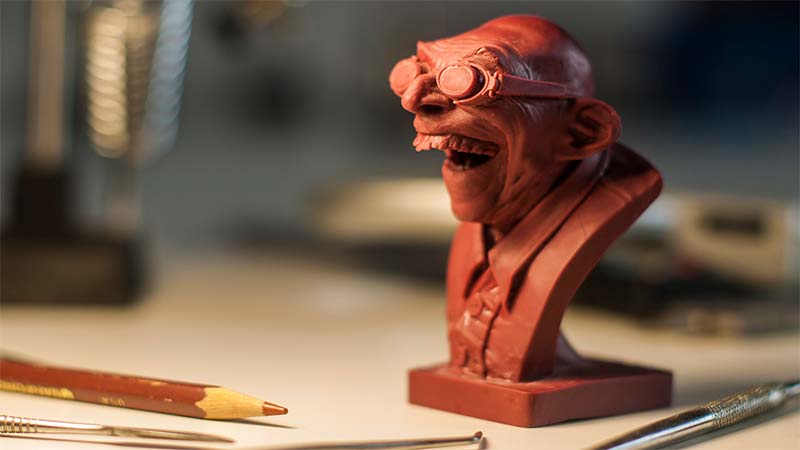
It's all about the uniform mixing of bronze and polymer. And now you need to remove the polymer and leave only bronze powder on the surface.
If it is a flat surface:
1. Take an abrasive paper at 500-800 and grind it to a flat surface, erasing print imperfections (bumps, pits, depressions).
2. Then sandpaper for 1000-1500 and smooth the surface with it.
3. Next sandpaper for 2000 and continue sanding the surface.
4. After that, we take an engraver and apply GOI paste or any other fine polishing paste for jewelry on a nozzle with a felt disk and polish at medium speed until a shine appears. Actively move the engraver nozzle over the part to avoid local overheating of the workpiece.
5. The detail is already shiny and it could have ended there, but there are bevels to give our detail an even more spectacular look. We need an ordinary pencil. Graphite pencil. And sand the surface to be treated with a pencil, then remove the remaining graphite from the part with a felt disk. The pencil not only polishes but also fills micro-pits with graphite.
Unfortunately the strength of the composite polymer is much less durable compared to classic PLA. Therefore, it is desirable to use them only for decorative purposes.
And of course watch the video....
Loading
05.10.2022
4902
37
Subscribe to the author
Subscribe
Don't want
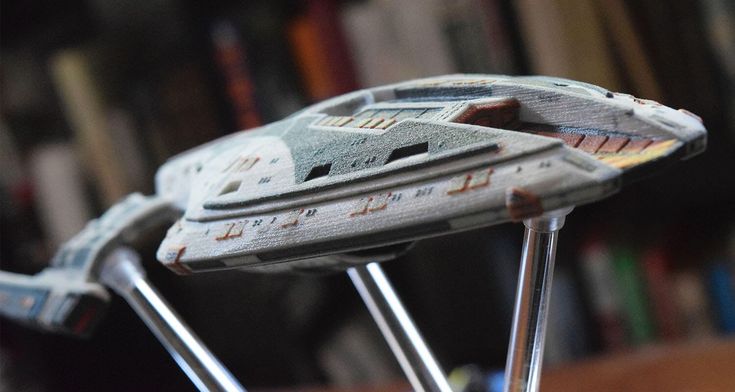
A character from the Star Wars universe. Modeled, printed and signed from scratch to order....
Read more
5
Subscribe to the author
Subscribe
Don't want
Printed to order a detail for a window. eSUN pla+ material. 3D printer Artillery Sidewinder X2....
Read more
jeka_tm
Loading
03/10/2018
29937
149
Follow author
Follow
Don't want
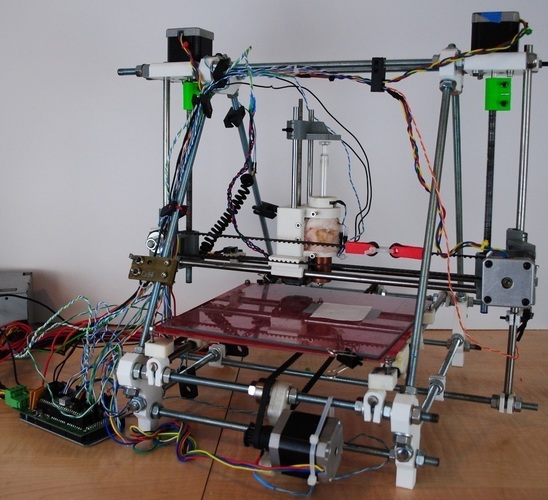
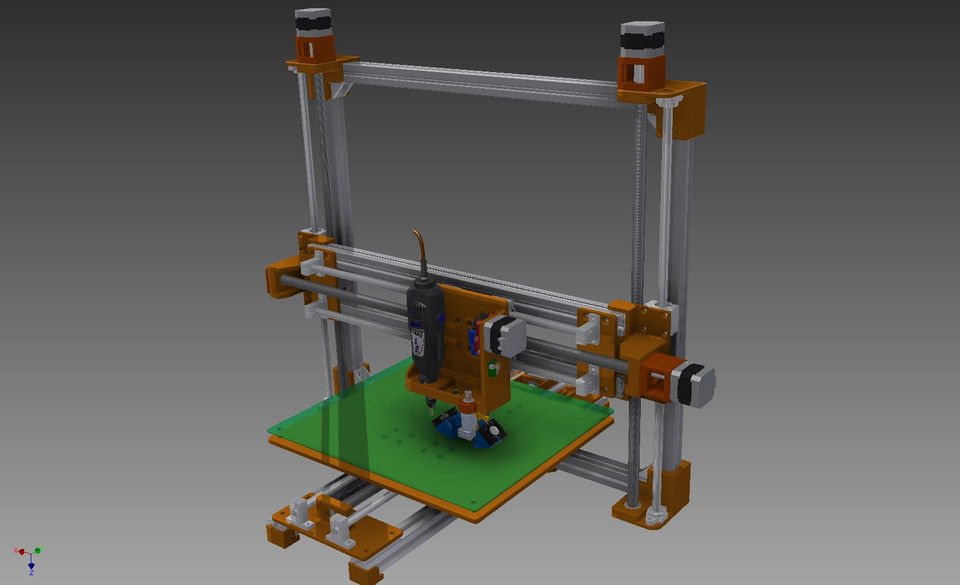
Hello.
For a long time I wanted to assemble something on hydraulics, and I grab it on YouTube ...
Read more
Bronze in and out...
ski
Loading
08.12.2019
9365
Technician
Reprap
x191208: Stefan tested various types of bronze felled nuts for 3D printed products
Epigraph:
GIFs on the topic:
HTTPS: // youtube.be/b_tdqGM4_sE
.
Greetings!
.
Stefan's translation:
I tested different types of threaded inserts for strength and ease of use and application to see if it was worth spending more money on special inserts marked "3D Print Only". Since the last video (of my channel, about bronze inserts) really worked well in your opinion, I made another video on the same topic to answer some questions and comments. This test takes the most popular M3 inserts and tests them by fusing them into PLA and ASA.
.
Regards,
Ski.
.
Threaded Inserts for 3D Prints - Cheap VS Expensive
7 Dec. 2019
CNC Kitchen https://youtu.be/G-UF4tv3Hvc
.
[]
nuts bushings Bronze fasteners inserts
Follow author
Follow
Don't want
21
Article comments
More interesting articles
26
Subscribe to the author
Subscribe
Don't want
A few tricks to speed up 3D printing and save filament! Kura allows you to use.