Best 3d printers for architects
Top 6 Best 3D Printers for Architects 2022 (In Every Price Range)
Creating a 3D model is a great way for any architect to impress a potential client. Bringing the model to life makes it easy for a client or customer to understand your vision in all its glory — and 3D printing makes this easier than ever.
How 3D printers help with architectural projects
✅ Cheaper 3D printed architectural models
It can cost thousands of dollars for an architectural model if you go down the traditional route. However, if you have a 3D printer capable of 3D printing architectural models, your only costs are the filament you use.
✅ Faster to produce in-house
With time your only constraint, 3D printers make reprints and adjustments an affordable option. Also, having physical models ready in just a day or two is an excellent selling point for a potential client.
✅ Easier to present and show stakeholders your vision, and diagnose errors
In architecture, you don’t always know what will work until you can see it for yourself. Printing multiple concept models allows you to determine which design works best, and tweak them before any concrete is laid. Seeing the model in real life first prevents costly mistakes that can slow a project down.
When trying to win a new contract, your scale model needs to stand out. Using multi-colored 3D printing will also make your models different from the competition. For example, anyone with an Ultimaker printer and Palette filament splicer can make concept models with different-colored sections to emphasize certain characteristics.
Using multiple colors makes architectural models look classier. This reflects well on the person behind the pitch, so clients know they have a knowledgeable architect at the helm.
An Ultimaker 3D printer with some architectural models it 3D printed.3D Printers vs Traditional Scale Models
3D printing doesn’t just save you money, it also speeds up production compared to traditional methods. What used to take weeks can now be completed in a matter of hours.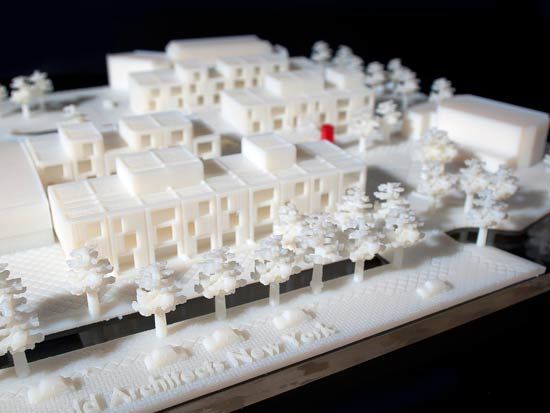 This frees up more time for working on the creative side so you can meet your clients’ needs.
3D printers are now so advanced that they can add detail to a concept design, and will be able to make intricate finishing touches that will be a real highlight in any presentation.
There are so many reasons why the industry is turning to this new approach. We therefore put together our recommendations for the best 3D printers for architects in every price range, from under $500 for any small businesses or individuals looking to start cheaply, up to more professional printers for commercial architectural projects.
The best 3D printers for architectural projects
3DSourced is reader-supported. When you buy through links on our site, we may earn an affiliate commission. Learn more
Crealty CR-10 / CR-10 Smart – Best Under $500
- Price: $369-499 — Available on Creality Official Store here / Available on Amazon here
✅ Pros
- Generous build volume
- Large prints make for impressive models
- Simple assembly
Thanks to the generous 300 x 300 x 400 mm print area, this is one of the most popular 3D printers for making impressive concept models.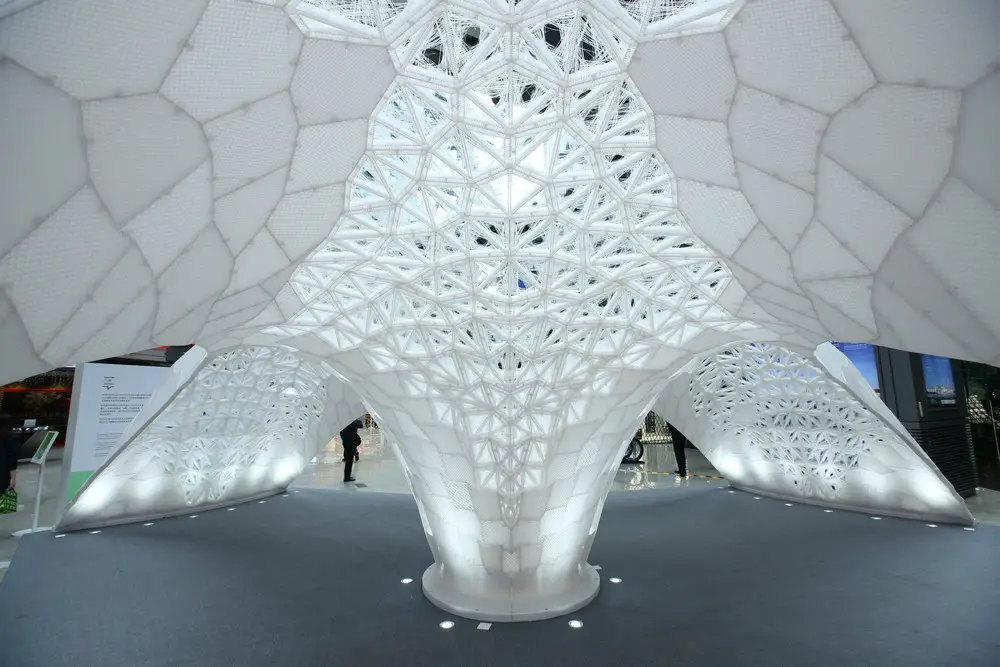
Anyone looking to make even bigger models will find the CR-10 SS with its 400 mm cubed work area, or the massive CR-10 Max, which boasts an area of 500 mm cubed for making even more impressive models. This does mean the print bed takes a little while to heat up, so it requires a little patience when starting a new print.
The CR-10 Smart requires self-assembly, but even for a first-timer it only takes a maximum of 30 minutes before it is up and running.
Print management is made easy as it has USB connectivity and an SD card slot (a microSD card is included). Using the control wheel to navigate the LCD screen, and an intuitive keypad makes print preparation easy. Tweaking those fine details to meet your client’s changing needs is simple.
The aluminum structure is what makes it so stable, inspiring confidence for reliable prints so you can keep to those tight deadlines. Also, the 100-micron layer resolution means you 3D print models that will wow your potential clients with excellent surface finish and precision.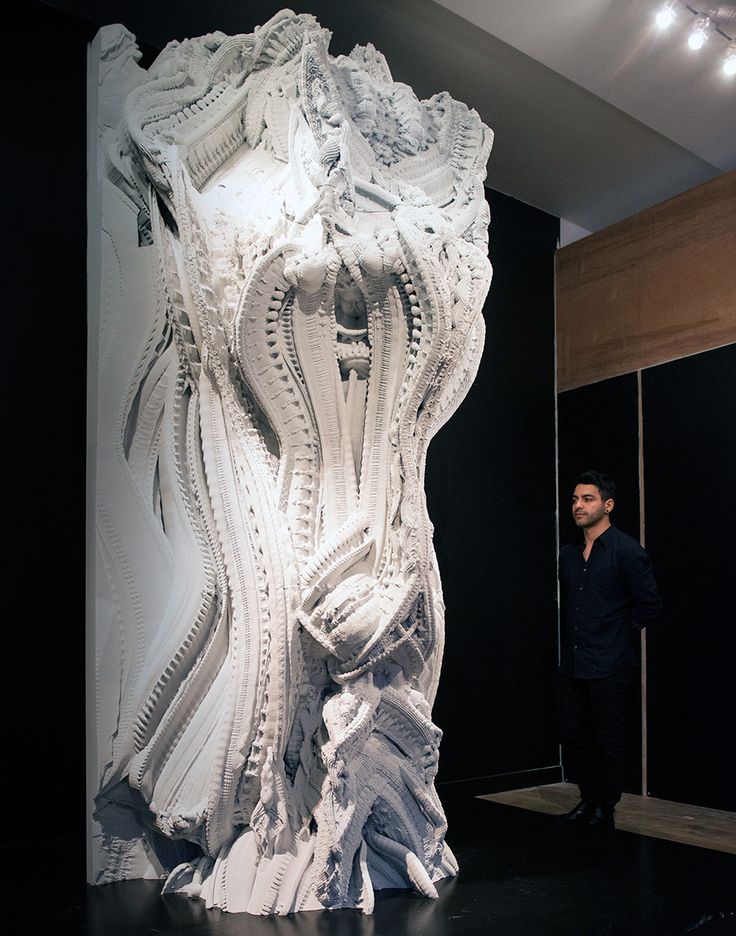
The downside is that it will take up a fairly large area on your workspace. For anyone with a limited workspace, the CR-10 might be difficult to accommodate.
Still, with Cura software, it can be used in different settings. These include different methods of printing. They vary in their complexity and include full, expert, and even quick print. Once you get up to speed, this is an intuitive 3D printer at a very reasonable price and is ideal for architectural projects.
Flashforge Creator Pro 2 – Best Dual Color 3D Printer For Multi-Color Architectural Models
- Price: $649 — Available at Flashforge here / Available on Amazon here
✅ Pros
- Dual extrusion offers multiple color and filament options
- Touchscreen display
- Easy setup
- Tidy design
? Cons
- The print bed isn’t removable
- The print cooling system takes a little longer than some others
Every creative wants to be able to work with multiple colors, which is why the Flashforge Creator Max is one of the best 3D printers for architects.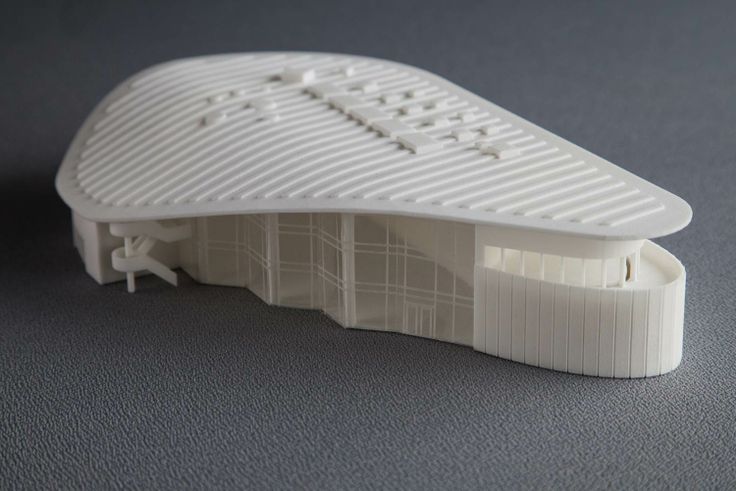
A dual extrusion 3D printer, it can work with a variety of materials and offers you the ability to make rapid prototypes that capture the imagination of potential clients.
For a printer that uses dual extrusion, it is a shame to see the cooling fan only operates from the left. This means each print takes a little longer before it is ready, but upgrading to a dual-fan duct can fix this.
There are small conveniences that make a difference such as the carry handles on either side of the enclosed unit. Every build can be watched through the acrylic door and the option of the acrylic lid means you can improve ventilation.
It takes a little while to level but produces impressive results that bring every concept building to life. The print bed measures 227 x 148 mm, which should be enough for reasonably-sized architectural models. However, you’ll likely need to attach multiple models together anyway for any reasonably-sized architectural model anyway, it just means more prints will be required than on a larger 3D printer.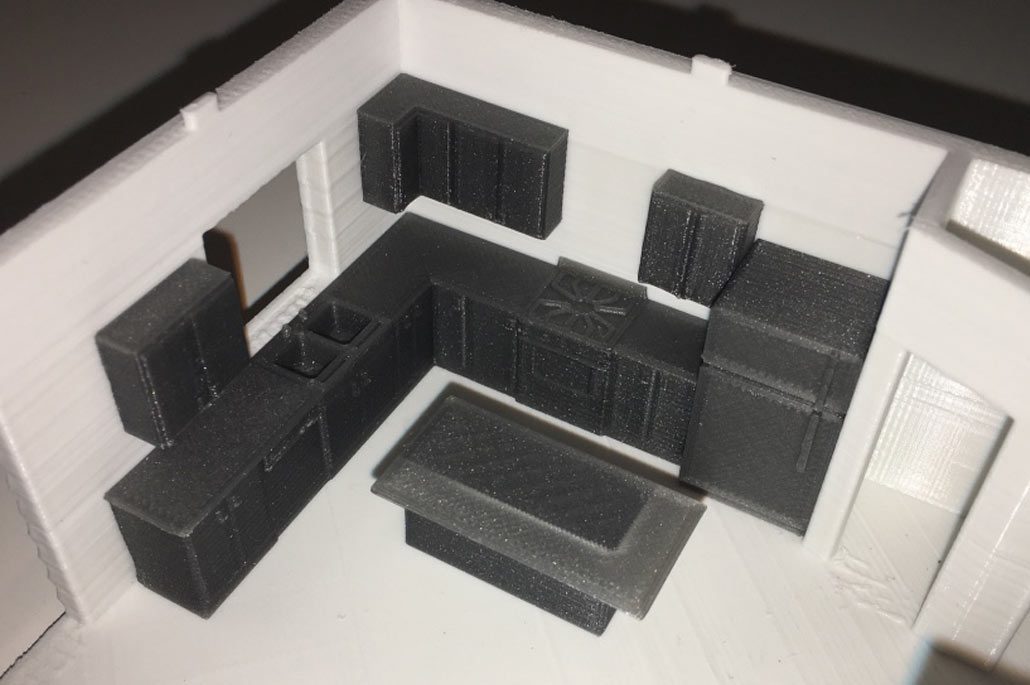
The print bed isn’t removable so print removal can be tricky at times, but a spatula and a little encouragement will always remove those scale models.
All in all, it is a viable 3D printer for any architect. Setting up is simple, just attach the print head, connect it to WiFi, and use the touchscreen interface to navigate to start the journey of printing affordable, impressive models.
Qidi Tech X-Max – Best For Different Materials
- Price: $1,099 — Available on Amazon here
✅ Pros
- The enclosed design prevents warping
- Wifi connectivity
- Large 5-inch touchscreen display
- Removable build plate
- Generous build area
? Cons
- No filament runout sensor
With a 5-inch touchscreen display, this is one of the easiest 3D printers for an architect to navigate. You can see how those models are going to come to life before printing.
Its enclosed design is essential for making consistent prints since the temperature within the unit is easy to regulate. This is vital for certain materials such as ABS which can warp if the temperature starts to dip.
Considering it boasts intuitive features like Wi-Fi connectivity as well as quiet printing, it is surprising that it does not boast a filament runout sensor. Still, compared to other brands, it is easy to use for a first-timer, and still has a pause and resume function that makes it easier to switch between filament.
Read more: the best quiet 3D printers
The removable build plate makes it easier to pry your finished masterpiece away so you can meet tight deadlines without having to worry about how long it is going to be before it is ready.
The build area of 300 x 250 x 300 mm is more than generous enough for most large projects, and means you can create big concept models that are the talk of the presentation.
Any architect wants their models to stand out, which is why it is great to be able to work with a variety of materials. Opt for the common ABS, PLA, and TPU, or go for carbon fiber or Nylon and make sure your models are ones to remember.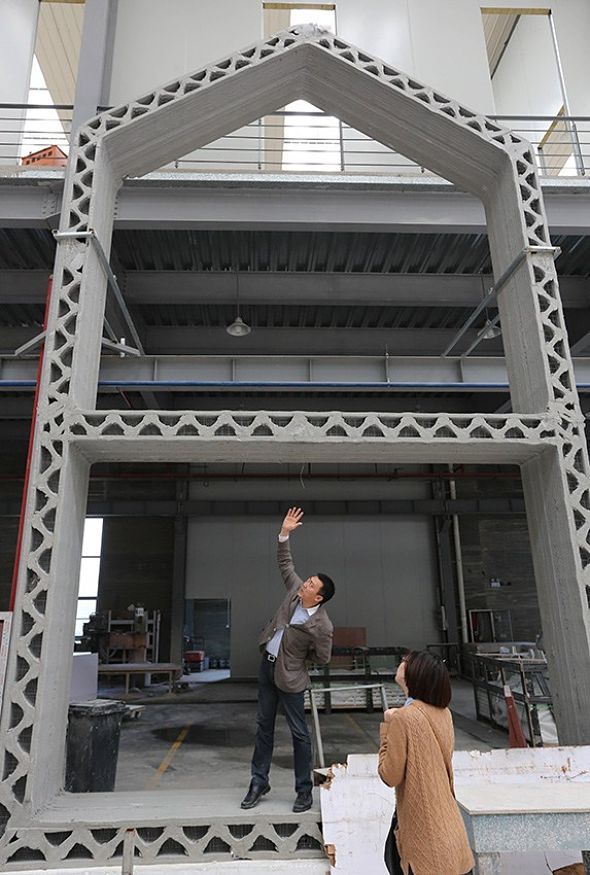
Because you are going to be printing tall architectural models, you need more than build space. You also need stability, which is where the double Z-axis comes in. This is an upgrade from the previously questionable single Z-axis that provides a solid base to ensure consistent prints, and 3D print accurate building models.
Dremel 3D45 – Best Under $2,000
- Price: $1,899 — Available at Matterhackers here / Available on Amazon here
✅ Pros
- Can read Dremel branded filament for quick set up
- Comes pre-assembled
- Removable glass plate
- Easy to control via WiFi
- Heats up fast
? Cons
- The touchscreen could be more responsive
The build volume of this 3D printer measures 254 x 152 x 170 mm, meaning it isn’t one of the biggest on our list. However, if you aren’t looking to make huge models, this is likely to be plenty enough for making architectural models that have plenty of detail.
The brand prides itself on making 3D printers that are easy to use, which is evident in the longevity of its brand. The direct extrusion system feeds filament from within, which makes it easier to load for each new project.
Although it is an open material system, it can work with an RFID sensor. This means it can read Dremel-branded filament, and quickly provide the print settings for easy set up every time.
What sets it apart is that the print bed comes in two parts. There is a heated bed that can reach a temperature of 100°C to prevent warping and make smooth first layers for a solid foundation for every architectural mode. Then, the glass plate can be removed to make it easier to pry the finished print, ready to present in front of a room full of stakeholders.
The 5-inch touchscreen navigation display ensures it is easy to make minor adjustments to please a fussy client, and if you are working within a tight timeframe, it only takes a couple of minutes before it is hot enough to get going.
There is plenty to like about the Dremel 3D45. Not only does it come pre-assembled, but it is easy to use, makes reliable prints that look professional, and has a closed frame design that looks great.
Ultimaker S3 – Best 3D Printer For Architects Overall
- Price: $3,980 — Available at Matterhackers here / Available at Dynamism here
✅ Pros
- 20-micron layer resolution
- Fast printing
- Compact footprint
- Can print two materials in one job
? Cons
- Might be a bit pricey for some
It is easy to see why the Ultimaker S3 is often considered the ultimate 3D printer for architects.
Boasting a decent 230 x 190 x 200 mm print area that will be more than enough for most models but it is the 20-micron layer resolution that provides impressively smooth surfaces that is sure to be the talk of client presentations.
The 4.7-inch touchscreen display is pretty straightforward, so making those custom changes doesn’t feel like a chore. At 24 cubic millimeters a second, this is also one of the faster options on our list. Why is that important? Because printing 3D models for architecture is so convenient you are going to want to use it as much as possible.
A lot of 3D printers that are big enough for an architect to make use of are guilty of having a bulky footprint. This is another area where the Ultimaker S3 excels. It takes up a total area of 394 x 489 x 637 mm, so it should fit conveniently into almost any work area without taking over a room.
At nearly $4,000, it could be out of budget for some. Still, this is an impressive option for any professional. It can print two materials in one job, offers automatic bed leveling, and WiFi connectivity.
For more: the best auto-leveling 3D printers to save you hassle
Formlabs Form 3 — Best for high-resolution architectural models
- Price $3,499 — Available at Dynamism here
✅ Pros
- Incredibly easy printing
- Extremely fine details and precision
- One-click printing
? Cons
- Smaller build area — so less suited for larger architectural models
People don’t generally think of resin 3D printers for architectural models, instead opting for FDM, but for high-resolution models with precise surface finishes and details, there is no better than Formlabs’ Form 3.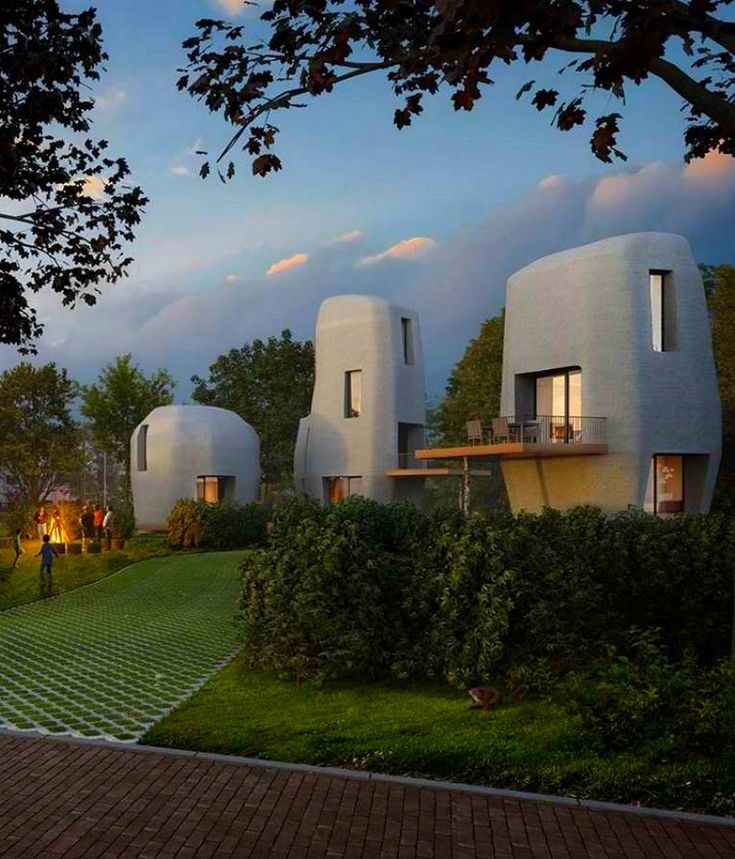
It can print in incredible detail thanks to it being a stereolithography (SLA) machine. It works by hardening liquid resin and turning it into a solid 3D architectural model, layer-by-layer. The sensors used at every stage of the print are highly intuitive and help to create fine details that make 3D models of buildings that stand out and look highly professional on a board room table.
One of the most reliable options for making a consistently high standard of prints, the Form 3 inspires confidence that your models are going to come out as you intended the first time.
There is a larger color touchscreen that allows you to watch the material cartridge whilst it is being used. You can even view a chart of how the print went, to see where any failures or imperfections may have occurred.
Automation is the name of the game with this option. The Form 3 tries to make life as easy as possible so the user doesn’t have to spend much time holding its hand. You can operate multiple Form 3’s like a factory with Formlabs’ software to create larger models quickly.
The technology is impressive, but the volume of 145 x 145 x 185 mm might be restrictive for some. Therefore, we recommend it for smaller, more detailed projects where communicating certain features within a larger build is important.
The 10 Best 3D Printers for Architects in 2022 (Including for Printing Scale and Other Architectural Models)
Welcome to the Thomas guide to the best 3D printer for architects 2022. Thomas has been connecting North American industrial buyers and suppliers for more than 120 years. When you purchase products through our independent recommendations, we may earn an affiliate commission.
Creating concept models for client presentations, or to display on a construction site, is a big part of any architect’s job. An architectural model provides clients with a physical representation of the design so they can get a sense of the proportions on a small and manageable scale. Although essential, creating models can be extremely difficult and time-consuming to do by hand, but with the help of 3D printers, architects can get accurate and attractive scale models in no time.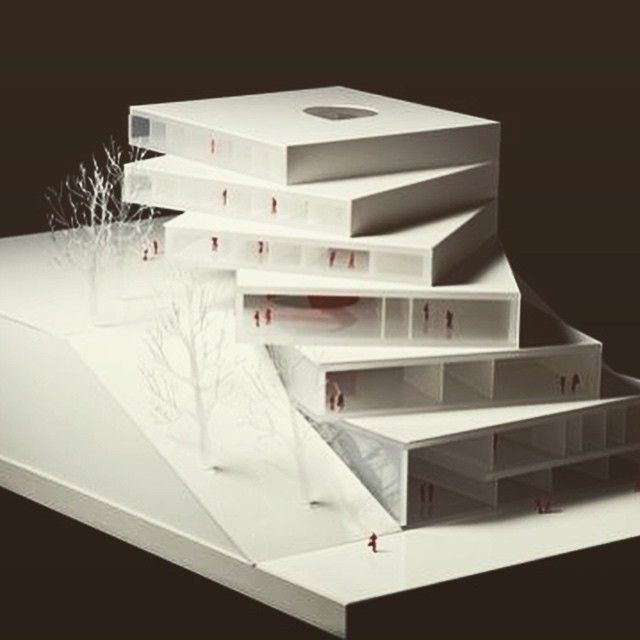
Image credit: Shutterstock/CobraCZ
The best tools for any practicing architect to make scale models are 3D printers. They typically use some kind of plastic for printing, but specialty 3D printers can also print with metal or liquid resin. Although the process requires digital modeling and technical skills from an architect, it can result in more accurate and realistic models.
Using any CAD software, architects will first transform their design into a 3D digital model at a specified scale. The model can then be exported into an STL format and sent through slicing software to create instructions for printing. The printer is then informed through a USB cable, an ethernet cable, or over a Wi-Fi connection. After just a few hours of printing, architects will be left with clean and accurate models. This efficient system also allows users to easily go back and forth to make multiple iterations based on client feedback without starting all over again.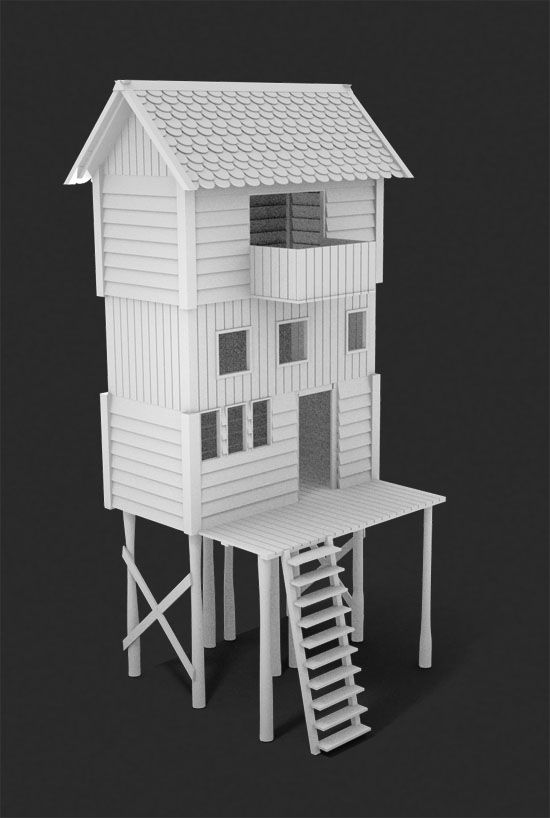
3D Printers for Architectural Models—Buying Guide
Although 3D printers for architects could be the same ones used for any traditional printing job, there are a few specifications to look for that are essential when printing items in this industry.
Size
When looking for a printer, although the overall dimensions may help to determine if the machine will properly fit in a space, the most important thing is the build volume. These measurements reflect the maximum amount of space there is for printing.
For professional architects, a 3D printer with a large volume capacity is the best, as it can accommodate a wide variety of sizes and shapes. It will also have more room for printing larger models that will be more visible to a client. However, a smaller volume may be suitable for those who plan to work on a very small scale or have a small office space.
Speed of the Printing Process
In the architectural field, quick and efficient 3D printers can be beneficial when printing multiple pieces to combine into a larger model, or when designing multiple buildings for a single project.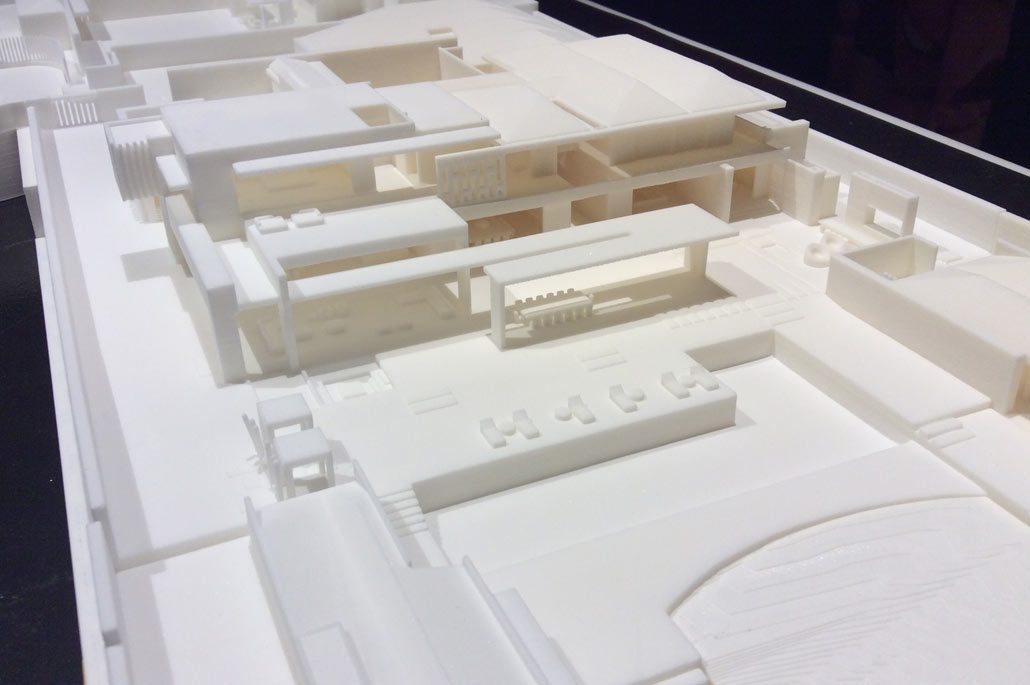 The print speed is represented by mm (or microns, though mm could also refer to millimeters) per second and this number can give buyers an idea of the maximum level of efficiency for printing.
That being said, different filaments and model designs may have specific geometry and speed requirements that need to be followed for the best printing results.
Print Quality
Many different factors can lead to optimal printing quality, but the best way to determine this is by referring to the layer resolution. The resolution is in mm, which measures the layer thickness or height. The lower this height, the better the overall resolution can be. High resolution is essential when trying to print fine details or smooth edges. However, for specific jagged models, or increased efficiency, a lower resolution may be the way to go. A higher layer thickness can also minimize the number of defects that occur during printing.
A smaller nozzle diameter is another way to increase the amount of detail, but most 3D printers on the market have a 0.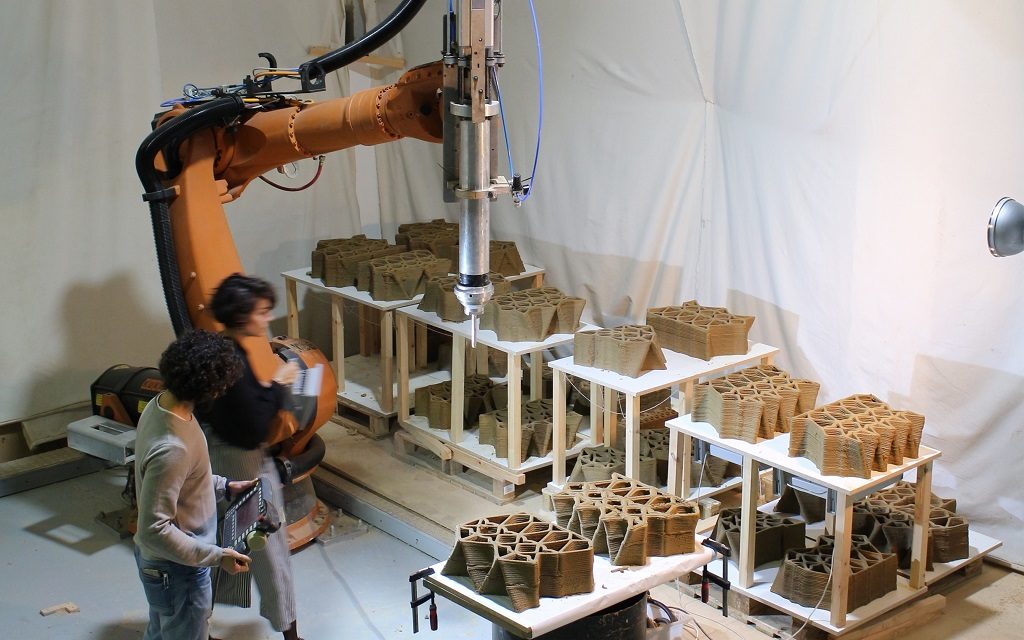 4 mm nozzle diameter.
Adhesion is also very important in getting better quality prints, as it will keep the model in place during printing but will allow the user to remove the print safely when the job is done. Having an additional print bed with different build plate temperatures will optimize the performance during printing and create this effect.
Other Considerations
There are many more features available on 3D printers than just the basic specifications. While not all of these add-ons are necessary, they can make the job a lot easier and expand the possibilities of printing.
Ease of Use
Proper leveling is the best way to ensure that a print is going to be accurate and stable during the process. One leveling method is automatic leveling. This is a great feature as it is one less step for the user to worry about. 3D printers can also include many other automatic features to make the job easier, such as self-cleaning or automatic feeding for filament loading.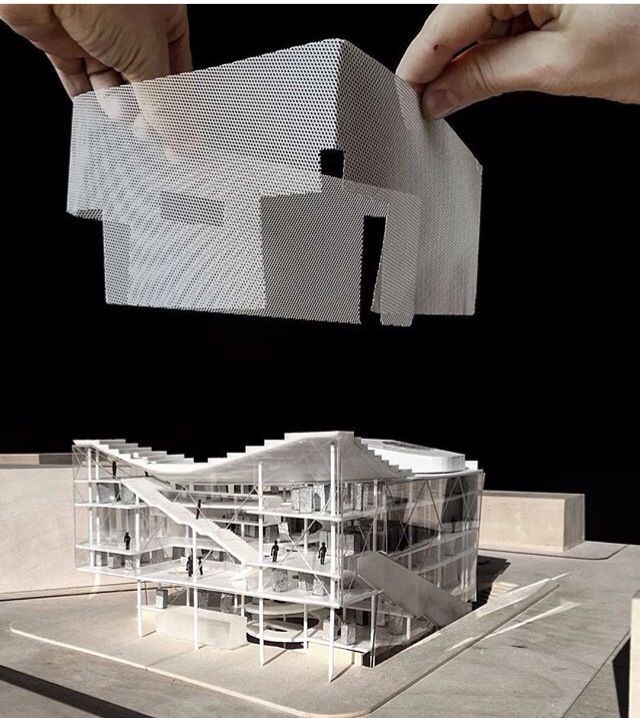
An easy control system, like a large touch screen, is another feature that can make the whole experience more intuitive.
Material Compatibility
What type of filaments can be used for printing will likely depend on the type of extruder. The printing manufacturer will often specify what materials can be used, but some models will come with multiple replaceable extruders to satisfy a larger variety of filaments. More advanced designs might even have swappable print cores or an open-source filament system to increase the range of materials that are compatible with the printer.
While the standard printer has a single extruder, some have two in one machine. This allows for a lot more complexity, as users can print multiple materials into one model. The same can be done with various colors, and some models use gradient mode to blend the filament colors together.
Thomas’ Top Picks for the Best 3D Printers for Architects 2022
To make modeling much more efficient, there are many great options on the market for 3D printers for architects.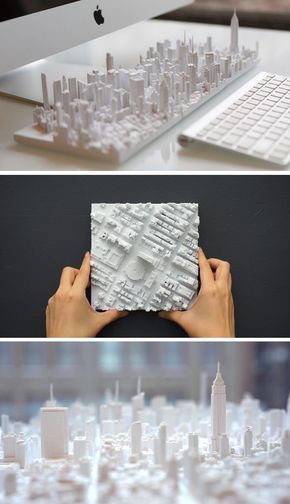
Scroll down to read more about these top picks for the best 3D printers for architects, according to many happy buyers.
*Prices listed in this article were as shown in US$ on amazon.com, bhphotovideo.com, and matterhackers.com (USA) as of August 2022
1. Best 3D Printer with a Large Build Volume—ANYCUBIC Kobra Max
By ditching an enclosed design and incorporating a large print bed, the ANYCUBIC Kobra Max provides architects with lots of printing space and flexibility to create very large-scale models and the opportunity to print building models that have unique proportions, like skyscrapers.
When working with a larger print volume, running out of filament in the middle of printing can be a concern. Yet with this machine, it can detect when there is no more material and pauses the printing process so users can resume function without error.
Printing is so much more efficient with the Kobra Max, as it has a high printing speed of 180 mm per second. The addition of automatic calibration enhances printing efficiency, not to mention makes things more precise.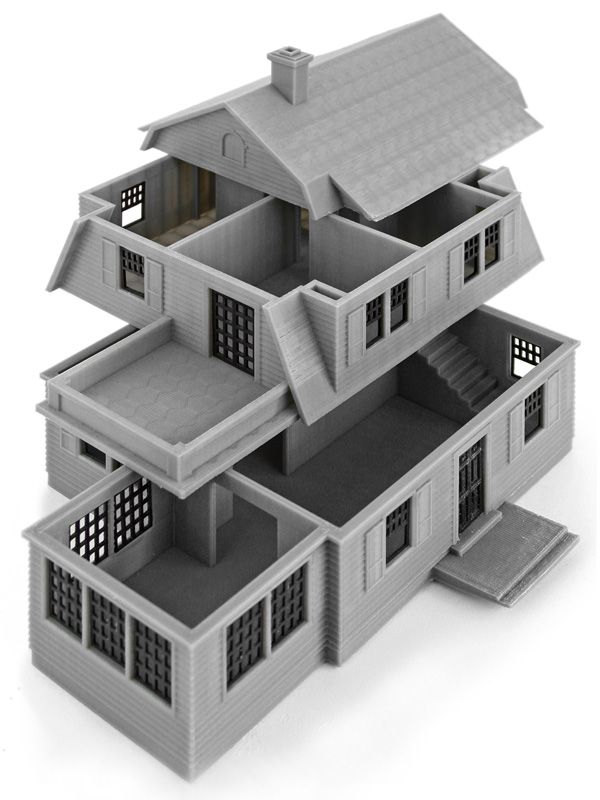 “These are incredibly quiet and have a massive build volume,” wrote one shopper. “The print quality is incredible.”
Specifications
Build volume: 17.7 x 15.7 x 15.7 in.
Layer resolution: 0.05-0.3 mm
Maximum speed: 180 mm/s
BUY NOW:
US$629.99, Amazon2. Best 3D Printer with a Fast Printing Speed—XYZPrinting Da Vinci Mini Wireless 3D Printer
Although the XYZPrinting Da Vinci mini printer doesn’t have the fastest print speed on the list, it has a high maximum speed of 120 mm per second that is the best for most materials, and is five times faster than most other brands. It has high efficiency while still maintaining the best printing grade overall.
One user confirmed the machine produces “quality prints and is very fast at completing jobs.” Printing set-up time is also minimized with the extruder only needing two minutes to heat up. Users don’t need a tangled bunch of wires and cables to get the job done either, as the printer has wi-fi connectivity.
This option is smaller than traditional 3D printers for architects, but it is perfect for compact architecture models or when completing architectural projects from home, where there isn’t a ton of workspace.
Specifications
Build volume: 5.9 x 5.9 x 5.9 in.
Layer resolution: 0.1-0.4 mm
Maximum speed: 120 mm/s
BUY NOW:
US$219.95, Amazon3. Best 3D Printer with a Dual Extrusion Feature—Flashforge Creator Pro 2
The Flashforge Creator Pro 2 has dual extrusion that opens up the realm of possibilities when it comes to making architectural models. Users can use the dual extruder heads together to get multiple colors in one piece or add two different filament materials.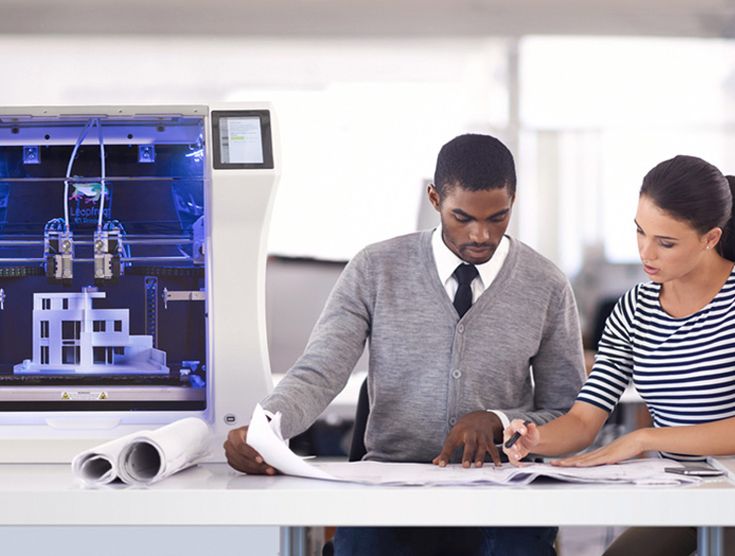
Each dual extruder can also be used independently to create two mirrored pieces or exact replicas. This feature is great when working with complex building models or when needing to print several identical pieces, as it can do so efficiently and with accuracy. One happy customer found that after using this printer every day, it has “worked flawlessly.”
A few reviewers did note that the printing bed tends to stick to the model, which can be an issue when removing the print post-processing. A user found “that if it is still a little warm, it's easy to get the print off the bed with a little effort.” Another buyer suggested using a razor blade to remove the model.
Specifications
Build volume: 7.87 x 5.82 x 5.9 in.
Layer resolution: 0.1-0.4 mm
Maximum speed: 100 mm/s
BUY NOW:
US$649, Amazon4.
 Best 3D Printer with a Smart Extruder—MakerBot Replicator+
 The extruder that comes with the MakerBot Replicator+ is advanced and reliable, thanks to over 160,000 hours of testing. It has a nozzle diameter of 0.4 mm and includes automatic jam detection. It even monitors when the filament has run out to save printing progress.
This technology ensures the highest quality of printing with little to no room for failure. Beyond the extruder, the printer itself is also very reliable and durable. It can be used for over 380,000 hours and is built with heavy-duty powder-coated steel for extended longevity.
One reviewer from another seller wrote, “All the parts that I have printed are precise and have fine detail given the accuracy of the printer.” The printer comes equipped with lots of user-friendly design features that expand upon the traditional methods of printing. This includes remote control of multiple printers through the cloud, device control from an LCD screen, an integrated camera, and wifi or USB connectivity.
Specifications
Build volume: 11.6 x 7.6 x 6.5 in.
Layer resolution: 0.1-0.4 mm
Maximum speed: N/A
BUY NOW:
US$1,999, B&H Photo Video5. Best 3D Printer with a Touchscreen Interface—Qidi Technology X-Plus
With a 4.3-inch touchscreen, the user interface on the Qidi Technology X-Plus is very easy to control. Users can manage all aspects of the printer, down to leveling, with a single push of a button. One happy shopper confirmed, “The touch screen is very nice and the controls are self-explanatory.”
With a large print bed, this machine is excellent for creating any type of architectural model. Not only does the size allow for versatility, but it comes with two types of extruders for correctly printing a range of filaments, from carbon fiber to TPU.
The plate on the print bed is reversible and capable of handling different materials and preventing poor adhesion. It is even removable to ensure that the scale model can be safely taken off after printing.
Specifications
Build volume: 10.6 x 7.9 x 7.9 in.
Layer resolution: 0.05-0.4 mm
Maximum speed: 150 mm/s
BUY NOW:
US$699, Amazon6. Best 3D Printer with Filament Recognizing Technology—Dremel DigiLab 3D Printer 3D45
The filament recognizing technology on the Dremel DigiLab 3D printer perfectly adjusts the temperature according to the filament. This ensures the best possible print quality without any extra work from the user. As if the process wasn’t easy enough, the bed automatically levels itself.
For more control, the system also incorporates an LCD screen. Many reviewers were pleased to find that the set-up and printing were also very efficient and painless.” To my surprise, this printer is ready to roll right out of the box,” wrote one customer. “Within about two hours, I had my first print.”
With less warping and clogging and a minimum layer resolution of 0.05 mm, this is the perfect tool for getting fine details in architectural models. Another buyer commented, “The resolution can be dialed in to make the most amazing prints at a very fast speed.”
Specifications
Build volume: 10 x 6 x 6.7 in.
Layer resolution: 0.05–0.3 mm
Maximum speed: N/A
BUY NOW:
US$1,999, B&H Photo Video7. Best 3D Printer with Semi-Automatic Leveling Technology—ANYCUBIC Chiron
The ANYCUBIC Chiron printer uses semi-auto leveling, which requires initial manual calibration but will continue to automatically level itself before each use.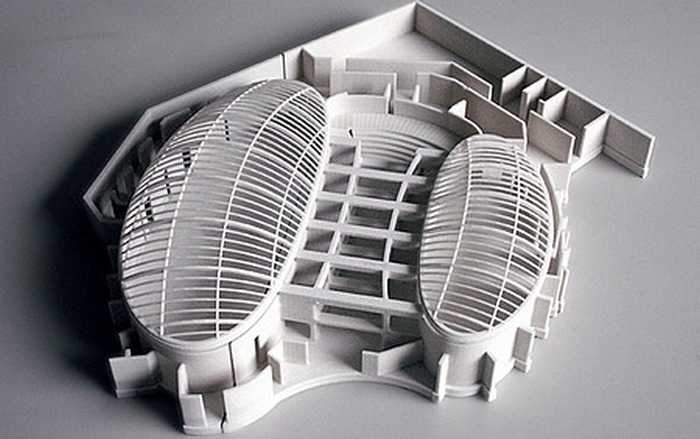 This means that users get the benefits of consistent and accurate adjustments while maintaining the option of manual control.
One customer found that the feature “works very well” and will take users “about an hour to complete, but once you're done, you won't have to do it again unless you move your printer.”
The print head also has extreme precision, and to get the best quality architectural models, the bed is both heated and coated. Not only does this prevent warping during the process, but it also simplifies the process of removing models, leaving no damage behind.
Specifications
Build volume: 15.75 x 15.75 x 17.72 in.
Layer resolution: 0.05–0.3 mm
Maximum speed: 100 mm/s
BUY NOW:
US$469.99 (Was US$579.99), Amazon8. Best 3D Printer with an Onboard Camera—Flashforge Adventurer 3 Pro
The Flashforge Adventurer 3 Pro is an enclosed design with an HD camera that allows users to keep an eye on their printing job, even when they are not home.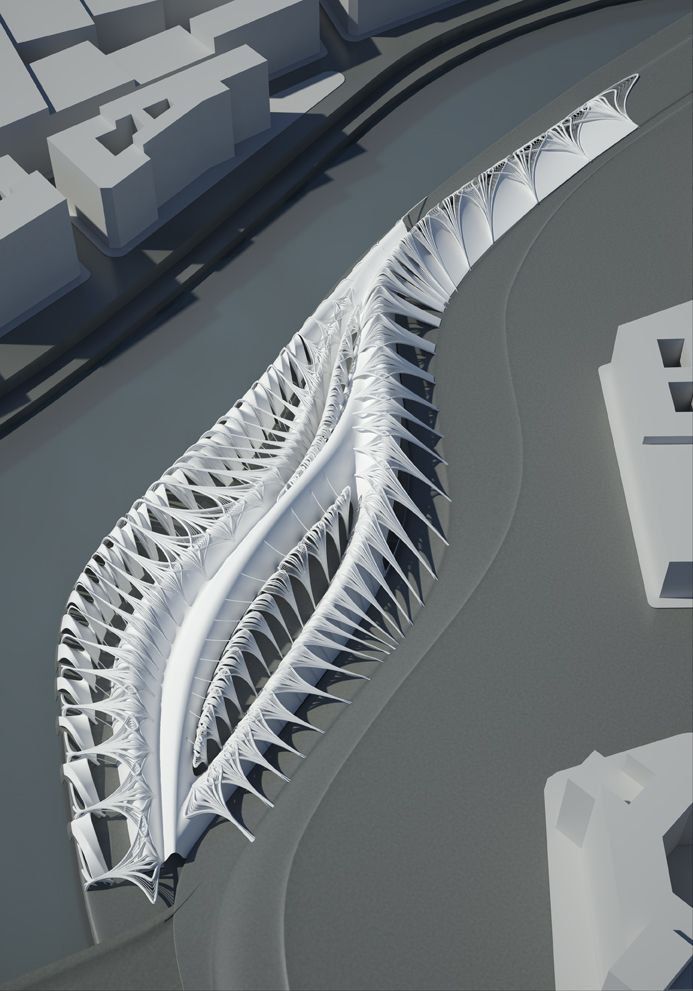 The camera is connected to a cloud storage system, allowing access from any connected device.
If something goes wrong while operating this technology, users can take control of the job as well as manage projects on other printers. Although the printing area is smaller, the enclosed design offers more consistent temperatures and quieter performance.
The whole thing is pre-assembled and “comes ready to go right outside the box,” according to one reviewer. Many other customers were amazed at how easy the machine was to control, thanks to the touchscreen system. One buyer, in particular, confirmed, “It’s so user-friendly, everything worked immediately.”
Specifications
Build volume: 5.9 x 5.9 x 5.9 in.
Layer resolution: 0.1–0.4 mm
Maximum speed: 100 mm/s
BUY NOW:
US$399, Amazon9.
 Best 3D Printer for Printing Different Materials—Ultimaker S3
 With swappable print cores, the Ultimaker S3 can print virtually any material to fit a wide print range. The printer has been tested with more than 200 materials, allowing immense versatility when making architectural models.
The dual extrusion makes it possible to print two different materials in the same concept models. This can make for more complex, structurally sound, and attractive pieces. This is a professional-level printer and is a great model to have at a well-established firm or personal office.
With that, there are many advanced features to get the best results, such as a glass plate and precise automatic leveling. Ultimaker also has its own software for managing the printer and Cura software for preparing the print, all for free.
Specifications
Build volume: 9 x 7.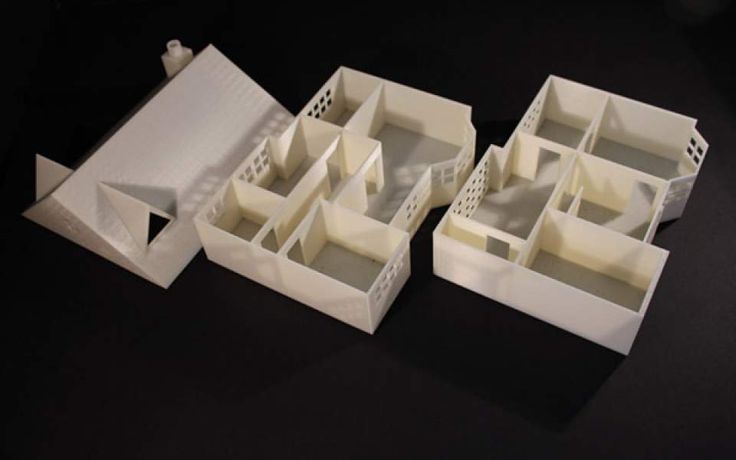 4 x 7.9 in.
Layer resolution: 0.02–0.2 mm
Maximum speed: 24 mm³/s
BUY NOW:
US$4,450, MatterHackers10. Best Budget 3D Printer—Creality Ender 3
It’s true that most 3D printers are quite an investment, but the Creality Ender 3 is the best affordable option for architecture students or those who have a strict budget. The build space is open and fairly large, making it a great size for a range of complex architectural models.
Although it is inexpensive, this printer integrates certain features to ensure smooth printing, such as a glass bed and an extruder that prevents clogging and improves accuracy.
One shopper wrote, “I honestly don't think I can find a better printer on the market for the same price or cheaper.” This set is only partially assembled, but one reviewer found that it “went together easy enough; simple instructions.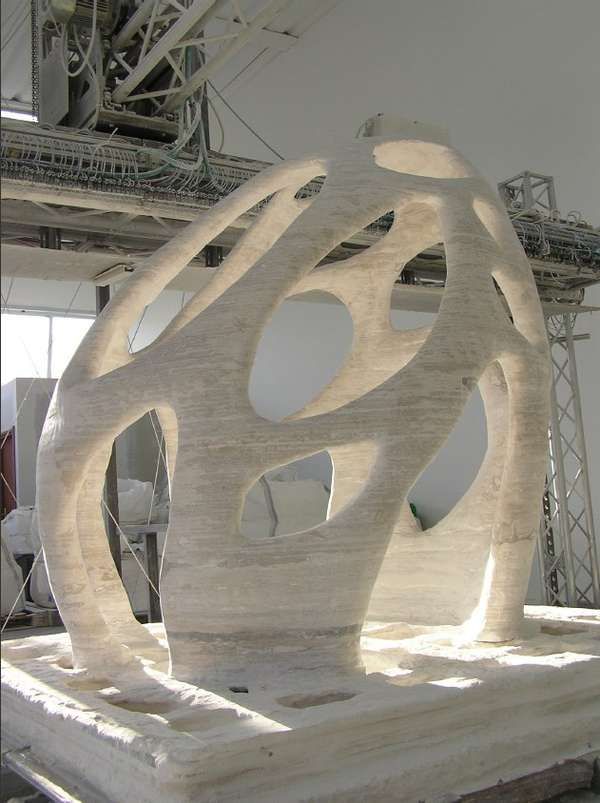 ”
”
Specifications
Build volume: 9.84 x 9.84 x 8.66 in.
Layer resolution: N/A
Maximum speed: 180 mm/s
BUY NOW:
US$189.99, AmazonThe Best 3D Printer for Architects—Summary
When looking to efficiently print models for architecture, the ANYCUBIC Kobra Max (US$629.99, Amazon) is one of the fastest printing machines available and has a very high resolution. For a higher-end 3D printing model, the Ultimaker S3 (US$4,450, MatterHackers) is a commercial machine with tons of advanced features and versatility.
We hope our review of the best 3D printers for architects has been helpful. For more suppliers of related products and other 3D printing machines, including plastic filaments, 3D laser scanning systems, digital printers, computers, and rulers, consult our additional guides, or visit the Thomas Supplier Discovery Platform.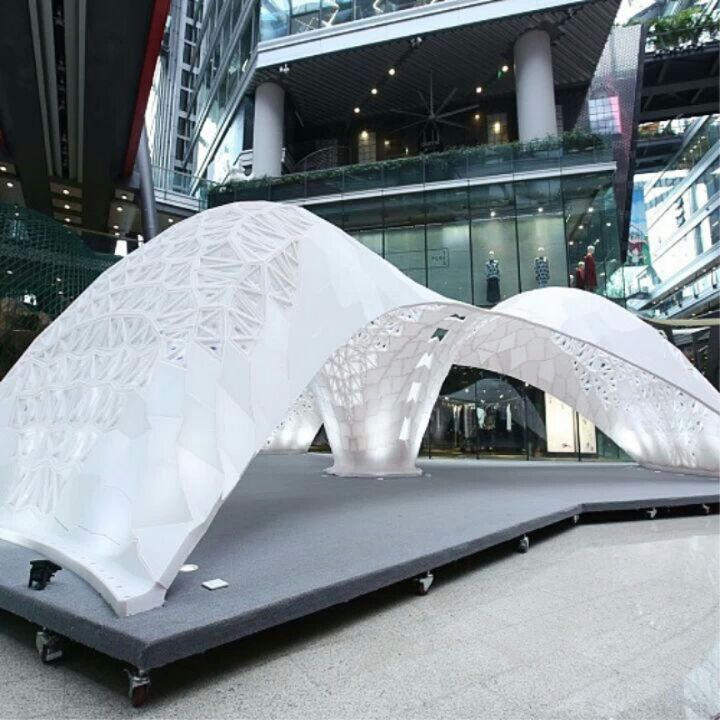
Sources
- https://www.creat3d.shop/news/creat3d-3d-printing-tips-microns-layer-height-resolution-explained.html
- https://monroeengineering.com/blog/the-3-basic-steps-of-3d-printing/
- https://monroeengineering.com/blog/the-role-slicing-plays-in-3d-printing/
- https://www.wevolver.com/article/nozzle-diameter-and-layer-height-explained
Other Tool Articles
- The Best Hot Glue Guns for Woodworking
- The Best Heated Ice Scrapers
- The Best Soldering Irons
- The Best Staple Guns
- The Best Nail Guns
- The Best Propane Torch
- The Best Powerful Cordless Drills with High Torque, and extended Battery Life
- The Best Walkie Talkies for Adults
- The Best Screwdriver Sets
- The Best Dual Action Polisher
Other Best Product Articles
- The Best Masonry Drill Bits
- The Best Wire Crimper Tool
- The Best Commercial Soft Serve Ice Cream Machine
- The Best Slip Joint Pliers
- The Best Dial Indicators
- The Best Knife Grinder
- The Best Felling Axes
- The Best Lawn Mowers For Hills
- The Best Titanium Hammer
- The Best Exterior Caulk For Brick
- The Best Post Hole Digger/Auger
- The Best Blacksmith Hammer
- The Best Pegboard Hooks and Accessories
- The Best Hoists for Jeep Hardtop
- The Best Workbenches for the Garage
- The Best Planer Jointer Combo
- The Best Degreaser For Heavy Equipment
- The Best Drywall Cutting Tool
- The Best Hearing Protection With Bluetooth
- The Best Outdoor Security Camera Systems
- The Best Headlamps
- The Best Electric Riding Lawn Mowers
- The Best Lawn Mowers For Small Yards
More from Automation & Electronics
3D printer for architect and designer, pros and cons, examples of use
3D technologies are becoming good helpers in various fields.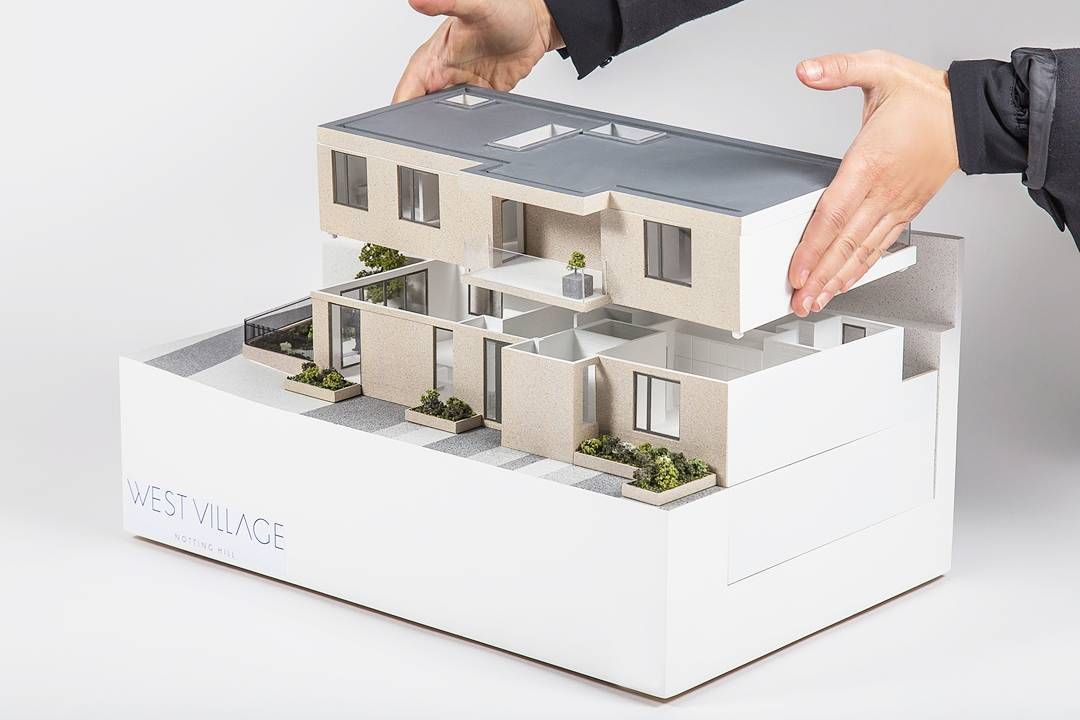 In architecture and design, 3D printers are successfully used mainly to create architectural models.
Illuminated layout
Architectural layouts can be divided into several types:
Layouts can be used for a variety of purposes:
-
Visualization for buyers or to coordinate the project with the client. Many customers find it much more difficult to perceive a digital layout of a building or interior. 3D printing allows you to quickly and inexpensively produce, for example, a miniature apartment model with a furniture model. The client himself will be able to visually see a variety of interior options and choose the one he likes the most.
-
Project presentation. A presentation with a beautiful layout looks much more colorful and effective, for example, a building or an entire microdistrict. But making an architectural model in the classical way is a long and painstaking, often manual, work.
 What if you need multiple layouts? A 3D printer can significantly speed up and reduce the cost of production of a layout.
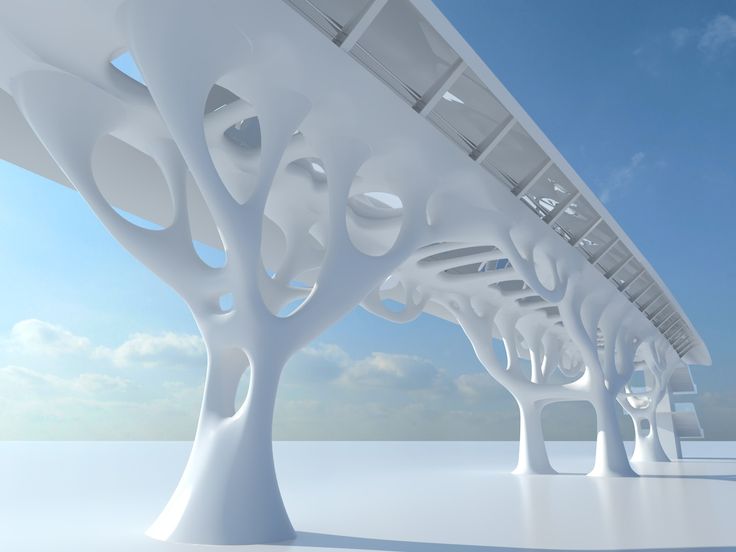
The cost of the layout depends on several factors - this is the complexity of manufacturing and artistic value. The use of a 3D printer allows you to speed up and significantly simplify the production of complex and simple layouts. For example, making a layout of modern buildings with non-linear geometry becomes a real headache for layout designers. 3D printing allows you to quickly and accurately reproduce an exact copy of any building, regardless of its geometry.
Non-linear building layout
FDM printers for architecture and design
FDM is a technology for layer-by-layer deposition of plastic to obtain a physical model. As a consumable material, a plastic thread is used - a filament.
FDM printers are very popular due to their large working area, printing speed and inexpensive consumables.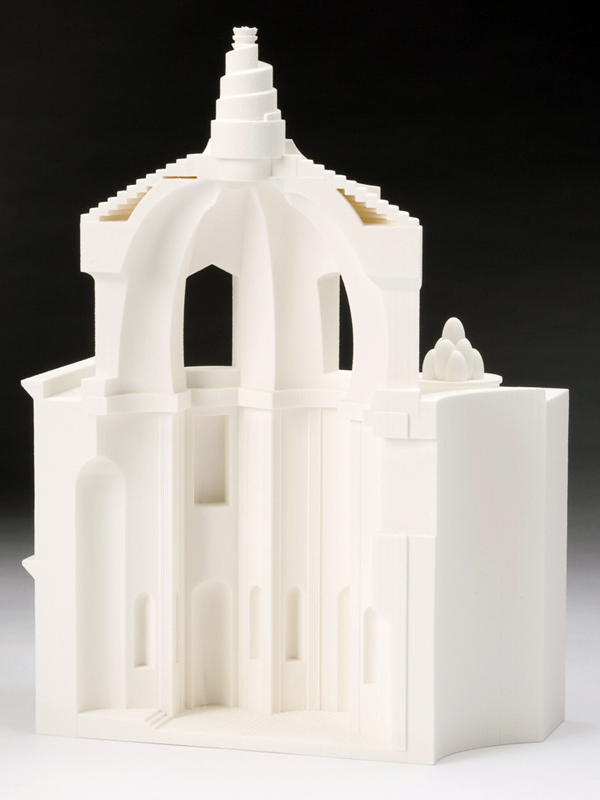
The choice of printer model depends on what needs to be produced. Some devices are poorly designed to work with some engineering plastics.
Pros and cons
pros
Models of 3D printers appeared with an “infinite” printable area along one of the axes. These printers use a conveyor belt instead of a printtable. Such printers are suitable for mass production.
For the manufacture of simple layouts, you can give preference to models with a single extruder. But if a 3D printer is required to solve a variety of tasks, then models with two extruders and a closed chamber should be preferred. Such devices are universal and can print on almost any material.
Minuses
Application and printing examples
Model of the city of Astana. Production took 1 month.
Building kit
Prefabricated house model
San Francisco layout
Furniture and interior elements made on a 3D printer
Layout of the floor of the building for arranging furniture
Printer Rating
CreatBot D600 Pro
CreatBot D600 Pro
Features:
Print technology: FDM/FFF
Workspace size: 600x600x600
Number of extruders: 2
Max.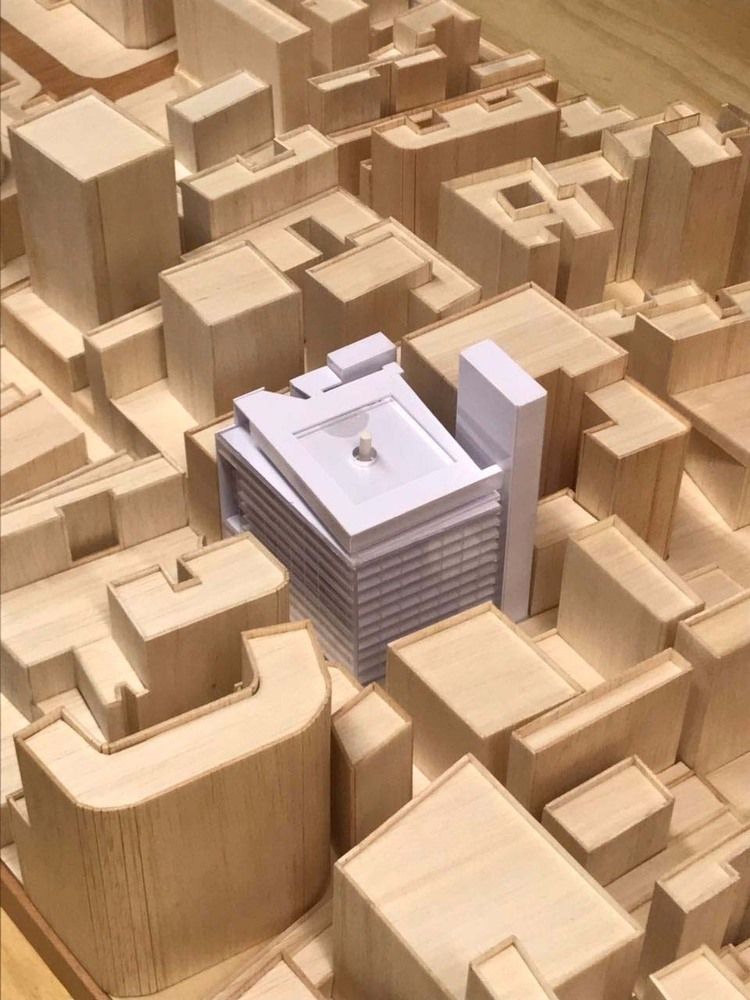 extruder temperature: 420 degrees
Closed Camera: Yes
Heated table: Yes
Plastic type: ABS, ABS+, PLA, PLA+, PETG, Flex, Nylon (Nylon), ASA, Carbon, PEEK, Decorative plastics, others
CreatBot D600 Pro is a professional device that has many options that will be useful not only for a beginner, but also for an experienced user. Two extruders with a high heating temperature and a closed chamber allow you to print on all available types of plastics. And automatic table calibration using the BL-Touch sensor eliminates the need to level the table plane.
Raise3D E2
Raise3D E2
Features:
Print technology: FDM/FFF
Working area size: 330 * 240 * 240 mm - when printing with the 1st extruder
295x240x240 mm - when printing with 2 extruders
Number of extruders: 2
Max. extruder temperature: 300 degrees
Closed Camera: Yes
Heated table: Yes
Plastic type: ABS, ABS+, PLA, PLA+, PETG, Flex, Nylon (Nylon), ASA, Carbon, Decorative plastics, others
Raise3D E2 is a small device with unusual kinematics.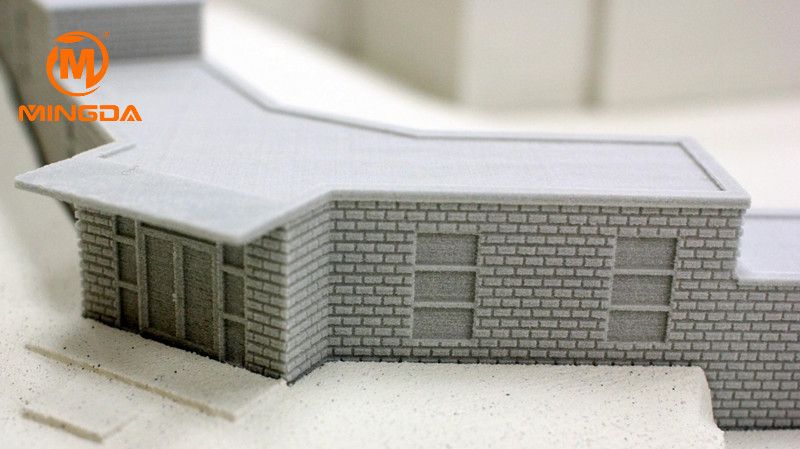 Raise3D E2 has two independent extruders that allow the printer to work in several modes:
In addition, Raise3D E2 is equipped with a convenient touch screen, automatic table calibration, an assistant for calibrating the height of extruders relative to each other and other nice features that do not affect the final print, but make working with the printer easier and more comfortable.
Raise3D Pro2 and Pro2 Plus
Raise3D Pro2 left and Pro2 Plus right
Features:
Print technology: FDM/FFF
Stage size: Raise3D Pro2
305x305x300 mm - when printing with the 1st extruder;
280x305x300 mm - when printing with 2 extruders
Raise3D Pro2 Plus 305x305x605 mm - when printing with the 1st extruder;
280x305x605 mm - when printing with 2 extruders
Number of extruders: 2
Max. extruder temperature: 300 degrees
Closed Camera: Yes
Heated table: Yes
Plastic type: ABS, ABS+, PLA, PLA+, PETG, Flex, Nylon (Nylon), ASA, Carbon, Decorative plastics, others
As you can see from the specifications, the only difference between Raise3D Pro2 and Pro2 Plus is the size of the workspace in height. Pro2 Plus has twice as much.
The Raise3D Pro2 series has proven itself in various fields. These are reliable workhorses with a set of all the necessary options for high-quality printing, and the presence of two extruders allows you to make models of any complexity.
PICASO 3D Designer XL Pro
PICASO 3D Designer XL Pro
Characteristics:
Print technology: FDM/FFF
Working area size: 360 x 360 x 610 mm
Number of extruders: 2
Max. extruder temperature: 410 degrees
Closed Camera: Yes
Heated table: Yes
Plastic type: ABS, ABS+, PLA, PLA+, PETG, Flex, Nylon (Nylon), ASA, Carbon, PEEK, PC, Decorative plastics, others
PICASO 3D Designer XL Pro is a Russian-made professional printer with an enlarged working area. Designer XL Pro is equipped with automatic table calibration, plastic feed control sensor and other nice features.
Photopolymer printing in architecture and design
The principle of operation of a photopolymer printer is based on the illumination of a special resin using directional UV radiation.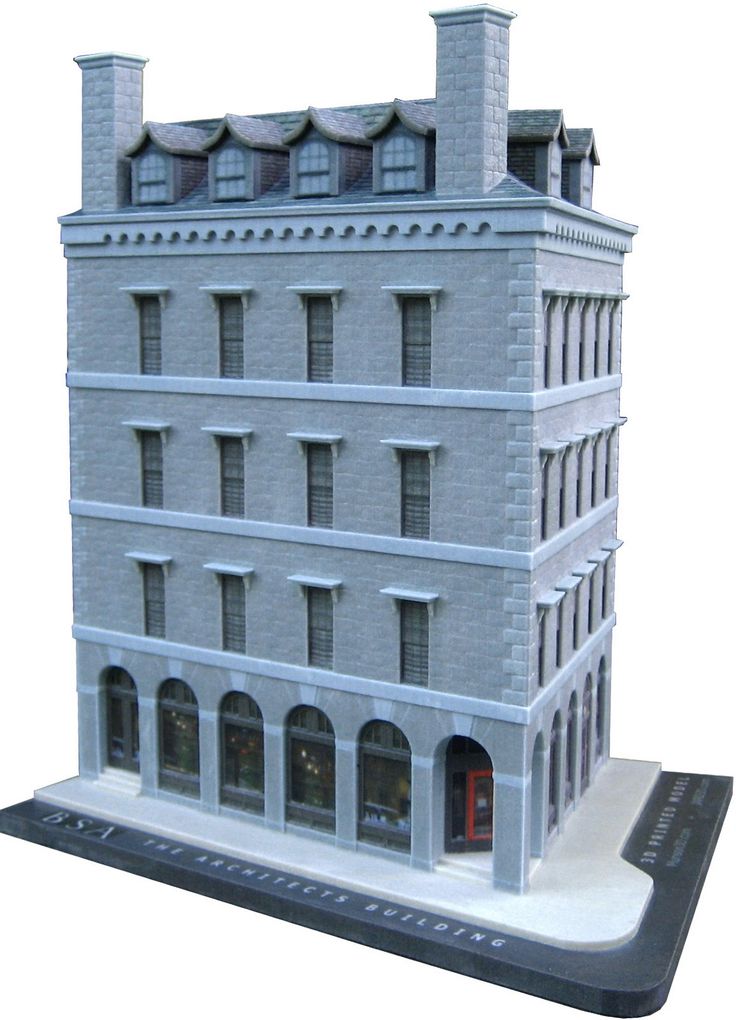 Photopolymer printers can work on one of three technologies:
Photopolymer printers allow you to get a product with an ideal surface. It is not for nothing that LCD, DLP and SLA devices are actively used in the jewelry and dental industries, where accuracy and the ideal surface of the finished model are important.
Currently, LCD technology has gained particular popularity due to its availability and inexpensive printers.
Pluses and minuses
pros
Minuses
-
After printing, it is necessary to rinse and dry the product in a UV chamber. After printing, it is necessary to wash off excess polymer from the surface of the finished print. For this, isopropyl alcohol is usually used, although resins have now appeared that can be washed with plain water. In order for the photopolymer to gain the declared strength, it must be additionally illuminated under an ultraviolet lamp or in a special box.
Application and printing examples
Miniature model of building
Model of the Cathedral of the Intercession of the Most Holy Theotokos on the Moat (St. Basil's Cathedral)
City map
Miniature “extras” for layout
Printer rating
Prismlab RP400
Prismlab RP400
Features:
Print Technology: DLP/LCD/SLA
Material: Photopolymer resin
Construction area size: 384x216x384 mm
XY positioning accuracy: 100/67/50 microns
Z-axis positioning accuracy: 100/50 microns
Prismlab RP400 is a professional photopolymer machine with a large printable area. Humidity and temperature sensors in the build chamber allow Prismlab to adjust print settings for the best print quality, while open source software allows the use of third-party photopolymer resins.
Peopoly Phenom XXL
Peopoly Phenom XXL
Characteristics:
Print Technology: DLP/LCD/SLA
LCD display resolution: 3840x2160 (23.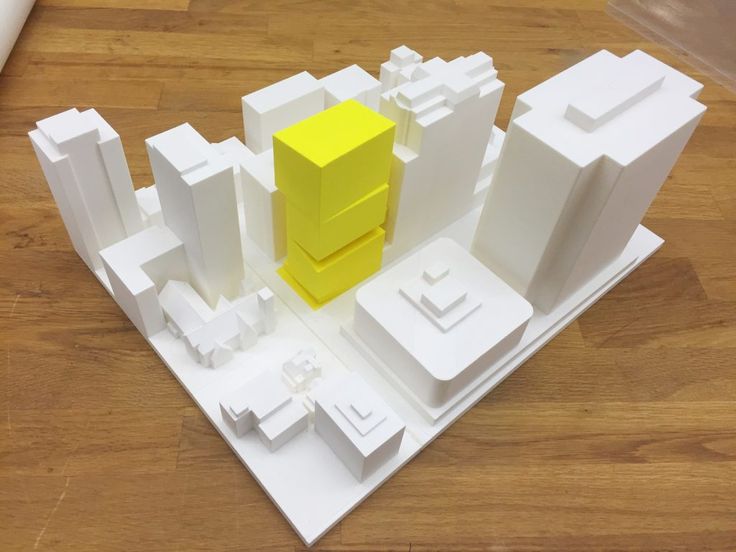 8", 16:9, UHD 4K)
Material: Photopolymer resin
Construction area size: 527x296x550 mm
XY positioning accuracy: 137 µm
The Peopoly Phenom XXL is a large format photopolymer printer with a huge printable area. The improved monochrome LCD matrix allows you to quickly and accurately produce large models or small batches of small products.
Phrozen Sonic MEGA 8K
Phrozen Sonic MEGA 8K
Features:
Print Technology: DLP/LCD/SLA
LCD resolution: 15" 8K Mono LCD
Material: Photopolymer resin
Build area size: 330 x 185 x 400 mm
XY Positioning Accuracy: 43 µm
Sonic Mega 8K is the first LCD printer with a matrix resolution of 8k, but the accuracy of printing depends on the resolution of the matrix. Sonic Mega 8K allows you to produce large models with amazing clarity, without “blurring” or smoothing small elements.
Construction printers
Construction printers are just groping for their niche for application, and the technology itself is still far from ideal.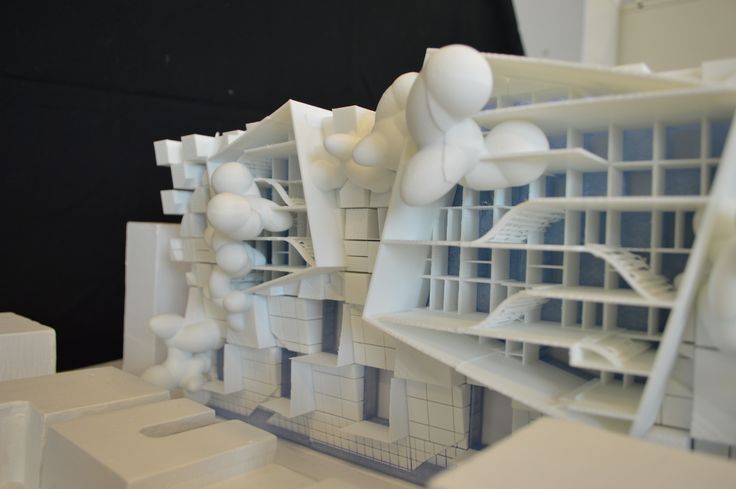 But the projects already implemented allow us to imagine a possible future where it will be possible to print entire houses.
Application and printing examples
Bridge in Shanghai.
In Shanghai, using a construction 3D printer, a whole bridge was printed and installed over a pond in the Baoshan area. The new bridge is 26.3 meters long and 3.6 meters wide.
Shanghai Bridge
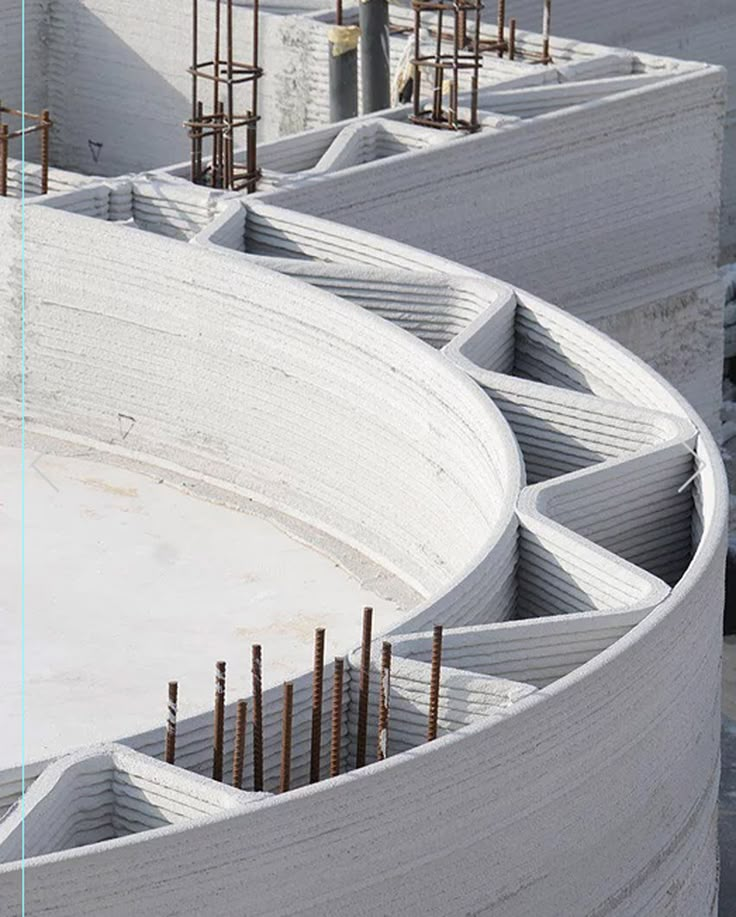
Before making a concrete, full-size model, a reduced copy of the bridge 1: 4 was printed for testing the strength and safety of the structure. 3D printing took 450 hours. A load and deformation monitoring system was installed in the finished bridge. This allows you to explore the properties of printed concrete elements in real time.
Up close, you can see the concrete layers that appeared due to the peculiarities of printing
Bridge in Amsterdam
In Amsterdam, a printed steel bridge was installed.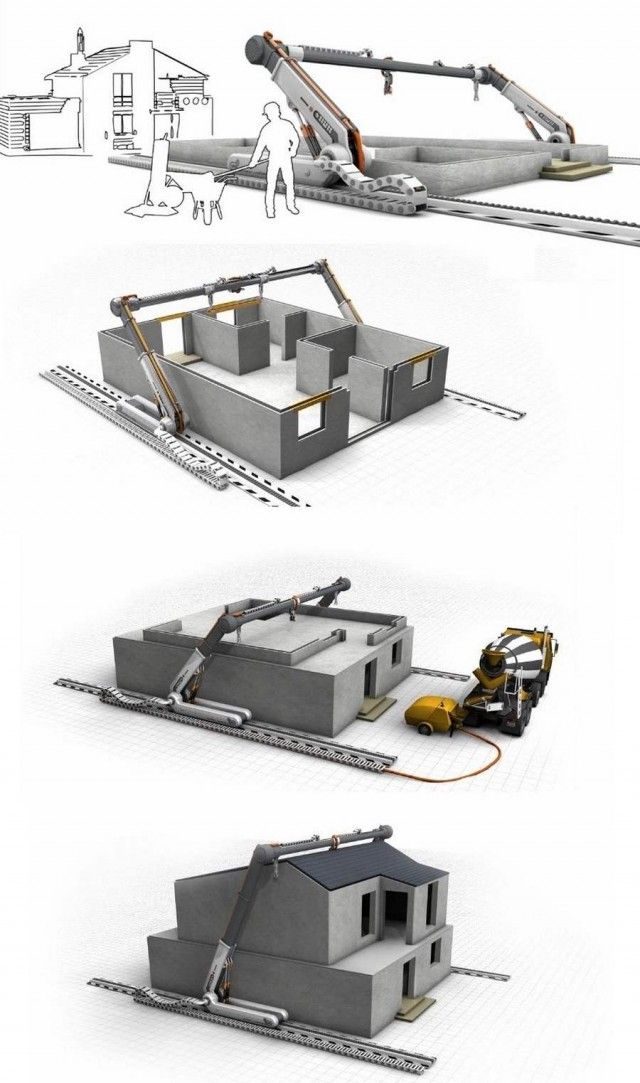 It connects the embankments of the Oudesijds Achterburgwal canal. The length of the finished bridge is 12.2 m, the width is 6.3 m, and the weight is 6000 kg.
Bridge in Amsterdam
Sensors were installed in the bridge to track the deformation of the structure and count the number of people passing through it. For the manufacture of a modern "crossing" 4 robots for 6 months layer-by-layer made a construction of stainless wire.
Bridge manufacturing process
Printed house in Germany
In Germany, builders built an entire house using a 3D construction printer. The house is designed for 5 families, the total area is 380 sq.m.
Almost finished house
In the model of the house, cavities are initially laid for all communications, which the builders will later install. Thus, while the printer is building walls, the workers are solving other tasks.
The structure of the walls is hollow, after hardening it is filled with a special insulating material.
After all the work, the apartments in the house will be rented out, and one, the manufacturer, will be used as an exposition to demonstrate the possibilities of construction 3D printing.
Totals
Architecture and design are already firmly established digitally, making it possible to more visually demonstrate models of future buildings and interiors. It is already difficult to meet an architect who draws his masterpieces only on paper.
Three-dimensional technologies make the visualization process simpler and more visual. Already today, 3D technologies make it possible to partially abandon painstaking manual labor in the manufacture of models, and perhaps in the future, with the help of construction 3D printers, it will be possible to build beautiful architectural structures much faster and easier.
Architectural 3D Printing Modeling Strategy and Software Use Guide
At a Glance
3D printing brings enormous benefits to the conventional architectural workflow.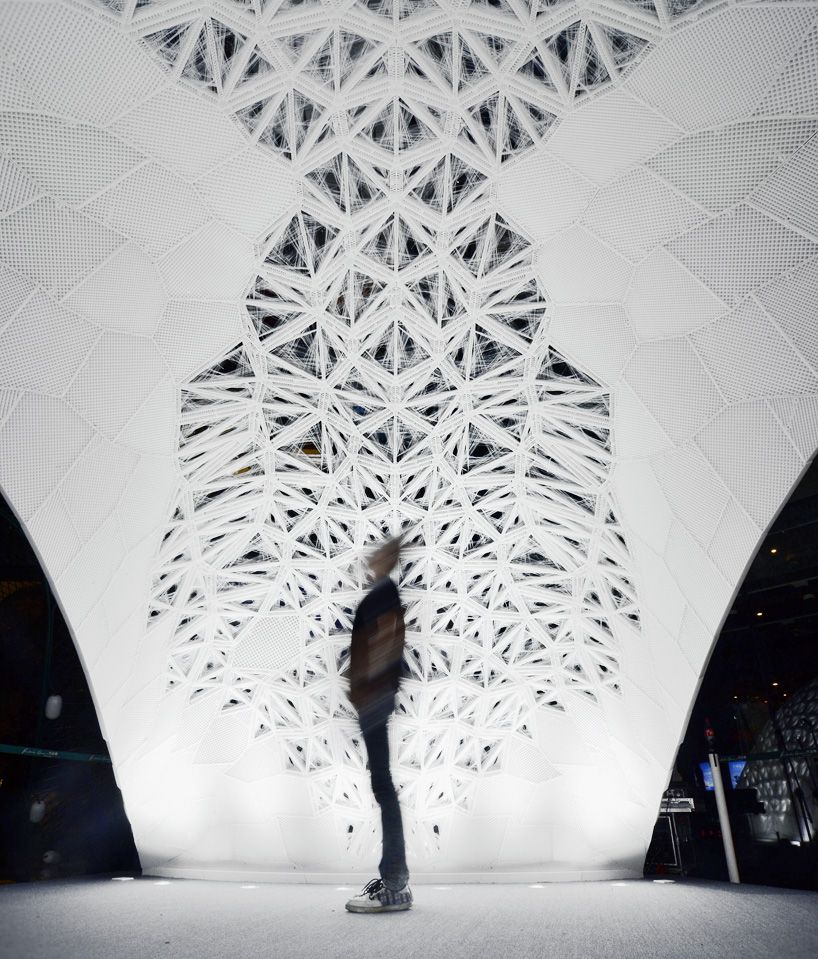 You can print complex designs without the need for skilled craftsmen, and quickly modify these designs without too much difficulty. Stereolithographic (SLA) 3D printing delivers incredibly high surface quality and detail, making it suitable for architectural applications. This paper explores modeling strategies and software workflows that enable architects and designers to easily integrate 3D printing into existing design methodology, create best practices based on internal testing by Formlabs and architecture firms, successfully using Form 2 to create 9 models0003
WHAT YOU WILL LEARN:
Strategies for designing 3D printed architectural models
Tips for improving workflow Pre-print processing software
- Building information model (Revit, ArchiCAD)
- Surface modeling (Rhino, SketchUp)
Good post-processing techniques
- Compound
- Finishing
Introduction
The 3D printing market today offers affordable options in both price and scale. While professional-grade technology used to be costly, desktop stereolithography 3D printers allow architects, designers, and model makers to offer high-quality, in-house fabricated parts.
Most models cost less than $10 per part.
3D printing opens the door to creating complex designs with less effort and fewer materials, but the successful transition from CAD model to printable file is based on a basic understanding of design for 3D printing. This document will help you understand how standard modeling constraints relate to preparing a file for 3D printing, as well as approaches and decision making for intelligent modeling - from scale selection to design and assembly for post-processing.
To integrate these strategies into existing workflows, this booklet explores ways to approach modeling strategies tactically by examining three of the most common software ecosystems: allows you to include small details even on the smallest models. This example of a small city model has a scale of 1/32″ = 1’ and is completely printed on a Form 2 3D printer.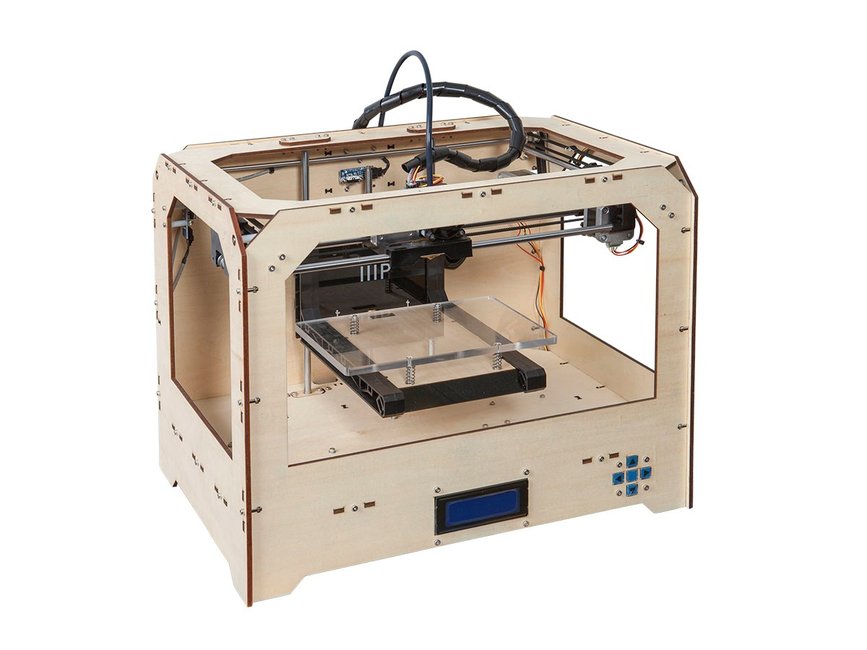 Many small details and parts of this design will take significantly longer if cut and assembled by hand. Model from LaneyLA Inc.
This auditorium section was 3D printed as a single piece on a Black Resin Form 2. Model from DLR Group.
Modeling strategy
Architectural models are usually assembled using various materials and components. 3D printers help combine these components into as few separate parts as possible, but assembly manipulation is still necessary for two reasons:
- Build Volume Limitations : High build volume printers are either expensive or compromise on surface quality. Form 2 build volume is 57 x 57 x 69 inches (145 x 145 x 175 mm)
- Need to show interior details or materiality : Some models require components to be separated to show more design information.
DESIGN FOR ASSEMBLY
All 3D models require preparation before they can be sent to the 3D printer.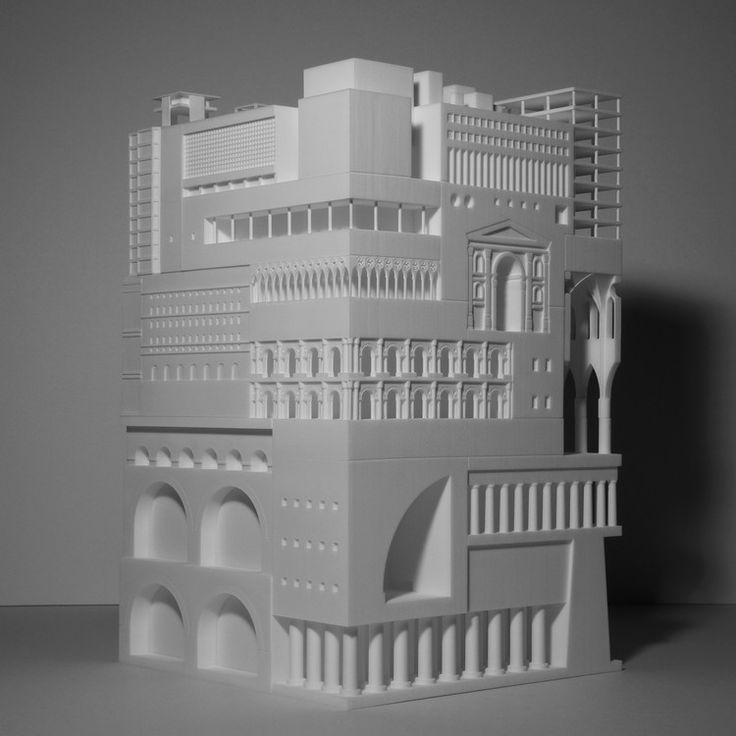 In the case of architectural models for the Form 2, this often involves splitting the model into smaller parts to fit the scope of the Form 2 build. The parts can then be easily joined together by chemical adhesive or mechanical assembly; high precision printing ensures that the parts fit together.
When choosing dimensions for parts to be separated, consider the final orientation of the model. Most architectural prints need to be oriented at a 45 degree angle due to floor slabs being considered large horizontal projections. Dividing the model into long, thin parts helps maximize the diagonal length of the build volume while achieving perfect orientation
Strategy overview
There are several strategies for assembling 3D printed models. Your strategy will depend on what you hope to represent with the design, as well as the scale and geometry of the model. Consider the following parameters:
- Need to show internal or external parts
- Easy Split (You want to split the model by the least complex part of the model)
It is necessary to show a certain part of the program: typology, structure, floor layout
| Seam separation | Separation by component |
| Section model | Separation by program |
| Straight cut | Separation by structure |
| Aligners |
Splitting at a seam
STRAIGHT CUT
The easiest way to split a model is with a straight cut.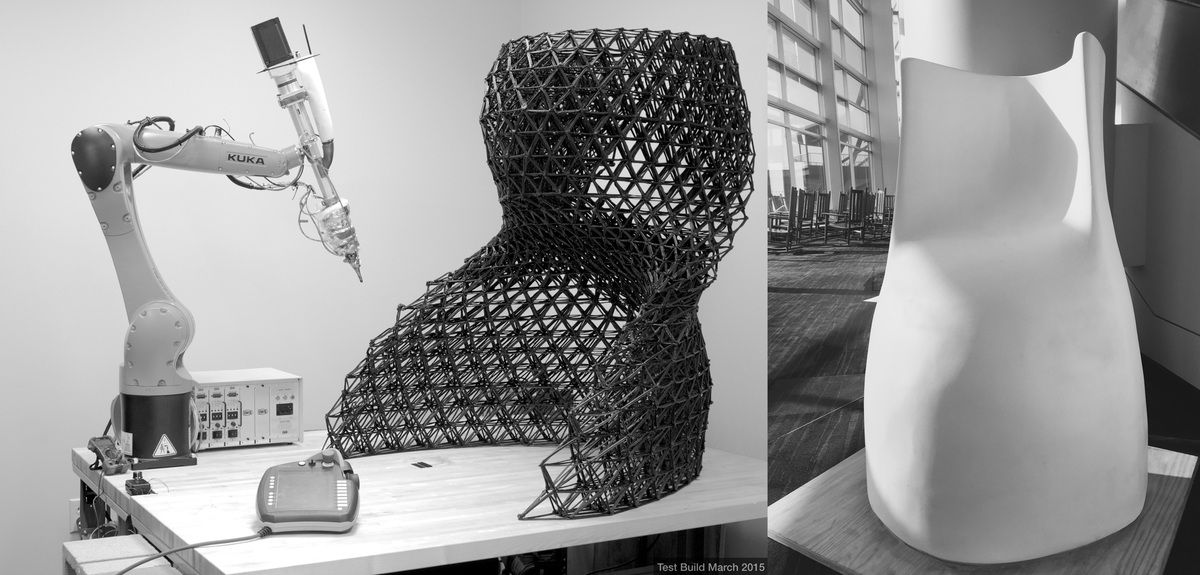 This is a simple command to execute in most CAD software. The bridge model is divided lengthwise using straight cuts into four parts, one of which is shown above. Each support post is inserted into
mating hole that does not require glue. Regardless of which method you choose, if you have a large number of parts (more than 10), it can be helpful to add a unique identifier for each part to help solve the puzzle during assembly.
Pros:
- Least heavy use of CAD
- Greater tolerance for prints that warp or have a higher degree of dimensional change
Cons:
- Assembly requires manually leveling each piece and fixing it in place until the adhesive is fully bonded
Try to print all components in the same orientation so that the layer lines and subsequent dimensional inaccuracies follow the same pattern.
ALIGNMENT TOOLS
Another approach is to add features to the design that will allow the prints to align. When adding mate fixtures, try to subdivide the model in areas with the least complex geometry. Use the CAD tool of your choice to split your model and add basic alignment fixtures such as slots, pins, grooves, recesses and flanges, or more complex fixtures such as dovetails and cuts that follow existing model curves. In addition, it is important to create a design with ~0.25 mm tolerance between mating parts to prevent additional sanding at the post-printing stage.
Pros:
- Easy alignment Parts that are not accurate
- Easy to assemble (mating parts help create more surface area for adhesion)
- High precision SLA allows tight fit with high tolerance and can be used without adhesive
Cons:
- Parts that are not true to size will not fit well. High fine details are often less accurate.
SECTION MODEL
The separation of the model with a seam has the additional task of showing the section model for structures with irresistible interior details.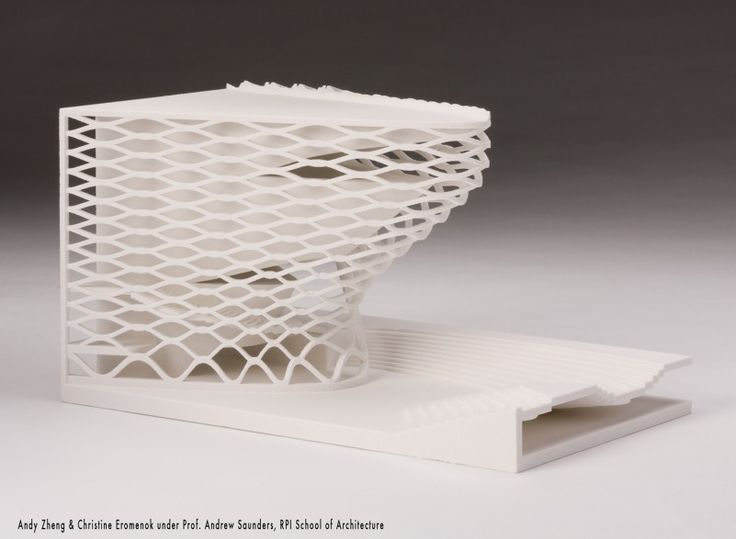 Initially, the model can be presented as a whole to the client, and then disassembled to reveal interior details as desired. These LaneyLA examples show how the same model conveys different types of information based on open and closed configurations
This model from LaneyLA was printed on a White Resin Form 2.
Using devices for combining: Methods component
SOFTWARE SPLIT
By breaking down a building with software, you can represent the building as a set of parts, providing a clear understanding of all design components without a plan and section drawings. You can print each floor slab separately and then assemble using mates, or just print one component of the entire building separately from the rest. A good example is the model from Stanley Sitetowitz | Natoma Architects Inc (SSNAI), who used the Form 2 to model the residential complex.
Model by Stanley Sitetowitz | Natoma Architects Inc.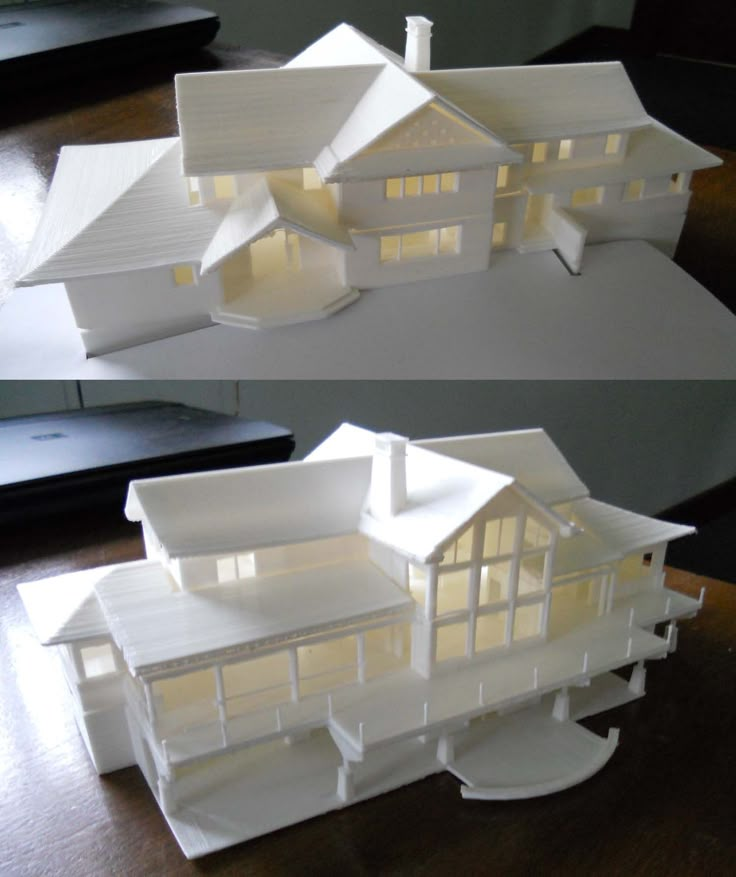
Since each body block followed the same pattern, it makes sense to simply print one detachable block that will allow the customer to understand the typology of the typical device
to print as a single block or separate along the seam.
This method usually works for models that do not have straight lines, such as typical building blocks, but complex structures, such as detailed building sections, bridges, pavilions, or airports.
First, break these models down into components that can be 3D printed with minimal supports. This saves post-processing time (removing supports for delicate models can be tedious) and reduces material costs and print times.
This bridge example demonstrates multiple partitioning methods. First, the model is divided into several parts (Figure a). While they fit the
Form 2 build platform, they require painstaking removal of supports around more delicate areas such as cables and railings.
To solve this problem, each part is broken down into three sub-components: base plate and railing, vertical tensile cables, and solar panels on top (figure b). They can be printed with significantly fewer supports, making it easier to finish,
Once completed, the components simply need to be assembled using the alignment functions that were included in the design phase. Smaller parts are also easier to place on a single build platform, with the entire bridge being printed from five 100ml parts.
Model from T.Y. Lin Architects
This site model was created using laser-cut fiberboard. The primary building was 3D printed from clear and white resin. Model by Schwarz Silver Architects
Materials
Materials play an important role in conveying the basic design concept. It is not always necessary to model the exact color and texture of a material, but it can help separate different materials. Dividing a model into its components allows for the display of materiality, as parts can be printed in different materials or individually dyed in different colors.
The transparent façade is illuminated from within, simulating the visual conditions of this site at night.
Formlabs Matte Resins
Black, White and Gray out of the printer have a smooth, opaque finish and provide an excellent neutral palette for architectural models. Gray and white resins are also easy to process and can be finished with just a few coats of paint, as discussed further in the finishing section of this document.
Formlabs Clear Resin is excellent for printing features that mimic translucent materials. If your model requires more transparency, you can simply dip the printed part in clear resin and let it dry evenly, as described in this article on making clear resin parts. You can also spray any clear coats on the model to increase the transparency and glossiness of the surface.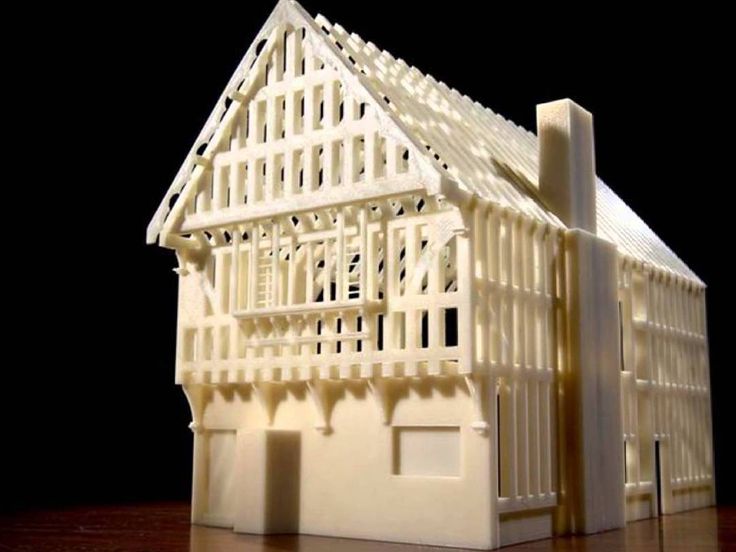
3D PRINTING AND TRADITIONAL MATERIALS
This model uses the Form 2 to print very fine details such as the cornice, clock and railing. Model by Miles Burke Architectural Models Inc.
Instead of 3D printing an entire building, sometimes it's better to print only complex components. Complex facades, slings and cornice details are excellent candidates for SLA 3D printing. Flat walls, floor slabs and topography can be laser cut or even hand-drawn
This complex façade is parametrically designed from solar trajectory analysis and would be incredibly difficult to fabricate in any other way at this scale.
Software Workflow
Good printing comes from a well-designed 3D model. This section will cover modeling best practices and workflows for printing in some of the most common CAD environments:
Revit, SketchUp and Rhino
CAD software is typically the bottleneck in the transition from drawing to 3D printed model
General workflows
IMZ workflow
904 IMZ workflow
904 Diagnosis PreForm
Although BIM (Building Information Model) software is popular with architecture firms, it is not always used for direct 3D printing models.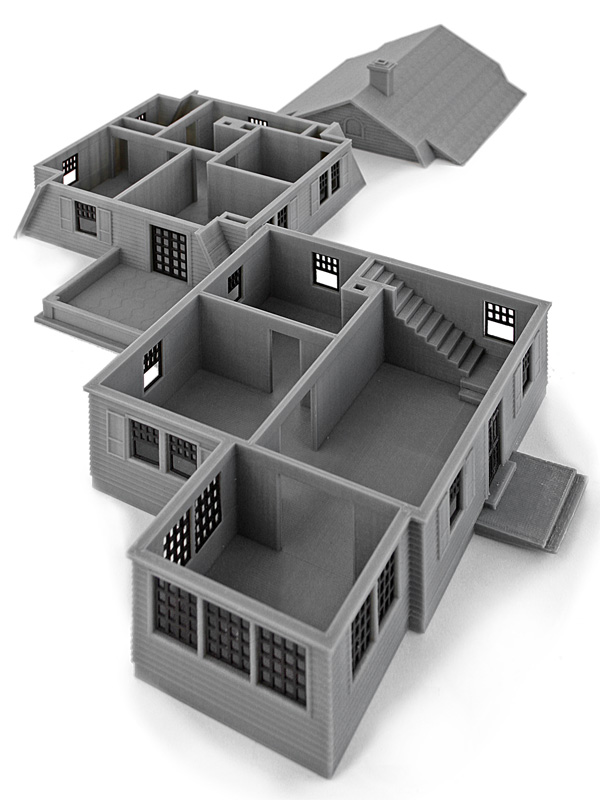 There are some high level steps that you can take
take to create a 3D printed model from these programs. This workflow is widely applied to Autodesk Revit or Graphisoft ArchiCAD software, both of which are IMZ parametric modeling programs.
PREPARE THE FILE
STEP 1: Prepare a separate stand-alone file
STEP 2: Manage components: remove ducts, double glazing, HVAC units and internal parts that will not be visible in model
STEP 3: Select all components to be sealed (eg doors, windows, walls, slabs). The parametric nature of the model allows you to simultaneously compact the dimensions of several objects.
EXPORT FILE
Select the scale at which you want to export the file. Select the export options depending on the needs of your model:
EXPORT AS STL
Exporting the file as a mesh is very difficult to manipulate, so this is only useful if you don't want to edit any geometry after this step. You can then use your software to correct the mesh of your choice, as well as subdivide the mesh along the main Cartesian planes.
EXPORT AS 3D DWG
Export as surfaces allows you to easily manage and edit geometry in Rhino or SketchUp. This step is recommended for those who want to split the model programmatically or by component, or split by a seam that is not on the normal Cartesian plane. You can then export the STL file from Rhino or from SketchUp using the plug-in
EXPORT USING ARCHICAD
Perform a geometry transformation to Morphs and a "consistency check" before exporting the model as STL. When printing in parts, use tool
"Divide" to cut the model for multiple print platforms if needed. This operation basically creates printable files, but a quick check in mesh repair/analysis software never hurts.
USING STL REVIT EXPORTER
This method automatically removes smaller details such as doorknobs and railings.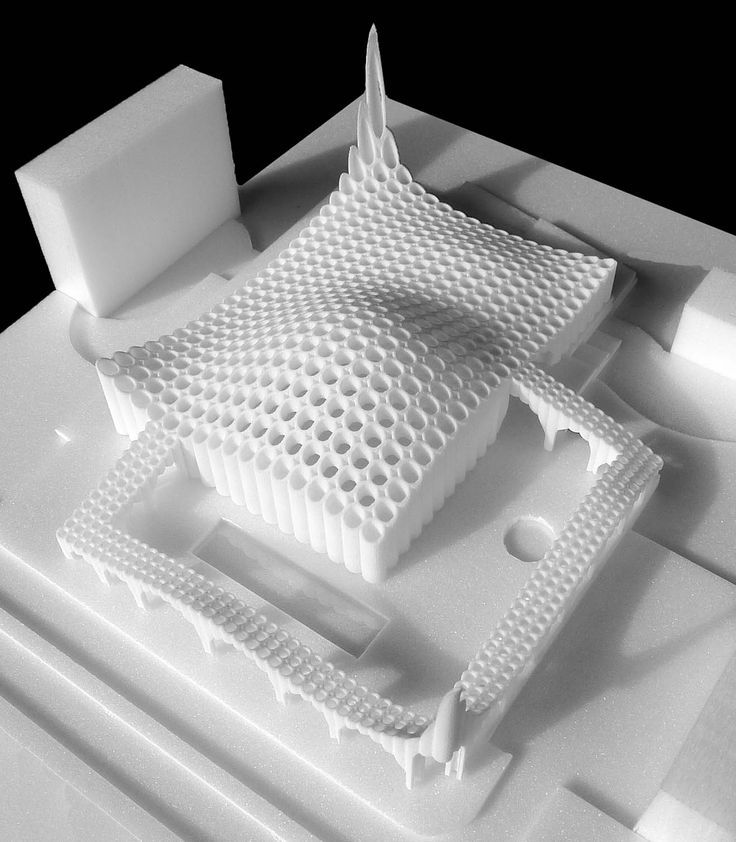 However, it is not reliable and still often requires some post-processing in other CAD environments before being sent to print.
Surface Modeling Workflow
AutoCAD → Rhino/SketchUp → Model Diagnostics → PreForm
This workflow is often an easier approach and starts with 2D drawings solely for the purpose of 3D printing
FILE PREPARE
STEP 1: Hide unwanted layers
STEP 2: Identify and remove unwanted elements such as furniture, trees, etc.
EXPORT FILE
STEP 1: Export the simplified drawing from Rhino as DWG
STEP 2: Import into Rhino
STEP 4: Start extruding and trimming until you get the outer shell.
STEP 5: Export as STL STEP 6: Mesh Analysis/Correction STEP 7: Import to PreForm
Note: If the model will be printed in several parts, split it before exporting as STL
THICKNESS WITH RHINO
Instead of parametrically controlling the thickness of components directly in the BIM file, you can also use the BoxEdit component in Rhino.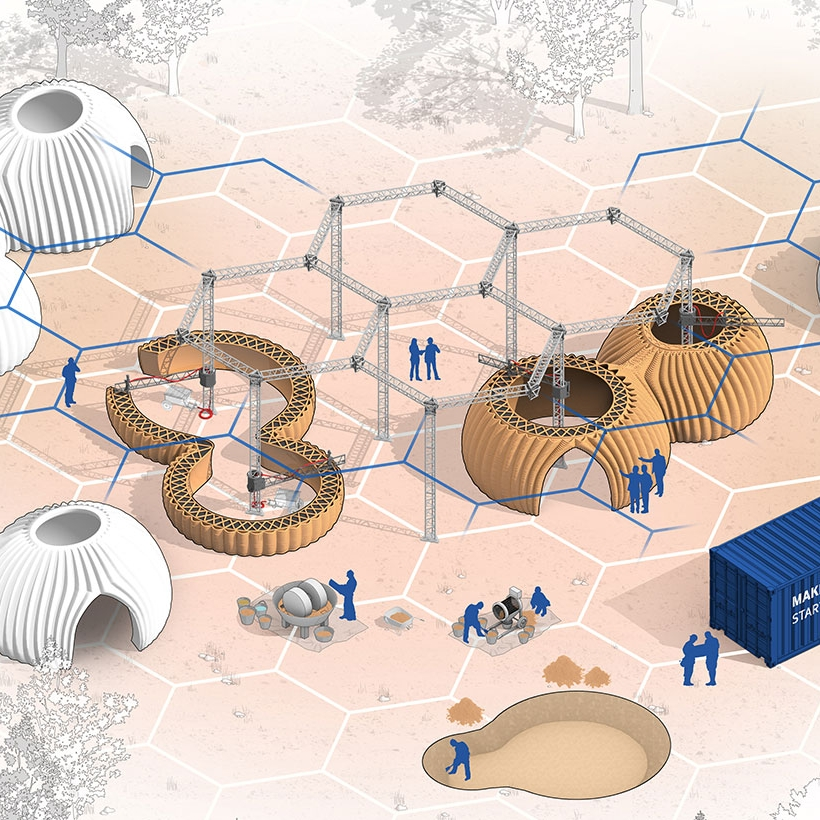
This allows you to simultaneously scale a number of elements in relation to their center lines. BoxEdit is ideal for models that need to be scaled parallel to three Cartesian axes. Non-uniform scaling is a little trickier.
For non-rectilinear geometries, we suggest converting the part to a mesh and then using the Weaverbird thicken command, which simply offsets any non-standard mesh geometry outward by a given distance. Alternatively, it is possible to "split" complex parts into surfaces and then offset them instead of importing volumes from Revit.
SELECTING SMALL GEOMETRIES WITH RHINO
Another valuable Rhino feature is the SelSmall command, which allows you to select all elements in the Stage that are smaller than a custom bounding box. You can then select those objects and use
BoxEdit for individual scaling or just remove them. This is useful when you are dealing with a file that does not have a well organized layer system.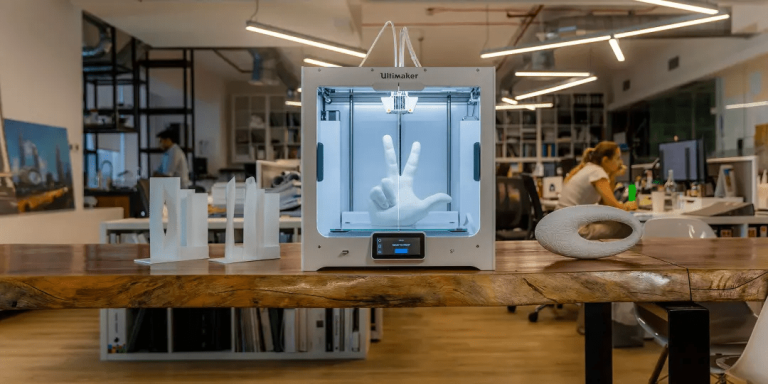
Although performing a logical connection on all geometries is ideal, often the problem can be solved with simple overlapping geometries. PreForm will interpret them as one closed geometry in most cases, but be sure to check printability with the "slicer" tool in the right pane in PreForm
. CONTINUOUS / LOGICAL JOINT GEOMETRY
Note : PreForm is Formlabs free software that prepares your 3D model for printing in Form 2. Once the part is set up, you can save it as a FORM file for future use in preform.
COMPUTATION WORKFLOW
Although a less common workflow, computational design is slowly being introduced into mainstream architectural workflows. Software such as Grasshopper and Dynamo are used to create parametrically generated geometries that are often so complex that they can only be created with 3D printing.
Since geometries are already easy to manipulate, it's usually best to create a separate component that allows you to easily control the basic dimensions of all thin objects.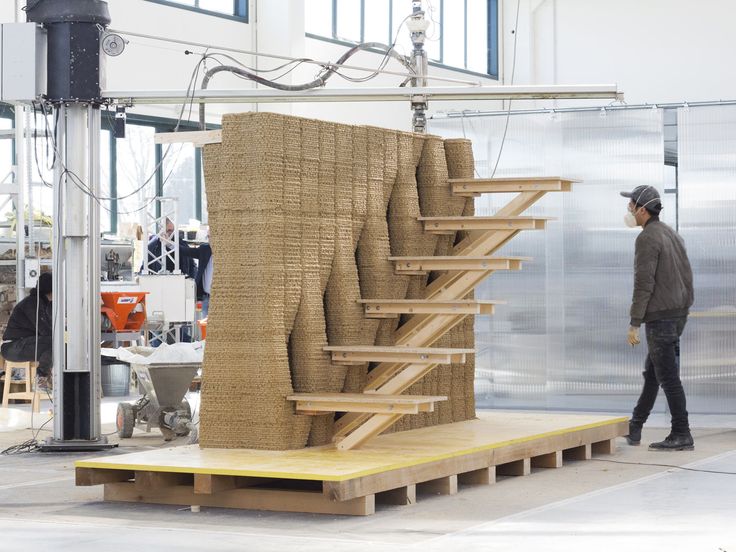 In this case, it's a simple matter of trial and error; running the exported geometries with a print test (PreForm,
MeshMixer) and resizing until you arrive at a printable file.
Model Diagnosis
All workflows described below share a potential "generic diagnosis". This is an optional (but often necessary) step to ensure that the model is fully printable. Free programs such as Autodesk's MeshMixer and Netfabb are tools that allow you to repair, smooth, cavity, and split 3D print files.
MESH FIX
Formlabs PreForm software uses Netfabb's built-in mesh fix, so NetFabb and MeshMixer must be used for custom fix or to preview problem spots in print. Materialize Magics is a great proprietary tool that covers the entire preprint workflow for a wide range of printer types. The mesh patching software part is most important to the Form 2 print workflow and can save you a decent amount of preparation time. Netfabb has a beautiful built-in model cutter that allows you to effectively split and restore large files along any Cartesian plane.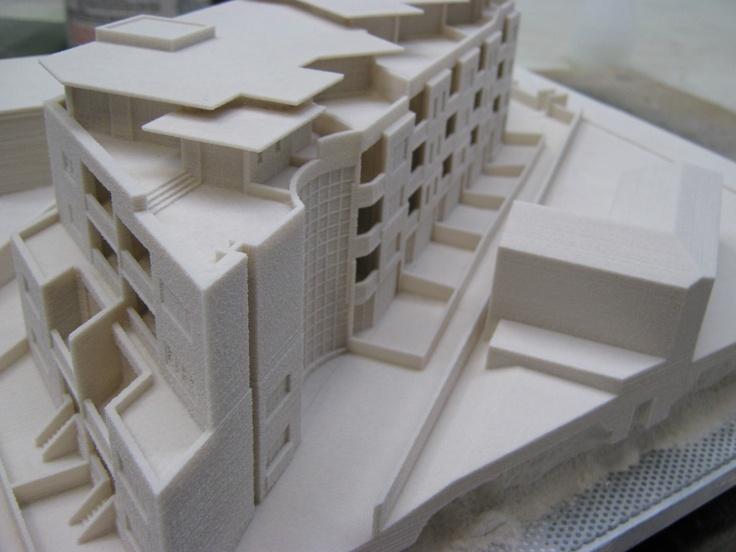
SPLITTING THE MODEL
It is also possible to split the model in NetFabb, which splits and fixes the split parts into printable volumes. In Rhino, you will need to close open volumes. Be sure to leave a tolerance of ~0.25mm between adjacent parts, this will allow them to be inserted without friction.
See our white paper for tolerances.
PREFORM SLICER
Architectural models are highly detailed and it is often difficult to isolate each print issue. A combination of the above practices and mesh repair software is usually used for almost all problems, but it's always wise to use the PreForm Slicer tool to make sure there are no thin unsupported areas and enclosed volumes (such as rooms with no doors, elevator shafts, and parking spaces) .
“Building and architecture structures are not meant to be 3D printed, they are meant to be built. This creates problems of scale and complex geometry. By combining Netfabb's powerful mesh repair tools with the precision of the Form 2, you can prototype and visualize designs faster and in more detail, benefiting more for your business and speeding up your project's design review process.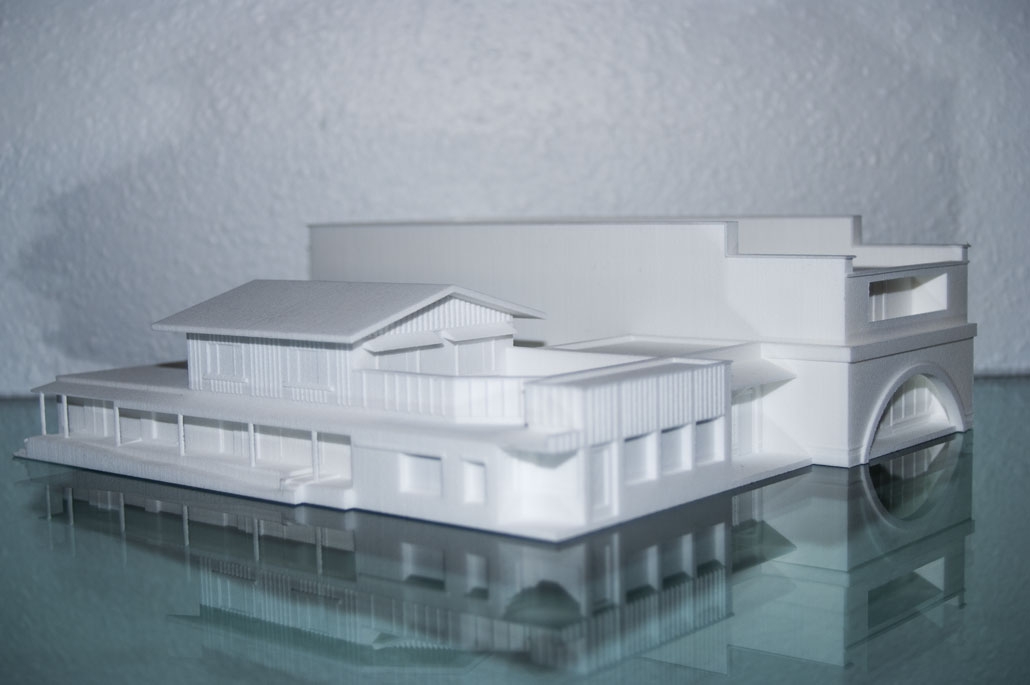 ”
”
Matt Lemay. Lead Enterprise Solutions Provider, Autodesk Customer Service
Post-Processing
Joining
The modeling strategy section of this booklet covers some ways of separating and aligning parts together, but glue is always needed for a secure connection. Architectural parts are bonded in two main ways:
CYANOACRYLATE
Cyanoacrylate (CA or Super Glue) creates a fast, strong enough bond, ideal for small to medium sized parts. CA does not bond dirty surfaces well, so be sure to thoroughly clean the part before applying adhesive to the surface of the model.
POLYMER
For smaller prints, you can use liquid resin as a binder. Dispense a small amount of resin into the tray from a bottle or cartridge, use a dropper or syringe to lift it up, and place it on the surface of the part to be bonded.
Join parts and wipe off any excess resin that may be spilling around the edges.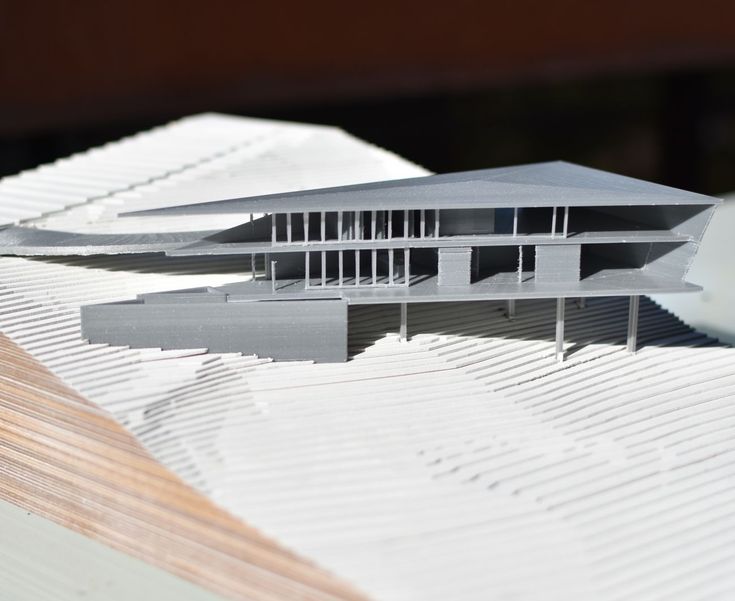 To cure the resin and bond the parts, use a 5 mW laser pen at 405 nm and point it at the bonding area around the parts.
This method creates a chemical bond, just as if the part had been printed on your SLA 3D printer, but only applies to small bonding surfaces because a low power laser pen cannot penetrate the model deep enough to create a strong bond .
FINISHING
Parts printed on Form 2, especially matte standard resins, have a smooth surface immediately after exiting the printer. However, visible areas with supports almost always require sanding. In addition, you can prime and paint parts in any desired color.
GRINDING
Sanding will help you remove the support marks and any remaining inaccuracies from your model. Start by carefully dry sanding the surface of the part using ~150 grit sandpaper to remove large support marks and smooth out the edges of the joint. Once the surface of the part is smooth, wet sand with 320mm sandpaper to remove any remaining layer lines.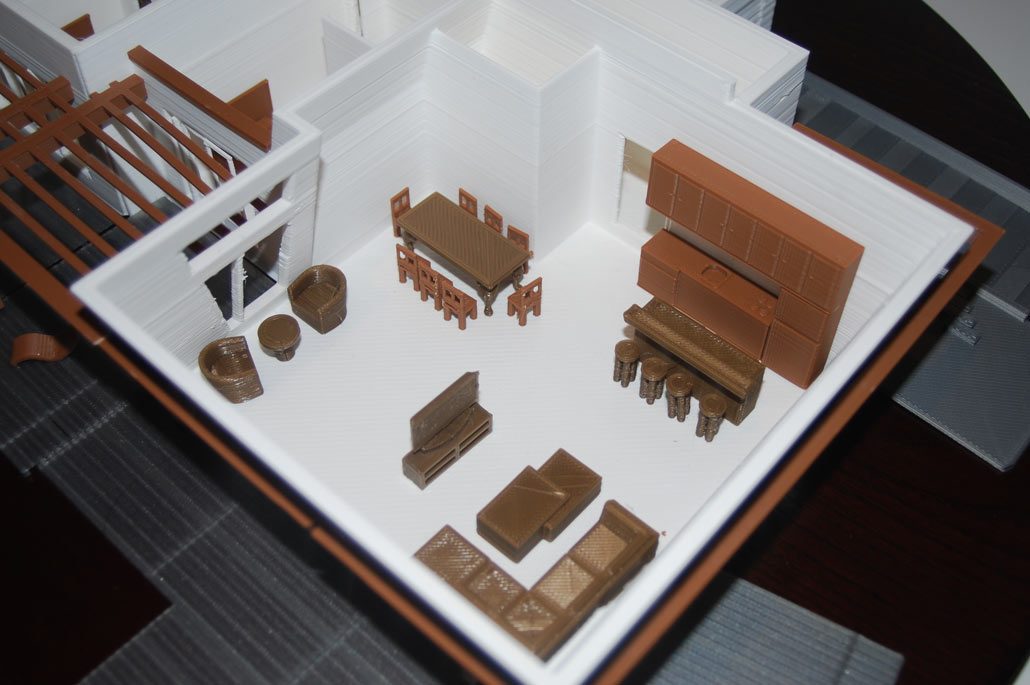 Move the sandpaper randomly to avoid grain formation.
In most cases these two steps will create a fairly even finish, but you can continue to increase the grit size of the sanding paper by a factor of 2 and use wet sanding on the entire piece until the surface is the desired smoothness.
Once you have finished sanding your model, wash the model in soapy water to remove any dust or debris and dry thoroughly before proceeding to the last step.
The architectural models are very detailed and it is quite difficult to access certain areas with only sandpaper. You can use different sizes of nail files to get to problem areas of the model.
PRIMER AND PAINTING
Priming is required before parts are painted to ensure the paint adheres to the surface. Priming can also make it easier to find areas that require additional finishing. A quick spray of primer over the model makes the support marks very visible, so you can instantly identify areas that need additional sanding.


