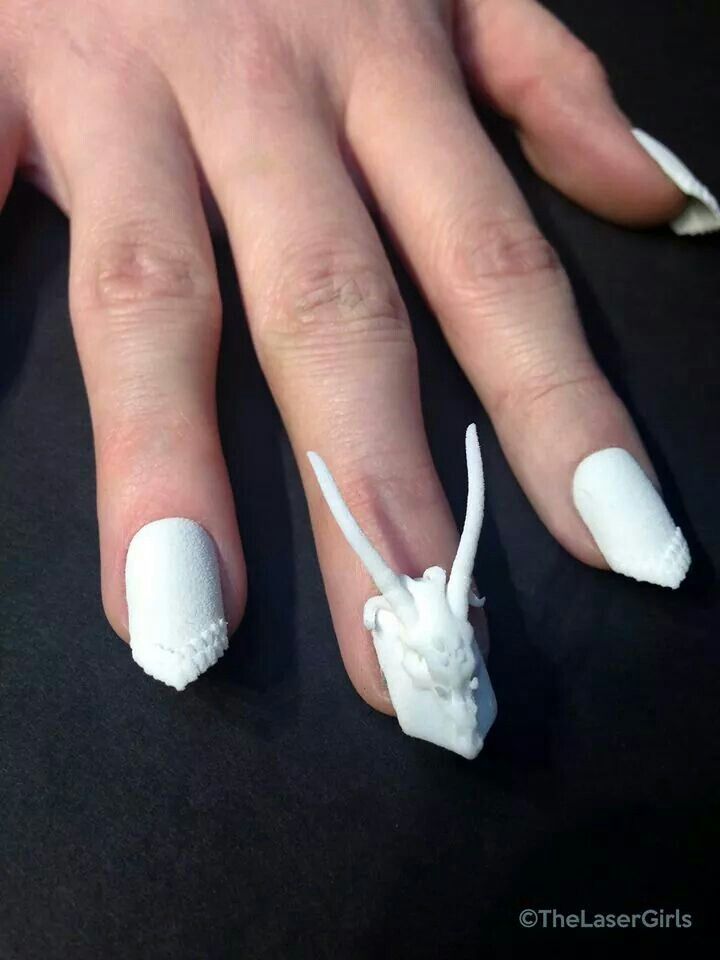
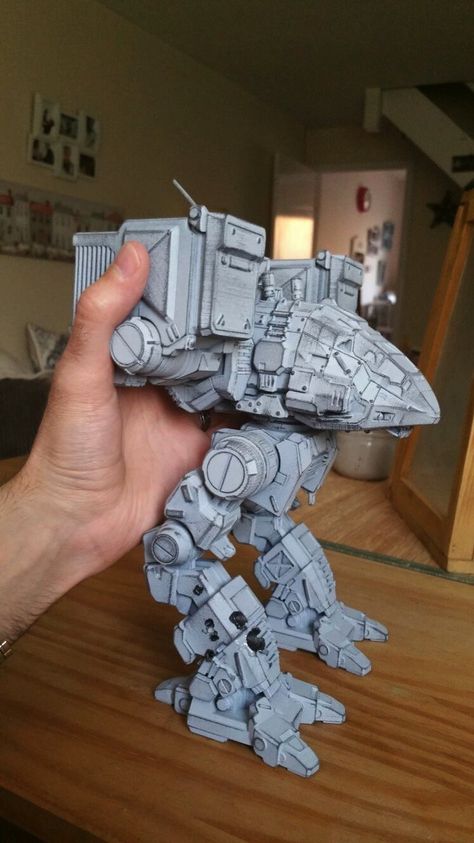
3D printing uv sensitive resin
3D Printing Resin for LCD/ DLP/ SLA 3D Printer – ANYCUBIC 3D Printing
3D Printing Resin for LCD/ DLP/ SLA 3D Printer | Anycubic Eco-friendly Resin – ANYCUBIC 3D Printing Skip to contentSort SortFeaturedBest sellingAlphabetically, A-ZAlphabetically, Z-APrice, low to highPrice, high to lowDate, old to newDate, new to old
- [Christmas Sale!] Mystery Box🎁
- Colored UV Resin
- Plant-based UV Resin
- UV Tough Resin
- DLP Craftsman Resin
- Water-Wash Resin+
- Standard Resin+
- ABS-Like Resin+
- ABS-Like Resin Pro
Save $18
Quick view
{Get 3 for the price of 2} Colored UV Resin 3-6KG Package
ANYCUBIC
Regular price $97.00 Sale price from $79. 00
Save $31
Quick view
{Get 3 for the price of 2} Anycubic Plant-based UV Resin 3-6KG Package
ANYCUBIC
Regular price $110.00 Sale price from $79.00
Save $38
Quick view
{Get 3 for the price of 2} Anycubic Standard Resin+ 1.5KG
ANYCUBIC
Regular price $76.00 Sale price from $38.00
Save $1
Quick view
Anycubic Standard Resin+ Package
ANYCUBIC
Regular price $36.00 Sale price from $35.00
Save $19
Quick view
Anycubic Water-Wash Resin+ Package
ANYCUBIC
Regular price $78.00 Sale price from $59.00
Save $60
Quick view
Anycubic UV Tough Resin Package
ANYCUBIC
Regular price $120.00 Sale price from $60.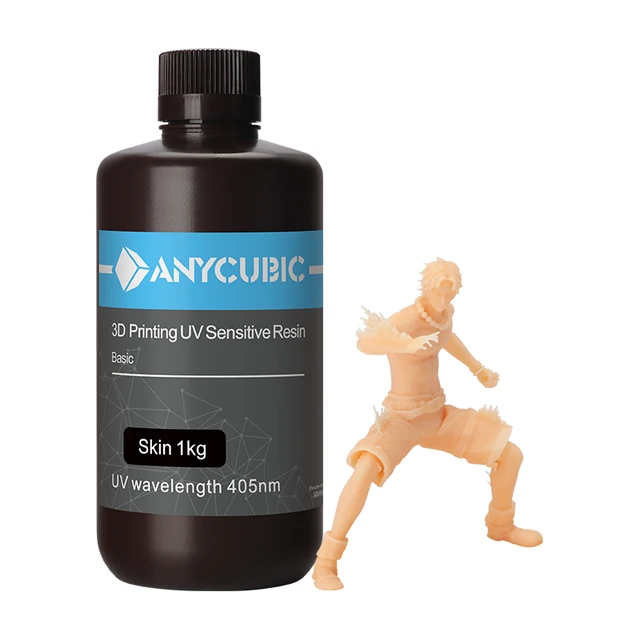 00
00
Save $3
Quick view
Anycubic DLP Craftsman Resin Package
ANYCUBIC
Regular price $43.00 Sale price from $40.00
Save $18
Quick view
Anycubic Plant-based UV Resin+ Package
ANYCUBIC
Regular price $78.00 Sale price from $60.00
Save $17
Quick view
Anycubic ABS-Like Resin+ Package
ANYCUBIC
Regular price $76.00 Sale price from $59.00
Save $35
Quick view
{Get 3 for the price of 2} Anycubic Water-Wash Resin+
ANYCUBIC
Regular price $70.00 Sale price from $35.00
Quick view
{Get 3 for the price of 2} Anycubic Standard Resin+
ANYCUBIC
$36.00
Save $32
Quick view
{Get 3 for the price of 2} Anycubic ABS-Like Resin+
ANYCUBIC
Regular price $66.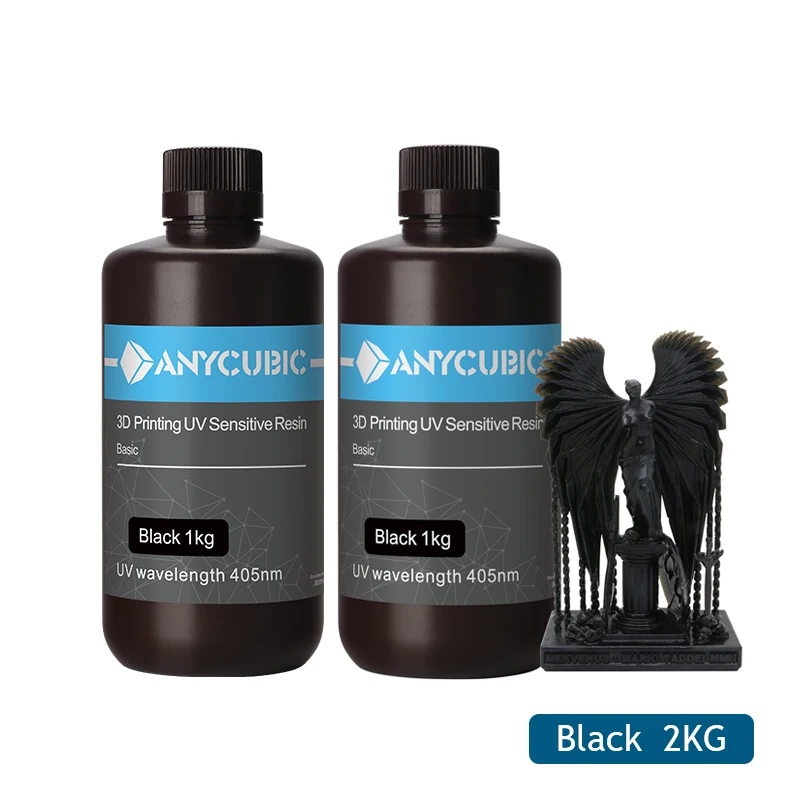 00 Sale price from $34.00
Save $42.99
Quick view
{Get 3 for the price of 2} Anycubic Plant-based UV Resin 1KG
ANYCUBIC
Regular price $69.99 Sale price from $27.00
Save $41.99
Quick view
{Get 3 for the price of 2} Colored UV Resin 1KG
ANYCUBIC
Regular price $68.99 Sale price from $27.00
Save $37
Quick view
{Get 3 for the price of 2} Anycubic Plant-based UV Resin+
ANYCUBIC
Regular price $74.00 Sale price from $37.00
Save $42
Quick view
{Get 3 for the price of 2} Anycubic ABS-Like Resin Pro
ANYCUBIC
Regular price $84.00 Sale price from $42.00
Quick view
{Get 3 for the price of 2} Translucent UV Resin
ANYCUBIC
from $27.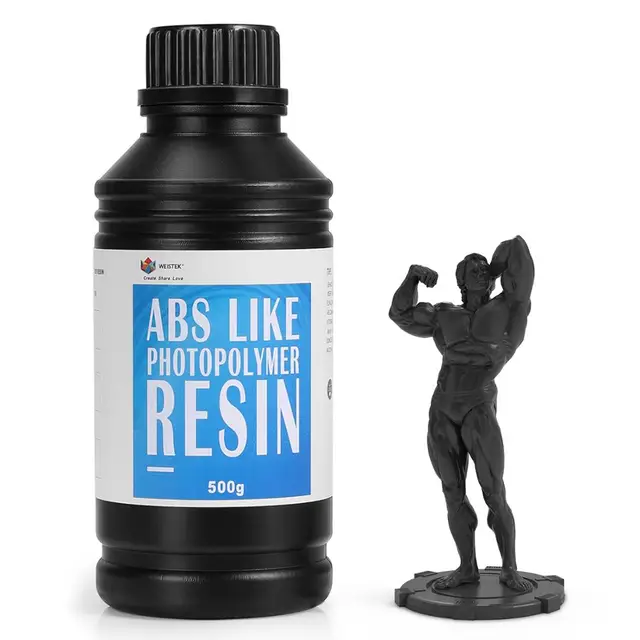 00
00
Quick view
{Get 2 for the price of 1} Anycubic UV Tough Resin
ANYCUBIC
from $60.00
Save $40
Quick view
{Get 3 for the price of 2} Anycubic DLP Craftsman Resin
ANYCUBIC
Regular price $80.00 Sale price from $40.00
Creality 3D Printer Resin, 405nm UV Curable with Rapid Curing, Grey 500g
Home Collections 3D Printer Resin 500ML, Black/Transparents/Flesh Colors LCD Standard Resin$ USD
$ USD
3 Reviews Pricing Not Include Tax
Ship From
United StatesCzech RepublicUnited Kingdom
Color
Black 500gFlesh 500gTransparent 500g
Ship to
It is expected to arrive within and will cost $ USD to ship
This item can't be shipped to this Country/Region
Bundles
Quantity
28 Available
Add To Cart Buy It Now
Continue To Shopping View Cart
Features of NEW Creality Rapid 3D Printer Liquid Resin
Rapid Curing: Creality Curable Resin is designed specifically for LCD 3D printers with a 405nm light source, allowing a faster curing time with 2-3 seconds per layer with most the Creality Resin Printers.
Great Toughness and Non-Brittle: Creality Curable Resin is also designed with good toughness to provide prints a better performance on brittleness. It’s less likely to break small features on a print.
Light Odor: Unlike other resin with pungent odors, Creality Curable Resin minimizes the bad smell.
Good Quality and Great detail: While Creality Curable resin has fast curing and great toughness, it is also maintaining good hardness to present a high resolution on the printed parts.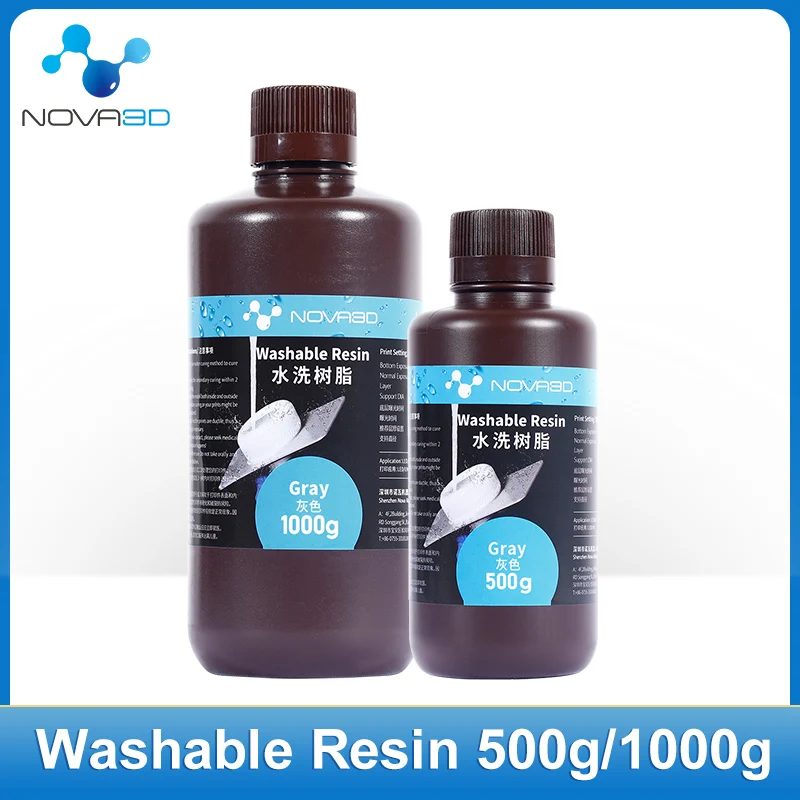 Small details can also be shown when using this tough resin with a good surface finish for easy painting.
Creality standard resin is a high adaptation UV curable resin for 3D printing suitable for mono/color screen and suitable for mass-produced products such as garage kid, teaching, toy design, handicraft design, industrial parts design, etc.
Frequently asked questions:
Q: Are the resins safe for human skin contact? Is the material biocompatible?
A: This 3D resin is not approved for use with food, drink, or medical application on the human body. Do not contact or drink the product. Please wear gloves and masks before using the product. Keep away from children and pregnant people.
Q: Any storage conditions to take note of for the completed print to ensure that it is safe / it will not break down? (e.g. temperature, UV light exposure...)
A: Please store below 25C, sensitive to visible light, general illumination visible light will initiate the polymerization reaction. Please also shake the bottle well before using the product.
Q: What are the cleaning steps to be taken for the finished product to ensure that it is completely cured and safe for skin contact?
A: TIt is recommended to remove the support for a model with supports first, and then post-cure treatment. If you remove the supports after it’s been post cured, it will easily cause damage to the contact surface of the support point; Please use 95% isopropanol or absolute ethanol. isopropanol to clean the product. Then use 405nm UV light to cure the washed model. A machine such as UW-02 Wash and Cure machine is recommended.
Q: How many colors does your product have?
A: presently we have Grey, Black, Transparents, Skin in stock now
Customer Reviews
Based on 3 reviews
100%
(3)
Write A Review
Ask A Question
Reviews (3) Questions (1)$ USD
$ USD
ADD TO CART BUY IT NOW
Write a review
Ask a Question
A short wiki with elements of a guide to LCD/mSLA 3D printing
Good afternoon, colleagues!
The text below is an attempt to briefly collect in one place everything that is known about 3D printing with photopolymer on 405nm LCD printers.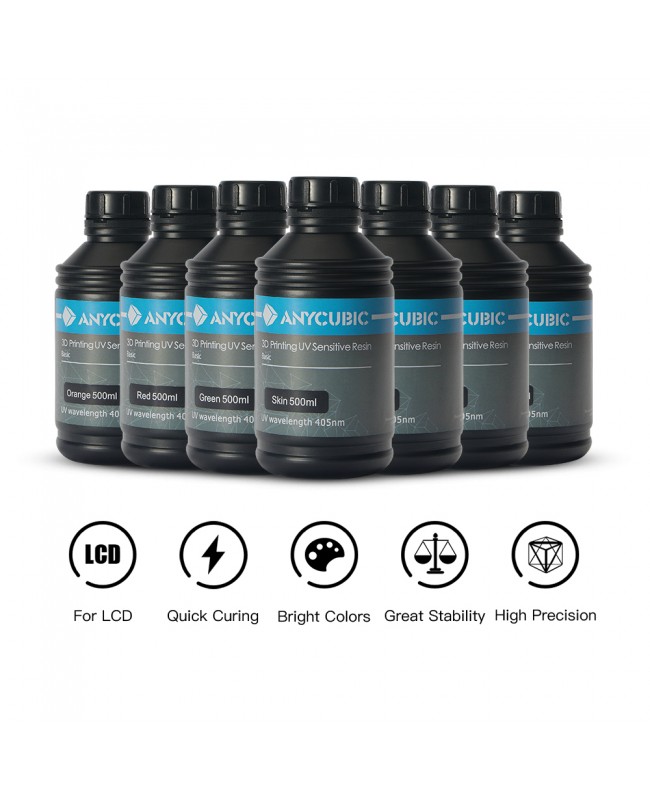
The famous series "... for stupid", "... for idiots", "... for dummies" are certainly far away - but 3D printing is not designed for dummies, idiots and "dummies" - even in the case of an LCD printer, it is technological equipment that requires a technological approach. nine0003
Next will be "mnaga bukoff" - but decided not to divide into parts ...
Basics ).
Photopolymer is a complex liquid mixture based on acrylates or methacrylates that cures under the action of light. MSLA uses two types of photopolymers - "UV" under 405 nm illumination and "daylight". The word "UV" (UV) in this case is a marketing ploy, 405 nm is not ultraviolet, but the border of visible light. Hereinafter, the conversation will be exclusively about "UV" photopolymers and 405nm printing. nine0003
The photopolymer consists at least of a mixture of oligomers, active diluents and a photoinitiator (mixture of photoinitiators). The base is acrylates or methacrylates, often modified with epoxides or urethanes. Photopolymers of the "first wave" have a peak of reactivity in the UV spectrum, at 405 nm there is a "tail" of reactivity, many modern photopolymers have a reactivity peak shifted to 405 nm.
Illumination consists of 405nm LEDs. The choice of wave is associated with a compromise between the reactivity of photopolymers and the bandwidth of LCD matrices - matrices poorly transmit radiation shorter than 400 nm. nine0003
Matrix for printers
Illumination is carried out through the LCD matrix. In the first generations of printers, standard RGB matrices from smartphones / tablets with remote illumination were used, rarely projection matrices, now specialized mono matrices.
The main characteristics of matrices are diagonal size, resolution and pixel size. Now matrices are mainly used 2k (2560x1440 or 1600, 1620 pixels) and 4k (3840 x 2160 or 2400), 4k + (4920 x 2880) sizes 5.5, 6, 8.9, 10.1, 12, 13, 15.6 inches with a pixel size from 31 to 90 micrometers.
The matrix can be covered with protective glass from above.
Protective glass protects the image sensor from damage, but reduces print accuracy.
Illumination
Illuminated with 405nm LEDs underneath. Illumination can be carried out by different light schemes, the light must fall perpendicular to the surface of the matrix and evenly. If these two conditions are not met, the print quality deteriorates and various distortions occur. To date, the most advanced schemes are "paraled" and "creality halot". nine0003
Illumination accuracy
The matrix can provide illumination accuracy of 1 pixel only if the following conditions are met:
- light falls perpendicular to the matrix.
- there is a minimum distance between the matrix and the photopolymer, ideally there should be neither a protective glass nor an air gap.
In fact, illumination accuracy is always worse, and often very much worse.
Print Accuracy
In addition to illumination accuracy, print accuracy is affected by the characteristics of the photopolymer, in particular its accuracy and color. White and light photopolymers in most cases do not give an accuracy of 1 pixel. nine0003
Due to layering and pixel illumination, a characteristic pattern appears on the surface of the printed part - pixel moiré. Pixel moiré can be reduced by anti-aliasing (sub-pixel smoothing) and/or by using light inaccurate photopolymers and imperfect lighting schemes.
It should be remembered that the complete absence of layering and pixel moiré indicates low print accuracy, and if someone writes that he printed with amazingly accurate photopolymer, and as a result got smooth, accurate models without layering and pixel moiré, he is either an idiot or marketer. nine0003
Photopolymers shrink, which also worsens the accuracy of geometric dimensions.
Spurious flare
Increasing the XY dimension from the "ideal" case is called "spurious flare". It can be associated both with the imperfection of the light scheme or thick protective glass, and with the properties of the photopolymer.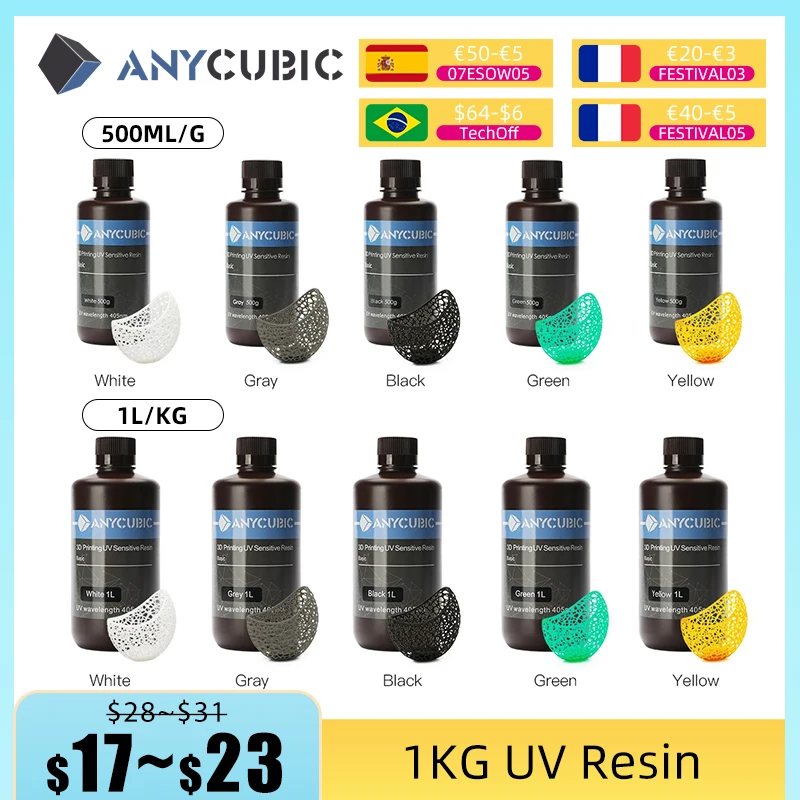 As a rule, with increasing exposure time, spurious illumination increases. Light resins always have increased XY flare due to light scattering. nine0003
Penetration of light to a depth greater than the thickness of the print layer is called parasitic illumination along the Z axis. Parasitic illumination along the Z axis is related to the optical properties of the photopolymer and the lower it is, the stronger it is colored and the more precisely the exposure time of the layer is set.
Bathtub
A bathtub with a transparent flexible bottom is placed on top of the LCD matrix. The bottom is made of a material that has low adhesion to the photopolymer - FEP film, fluoroplastic, etc. A photopolymer is poured into the bath. nine0003
Platform (table)
The printed part is formed on a platform (table) which is lowered into the bath.
Before printing, the stage must be calibrated - installed plane-parallel to the LCD-matrix with a minimum gap.
The table is made of a material with high adhesion to the photopolymer - steel, aluminum, glass can be used. Sometimes a coating is applied to the table that does not have good adhesion to photopolymers - it is better to clean it off with fine sandpaper. nine0003
The table must have a flat bottom plane, all bulges and deflections impair the adhesion of the first layer.
Moreover, the LCD panel must also be flat, without downward deflection.
Print layer formation.
The formation of the layer is as follows - the table is raised to the Z height, then lowered to the Z-thickness of the layer.
When the stage is lifted, forces associated with the separation of the part from the film are generated - the stronger, the larger the separation area and the higher the lifting speed. When lifting, the flexible bottom of the film bath bends and stretches upwards, and the lifting height Z must be greater than the stretching of the film upwards - otherwise the separation will not be complete and the part may break in height. When detached, you can hear a characteristic click or pop. nine0003
When lowering, there are forces associated with the need to extrude the photopolymer from under the model - the stronger, the greater the thickness of the model, the greater the viscosity of the polymer, the higher the lowering speed and the smaller the layer thickness.
Exposure time depending on the layer thickness
The exposure time of the photopolymer depends on its reactivity, illumination power, transparency of the LCD panel and layer thickness. Mono-panels are more transparent than RGB, the greater the layer thickness, the longer the layer exposure time (the dependence is non-linear, the difference in thin layers is almost imperceptible, and layers thicker than 150 ... 250 microns often simply cannot be illuminated on colored photopolymers). nine0003
Features of the first layer(s)
The first layer requires a longer exposure time than the others. Usually increase the illumination of not one, but the first 5-6 layers. The more carefully the platform is calibrated, the less the first layers are needed and the shorter the exposure time of the first layer.
If the exposure time of the first layer is insufficient or the number of first layers is insufficient, the part may not stick and print. If the time of the first layers is too long, the layers turn out to be too “smooth” and the main layers do not stick to them - the part delaminates during printing, in addition, when printing with highly colored photopolymers, they cannot be illuminated to a great depth - because of this, careless calibration or curvature of the table is often impossible fix the exposure time of the first layers. nine0003
Due to the longer exposure of the first layer, as well as due to the reflection from the metal table, the first layers are always wider than the main ones - something like an "elephant's foot". This is an unremovable feature of photopolymer printing and for printing "from the platform" the model should be made with a chamfer or with a ledge.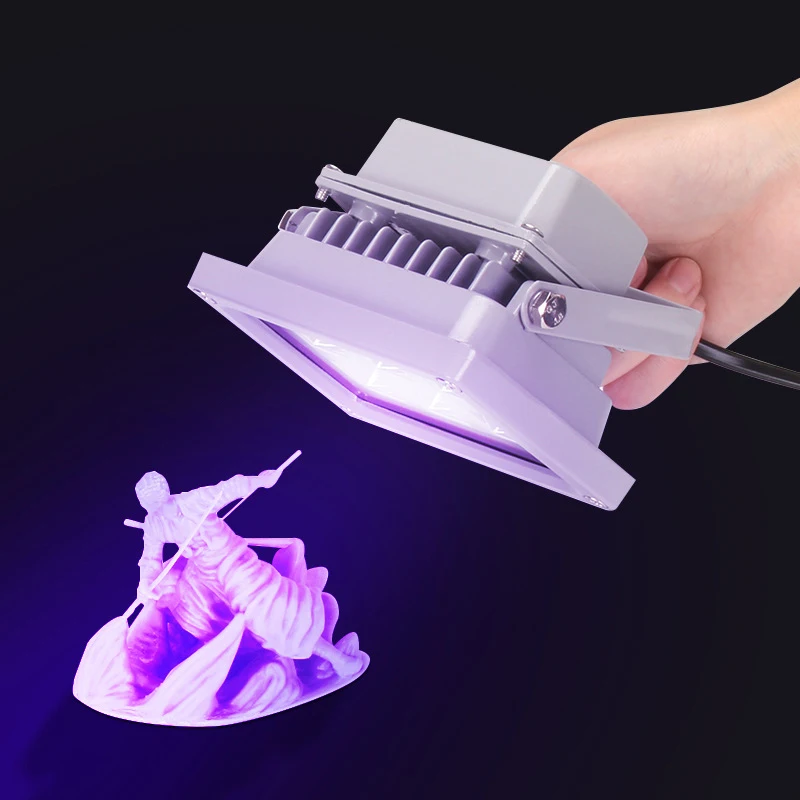
Duration of photopolymer storage
Photopolymer can be stored for a very long time (several years) in hermetically sealed opaque containers at room temperature; properties up to complete unsuitability for printing. Therefore, buying an expired photopolymer is playing the lottery, and you should not pay attention to comments like “I have had a photopolymer for 3 years and it prints like new” - it all depends on storage conditions. nine0003
Necessity of photopolymer mixing
During long-term storage, the photopolymer can delaminate; before use, the photopolymer that has been lying idle for a long time should be thoroughly mixed for 10 ... 20 minutes, and recently used - for at least a minute. If you store the photopolymer directly in the bath - before printing, the photopolymer must be placed with a finger (gloved) or a soft spatula for at least 1 minute.
Effect of ambient temperature on printing
Photopolymer reactivity and viscosity are highly dependent on temperature. When printing at an ambient temperature below 20 ° C, the photopolymer may simply not stick to the table if your printer is in a cold room or on a balcony - you need to warm up the photopolymer before printing (it is not necessary to insulate the printer itself - it will heat up the photopolymer in the bath during printing by itself).
High air temperatures during printing can also lead to unpredictable results as the photopolymer gets very hot during printing and needs to be cooled down. nine0003
During printing, the photopolymer heats up both due to the heat from the LCD panel, which is heated by the absorbed backlight radiation, and due to internal heat release - the polymerization process is exothermic.
Photopolymer level in the bath when printing
How much photopolymer to pour into the bath - there is no consensus, a layer of 1 ... be higher than the lifting height of the part so that the part does not come out of the photopolymer - this allows you to avoid air bubbles and water hammer in the layers when the table is lowered. nine0003
Slicers and model formats
3D model and slicer required for printing. Most slicers work with STL and OBJ model formats.
Slicer - a program for "slicing" models, which produces a print file as output. Different printers require different print files, they have only one thing in common - this is not g-code, but a compact file with slicing frames. The main extensions are zip, cws, cbddlp, cbt, pzh, wow, pws, photon, potons.
Some printers are able to "slice" stl|obj files directly "onboard" the motherboard, but it doesn't make much sense - slicing "onboard" takes much more time than on a normal computer. nine0003
The most versatile slicers are cheatbox (free) and lychee (paid). The remaining slicers are designed for a limited range of "their" printers. Which slicer to use - cheatbox or "your own" depends on many factors.
Speeds, lift height, exposure time, number of first layers, anti-aliasing in most printers are set by the slicer. Jerks and accelerations are either hard-coded in the firmware or configured by M-codes by sending a text file with the gcode extension for printing. nine0003
The cut print file can be viewed and edited in various programs, the coolest of which is Uvtools.
Printing Hollow Models
To save on photopolymer, it makes sense to print some models hollow. A hollow model can be made in special programs (for example, in a mesh mixer), but most modern slicers (including chitoobox) support the ability to convert a solid model into a hollow one. The wall thickness is usually sufficient 0.8 ... 2 mm. Be sure to make two holes for washing the model inside and draining the photopolymer. nine0003
Some slicers support printing a model with internal filling, but this has no practical value - just a tribute to FDM traditions.
Model and support placement
When slicing, it is important to correctly position the model and place the supports correctly.
There are a lot of ways and ideas on how to arrange models, the main thing to remember is that your own experience and common sense are more important here than other people's opinions.
When placing supports, it is important to remember:
The first - in the photopolymer printing of supports - not supports, but thrusts that work in tension and experience heavy loads. Therefore, there are never too many supports…
Secondly, the surface from the side of supports is always of poor quality, so important surfaces should be “on top”, and from below, more supports should be placed around the perimeter and on the lower edge.
And the third thing is to avoid suckers.
Everything else comes with experience.
The cheatbox slicer allows you to make support contact with the model in the form of a ball ("sphere") - a very useful feature that facilitates the process of removing supports. nine0003
Principles for choosing the layer exposure time
When printing, it is important to choose the right exposure time.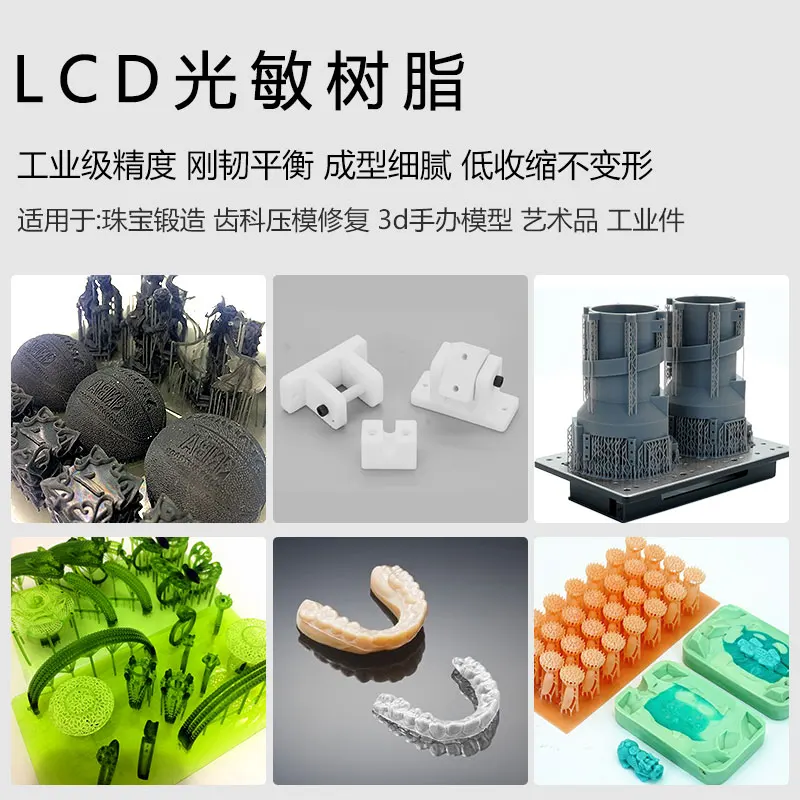 Most of the tables on the web and on the websites of manufacturers - give only an approximate time, because. different LEDs (or even with different operating time) even within the same series of printers can differ in luminosity, the same applies to the transparency of the matrices.
The shorter the exposure time, the less durable the exposed part is, including supports, which can lead to its tearing during printing. nine0003
The longer the exposure time, the stronger the parasitic illumination, the stronger the gaps swim and the thin ribs increase in thickness, but the detail and supports are stronger.
If the exposure time is increased beyond a certain limit, the layers will turn out too smooth, adhesion between layers will deteriorate and the part may break when printed.
Dry air and static electricity
Dry air is very important when printing. Dry air builds up static electricity that can cause print failures, flash drive read failures, and even damage to the flash drive. During the heating season, it makes sense to put a wet rag next to the printer or humidify the air with a humidifier. nine0003
About rinsing
After printing is complete, allow the resin to drip off the platform and part, separate the part from the platform with a sharp knife or spatula, and wash the part.
Parts are washed in isopropyl alcohol (water washable photopolymers in water). It is possible to use other mixtures - vodka, ethyl alcohol, a mixture of water with acetone. Almost any photopolymer can be washed with water with surfactants - both with special products, such as Hardlight Cleaner, and with various effective household compounds - Fairy, Doctor Peper, etc. nine0003
It is advisable to use only pure alcohol and several changes of alcohol. After washing, alcohol can be partially restored by exposing it to the sun and waiting for the illuminated photopolymer to fall out.
Rinsing can be done manually, in special baths with agitators or in ultrasonic baths. The accuracy and sharpness of printing depend on the degree of washing intensity - an ultrasonic bath washes everything and everywhere, and it is very difficult to manually wash the photopolymer from long holes or narrow slits. nine0003
Some photopolymers (usually high strength, tof or flex) retain a residual tack after washing. It can be removed after exposure by repeated washing in acetone or 646 thinner for a few seconds. It is also possible to remove by filling (coating) with coconut oil for 2-3 days, followed by washing with water with an energetic surfactant.
About re-illumination
After cleaning, the part must be re-illuminated.
The duration of additional illumination depends on the goals and objectives - 5 ... 10 minutes of 365-405 nm lamps are enough to fix the surface, at least 2 hours of the spectrum of 400 ... 450 nm are required for polymerization to the maximum depth. nine0003
For additional illumination, you can use ordinary nail service lamps or various devices, both home-made and purchased.
The best way to illuminate is sunlight, but it is not available to everyone and is not always available.
Illumination is preferably carried out at a temperature of 50°C to improve the mechanical properties. If backlighting is performed at a lower temperature, then the printed parts after backlighting can be heated to a temperature of 50 ° C with an exposure of at least 30 minutes to improve mechanical properties. nine0003
A little about removing supports
Supports need to be removed. When to remove support - there is no consensus. They can be removed before washing, so that they do not interfere with washing (dirty!!!), after washing before backlighting, after backlighting. Supports are removed with sharp side cutters, nail files, a sharp knife or scalpel. With some training, supports can be removed by breaking off, especially if the place of contact between the support and the model is a ball (such supports are formed only by a chitoobox, if the place of contact is not a ball, then when breaking off, it is quite possible to get a hole on the model).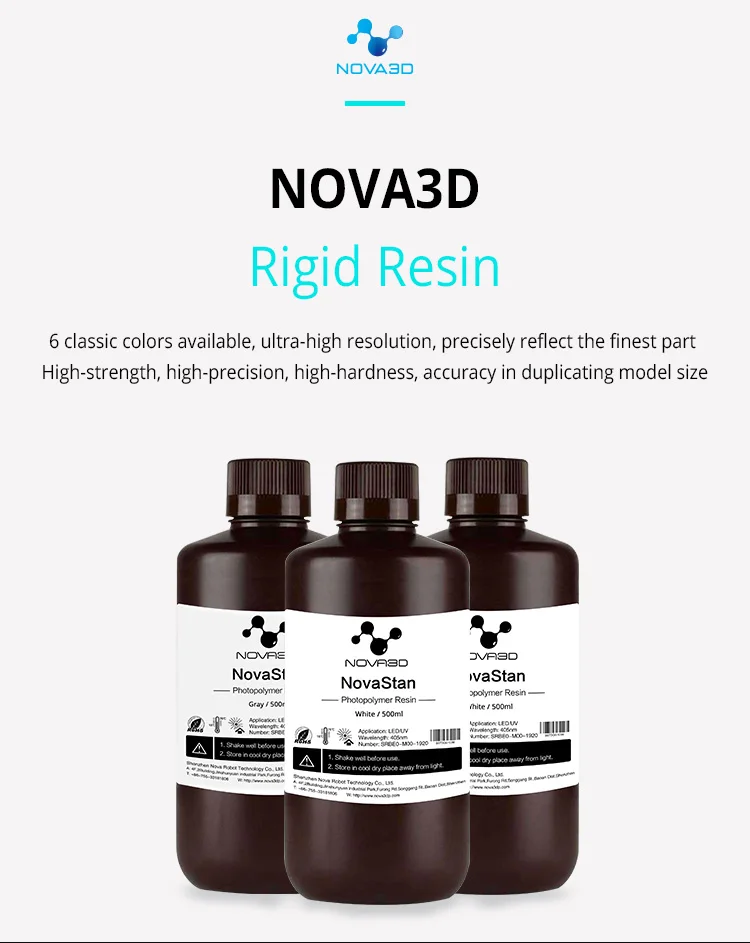 nine0003
Photopolymer shrinkage
After photopolymerization, the photopolymer shrinks in volume.
Photopolymer shrinkage occurs in three stages:
layer-by-layer formation.
2) with additional illumination - unevenly - maximum from the side with more intense illumination.
3) after pre-exposure - within about a week - evenly along all axes
Shrinkage during pre-lighting can cause distortion of parts, so it is important to pre-light evenly from all sides, or fix the part so that it does not “behave”. nine0003
After three stages of shrinkage, shrinkage in XY is greater than in Z, shrinkage unevenness can lead to distortion of the geometric shape of the models.
Photopolymer types.
There is no generally accepted typology of photopolymers, and what may be called “nylon” for some “hardflex”, nevertheless, the following groups of photopolymers can be distinguished … can be of any quality and mechanical properties
- eco-friendly - made with a claim to the environment, but just as harmful as the usual ones.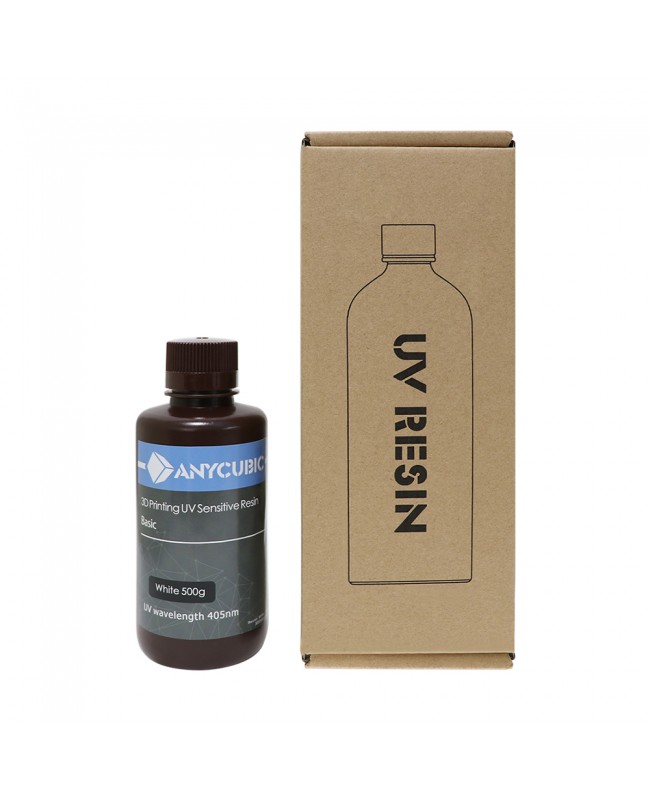
- water washable - water washable photopolymer, does not require alcohol
- ABS, xABS, zABS, ABS-alike, industrial ABS with ABS does not have
- Tough ("toph") - "resistant" photopolymers. Rigid-elastic, “indestructible”, in properties they resemble polyurethanes or very hard rubber, they differ from flexes by pronounced elasticity. nine0003
- hard Tought, high tought - high-strength, non-brittle photopolymers. They are distinguished by high strength, rigidity and allow relatively large elastic deformations.
- dental photopolymers - a separate group of photopolymers with its own classification. Designed for printing temporary crowns, demonstration models, surgical templates, etc.
- flexes, elastics - flexible, "indestructible" photopolymers, similar in properties to polyurethanes or rubber, differ from "toph" in the absence of pronounced elasticity.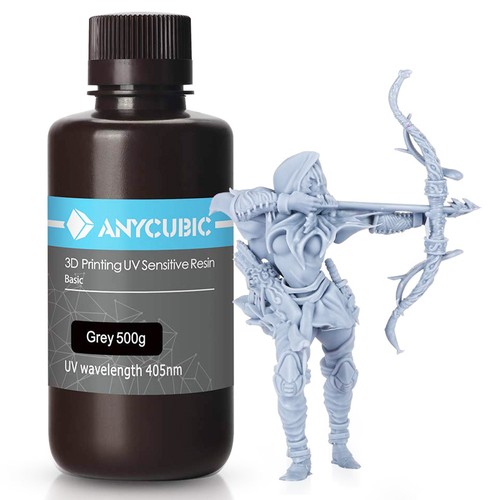 nine0003
- hard, stown, firm - very hard and brittle photopolymers
- model - also an incomprehensible type of photopolymers, usually of increased accuracy, can be very different in mechanical properties
coloring. Light photopolymers are less accurate, colored in yellow, red, black colors are more accurate. Photopolymers can be dyed independently - with special pigment pastes for photopolymers, pastes (dyes) for UV enamels, alcohol-soluble dyes, ballpoint pen paste, fine powder dry pigments (no more than 10 microns), special Palizh pigment pastes of the Polymer-O series etc. Dyes are evenly distributed over the photopolymer and do not precipitate, pigments are more difficult to distribute, coarse grinding pigments can settle, white pigment "titanium oxide" always precipitates, even very fine grinding. nine0003
Dyes give transparent colors, pigments - translucent, opaque "deaf" colors can only be obtained by adding titanium oxide.
Dyes may fade in strong light, most pigments do not fade.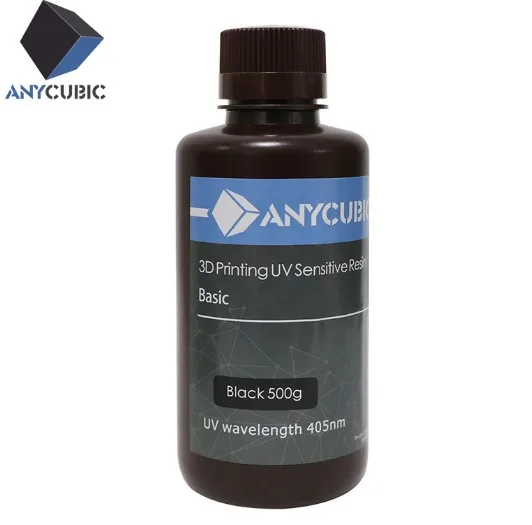
The addition of dyes and pigments reduces the reactivity of the photopolymer and requires an increase in the exposure time of the layer when printing.
Photopolymer blending
Most photopolymers are compatible with each other and can be mixed. nine0003
It makes sense to mix photopolymer resin residues to save money, add ABS or FLEX type photopolymers to photopolymer resins to reduce brittleness.
End of printing
After printing, it is advisable to drain and filter the photopolymer to remove "jellyfish" and debris. But you can not do this.
The photopolymer can be stored in the bath without draining into a container for a long time, but it is advisable to close the bath with a lid on top. Before printing, the photopolymer in the bath must be mixed. nine0003
After changing the photopolymer, the bath does not need to be rinsed, as most photopolymers are compatible with each other. If necessary, the bath is washed with isopropanol and / or water with an energetic surfactant and the walls of the bath (not the film !!!) are wiped dry with a napkin.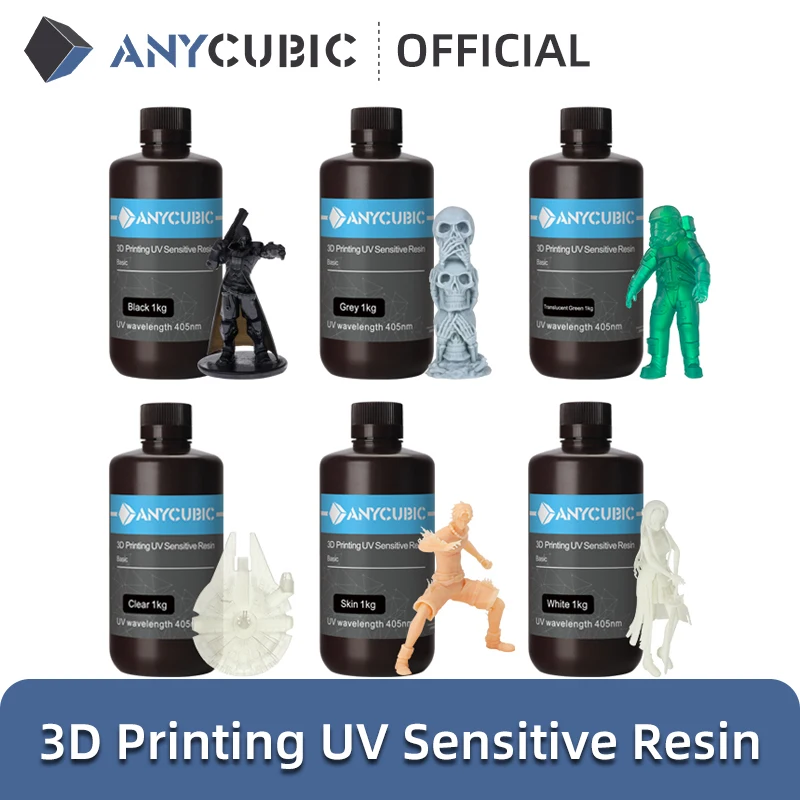
Sometimes pieces of exposed photopolymer stick to the bottom of the tub. It is undesirable to remove them with something hard (scraper, spatula, fingernail) - you can easily damage the film. Adhering pieces can be removed by soaking in isopropanol or by lightly pressing / hitting / tapping with your finger on the back of the film (from the side of the screen). nine0003
About bath film
Bath anti-adhesion coating - FEP film or domestic analogue F-4MB, non-FEP film, transparent fluoroplast. Much depends on the quality of the film. The better the film, the softer the separation. With a poor-quality film, breaks in parts, cuts in parts of parts, etc. are possible.
A cheap alternative to FEP films - lavsan - baking bags, flower film, laminating film. The separation from lavsan is often softer than from cheap Chinese FEP films, but the degradation rate is higher - it needs to be changed more often. nine0003
As the printing progresses, the films stretch and degrade - scratches, roughness appear, to which the photopolymer sticks. After some time, the film must be replaced.
The film is very sensitive, and it is advisable not to touch it with anything - neither with your fingers, nor with a spatula, nor with a napkin, nor, moreover, with something hard.
Replacement of the film depends on the specific design of the bathtub, only one thing is common - two dozen screws must be tightened in several steps (at least three) crosswise. The film must be stretched like a drum. nine0003
About the ease of tearing off
The tearing off of the model from the bottom of the bathtub is accompanied by a characteristic sound - from a loud click to a very quiet squelching.
The softer the tear, the quieter the sound.
The softness of the tear depends:
- on the quality of the film. The better the film, the softer the separation.
- from photopolymer. There are photopolymers that strongly stick to the film, there are those that are weak.
- from the time of light. With a short exposure time, the photopolymer remains slightly viscous and holds the film stronger, with too long exposure time, it sticks strongly to the film, there is a certain range in which the adhesion of the photopolymer to the film is minimal
- on climb speed, accelerations and jerks. The lower the speed, acceleration, jerks, the smoother the takeoff.
About printing speed
In advertising statements, you can hear speeds of 200 and even 400 mm per hour. The dumbest thing you can do is believe it.
Print speed is affected by lift height, lift and drop speeds, time delays, layer exposure time, frame reading time, and layer thickness.
Modern monochrome printers can print at speeds (including raise-lower times) of at least 4 seconds per layer, maximum 2 seconds per layer at breakneck speeds and with a very reactive photopolymer. It is easy to calculate that with a layer of 25 microns, this corresponds to 22.5 mm per hour, an unattainable maximum is 45 mm per hour.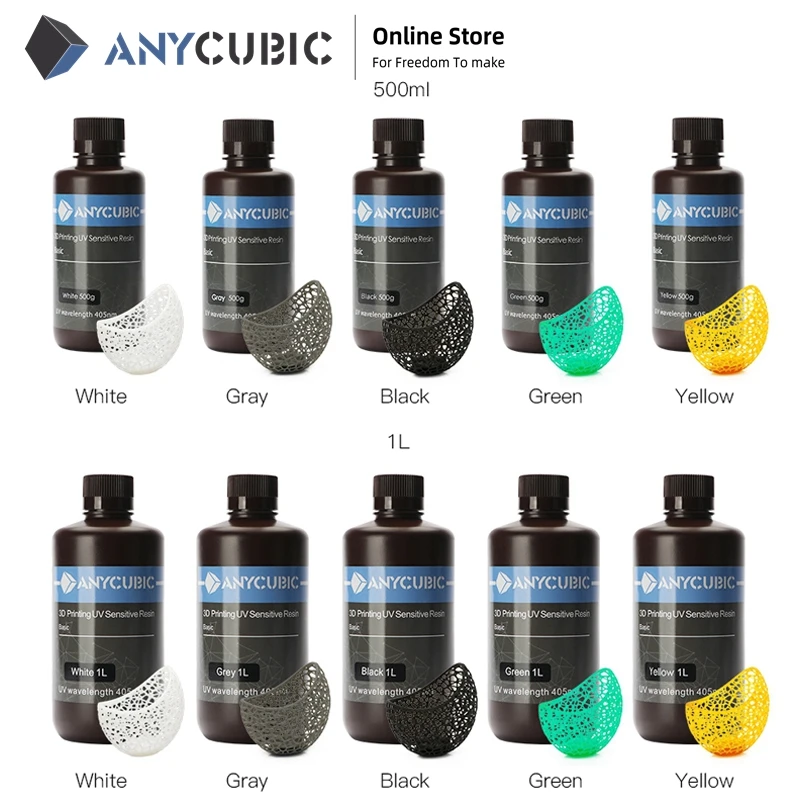 nine0003
Record printing speeds can only be achieved on "thick" layers - 100 microns or more.
About the durability of the screen
The LCD screen in a photopolymer printer is a consumable. The service life of RGB screens is usually estimated at 1000 hours (1.5 ... 2 months of intensive work), monochrome - at 5 ... 10 thousand hours (six months or a year of intensive work).
Sometimes the failure of the screen is associated with mechanical damage - pressing a piece of exposed photopolymer in the bath, impact, strong pressure, etc. Or because of filling the screen with a photopolymer. It is easier to damage the screen without a protective glass, but the protective glass may crack, break, scratch, etc. nine0003
The failure of the screen occurs in different ways - defects appear in the form of broken pixels, various "artifacts" appear, the shape of the illumination changes - illuminated areas appear in the form of squares or rectangles.
The screen can only be replaced with the same screen (in some cases it is possible with an analogue with an adapter), and it is necessary to take into account not only the type of screen, but also the size of the protective glass.
About flat cables
LCD and touchscreen flat cables tend to loosen and fall out for some reason. nine0003
Sometimes a loop switch is enough to "cure" mysterious print failures and defects on printed models.
About jellyfish
The LCD screen is a little transparent even when turned off - a little light passes through the turned off pixels, which is not able to polymerize the photopolymer, but in stagnant zones can cause it to jelly-like state.
Also, jellyfish can appear on the surface of the bath due to parasitic light through windows in the body or through a transparent casing. nine0003
Puttying and gluing.
The model can be puttied or glued with photopolymer, flashlight or 405nm laser pointer.
Most adhesives are difficult and poorly bond photopolymer, the only adhesive that gives a reliable connection - cyanoacrylate.
Sanding
Most photopolymers can be easily sanded with abrasive materials - sandpaper, emery wheels, easily processed with needle files and files.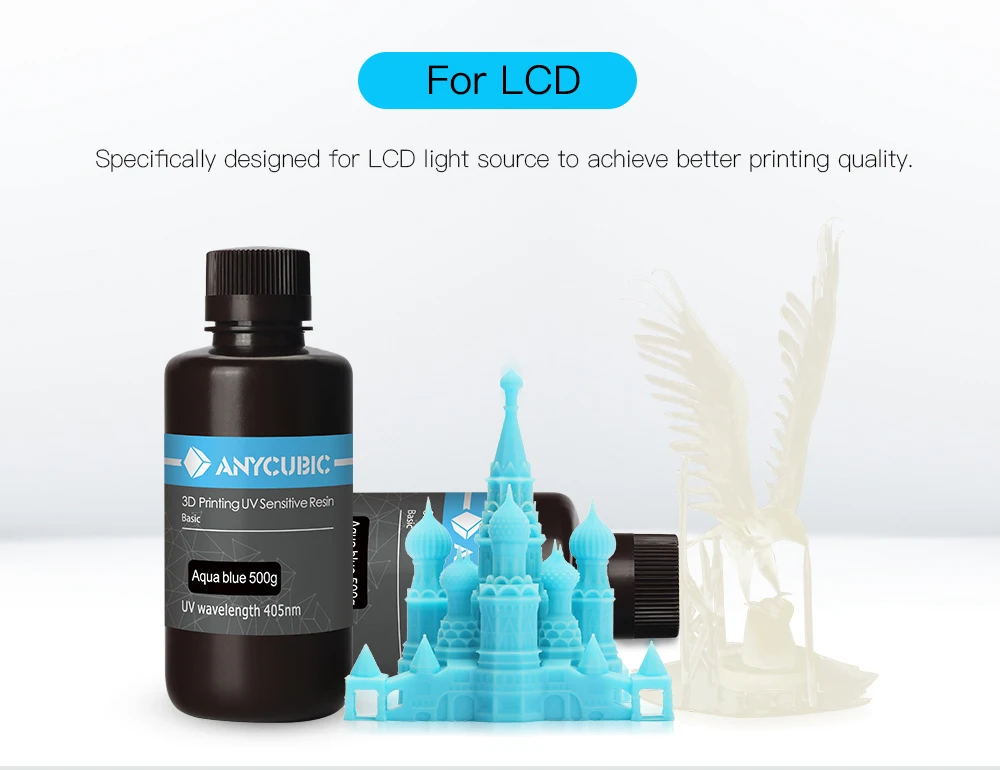 nine0003
Coloring
Photopolymers hold quite well any acrylic paints - water-soluble, on a special solvent, etc. The paint is best applied over the ground.
| 3DNews Technologies and IT market. News at the forefront of science Harder than diamond: 3D printing leads to... The most interesting in the reviews 04/14/2020 [13:01], Gennady Detinich The aerospace industry needs materials that are lightweight and very strong. New technologies using 3D printing can help with this. For example, scientists in the US have been able to print a nanoscale lattice structure with a better strength-to-density ratio than diamond. Nanostructured lattice printed by scientists from the USA (University of California, Irvine) Artificially repeating or surpassing the strength characteristics of diamond is the dream of many scientists and at the same time a challenge to nature. Traditionally, lattice nanostructures were made in the form of a three-dimensional lattice with radial (cylindrical) spacers in each plane and between cell vertices. The theory was that nanoplate spacers, such as those shown in the picture above, would give the material better strength characteristics. The problem was that it was extremely difficult to create such a nanostructure. Scientists at the University of California, Irvine have developed a technology to 3D print nanogrids with lamellar spacers. The structure was printed by an ultraviolet laser with a layer-by-layer projection of the model in a liquid resin sensitive to UV radiation. The level of technology can be judged by the fact that the thickness of each nanoplate was only 160 nm. Holes were provided in the nanoplates to drain excess resin from the already printed model. After removing excess resin, the model was kept in vacuum at a temperature of 900 °C for an hour. Subsequent experiments with the nanostructure showed that lamellar stiffeners, compared to radial stiffeners, provide an increase in the average strength of the material by up to 639% and increase the average stiffness by up to 522%. “While the theoretical performance of these structures had been predicted before, we were the first group to experimentally confirm that they could perform as well as predicted while demonstrating an engineered material with unprecedented mechanical performance” ,” said Lorenzo Valdevit, professor of materials science and one of the participants in the experiment. Source: If you notice an error, select it with the mouse and press CTRL+ENTER. |
 As usual, theoretical research in this area is faster than practical implementation. One of these theories, which spoke of the possibility of creating an artificial material with a lower density without sacrificing strength, was confirmed by a group of scientists from the University of California at Irvine (UCI). nine0003
  nine0003