3D printing microsoft
3D printers for Windows 10
3D printing partners
We've provided a list of partners for the first wave of 3D printer apps and devices. Together, we can make end-to-end 3D manufacturing accessible to anyone using Windows 10.
da Vinci Super
Features
Build volume: 11.8 x 11.8 x 11.8 inches
Materials: ABS, PLA, TPE, Tough PLA, PETG, open-filament
Resolution: 20 microns/layer
Heated bed: Yes
Multi-extrusion: No
Auto-calibration: Yes
LEARN MOREda Vinci miniMaker
Features
Build volume: 5.9 x 5.9 x 5.9 inches
Materials: PLA
Resolution: 100 microns/layer
Heated bed: No
Multi-extrusion: No
Auto-calibration: Yes
LEARN MOREda Vinci mini w
Features
Build volume: 5. 9 x 5.9 x 5.9 inches
Materials: PLA
Resolution: 100 microns/layer
Heated bed: No
Multi-extrusion: No
Auto-calibration: Yes
LEARN MOREda Vinci 1.0 Pro 3-in-1
Features
Build volume: 7.8 x 7.8 x 7.8 inches
Materials: PLA and ABS
Resolution: 100 microns/layer
Heated bed: Yes
Multi-extrusion: No
Auto-calibration: No
LEARN MOREda Vinci 1.0 Pro
Features
Build volume: 7.8 x 7.8 x 7.8 inches
Materials: PLA and ABS
Resolution: 100 microns/layer
Heated bed: Yes
Multi-extrusion: No
Auto-calibration: No
LEARN MOREda Vinci Jr.
 1.0 Pro
 Features
Build volume: 5.9 x 5.9 x 5.9 inches
Materials: PLA
Resolution: 100 microns/layer
Heated bed: No
Multi-extrusion: No
Auto-calibration: Yes
LEARN MOREda Vinci Jr. 1.0 3-in-1
Features
Build volume: 5.9 x 5.9 x 5.9 inches
Materials: PLA
Resolution: 100 microns/layer
Heated bed: No
Multi-extrusion: No
Auto-calibration: Yes
LEARN MOREda Vinci Jr. 1.0 w
Features
Build volume: 5.9 x 5.9 x 5.9 inches
Materials: PLA
Resolution: 100 microns/layer
Heated bed: No
Multi-extrusion: No
Auto-calibration: Yes
LEARN MOREda Vinci Jr.
 1.0
1.0 Features
Build volume: 5.9 x 5.9 x 5.9 inches
Materials: PLA
Resolution: 100 microns/layer
Heated bed: No
Multi-extrusion: No
Auto-calibration: Yes
LEARN MOREda Vinci 1.1 Plus
Features
Build volume: 7.8 x 7.8 x 7.8 inches
Materials: PLA and ABS
Resolution: 100 microns/layer
Heated bed: Yes
Multi-extrusion: No
Auto-calibration: No
LEARN MOREda Vinci 1.0 AiO
Features
Build volume: 7.8 x 7.8 x 7.8 inches
Materials: PLA and ABS
Resolution: 100 microns/layer
Heated bed: Yes
Multi-extrusion: No
Auto-calibration: No
LEARN MOREda Vinci 2.
 0 Duo
0 Duo Features
Build volume: 5.9 x 7.8 x 7.8 inches
Materials: PLA and ABS
Resolution: 100 microns/layer
Heated bed: Yes
Multi-extrusion: Yes
Auto-calibration: No
LEARN MOREda Vinci 1.0
Features
Build volume: 7.8 x 7.8 x 7.8 inches
Materials: PLA and ABS
Resolution: 100 microns/layer
Heated bed: Yes
Multi-extrusion: No
Auto-calibration: No
LEARN MOREMonoprice Select Mini
Features
Build volume: 4.7 x 4.7 x 4.7 inches
Materials: ABS, PLA
Resolution: 87 microns/layer
Heated bed: Yes
Multi-extrusion: No
Auto-calibration: No
LEARN MORE
Simple
Features
Build volume: 6 x 6 x 6 inches
Materials: PLA
Resolution: 100 microns/layer
Heated bed: Optional
Multi-extrusion: No
Auto-calibration: No
LEARN MOREPlay
Features
Build volume: 4 x 4 x 5 inches
Materials: PLA
Resolution: 50 microns/layer
Heated bed: No
Multi-extrusion: No
Auto-calibration: No
LEARN MOREPlus
Features
Build volume: 10 x 10 x 10 inches
Materials: PLA
Resolution: 50 microns/layer
Heated bed: Yes
Multi-extrusion: Optional
Auto-calibration: Yes
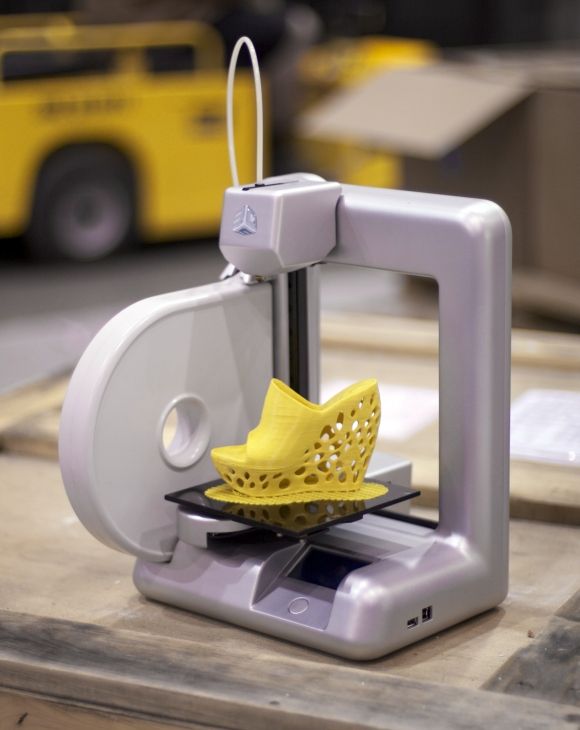
LEARN MORECube 3
Features
Build volume: 6 x 6 x 6 inches
Materials: PLA and ABS
Resolution: 70 microns/layer
Heated bed: No
Multi-extrusion: Yes
Auto-calibration: Yes
LEARN MORE
3d Idea Builder
Features
Build volume: 9 x 5. 9 x 5.5 inches
Materials: PLA
Resolution: 100 microns/layer
Heated bed: No
Multi-extrusion: No
Auto-calibration: No
LEARN MORE
i3 Mk2
Features
Build volume: 9.84 x 8.3 x 8 inches
Materials: PLA and ABS
Resolution: 50 microns/layer
Heated bed: Yes
Multi-extrusion: No
Auto-calibration: Yes
LEARN MORE
3D print partner onboarding guide - Windows drivers
Feedback Edit
Twitter LinkedIn Facebook Email
- Article
- 2 minutes to read
Joining the Microsoft 3D print ecosystem enables 3D printer manufacturers to offer a great plug-and-play experience on Windows 10.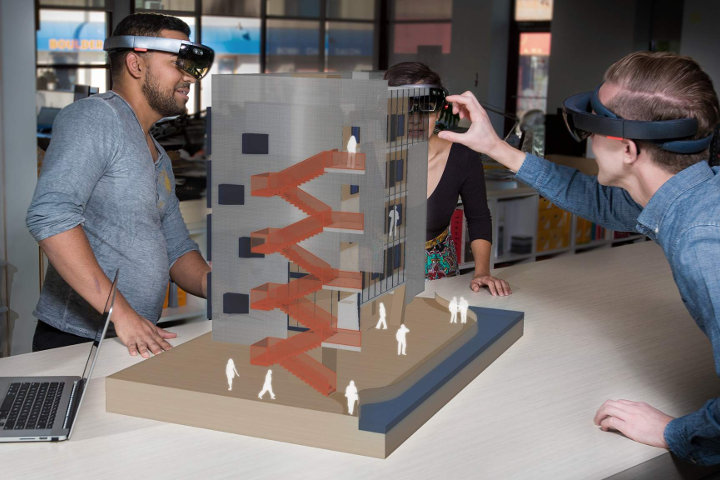 This strategy removes the potential for problems encountered by users when locating and manually installing drivers. Additionally, Windows Update ensures that the users are always using the latest driver for their device and are getting the best experience available.
3D print driver overview
A plug-and-play 3D printer on Windows 10 is implemented through a pair of drivers published on Windows Update:
Upper driver (Render filter)
Implements the slicer. The driver takes 3MF as input and produces G-Code or other similar machine level data.
Creates the print queue. The device appears under Devices and Printers and in the 3D Print Dialog for compatible 3D Printing applications.
Lower driver (USB driver)
Implements wire protocol (typically USB Serial or native USB)
Kernel mode driver creates the ENUM\3DPRINTER device node for the upper driver
User mode component (Partner DLL) sends the G-Code to the device
Reports device capabilities, job status and implements job cancel
Installs 3D print service and the 3D port monitor (3dmon)
Choosing the right driver model
3D print driver with custom slicer
Obtain and verify the device USB hardware ID
- Ensure the device firmware has a unique Vendor ID and Product ID (VID/PID) allocated by the USB Implementers Forum (USB-IF).
 For USBSER devices, we strongly recommended that you use a unique serial number to prevent conflicts on a USB port changes.
- Ensure the device firmware has a unique Vendor ID and Product ID (VID/PID) allocated by the USB Implementers Forum (USB-IF).
Install Microsoft tools and SDKs
Download and install Visual Studio Community Edition
Download and install the Windows 10 SDK
Download and install the 3D printing SDK
Note
The 3D printing SDK will be installed in C:\Program Files (x86)\Microsoft SDKs\3D Printing.
Implement the USB driver
A manufacturer can use the Microsoft USB driver for their 3D printer by creating a partner DLL. For more information, see 3D printer custom USB interface support.
If the printer is using the Microsoft Slicer, the Hardware ID that it creates must be Enum\3DPrint\MS3DPrint
Note
If the printer is using a custom slicer, continue with steps 4-7.
Build the Fabrikam driver (slicer template only)
- Build and obtain the driver package.
 This creates a x64 folder with the slicer part.
- Build and obtain the driver package.
Adding the custom slicer
Adding the printer node
Open the inf in Fabrikam Print driver
Replace the entries hardware IDs:
%DeviceName%=FabrikamPrintDriverV4\_Install,3DPRINTER\\Fabrikam1 %DeviceNamePlus%=FabrikamPrintDriverV4\_Install,3DPRINTER\\Fabrikam2 DeviceName="CONTOSO FABRIKAM 1" DeviceNamePlus="CONTOSO FABRIKAM 2"
Publish and distribute the driver
- Follow the guidance in the Windows Partner Center topics to publish your driver.
Feedback
Submit and view feedback for
This product This page
View all page feedback
Getting Started Guide - Microsoft Standard 3D Printer Driver - Windows drivers
- Article
- Reading takes 6 minutes
The Microsoft Standard 3D printer driver makes it easy for developers to make a printer compatible with Windows 10.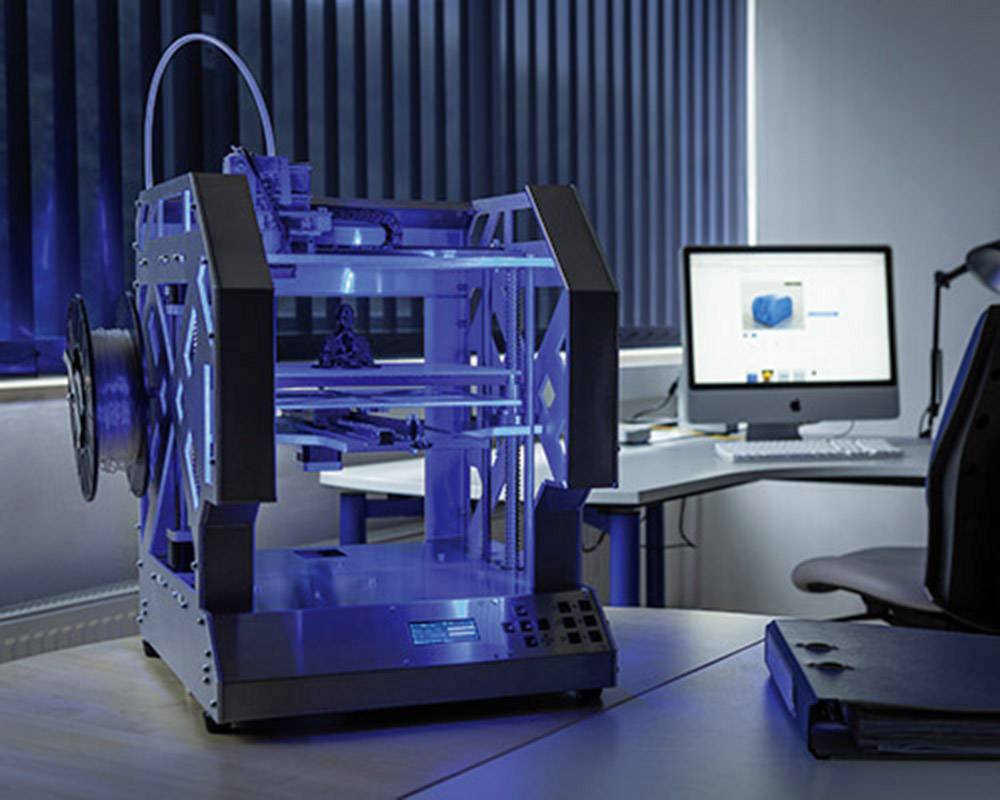 Any printer that uses Microsoft OS handles can be recognized as a compatible 3D printer. With a specific example, this article shows you how to create firmware that allows Windows 10 to recognize a device as a 3D printer and report its printing capabilities.
Introduction
The Microsoft Standard Driver eliminates the hassle of writing your own driver for Independent Hardware Vendors (IHVs) who want their 3D printers to be compatible with Windows 10. Versions of Windows that are aware of Microsoft OS handles use control queries to obtain information and its use to install and configure the device without the need for user interaction.
The general process for getting a 3D printer that works with Windows 10 includes the following steps:
-
Compatible ID . The Independent Hardware Vendor (IHV) must include a 3D print-compatible ID in the printer's firmware. This allows the device to be recognized as a 3D printer.
-
Standard driver .
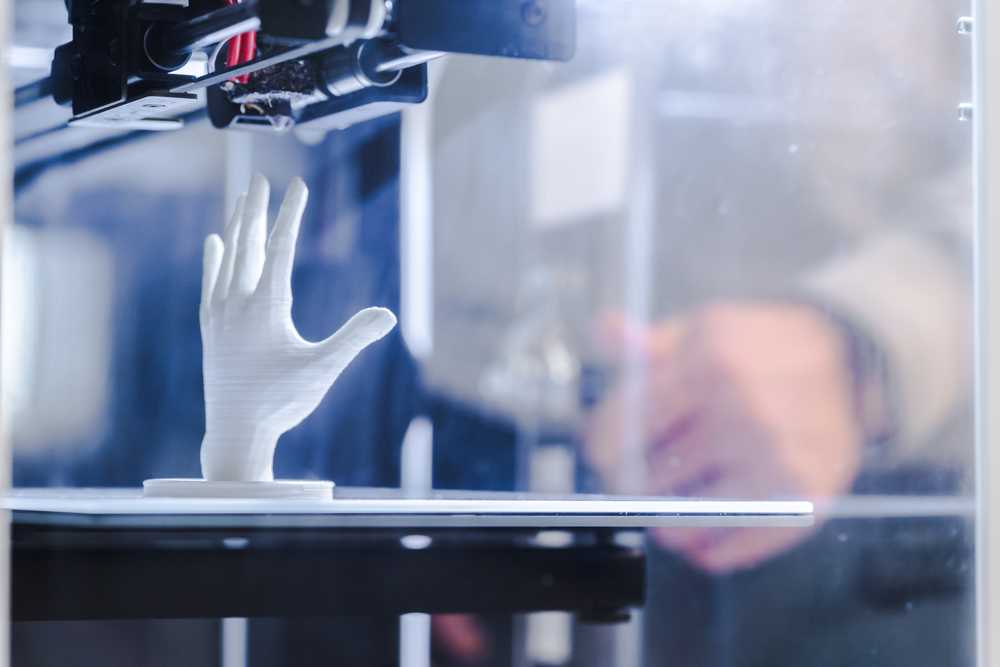 After the device is connected, the Windows Update client component will download the default 3D printer driver and detect the current device as a 3D printer using the default configuration.
 -
Extended property descriptor . Several basic configurations for 3D printers are available as part of the standard driver. Therefore, the developer can choose a basic configuration that matches the 3D printer. At the top of the base configuration selection, a developer can override some properties to better suit their 3D printer and include them in new firmware.
-
Plug and play . After the firmware is burned into the 3D printer's flash memory, each time the user plugs it into a Windows 10 computer, the standard driver will be automatically downloaded and will use the custom printing options selected by the developer.
In the following sections, we'll walk through each of these steps using a specific example.
See Microsoft OS descriptors for more information.
Compatible ID
You must use the correct compatible ID to specify the Windows operating system that the 3D printer is currently using. A list of compatible Microsoft identifiers is available in the Microsoft OS Descriptors.
The compatible ID of the 3D printer is shown in the following table:
| The compatible ID is | Identifier compatible with nested | Description |
|---|---|---|
| "3DPRINT" (0x33 0x44 0x50 0x52 0x49 0x4E 0x54 0x00) | Varies | Printer G-code MS3DPRINT |
In the header file included in the firmware of the 3D printer, the IHV must specify a compatible identifier as shown below:
#define MS3DPRINT_CONFIG_SIZE 232 #define MS3DPRINT_OSP_SIZE (4+4+2+0x20+4+MS3DPRINT_CONFIG_SIZE) #define MS3DPRINT_XPROP_SIZE (4+2+2+2+MS3DPRINT_OSP_SIZE) #define SIZE_TO_DW(__size) \ ((uint32_t)__size) & 0xFF, \ (((uint32_t)__size)>>8) & 0xFF, \ (((uint32_t)__size)>>16) & 0xFF, \ (((uint32_t)__size)>>24) & 0xFF // CompatibleID and SubCompatibleID static const uint8_t PROGMEM ms3dprint_descriptor[40] = { 0x28, 0x00, 0x00, 0x00, // dwLength 0x00, 0x01, //bcdVersion 0x04, 0x00, // wIndex 0x01, // bCount 0x00, 0x00, 0x00, 0x00, 0x00, 0x00, 0x00, // RESERVED 0x00, // bFirstInterfaceNumber 0x01, // RESERVED '3', 'D', 'P', 'R', 'I', 'N', 'T', 0x00, // compatibleID("3DPRINT") // subCompatibleID 0x00, 0x00, 0x00, 0x00, 0x00, 0x00, 0x00, 0x00 /* */ , 0x00, 0x00, 0x00, 0x00, 0x00, 0x00 // RESERVED }; This line in the code above is the compatible ID of the 3D printer:
'3', 'D', 'P', 'R', 'I', 'N', 'T', 0x00, // compatibleID ("3DPRINT")
With this particular configuration, the IHV can compile the firmware and flash the device. Then, when the device is connected, the 3D Print Standard Driver will be automatically downloaded from the Windows Update client component.
At this point, the printer is using the default driver configuration, the settings used by the default configuration are available in the %SYSTEMROOT%\System32\MS3DPrint folder in the StandardGCode.xml file. In addition, the developer can use a different base configuration, the list of base configurations is available in the same %SYSTEMROOT%\System32\MS3DPrint folder. This list is regularly updated with new configurations as new 3D printers hit the market.
Extended Properties OS Component Descriptor
As noted in the previous section, IHVs have access to several basic configurations. This minimizes the amount of information that must be stored in the printer's flash memory. Developers can check the available base configurations and choose the one closest to their printers. In this example, we will select the base SD card configuration and override some properties with the following options:0015
| Options | Meaning |
|---|---|
| Job3DOutputAreaWidth | 250,000 |
| Job3DOutputAreaDepth | 260000 |
| Job3DOutputAreaHeight | 270000 |
| Filament diameter | 2850 |
For more information about these settings, see MS3DPrint Standard G-Code Driver. docx in the 3D Printing SDK (MSI) documentation.
To specify the base configuration to use and which settings to override, the developer must specify it using the extended properties OS component descriptor, as follows:
// Modifiers to the base configuration static const uint8_t PROGMEM ms3dprint_properties_descriptor[] = { SIZE_TO_DW(MS3DPRINT_XPROP_SIZE), // dwLength 0x00, 0x01, //bcdVersion 0x05, 0x00, // wIndex 0x01, 0x00, // wCount SIZE_TO_DW(MS3DPRINT_OSP_SIZE), // dwSize 0x07, 0x00, 0x00, 0x00, // dwPropertyDataType (1=REG_SZ, 4=REG_DWORD, 7=REG_MULTI_SZ) 0x20, 0x00, // wPropertyNameLength 'M', 0x0, 'S', 0x0, '3', 0x0, 'D', 0x0, // bPropertyName 'P', 0x0, 'r', 0x0, 'i', 0x0, 'n', 0x0, 't', 0x0, 'C', 0x0, 'o', 0x0, 'n', 0x0, 'f', 0x0, 'i', 0x0, 'g', 0x0, 0x0, 0x0, SIZE_TO_DW(MS3DPRINT_CONFIG_SIZE), // dwPropertyDataLength // Data 0x42, 0x00, 0x61, 0x00, 0x73, 0x00, 0x65, 0x00, 0x3D, 0x00, 0x53, 0x00, 0x44, 0x00, 0x00, 0x00, /* Base=SD */ 0x4A, 0x00, 0x6F, 0x00, 0x62, 0x00, 0x33, 0x00, 0x44, 0x00, 0x4F, 0x00, 0x75, 0x00, 0x74, 0x00, /* Job3DOut */ 0x70 0x00 0x75 0x00 0x74 0x00 0x41 0x00 0x72 0x00 0x65 0x00 0x61 0x00 0x57 0x00 /* putAreaW */ 0x690x00 0x64 0x00 0x74 0x00 0x68 0x00 0x3D 0x00 0x32 0x00 0x35 0x00 0x30 0x00 /* idth=250 */ 0x30, 0x00, 0x30, 0x00, 0x30, 0x00, 0x00, 0x00, 0x4A, 0x00, 0x6F, 0x00, 0x62, 0x00, 0x33, 0x00, /* 000 Job3 */ 0x44, 0x00, 0x4F, 0x00, 0x75, 0x00, 0x74, 0x00, 0x70, 0x00, 0x75, 0x00, 0x74, 0x00, 0x41, 0x00, /* DOutputA */ 0x72, 0x00, 0x65, 0x00, 0x61, 0x00, 0x44, 0x00, 0x65, 0x00, 0x70, 0x00, 0x74, 0x00, 0x68, 0x00, /* reaDepth */ 0x3D, 0x00, 0x32, 0x00, 0x36, 0x00, 0x30, 0x00, 0x30, 0x00, 0x30, 0x00, 0x30, 0x00, 0x00, 0x00, /* =260000 */ 0x4A, 0x00, 0x6F, 0x00, 0x62, 0x00, 0x33, 0x00, 0x44, 0x00, 0x4F, 0x00, 0x75, 0x00, 0x74, 0x00, /* Job3DOut */ 0x70 0x00 0x75 0x00 0x74 0x00 0x41 0x00 0x72 0x00 0x65 0x00 0x61 0x00 0x48 0x00 /* putAreaH */ 0x65, 0x00, 0x69, 0x00, 0x67, 0x00, 0x68, 0x00, 0x74, 0x00, 0x3D, 0x00, 0x32, 0x00, 0x37, 0x00, /* eight=27 */ 0x30, 0x00, 0x30, 0x00, 0x30, 0x00, 0x30, 0x00, 0x00, 0x00, 0x66, 0x00, 0x69, 0x00, 0x6C, 0x00, /* 0000 fil */ 0x61, 0x00, 0x6D, 0x00, 0x65, 0x00, 0x6E, 0x00, 0x74, 0x00, 0x64, 0x00, 0x69, 0x00, 0x61, 0x00, /* amentdia */ 0x6D, 0x00, 0x65, 0x00, 0x74, 0x00, 0x65, 0x00, 0x72, 0x00, 0x3D, 0x00, 0x32, 0x00, 0x38, 0x00, /* meter=28 */ 0x35, 0x00, 0x30, 0x00, 0x00, 0x00, 0x00, 0x00 /* 50 */ }; Information about OS extended property descriptors is found in file OS_Desc_Ext_Prop. doc . See the Microsoft OS descriptors for more information.
Verify Printing Capabilities
After the device burns the firmware in flash memory, the device will be automatically detected by Windows 10 and print capabilities will be stored in the registry.
It is very important that the IHV changes the VID/PID of the device to its own. You should never use the vendor ID (VID) or product ID (PID) of another existing device, as the operating system will not be able to correctly detect the device because the VID and PID take precedence over OS descriptors.
If the device is properly installed, the device should be listed under in the Devices and Printers section.
In Device Manager , you can check the corresponding device ID and compatible ID.
USB driver properties can be obtained by visiting the registry at HKEY_LOCAL_MACHINE\SYSTEM\CurrentControlSet\Enum\USB .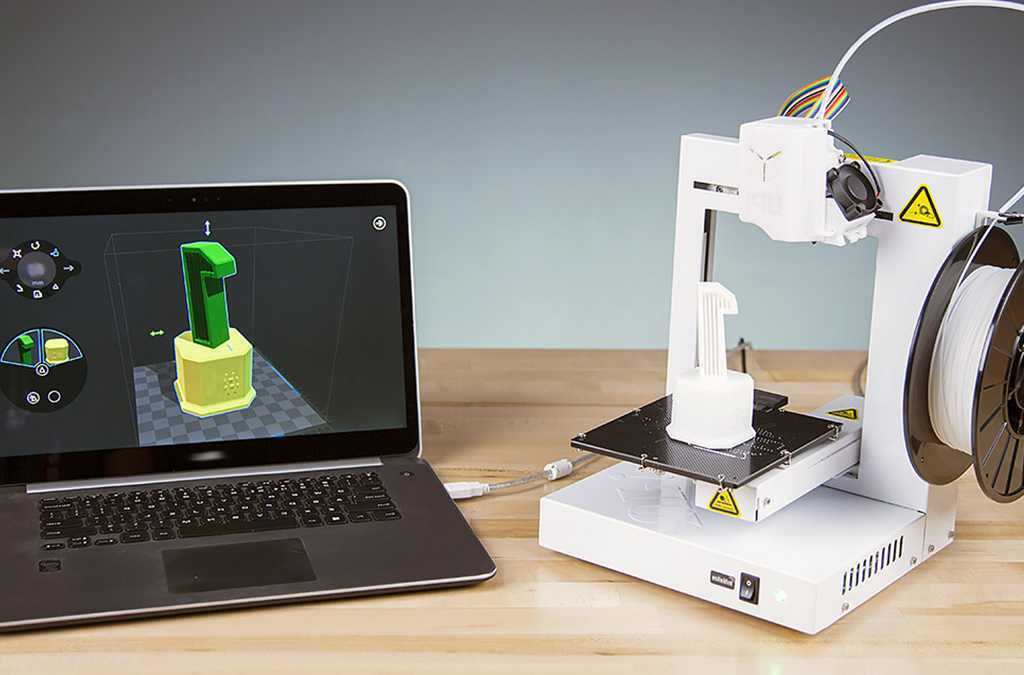
3D print driver properties can be obtained by visiting the registry in HKEY_LOCAL_MACHINE\SYSTEM\CurrentControlSet\Control\Print\Printers .
Additional resources
Additional information, see the following documents and resources:
Three -dimensional printing in Windows
SDK package for three -dimensional printing (download MSI)
Descriptions Microsoft
Specification of USB 2.0
also also Contact the Microsoft 3D Printing team at [email protected].Full-scale color 3D scanning and printing made possible with Microsoft's 3D Builder integrated into Kinect
Archive
Follow the author
Subscribe
Don't want
2
Of course, no one is surprised that Microsoft ended up doing 3D printing technologies. The 3D Builder app was developed about a year ago. Thanks to it, you can print with ease, uploading models or creating something new and original.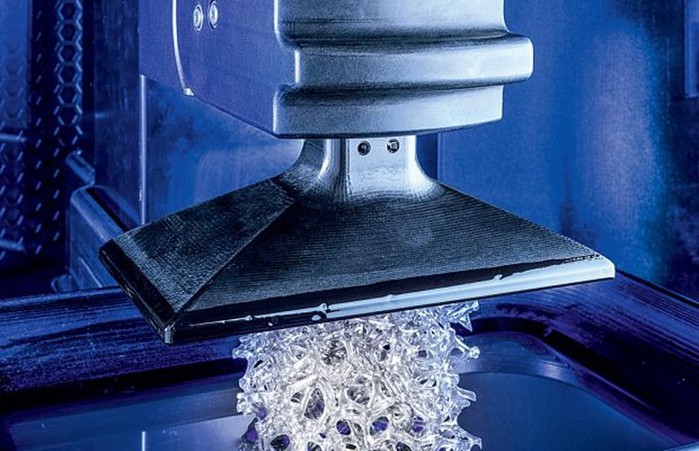
The 3D Builder app is available for download from the Windows Store. With it, you can download, view, edit, and print from a computer running Windows 8.1. But wait! One or two changes have been made to 3D Builder: now, thanks to a new product from Microsoft, you can get really innovative and original creations. The Kinect v2 sensor for Windows has been added to the 3D Builder editor, with which you can independently perform full-scale color scanning.
With the power of 3D Builder and Kinect, beginners can scan and print objects in full color. For example, if you need to scan yourself, then you will need someone who is familiar with the device and the scanning process. And with Windows Kinect, you just have to stand still while the system scans you. The result is almost immediately displayed in the 3D Builder application, where you can improve the quality of the image and then print it.
With 3D Builder you can:
- Scan in 3D color using Kinect for Windows Sensor v2;
- improve and correct models automatically before printing;
- fix models to prepare them for printing;
- print directly from a 3D printer or order models through 3D Systems;
- add inscriptions or drawings to any model;
- merge and divide objects or cut them into pieces.
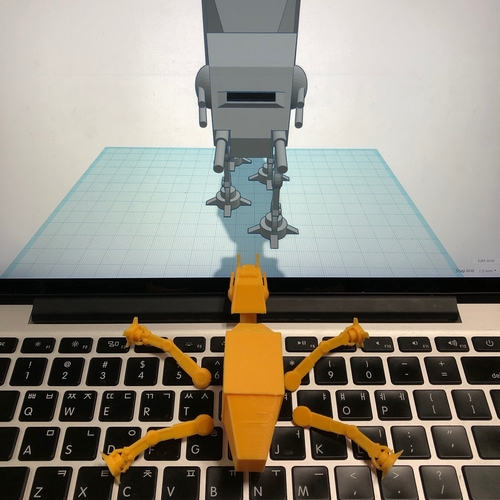
While we're all excited about the combination of Kinect and 3D Builder that lets you scan yourself and your friends, Microsoft already has the Kinect Software Development Kit 2.0 update. It adds 200 new features to make Kinect more convenient and accessible to users. In doing so, developers were able to list their Kinect apps on the Windows Store, including:
- 3D Builder;
- Nayi Disha - an interactive application for early childhood education;
- YAKiT is an application for creating 2D/3D character models.
“This has been frequently requested by users, and we're excited to give you the opportunity to personalize your PC experience even further with gesture control, body movement, and object recognition available to Windows users worldwide. Access to the Windows Store opens up a whole new market for businesses and consumers,” said a Microsoft spokesperson of the Kinect-integrated apps available in the Windows Store.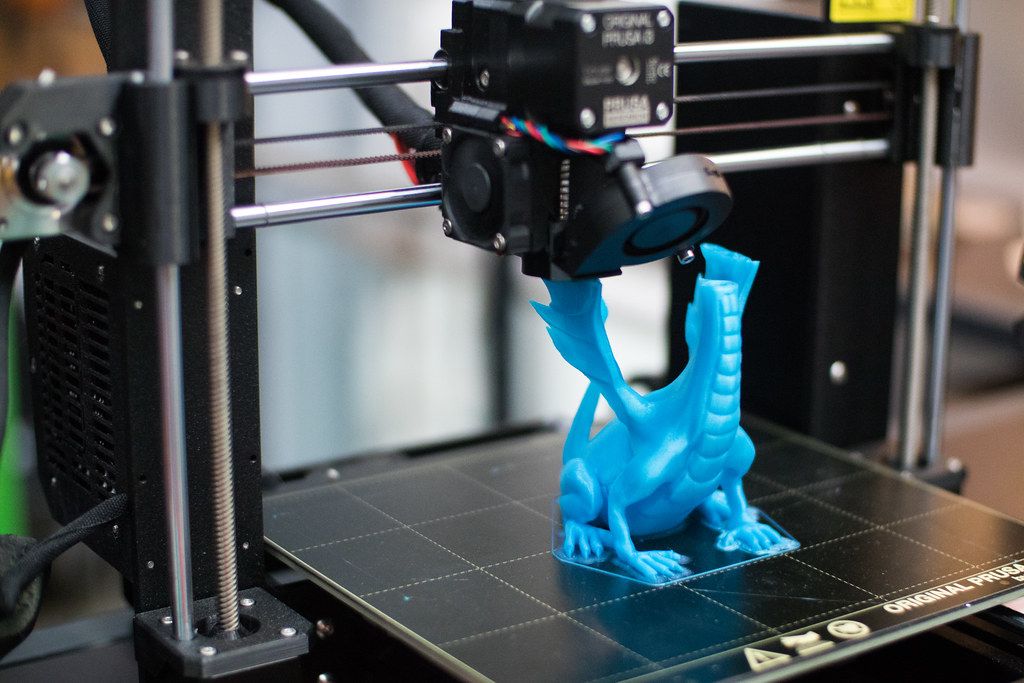
For best results, Microsoft strongly recommends running 3D Builder with a Kinect v2 sensor for Windows.
All of these can be downloaded for free, except for the adapter to connect the Xbox One Kinect to a PC via USB 3.0. It can be purchased for $49.99.
Slicing an object in 3D Builder
The new Kinect Adapter for Windows also requires a USB 3.0 port and costs $199 and will not work with the Kinect for Xbox 360 sensor. The Kinect for Windows Application Development Kit (SDK) version 2.0 is currently available for free download. There are no additional fees for commercial use of this software.
Follow the author
Follow
Don't want
2
More interesting articles
6
Subscribe to author
Subscribe
Don't want
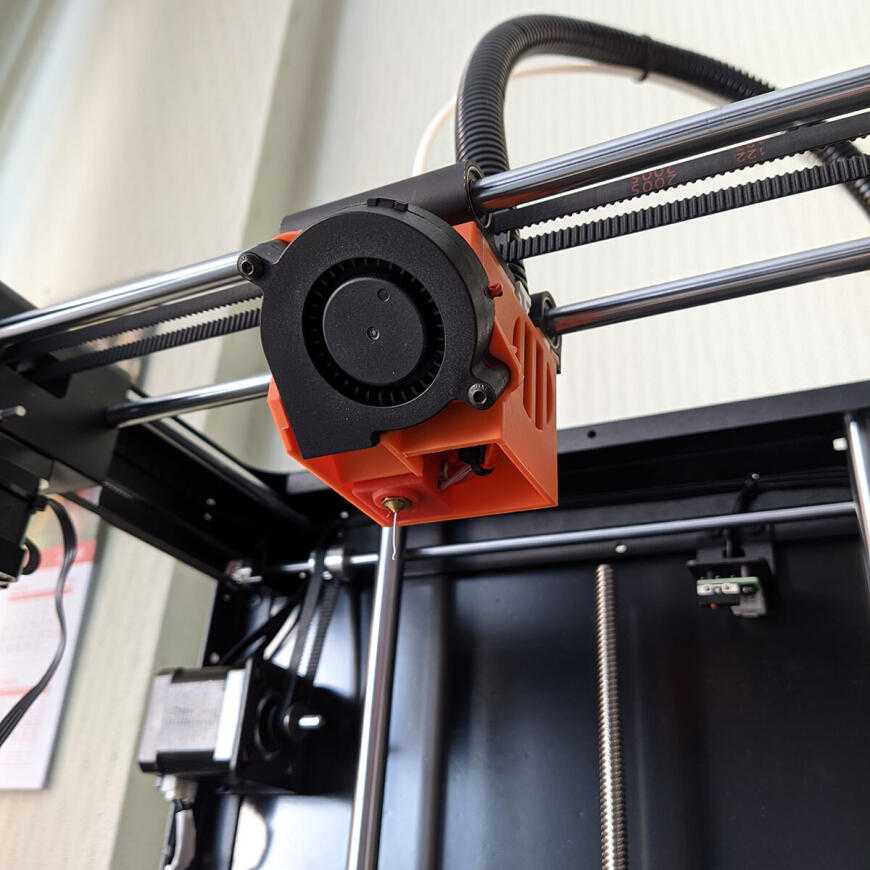
One of the newest developments in 3D printing devices is the advent of extruders.