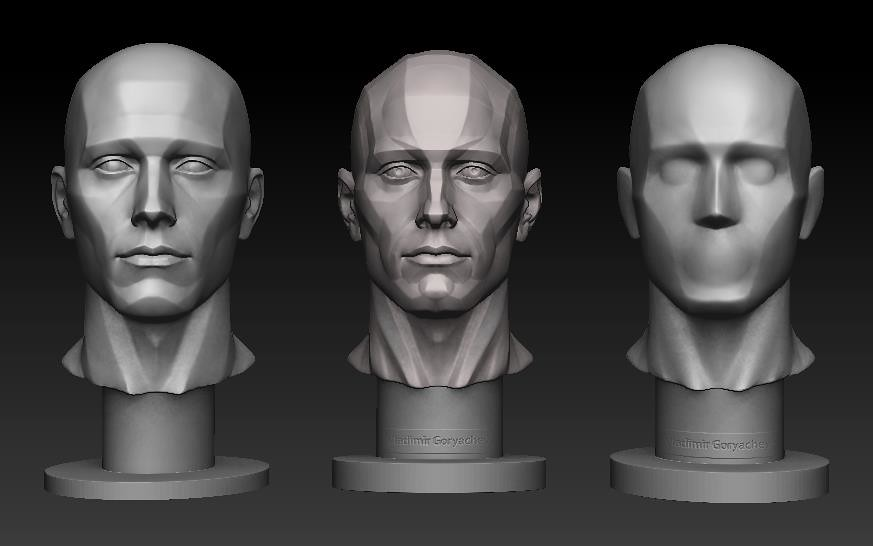
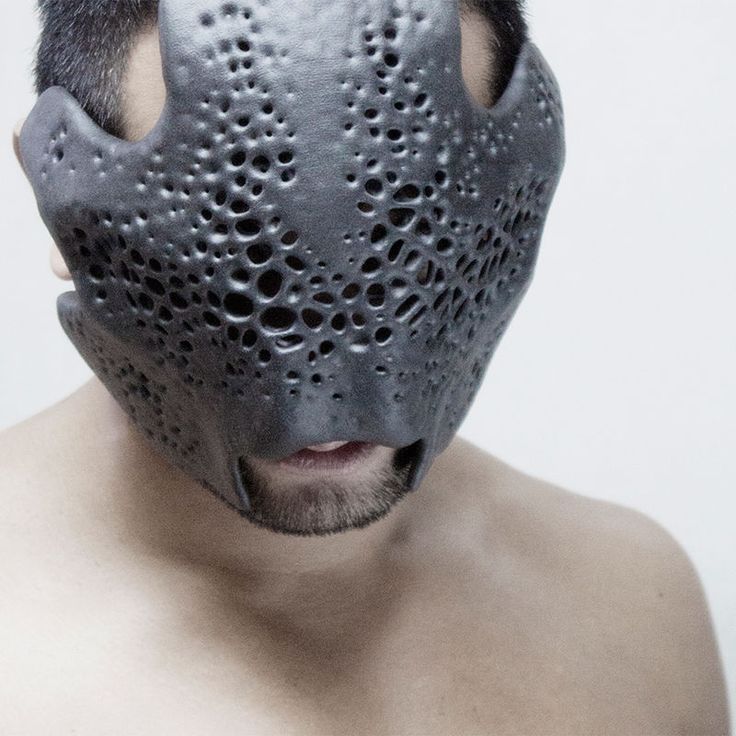
3D printing faces
How to Make a 3D Printed Selfie With Your Phone
When you purchase through links on our site, we may earn an affiliate commission. Here’s how it works.
(Image credit: Tom's Hardware)If you’ve ever been interested in 3D scanning, you might be surprised to find out that you may already have a 3D scanner in your pocket. Using the front-facing TrueDepth camera on the iPhone X and newer (sadly, Android is not supported), you can create a 3D scan of your face, export it as a 3D model, and create a copy using a 3D printer. In this article, we’ll go over the process of how to create a 3D selfie using your phone and how to 3D print it. No 3D sculpting experience is required, as the app we’ll be using creates a fully printable model with no modifications required.
We’ll be using the iPhone app FaceApp by Bellus3D for this article. The app is free to download and use, and you can create unlimited scans with it for free. The app costs $0. 99 to export a 3D model for printing, but you can take as many scans as you want before printing to get the hang of the scanning process.
What You’ll Need
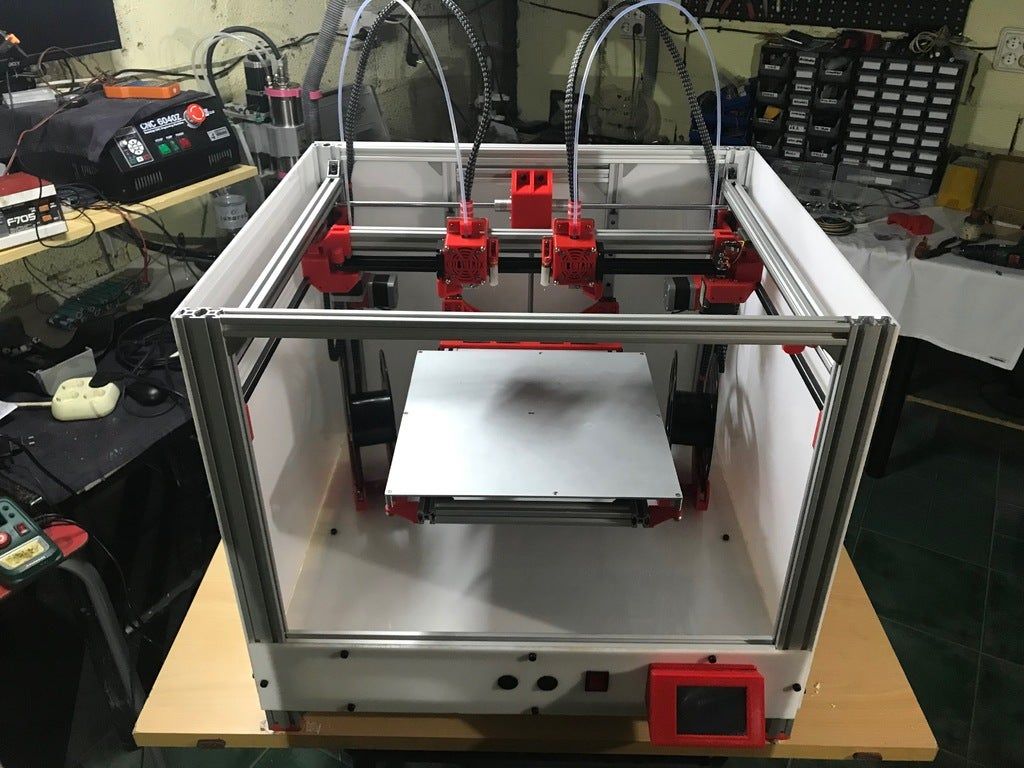
- 3D Printer: In this article, we’ll be using the Anycubic Vyper FDM 3D printer, one of the best 3D printers you can buy in 2021.
- Filament: For quickly printing models on the Vyper, PLA is a great material choice. We’ll be using Begonova brand PLA for this article.
- Slicer App: Ultimaker Cura is the slicer app we’ll be using with the Anycubic Vyper, but your slicer may be different depending on your printer. Most of the steps are similar for all slicers, so you should be able to follow along regardless of what you’re using.
- iPhone: Most 3D scanning apps require a LiDAR sensor (like the front-facing TrueDepth camera on the iPhone X and later), so you’ll want to check to make sure this is a feature you have on your phone.
 We’ll be using an iPhone 11 Pro in this article, but the app we’re using is compatible with iPhone X and later.
 - Bellus3D FaceApp: There are many 3D scanning apps you can use to make a 3D model of your face, and most use a similar process. We’re going to use the Bellus3D FaceApp for iOS which gives fast and easy results.
- SD Card: The Anycubic Vyper requires an SD card to transfer sliced files from your computer to your printer, so you’ll want to make sure you have one on hand. If your printer has Wi-Fi, however, you can also transfer your STL file that way.
Getting Started
(Image credit: bellus3d.com)Before we get started, you’ll need to download the FaceApp scanning app on your iPhone, as well as the slicer app for your 3D printer.
1. Download the FaceApp scanning app from the iOS App Store . This is a free app to download and use, so you can experiment with the software without buying any scans or subscriptions.
2. Download the slicer software for your 3D printer. We’ll be using Ultimaker Cura, a free app, with the Anycubic Vyper but other slicer apps for FDM 3D printers such as PrusaSlicer, Simplify3D, FlashPrint and others will have similar workflows.
Part 1: Create a 3D Selfie Using Bellus3D FaceApp
(Image credit: Bellus3D)The first part of this project is going to be creating a 3D model of your head to 3D print. The model we create needs to be 3D printable, so we’re going to make a full model of your head and ensure that it is in a file format that your 3D printing software can use after exporting it. By the end of this step, you should have a 3D model that’s ready to use.
1. Open Bellus3D FaceApp on your iPhone and take note of the different scan options. FaceApp offers three separate modes for scanning: Face, Face + Neck, and Full Head.
2. Select the Full Head option to create a 3D model that can be printed.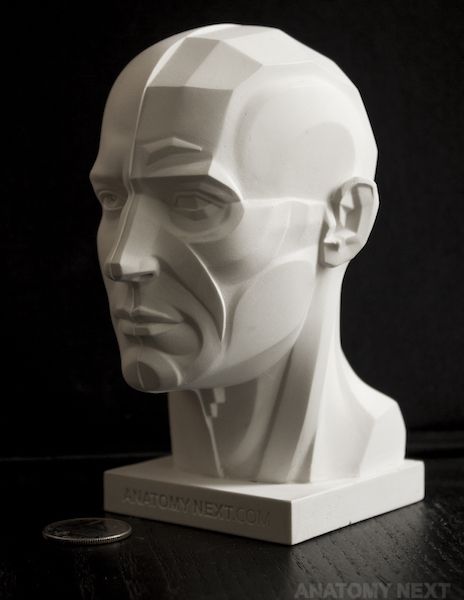
3. Follow the prompts from FaceApp and rotate your head to the sides, up, and down to allow the app to fully capture your face. FaceApp will take this scan data and automatically generate a mesh of your face while extending the side edges to create the back of your head.
Image 1 of 3
(Image credit: Tom's Hardware)(Image credit: Tom's Hardware)(Image credit: Tom's Hardware)4. Select ‘Light’ then ‘Surface’ once the scan has finished to see the mesh of your 3D scan. The mesh is the actual geometry of the model without the colored texture wrapped around it. This is what we’ll be 3D printing, so we want to make sure it looks satisfactory before continuing. If you’re not happy with the mesh, you can redo the scan until you have one you’re satisfied with.
(Image credit: Tom's Hardware)5. Unlock the model for 3D printing by selecting ‘Unlock’. Once unlocked, the scan can be shared as a 3D model or just a link to see the scan in 3D.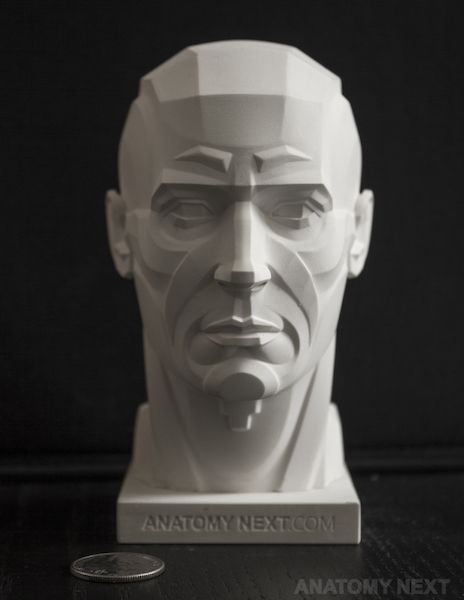
6. Toggle the Watertight setting to create a solid 3D mesh. This will create a solid base for your model, which allows it to be 3D printed.
7. Select HD for mesh resolution to create a high resolution mesh. This will have more detail at the expense of a slightly higher file size, but it will result in a sharper 3D model.
8. Select export STL file to export a 3D printable file. Once exported, this file can be loaded into your slicer app to prepare for 3D printing.
Part 2: Preparing the 3D Scan for 3D Printing
In this step, we’ll be creating a 3D printable file from our 3D scan. If this is your first time printing a 3D model, you can learn more about the process in our guide to making your first 3D print from an .STL. Once exported from FaceApp, the 3D scan is ready to be sent to your slicer app to prepare it for 3D printing. The model itself will export from the app as watertight (not requiring any holes to be filled), so no additional sculpting is required.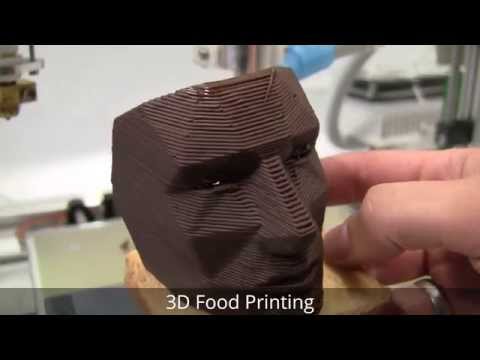
1. Import the 3D Scan .STL file by dragging it into the Cura workspace. Notice that the model imports at full size (the size of your actual head), so we’ll need to resize and angle it before printing.
(Image credit: Ultimaker)2. Scale the model so it fits entirely inside the build volume of the 3D printer. We scaled this model down to 35% for this article, but you can make it bigger or smaller.
3. Rotate the model to reduce the amount of support material generated. By rotating the model on the Y axis so it’s facing upwards, the amount of support material generated underneath the eyes and nose is minimized. Rotating about 45 degrees should give the best results without making the model unnecessarily difficult to print.
(Image credit: Ultimaker)4. Slice the model to preview the full toolpath before printing. You’ll want to make sure you have selected ‘Supports’ to generate support material before printing. You can see the difference in amount of support material generated between the original model and the rotated model, which results in a faster, cleaner print.
Image 1 of 2
(Image credit: Ultimaker)(Image credit: Ultimaker)5. Examine the toolpath to check for any issues before printing. This model was sliced using the default slicer app settings included with the Anycubic Vyper, with only some minor changes made to speed up the print.
(Image credit: Ultimaker)6. Save and export the model to the SD card once it has been sliced and prepared for printing. Once this step is complete, your 3D scan is fully prepared for 3D printing.
Part 3: Printing the 3D Selfie
Once the model has been sliced and is ready for export, it’s time to transfer the file to the printer and begin the printing process. In this step, we’ll go over what’s required to load the model in the printer and start the print. These steps are specific to the Anycubic Vyper 3D printer, but most FDM 3D printers will be prepared in a similar fashion.
1. Load the PLA filament into the printer and make sure the bed has been properly calibrated. Properly calibrating the bed of the printer is a critical step of the 3D printing process, and you can read about the process in more detail in our guide to printing your first model.
(Image credit: Tom's Hardware)2. Insert the SD card into the printer and select the exported model to begin the printing process. At 35% of life size, this print took five hours and 26 minutes to complete.
(Image credit: Tom's Hardware)3. Remove the model from the bed once the print has completed. On the Anycubic Vyper, this is easily accomplished by flexing the textured platform and allowing the part to easily detach.
(Image credit: Tom's Hardware)Part 4: Removing Support Material and Final Steps
In the final step of this article, we’ll remove the support material from this print and prepare it for display.
1. Remove the support material from the model while being careful not to damage the surface of the model or your hands. The support material should detach from the surface of the model without leaving any marks or defects.
Image 1 of 2
(Image credit: Tom's Hardware)(Image credit: Tom's Hardware)2. Check the model for any defects or areas that didn’t print correctly. At this point, your 3D selfie is complete and ready for display.
(Image credit: Tom's Hardware)Once the part is finished, you will have successfully created a 3D selfie of yourself using a 3D scanner app and a 3D printer. You can take this idea even further by using this 3D selfie as part of a chess piece, creating a custom bobble-head for your friends, or making a family portrait by scanning your family and printing their 3D selfies.
(Image credit: Tom's Hardware)Get instant access to breaking news, in-depth reviews and helpful tips.
Contact me with news and offers from other Future brandsReceive email from us on behalf of our trusted partners or sponsorsAndrew Sink first used a 3D printer in 2012, and has been enthusiastically involved in the 3D printing industry ever since. Having printed everything from a scan of his own brain to a peanut butter and jelly sandwich, he continues to dive ever more deeply into the endless applications of additive technology. He is always working on new experiments, designs, and reviews and sharing his results on Tom's Hardware, YouTube, and more.
Topics
3D Printing
3d Printed Face - Etsy.de
Etsy is no longer supporting older versions of your web browser in order to ensure that user data remains secure. Please update to the latest version.
Take full advantage of our site features by enabling JavaScript.
Find something memorable, join a community doing good.
( 1,000+ relevant results, with Ads Sellers looking to grow their business and reach more interested buyers can use Etsy’s advertising platform to promote their items.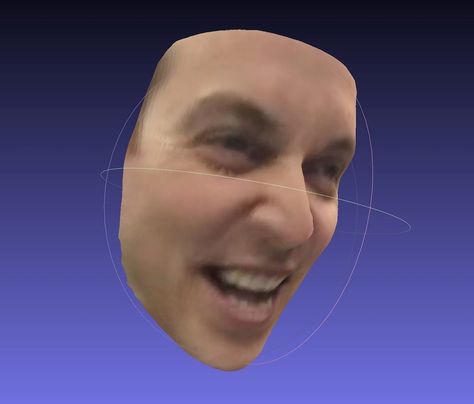 You’ll see ad results based on factors like relevancy, and the amount sellers pay per click. Learn more. )
How I printed a model of myself on a 3D printer.
 ..
.. 3D modeling
After reading this article, you will learn how I printed a model of my face and body on a 3D printer!
It all started with the purchase of a Kingroon KP3S 3D printer, with a table size of 180 x 180 x 180 mm.
I already had a model of a woman ready, and immediately after assembling the printer, and I assembled it for 15 minutes in total, I sent this model for printing.
For a printer out of the box, and even not fully configured, the quality is normal.
After some manipulations with the printer, I managed to get a completely smooth surface of the figure after printing.
While watching videos on setting up a printer for printing, I came across a video showing a face modeling program.
This program is called DAZ3D. (perhaps there was already an article on this topic, do not throw slippers)
And the idea came to my mind to make a model of my own face and body. Maybe in the future and earn extra money on this, making 3D models of people and printing them to order. (but hardly anyone needs it)
You can download this program on the official website for free.
After installation, we see the initial page of the program.
And to create yourself you need to go to the tab Windows - Panes - Face Transfer.
After opening this plugin, you will only have to insert your photo.
Insert a photo, click male - a man (female - a woman) and click - Generate (generation).
A body appears with our face and you see what a resemblance!!!
It seems to be similar, but I hasten to upset you. This model is not suitable for printing.
The point is that our photograph is stretched onto a blank, onto a blank. And it seems to be plausible, but if we print this model, we will get a figure, well, not at all like us. The program tried to automatically repeat our facial features, but she did not do it very well.
What to do?
To create a 3D model of your face, you will have to work hard.
For this we buy an extension for DAZ 3D - MetaMixer Toolkit.
Quickly install and first create a blank. Genesis 8 Basic Male
may not be installed, you will have to buy ;-)
We are looking for and launching Meta Mixer.
Next, select the Shaping tab and select the faces that are most similar to you, in your opinion.
After all, Ok Google MetaMixer is: "MetaMixer is a Daz Studio tool that allows users to create unique faces from a set of previously released characters using add-ons for Metamixer."
This tool will allow us to change the facial features of our disc, and not just overlay a photo (texture) on it.
After selecting the desired faces, we need to start Power Pose. Look at the picture below and start.
In Power Pose, select Sculpting or any other parameters that will help "blind" the face of your dreams. After many hours of work in das 3d, I managed to create my face and adjust the body.
Printing the model. File - Export - I save in .obj format and transfer it to the slicer. (I use Cura).
Printed with PLA.
And if you want to know what I got in the end, then Welcome to my YouTube channel =)
Link to the video:
How I printed a model of myself on a 3D printer ...
Do not swear in the comments, everyone of good. Thank you for reading)
Best Models for 3D Printing %D0%Bb%D0%B8%D1%86%D0%Be・Cults
Bath bomb mold with hearts
2.81 €
Heart BAE solid shampoo and soap pump mold
2.81 €
BAE SHYRI U-209 (SS-101) ECUADORIAN NAVY SUBMARINE SCALE / SUBMARINO FUERZAS ARMADAS DEL ECUADOR
6,55 €
bichikids bee cutter + bookmark
1 €
Bae Suzi 3D Portrait Sculpture 3D print model
18. 65 €
65 €
Cardcaptor Sakura - カードキャプターさくら
7,50 €
Fish Cookie cutter
0.93 €
STAND WATCH STAND WATCH
Free
Betta fish pendant
8,90 €
Bride to be Cake Topper
1.71 €
LightSaber Wall Mount
1 €
Ochaco - Be Strong
5,99 €
Venom Spider-Man 3d print
Free
Angels
0.91 €
SEASHELL_SEASHELL
1.34 €
Topper for cakes Bride to be
1,67 €
Seabed stamps set
1,87 €
Mermaid CNC 3
7,97 €
GALEON
1 €
Magikarp - Pokemon
1. 25 €
25 €
turtle Keychain
1,50 €
Mercedes E63 Estate AMG 2021 Printable Body Car
8.33 €
Turtle CNC 2
7.97 €
Venom Carnage - Frame Decor - Venom movie 2021 - Marvel Comics 3D print model
27 €
Valentines - Be Mine - 8 Bit Heart
Free
The Forbidden Kiss
6 €
Narwhal
1.25 €
Blowfish
1.25 €
Sunk - Diorama
1.88 €
Who Is Responsible?
Free
Beatles Phone Stand
Free
Sea Slicer
Free
neptune sea horse ty mcdonals
3. 24 €
24 €
Seahorse low poly cute
0,90 €
Topper for cakes Bride to be
1.87 €
Word Shape of Burden - Life Tough (Be Kind)
Free
Whale cookie cutter
0,95 €
Tina leaving the water- Tina leaving the water.
€1.50
WAAAAAAGH! Cup
Free
Realistic Drakkar
3.79 €
Seras Victoria Diorama FanArt from Hellsing .STL FILE
25 €
Cookie cutter - Seashell - Silhouette
Free
Lot - Key star wars - key star wars - Yoda - baby - the mandalorian - grogu - millenium falcon - dark vador - may the 4th fourth be with you - Disney - key
5.