3D printing a hinge
A Guide on Creating Perfect 3D Printed Hinge for Your Prototypes
Prototyping through additive manufacturing allows you to see the entire assembly in working condition and make tweaks where necessary. However, a 3D printed hinge brings some complexities to the setup even though living hinges are a fairly simple concept.
There are ways to go around it by using tapes or assembling smaller components. However, they are not as effective as printing the entire part together. The prototypes in those cases are also not precisely like your final product.
3D printing the hinge is an excellent, yet complicated alternative that ensures your prototypes are perfect. While it’s difficult, there are still ways for you to ensure that you obtain the best results.
This article will take a look at the best practices to develop excellent 3D printed hinges that work well and ensure that your prototypes are exactly what you need.
3D Printed Hinges: A Brief OverviewLiving hinges are one of the simplest mechanical elements that connect two rigid parts. From the smallest things like your doors to an elaborate industrial setup, you’ll find hinges everywhere.
Printed hinges are exactly what their names suggest. They operate in the same way as well, however, the difference is in their design. Building a hinge that exactly replicates the original part in the prototype is challenging, but you’ll have to use the right materials and techniques.
As a rule of thumb, it’s important to remember that any 3D printed moving component, including living hinges, requires air gaps. You’ll need to add these air gaps or negative spaces in your design for the most realistic prototypes.
However, there will be many instances where you’ll need to modify your design a little bit to make it suitable for injection molding or any other manufacturing process you select.
The Advantages of 3D Printing a Hinge for PrototypingHinges are a great solution if you are looking for a viable and low-cost solution to join two rigid parts together.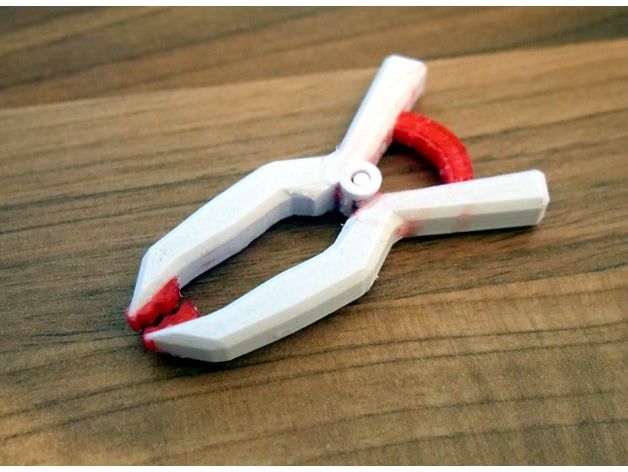 They offer a secure and functional connection with the flexibility to open and close things.
3D printed hinges come with the same set of advantages as any hinge. Depending on the application, you’ll either opt for printing a hinge in parts or printing the entire thing together. Both are viable ways, but the latter is better. Here are a few reasons why.
1 – Reduced costs
Living hinges are quite simple in their operations. Printing the entire thing together instead of separate parts reduces the overall costs. If you are relying on a 3D printing service, then you’ll know how important it is to reduce the costs of 3D printing as much as possible by targeting all the determining factors.
You don’t have to spend any time on assembly or other post processes. However, you’ll need a little more time during the design phase as hinges have different design requirements.
2 – Enhanced durability
Hinges need to open and close repeatedly. 3D printing the overall structures gives you the extra durability you need to ensure that your prototype remains in the perfect condition you need.
3 – Better appearance
Finally, you might need to present your prototype in front of investors or your boss. So, a proper hinge with great surface finishes gives the real picture of the design and simply looks better than any other regular solution at the same time. Isn’t that excellent?
7 Ways to Develop the Best 3D Printed Hinge for Any PrototypeNow that you are aware of the basics of a printed hinge, the next question is how to make one. It’s important to reiterate once again that 3D printing a hinge is a little complex despite the simplicity of the component itself.
So, there are several factors to consider when you decide to start the printing process for the living hinge. Some of them are the design itself, its dimensions, the material, orientation, the process, and the post-processes you do. Let’s take a look at each of them in detail.
1 – The 3D printed hinge design
Before learning how to 3D print a hinge, you need to know its design elements of it.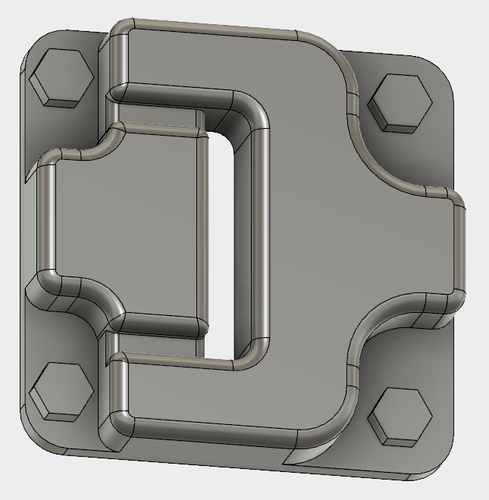 The design requirements for printed hinges are very similar to regular ones. You need to select an appropriate bottom radius and a tighter recess for the best operations.
The design dictates the amount of stress on your living hinge. The more stress on it, the sooner it will fail. So, you need to be careful about it.
2 – Hinge thickness
Thickness is another parameter you need to consider during the production phase. Hinges should have a maximum of 2 contours as it helps with the printing process.
Generally, there is a direct relationship between the wall thickness of the 3D hinge and the number of cycles before failure. However, you need to be careful about the difficulty in manufacturing and the tensile stresses, which also increase with the thickness of the material.
3 – Material properties
Hinges require strength, endurance, and flexibility. Whatever material you choose needs to have high impact strength and the appropriate material properties according to repeated operations without any fear.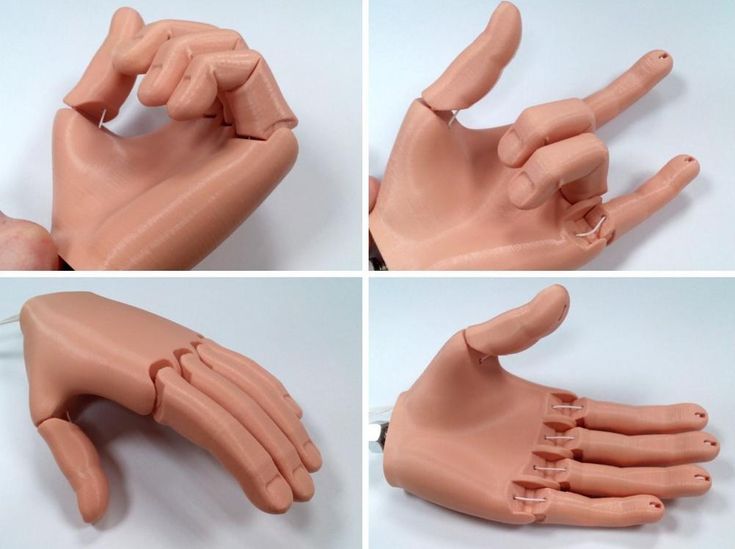
4 – The right printer for the job
Not every 3d printer is the same. Experts know that different kinds of printers work well with different kinds of materials and designs. As a designer, you need to ensure that you are using the best combination for excellent results.
The right printer will give you the best cost and versatility. Printed hinges or any other 3D printing prototypes have an inherent advantage. You can test out numerous iterations and variations of the design without any additional setup. Therefore, the printer you select should also have the required characteristics you need.
5 – Printing orientation
Depending on the type of printer you are using, you’ll need to be careful about the plane you select. For instance, FDM printers with parts in the horizontal plane deliver more strength. During the printing phase, you’ll need to be careful about the settings and calibrations you select. Otherwise, your hinge will not be as effective.
6 – 3D printing process
Along with the processes and material, you also need to be careful about the technology you select.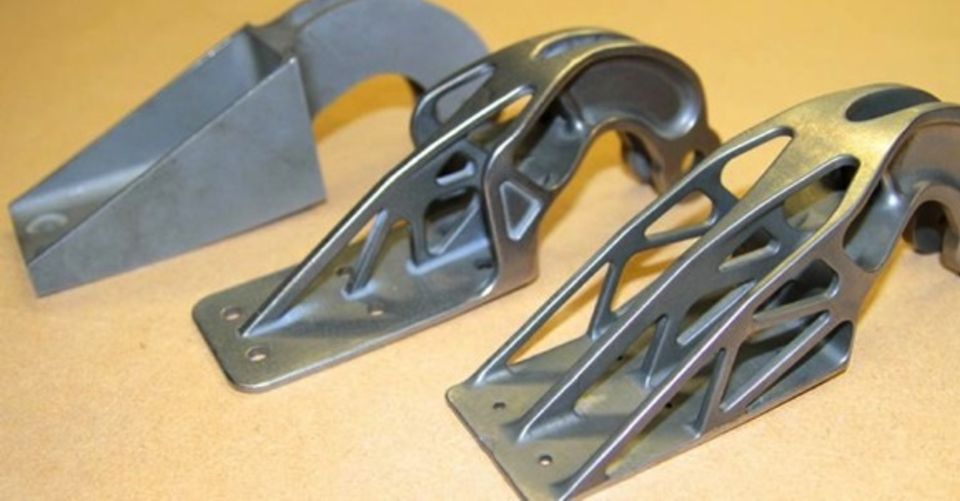 Different design rules apply and the following 3D printing processes work best with living hinges.
- Fused Deposition Modeling (FDM)
- Selective Laser Sintering (SLS)
- Material Jetting
7 – Post-processing
Generally, 3D printed materials don’t need any post-processing. However, you can increase the fatigue properties by annealing after the printing process.
Annealing is a simple process where you heat the material up until it gets flexible. Once you reach that temperature, you’ll need to wait for it to cool down. Do it multiple times and your printed hinge will be able to withstand more load and deliver better results.
If you want an affordable route into the world of 3D printed hinges, RapidDirect is your great shout.
Try RapidDirect Now!
All information and uploads are secure and confidential.
Examples of 3D Printed HingesNow that you are aware of the benefits of 3D printing a hinge, it’s time to look at some popular variations you can get of a #D printed one.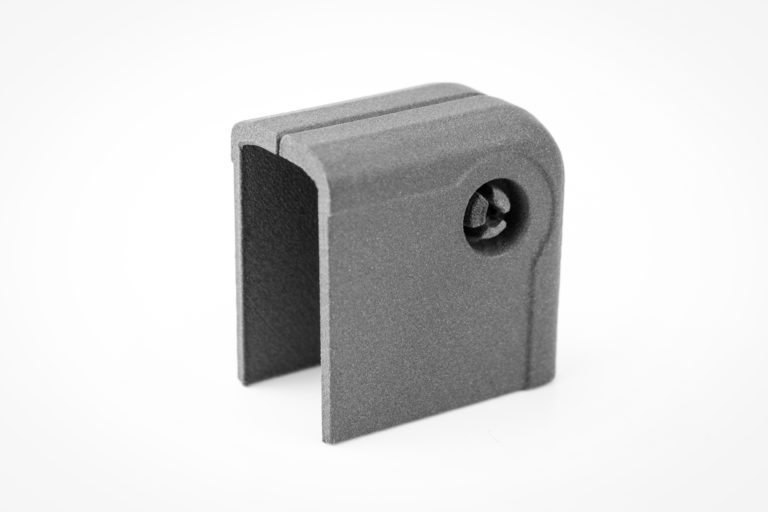 Some of them are actual prototypes while some are simple proofs of concept.
Here are the 5 top variations of printed hinge designs.
The Parametric HingeThe parametric hinge is perhaps the simplest, yet the most versatile variation out there.t You can find it in your doors or any other assembly where you need to connect two rigid elements.
For 3D printed hinges, this variation requires finesse and the right technical characteristics. Do it right and it can help in prototyping and even use it to reinforce or replace the faulty hinges in your everyday applications.
Bag ClipThis is another common item with an extremely simple design and a plethora of domestic applications. It’s a simple folding piece that goes on top of an open bag to seal it again. The single thread on the bag clip can allow you to store essential food items in a way that retains their freshness over a longer time.
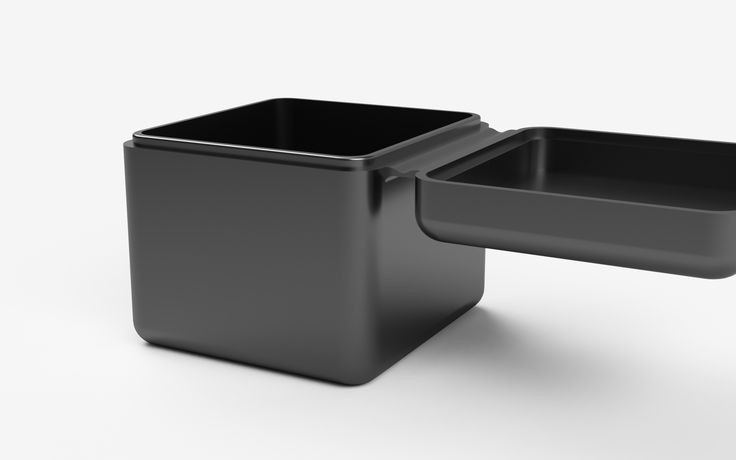
Hinged BoxThis proof of concept has numerous applications in the consumer industry because of its packaging potential.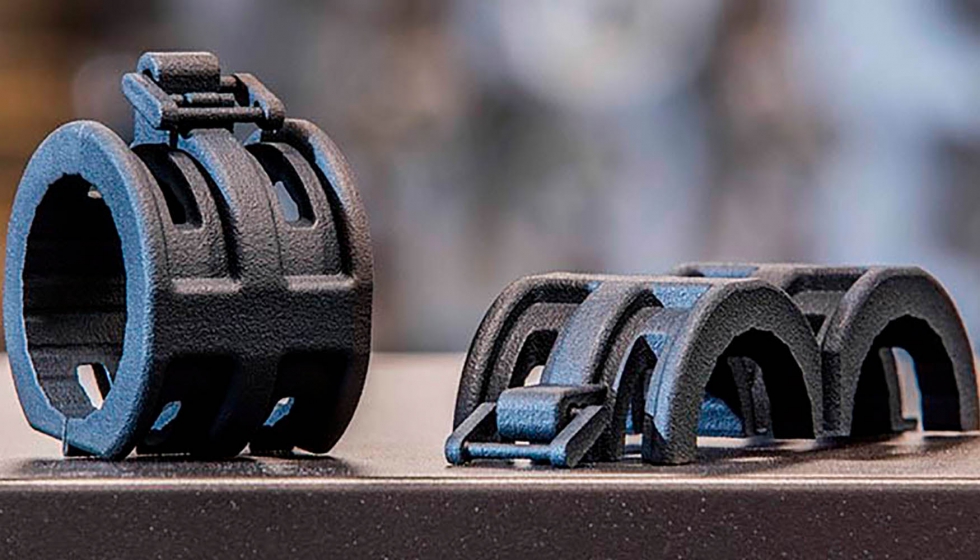 However, the applications of hinges are quite limited in this domain.
This is another hinge application with a lot of versatility. You can combine ball joints and hinges to build multiple items including the design of a robot or figurines.
Cable ChainCable chains comprise numerous joined hinges and have multiple applications in industrial machinery, elevators, etc. Prototyping them with 3D printed hinges can help you perfect the design and ensure its viability.
Consider RapidDirect for Unmatched 3D Printing Services at the Best Price3D printing is so accessible today that you can start doing it from your room. However, industrial prototyping requires greater accuracy, consistency, and versatility. RapidDirect is an ISO-certified organization that boasts the most experienced team with state-of-the-art equipment. And the best part is that its 3D printing services are at the most competitive price.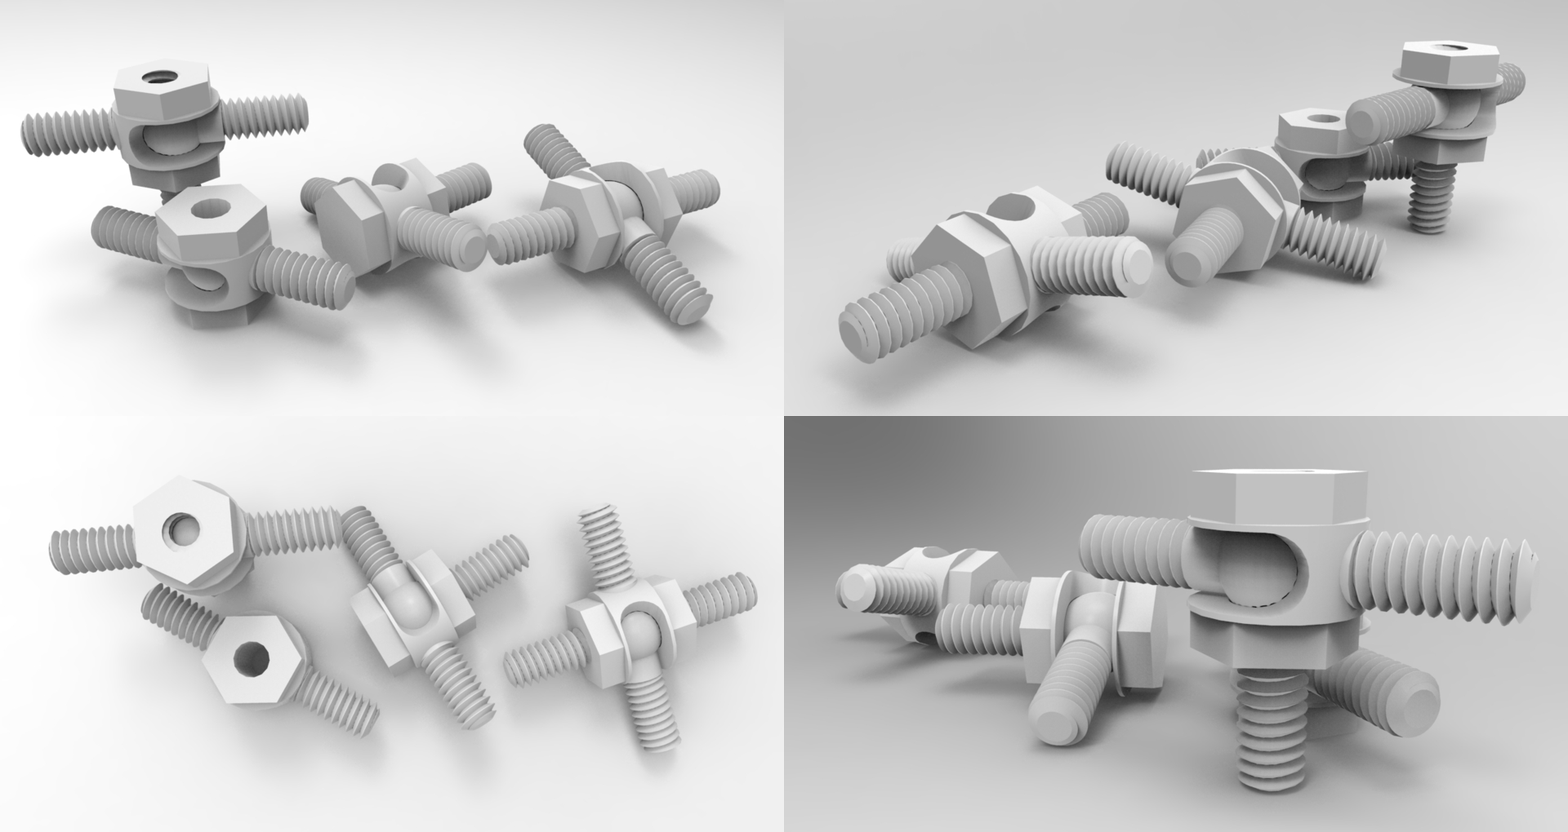
So, if you are looking for a reliable and experienced partner for 3D printed hinges or any other additive manufacturing needs. RapidDirect is the right place for you. The team at RapidDirect has the versatile experience of solving numerous industrial problems and is always ready to prove its mettle in a new field. Contact today and get started with the best 3D printing services for your functional prototypes and production parts.
Get a quote for your 3D parts today!
FAQs About 3D Printing Living HingesCan I 3D print parts that move?
Yes, absolutely. It’s more than possible to 3D print moving parts. You can either print your parts separately and assemble them later or print the whole thing at once. The approach depends on multiple factors like your design complexity, material properties, printer capabilities, and much more.
Why are 3D printed hinges important?
Generally, a hinge or any other design helps you prototype effectively.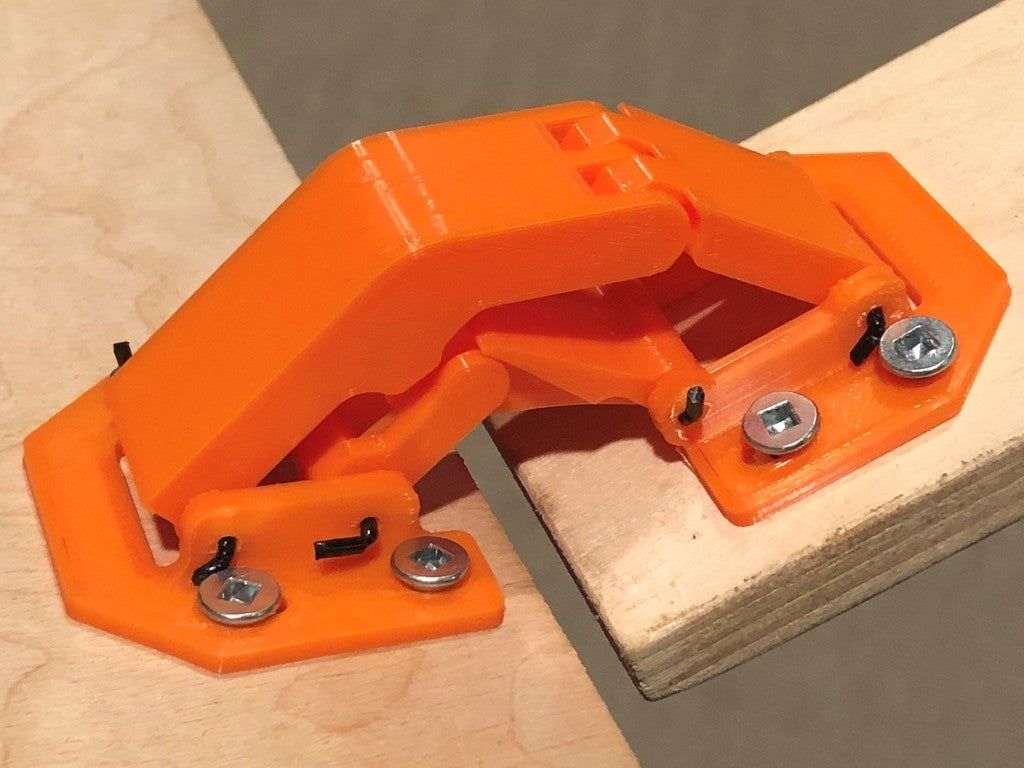 You can create a proof of concept and multiple other variations of the product before investing more money in an injection molding or any other high-volume manufacturing setup.
Are there any special printers for 3D printing living hinges?
No, there are no specific printers that are designed specifically for hinges. Any D printer can theoretically deliver you an excellent printed hinge as long as you fulfill the design requirements and other basic steps. However, having the right combination of material, printer, and design approach are important. You can do it yourself or even take help from a 3D printing service for important projects with little to no room for errors.
Are there any recommended materials for 3D printed hinges?
While hinges designed from 3D printing can be of any material. You’ll often find a PLA living hinge or PETG living hinge more easily. Apart from that, Nylon, different resin combinations, and rubber-like materials are excellent choices
How to design living hinges for 3D printing
This article discusses the advantages of living hinges and present-day design rules and material recommendations when using 3D printing to produce living hinges.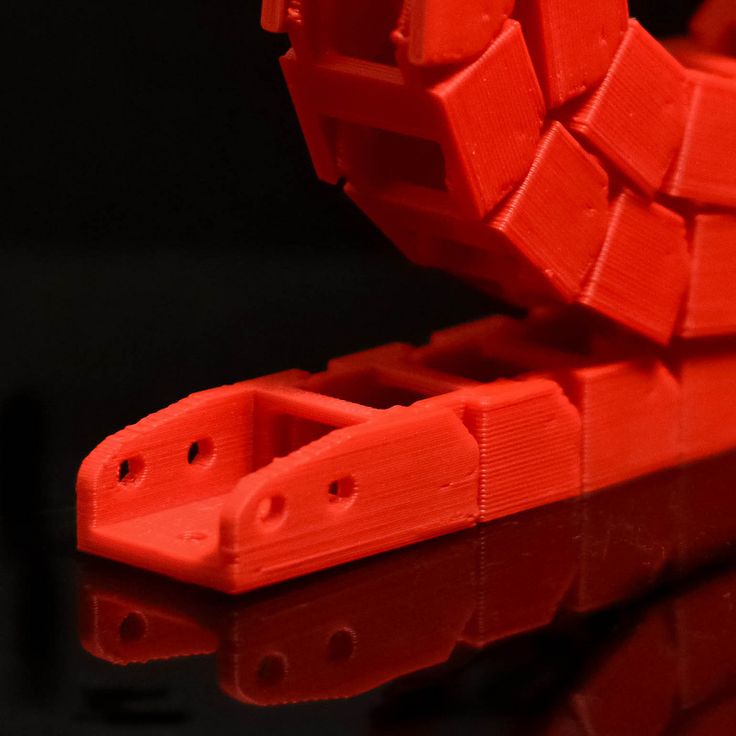
Living hinges are a simple, low-cost method of connecting two rigid plastic parts with a flexible joint. This article discusses the advantages of living hinges and present-day design rules and material recommendations when using 3D printing to produce living hinges.
What is a living hinge?
A living hinge is a thin, flexible web of plastic that connects two or more rigid sections. Typically, the larger rigid section and the living hinge are made from a single continuous strand of plastic. The low cost and simplicity of living hinges make them a popular choice for many applications. Living hinges can be found on everything from drink and shampoo bottles to workshop storage containers and food packaging. Living hinges and their associated rigid sections are manufactured almost exclusively with injection molding.
A container printed from PLA on an FDM machine with a functional living hingeWhat are the advantages and disadvantages of living hinges?
-
Low-cost: Because of their simplicity, living hinges are usually cheaper than other hinge types.
-
Durability: Living hinges are specifically designed for repeated use. They experience very little friction when opened and closed, typically leading to a long lifespan.
-
Reduced inventory: Living hinges are designed to be integrated into parts, eliminating the need for extra components.
-
Appearance: Compared to other connection options (assembled hinges, snap-fit connectors, etc.), living hinges are an aesthetically pleasing, non-obtrusive solution.
The main disadvantage of living hinges is their load-bearing limitation.
Can you use 3D printing to make living hinges?
While injection molded living hinges are designed to withstand thousands of cycles without breaking, the nature of 3D printing—anisotropic, brittle layer-by-layer construction—means that 3D-printed living hinges are usually used for prototyping or proof-of-concept models that only require a few cycles.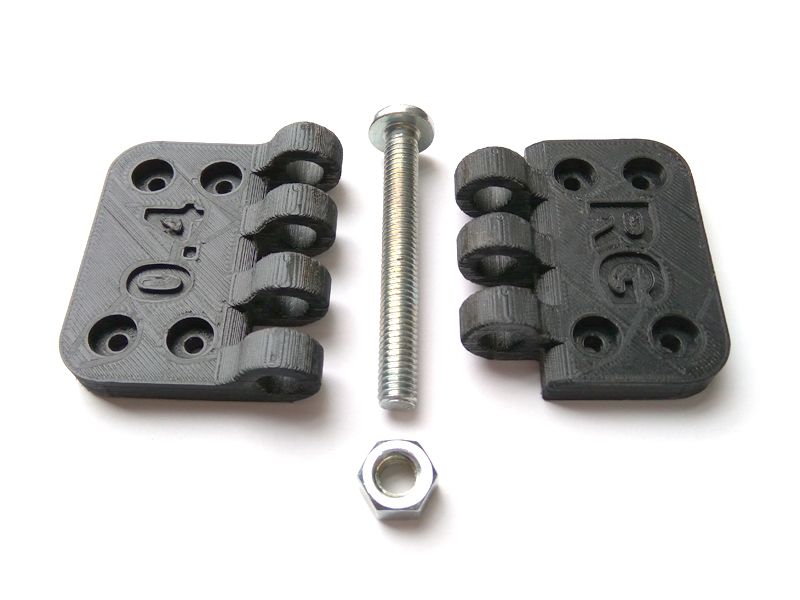 This makes 3D-printed living hinges best suited for the verification of a design before investing in expensive injection molded tooling.
What are the advantages of 3D printing a living hinge?
-
There is no need for expensive tooling.
-
The design does not need to incorporate features essential to injection molded parts, such as gates, runners or sprues.
-
Designs can be easily altered and iterated to achieve optimal design.
-
3D-printed parts can be produced quickly, accelerating the design process.
As with other 3D-printed features, performance varies according to design, material, printer calibrations and layer thickness. That often makes finding the optimal living hinge for a specific design and technology an iterative process. This section offers several design recommendations as a starting point.
Print direction
Due to the additive, layer-by-layer nature of 3D printing, the produced parts are typically anisotropic. To improve the likelihood of a living hinge’s successful performance, parts should be oriented so that the hinge width rather than length is built up one layer at a time. This often requires producing the part in the vertical build direction (as shown in the image below).
Hinge geometry
For most prototyping applications, simply printing a thin strip of material is adequate if the hinge only needs to function for several cycles. If a greater number of cycles is required, the hinge geometry can be optimized.
A well-designed living hinge has a longer outer surface to accommodate tensile stresses when opening and closing.A closing hinge is subjected to bending: the outer surface is placed under tension and stretches, while the inner surface compresses.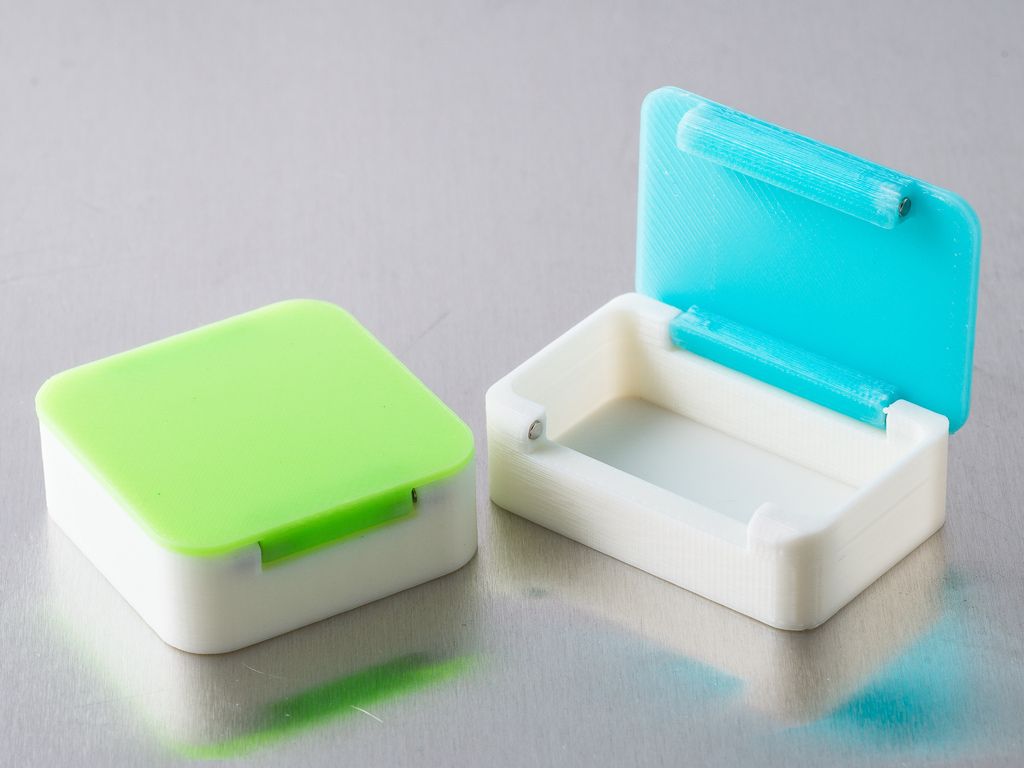 To accommodate this, a good living hinge should be designed to have a long, curved outer surface and a short inner surface. The image below illustrates a standard injection molded living hinge with dimensions in millimeters.
For 3D printing, use more material and a stiffer hinge to improve the number of cycles before failure. Though keep in mind that hinge thickness increases the force of tensile stress on the outer surface. The figure below shows the dimensions of an FDM-printed living hinge that achieved 25 cycles before failure.
These are recommended dimensions for a 3D printed living hinge design.Each type of 3D printing technology has its own set of best practices when it comes to materials and processes used to optimize the production of a part to meet the engineer’s requirements.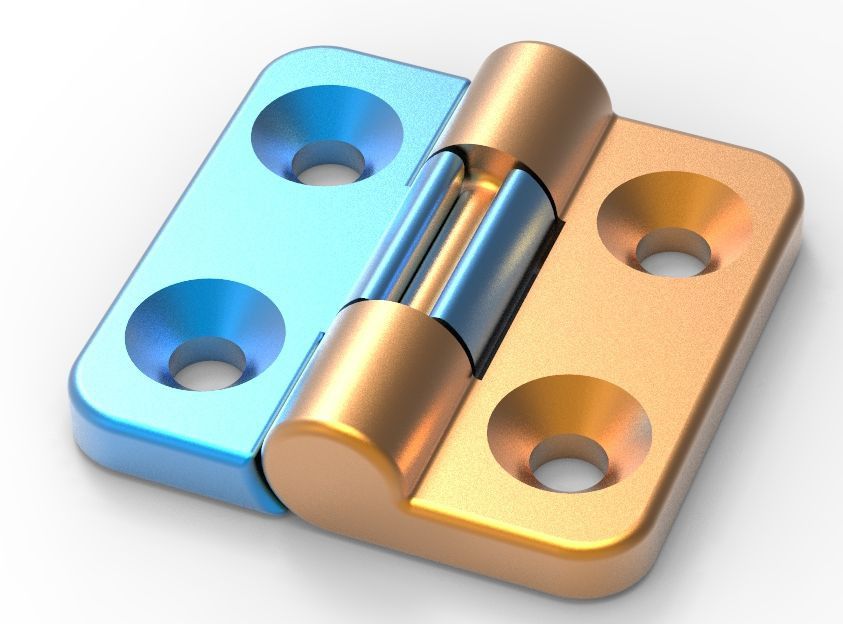 This is why design rules often differ for each technology.
Living hinges in FDM printing
When you are designing a living hinge for FDM, you want to be able to print the hinge with a single strand of thermoplastic integrated into the rigid sections of the build (as shown in the image below).
Depending on the design, a specific orientation might have to be selected to ensure the continuous strand of filament which might result in the need for more support material. If support material is required, it will increase the build’s costs and time.
To improve strength, the living hinge should be printed in a single strand of thermoplastic. (Top view of build)Some dual extrusion FDM printers offer the option to print the hinge section in a secondary flexible material (such as TPU). This further improves hinge performance and the number of cycles before failure. Build orientation remains an important consideration for these materials.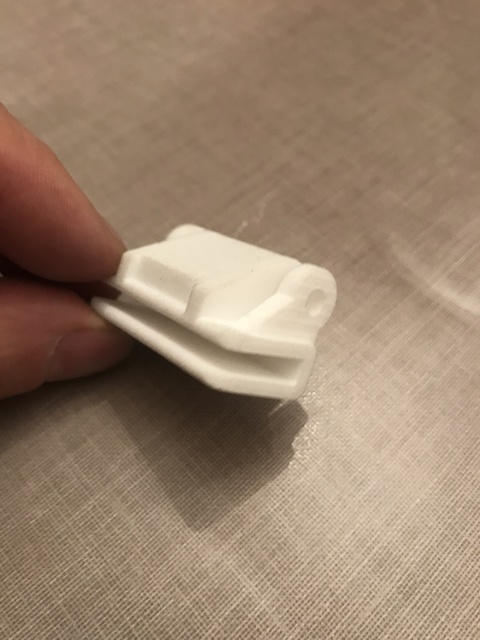
Recommended hinge specifications: 0.4-0.6mm thick with a minimum of two layers
Living hinges for SLS printing
While SLS parts are less susceptible than FDM to delamination, build direction will still impact the life cycle of SLS-printed living hinges. Hinges produced with SLS typically last around 30-50 cycles before failure.
Recommended hinge specifications: 0.3-0.8mm thick and a minimum of 5mm long
What are the options for post-processing living hinges?
After printing, living hinges can be annealed to increase the number of cycles before failure. This can be achieved by heating—a common method is submerging the hinge in boiling water—and then working it back and forth at the elevated temperature before leaving in the closed position to cool. The effect of this procedure greatly depends on the material used and the geometry of the hinge.
Which materials are used for manufacturing living hinges?
Injection molded living hinges are made almost exclusively from polyethylene and polypropylene plastic.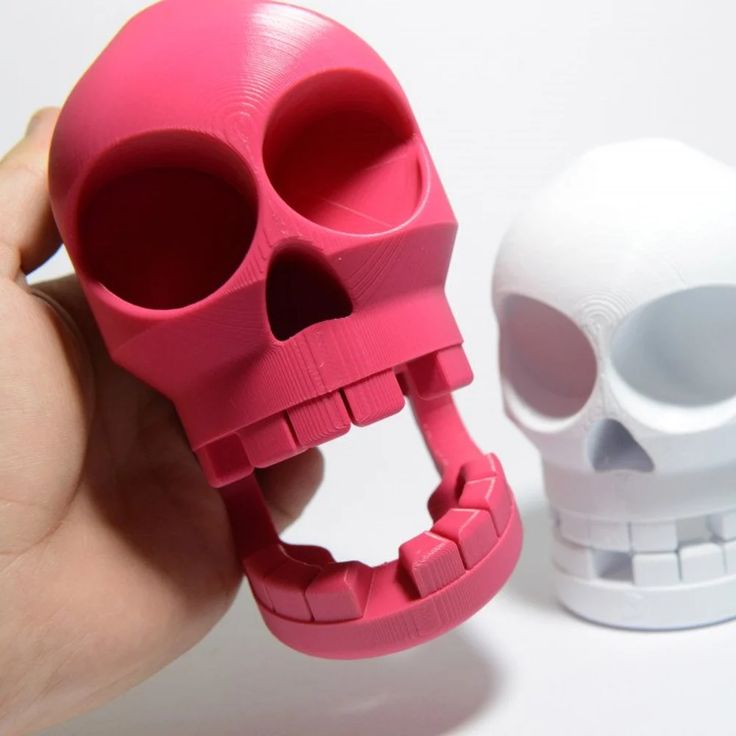 Both materials are flexible and soft, with a relatively low melting point.
For 3D printing, materials that have a high elongation before breaking and good tear resistance are optimal. The recommended materials for each process described above are summarized in the table below.
| Technology | Recommended material |
|---|---|
| FDM | Nylon 12 |
| FDM (multi-material) | Rigid section: any rigid thermoplastic Living hinge: TPU, SemiFlex, NinjaFlex |
| SLS | PA12 or PA11 |
| Material jetting | Simulated polypropylene |
| Material jetting (multi-material) | Rigid section: any rigid photopolymer Living hinge: TangoBlack, VisiJet elastomers |
Living hinge best practices
-
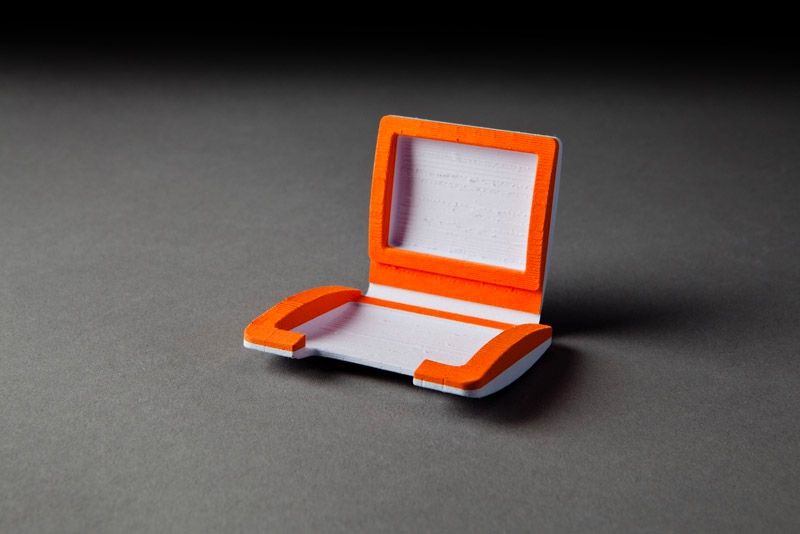
3D printed living hinges are best suited for proof-of-concept designs before investing in expensive injection molded tooling.
-
Living hinge geometry should have a long outer surface path and a short internal path.
-
Hinge dimensions and materials that best suit 3D-printing technologies for producing living hinges are summarized in the table below.
| Technology | Dimensions | Material |
|---|---|---|
| FDM | 0.4-0.6mm | Nylon 12 |
| SLS | 0.3-0.8mm thick and a minimum 5mm long | PA12 or PA11 |
| Material jetting | 0.4-0.8mm thick | Simulated polypropylene |
Ready to transform your CAD file into a custom part? Upload your designs for a free, instant quote.
Get an instant quoteHinges, printable assemblies
3D modeling
For a long time I have been interested in the printing of assembled loops, something like this chest.
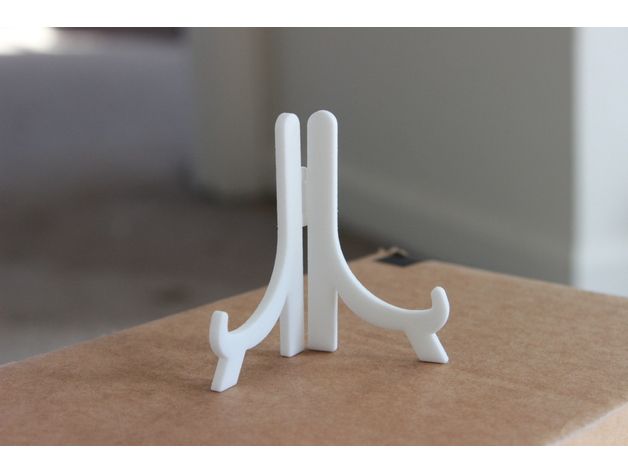 http://www.thingiverse.com/thing:1
I've been looking for something but finding more and more about filament loops on spools. Luckily, 3d20 showed me how to do it. So the whole article could be formatted as a simple link http://www.3dtoday.com/blogs/spiro/when-will-there-be-good-books/#58519. But still, I'll try to write a little wider. Perhaps in the comments they will criticize me and write how it should really be.
So. We see that some items can be printed assembled. The most logical thing is a straight axis inside. Logically, this is logical, but bridges may not be printed on any printer. To be honest, I once forgot to put the support, so I was surprised to see how a horizontal line of plastic stretches behind the head for a distance of 50 mm. But that's because the fan blew on it. In general, it is better to try to do without them.
It is known that up to a certain angle, an oblique surface can be printed without supports, the printer will do it. So that's great! Let's make an element with an axis like this
Someone will say that I have horizontal protrusions... Well, yes, but they are 0.3 mm here, so it's not scary. And so - a thing that is quite realizable without supports, the slope is 45 degrees. We will insert this into such an element
Something is somehow bad. I'll try to cut...
Also all the slopes are no more than 45 degrees, so it's also feasible...
And that's it. Actually, the chest is still the same, if you look at how it slices. The question remains unsolved, what indent should the parts have from each other. Actually, for the sake of this experience, I am writing a document, since the link above does not say this. So, we print PLA, nozzle 0.3, indent 0.1 mm.
There are indents from the sides, at the base - quite a monolith. Trying 0.2 mm
Already better, but not yet.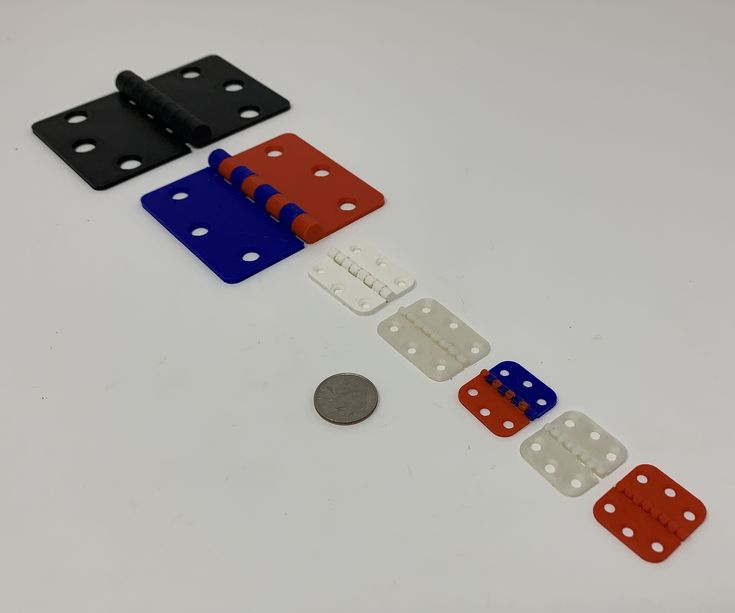 Now 0.3
Well, to be honest, I helped a little with a scalpel at the base. And so - here ... Spinning!
Alright! True, it wobbles a bit. However, the reference chest also staggers. Moreover, if it is peeled to a plastic width of 0.3 mm, we get:
I would say the same 0.3 mm.
True, the chest does not have the problem of gluing the first layer. Probably because the seam is already much higher
Actually, the conclusions:
1) To print assembled loops, you should use cones, as they are easily printed without supports
2) Checked axle offset from hinge - 0.3 mm. But such an axis staggers a little. Perhaps will work on 0.2, but there is a problem with the monolithic first layer
3) To avoid this problem, the convergence of elements should be made higher than on the first layer
4) And in the discussion of the chest, they wrote that overheating the plastic also contributes to unnecessary gluing of the hinges.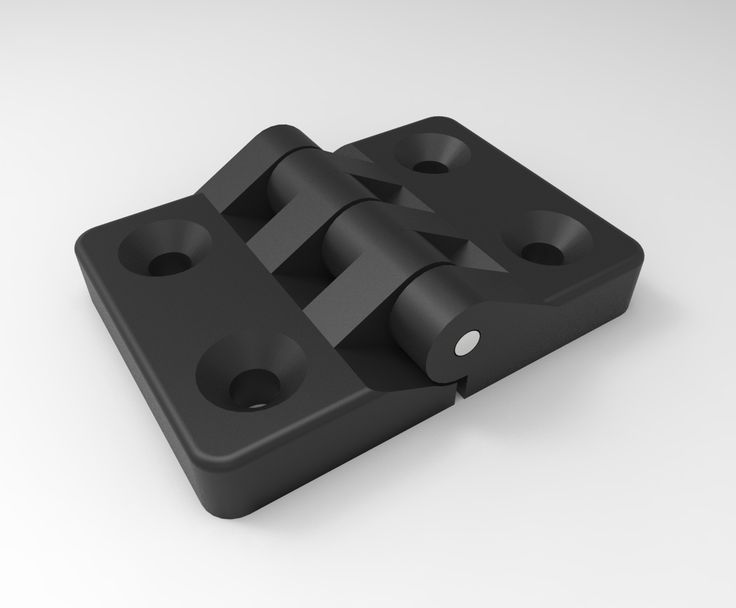
Actually, here. Now whoever searches for this information will find it here... Or maybe even in the comments what subtleties will be added by joint efforts.
Follow author
Follow
Don't want
22
More interesting articles
terkum
Loading
11/12/2022
6432
54
Subscribe to the author
Subscribe
Don't want
Hello!
Not so long ago, about a year and a half ago, my grandson drew and printed...
Read more
31
Subscribe to the author
Subscribe
Don't want
For the umpteenth time I hear the question about what program I use to model, getting an answer upsets many. ..
..
Read more
Sergey
Loading
03/16/2016
176870
264
Follow author
Follow
Don't want to
Hello everyone. The materialise website recently published an article that talked about public bases ...
Read more
MakerBot Tough PLA
More and more companies are investing their money in desktop 3D printers as a prototyping tool and, in most cases, they are replacing more expensive industrial 3D printers. Using desktop 3D printers in the early stages of concept modeling allows engineers and designers to speed up the design process and produce more prototypes at a lower cost.
At MakerBot, one of the main goals is to simplify this process and offer solutions that expand the capabilities of the 3D printer. We've taken a big step in this direction with our newly created MakerBot Tough PLA plastic. It will allow designers and engineers to go beyond the concept of modeling and create more robust prototypes. It is a resilient and strong plastic that mimics or even surpasses many of the mechanical properties of ABS, offering the reliability and quality of PLA.
As the graph above shows, when subjected to tensile stress, MakerBot Tough PLA deforms and eventually returns to its original shape. In addition, Tough PLA exhibits a long strain-to-rupture range that is superior to ABS. In contrast, conventional PLA will simply break. These mechanical properties make MakerBot Tough PLA ideal for creating multi-functional prototypes such as hinges, latches, locks or threads.
Hinges
The loop is a thin and flexible piece that is made from the same material as the two parts it connects. Since this hinge has a compact design and is easy to manufacture, it is an excellent alternative to mechanical hinges.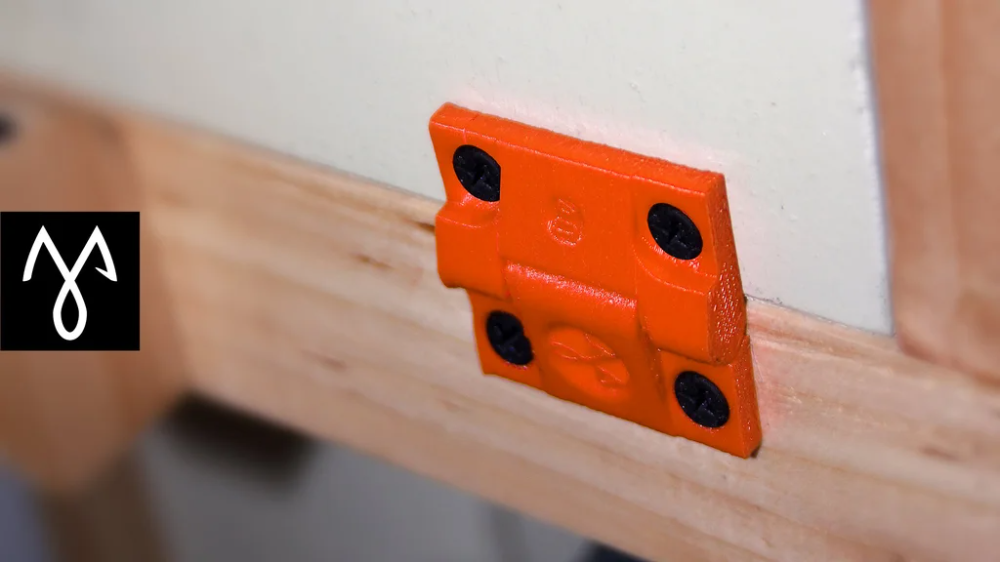 Loops are popular in products such as disposable containers and food packaging. But creating loops in the prototyping process, however, is not so easy. Traditional methods require the use of a second material, such as industrial tape or polypropylene sheets, which are not only time consuming but also do not accurately represent the final product.
Since Tough PLA is designed to deform before peak load, it is ideal for elastic mechanical properties such as those needed for hinges. The material has a significant plastic elongation, which allows it to bend into the working position. In addition, it is strong enough to withstand repeated use, while PLA plastic is brittle, which can lead to rapid wear.
This Tough PLA box has a hinge that can be opened and closed hundreds of times over the lifetime of the prototype without breaking. The box can be printed in one piece, and with techniques such as injection molding, the quality can be greatly improved.
Latches
Likewise, the same qualities that make Tough PLA ideal for mechanical functions such as hinges make it ideal for latches.
The Tough PLA box includes a latch that works in conjunction with a hinge to seal the lid tightly so that it can open and close for the life of the prototype. The ability to print dynamic, functional prototypes in the office allows engineers to test an extended range of design features at a low cost.
Clip-on parts
The snap-in feature is popular with products that need to be assembled and disassembled regularly. And in order for this functionality to work, the printed material must withstand friction and tension. Conventional PLA is prone to breakage under force and is therefore not suitable for printing lock parts. But MakerBot Tough PLA is great for printing lock parts like hinges and ball joints. The material is resilient enough to slide in and out of place, and also smooth enough to withstand long-term use.
The picture above shows two hinges. The right one is printed with regular PLA plastic, and the left one is printed with Tough PLA plastic.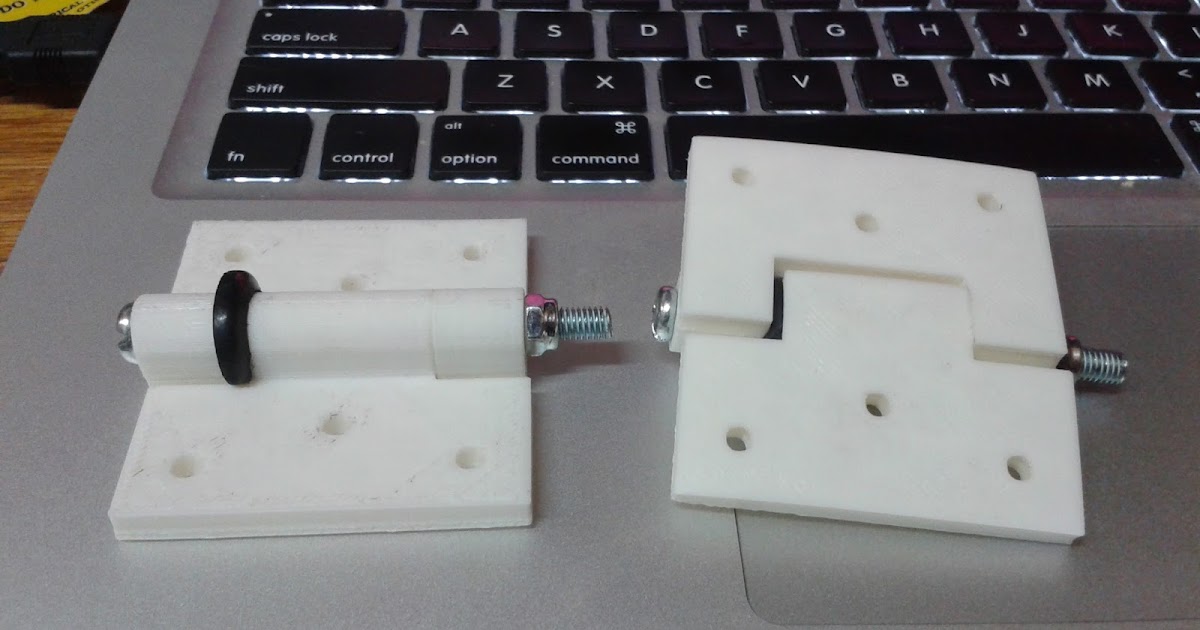 Regular PLA breaks, while Tough PLA is flexible enough to hold its shape. This smoothness also helps resist wear from friction within the hinge.
Precise and durable threading features
In addition to latches, the properties of Makerbot Tough PLA allow you to create precise and durable carvings on printed items. Tough PLA can be carefully drilled to create an accurate hole size, as well as threaded using standard tools for this. This way you can create strong fasteners that can be assembled with each other or included in other functional prototypes or assemblies.
For example, as you can see in the picture above, holes are drilled into the part that can accommodate fasteners of various sizes. While normal PLA will crack under stress from drilling and threading, Tough PLA will hold its shape.
Whether you're going to be printing a hinge, a latch, an interlocking part, or a part that needs to be threaded, the new MakerBot Tough PLA takes you beyond the concept of modeling to create strong, impact-resistant fasteners.


