3D printer for gold
Shapeways: Gold 3D Printing
9K, 14K and 18K Gold
Wax Casting
Upload a model
Loading contents...
Show menu
9K, 14K and 18K Gold
Wax Casting
Upload a model
Material info
About Gold 3D Printing
Gold 3D printing is perfect for creating everyday wear, and timeless pieces too. Available in yellow, white, and rose, as well as 9K, 14K and 18K, Gold is one of the highest quality materials Shapeways offers. Capable of showcasing intricate details, Gold offers a professional, finished look and feel.
Color & Finishes
Yellow
Available in 9K, 14K and 18K
Rose
Only available in 9K and 14K
White
Only available in 14K
Technology
- Wax Casting
Description
Material Highlights
High quality, shiny finishing, skin-friendly, 9K, 14K and 18K gold. 3D printed Gold is capable of showing intricate details.
Handling and Care
Skin-friendly, 3D printed Gold offers high electrical conductivity and is heatproof to 800°C/1472°F.
Design Guidelines
Bounding Box
Bounding Box Max
89 × 89 × 100 mm
Bounding Box Min
2.4 × 2.4 × 0.6 mm
The bounding box is a 3D imaginary outline of a box that encloses the smallest area occupied by your model. Your model must be within the minimum and maximum bounding box sizes. If the size of the model is close to the maximum bounding box, then the printing orientation will be restricted.
Supported Wall Thickness Min
0.8 mm
Unsupported Wall Thickness Min
0.8 mm
A supported wall is connected at least on two sides of the wall, while an unsupported wall is connected only on one side of the wall. Walls that do not meet the minimum requirements may not survive printing and cleaning processes. Additionally, models may still be rejected based on the wall geometry of the model. Please consider the size of your model and reinforce the walls or add support structures as needed as minimum guidelines will not always be adequate for large models.
Supported Wires Min
0.8 mm
Unsupported Wires Min
1.0 mm
A wire is a circular, rectangular or even triangular feature that is thinner in its unconnected directions than its length. A supported wire is connected at least on two sides of the model, while an unsupported wire is connected on one side of the model. Wires that do not meet the minimum requirements may not survive printing and cleaning processes. Additionally, models may still be rejected based on the wire geometry of the model. Please consider the size of your model and reinforce the wires or add support structures as needed as minimum guidelines will not always be adequate for large models.
Details
Details Min Embossed
0.4 mm high & wide
Details Min Engraved
0.35 mm high & wide
For text, the ratio between width and depth, should be 1:1 and sans-serif fonts are preferred for line weight consistency.
Escape Holes
Single Escape Hole Diameter (Min)
4.0 mm
Multiple Escape Hole Diameter (Min)
2.0 mm
Escape holes are necessary to empty the support material of a hollow model. Two escape holes at the opposite ends of the model is optimal for the support removal process. Please consider the size of your model and make the escape holes bigger or add more escape holes as needed as minimum guidelines will not always be adequate for large models.
A single escape hole at the end of a cavity will not allow material in the corners near the escape hole to fully escape. So we recommend multiple escape holes at both ends of the cavity.
Clearance
Min
0.3 mm
Clearance is the space between two individual parts in a model. If the space among the individual parts do not meet the minimum clearance, then parts can fuse together or can be difficult to clean. This is important for movable pieces like hinges, gears, etc.
Interlocking & Enclosed Parts
Interlocking
No
Enclosed
No
Parts in File
Max
Upload as many as two identical parts, like earrings or cufflinks, in the same model file for the Gold 3D printer. Multiple, unique, non-interlocking parts cannot be ordered in the same model files; therefore, separate files are required for unique parts.
Accuracy
Accuracy Your Gold 3D printing model may shrink about 0.25 mm plus 2.5% after casting and finishing. For rings the inner diameter is accurate within +/- 0.1 to 0.15 mm. On average, the Gold 3D printing model shrinks about 2.5% after casting and finishing. We do our best to polish the internal diameter to match your model file.
For example: A product with dimensions of 50 x 50 x 100 mm can be 0.25 mm + 0.025*100 mm = 0.5 mm smaller in any direction.
Stay up to date on promotions, case studies, and more.
Newsletter Sign up
Stay up to date on promotions, case studies, and more.
Email Address
Gold 3D Printing Explained: Technology, Material, Tips | 3D Printing Blog
Begin typing your search above and press return to search. Press Esc to cancel.
by Fabian | January 8, 2020 | Materials
Gold 3D Printing Explained: Technology, Alloys, Colors, Design Tips
by Fabian | January 8, 2020
3D printing is changing the way goldsmiths work and design. More and more people are asking us how 3D printed jewelry items in gold look and feel. In this article, we explain how gold items are created, the difference between 14k and 18k, its various colors, and how to model your 3D design to get the perfect gold 3D print!
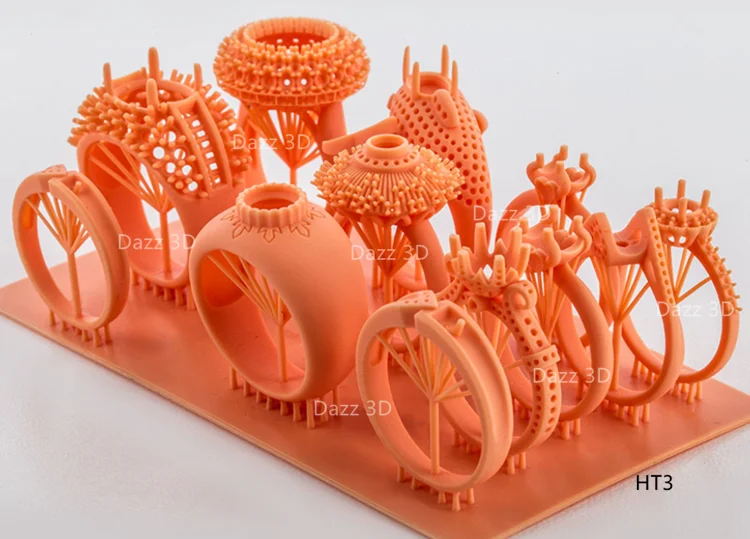
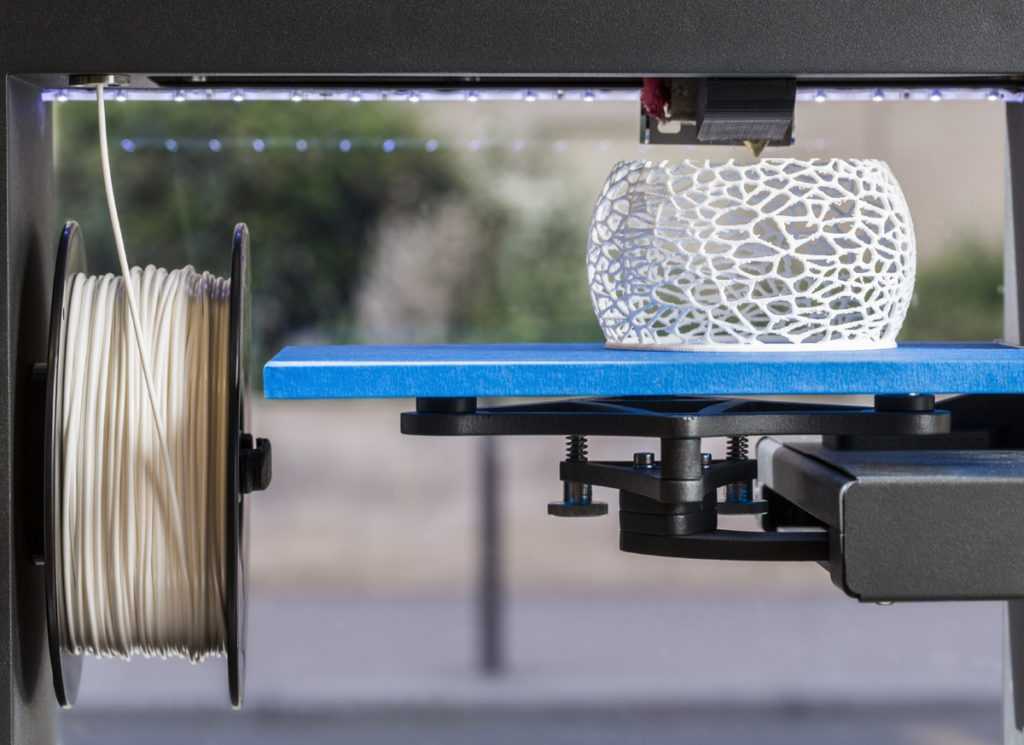
The Technology: It’s All Based on WaxInstead of printing your gold item directly, we use wax 3D printing and lost wax casting to build your design. The wax printing process is a type of Stereolithography that uses a wax-like resin. Support structures are printed along with the model to make sure the item does not fall apart. These support structures are automatically generated and then manually removed after the printing process.![]()
The wax cast is subsequently covered in a fine plaster. When the plaster solidifies, it is put in an oven until the wax is completely burned off. The gold is then poured into the empty cast, thus creating a 3D printed gold item. In the final step of this process, the item is polished and finished manually.
Wax 3D printing and lost wax casting are used to create a gold item.
14k or 18k: The Amount of Gold MattersA pure gold item (composed of 100% gold) is too soft for durable jewelry. With this in mind, jewel makers and goldsmiths usually mix pure gold with other metals, typically silver, copper, or zinc, in order to make it stronger.
The karat (often just written as “k”) indicates the amount of pure gold in the metal: the higher the karat, the larger the percentage of pure gold in the metal. For instance, 100% of pure gold is equal to 24k. However, as already pointed out, an object made of 24k would be too soft. This is why the amount of gold needs to be reduced: while 18k contains 75. 2% pure gold, which is the standard in Europe, 14k gold only contains 58.5% of pure gold and is somewhat less expensive. In fact, 14k gold is the most popular choice for gold jewelry in the United States.
Tulip Shell Pendant by Vulcan Jewelry. Printed in 14k red gold.
Rod of Asclepius Pendant Mini by Marcus Ritland. Printed in 14k yellow gold.
Yellow, White, and Red Gold: The Amount of Silver, Copper, and Zinc MattersSince neither 14k nor 18k gold contains 100% pure gold, the metals we choose to strengthen pieces of jewelry (silver, copper, and zinc) have an impact on the color of the final item. As a result, gold can be offered in several colors: white, yellow, and red.
Take a look at the following examples of the color difference depending on the amount of pure gold as well as the amount and type of metal alloy:
Our three gold color options: yellow gold, red gold, and our updated white gold.
White Gold: A Loose TermThe term ‘white gold’ is used very loosely in the jewelry industry to describe karat gold alloys with a whitish hue. The term ‘white gold’ covers a large spectrum of colors that borders or overlaps with pale yellow, tinted brown, and even very pale rose.
To create a white color effect, nickel is often added to the alloy. Since 1 out of 8 people have allergic reactions to nickel, and in order to comply with a European regulation called REACH, we didn’t want to go this way and preferred a slightly yellowish look.
The jewelry industry often conceals these off-white colors by using rhodium plating. It is a common misconception that the color of the rhodium plating, which is seen on many commercial pieces, is actually the color of white gold. In reality, however, rhodium plating will inevitably wear off. So you would need to ask your local jewelry shop to apply a rhodium plating to whiten your model each time it wears off.
Since neither nickel nor rhodium plating were acceptable options, we decided to add palladium, a rare and lustrous silvery-white metal, to the alloy.
Design Tips: Some Things to Remember- Wall thickness: For most models in gold, the minimum wall thickness is 0.
 5 mm. However, when making something small, such as the band of a ring, the wall thickness should be at least 1 mm. If the model is too thin, the fragility of the gold might cause the ring to break when you wear it.
 - High definition: The resolution of the wax-printing process is very high, so it is important to create and export your model with enough definition to cover the triangles of the original design.
- Hollow models: Gold can also be used to print hollow models. However, keep in mind that you need to incorporate holes or slots, so we can get rid of the unprinted wax resin and make sure that the casting plaster is sufficiently supported. Without these holes, you will not be able to cast your model properly. To prepare your model for casting, make as many holes or slots as possible (at least two holes or slots for each side), each with a minimum diameter of 1.5 mm.
For more essential tips & tricks for designing your gold model, please visit our gold design guide. You can also learn more about 3D-printed jewelry in our blog posts about Desmond Chan’s stunning jewelry collection, Czech jewelry label blueberries, and our ultimate jewelry style guide.
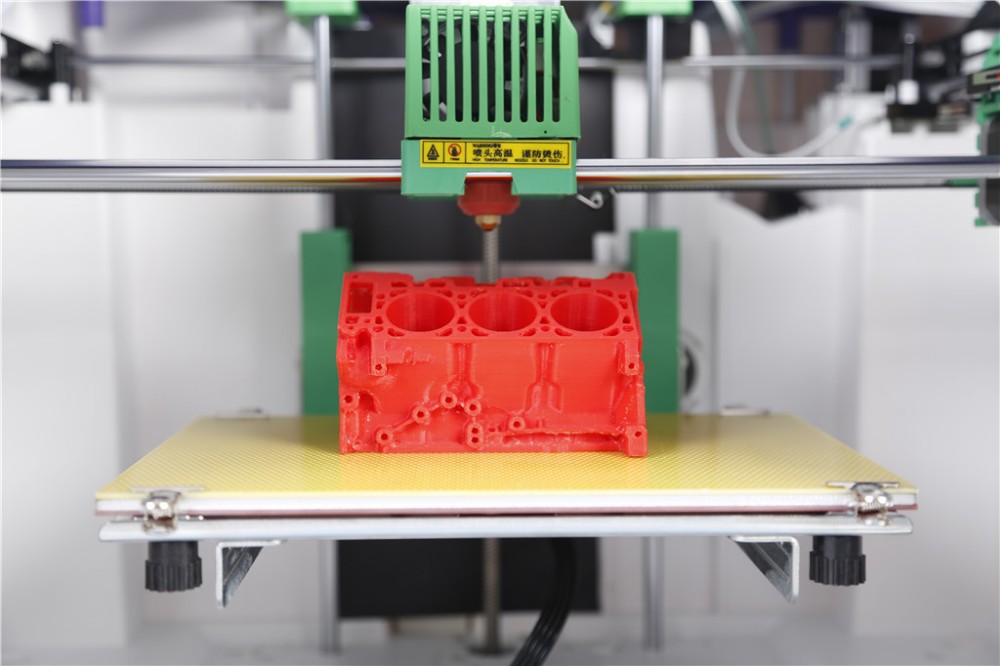
Use of a 3D printer in jewelry
The design of modern fashion jewelry requires innovative approaches in production technology, and here 3D printing comes to the rescue. Rings, bracelets, pendants, brooches and more can now be easily modeled in a special 3D program and printed on a 3D printer. The design can be the most daring. The range depends only on the imagination of the creator.
With photopolymer printing, designers and jewelers can create custom-made pieces easier, faster and cheaper. In addition, a prototype made on a 3D printer allows you to see how the final product will look like, make any adjustments in a timely manner and ensure the most comfortable fit.
The owner of the jewelry company told us more about how he uses advanced 3D technologies in his work « GOLD S.S.A.M. » and our esteemed client Sargis Machkalyan . GOLD S.S.A.M. started in Buenos Aires, Argentina. But in 2002, Sargis decided to develop his business in Armenia.
- Sargis, please tell us how you came to use 3D printing?
I had this idea a long time ago, but we started working with 3D printing about 2 years ago. Basically, we make products by hand, according to individual orders. We make a lot of wedding rings. We also do casting. With the help of a 3D printer, we print products that cannot be made by hand or take a very long time.
- Were there any difficulties in the transition to digital?
There were no difficulties with the transition itself, and finances, thank God, allowed it. There are problems with the fall in production due to the coronavirus and military operations, unfortunately. It is not easy in Armenia now.
- Do you see the advantages of technology over traditional methods?
There are benefits. Manufacturing has become much easier. It is not required to attract a large number of jewelers. Increased work speed. And design - you can produce whatever you want, so to speak. And most importantly, the advantage for the client is that the products look much better, much more beautiful and more modern.
- Does 3D printing save money and time?
Time yes. I would not say that you can save a lot of money on 3D printing, because it also requires its own expenses.
- Do private individuals or businesses apply to your company?
We work with everyone: both companies and individuals.
- How long does it take to produce a 3D decoration?
It depends on the model itself. There are models that are made quickly: you can assemble a model in half an hour or an hour in a modeling program, and printing will take 3 hours. More complex models can be assembled in two hours, printing takes the same 3 hours.
- What 3D equipment do you currently have at your disposal?
PCs and Phrozen Shuffle Lite 3D printer only. There is also an excellent Phrozen Shuffle 4K, but it is currently under repair.
- What resin do you print with?
We print on ESUN, X10 burn-out resin and recently started using HARZ Labs.
- Do you see the modern jewelry industry without 3D technology?
No, I don't.
On behalf of the Tsvetnoy Mir company, we would like to wish Sargis success in his future work, do not stop there, continue to make customers happy thanks to the unusually beautiful and modern designs and the consistent quality of his products. In the photo you can see prototypes made of photopolymer resin, printed on a 3D printer, and final products made of gold, created by burning the former.
3D printed products
Ultimate gold jewelry
Sargis Machkalyan at work
You can read more about the technology of 3D printing of jewelry on our website at the link: 3D printing of jewelry
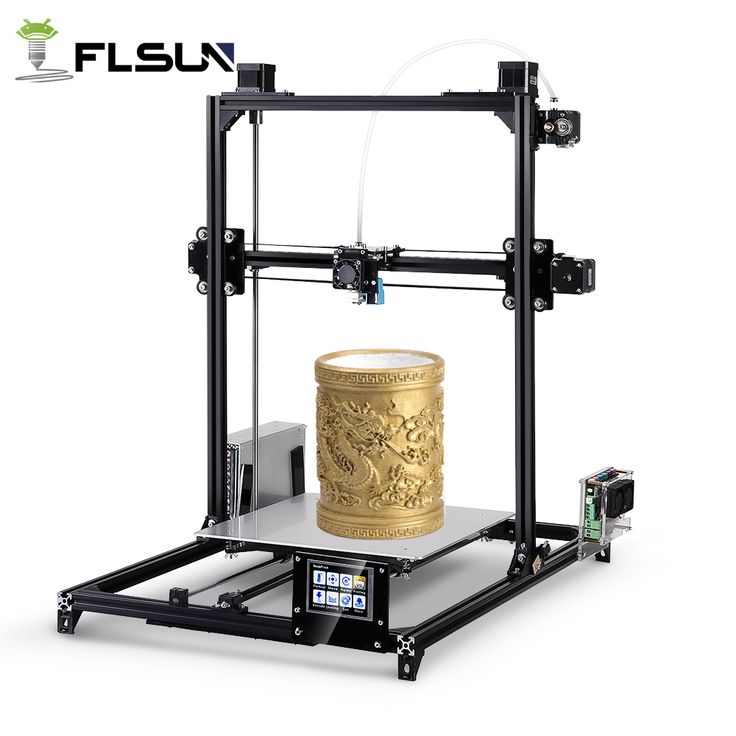
Which LCD 3D printer to choose for jewelry making
In this fast-paced world, even jewelry can now be created using 3D printing. Everything from rings to necklaces can be easily printed with the touch of a finger. Resin 3D printing allows the creation of high-quality jewelry with intricate detailing that would be extremely difficult to achieve with traditional manufacturing.
In the traditional process, jewelers create intricate and fine patterns in wax or by hand. Although they put a lot of love and diligence into their work, this method remains very time consuming and the risk of human error is high. One mistake and you have to start the whole process from scratch.
Thanks to the advent of photopolymer 3D printing, a piece of jewelry can now be created digitally and then printed. If necessary, the design can be modified using a CAD program. Phrozen's Wax-Like Castable Violet imitates wax commonly used in jewelry. A sample of this resin is placed in a mould, filled with plaster, hardened and cast. It burns out, and the final product of gold or silver remains.
What types of jewelry can 3D printers create?
Photopolymer 3D printing allows you to think outside the box and create all kinds of jewelry in the most unique shapes and designs. Also, LCD 3D printers allow you to make custom jewelry at a much more affordable price.
3D printers can be used for prototyping, rubber molding, and jewelry casting.
Let's see which Phrozen LCD 3D printer is suitable for creating jewelry:
Phrozen Sonic Mini 4K 3D printer - for highly detailed jewelry models
The 6.1" LCD resolution of the Phrozen Sonic Mini 4K is best suited for creating jewelry models. It prints delicate pieces in 4K resolution.
The Sonic Mini 4K is capable of printing a full platform of intricate details such as rings, brooches and pendants in a single print session. For example, it can be 10-20 rings on one platform. With fast printing capabilities, this 3D printer prints out a platform full of decorations in the minimum amount of time.
With extremely precise printing, Sonic Mini 4K ensures that all the fine details on jewelry are executed without error.
The Sonic Mini 4K Desktop Resin 3D Printer can be easily stored at home, in the workplace or in a jewelry studio.
Specifications of Phrozen Sonic Mini 4K 3D printer:
- LCD resolution 6.1" 4K Mono LCD
- Display 2.8" Touch Panel
- Construction area size 134x75x130 mm
- 35 µm XY resolution
- print speed 80 mm/h
Sonic Mini 8K - for extremely detailed jewelry models
With a 7.1" LCD display resolution, the Phrozen Sonic Mini 8K is the best choice for those who want to create extremely intricate jewelry in 8K resolution.
The Sonic Mini 8K is able to print a full platform of the most intricate jewelry such as rings, brooches and pendants in a single print session. One plate may contain, for example, 10-20 rings.
Sonic Mini 8K comes with a matte laser cut platform, while allowing your jewelry to attach more firmly to the build plate. This increases the likelihood of printing success.
With a matte pattern print platform on the surface, 3D models are firmly attached to it during printing, greatly increasing the success rate of 3D printing. Sonic Mini 8K is best suited for professional jewelers who want to increase their productivity and create the most detailed models.
Phrozen Sonic Mini 8K 3D Printer Specifications:
- LCD resolution 7.1" 8K Mono LCD
- Display 3.5" Touch Panel
- Construction area size 165x72x180 mm
- 22 µm XY resolution
- print speed 80 mm/h
Why invest in 3D jewelry printers
Photopolymer 3D printing allows jewelers to create multiple samples and complex designs at once, saving both time and money.