3D printer workshop
3D printed workshop equipment: organizing your stuff
Welcome to the first part of our series on 3D printed workshop equipment. Today we will focus on tidying up our man caves (or woman caves ;-)) with the help of 3D printing.
Actually, your workshop doesn’t really have to look like a cave anymore nowadays. In DIY stores, you can find a neat selection of holders, organizers, racks, and containers. However, chances are you might want to opt for 3D printing, even though it will always be more expensive and time-consuming than buying ready-made stuff.
The customizing and personalizing aspects might be well worth it – pick your favorite color, match the style of organizers you already have, and tailor everything to utilize all the available space…which is somehow never large enough.
Having everything in boxes or drawers is tidy and makes the dusting much easier, however, searching for the right tool in closed containers is time-consuming and distracting.
We really recommend having everything readily accessible, with each thing in its permanent place, preferably right in front of your eyes. Some sort of a wall-mounted storage system is ideal for this.
Mounting all the racks and holders directly on the wall is not very practical. Instead, you should screw or glue them to a desk and then attach the whole desk to the wall. It’s up to you whether you want to use plywood, chipboard, or solid wood.
Another option is a pegboard: a perforated panel with standardized holes. Again, there are various materials: metal, plastic, or hardboard.
There are various types of pegboards with different shapes, sizes, and spacing of the holes. If you want to use downloaded 3D models, plan ahead and make sure they are going to be compatible.
Where to get the models?Speaking of downloading 3D models, there is a whole category of organizers in the PrusaPrinters database. You will also find links to individual models and collections below.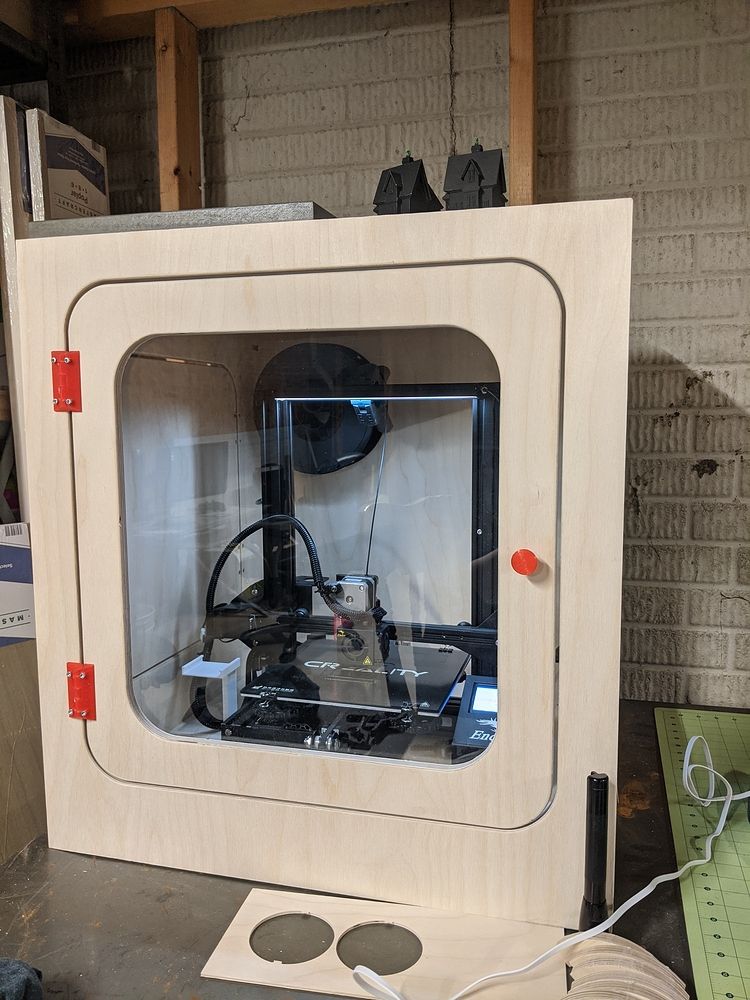
Another option is modeling the parts of the storage system yourself. It might seem daunting at first, however, it is actually an ideal beginner’s project, and also a very rewarding one. All the boxes, racks, and holders are relatively simple geometrical shapes after all. In fact, practical thinking and patience to measure everything twice are going to be much more important than awesome 3D modeling tricks.
We are using the Fusion 360, which we consider a good beginner’s choice: it is very user-friendly for such a sophisticated piece of software.
By the way, consider checking out our article on parametric modeling. Storage systems are a typical application of the parametric approach – it is extremely useful to branch out various types and sizes from a basic model with just a few clicks.
Consider sharing the results of your work with others via PrusaPrinters and enjoy our new system of rewards!
If you don’t feel ready to start from scratch yet, you can begin with remixes and adjustments to existing models (for simple things like deleting pegs, adding holes, etc.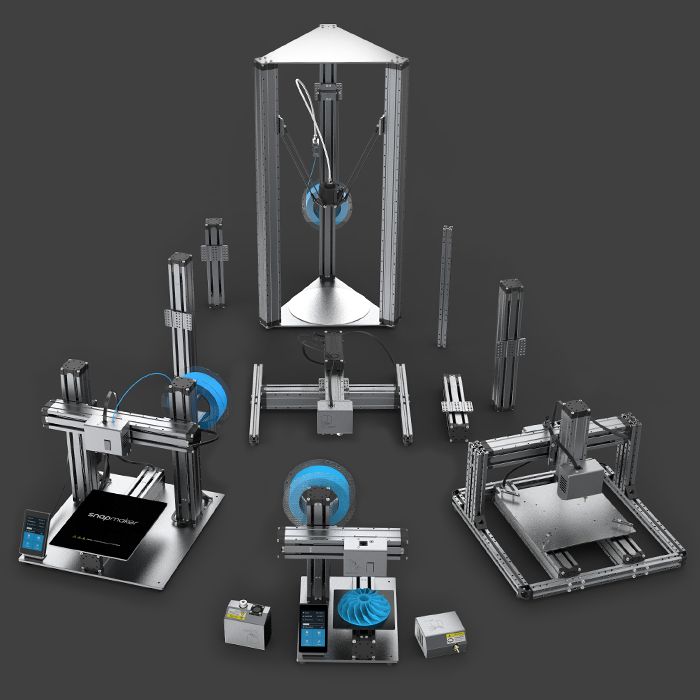 , even Tinkercad will do) and slowly work your way through to your own creations.
Finally, let’s move on to the models for download and/or your inspiration.
Screwdriver holder
This one is designed for a pegboard, but you can easily remove the peg mounts and model (or later drill) holes instead.
Pliers holder
Designed to be mounted on a board. Looks primitive, but there is really not much to improve. Works perfectly with pliers of various shapes and sizes.
Drill holders
Drill holders are especially useful as sifting through a pile of them to find a correct diameter is a major PITA. The holes are marked with numbers – it is just a matter of your discipline returning the drills to their correct places immediately 😉
Various paint holders
Organizing your paints is a topic on its own. Few painters and modelers remain faithful to one brand (neither is one brand suitable for all applications), so inevitably, over the years they end up with a motley assortment of oil paint tubes, spray cans, tins, bottles, and pedal bins (or whatever are the Citadel containers properly called ;-)).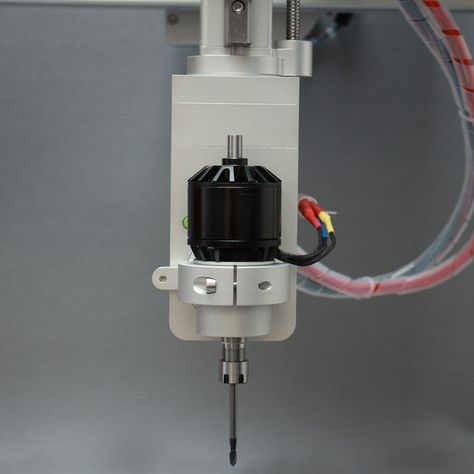 With 3D printing, you can mix and match your paint rack to accommodate everything efficiently, even if you have only a few pieces of each brand.
The Vallejo (or Vallejo-sized, like AK Interactive, etc.) paint holder comes in various sizes, from 2×3 to 9×6 bottles.
Organizing fasteners
Even though we earlier dismissed boxes and drawers for storing your tools, they are golden for all those nuts, screws, and other small bits. In the link above, there is a whole system of more than 60 models of all sizes that you can stack and attach to each other to completely fill your available storage space.
Here is an interesting organizer, upcycling plastic sides of empty Prusament spools.
By the way, the whole spool is reusable, even the paper tubes!
Last but not least, here is a collection of various small containers.
Our picksThis is a whole system we use in our own modeling workshop.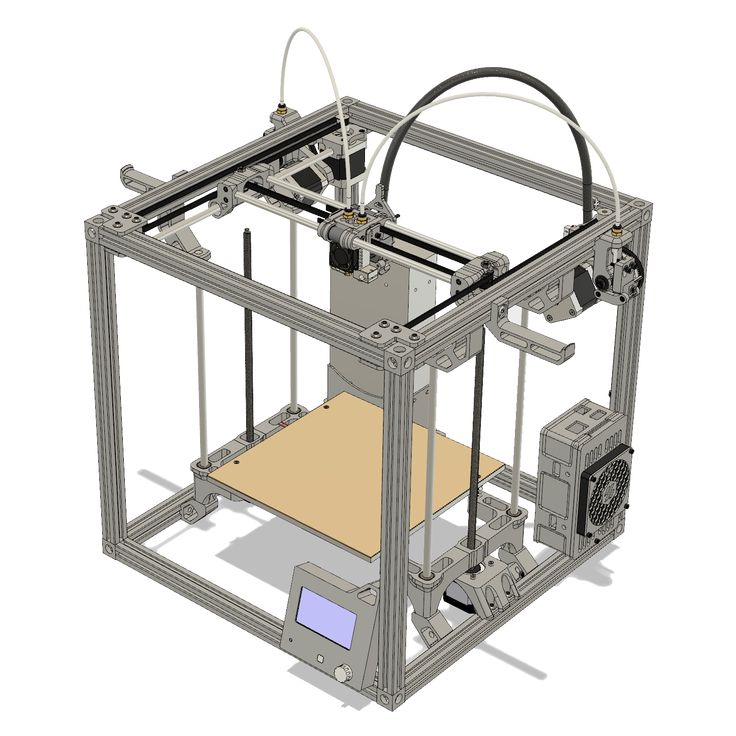 It contains holders for paints, drill bits, small trays, but also less obvious, but useful things like a heat gun holster or a paper towel rack.
And here is another collection of assorted prints we consider interesting and useful.
Stay tuned!We will soon follow up with another article (or two), this time focused on the tools themselves.
In the meantime, please feel free to share your tips and suggestions. Also, you can share photos of your workbench, no matter if it’s neatly organized, or…less so. Let the unofficial quest for the worst place of chaos and despair begin 😉
Happy printing!
3DPrintClass | Urban Workshop
Learn everything you need to know to start 3D printing now by taking this accelerated 3D printing class track. Over the course of this two day-long class you will build your own Ender-3 3D printer and work to become proficient in the world of 3D printing. You will assemble, calibrate, print, and design your own custom parts using fusion360 CAD modeling software. No prior experience in 3D printing or CAD modeling is required. All materials are included in the course fee, including your very own Ender 3 printer! The only question we’ll have for you when you’re done is, “what will you make”? 3d printer is included for you to take home.
Attire: Pants, closed toe shoes, shirt that covers shoulders
Age: Individual participants in this class need to be 18 years of age or above. Ages 14 to 17 with parent or guardian.
Price: Member: $634; Non-member: $888
Prerequisites: Membership to Urban Workshop; knowledge of 3D part modeling is helpful but not required.
See when offered
Thanks to 3D Printing, you can quickly and easily create a physical object from a computer model, literally printing the part as it goes. This is an easy way to prototype your parts before machining or injection molding. Urban Workshop features a professional quality Dimension Elite FDM printer and Makerbot Method-X.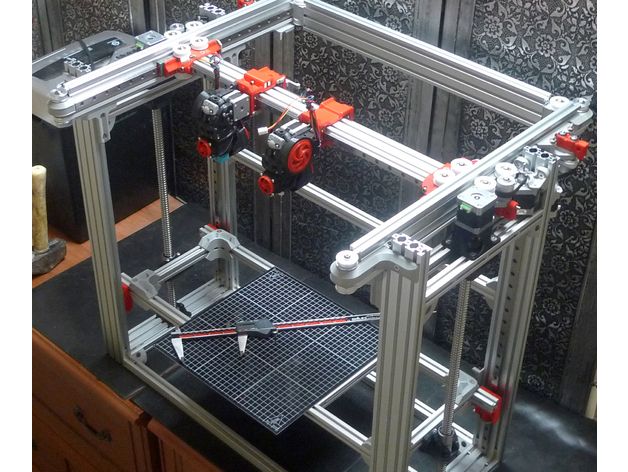 They are current state of the art of ABS plastic printers with soluble support for making complex geometry. So when you have a CAD file ready to print, come on in and we will just show you how to use it. And don’t worry about materials, we stock them here.
Attire: Pants, closed toe shoes, shirt that covers shoulders
Age: Individual participants in this class need to be 18 years of age or above. Ages 14 to 17 with parent or guardian.
Price: Member: $49; Non-member: $69
Prerequisites: Membership to Urban Workshop; knowledge of 3D part modeling is helpful but not required.
See when offered
Learn to understand the technology and software that power most of the 3D printers on the market today including a review of current types of printers, materials, and machine specific features including nozzle types, temperature control, and print beds. Starting with a discussion on model features and how to achieve the best prints, we will jump in to the Cura software that powers most entry level 3D printers. At the completion of this class you will understand the basics of correct part creation, setup, scaling, orientation, support structures, slicing, file preparation, STL file export, Cura software use, and sending parts to your printer.
Attire: Pants, closed toe shoes, shirt that covers shoulders
Age: Individual participants in this class need to be 18 years of age or above. Ages 14 to 17 with parent or guardian.
Price: Member: $95; Non-member: $133
Prerequisites: None
See when offered
3D Printing in the Machine Shop: Lessons from A&M Tool
In manufacturing, success is always about speed. The ever-changing technology landscape offers manufacturers and machine shops the opportunity to increase their productivity by introducing new tools, but they also face the challenge of choosing technologies that can reliably and cost-effectively scale upgrades.
A&M Tool and Design has witnessed the evolution of precision and efficiency standards for over 65 years. At 19In 1948 the company began its activity as a small family mechanical workshop. This description is still true today, but, of course, in a modified version: next to the highly skilled operators working on classic Bridgeport CNC machines, there are racks with eight support surfaces of the Mazak PALLETECH system, which can work without an operator 24/7.
Over the years, the workshop has been modernized, adding reliable traditional technologies and modernized machines for the production of parts with new equipment and specialized machines for the production of aerospace, optical and robotic components. Clients include Boston Dynamics, LinkNYC, NASA, Goodrich and Corning. nine0003
In addition to mass production automation equipment such as PALLETECH, last year the workshop purchased an industrial grade desktop stereolithography (SLA) 3D printer to speed up projects and attract more engineers. Since then, they have scaled the scope of 3D printing from prototyping and demonstration models to manufacturing auxiliaries and final parts for specialized equipment.
"3D printing has become an invaluable tool in our toolbox," says Guido Jacques, vice president of operations at A&M. nine0003
A&M Tool and Design machine shop uses a wide range of technologies, from Bridgeport CNC machines to the SLA desktop 3D printer.
A&M Tool added the Formlabs Form 2 desktop 3D printer to its toolbox less than a year ago to speed up prototyping workflows and increase in-house production of low-cost parts.
To effectively replace prototyping, which would otherwise be done through more labor-intensive workflows, 3D printing needed to be both cost-effective and accurate. Ryan Little, Mechanical Engineer at A&M Tool, after researching which 3D printer would best suit their needs, chose the Form 2.
“Among other things, we were looking for a 3D printer that could work autonomously and didn't require a lot of training to use,” says Little. We can use some of the CNC machines downstairs, but these are rarely free, and programming a CNC machine to do a complex job in Mastercam or on the controller itself can take hours.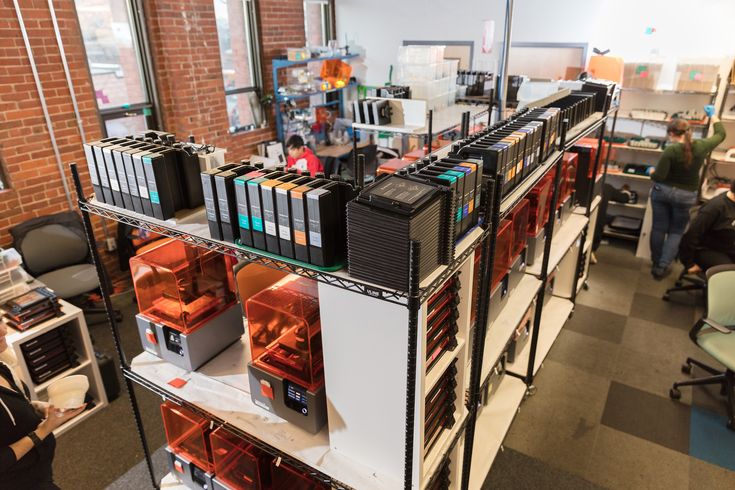 It takes 10 minutes to run a job in the Formlabs PreForm software and it really isn't that hard."
Changing tools and setting up CNC machines can take hours, while preparing a 3D print job takes less than 10 minutes. nine0003
Little and his colleagues regularly discover new opportunities to use cost-effective 3D printed plastic parts to improve workflows and projects. The printer serves as a workshop for fixing errors and speeding up deadlines, from prototyping to making production tools and printing final parts for temporary replacements.
In many cases, the decision comes down to the material: does it have to be metal? Can it be easily replaced with a polymer-based part? nine0003
“A lot can be done with a lathe. We can machine a shaft of a very specific diameter in 20 minutes and it will be a very precise job. But if it takes a machine operator five hours to program and 10 hours to fabricate, 3D printing will be preferable to machining,” says Little. — Compared to the world of machining, why choose titanium when this part can be made from aluminum. There is no need for titanium."
A&M Tool engineers regularly use the Form 2 3D printer to make prototypes, tooling and more
In the area of prototyping, the workshop began using 3D printed parts to test fit and function. 3D printing allows Little and his engineers to produce parts much faster and use all the hours available in the day, starting printing at night and getting parts ready for use the next day. 3D printing comes into play especially when it comes to shaped parts that are expensive and time consuming to manufacture on a CNC machine. nine0003
“The printer is almost like an auxiliary tool in addition to CAD,” says Little. — We produce a huge number of prototypes for different types of tools. If we didn't have the Form 2, many prototypes would remain digitally in CAD until the machining queue was cleared, and some parts would never be made or designed because it would be impractical."
Many of the parts manufactured by A&M are designed to resist fatigue and/or carry loads. To prototype strong, functional parts and assemblies that will be subjected to transient loads or tension, Little often uses Tough Resin, a Formlabs polymer. Learn more about Formlabs Engineering Resins or request a free sample to experience the quality yourself. nine0003
CNC programming requires skill and time. When a part does not need to be metal, 3D printing can be a practical tool for prototyping or manufacturing tooling to produce the desired part much faster and at a lower cost.
A&M engineers also use 3D models to facilitate interaction with machine operators and welders by turning complex drawings into physical models. Machine operators are increasingly making requests for models themselves. nine0003
“Sometimes a hole in a finished part is knocked out in the wrong direction, or a feature is on the wrong side, and it can't be fixed. This happens when the part is already pretty much complete and has to be started all over again,” explains Little.
- We have highly skilled machinists who can read drawings with so many callouts that you can hardly see the drawing itself behind them, but even they sometimes need more clarity, especially when there are complex geometric elements, such as undercuts. Now, if we have an assembly file or a SolidWorks file, we make a model of the part to scale and give it to them, and they love it. Everyone in the workshop is even starting to get used to it.” nine0003
In addition to prototyping, A&M has expanded its use of 3D printing to produce functional parts such as fixtures, and even some end pieces, from an ergonomic handle for a custom machine to a temporary sprocket clutch for one of their polishers.
In particular, when a delivered sprocket coupler for one of their large polishers turned out to be the wrong size two days before a major trade show, Little quickly designed and 3D printed a replacement in the correct size in Durable Resin. The printed clutch was used to run a 2 hp grinder motor. nine0003
When a sprocket clutch for a polisher ordered before a big show turned out to be the wrong size, Little 3D printed a temporary replacement in Durable Resin.
Clamps, fasteners and other special production tools are essential for efficient and effective production. Check out our 3D Printing Jig and Fixture Design Guide for helpful tips and practical ideas. nine0003
A&M Tool purchased one 3D printer less than a year ago and continues to find new applications and experiment with new materials.
“3D printing allows us to do things that would not be easy to do in the shop, such as creating geometric conditions that would be a nightmare to implement on a machine, etc.,” says Little. “It gives the workshop a competitive edge.”
“It gives you the ability to do things you don't think about when you buy. We are very pleased with the Form 2 and the decision we made,” notes Jacques. nine0003
Manufacturers and machine shops across industries are turning to 3D printing technology to improve efficiency and reduce costs by outsourcing parts such as clamps, fasteners and tooling. Watch our webinar to learn how companies are benefiting from 3D printing in manufacturing, as well as best practices for using the flexibility of 3D printing to create fasteners.![]()
.
Watch webinar
3D printers in the architectural workshop in Kazan — Zenit3D
As part of our visit to Kazan, we asked our distributor to give us a tour of the architectural workshop Architep, whose Instagram we have been following for a long time.
The workshop has several specializations, but one of the most spectacular and interesting is the creation of museum models.
One of the leaders and inspirers of Archetype, Ildar Tazeev, told us that architects not only create models of real-life old buildings for museums, but also recreate the look that exists in, for example, the 17th century. Often, even no pictures and drawings exist for this, therefore, before drawing 3D models, they arm themselves with books on the history of that period and delve into all the details. nine0003
Now one of the big projects of the workshop is the creation of models of churches and buildings of the island of Sviyazhsk (the fortress of Ivan the Terrible, located near Kazan), for the Sviyazhsky Museum.
Five of our ZENIT printers (one is on the side and not included in the photo) are working in the workshop, all with one head.
The printer fleet grew gradually. As Ildar said, the idea to buy the first one arose when the cost of ordering the required amount of printing from a third-party company was calculated and it was equal to the cost of a new printer. After that, as the load, the growth of orders and other things, the printers were purchased one at a time. Now they are actively used to print all the ‘stone’ parts, and in addition, for any small details of layouts, which are further processed and painted. nine0003
The process of creating each layout is unique, there are no standard schemes. Sometimes, the frame of the structure is made of ordinary rulers, and the relief is made of foam. For more complex relief, 3D printing is also used.
Ildar (pictured below) tells us about the creation of stoves. By the way, the workshop buys mostly white plastic.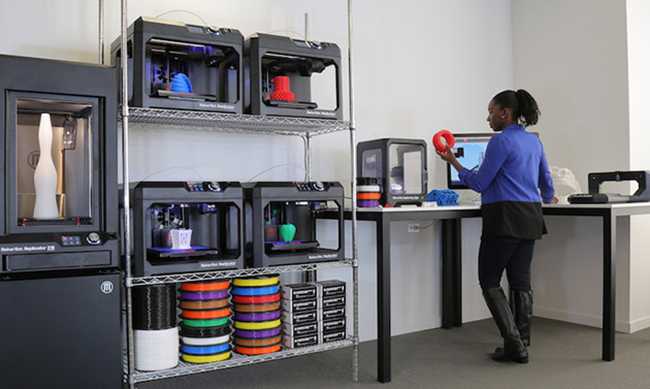 It is the easiest to process later. And prints all models from PLA.
The workshop also makes projects for developers: models of future buildings, both high-rise buildings and luxury villas. nine0003
Here are the pieces of stairs and columns from the Crimean elite villa project.
Young architects work in the workshop, all in their own mode. After all, the main thing is not the visit schedule, but the project schedule. Therefore, even with us, someone left, someone came. And from the outside, we saw what a painstaking work it is: whether it is modeling or gluing finished parts.
And in conclusion, we will tell you that the next day we went on an excursion to Sviyazhsk and saw with our own eyes the church that we held in our hands. Despite the fact that St. Nicholas Church was photographed from a different angle, you can see in the two photos below that the resemblance of the layout to the original is striking. This is what conquers the work of "Architype" - attention to all the little things.