3D printer software for ender 3 pro
Ender-3 Pro Software& Firmware Download
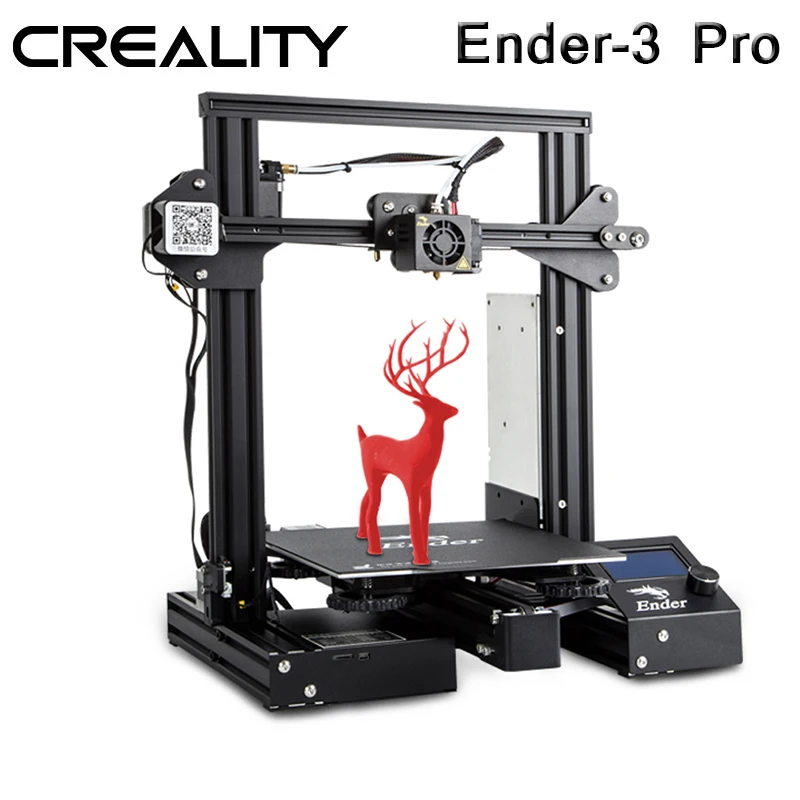
Ender-3 Pro
Get Updates
Enter your email for any updates here.
Thanks for subscribing
Download Product Manual
Ender-3 Pro User Manual V.2.2
DownloadRelease Notes
Follow this operation manual.
Download Product Firmware
GD-Ender-3 ProHW4.2.2SW2.0.8.2CRTouchFilamentEuropeMulti 29 Nov. 2022
DownloadRelease Notes
Firmware applicable model and mainboard version
Printer model: Ender-3Pro
Printer mainboard version: V4.22
Notes: The firmware is Ender-3Pro CR-touch/BL-touch version, compatible with support for filament detector.
Mainboard update:
1. Format the TF card on the computer side, and select 4096 for the allocation unit size.
2. Put the firmware file "GD-Ender-3 ProHW4.2.2SW2.0.8.2CRTouchFilamentEuropeMulti.bin" into the root directory of TF card.
3. Turn off the printer and insert the TF card into the card slot on the motherboard.
4. Reboot and wait for the update to finish.
5. After finishing the update, remove the TF card from the motherboard slot and delete the bin file inside.
Ender-3 ProMarlin2.0.6HW4.2.2EuropeMultiLanguage 29 Nov. 2022
DownloadRelease Notes
Firmware applicable model and mainboard version
Printer model: Ender-3Pro
Printer mainboard version: V4.2.2
Notes: The firmware is the nine-language version of Ender-3 Pro.
Mainboard update:
1. Format the TF card on the computer side, and select 4096 for the allocation unit size.
2. Put the firmware file "Ender-3 ProMarlin2.0.6HW4.2.2EuropeMultiLanguage.bin" into the root directory of TF card.
3. Turn off the printer and insert the TF card into the card slot on the motherboard.
4. Reboot and wait for the update to finish.
5. After finishing the update, remove the TF card from the motherboard slot and delete the bin file inside.
GD-Ender-3 Pro-HW-V4.2.2-SW-V2.0.8.23-CRTouch-FilamentEuropeMulti 09 Aug. 2022
DownloadRelease Notes
For the mainboard chip with GD word.
Ender-3Pro_HW4.2.2_SW2.0.9.03_SpritExt_h400 02 Aug. 2022
DownloadRelease Notes
Realize 300-degree high-temperature printing and support automatic leveling.
Ender-3Pro_HW4.2.7_SW2.0.9.03_SpritExt_h400 02 Aug. 2022
DownloadRelease Notes
Realize 300-degree high-temperature printing and support automatic leveling.
GD_Ender-3 Pro_HW_V4.2.2_SW_V2.0.8.2 09 Oct. 2021
DownloadRelease Notes
Ender-3 pro 4.2.7mainboard--High Temperature Full Hotend Kit firmware 15 Jun. 2021
DownloadRelease Notes
Ender-3 pro 4.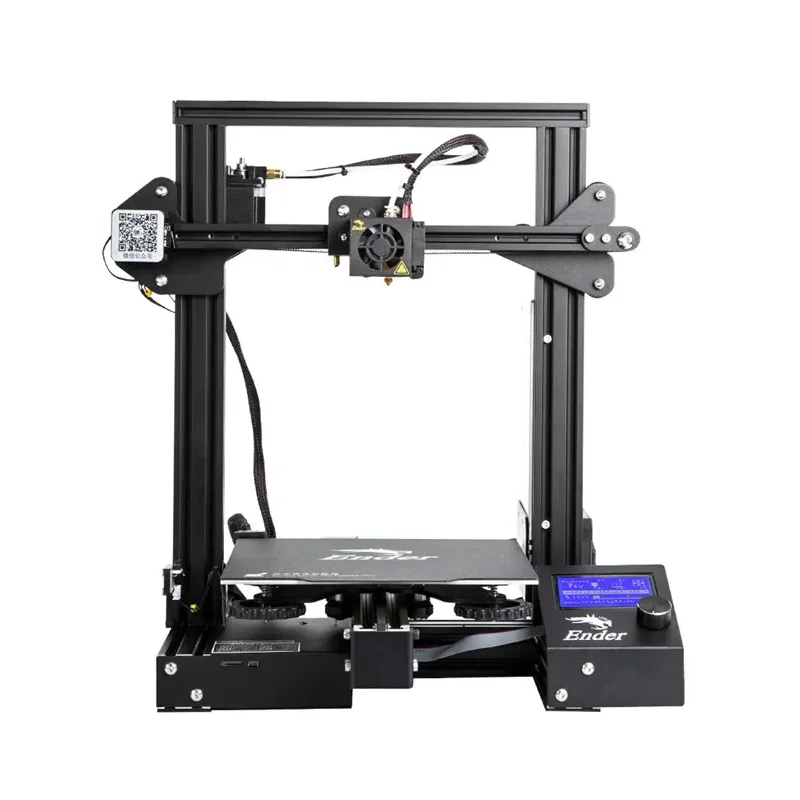 2.2mainboard--High Temperature Full Hotend Kit firmware 15 Jun. 2021
Release Notes
Ender-3 Series Touchscreen firmware (Excect Ender-3Max) 08 Mar. 2021
DownloadRelease Notes
Ender-3 pro 1.1.5 mainboard firmware (8bit) 20 Jan. 2021
DownloadRelease Notes
Ender-3 pro 1.1.4 mainboard firmware (8bit) 20 Jan.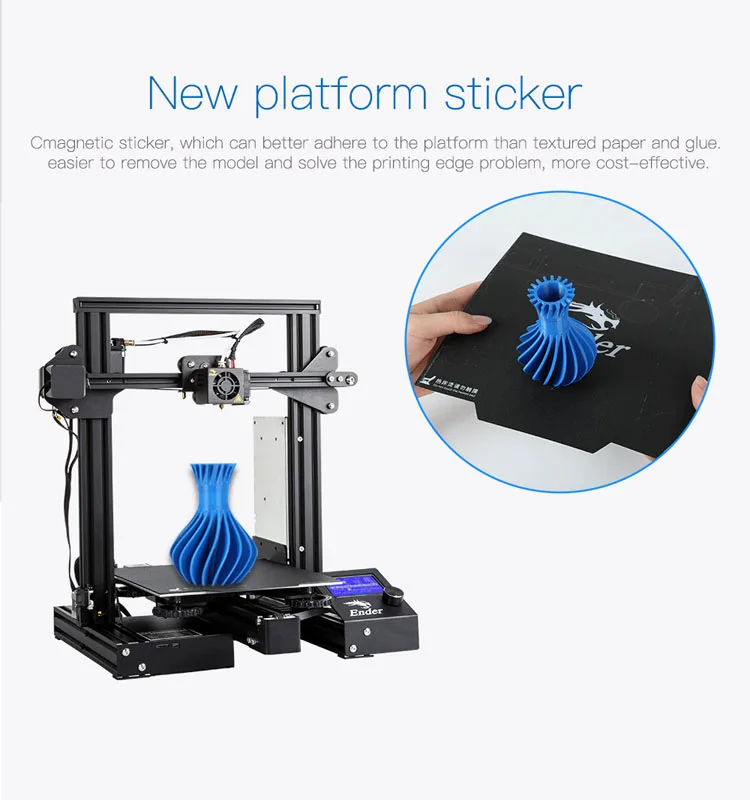 2021
2021
Release Notes
Ender-3 pro 4.2.7 mainboard firmware (32 bit) 16 Jan. 2021
DownloadRelease Notes
Release Notes
Ender-3 pro 4.2.2 mainboard firmware (32 bit) 16 Jan. 2021
DownloadRelease Notes
Ender-3 Pro SD Card File 16 Jan. 2021
DownloadRelease Notes
Ender-3 Pro_1. 1.6.2V_Source Code 16 Jan. 2021
Release Notes
Download Slicing Software
Ender-3 Software& Firmware Download - Creality 3D Printer
Ender-3
Get Updates
Enter your email for any updates here.
Thanks for subscribing
Download Product Manual
Ender-3 User Manual V1.1
DownloadRelease Notes
Follow this operation manual.
BL Touch Introduction
DownloadRelease Notes
Download Product Firmware
Ender-3-Marlin2.0.1-HW-V4.2.2-SW-V1.2.1-Filament 29 Nov. 2022
2022
Release Notes
Firmware applicable model and mainboard version
Printer model: Ender-3
Printer mainboard version: V4.2.2
Notes: The firmware is Support filament detection function
Mainboard update:
1. Format the TF card on the computer side, and select 4096 for the allocation unit size.
2. Put the firmware file "Ender-3-Marlin2.0.1-HW-V4.2.2-SW-V1.2.1-Filament.bin" into the root directory of TF card.
3. Turn off the printer and insert the TF card into the card slot on the motherboard.
4. Reboot and wait for the update to finish.
5. After finishing the update, remove the TF card from the motherboard slot and delete the bin file inside.
Ender-3Marlin2.0.6HW4.2.2Z350 29 Nov. 2022
DownloadRelease Notes
Firmware applicable model and mainboard version
Printer model: Ender-3
Printer mainboard version: V4. 2.2
2.2
Notes: The firmware is Ender-3 Z-axis height increase 350MM.
Mainboard update:
1. Format the TF card on the computer side, and select 4096 for the allocation unit size.
2. Put the firmware file "Ender-3Marlin2.0.6HW4.2.2Z350.bin" into the root directory of TF card.
3. Turn off the printer and insert the TF card into the card slot on the motherboard.
4. Reboot and wait for the update to finish.
5. After finishing the update, remove the TF card from the motherboard slot and delete the bin file inside.
GD-Ender-3HW4.2.2SW2.0.8.2EuropeMulti 29 Nov. 2022
DownloadRelease Notes
Firmware applicable model and mainboard version
Printer model: Ender-3
Printer mainboard version: V4.22
Notes: Special firmware for Ender-3 with GD control chip,nine-language version
Mainboard update:
1. Format the TF card on the computer side, and select 4096 for the allocation unit size.
2. Put the firmware file "Ender-3Marlin2.0.6HW4.2.2.bin" into the root directory of TF card.
3. Turn off the printer and insert the TF card into the card slot on the motherboard.
4. Reboot and wait for the update to finish.
5. After finishing the update, remove the TF card from the motherboard slot and delete the bin file inside.
Ender-3Marlin2.0.6HW4.2.2 29 Nov. 2022
DownloadRelease Notes
Firmware applicable model and mainboard version
Printer model: Ender-3
Printer mainboard version: V4.2.2
Notes: The firmware is Factory standard.
Mainboard update:
1. Format the TF card on the computer side, and select 4096 for the allocation unit size.
2. Put the firmware file "Ender-3Marlin2.0.6HW4.2.2.bin" into the root directory of TF card.
3. Turn off the printer and insert the TF card into the card slot on the motherboard.
4. Reboot and wait for the update to finish.
5. After finishing the update, remove the TF card from the motherboard slot and delete the bin file inside.
GD-Ender-3HW4.2.2SW2.0.8.2CRTouchFilamentEuropeMulti 29 Nov. 2022
DownloadRelease Notes
Firmware applicable model and mainboard version
Printer model: Ender-3
Printer mainboard version: V4.2.2
Notes: The firmware is Ender-3 CR-touch/BL-touch version, compatible with support for filament detector.
Mainboard update:
1. Format the TF card on the computer side, and select 4096 for the allocation unit size.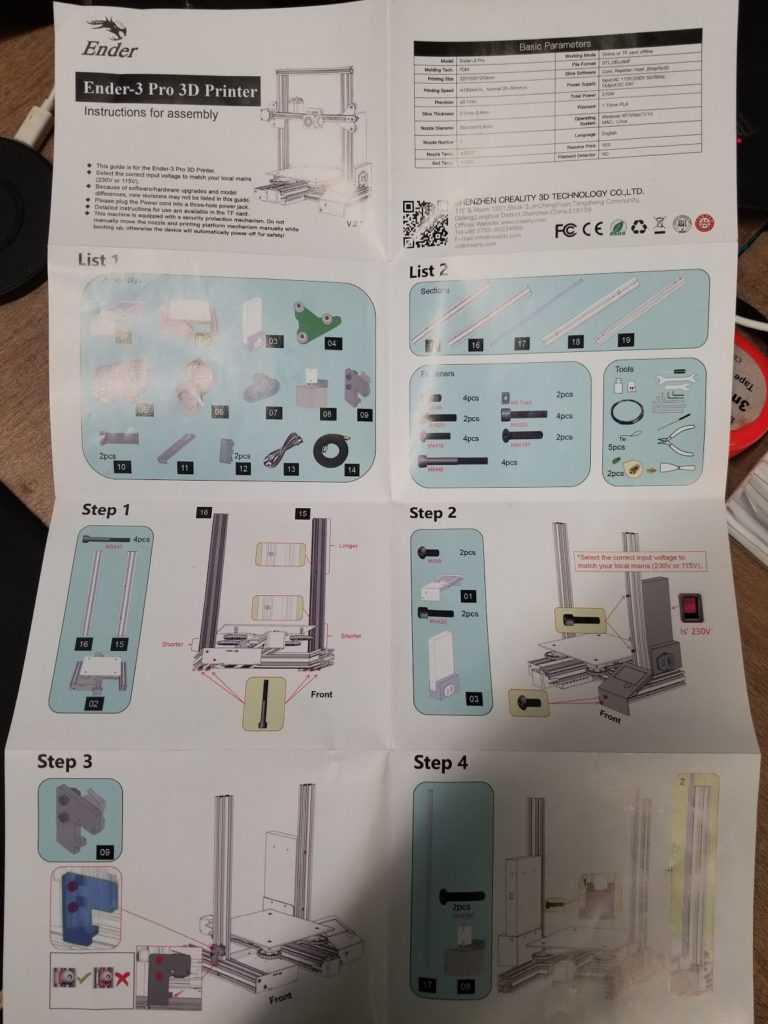
2. Put the firmware file "GD-Ender-3HW4.2.2SW2.0.8.2CRTouchFilamentEuropeMulti.bin" into the root directory of TF card.
3. Turn off the printer and insert the TF card into the card slot on the motherboard.
4. Reboot and wait for the update to finish.
5. After finishing the update, remove the TF card from the motherboard slot and delete the bin file inside.
Ender-3Marlin2.0.6HW4.2.2BLTouchGD 16 Aug. 2022
DownloadRelease Notes
Ender-3Marlin2.0.6HW4.2.2GD 16 Aug. 2022
DownloadRelease Notes
Ender-3 Marlin2.0.6HW4.2.7 BLTouch Filament 02 Mar. 2022
2022
Release Notes
Ender-3 BL TOUCH (without adapter board) + Filament Detection 31 Mar. 2022
DownloadRelease Notes
Ender-3 BL TOUCH (without adapter board) + Filament Detection
Ender-3Marlin2.0.6HW4.2.7 24 Mar. 2022
DownloadRelease Notes
Firmware of 4.2.7 motherboard without accessories.
Ender-3 Marlin2.0.6 CR-touch or BLtouch firmware 05 Aug. 2021
2021
Release Notes
Ender-3 Marlin2.0.6 CR-touch or BLtouch firmware
Ender-3 4.2.7mainboard--High Temperature Full Hotend Kit firmware 15 Jun. 2021
DownloadRelease Notes
Ender-3 4.2.2mainboard--High Temperature Full Hotend Kit firmware 15 Jun. 2021
DownloadRelease Notes
Ender-3 Series Touchscreen firmware (Excect Ender-3Max) 08 Mar. 2021
DownloadRelease Notes
Ender-3 Zaxis raised 350mm (8 bit) 03 Mar. 2021
2021
Release Notes
Ender-3 4.2.7 mainboard (32bit) 28 Jan. 2021
DownloadRelease Notes
Ender-3 4.2.2 mainboard (32bit) 28 Jan. 2021
DownloadRelease Notes
Ender-3 1.1.5 silent mainboard (8bit) 28 Jan. 2021
DownloadRelease Notes
Ender-3 1. 1.4 mainboard (8bit) 28 Jan. 2021
Release Notes
Ender-3_1.1.6.2V_Source Code 22 Jul. 2020
DownloadRelease Notes
Ender-3 SD Card File 22 Jul. 2020
DownloadRelease Notes
Download Slicing Software
Your first 3D print with the Creality Ender-3 V2 / Ampere
Let's assume that you've already completed the printer assembly quest and you can't wait to print something. Here's how to get started printing with the Creality Ender-3 V2, and what settings to look out for in order to get the most out of your 3D printer.
Before printing on a 3D printer, the model must be prepared and divided into layers. Usually 3D models are distributed in STL format - this is a kind of JPEG in the world of modeling. A three-dimensional object in the STL format consists of a set of polygons - triangles, the coordinates of which are described in the file.
However, printers are unable to process STL files themselves. First, the selected model must be converted into a G-code - special commands for the printer that tell you where to move the head and at what speed to extrude plastic during the printing process. To convert an arbitrary 3D model into a G-code, there are special programs - slicers.
We will show how this operation looks like using the Creality Ender-3 V2 3D printer as an example. Let's process the popular 3DBenchy boat model in the Cura slicer.
This model is specially made to detect printing imperfections on 3D printers and calibrate settings. You can download any 3D model in STL format from specialized sites.
Slicer download
Any slicer program is suitable for converting models to G-code. In this example, we will use the Cura slicer - the most functional of the free programs. Download the slicer from the official site and run the installation.
Skip the welcome screens and accept the terms of use.
Setting up a printer in the slicer
Add a printer to the program using the "Add a non-networked printer" button.
Select "Creality Ender-3" from the list. This is the previous model, which has identical characteristics.
Any printer name can be entered in the "Printer name" field. It is needed to distinguish between several printers or several settings profiles of one printer. Name it "Creality Ender-3 V2".
All printer settings are the same as Ender-3, so nothing needs to be changed on this screen. Click the "Next" button.
Changing the program language
For convenience, let's change the program language right away. Go to the settings using the “Preferences” → “Configure Cura…” button
Select Russian in the “Language” drop-down menu.
The interface language will change only after the program is restarted. Close Cura and reopen - you will be greeted by Russian-language menus.
Adding a model to the slicer
Click the button with the folder icon and select the downloaded 3D model file.
Setting print options
All program management is placed in the top panel with three buttons.
Printer selection
The name of your printer is displayed in the upper left corner. We only added one model, so this item should be Creality Ender-3 V2.
Plastic and nozzle selection on the printer
Your Creality Ender-3 V2 printer is capable of printing on a variety of plastics and nozzle sizes. Make sure that the standard 0.4 mm nozzle is selected in the program, which is installed in the printer from the factory.
Open the plastic and nozzle selection shutter. In the "Material" section, select your plastic. We print with PLA, so we chose "PLA" in the "Universal" section.
Selecting slicing settings
By clicking on the long button on the right, a list with basic slicing settings opens. The developers of Cura tried to make the program more understandable, so they built hints into it. When you hover over an unknown parameter, a tooltip will appear that will help you understand what setting it is responsible for and what it affects.
Custom button opens detailed settings with many options. Leave all professional options at their defaults. We have enough basic settings.
The top slider "Profiles" is responsible for the height of one layer. The thicker each layer, the faster the model is printed. At the same time, by reducing the layer thickness, a more accurate print quality is achieved.
Set the layer height to 0.16 mm. This is the golden mean between speed and quality.
The second "Infill" slider is responsible for the interior of the model. The printer can print only the walls of the model, and leave the internal volume empty. This will greatly reduce plastic consumption, but will negatively affect the strength of the model. So that the finished plastic part does not fall apart in the hands, its insides do not remain empty, but are filled with a mesh. The resulting edges increase the rigidity of the model.
To strike a balance between model strength and plastic consumption, set the infill to 20%.
Also in the slicing settings menu are two additional options: supports and sticking.
If the part has protrusions that hang over the table, then the printer will not be able to print them - they will simply fall. To prevent this from happening, activate the "Supports" option with a checkmark. Under the overhanging parts, columns will be printed that will support the part.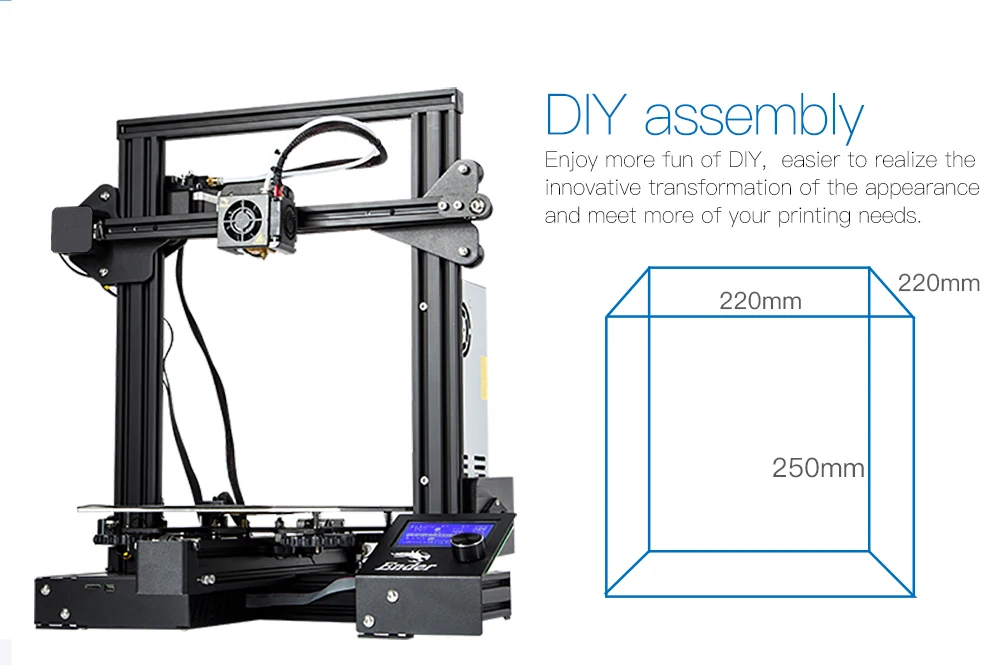
In our test model of the boat, there are no such parts, so the "Support" parameter does not need to be activated. But if you print your own model - do not forget about the supports.
The "Stick" setting improves adhesion. This is the adhesive force between the workpiece and the table. If the adhesion is insufficient, the part may come off during the printing process. The printer will print a skirt around the model, which will increase the contact area with the table. After printing, it can be cut off, but it will not allow the model to come off the table in the middle of the process.
Activate this option, because the bottom of the boat is quite shallow, and an additional surface for stronger adhesion will be very useful.
Preview
Click the Slice into Layers button. After that, the slicer will calculate the trajectory of the head and generate a G-code.
Switch to the "Preview" tab, where you will see the built layers of the model. The preview helps you check your print settings and understand how your model will print.
G-code export
To record the finished file, it is easiest to connect a microSD memory card to the computer through the adapter supplied with the printer. The slicer will immediately detect the removable device and offer to save the file to it. Save the G-code to a memory card, or use the drop-down list to save to a file, and then manually copy to the card.
Table Calibration
The initial setup was already done when the printer was assembled, but over time the table may fail. If the model does not adhere well or, conversely, the first layer is too thin and the extruder starts to click, then the table must be recalibrated using the four corner screws.
Use the encoder on the screen to enter "Prepare".
Select "Auto home". The printer will set the nozzle to the zero position.
Then turn off the motors with the "Disable stepper" command.
Place a sheet of paper between the nozzle and the table. Adjust the screw. The nozzle should scratch but not tear the sheet.
Move the print head and table by hand. Repeat this operation in each corner of the table to set the most even position in the horizontal plane.
Replacing the filament
Before the test print, we already loaded the filament spool, but sooner or later you will have to change it. For example, if you want to print in a different color or try a different type of plastic. To do this, you first need to remove the remnants of the old plastic. We will change the plastic to another one, or remove the remnants of the old one.
The filament melts in the nozzle during printing. If the nozzle is cold, then the plastic will fuse to the nozzle, and you won't be able to get it out. Heat the nozzle to the melting temperature of the plastic. To do this, go to the "Prepare" item.
Select "Preheat PLA". The nozzle will start to heat up.
Use the "Back" button to exit to the main menu.
Make sure the nozzle is at the correct temperature.
Use the indicator wheel to unscrew the plastic thread from the Teflon tube and extruder.
Cut off the end of the new plastic. In order for the plastic to get into the fitting and not get stuck in the extruder, it is more convenient to cut the end of the plastic at an angle. Printing will not start immediately. The printer first needs to heat the bed and nozzle to operating temperature.
Thread the end of the spool into the extruder and use the indicator wheel to push the plastic up to the nozzle.
Plastic should flow from the nozzle.
Printing from a memory card
Adhesion must be considered before printing. The glass has a special coating that improves the adhesion between the first layer of plastic and the table, but larger models may have curled edges.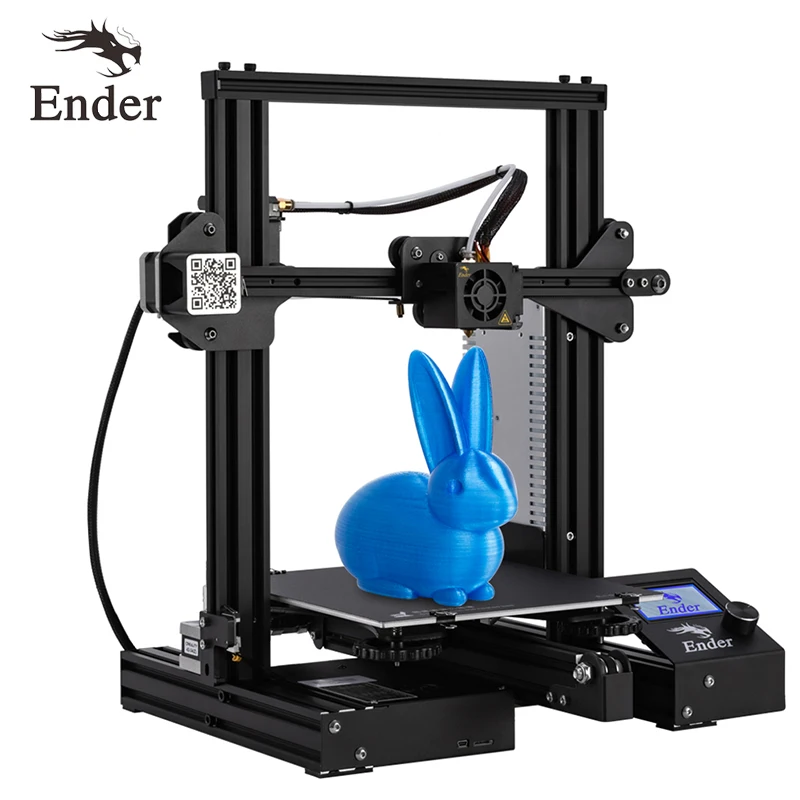 To improve adhesion, you can thinly anoint the table with a glue stick or sprinkle with hairspray.
Insert a memory card into the bottom of the printer.
Enter the Print menu.
Select the boat file that we prepared in the slicer.
Printing will not start immediately. The printer first needs to heat the bed and nozzle to operating temperature. Wait until the temperature rises.
During printing, you can adjust the nozzle temperature, print speed, and several other settings. We've set everything up in the slicer, so you don't need to change anything.
In conclusion
We have shown you the shortest way to start using the Creality Ender-3 V2 3D printer right after assembly. This will serve as a cheat sheet for printing arbitrary 3D models and experimenting with different types of plastic. Dare!
Useful links
- Where to Download Free 3D Models of
Creality Ender 3: Amazing low cost 3D printer
3DPrintStory Reviews Creality Ender 3: Amazing low cost 3D printer
The Ender 3 is a phenomenon in the world of 3D printing: never before have so many people shown interest in an inexpensive 3D printer and this interest is justified! In this review, we will understand why.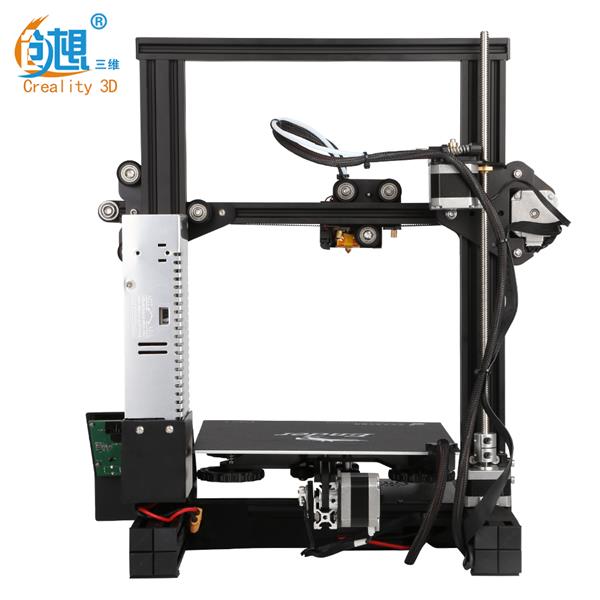 And yes, spoilers are an amazing and inexpensive 3D printer that surprisingly combines quality-price-upgradeability.
Creality Ender 3 Features
Let's not beat around the bush and get straight to the point. One of the most compelling features of the Creality Ender 3 is its incredibly low price. Although the cost varies a bit depending on the vendor, this 3D printer can currently be found for under $19.9 dollars. The Creality Ender 3 is currently even cheaper than its predecessor, the Ender 2, in some online retailers.
The differences in design between the Creality Ender 3 and Ender 2 are small, but still worth mentioning. The latest iteration still retains the features of the CR-10 with aluminum profiles making up the frame and a single lead screw driving the Z-axis on the left side of the frame. However, unlike its predecessor, which featured a cantilever style in which the X-axis rail protruded into the air, the Creality Ender 3 has a closed frame.
The Creality Ender 3 is equipped with a heated bed of rather modest dimensions 220 x 220 x 250 mm, which, however, is almost twice as large as the Ender 2.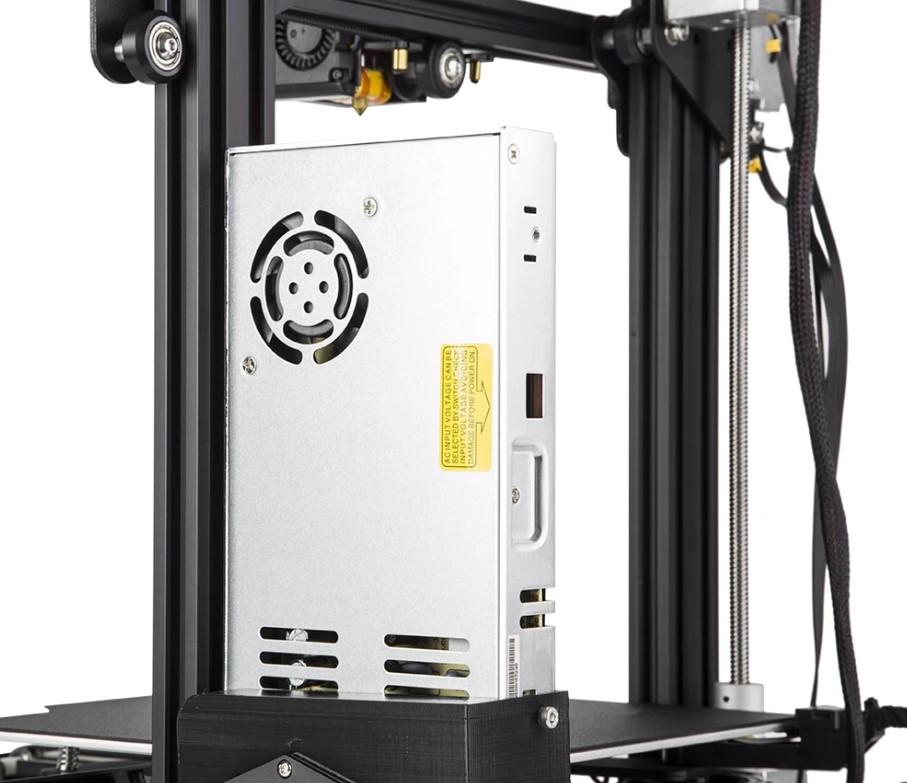 There is a sticker on the table that looks like BuildTak, which should certainly help the adhesion of the first layer and not prevent your 3D model from tearing off during 3D printing.
Another impressive feature of the Creality Ender 3 is its ability to fully resume 3D printing after a power loss or shutdown. This feature was made popular by the Prusa i3 MK3 3D printer, but the fact that it was implemented in a sub-$200 3D printer makes this feature worth mentioning.
LCD display with control wheel located to the right of the desktop. The control panel is attached to the 3D printer rather than included as a separate component, making this 3D printer more compact and portable than the CR-10.
Creality recently fully open-sourced the Ender 3, perhaps a first for a Chinese 3D printer manufacturer.
The above features make the Creality Ender 3 quite attractive, but 3D printing speaks louder than words. So it's worth trying out this 3D printer by building it up and sending it out for a little test drive, which we'll talk about below.
Unboxing the Creality Ender 3
As noted, the Creality Ender 3 is a fairly compact 3D printer and the box fits the bill. When the 3D printer arrived, the box even caused some surprise due to its compactness.
When we unpacked the Creality Ender 3, we found that all parts and tools were neatly tucked away in the packing foam.
In addition to the 3D printer parts that we'll cover in the next assembly section, here's what the Creality team provided in the box:
- USB stick (with instructions, test models)
- Various tools such as wrenches, hex keys and a small screwdriver
- White PLA plastic sample
- Nozzle cleaning tool
- Wire cutters Plastic cable ties
- Multiple nozzles
For a 3D printer that costs less than $200, we were happy to see accessories such as additional nozzles and a nozzle cleaner included in the kit. Once we've dug every last detail out of the cardboard box, it's time to start the long-awaited build process of the Creality Ender 3.
Creality Ender 3 Assembly
The manufacturer claims that the Creality Ender 3 does not have to be fully assembled, as the individual components are already assembled, but don't be fooled - this 3D printer will require a lot of effort before you can start 3D printing. Compared to the Creality CR-10, which also comes partially assembled, the Ender 3 will take longer to assemble.
The assembly process is described in detail in the small booklet that came with the 3D printer, and contains only 12 steps. It seems simple enough, but there were some steps that lacked detail and explanation, which stretches the build time somewhat. If we take into account both the assembly of the 3D printer and the calibration of the table, it will take a beginner about 1-2 hours to do all this.
To simplify the task, you can break the assembly process into the following parts: frame assembly, X-axis assembly, belt installation, assembly of the main components of the 3D printer and electrical connections, wiring.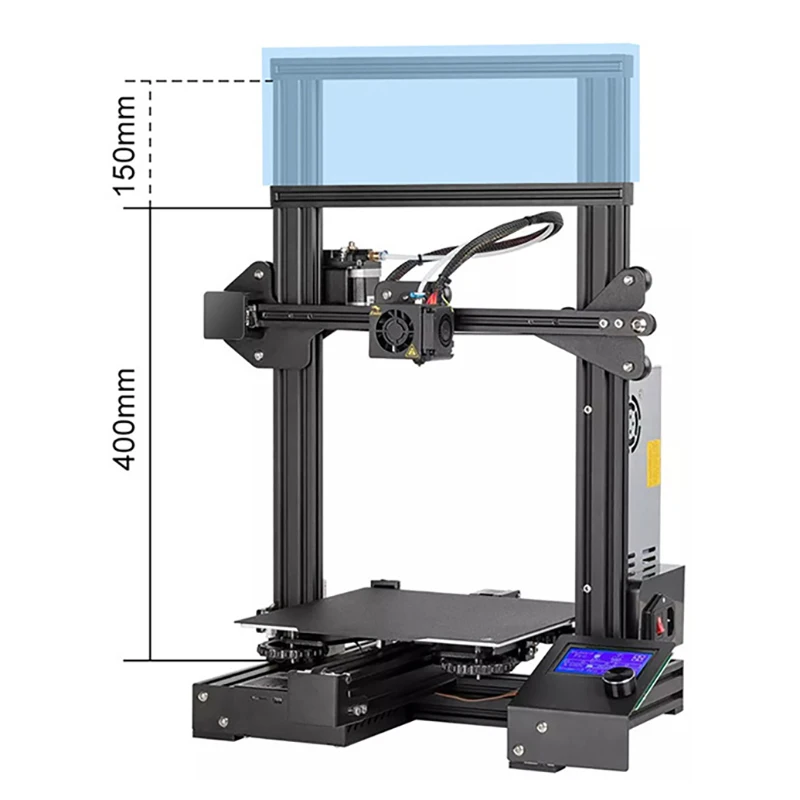
The first step is to assemble the frame together with a pair of 20 x 40 aluminum profiles, which will be attached to the frame with two screws on each side. If you turn the base on its side, then it will be easier to assemble the frame. The base of the Creality Ender 3 has pre-drilled holes for attaching aluminum profiles.
After that, step 2 - attach the power supply and LCD screen to the base. Again, this is a simple step, which is stated quite well in the instructions. But the next steps can already cause some difficulties.
Once the LCD and power supply are attached to the base, the next step is to mount the Z limit switch and Z motor on the left side of the frame. You also need to install two more components - the Z limit switch and the Z axis motor. The Z limit switch must be installed on the side of the vertical stand, exactly 32 mm from the bottom of the Creality Ender 3 base. As it turned out later, this is an important step, because installing the limit switch switch too high or too low will result in an inability to adequately calibrate.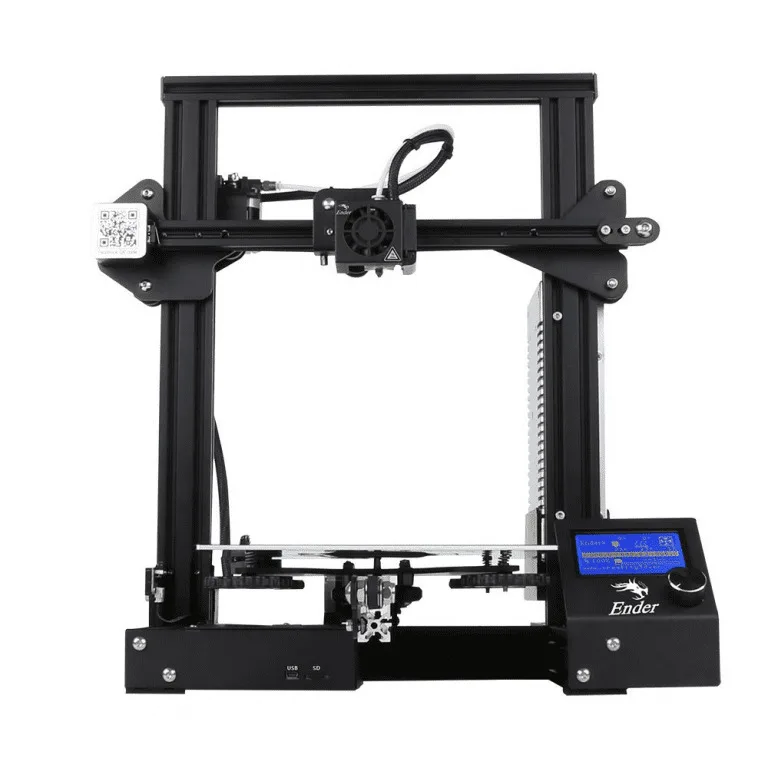 Therefore, we strongly recommend not to be lazy and use a ruler at this step.
The Z-axis motor is attached directly to the pre-installed bracket on the back of the left upright. The lead screw is lubricated with grease, so be careful not to remove it during installation. Also be sure to loosen the bearings when installing the Z axis motor as the rail will not work properly if they are too tight.
The next step is to assemble the X-axis. This can also be tricky. Why? Well, there are two racks in the kit with the same exact dimensions, but only one of them has six pre-drilled holes. And that's the one you'll need for the X-Axis. The left mount includes both the X-Axis motor and the extruder motor, as well as a weird QR code to a Facebook page that seems a bit out of place on the Creality Ender 3's frame.0003
Starting from the open side of the X-pillar, you will need to slide the portal into place with the wheels up and down. The wheels should slide smoothly back and forth along the rail. If this is not the case and the wheels are not properly installed, you will have to fiddle with the eccentric nut behind the bottom wheel until it snaps into place. Next up is assembling the mounting bracket and belt tensioner, both of which are mounted on the right side of the beam.
At this point, it starts to feel like we have a real 3D printer in our hands, but only after installing the GT2 belt on the X axis. At each end of the pre-measured tape there is a clamp that will be placed in the slots under the extruder carriage.
To install the belt on the Creality Ender 3, you need to carefully roll the extruder carriage over the belt, which will slide the belt under the wheel into the empty space. Do the same procedure for the second wheel, placing the other end of the belt under the bottom bracket. There is a belt pulley at each end of the X-axis, which will keep the extruder moving smoothly.
There were some issues with the length of the strap, but we won't go into that now, but will mention them in the next section. The last step is to put all the pieces together and attach the material holder to the top of the frame.
Creality Ender 3 Construction
As mentioned above, the Creality Ender 3 has a minimalistic design made popular by the company's crown jewel: the CR-10. However, the latest version of the Chinese manufacturer has a smaller amount of workspace and is more compact. Compactness is also ensured by the fact that the control panel with an LCD monitor is attached directly to the 3D printer, and is not taken out separately as a separate module, as it was before. Placing the motherboard directly below the printer avoids the spaghetti of wires and cables and gives the Ender 3 3D printer an elegant look.
The Creality Ender 3 is equipped with V-slot rollers that run along the aluminum profiles for smooth movement during 3D printing. For the most part, the design is solid and compact, but there are a few pitfalls.
The most egregious problem in the design of the Creality Ender 3 is the slight but annoying wobble of the 3D printing table.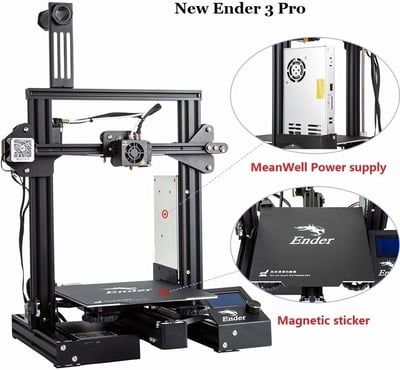 This may be a small defect of the 3D printer we got, but in fact, the stability of the 3D printer table is an important aspect, so keep in mind.
The portal-style open frame design offers a wide range of customization and add-on options, so you'll definitely have plenty of room to upgrade this 3D printer.
The X-axis belt that came with the assembly kit was too long, causing it to be under tension. The toothed belt has golden metal plugs at the ends, which is certainly convenient for installation, but only if it is of the correct length. So I had to tinker a little with its installation before we got decent 3D printing results. You can see in more detail the difference between the belt with good tension and the one offered in the kit in the section "First 3D printing on Creality Ender 3".
The Creality Ender 3 has a well-designed extruder system that uses a narrow bore Bowden extruder to aid in 3D printing with flexible plastics. The material supply system is efficient, but it is quite difficult to initially feed it into a narrow opening.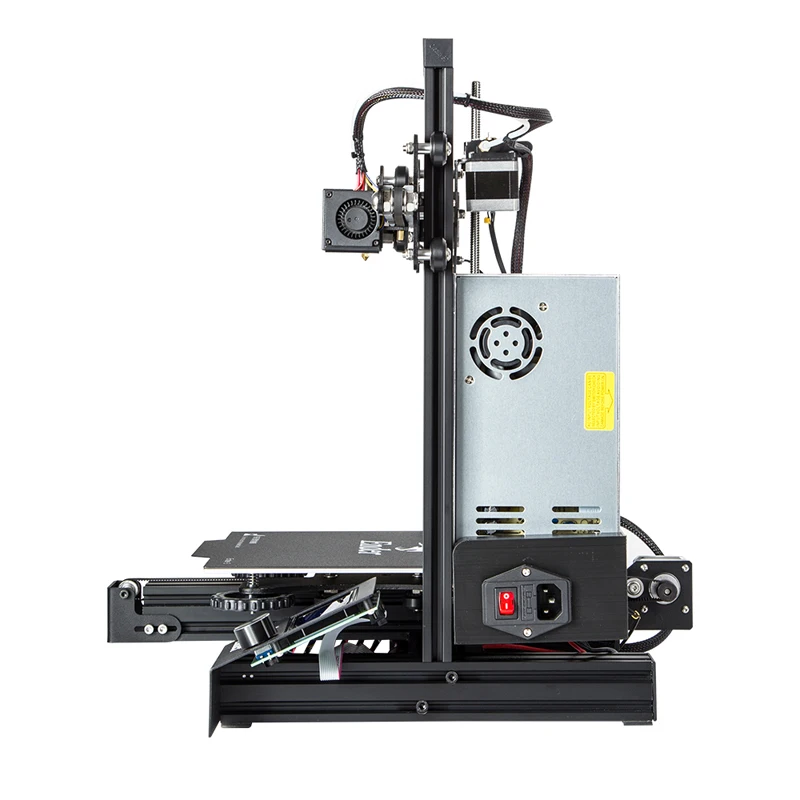
The table calibration process (which, by the way, is done manually) is also well thought out. There are really big and really easy to turn knobs at every corner of the 3D printing table on the Creality Ender 3, which makes the manual calibration process as convenient as possible.
The Creality Ender 3 control panel offers a wide range of settings. When working with the control panel, you will probably encounter minor freezes. Otherwise, the LCD display is a welcome addition to the Creality Ender family and is easy to navigate.
There are several useful features that are missing. The main one is the possibility of extruding the thread. When changing material, there is no efficient way to remove the previous material from the nozzle, and being able to extrude filament directly from the control panel would solve this problem.
Last but not least, a quick note about the noise level of the Creality Ender 3. You will definitely hear the mechanical purr of this 3D printer if you leave the door to the next room open, so keep that in mind.
First 3D print with the Creality Ender 3
Time to get to the fun part: 3D print with the Creality Ender 3!
There have been several failed prints and subsequent adjustments before you get a perfectly working 3D printer. Benchy was used to set up the 3D printing, but you can consider other 3D models for test 3D printing. Matterhackers Black PLA was used for printing.
As you can see below, the first attempt was... well... interesting to say the least. The second attempt ended with a full-fledged boat. The 3D printer did a good job with the ridges and overlap, but there was a subtle wave pattern on the surface. At this stage, the problem with the length of the belt along the X axis was revealed. The final Benchy turned out to be almost flawless even with a layer height of 0.15 mm. Our third attempt gave amazing quality and passed almost all the tests set by 3DBenchy. On the first layer, signs of an elephant leg appeared, but the explanation for this most likely lies in the not ideal calibration of the table of the tested Ender 3.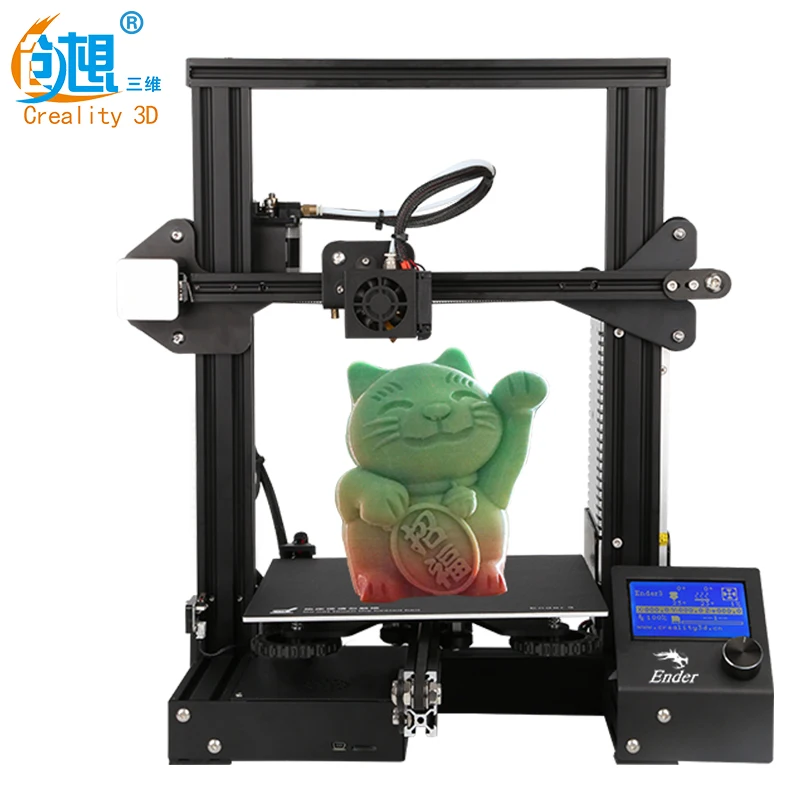
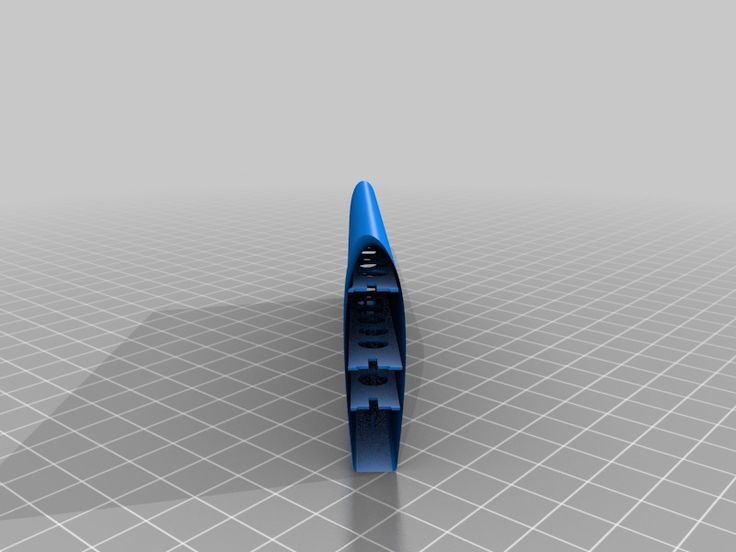
Wanting to add some variety to the first collection of prints, it was decided to choose a more functional item for the next model - a carabiner. Unexpected adhesion problems. After playing around with the temperature of the table and its calibration, in the end they added glue and the problem went away.
Tests with PLA are completed, we are moving to a higher temperature material - ABS plastic. Used Green ABS from CCTREE. For tests, a 3D model of Flexi Rex, a small but flexible dinosaur with several joints, was chosen. For the most part, the 3D printing was successful, but there was a small crack between the layers on the dinosaur's head. But this is probably not so much a matter of Ender 3 as of the quality of the material.
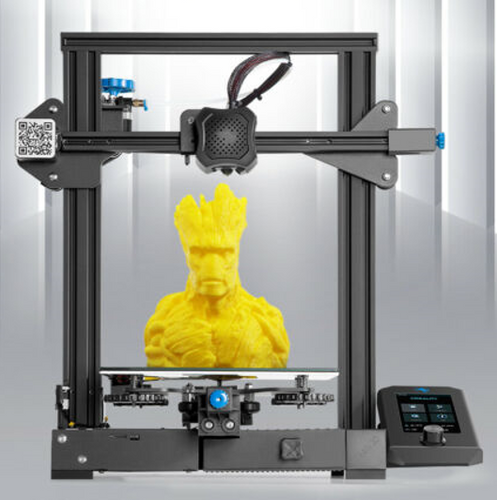
After normal calibration and fixing the tension of the Creality Ender 3 belt, the result began to please and even surprise. There was another ambitious attempt to 3D print the Waving Groot using colorFabb Corkfill wood-mix plastic.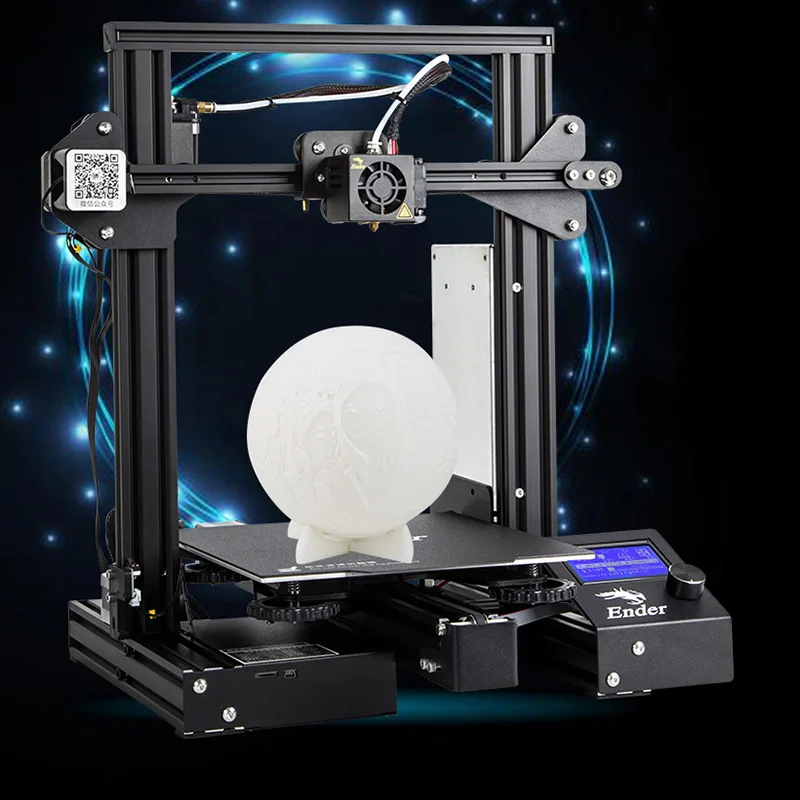 The 3D printing was left overnight, and in the morning it turned out that the print had failed almost at the very end. It's a shame, of course, although the surface of the model was excellent, especially for such a difficult material for 3D printing.
Further 3D printing on Creality Ender 3
After successfully 3D printing with PLA (despite the Groot print failing), we decided to up the ante and try 3D printing with more exotic materials. The second round of printing experiments on the Ender 3 began with colorFabb nGen Flex, a semi-flexible material developed in collaboration with Eastman Chemical Company.
The first 3D printed model was the Cute Octopus SD Card Holder, a useful little model that can hold six SD cards and two MicroSD cards. We expected the semi-flexible material to be a little more difficult, but in the end we were pleasantly surprised by the quality, which we immediately achieved on the first test. The model had a little ductility (which is to be expected from flexible plastic) and the model came out just fine.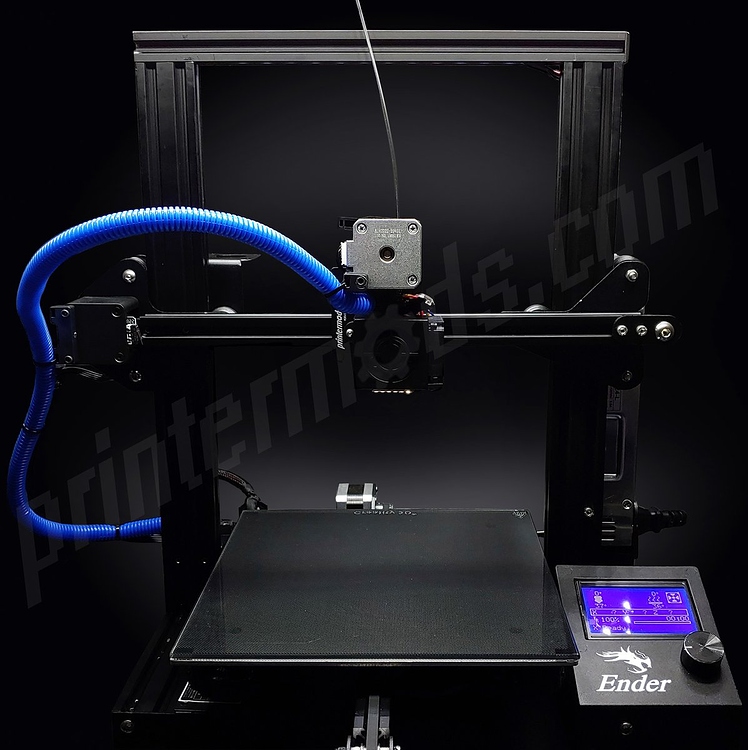
The next stage of bold experiments was to print a 3D model. Well, what could be better than a test print in gray color than the insidious and beer-burping robot Bender from the beautiful Futurama animated series? The model consists of six different parts that are glued together. Not only are these models larger than the previous ones, but the Creality Ender 3 had to print them with flexible plastic in one setup. It seemed like an adequate way to test the capabilities of this 3D printer, and once again it exceeded our initial expectations.
Even without the support material, we were able to print every part of the Bender model without error. Again, the right leg and antenna on the top of the head have some minor layering issues. But overall the model turned out pretty good and once we glued it all together we had a fantastic Bender model.
The next test we did was with pink ABS filament made by CCTree. Thinking about what would work with this light pink material, we ended up with the majestic Crystal Cluster. And the Creality Ender 3 did struggle with ABS at first.
It took about five or six attempts for the material to get a good grip on the 3D printer table and not deform, but again glue came in handy. The result is a great product. Despite some difficult angles, the surface quality of these crystals was almost flawless.
Everyone involved in 3D printing knows the favorite test of 3D printers: 3DBenchy. We printed one for our review of the Creality Ender 3, but decided to rock the boat a little... Well, what better than a Benchy stand that looks like a rough sea.
It just so happens that this model was perfect for our next material, Rigid.ink's clear blue PETG plastic. And the Creality Ender 3 did a great job with PETG as you can see in the photo above.
Finally, it was decided to give wood 3D printing another chance with another Waving Groot model. This time, the Creality Ender 3 made it to the top of the character's head before the clog occurred.