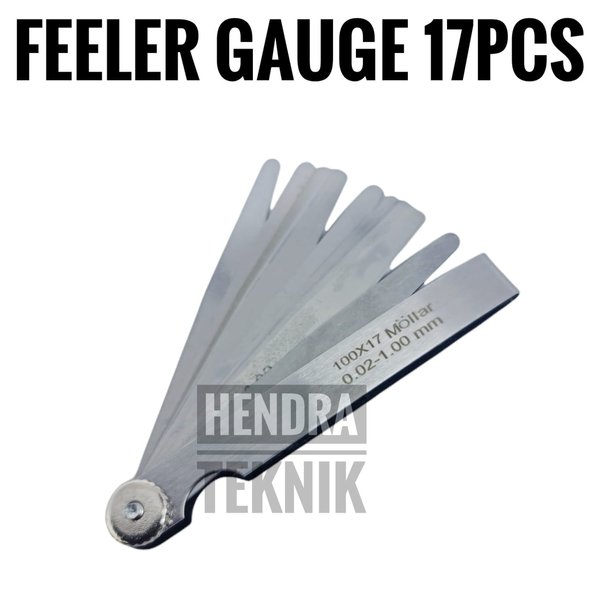
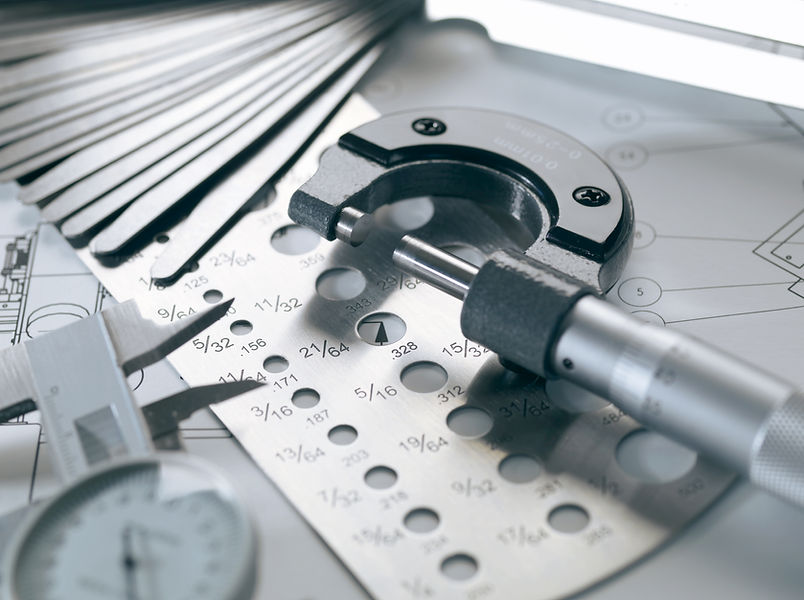
3D printer leveling feeler gauge
Feeler Gauge vs Paper – 3D Solved
Leveling a 3D printer is probably the hardest thing you have to learn when you first get your hands on one, and it takes more than a couple days to get the process right, at least it did for me.
However, this is when you level it using a piece of paper to feel how much friction there is between the nozzle and the bed to determine if the distance is set right or not, but you could also opt to use a feeler gauge to do this, and, at least in my opinion, it’s the better way of doing things.
In this article, I will go over how these two methods differ from each other, how to actually do it using both methods, their pros and cons, and lastly, which one I think is best.
So, without further ado, let’s get started!
Leveling the Printer using Paper
Leveling an Ender 3 bed using the paper method.This is by far the most common method simply because it’s free and because it also works really well. However, it takes time to learn since you need to feel how much friction there is between the nozzle and the bed when moving the paper.
The issue with using a piece of paper is that it’s not as consistent since you have to rely on your touch to gauge the amount of friction, and more often than not, you’ll encounter that the nozzle is either too close or too far from the bed, especially when you are just getting started with 3D printing, which means that you’ll have to deal with some failed prints.
Essentially, since it’s not as consistent, you’ll probably have to go through the leveling process more than once to get it right and fine-tune it while the printer is printing the skirt/brim to get a great first layer.
Why is getting a good first layer so important?
In 3D printing, the first layer is everything; Get it right and your model won’t detach from the build plate, or warp, which means that it will come out beautiful and without having to deal with any hiccups along the way.
On the other hand, not getting the first layer right could result in poor bed adhesion, causing the print to suddenly detach mid print forcing you to start all over.
Pros
- It’s free.
- Once you know how to do it, it’s easy.
Cons
- Not as consistent.
- Takes a lot of time to get right.
Since it’s so important to level the bed correctly, here’s a quick guide on how to do it. However, if you want a complete step-by-step guide on how to level the bed of a 3D printer, make sure to check the article I wrote on that subject.
How to Level the bed using a sheet of paper
- Preheat the printer to the temperature that the filament requires (bed and nozzle)
- Lower the bed by twisting the leveling knobs to the left.
- Home the printer.
- Disable the Stepper Motors.
- Move the nozzle on top of one of the leveling screws (any of the four corners).
- Place a piece of paper between the nozzle and the bed and tighten the screws while moving the paper back and forth until you can feel some friction (if you push the paper and it bends, you need to loosen the screws a bit).
- Do this on all four corners and also in the middle of the bed until you can feel the same friction on all spots.
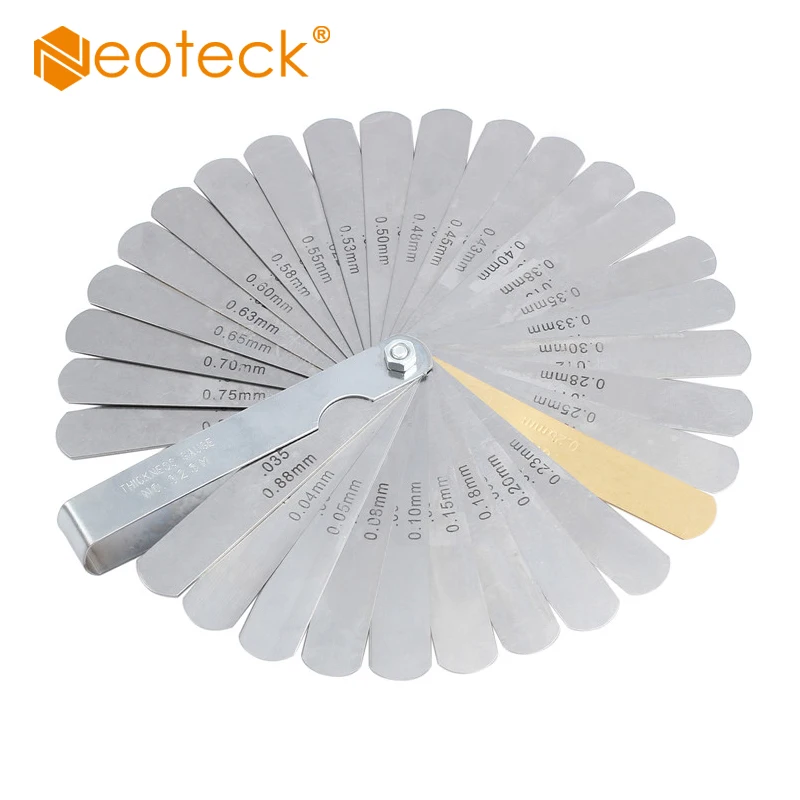
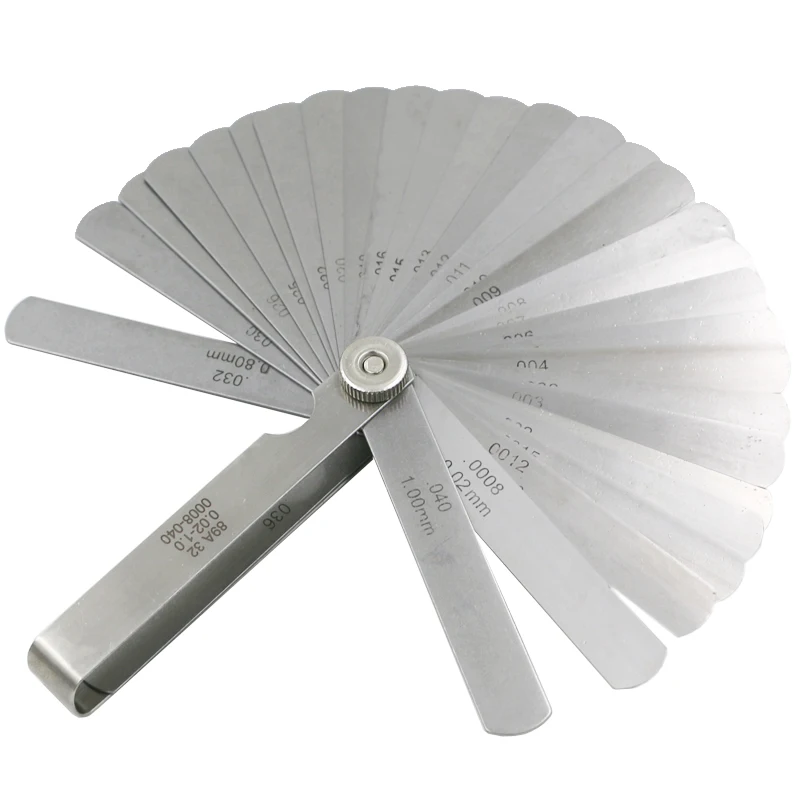
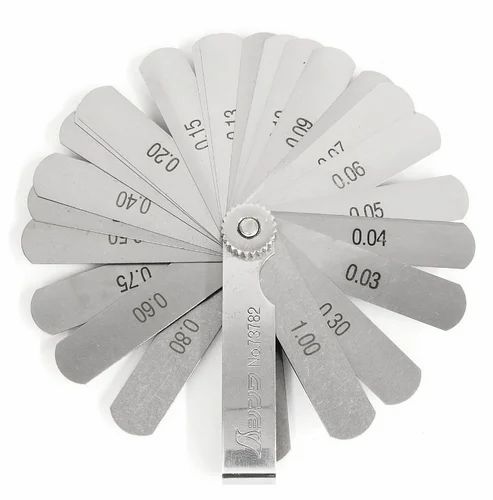
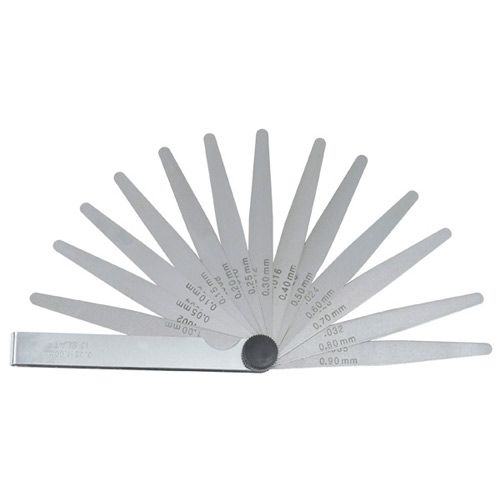
Leveling the Printer using a Feeler Gauge
Many claim that leveling, or tramming, the bed on your 3D printer bed using a feeler gauge is the optimal way of doing things, and while I may agree in some ways, it’s not a night-and-day difference to the paper method.
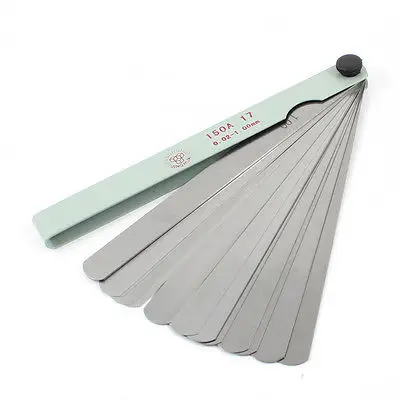
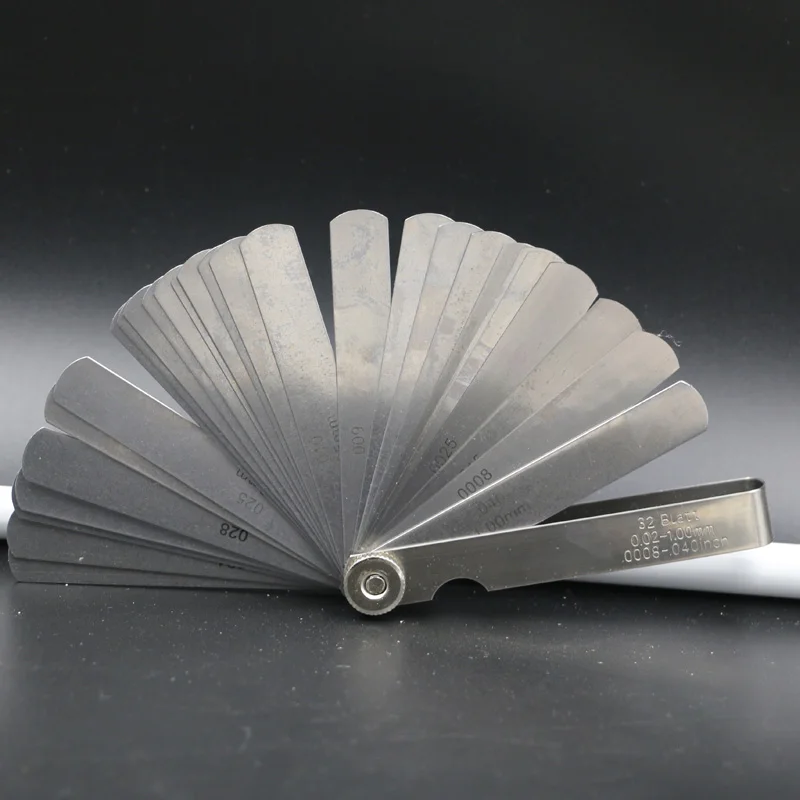
It consists in using a feeler gauge that has a specific width (height) to adjust the distance between the nozzle and the bed, and this way you can always set it to 0.2mm, for example, with no room for error.
It’s also a much quicker way of doing it since you don’t need to be testing how much friction there is, if there’s enough or too much of it, etc., and the results will be far more consistent.
The only con to using this method is that you need to purchase a set of feeler gauges which sell for about $10, but that’s about it.
Pros
- More consistent bed level.
- Faster.
Cons
- Not free (about $10).
How to level the bed using a Feeler Gauge
The process of leveling the bed using a feeler gauge is almost identical to the paper method, with one slight difference:
- Preheat the printer to the temperature that the filament requires (bed and nozzle)
- Lower the bed by twisting the leveling knobs to the left.
- Home the printer.
- Disable the Stepper Motors.
- Move the nozzle on top of one of the leveling screws (any of the four corners).
- Place the feeler gauge between the nozzle and the bed, move it back and forth while increasing the height of the bed until you feel that there’s no wiggle room between the feeler gauge and the nozzle (it should fit nice and snug between the nozzle and the bed).
- Do this on all four corners and also in the middle of the bed.
What gauge to use?
If I’m printing my first layer at 0. 2mm, then I use the 0.2mm gauge, and the same goes for all the other first layer heights. If I want to print using a 0.32mm layer height and the first layer is also printed at that height, then I use the 0.32mm gauge to level the bed.
Which one is better?
I tested both methods when printing PETG since that’s a type of filament that has a much harder time sticking to the bed than PLA, which meant that I had to nail the leveling process to avoid problems.
Since I have a lot of practice using the paper method, because it’s what I used for close to a year, I had no trouble getting the print to stick, but I realized that the first layer was a bit too close to the bed and was getting squished.
On the other hand, when using the 0.2mm feeler gauge, the first layer came out literally perfect on the first try, and if you want to set your first layer to 0.24mm, 0.16mm, or even 0.8mm, you simply use a different gauge and that’s it, it’s ready to go.
Essentially, using a feeler gauge could be considered to be the superior method since it’s more precise.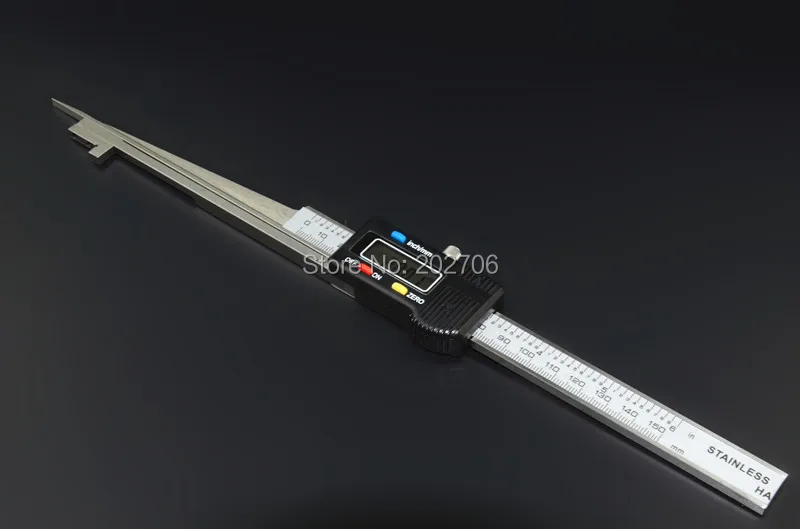 However, I don’t think that everyone should run out to purchase a set of feeler gauges, even if they are really affordable, since it only takes some practice to get the first layer right using the paper method.
If you’re printing a model that requires absolute precision on the first layer, like this collapsing sword that needs to keep the first layers from fusing together in order to work, then using a feeler gauge to get that first layer perfect is something that I’d recommend.
Otherwise, practice leveling the bed using the paper method. Sure, it will take and you will get frustrated at first, but after twenty or so times that you do it, it becomes second nature.
A better alternative
To be honest, there’s no need anymore to go for a manually leveled printer since there are so many affordable ones out there that come with automatic bed leveling already built-in, and if you already have a printer like the Ender 3, which doesn’t come with a bed leveling sensor already built-in, then you could certainly install one yourself for about $35.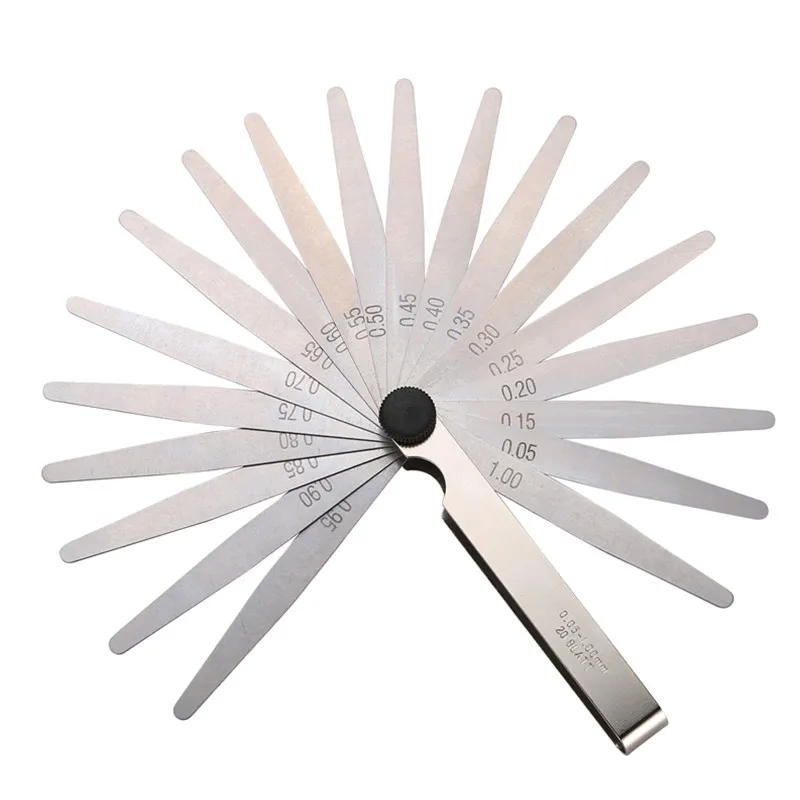
Getting a printer with automatic bed leveling can make your life a whole of a lot easier and you won’t have to deal with prints detaching (in general), and other related issues.
I hope this information was useful!
Have a great day!
We created a recommended products section that will allow you to remove the guesswork and reduce the time spent researching what printer, filament, or upgrades to get, since we know that this can be a very daunting task and which generally leads to a lot of confusion.
We have selected just a handful of 3D printers that we consider to be good for beginners as well as intermediates, and even experts, making the decision easier, and the filaments, as well as the upgrades listed, were all tested by us and carefully selected, so you know that whichever one you choose will work as intended.
The feeler gauge is a tool to adjust the 3D printer.
View larger
30 other products in the same category:
-
Precise tweezers
8,27 €
-
Palette knife for application of Kapton Tape
4,17 €
-
Tip cutter
26,12 €
-
Tool for self-tapping inserts ensat
35,64 €
-
Modifi3D Tips Kit
20,77 €
-
Adjustable spanner
20,77 €
-
Pliers
10,06 €
-
PTFE tube cutter
14,70 €
-
PrintaKit
98,41 €
-
3DB anti-vibration pads
17,79 €
-
Filament drying capsule
20,60 €
-
Fiber Three Safe - drying case
199,86 €
-
Vacuum sealed filament container
154,64 €
-
PrintDry Smart Vacuum Filament
216,32 €
-
SuperLube lubricating oil for 3D printers
9,78 €
-
Lubricant for 3D printer SuperLube
8,81 €
-
P 298 Cleaner
6,49 €
-
3D Printer cleaner
10,65 €
-
IPA Alcohol
19,64 €
-
TPM Wash Solvent
105,91 €
-
Plastic repellent paint
18,92 €
-
Novus 1
26,18 €
-
Novus 2
26,18 €
-
Novus 2
26,18 €
-
Ethanol 99.
 9%
9% 10,71 €
-
Thermal boron nitride paste
10,65 €
-
Digital humidity and temperature monitor
19,69 €
-
PrintaClean
4,90 €
-
Nitrile gloves
17,73 €
-
Cleaning brushes
7,85 €
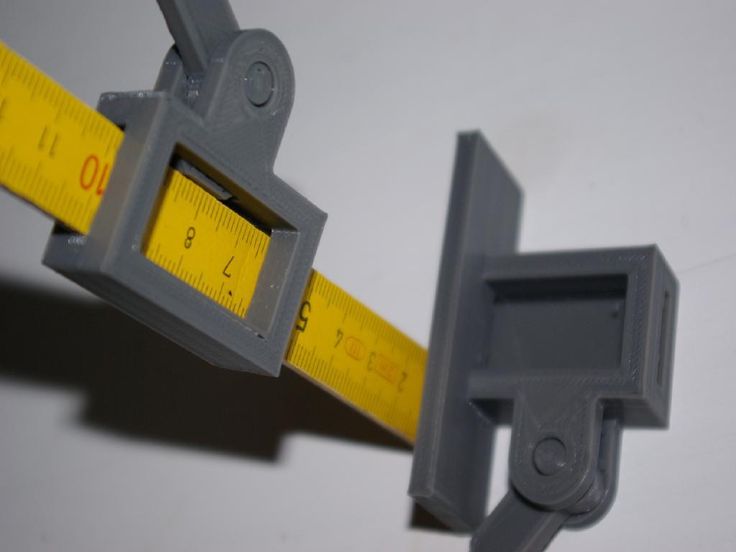
Free STL file Bed leveling gauge・3D printed model for download・Cults
Bevel Gear Assembly
Free
MicroSwiss CR10S Pro V2 direct drive fan shroud - PROPER FIT
Free
Voron V0.
 1 Improved Mounted Headpiece with 9 LED Holders0004
 Free
WEMOS D1 mini Project Box / Case
Free
Snap-in solution for LED mounting 1515 Compatibility with LDO Voron V0.1 kit
Free
T-rex (and mousetrap)
Free
Converter tank LM2596 protective box/lid
Free
1d4 - tetrahedron
Free
The best files for 3D printers in the Tools category
Origami-Nozzle-box
Free
Small screw cap containers
Free
Operating theater glasses 2h Covid 19
Free
Insert for ratchet wrenches I Insert for tool trolley I WM102
Free
Covid corona mask - use with vacuum cleaner bag.
 Easy breathing.
 Free
Raspberry Pi 2/Model B Triangular Case
Free
Large sample removable coil
2 €
Bench Vise - Forming Lathe
Free
Bestsellers in the Tools category
GEAR AND DRIVE
3.59 €
Case for Chill Buddy lighter
1.02 €
SUPERBOX
1,50 €
PET-Machine, make your own plastic bottle filament at home!
50 € -70% 15 €
Filament shielding
2. 97 €
97 €
Quick print ink bottle holder (6 sizes)
2.86 €
Armadillo - flexible wire conduit
€1.84 -twenty% 1.47 €
Fire hydrant storage container
2.05 €
BED LEVELING INDICATOR FOR ENDER 3 PRO
3.07 €
NEW GENERATION CAR PHONE HOLDER
2,50 €
INDICATOR FOR BETTER BED LEVELING FOR ENDER 3 V2
3.07 €
well designed: Hemera fan duct
2.50 €
FAST PRINT STACKING STORAGE BOXES STACKING CONTAINERS
1. 50 €
50 €
Quick print stackable parts containers / storage boxes
2.86 €
Paint stand with scissors
5.66 €
Printer boxes for Ikea Lack Table
1,99 €
Do you want to support Cults?
Do you like Cults and want to help us continue our journey on our own ? Please note that we are a small team of 3 people, so supporting us in maintaining activities and creating future developments is very easy. Here are 4 solutions available to everyone:
-
AD: Disable your AdBlock banner blocker and click on our banner ads.
-
AFFILIATION: Shop online with our affiliate links here Amazon.
-
DONATIONS: If you want, you can donate via PayPal here.

-
* INVITE FRIENDS: * Invite your friends, discover the platform and great 3D files shared by the community!
how to properly adjust the table leveling sensor, semi-automatic auto-calibration test
Print quality on 3D printers depends on many factors. To ensure it, careful preparation of all units of the apparatus is necessary. Calibrating the 3D printer table is one of the most important preparatory steps.
What is table calibration and why is it needed?
For high-quality formation of a part from a filament on the desktop of a 3D printer, it is important to ensure a uniform distribution of mass over the surface. It is only possible with a perfectly horizontal level and an optimal gap between the table and the head nozzle. If the table has an uneven surface, then the gap will change in different work areas. The uniformity of the filament supply will be disturbed, which will lead to defects and deformation of the printed part.
Calibration consists of two main steps: leveling the surface over the entire working area and adjusting the vertical height of the head (Z-axis). Alignment can be done manually using the adjusting screws. More expensive printers have an automatic desktop calibration device. When adjusting vertically, the optimal gap between the nozzle and the table surface is set, which must maintain the specified value at any point in the working area.
Signs that the table is crooked and needs adjustment
The following signs indicate that the table needs to be calibrated:
- the plastic does not adhere to the surface, indicating an excessively thick layer;
- the bottom layer peels off the table when the filament is subsequently applied;
- gaps in the first layer or lines that are too thin;
- plastic builds up around the nozzle when printing the first layer;
- layer thickness and extrusion line vary markedly at different points on the surface;
- in some places the nozzle touches the already applied plastic;
- The filament comes out of the nozzle in a spaghetti pattern, i.
 e. it twists.
There may be other signs that indicate an uneven application of a layer of plastic on the surface of the desktop.
Table Calibration Test
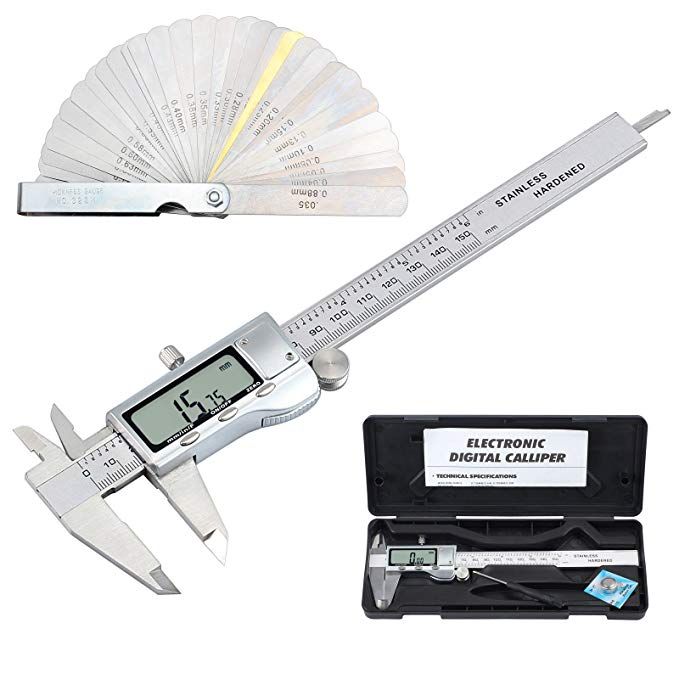
When manually leveling the table surface, the most commonly used point array test is Mesh Bed Leveling (MBL). The work surface is divided into a grid. In each of its nodes, the clearance along the Z axis is measured manually using a vernier caliper.
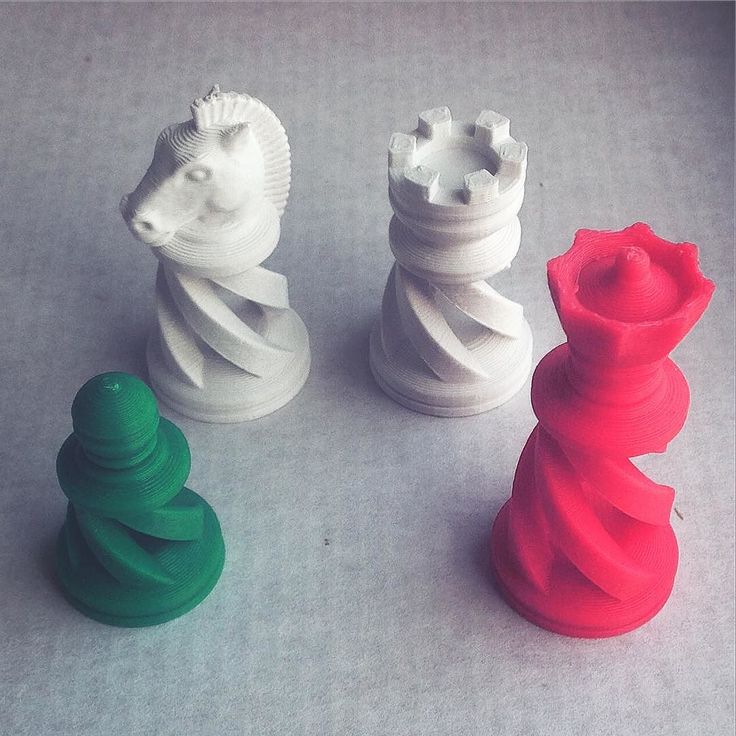
There are more accurate methods using test models. One of the simplest models involves printing circles in the center of the table and near all the adjustment screws. Printing is done in one layer with a thickness of 0.1–0.2 mm. When a difference in thickness is detected, it becomes clear which screw needs to be adjusted.
More complex test models require the printing of correct, but simple shapes. The hollow gauge cube 25 × 25 mm in size is popular. It allows you to evaluate the print quality of both the base and the walls.
Calibrating the 3D Printer to a Sheet of Paper
The most common way to calibrate the Z axis is to calibrate using a plain sheet of paper.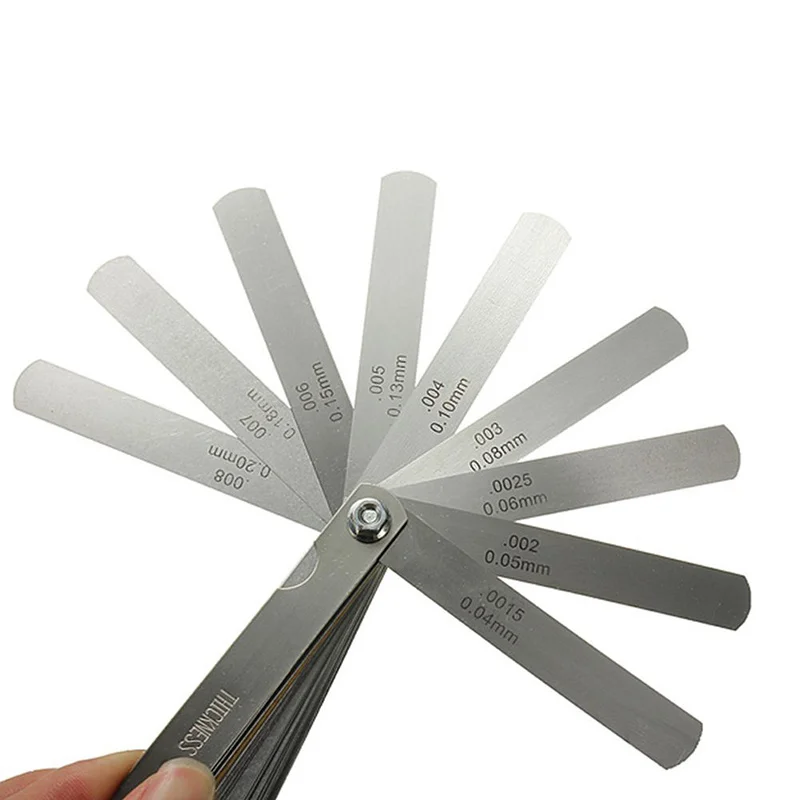 The surface is meshed. A paper sheet is placed in each of its nodes between the nozzle and the table. The position of the extruder head is set so that the sheet can only be advanced with force. This coordinate is translated into a special G-command through the control computer program or through the printer menu. With manual calibration, it is simply recorded for future settings. This procedure is carried out at all grid nodes. Typically, the surface of a consumer printer is divided into a 3 × 3 grid, i.e. with 9nodes. You can increase the number of calibration points, but it is not recommended to create more than 49 points.
How to properly calibrate the 3D printer bed?
Different models of 3D printers may have individual features of adjustment and settings, but the general technique is typical for all devices. From the first time, it may seem to a beginner that the procedure is very complicated, but gradually it is brought to automaticity and does not cause problems.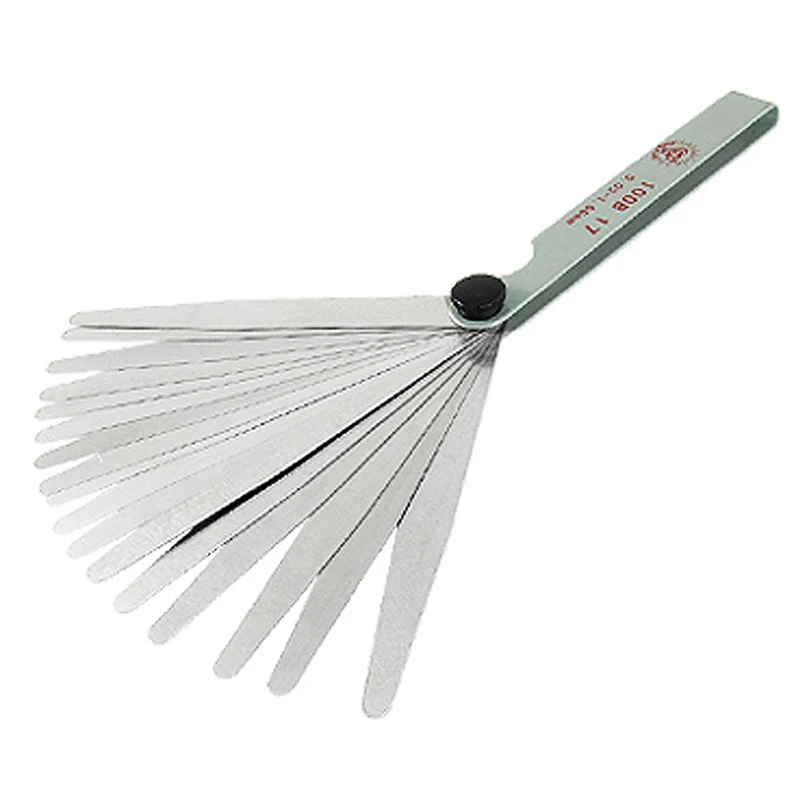 To eliminate errors, it is recommended that calibration be carried out at the same temperature to which it is heated during printing. For example, with ABS, you will have to warm up the table to 90-100°C. If during operation the surface is sealed with adhesive tape or cardboard, then they should be applied before starting the adjustment.
Table Leveling Tools
To calibrate the table yourself, you need to prepare the following set of tools and consumables:
- Calibration probe - thin plates with a precisely known thickness. You can use a strip from a sheet of office paper 125-165 g/m 2 approx. 10 cm x 4 cm.
- Wrench and screwdriver for adjusting screws, depending on their design.
- Metal (preferably brass) brush and cotton cloth to clean the nozzle from adhering mass.
- Heat resistant gloves capable of protecting hands when heated to 110-120°C.
- Spatula, razor blades for scraping plastic off the tabletop.
- Laundry soap and cotton cloth for final cleaning from dirt and dust.
- Isoprene alcohol for thorough surface cleaning.
These tools and materials will help you to carry out a complete cleaning of the working area and manual leveling of the printer table, to set the required gap between the nozzle and the table.
Table preparation
The first step in the calibration is to prepare the table. First of all, it is necessary to thoroughly clean its surface. With the help of a spatula and razor blades, all remnants of adhering plastic from the previous print are carefully removed. If the table has a special coating (for example, PEI), then the blade cannot be used, as it may damage the protection.
After removing plastic, the surface is thoroughly washed with dish soap. Warm water is used. If the surface material permits, cleaning can be done with isopropyl alcohol applied with a cloth or paper towel. After wet cleaning, the surface is wiped dry with a cotton cloth. When preparing the table, do not touch its surface with bare hands, so as not to leave grease stains.
An important parameter is the table temperature during calibration. It is important to take into account that the metal table significantly changes dimensions with temperature fluctuations, and therefore it is recommended to calibrate at the same temperature that is maintained in the operating mode. The need to preheat the table is indicated in the instructions for the device.
Auto Calibrate Table
Many 3D printers rely on Marlin firmware for auto calibration. The adjustment procedure begins by opening the firmware code in the Arduino Software (Arduino IDE). There are different versions of the program, but the actions for them are the same. The main settings are made in the Configuration.h tab:
- In the Z Probe Options section, support for manual mode is enabled.
- In Bed Leveling, the type of calibration by a matrix of points is selected (#define MESH_BED_LEVELING).
- In the Mesh section, calibration parameters are set: offset from the zone boundary, number of points along the X and Y axes, adjustment step and range of movement along the Z axis.
 It is recommended to use head movement commands.
After setting up the program, the calibration procedure itself is carried out in the following order:
- “Calibrate table” is selected in the printer menu.
- The "Autopark" mode is activated.
- Sets the drop height and Z of the table.
- The "Start" button is pressed, after which the movement of the table begins.
- A gap of about 0.5 mm is set. You can use a probe or a sheet of paper when calibrating.
Similar actions are carried out at all points along the X axis specified in the instructions for the firmware. All configured parameters are automatically saved in the printer, and therefore calibration is not required before each print run.
Manual calibration
Budget devices do not have automatic devices and table calibration is provided manually. It is carried out in this order:
- All adjusting screws are checked for smooth operation.
- The nozzle is cleaned of adhering mass.
- Each adjusting screw is loosened a few turns to increase the gap between the nozzle and the table.
- Calibration starts from one of the corners of the table. The nozzle of the extruder head is manually brought here. Use a feeler gauge or paper strip to set the optimum clearance. Turn the adjusting screws carefully so as not to create excessive pressure on the probe. It can cause a response that can introduce an error.
- Similar actions are carried out in all corners. The level setting is checked at the center point. The clearance at all points must be the same.
When moving from one point to another, settings may fail. Therefore, it is necessary to check the previously established clearances. If they have changed, then everything is carried out in the second round. Sometimes it is necessary to carry out several circles of calibration. Next, the printer starts up and tests the correctness of the calibration.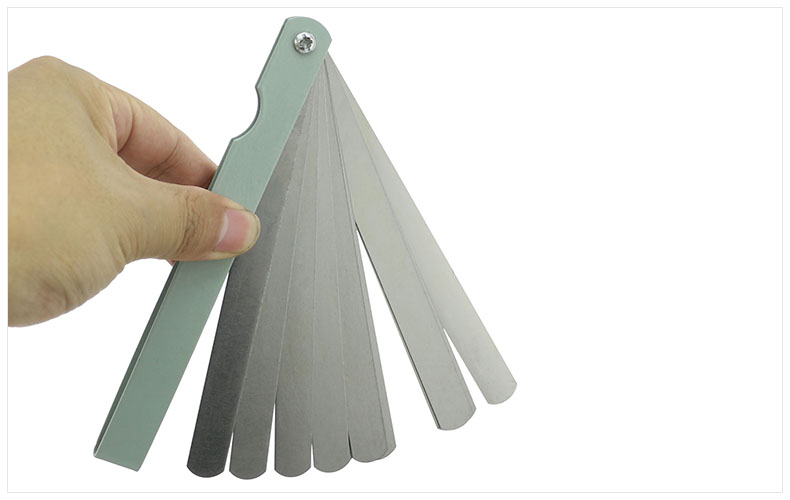
Calibration sensor
During automatic calibration, the printer has touch control of the table movement, and a contact sensor is installed at the level of the nozzle. It is automatically able to determine the exact distance to the working surface. Signals are sent to the motion control body, which provides a precisely set clearance. In some printer designs, the extruder itself has a feedback encoder, which allows it to act as a sensor.
For manual calibration, verification of its correctness is carried out by examining the first layer of a test print. The following options are possible:
- Gap between nozzle and table is too small. This is evidenced by such factors: a very thin layer, and in some places its complete absence; accumulation of mass on the nozzle; the mass is not squeezed out onto the table at all.
- Gap is too large. Signs: poor adhesion to the bed, peeling on subsequent printing, twisting of the filament when exiting the nozzle.
In the first case, it is necessary to move the head up along the Z axis, and in the second, on the contrary, lower it down. Test models provide a more accurate check.
Calibrating the table
Automatic and semi-automatic calibration can be achieved in several ways. The following options are most common:
- Through an external program. In this case, the special command G29 is used. So G29 S0 reads the current parameters of the points in memory; G29 S1 allows you to set the working body at the starting point; G29 S2 is for recording current information and moving the head to the next point. The M500 command allows you to enter all the necessary data into the machine's memory.
- Through the printer menu. The required items are selected in the Presets menu. The information needed for calibration appears on the display screen, the printer parks in a certain position. By clicking on the encoder, you can return the head to the starting point.
 When moving the encoder handle, the required clearance along the Z axis is set.
Important! The operator can choose the way he wants to control the auto-levelling.
How can I prevent table curvature?
Any user wants to calibrate the printer bed once and so that its evenness is maintained during multiple print starts. What leads to the need for frequent calibration? First of all, this is excessive vibration of the device during operation, which knocks down the adjustment of the adjusting screws. To eliminate this cause, proper installation of the printer and the use of anti-vibration pads is necessary.
The second common cause is frequent and significant changes in print temperatures. The metal table is very sensitive to temperature changes, which knocks down the settings. It is important to carry out calibration with preheating of the table.
Important! Violations of the operating rules of the device can affect the imbalance.
Learn more