3D print silhouette
Silhouette Art - How to Design and 3D Print
3D Design
One of the best things about 3D printing is the opportunity to create your own designs and art projects. In this guide, I am going to share some simple techniques I use to create silhouette art and some ideas on how we can use these techniques for more complex projects.
This guide covers:
- Silhouette and Silhouette Art – What is it?
- How to Design – Software Used
- Backgrounds – What Colours to Use
- Slicer Software Settings
- Other Examples of Silhouette Art
- Layered Silhouette art
- Cityscapes
- Lithophane
- A Bigger Project – Mini Theatre
- Multilayer Silhouettes
- Conclusion & Links
The models and designs featured in this guide were printed on Original Prusa MK3S and Creality Ender 3 (affiliate links). Follow 3DPrintBunny on Patreon to get early access to exclusive designs and generally to support creative 3D printing.
(Image: Natalie Cheesmond)
Silhouette and Silhouette Art – What is it?
A silhouette is a shape (usually dark) depicting the outline of a person, object or scene. Silhouette art is created by layering silhouetted shapes and scenes to create a 3D art effect. It can be very complicated with multiple layers of silhouettes or simple with only a single silhouette displayed against a contrasting background.
Dementor – Harry Potter Themed Silhouette ArtFiles on Thingiverse
(Image: Natalie Cheesmond)
How to Design – Software Used
Designing simple 3d printed silhouette art is not too difficult to do and is a good way to become familiar with some of the design software available. Tinkercad is probably the most accessible software for new designers and is free, and this is what I use to make my silhouette art.
To design some basic silhouette art we need to create two parts, the frame, which includes the silhouette itself with a slot behind for the backplate, and the backplate itself, a thin plain rectangle slightly smaller than the frame.
(Image: Natalie Cheesmond)
You will need to download or create the picture you want to use and convert it into a file that can be uploaded into design software, I use an online converter to create an SVG file which I can then download into Tinkercad. The image you use needs to be either one solid piece or more than one piece where all pieces can be attached to the frame edge.
The frame is designed to be printed upside-down, so that it can be printed without supports, so when you upload your picture svg file, flip it over otherwise your picture will appear backwards. You can create a frame of size and shape to suit your picture and remember to include a slot for the backplate, I angle my slot along one edge to eliminate the need for supports.
(Screenshot: Tinkercad)
Backgrounds – What Colours to Use
Traditionally printed silhouette art uses a dark colour for the silhouette, most often black, and a lighter more transparent backplate colour such as yellow or orange. These silhouettes look most dramatic when viewed with a window or other light source behind them.
Of course, we can mix these colours up and silhouettes with a dark backplate can look very striking, such as the Halloween ornaments pictured. We can also choose to cut out the image from the frame so that it shines through in the backplate colour. You can see an example of this in the Portal silhouette.
Halloween silhouettes
Files on Thingiverse
(Image: Natalie Cheesmond)
Slicer Software Settings
When you slice your silhouette art frame be sure to place it on the print bed with the flat image facing downward. Slow the print speed down for the first layer and avoid using adhesive such as glue-stick that will leave an impression on the print. The first layer will become the front of your art piece and therefore the print is particularly unforgiving of any first layer discrepancies.
Certain silhouettes can be enhanced by using a different bottom layer infill pattern so experiment with this.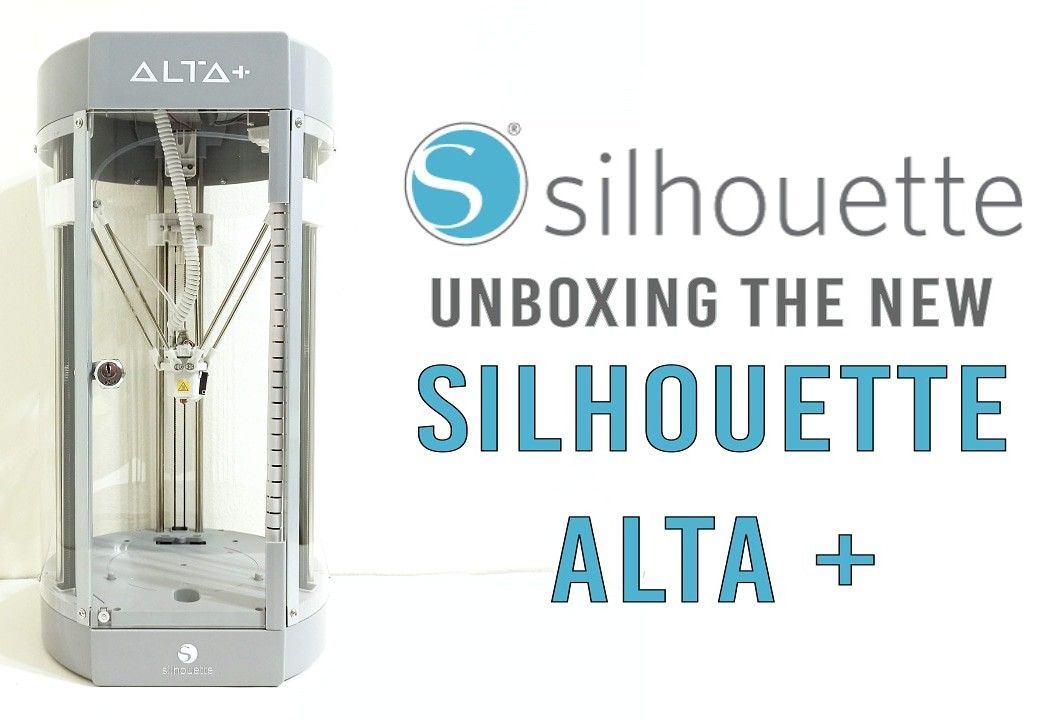 Geometric patterns can be accentuated by using the concentric pattern or you may choose to use a pattern such as Hibert curve to break up a silhouette with large surface area.
Other Examples of Silhouette Art
Example 1 – Layered Silhouette art
Silhouettes lined up in Tinkercad(Screenshot: Tinkercad)
If you want to make your silhouette more detailed or colourful or you want to add depth, you can increase the number of silhouette layers in your artwork. Create your layers working from the one with largest coverage at the back to the one with the least at the front. Remember to focus your detail in the area seen through the viewing hole of the silhouette in front. I find lining them up in Tinkercad very helpful in imagining the finished result.
Multi-layered silhouette art(Image: Natalie Cheesmond)
Example 2 – Cityscapes
One way to enhance your silhouette art is to add detail to the backplate, and one effect that works well using this technique is the addition of the reflection of the original image.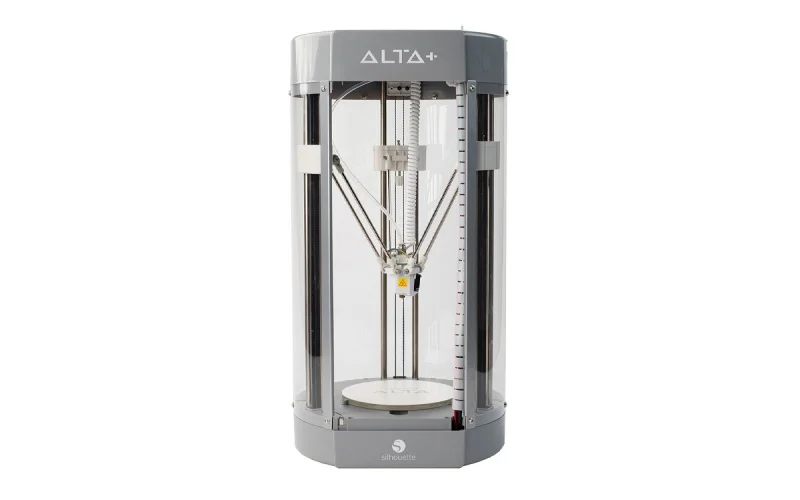 I created a series of artworks using this technique that showed silhouetted cities from around the world. I placed the silhouetted city image about a third of the way up the frame and printed the reflected image onto the white backplate. To make it look more realistic I squashed the reflected image down to half the height. Tinkercad has a reflect tool which enables you to easily create the reflection.
Files on Thingiverse
(Image: Natalie Cheesmond)
Example 3 – Lithophane
Another way of enhancing your silhouette art is to use a lithophane as the backplate. In the pictured Mandalorian silhouette you can see the lithophane is used to provide the background to Din Djarin and Grogu’s silhouetted figures. Many online lithophane creators give you the option to choose the size of the lithophane and to create a thin edge around the outside of the picture and this works well when creating a lithophane as a backplate for your silhouette art.
Mandalorian lithophane-backed silhouette(Image: Natalie Cheesmond)
A bigger project – Mini theatre
Once you feel comfortable designing silhouette art there are many ways you can use it in more complex projects.![]() I wanted to make a miniature theatre with movable curtains, backdrops and characters. I used the silhouette art technique to portray simple characters and to create layered scenery.
I wanted to make a miniature theatre with movable curtains, backdrops and characters. I used the silhouette art technique to portray simple characters and to create layered scenery.
(Image: Natalie Cheesmond)
Example 5 – Halloween Themed Multilayer Silhouettes
Here is a Halloween 3D printing idea. To feature Halloween in such a 3D way seems natural. Variations are endless. One of the biggest advantages of such scenes is that the biggest print, the frame, can be reused for the other scenes featuring other events such as Thanksgiving, Christmas, etc. The slides are thin, which makes them easy to store for the next year.
Halloween-themed Silhouette Art with the light source behindFiles: Multilayer Silhouette on Thangs
Design, Print & Photo: 3DPrintBunnyDancing Skeletons – with daylight as the light source
Files: Skeleton Multilayer Silhouette on Thangs
Design, Print & Photo: 3DPrintBunny
A bigger frame will require a bigger build plate.![]() A common PLA material works well here. Other materials, such as PETG, ABS, or even composites, might have issues with the bed adhesion. Extra glue may be required to keep sharp corners attached to the build plate. Each slide is 1 mm thick and it will take 5 layers to print with 0.2 layer height.
A common PLA material works well here. Other materials, such as PETG, ABS, or even composites, might have issues with the bed adhesion. Extra glue may be required to keep sharp corners attached to the build plate. Each slide is 1 mm thick and it will take 5 layers to print with 0.2 layer height.
Conclusion & Links
Creating your own 3D printed silhouette art is a fun, easy way to grow your 3d print design skills and the technique can be used in many elements of more complex design projects. Why not have a go at creating today?
You can see all of 3DPrintBunny’s silhouette art on Thingiverse. The models and designs featured in this guide were printed on Original Prusa MK3S and Creality Ender 3 (affiliate links). Follow 3DPrintBunny on Patreon to get early access to exclusive designs and generally to support creative 3D printing.
Read more: Infill Pattern Art – 3D Printing Without Walls
In this article, we will have a look at infill, how it works and some of the available patterns before exploring how we can use it to enhance models, inform designs and create art.
Up to 54% Off
Christmas Deals & Products from Popular Brands
Anycubic >>
Creality >>
Elegoo >>
Polymaker >>
Snapmaker >>
MoreLess
AUTHOR
Natalie Cheesmond
Natalie Cheesmond is a 3D print artist/designer and all-round 3D printing addict. Find her on Instagram as @3DPrintBunny.
4 postsSilhouette best STL files for 3D printer・Cults
Mini/Mickey Silhouette fondant or small cookies
€0.55
FJ_0089
€10
SPARTAN SVG / STL
€0.50
USA - Las Vegas FORMULA 1 CIRCUIT 2023 SILHOUETTE WALLART
€1.50
Disney Castle Silhouette Stl and svg
€0.94
Front topper Third eye
€2. 44
44
FORMULA 1 CIRCUITS 2023 Silhouette wallart
€12.50
Vertical Gymnast Topper
€0.92
Topper symbol of peace
€1.29
Tinkerbell Gyro Christmas Ornament
Free
Blade holder adapter for Silhouette Cameo 4
Free
Stabilo Pen Holder Cameo 4
Free
bookmark CLASSIC CAR
Free
SKODA OCTAVIA II RS 2004-2009 KEY SILHOUETTE
€1
SNEAKERS 1 SILHOUETTE WALL
€0.90
CONVERSE SILHOUETTE WALL
€0.90
YEEZY 1 SILHOUETTE WALL
€0.![]() 90
90
YEEZY SILHOUETTE WALL
€0.90
PZL 130 Orlik silhouette wall art
€2.68
Silhouette topper seated woman with flower
€1.19
Skoda Octavia I key silhouette
€1
FJ_0084
€7.90
AUDI R8 SVG / STL
€1
FORMULA 1 SVG / STL
€0.50
3pc Yoga Cat Bath Bomb Mold - Push Mold
€6
1pc Yoga Cat Bath Bomb Mold
€6
Nissan Silvia S14 Zenki key silhouette
€1
Skoda Octavia II RS 2009-2012 key silhouette
€1
HORSE SVG / STL
€0.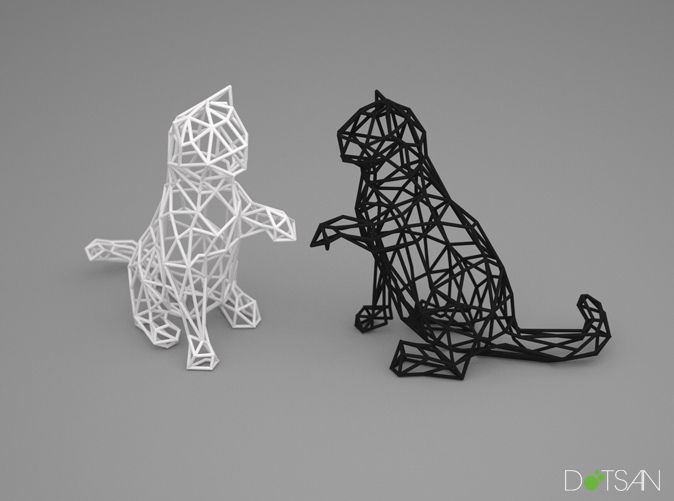 70
70
I love Kizomba
€1.50
Mini flakes cutter set
€1.88
Set cortanets mini pines
€1.88
Mini flower cutter set
€1.88
Set of mini drop cutters
€1.88
Set of mini cloud cutters
€1.88
Tipsy Rabbit With Susanoo
€3.90
Lada Niva Legend 4x4 taiga key silhouette
€1
frame woman
€1.50
MONEY BAG SVG / STL
€1
Set of mini bells cutters
€1.88
Set of mini leaf cutters
€1. 88
88
Mickey miniature cutter set
€1.88
Polka dot cutter set
€1.88
Miniature star cutter set
€1.88
3pc Seahorse Bath Bomb Mold
€6
3pc Shark Bath Bomb Mold
€6
FJ_0082
€5.99
1pc Fox Head Bath Bomb Mold
€5
Best 3D Printing STL Files Silueta・Cults
Fondant for mini/micro silhouettes or small cookies
0.55 €
SPARTAN SVG / STL
0.50 €
USA - Las Vegas FORMULA 1 CIRCUIT 2023 SILHOUETTE WALLART
1,50 €
Disney castle silhouette stl and svg
0.![]() 94 €
94 €
Anterior upper edge Third eye
2.44 €
FORMULA 1 CIRCUITS 2023 Silhouette wallart
12,50 €
Gymnast Vertical topper
0,92 €
Peace symbol topper
1.29 €
Blade holder adapter for Silhouette Cameo 4
Free
Stabilo Cameo 4 pen holder
Free
bookmark CLASSIC CAR
Free
SKODA OCTAVIA II RS 2004-2009 KEY SILHOUETTE
1 €
REVERSE SILHOUETTE
0,90 €
nine0002 YEEZY 1 SILHOUETTE WALL0,90 €
YEEZY SILHOUETTE WALL
0,90 €
PZL 130 Eagle silhouette wall art
2.![]() 68 €
68 €
Silhouette of a seated woman with a flower
1.19 €
Skoda Octavia I key silhouette
1 €
nine0002 AUDI R8 SVG/STL1 €
FORMULA 1 SVG / STL
0.50 €
Mold for bath bombs 3pcs Yoga cat - mold
6 €
1pc Yoga Cat Bath Bomb Mold
6 €
Silhouette key Nissan Silvia S14 Zenki
1 €
nine0002 Skoda Octavia II RS 2009-2012 key silhouette1 €
HORSE SVG / STL
0,70 €
I love Kizomba
1.50 €
Mini flake cutting set
1.![]() 88 €
88 €
Mini pine cortan set
1,88 €
nine0002 Mini flower cutting set1.88 €
Mini dropper set
1.88 €
Mini cloud carving kit
1.88 €
Lada Niva Legend 4x4 taiga key silhouette
1 €
staff woman
1.50 €
nine0002 MONEY BAG SVG / STL1 €
Mini bell cutting set
1.88 €
Mini leaf cutting set
1.88 €
Mickey mini cutting set
1.88 €
Dotted chisel set
1. 88 €
88 €
1.88 €
Seahorse Bath Bomb Mold 3pcs
6 €
Bath bomb mold with shark 3pcs
6 €
Fox Head Bath Bomb Mold 1pc
5 €
Fox Nozzle for making vacuum molds for bath bombs and soaps
2.50 €
Disney Beauty and the Beast Dress Decor Belle Rose
1.88 €
JESUS SVG / STL
0.50 €
Silhouette Messi
1.89 €
MERRY CHRISTMAS SVG / STL
0,50 €
MERRY CHRISTMAS SVG/STL
0. 50 €
50 €
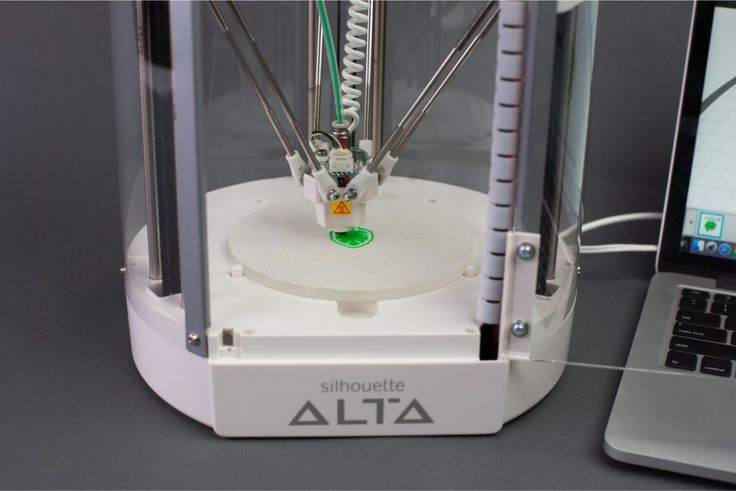
Silhouette knife holder. Printing on a 3D printer Alta
Silhouette knife holder. Alta 3D Printer
I love to 3D print just for fun, but I also enjoy using my Silhouette Alta® for practical purposes. Today I'm going to show you how to make your own 3D printed knife holder. I will show you how to make a Cameo 4 instrument stand, but you can use this technique to make other instrument stands as well. nine0005
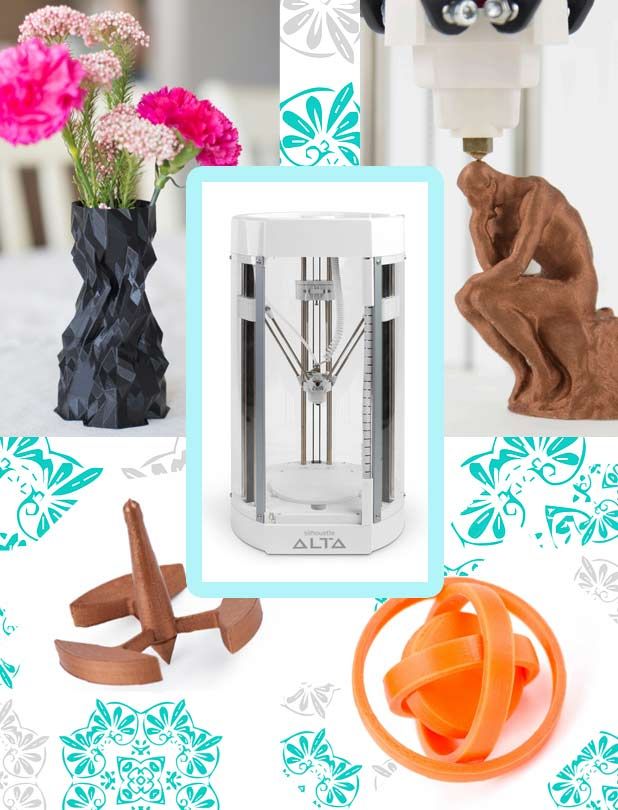
What we need:
- Silhouette Studio
- Silhouette 3D Software
- Silhouette Alta 3D Printer
- Silhouette Cutter
- Plastic thread White PLA
- Cardboard
The layout is first drawn in Silhouette Studio and then loaded into Silhouette 3D.
Step 1: Draw the layout in Studio
In Silhouette Studio®, use the drawing tools to create a 2D design. Feel free to customize sizes or shapes to suit your own design, keeping in mind that Alta cannot print more than 5 inches in any direction.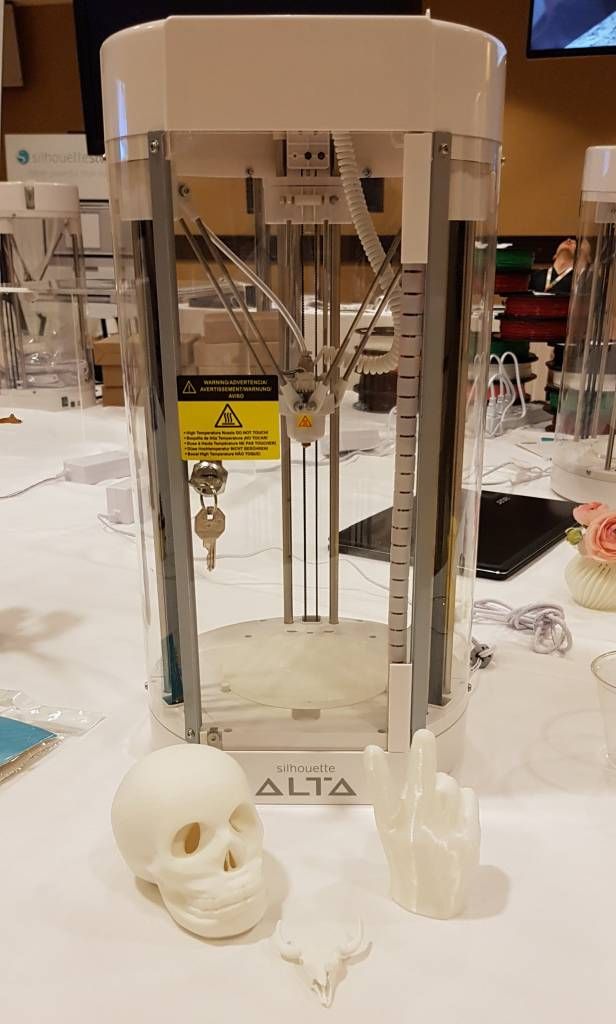 nine0005
1. Use the Rounded Rectangle tool to draw a square with rounded corners (hold Shift while dragging to create a square).
2. Select the square with rounded corners and use the Scale tool (with the aspect ratio locked) to set the size to 2.75 by 2.75 inches.
3. Duplicate the rounded square.
4. Using one copy of the rounded square, use the Offset panel to create an internal offset with a spacing of 0.100" and click Apply. nine0005
5. Select the inner and outer squares together, right-click to open the pop-up menu, and choose Make Compound Path.
6. Fill the square with color to make sure it's empty in the middle, then drag it to the side. This part, which will be the wall of the tool holder, is ready.
7. Using the ellipse drawing tool, draw a 0.687 inch circle (hold Shift while dragging). (Use the locked Scale tool again to set the dimensions precisely, as in steps 1 and 2 above.)
8. Make eight copies for a total of nine circles.
9. Draw a square exactly 2.50 inches. This will be a temporary guide to placing your circle.
10. Drag the nine circles within it, and then use the Align and Horizontal & Vertical Spacing functions in the Transform panel or the Quick Access Toolbar to evenly space the circles into three rows of three. The four corner circles should align exactly with the top/bottom and side edges of the square, and then align and position the other circles accordingly. nine0005
To learn more about the Align and Spacing tools for Silhouette Studio® version 4, watch the first two minutes of this video on the manipulation tools available in the Transform panel.
11. Group the nine circles together and delete the 2.5" square you used as a guide.
12. Center the group of nine circles inside the pristine 2.75" rounded square you created at the beginning. nine0005
To make an original tool holder that fits Portrait, Curio and Cameo 3 or older plotters, keep the same rounded rectangle shapes, but make the inner circles a little smaller.
Step 2: Layout Test
1. Test this square of holes by cutting it out of cardboard using the Silhouette. This is especially important if you are creating your own designs.
2. Place the tools in the paper cutout to check the size and distance between them. Adjust if necessary before moving on. nine0005
If you are an Alta-only user and do not have a Silhouette plotter, proceed to the next step and all your testing will be done with Alta.
3. When your design passes the 2D paper test for hole sizes and spacing, select the circles and rounded square together, right-click, and select Make Compound Path.
4. Fill it with color so that the circles become holes, and the second part is ready. nine0005
5. You can verify that the design is suitable for the Alta platform by selecting Alta as the vehicle in the Page Setup panel.
6. Save the design as a regular .Studio3 file to your hard drive.
7. Open Silhouette 3D™ and open the saved . Studio3 file. When prompted, select the Extrusion Import option.
8. Don't be alarmed if the size doesn't fit. Silhouette 3D™ attempts to fit all objects on the platform when opened.
9. Ungroup the two pieces, then select one at a time and resize the square to 2.75 inches (fix the aspect ratio first).
10. Now we will test this as a 3D print. If the tool holes are quite tight, you may end up with tools that fit snugly on the paper version, but too snug on the 3D printed version due to PLA compression during printing and cooling.
11. Prepare the square with circles for printing. To do this, select it, select "Level to bed", and then - "Select on the center on the printing platform". nine0005
12. It can be quite thin, so you can change the thickness by dragging the center manipulation point down or enter a height dimension (unlock first) of 0.04 inches.
13. Go to the 3D Printing tab and select the square with holes to print. For these coasters, I use standard quality.
14. Prepare the platform, load the filament and send it to print when ready.
15. When you're done, check your tools in the holes to make sure spacing and fit aren't too tight on the PLA version. nine0005
Step 3: Printing the Stand
After making sure the size is right, take the final steps to print the entire tool holder.
1. The hole square still needs to be aligned and centered on the platform. Now select the hollow square piece and align it to the center of the bed again. This is the fastest way to match them perfectly.
2. Unlock and enter the dimensions of your outer square up to 1.35 inches high. I measured this for the tallest tool (Cameo 4 pen holder) so that all tools can hang freely without adding significant extra height (which would add typing time). nine0198
3. Select and Group the two parts together so that they print as one united part.
4.