3D print delamination
5 Tips to Avoid Layer Delamination in 3D Printing
3D print layer separation is one of the most frustrating 3D printing issues. Learn how to get rid of layer delamination in just 5 easy steps!
An extreme example of layer delamination. Source: Jason WebbWhat is Layer Delamination?
Layer delamination occurs when the layers of a 3D print separate or don’t completely stick together. This results in ugly cracks that may seem like a pain to get rid of. Actually, it isn’t that difficult. With a few tweaks in your slicer and maybe a few on your actual printer, you will be bidding farewell to ugly prints.
Let’s dive into some easy tips and tricks to eliminate 3D print layer separation.
Increase Hot-End Temperature
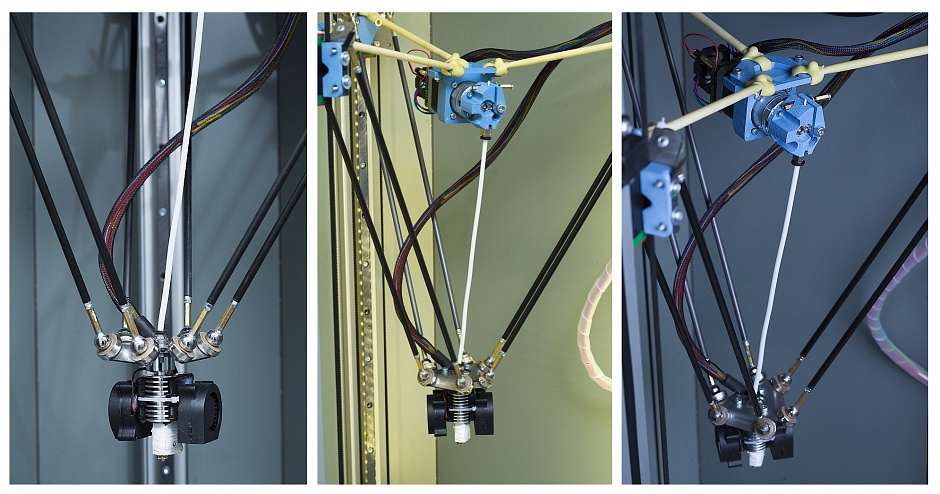
E3D V6 All-Metal Hot-End. Source: FilastruderThe first (and perhaps most obvious) solution to layer separation is to increase your printer’s hot-end temperature. Layers stick together by being fused with heat. If the heat of the extruding material is too cool, it will not be able to adhere to the previous layer. Rather, the cooling fan causes the material to set too fast, resulting in delamination between layers.
Start with your normal print temperature and increase it in 5-°C increments until you see some improvement. Read The Best Printer Temperature for Different Filaments to find the best temperature for your printer.
Note: If you start to see some blobbing or over-extrusion in your prints, bring the temperature back down and move on to the next fix.
Adjust Print Cooling
A very purple fan shroud. Source: Kalani Kirk Hausman and Richard Horne / DummiesHaving read the previous section, you probably anticipated this one. If you’re experiencing layer separation and adjusting the print temperature isn’t making much of a difference, the problem might be with your print cooling fan.
First, check that the print cooling fan is aimed at the printing model. If so, try decreasing your fan speed in 10% increments. You will probably see a significant decrease in cracks in your prints.
Increase Flow Rate
A LuzBot 3D printing with a strong extrusion rate. Source: Shawn Hill / YouTubeThis fix is a sort of piggyback off of the first. When you increase your printer’s flow rate (or extrusion multiplier), more molten filament will come out of the nozzle. This will result in a stronger bond between layers.
Start with your normal extrusion rate, and increase it in 5% increments.
If you start to see print issues caused by over extrusion, bring the flow rate back down a bit. You don’t want to cause a problem by fixing another. Check out Extruder Calibration – Easy Steps to fine-tune your extruder settings.
Slow Print Speed
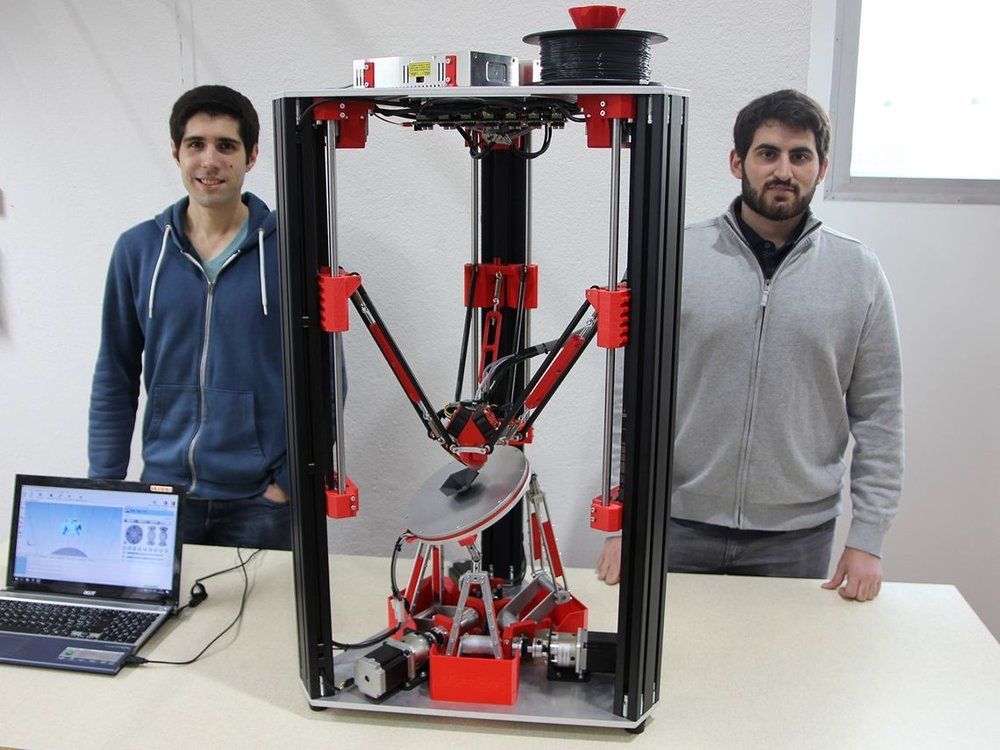
A 3D printer printing a model. Source: Eyeopener3D print layer separation can be caused by high print speeds. If the print head is moving too fast, the extruding plastic will not have time to successfully bond to the previous layer. If the previous fixes did not improve your prints, try slowing your print speed in 10mm/sec increments.
Printing speed can affect various printing issues, maybe you can kill two birds with one stone!
Use a Wider Nozzle
A nozzle pack with various sizes. Source: DbnwstoresIf all else fails, try using a wider nozzle. This will allow you to print with a thicker line width, which should result in better layer adhesion. If you normally print with a 0.4-mm nozzle, try using a 0.5-mm one and see if it makes a difference.
Keep in mind though, if you are using a wider nozzle, you will also have to increase print temperature and flow rate. With a bit of tweaking, you will be on your way to 3D printing beautiful models.
Read 3D Printer Nozzle Size & Material – What to Know & Which to Buy for a comprehensive guide on how to get the right nozzle for your needs.
Tags: 3D printer delamination layer separation
Was this article helpful?
Like 0 Dislike 1
Views: 2105
Delamination during printing! Why does it happen? - 3D Print
Post Views: 5,508
The separation of layers on Z during printing, also known as delamination, is a fairly common phenomenon when dealing with particular materials.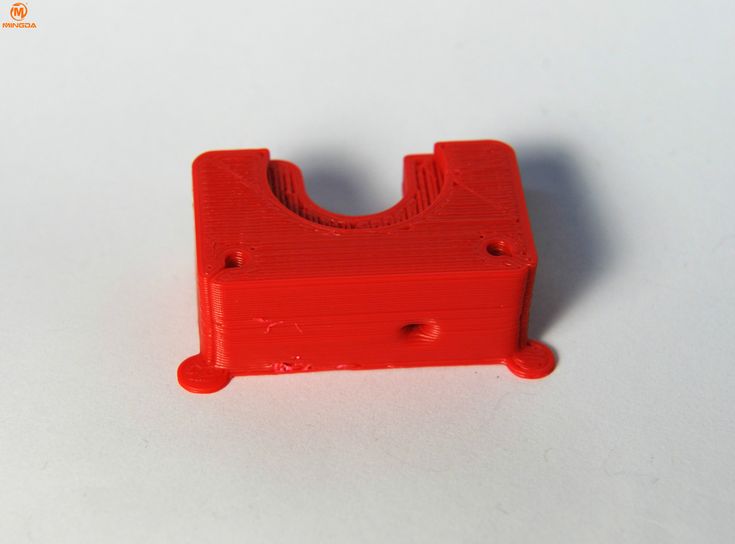 The materials that are most affected by the delamination effect are: ABS, Nylon and other similar polymers. This problem can occur with any type of filament, in the photos you can see delamination of ABS.
Why does delamination happen?
Delamination occurs because one or more layers in the Z-axis do not attach properly to the underlying layer. Very often it happens near the corners and edges of the moulded part, and this is not by chance! In fact, it happens to materials with a high thermal expansion. Which in cooling tend to return to the usual size. In this cooling, if the layers are not more than solid, it is possible that we find delamination. So what can we do about it?
First of all you can breathe a sigh of relief. In fact this problem is related to the settings and the type of material used, and it is not a problem of the machine! You don’t have to make any special upgrades or spend the night changing the hardware!
Rather, you will need to make changes to how you set up the files with the slicer. Unfortunately, as for many other problems in which we incociate printing in 3D we must proceed by trial and error to solve. The positive side is that every challenge we face makes us learn new things about 3D printing. About the way the printer thinks and works, so every time it comes out enriched! Here are some of the causes and solutions:
Delamination: Filament type
As mentioned earlier, ABS and Nylon are the most problematic materials to work with when it comes to delamination.
So the simplest and most immediate solution to the problem is to use a different polymer. If we need to have the temperature resistance and resistance of ABS for an object, then discarded the PLA, we can turn to the ASA.
ASA is a thermopolymer similar to ABS in terms of durability and resistance, and as an added value it also has a strong resistance to UV rays, something that ABS lacks. Because of these characteristics, it has already replaced ABS in the automotive industry.
I recommend the ASA because given its chemical composition. It does not undergo deformation! So you will forget about delamination and warping! Great, isn’t it?
The ASA also has a cost similar to the ABS, so it’s a good idea to change! Here is a material tested by us and that you can also find in the reviews: the ASA that you can also find on Amazon!
Delamination: Too low temperature
It is possible that the temperature is high enough to be extruded from the nozzle, but not high enough for the extruded filament to attach correctly to the previous layer. Try to increase the temperature by only 5° or 10° and see if this has a positive effect on the results.
Delamination: Reduce speed
Printers are becoming faster and more precise, and taken by innovation we sometimes realize that the mechanical and chemical properties of polymers have some limitations. Sometimes it is better to be too cautious and set the print speed too low, but be sure that the extruded filament has the time to connect correctly to the previous level. Set the print speed to 30 mm/s and see the results!
Delamination: Avoids temperature changes
As I said before, the main cause of delamination is the thermal expansion of the material. This is a killer of our prints especially when the temperature changes abruptly. So you have to be careful to keep the environment in which the printer works at a constant temperature! Avoiding moving doors, windows, operating fans, air conditioners, and anything that could change the temperature in the printing area even by a few degrees. All it takes is a small eddy current to ruin hours and hours of printing.
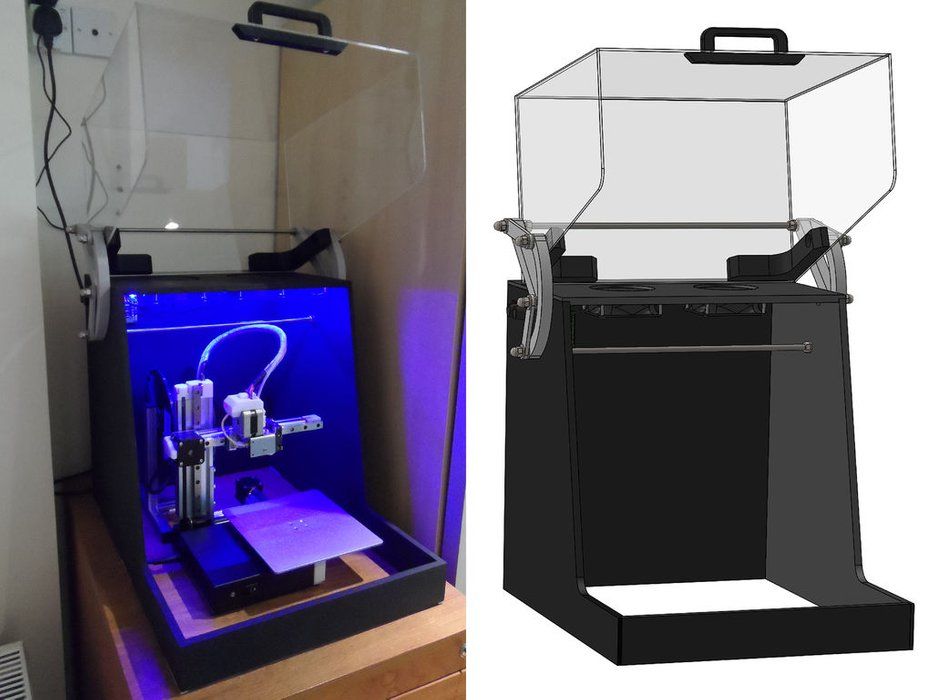
If it is difficult to isolate the room then you will have to isolate the printer! You can build a case to your printer in any material. One of the most used solutions when it comes to printers with standard dimensions 20x20x20 cm is to use the very cheap IKEA LACK table.
This table costs only few $ and has the right dimensions to isolate the printers on the prusa i3 model (check the measurements yourself!!!!).
Just add some insulating material from the walls, or even a simple plexiglass and that’s it. Only remember to leave the electronics outside the structure if possible. First of all because it is not good for it to be heated, secondly because it normally has small fans that could compromise your work!
Delamination: Increases filling
Precisely because of what has already been said before about the eddy currents and the cooling of the object. We can guess that the part most exposed to these temperature changes is the outer shell. In fact, the part inside the model is somehow protected by the shell. For this we will have to increase the filling, and bring it to a consistent value.
If you have delamination problems try to increase the infill to 40%-50%. A solid fill will certainly help the perimeter walls to stay together and compact!
Delamination: Always valid generic rules
We have already talked many times about the flow and height of the layer.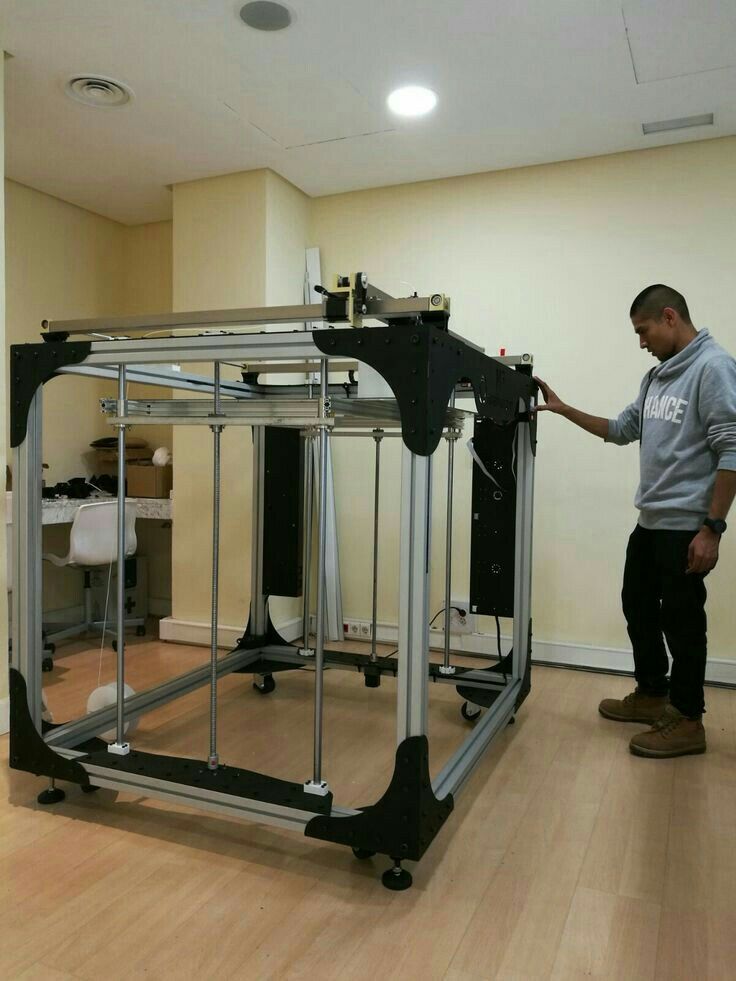 And how to set them up for trouble-free printing. The amount of wire that is extruded is an important variable when it comes to gluing the layer. If the walls of the print look “thin” or if you see small gaps in the Z layer. It’s probably a good idea to use a higher “flow” value in the slicer software. You can optimize it with this GUIDE!
Same goes for the recommended maximum height of the Z layer. We have often said that this is equal to 3/4 (three quarters, which is 75%) of the width of the nozzle. For example, your nozzle has a width of 0.4 mm, so you have to keep the layer height at 0.3 mm or less.
If this post has been useful and you want to stay up to date on new releases, please LIKE Easy 3D Home Facebook’s page ! You can find other 3D Print problems solved in our Common Problems section!
Like this:
Like Loading...
5 Tips to Avoid Delamination in 3D Printing
If you've owned a 3D printer for a while, you're probably used to solving a lot of problems. Delamination is one of the most annoying problems. In this article, we are going to learn (in 5 simple steps) how to rid your prints of this annoying problem. If you decide to buy ABS plastic, then our advice will be especially useful for you.
What is layer delamination?
Layer delamination occurs when the 3D printed layers do not fully adhere. This leads to the appearance of ugly cracks that upset and upset us. It's really not that hard to get rid of it. A few tweaks in the slicer and maybe a few in the printer and we'll say goodbye to ugly prints. nine0003
Let's take a look at some simple tips and tricks to help eliminate delamination!
1. Increase the temperature
The first (and perhaps most obvious) solution to 3D print delamination is to raise the printer's print temperature. Layers stick together under the influence of temperature. If the temperature of the extruded material is too low, it will not be able to adhere to the previous layer. Most likely, the fan is causing the material to cool too quickly, resulting in delamination. nine0003
Start with normal print temperature and increase it in 5°C increments until you see some improvement.
Note. If you see spots on the model, bubbles due to excessive extrusion, reduce the temperature and move on to the next tip.
2. Adjust Print Cooling
After reading the previous section, you probably expected this. If your part is delaminating and adjusting the print temperature didn't improve, the issue may be related to cooling. nine0003
First, make sure the printer fan is facing the model. If so, try reducing the fan speed in 10% increments. You will likely see a significant reduction in cracks in your prints.
3. Increase the flow rate (Flow)
Increasing Flow is a logical consequence of increasing the temperature, which we advised you to do in the first step. When you increase fluidity (or extrusion multiplier), more molten filament is squeezed out of the nozzle. This results in a stronger bond between the layers. nine0003
Start with a normal extrusion speed and increase it in 5% increments.
If you see problems with 3D printing caused by excessive extrusion, reduce the flow rate slightly. You don't want to fix one problem and cause another.
4. Reduce print speed
Delamination in 3D printing can be caused by high print speed. If the print head moves too fast, the extruded plastic will not have time to successfully adhere to the previous layer. If the previous fixes didn't improve the quality of your model, try lowering your print speed in 10mm/s increments. nine0003
Print speed can affect various printing problems, you might kill two birds with one stone!
5. Use a larger nozzle
If all else fails, try using a larger nozzle. This will allow you to print with wider lines, which should result in better layer adhesion. If you normally print with a 0.4mm nozzle, try using a 0.5mm nozzle and see if that makes a difference.
Please note that if you use a larger diameter nozzle, you will also need to increase the print temperature and flow rate. Make a few adjustments and you'll be one step closer to 3D printing beautiful models. nine0003
If you don't want to delve into 3D printing technology, 3D4U is here to help. We can produce custom 3D printing for projects of any complexity.
Problems, defects, 3D printing errors and solutions
Often during the operation of a 3D printer, problems may arise due to which defects appear on the finished model. Or instead of a neat product, plastic noodles suddenly appear on the table.
In fact, the causes of defects can be conditionally divided into 2 types - these are physical and software. nine0003
Physical ones are those that arise due to problems with the mechanics or any other causes that can be eliminated physically. These include problems with printer mechanisms (belt tension, backlash), clogged or deformed nozzle, incorrect table geometry, etc.
Software - these are defects that occur due to incorrect slicer settings or, less often, errors in the printer firmware. For example, incorrectly selected print speed, retract settings, incorrectly selected temperature for plastic, etc. nine0003
Very rarely, the problem may lie in the wrong or “flying” printer firmware (although usually the printer simply will not start then), overheating of some boards during printing, etc. These are rather special cases, so we will not consider them.
Model peels off or does not stick to the build plate
This is the most common 3D printing problem. Every 3D printer has had a case when the first layer treacherously rolls, clinging to the extruder, or the most offensive - when it tears off a partially printed model from the table. The first layer must stick tightly otherwise nothing will be printed. nine0003
Gap between table and nozzle too large
This is the most common reason. You just need to set the correct gap between the table and the nozzle.
Modern printers often use an auto-calibration (auto-leveling) table system or an auxiliary table leveling program. To calibrate such printers, use the instructions. If there is no manual, it can be downloaded from the manufacturer's website. nine0003
If you have a simple printer without auto-calibration, a self-assembly or KIT kit, use a probe or a piece of paper folded in half to calibrate. The probe should be slightly pressed against the table by the nozzle. Before calibration, the table and extruder must be heated. Align the table surface over each adjustment screw (there may be 3 or 4) in turn, and only then check the center point.
If you're having trouble getting your table surface perfectly level, try raft printing. Raft is a thick substrate in several layers that is printed under the model. It will help smooth out the slight curvature of the table. nine0003
A small cheat sheet to determine the correct gap on the first layer
Plastic with poor adhesion
Some types of plastic, due to various reasons, such as large shrinkage, do not adhere well to the surface of the printing platform.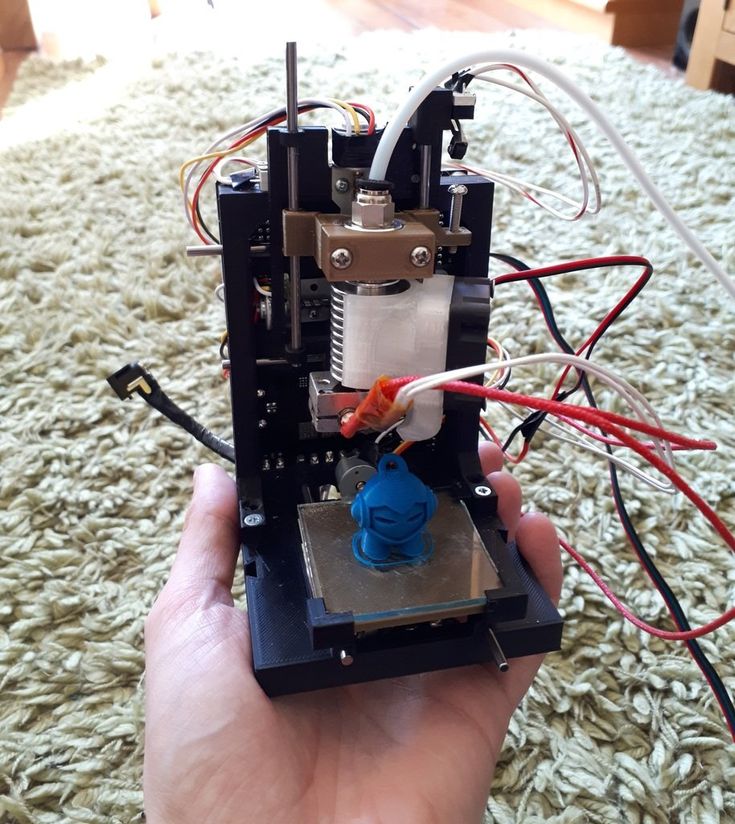 In this case, try using stickers or special 3D adhesives to improve adhesion between the table and the first layer of plastic.
In the early days of 3D printing, there were experiments with different homemade 3D adhesive recipes. ABS diluted in acetone, BF glue, sugar syrup and even beer. Some experiments have been successful. Until now, some enthusiasts use some types of hairspray or glue sticks as 3D glue. But still they are inferior in their properties to industrial 3D adhesives. nine0003
Some types of high temperature plastics with a high percentage of shrinkage (ABS, Nylon, etc.) may peel off the table during printing. This is due to uneven cooling and “compression” of the model (the lower layers have already cooled down, but the upper ones have not yet). For such plastics, it is imperative to use a 3D printer with a heated table and a closed case.
Plastic temperature too low
The hotter the plastic is when it exits the nozzle, the better it will adhere to the print platform.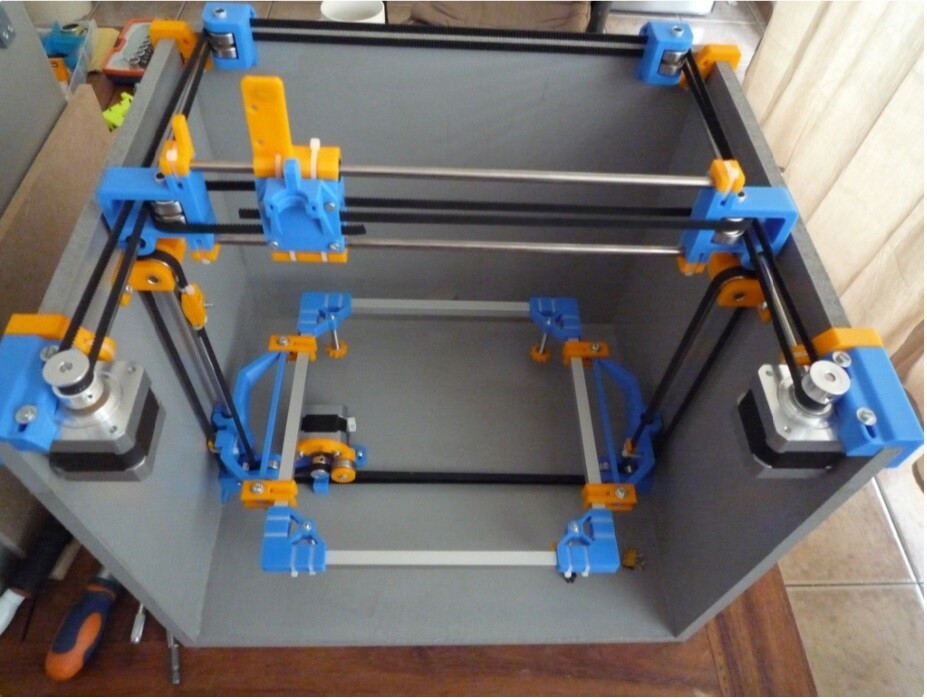 It is better to print the first 5-10 layers at a higher temperature (+ 5-10 degrees) and turn off the blower fan. nine0003
Wrong first layer settings (speed and thickness)
A thicker layer sticks easier, so the standard first layer is 0.3mm thick. With an increase in print speed, the heating block may simply not have time to heat the plastic to the desired temperature and it will stick to the table worse. Before printing, check the speed and thickness settings of the first layer in the slicer.
A lot depends on how the 3D printer prints the first layer. Try to control the printing of the first layer and only then leave the printer to work alone. nine0003
Plastic does not choke from nozzle
The printer has already begun to print, but the print table remains empty. Or part of the model did not print.
Clogged nozzle
In 3D printing, a nozzle is a consumable. The nozzles are clogged or worn out (frequency depends on the type of plastic). The simplest thing is to replace the nozzle. But if there was no spare at hand, you can try to clean the old one. To do this, there is a whole set of thin needles. Or you can heat a clogged nozzle above the melting point of the plastic and “burn out” the blockage. But later it is still better to replace the nozzle. nine0003
Low temperature nozzle
You need to increase the temperature of the extruder in the slicer settings or check the thermistor and heating block. Sometimes the thermistor may not read the temperature correctly due to a malfunction or incorrect 3D printer firmware settings.
If the problem occurs after replacing the thermistor - contact the manufacturer or read articles about PID tuning.
Empty extruder
As the extruder heats up, plastic begins to ooze out of the nozzle. Because of this, the extruder may start printing half empty. Because of this, part of the first layer is not printed. You can push the plastic manually by simply pushing the bar into the nozzle. Or solve this problem programmatically - in the slicer, add a contour print around the model (one line).
Some manufacturers and 3D enthusiasts add a line print on the edge of the table at the beginning of each GCode. This is done so that there is plastic in the nozzle by the time the model is printed. nine0003
Feed mechanism does not push through plastic
The plastic pushes the feed mechanism to the extruder - a motor with a special pulley put on the shaft. If for some reason the plastic is not pushed through (nozzle clogged, extruder temperature low, etc.), then the pulley “gnaws” through the bar. You need to push the plastic bar with your hands or cut off the damaged piece.
Elephant foot
The first layers of the model are wider and protrude beyond the boundaries of the model. This is due to the fact that the upper layers put pressure on the first ones that have not yet cooled down and flatten them.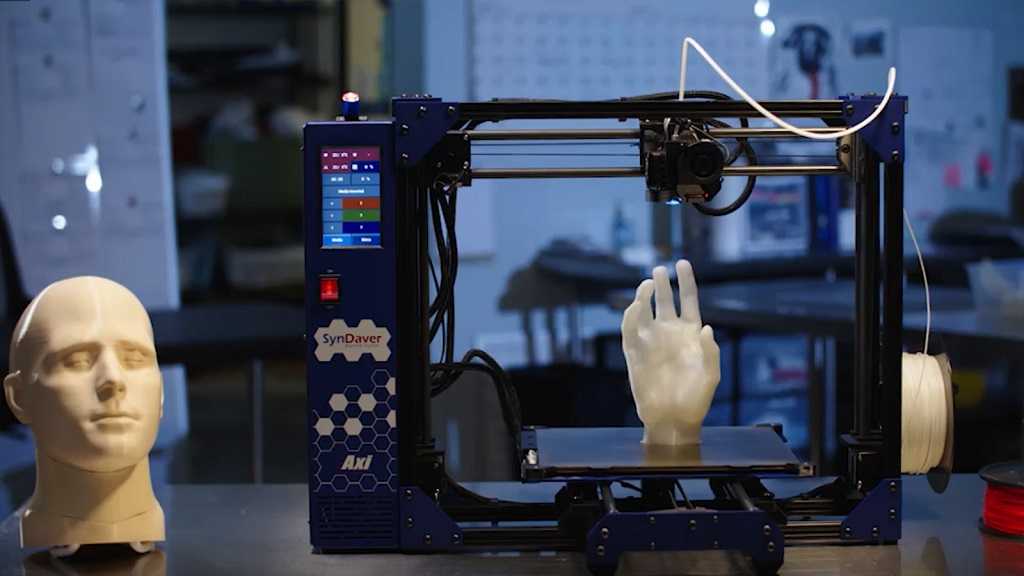 nine0003
High table temperature
Due to the too high temperature of the table, the lower layers remain soft for a long time. Try lowering the table temperature. It is better to reduce gradually (in increments of 5 degrees). You can try to turn on the blower when printing the first layers.
Small gap between nozzle and platen
If, when printing the first layer, the nozzle is too close to the table, then excess plastic will be forced out. After a few coats, this will not be as noticeable, but can lead to the effect of an “elephant's foot”. nine0003
Plastic re-extrusion
When too much material is squeezed out of the nozzle, the walls of the model are not smooth, but bumpy, with sagging.
The solution is software - in the settings of the slicer, you need to set the material feed rate (fluidity) to a lower value. The average value is 95-98%.
It is worth checking the diameter of the rod. If its size is greater than 1.75, then the plastic will be squeezed out more than necessary. nine0003
Plastic underextrusion
The plastic is squeezed out too little, because of this, gaps may appear between the layer. The finished model will be fragile and fragile.
Wrong thread diameter
Check the filament diameter in the slicer settings. Sometimes, instead of the popular 1.75, the default is 2.85.
Incorrect feed rate settings
Check the fluidity settings in the slicer. The average should be 95-98%.
Clogged nozzle
Something could get into the nozzle and partially block the exit of the plastic. Visually, the plastic will choke from the nozzle, but in a smaller amount than necessary for printing.
Hairiness or cobwebs on finished model
Thin threads of plastic protrude from the outer wall of the model (most often on one side). The defect appears due to the flow of plastic from the nozzle during idle movement. nine0003
Insufficient retract
A retract is a slight pull of a plastic filament from an extruder. Due to the retract when the extruder is idle (from layer to layer or from model to model), heated plastic does not drip from the nozzle. For some flowable plastics (eg PETG) the speed and amount of retraction must be increased.
"Hairiness" can be easily removed by grinding or cutting off the threads with a sharp scalpel. nine0003
High temperature extruder
The higher the extruder temperature, the more liquid the plastic becomes. It is important to find a balance so that the plastic is not too liquid and sticks well in layers.
In the selection of the optimal extruder temperature, a test model - a tower - helps a lot. It clearly shows how plastic behaves when printed at different temperatures.
.
Temperature test nine0003
Top "perforated" or uneven
The top of the model is bumpy or with holes. The problem may arise if the top of the model is flat. For example, like a cube.
Insufficient airflow
When printing the top plane (cover), the plastic does not have time to cool down and remains too liquid. Because of this, the threads are torn and holes are formed. Increase the fan speed on the last layers. nine0003
Few top layers
The top of the print may be too thin and deform as a result. Check slicer settings. The number of upper layers is not recommended to be set less than 6.
Fill percentage low
If the infill percentage is too low, then the top layer will simply have nothing to rely on. Increase the fill percentage in the slicer settings.
Model deformation
Some parts of the model seem to have melted in some places or on one side. The problem most often occurs when printing with PLA plastic. The defect appears due to the fact that the plastic does not have time to cool and deforms.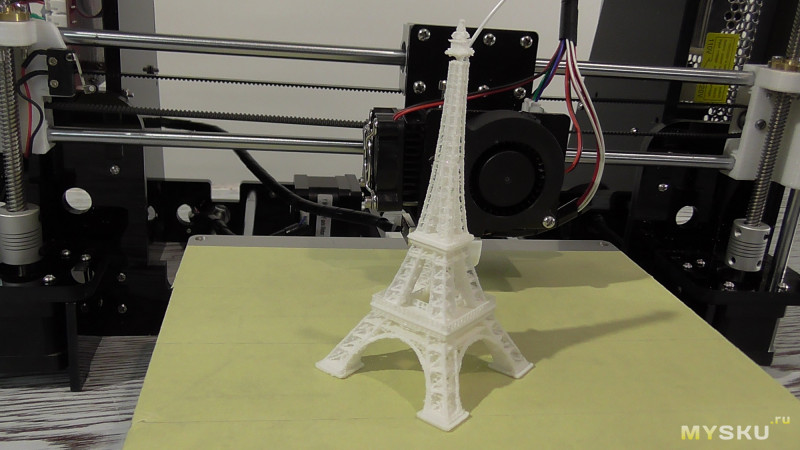
Insufficient airflow model
Turn the fans on to maximum. If their power is not enough (in some printers, the fan is located only on one side), you can put a regular desktop fan and direct it to the 3D printer table. nine0003
Small model
Small models are difficult to blow well. Try to print small items alongside larger ones, or place several identical models in different corners of the table. So the plastic will have more time to cool.
Layer offset
Layers shift along the x or y axis during printing.
Print head jam
Turn off the printer and try to move the extruder along the x and y axes with your hands. The extruder must move freely. If there are jams, check the mechanics of the printer. Bearing wear or the curvature of the shafts may be to blame. nine0003
Electronics overheating
Sometimes electronics problems can be to blame for misaligned layers. The most common cause is overheating of the drivers or too low current exposed to them.
Table top is loose
This is most often seen in 3D printers with glass. During printing, the nozzle may hit the model and move the glass slightly. Before printing, check if the glass or other printing surface is well fixed on the heating table. nine0003
Skip layers
Small holes are visible on the print, or the shell of the model is not continuous.
Teflon tube deformed
There are 2 types of thermal barriers - all-metal and with a Teflon tube. If overheated, the Teflon tube may deform. Plastic will pass through it, but in a smaller amount.
Low extruder temperature or high print speed
If the extruder is not heated enough, then the plastic will not be liquid enough and simply will not have time to be forced through the nozzle. The higher the print speed, the higher the extruder temperature should be.
Sometimes the outer walls print well, but the infill is “torn”. In this case, slow down the infill print speed in the slicer.
Model bundle
Cracks form on the surface of the printout during or after printing. Cracks can be large or very small. Most often, this problem occurs with plastics with a high percentage of shrinkage - ABS or Nylon. nine0003
Sudden temperature difference (if model delaminates during printing)
With a sharp temperature difference (for example, a draft), part of the model cools down faster. This leads to uneven shrinkage and incorrect distribution of internal stress. For plastics with low shrinkage, this is not critical. But if the shrinkage percentage is more than a few percent, the model may burst in layers.
For printing with such plastics, it is recommended to use a printer with a closed housing. If this is not possible, try to avoid drafts and sudden temperature changes in the room where the 3D printer prints as much as possible. nine0003
Print temperature
Due to too low printing temperatures, the layers may not “stick” well to each other. Raise the print temperature in the slicer settings.
Hardening (if the model cracks after printing)
Sometimes cracks appear on the model a few days after printing. This is due to uneven distribution of internal stress after cooling. You can try to “harden” the finished product. nine0003
For hardening, the model is placed, for example, in an oven, and heated to the softening temperature of the plastic. After that, the heating is turned off and the oven is left to cool slowly with the model inside. Due to this, the stress inside the print is distributed more evenly. But accuracy is very important in this method - if you make a little mistake with the temperature, the finished product can “float”.
Ringing
In places where the extruder changed direction, ripples are visible. Most often it looks like a shadow around the “sharp” protruding elements of the model.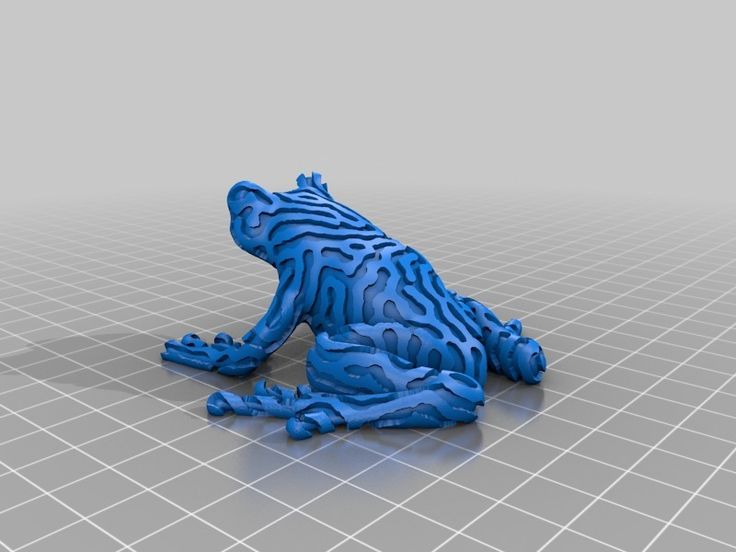 nine0003
Mechanical problems
Sometimes the problem occurs due to extruder play. Check if the extruder mount to the rails is loose. Be sure to check the tension of all belts.
High print speed or high accelerations
Moving the extruder too fast can cause vibrations that cause ripples on the wall of the model. The lighter the weight of the extruder, the less noticeable the ripples will be. To get rid of ringing, simply reduce the print speed in the slicer settings. nine0003
Slots for thin-walled models (not solid shell)
The thin wall of the model is not solid, but consists of two thin walls with a narrow gap between them. This problem is often faced by fans of printing "cutting" for baking.
Left model with wall defect, right without
Wall thickness and nozzle diameter mismatch
If the wall thickness is 1 mm, and the nozzle diameter is 0. 4, it turns out that for a solid wall, 2 nozzle passes are few, and 3 are already many. The result will depend on the slicer algorithm, but most often you will get 2 walls with a thin slot in the middle (the slicer cannot change the wall thickness). The solution to the problem may be a slight refinement of the 3D model or the use of a different slicer. nine0003
Algorithms for calculating 3D models are constantly being improved and refined, and now this problem is less common.
When modeling, take into account not only the thickness of the nozzle, but also the percentage of “overlapping” of lines on each other. If you have a nozzle with a diameter of 0.4 - make the wall in your model not 0.8, but 0.7 - 0.75.
Wrong model geometry
When instead of a circle you get an oval, and instead of a square you get a semblance of a rhombus. nine0003
The main reason is malfunctions in the mechanics of the printer. Be sure to check:
Belts
Check belt tension in x and y. Belts stretch over time and may need to be tightened or replaced. Each 3D printer has its own way of tightening the belt. If the belts are slightly stretched, you can tighten them with the help of a "spring".
Loose pulleys, etc.
Check if all bolts and nuts are tight. Are there backlashes. Pay special attention to tightening the pulleys located on the motors along the x and y axes.
Sagging of some parts of the model
Some parts are not printed, broken, or instead of a neat surface, a swollen plastic snot is obtained.
No support for overhangs
A 3D printer cannot print in the air, so if there are overhanging elements in the model, you need to set supports - supports. The slicer can set the necessary support itself, you need to check the appropriate box in the settings. nine0003
When printing with soluble support, you can set the gap between the model and support - 0. This will make the surface smoother. If the support material and the model are the same, you need to add a small gap. Otherwise, it will be difficult to separate the support from the model.
Split model
Sometimes the supports can take more plastic than the model. In this case, to save material and time, it will be more convenient to cut the model. If you have more than one 3D printer, then the model will print several times faster. nine0003
When cutting the model, you can leave grooves or mortgages so that the pieces of the model are connected without displacement.
Totals
In this article, we talked about the most popular 3D printing defects and how to solve them. Don't be intimidated by such a long list. Some problems are rare and you are unlikely to encounter them.
There is a list of problems that arise due to the design features of a 3D printer, so try to choose a printer that suits your needs. To do this, you need to understand what products and what material you need.


