3D print bottle
Bottle best STL files for 3D printer・Cults
Sabertooth
Free
Powder coating bottle
Free
Modular bottle rack
€1
Pill Container Non-locking Cap (2 sizes)
Free
Mini Erlenmeyer Flask Bottle and Threaded Cap
Free
Beer tapper.
Free
HK Logo Bottle Stopper
Free
Horde and Alliance Themed Bottle Stoppers
Free
Bottle - soap dispenser - Skull 💀
€1.88
Modular Hangable Paint Rack
€0.94 -30% €0. 66
Airbrush compressor desk mount
€0.94
Tupperware bottle
€4
tupperware bottle cap
€2.50
Prime hydration bottle
€1.41
DKN XC140i Tools
Free
Bottle and bottle dryer
€0.50
Miniature Bottles for Dioramas and such / Miniature bottles for dioramas and such
€1
KLEIN BOTTLE
Free
Glue Bottle Holder Stand
Free
BOTTLE WINE GLASS HOLDER
€0.50
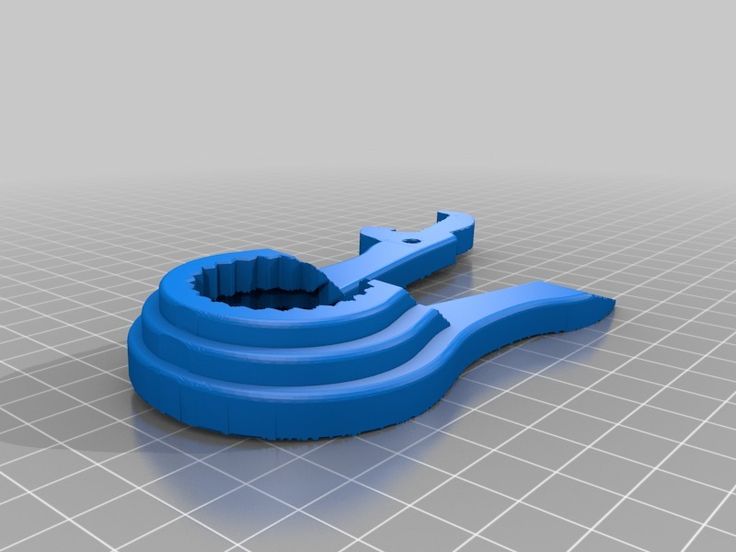
Turtle bottle cap opener
€1.25
RJ Keychain - BTS Line Friends
€1
SodaStream Duo bottle holder
€2. 49
49
Simple CVS Pill Bottle Holder
Free
Water Whirler Energization
€0.85
Baby bottle drainer - dry bottles
€1.50
Refillable Air Up Pod
Free
Bottle Opener - super simple design
Free
Baby feeding bottle handle for tomee tipee baby bottle
€1
ComArt_Tray24
Free
Decorative package for wine bottles
€20
Plant Watering Adapter
Free
cat holder wine
€1
Water Bottle Lid Keeper
Free
Mini sprayer cap
Free
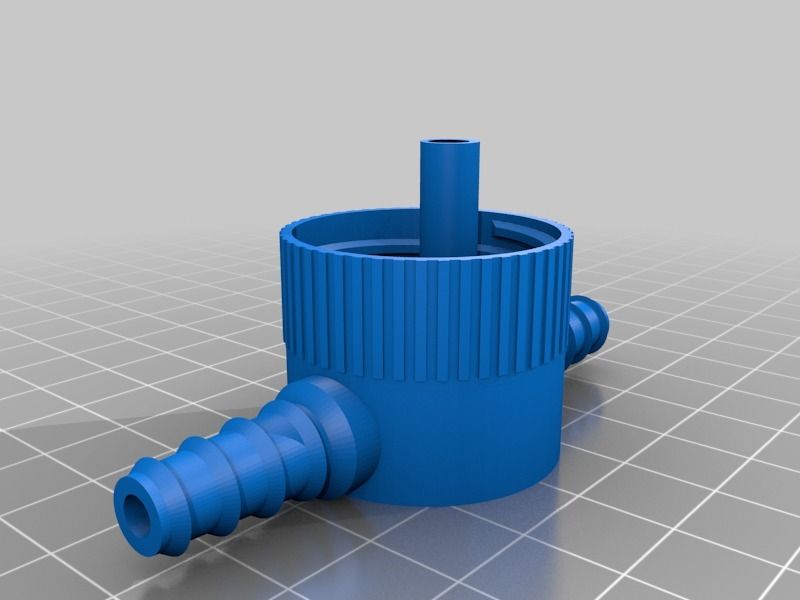
Water bottle spigot nipple
Free
Portable stand
€0. 50
50
PET bottle thread to 26.441x1.814 thread
Free
Xmas stocking container decorations
Free
Norteñito
Free
Pencil sharpener for PET bottles
Free
Cow Milk Bottle
€3.76
MAM Baby Bottle Holder/Bracket
€3.11
Elegant Christmas style saucer under a bottle of wine to save the tablecloth from drops of wine
€0.60
Beer Bomb Fins - Corona Bomb
€1.55
Blackalien flexi amputated finger in bottle
€3.25
Bioshock infinite Jockey vigor
€8. 88
88
Wine holder - Home Design
€2.50 -50% €1.25
Prototyping a Multifunctional Bottle With SLA 3D Printing
Two young makers and design lovers from Italy, Damiano Iannini and Ferdinando Petrella founded idea3Di in 2014 to develop products built upon innovative new technologies. Their first projects included Geizeer, a compact, eco-friendly desk cooler, and Levia, a levitating marble lamp.
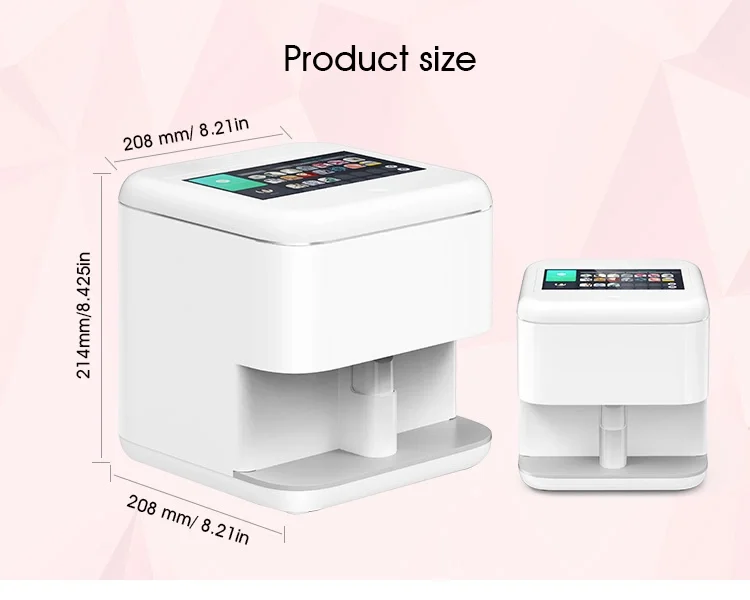
The duo’s latest project is a step towards larger-scale production. iUVì is a smart and multi-functional bottle that purifies water after 60 seconds using ultraviolet LEDs, transforms into a flashlight, lantern, or signaling device, and also has a power bank built into it.
Read on to learn how idea3Di’s team prototyped the smart bottle, including beautiful clear parts that are indistinguishable from the final product.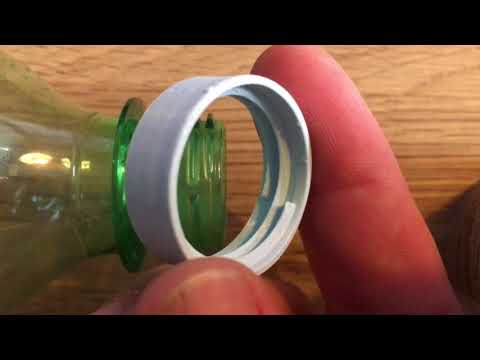
“The idea was born one year ago. Back then, there was a lot of talk about single-use bottles and plastics and how they’re causing problems [to the environment]. We had the idea to create a better bottle than the ones that were already on the market,” said Iannini.
Damiano Iannini and Ferdinando Petrella with one of their previous projects, Geizeer, a compact, eco-friendly desk cooler.
As avid hikers and nature lovers, the designers wanted to create a device that can replace multiple items in the average hiker’s backpack.
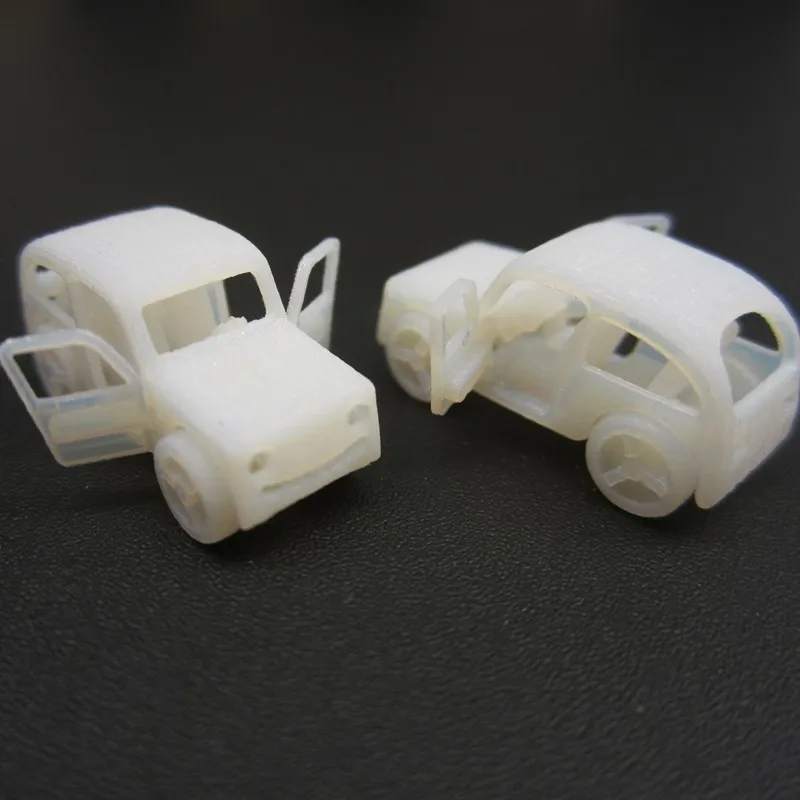
After they came up with the design, they 3D printed the first prototypes with a fused deposition modeling (FDM) 3D printer. Then, once they required more accurate mechanical and aesthetical prototypes, they turned to stereolithography (SLA) 3D printing.
The bottle can purify water using ultraviolet LEDs, and also function as a flashlight, lantern, or signaling device. These looks-like and works-like prototypes were fully 3D printed with SLA technology.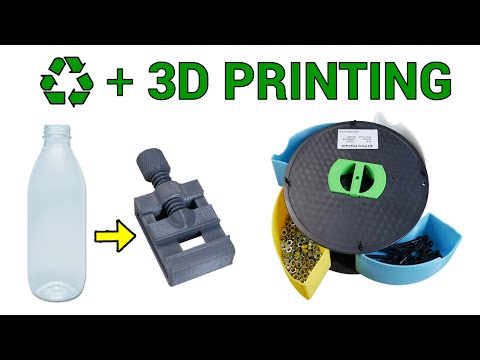
“To obtain a prototype as close as possible to a product manufactured with traditional manufacturing equipment, we used a Formlabs 3D printer with SLA technology. You can have working prototypes with detailed aesthetics, the right tolerances, and other things that are impossible to have with FDM. All the parts are easy to finish and paint. There are no layers on the parts, so you can finish them easily without using a lot of sandpaper. The results we obtained with this printer have been impressive,” said Petrella.
The final design consists of a cap and the bottle itself. The cap is composed of five plastic parts, the internal electronics, and a battery. The designers used Black Resin for the cap, while they printed the bottle in Clear Resin.
Prototyping clear parts can be very complicated as most desktop 3D printers cannot produce clear parts, while traditional tools take a long time and require expensive tooling.
SLA 3D printing is great for producing parts requiring translucency.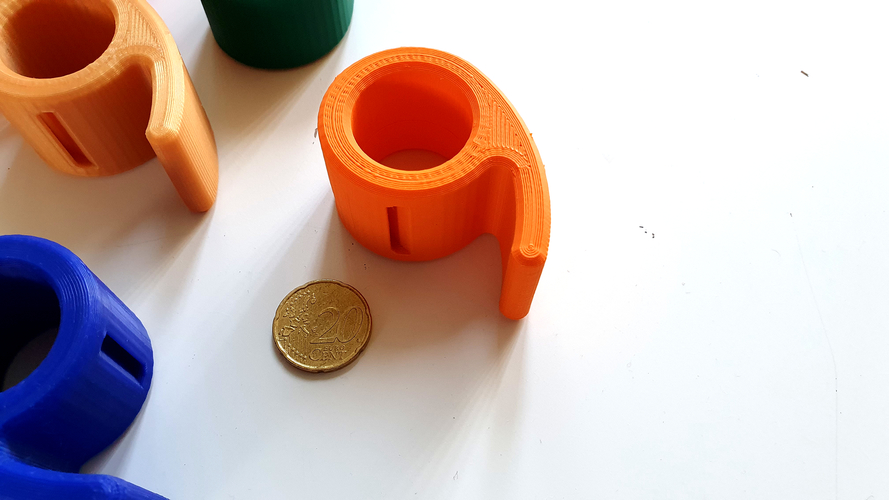 Formlabs customers have used Clear Resin to create an entirely optically clear lens for a fully 3D printed camera, tiles for a Fresnel lens installation in Times Square, light pipes, millifluidic devices, and more.
The prototype of the transparent bottle was 3D printed in Clear Resin.
“One of the more complex steps in the creation of the prototype was the transparent bottle. Using the Formlabs Clear Resin and a long and precise post-production process, we managed to obtain transparency equal to that of a mass-produced part through injection molding. The result is impressive and almost impossible to distinguish from a final product,” said Iannini.
After 3D printing, the bottle was cleaned, post-cured, sanded, washed again, and then coated with polyurethane spray.
“The most difficult process was to have the surface of the printed part totally smooth because that’s the only way to have a completely clear bottle. We used different grit sandpapers to get a smooth surface finish.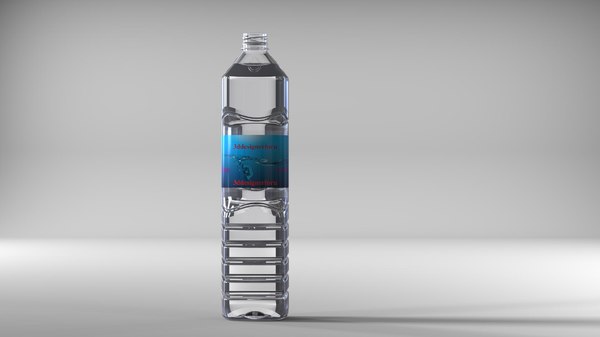 Then, we used soap to remove the grease from the parts and increase transparency. At last, we finished the bottle with polyurethane spray. Overall it took one or one and a half hours to create only one bottle,” said Petrella.
Like with their previous products, the designers now turned to crowdfunding to acquire funds that would cover the costs of the first batch of the final product.
“The hard part with moving to production is always the molds, they’re the most expensive part,” said Iannini.
From size and fit testing to blending prototyping and production: find out how successful companies leverage rapid prototyping in product development. Curious to see the quality firsthand? Order a 3D printed sample part to your office.
Request a Sample Part
3D printing of bottles and prototyping in Sprint 3D
Prototyping of bottles
3D printing of bottles is one of the best options for prototyping bottles, cans, canisters and other types of containers.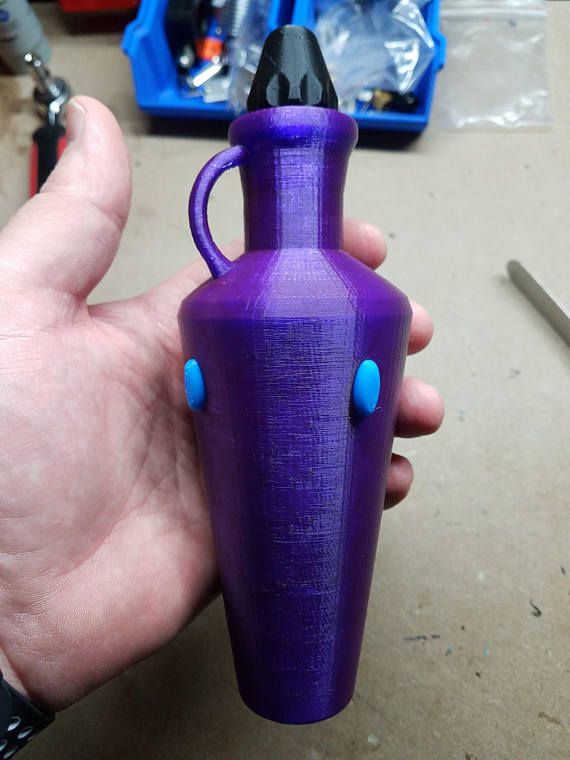 It has been actively replacing other prototyping methods for more than a year, allowing you to create complex samples in a short time. Today, SPRINT3D offers customers prototyping and 3D printing of bottles using the latest technologies. We create prototypes of bottles, cans, canisters, other types of containers, use various 3D printing technologies and different materials: plaster, plastic, etc.
We offer you to learn more about the prototyping service and the opportunities it opens up for modern manufacturers. Naturally, you can order the service of making a bottle prototype and printing layouts of packaging right now in our company.
Prototyping technology
There may be some differences in the prototyping process, depending on the complexity of the task and customer requirements. But the standard order of work is as follows:
- 1. Preparation of sketch project and concept, their approval by the client.

- 2. Detailed development of the bottle shape, creation of 2D and 3D drawings
- 3. Creation of solid models and prototypes.
Depending on the client's goals, it is possible to create a completely new concept for a bottle, canister or can, develop on the basis of an existing concept, adapt sizes or scale to the required volumes, formats. nine0005
The advantages of prototyping technology and 3D printing of bottles are obvious:
- The customer can see, twist in his hands, evaluate the ergonomics of the product, if necessary, request adjustments before mass production of containers.
- Prototypes can be obtained and used for promotional purposes to show to potential customers.
- It is possible to use the prototype as a master model, from which the form for the future batch will be removed in the future
The latter places particularly high demands on the quality of the product.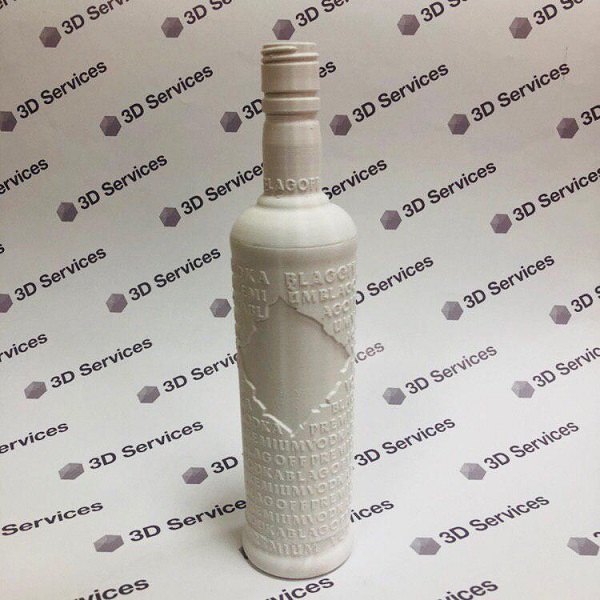 To create a prototype and launch a product into production, we use MJM or SLA technologies. They allow not only to ensure the smoothness of the walls without roughness, but also their strength. In addition, they make it possible to work with different types of photopolymer plastic, which further expands the possibilities of production.
If you are interested in more affordable options for prototyping and 3D printing, we can use FDM technology. It allows you to create sufficiently strong and accurate prototypes, but at a more affordable price. nine0005
Application areas for prototyping and 3D printing of bottles
The main application area is the food industry, including the alcohol industry. However, prototyping and 3D printing are also widely used in other industries:
- architecture;
- medicine;
- design;
- aircraft and mechanical engineering;
- geographic information systems;
- light and heavy industry;
- education, etc.

In addition, the technology is often used by advertising companies, design offices, bottle and container manufacturing organizations.
Thanks to the ability to create a prototype container of almost any configuration and complexity, customers get the opportunity to experiment, implement more creative solutions, create exclusive unusual shapes. An important advantage is the possibility of multiple scaling, changes, and refinements. This allows in the end to get a result that fully satisfies the wishes of the client and becomes a kind of business card of the product where it is needed. nine0005
Key requirements for bottle prototyping
The requirements for glass and other containers are currently high. Here are just the main ones:
- The model must be solid, without visible and generally significant defects, noticeable roughness and the like.
- There must be no seams, which is achieved by the principle of printing in one perimeter.
- The concave bottoms of bottles are most often printed separately, after which they are connected to the body of the container with a solvent. nine0024
- Minor defects that may occur are eliminated in post-processing. Including manually - with fine sandpaper or a file.
- Solvent dipping or spraying is used to achieve transparency of the prototype.
- Each model requires a shrink time after printing. Otherwise, small cracks and other defects may occur on its surface.
We have been prototyping containers for many years and guarantee compliance with all current requirements. The quality is carefully controlled. nine0005
What data do we need from the client for production? It could be:
- 3D computer model. The best option, on the basis of which it is already possible to carry out production. So you get the result as quickly as possible. If you do not have a three-dimensional model, other options will do.
- 2D drawing. Using it, our specialists will create a full-fledged three-dimensional model, which can be used as in the paragraph above. It usually takes several days to create a 3D model from a drawing, depending on the complexity and amount of work. Exact terms and cost are discussed individually.
- Sample bottle. We may use a sample of plaster or other material that you provide. It is scanned with high-precision equipment, after which, if necessary, the necessary changes are made and a finished three-dimensional model is obtained, on the basis of which a prototype is printed. nine0024
- Sketch, drawing or photograph. Even if you have only such initial data, we are ready to develop a new three-dimensional model based on them and create a prototype. The developed layout is approved by the customer, and then goes to print.
We will be happy to take on your task, discuss all the details and conditions. If you need a one-time or permanent prototyping of bottles, cans, canisters and other containers, please contact SPRINT3D.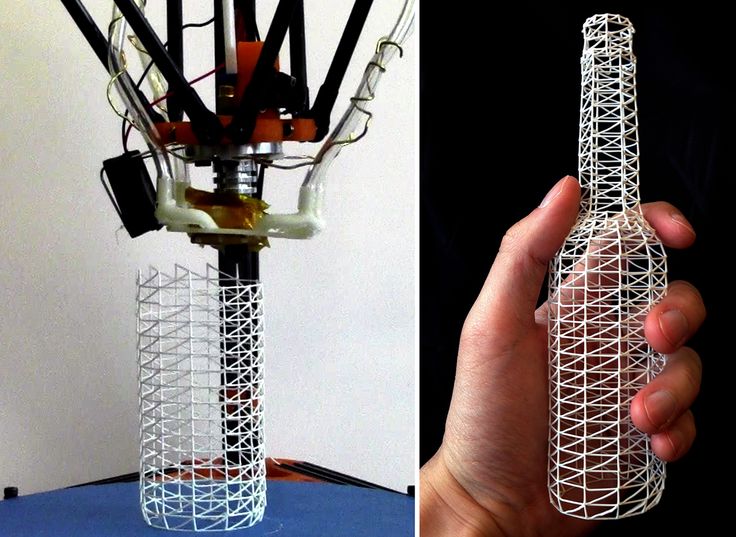
PET bottles in bulk printing! A simple machine for printing PET garbage.
Consumables
Follow author
Follow
Don't want
14
Hello!
Hundreds of modifications of various feed tables exist on the Internet. But many write to me that all these machines are very complex and expensive to manufacture. Electronics, display, stepper motor power supply microcontroller, you also need to know the programming language. all this makes it difficult to assemble this machine for those who do not know electronics. nine0005
Today I will try to assemble a very simple machine. I will collect half of the garbage. Why not use ready-made components.
Not without turning
I found this shaft ready, but you can easily print on a 3D printer. It's much easier than using turning.
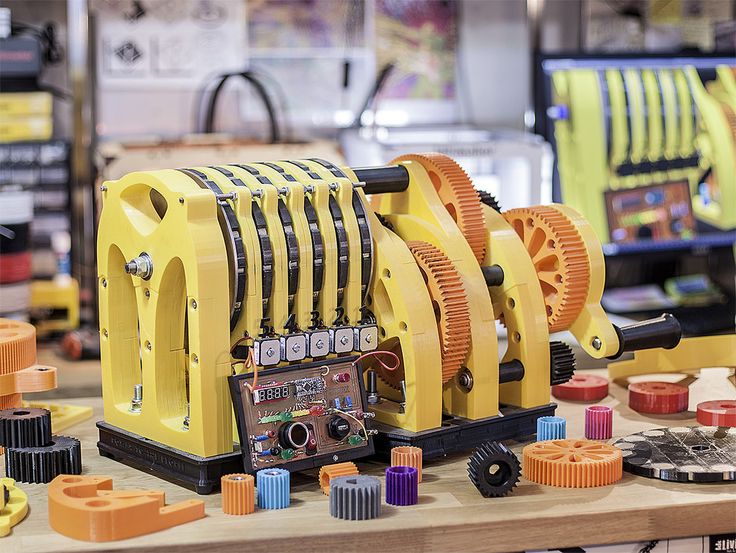
It's time to print the traction mechanism. Unfortunately my printer can't print it. I have a detail with a diameter of 25 cm. Well, I need a large 3D printer. KINGROON sent me another awesome gift for my crafts. This is a KP5 3D printer. With a large print area 300x300x330mm. just what I need! nine0005
I will print from garbage, namely PET bottles pre-drawn on an old machine. I have leftovers. The material is good because it is free. Printing rough parts, test parts. To see how they look in reality.
Large cogwheel I printed 7 hours and used 17 meters of bottled resin. It was possible to print this entire exhaust shaft with a single model.
I will install a small 220v synchronous motor with an excellent gearbox. In any case, the motor will produce 20 revolutions per minute, I do not provide for motor adjustment. Why adjust? Of course, time will tell. I may have to install a frequency converter. But I need to make it as cheap as possible and very, very simple. nine0005
The motor runs almost silently unlike homemade gear assemblies.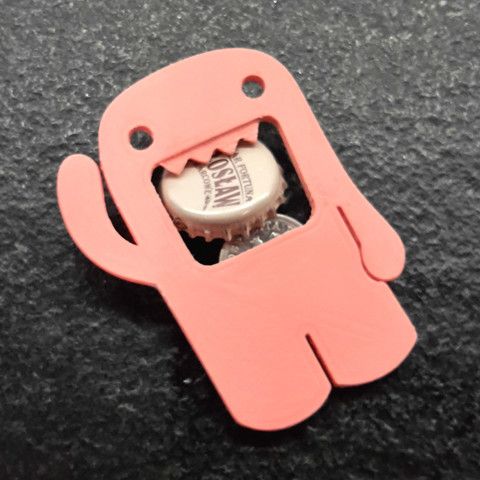
It's time to hook some simple electronics onto the broaching machine. I will have the simplest electronics ordered by aliexpress. PID controller, non-contact relay, thermocouple.
Thermocouple thread pitch 1.25mm. such a rare tap could not be found. I screwed the sensor into a 1mm thread, and on the opposite side with a countersunk bolt so that the contact was as large as possible. nine0005
It remains to connect the wires, you don’t even need to solder them, everything is bolted.
Now you need to make a nozzle, I'll try to drill with a drill in ceramics. Something seems to have happened, but crooked. It doesn't matter, I'll change it.
Machine ready.
Now let's prepare the raw material from the landfill. You can put the bottle cutter directly on the machine. It would be good if I held out one bottle.
I'm going to join the tapes. I'll show you how to do it in future videos.