3D print bed leveling
How to Manually Level a 3D Printer Bed
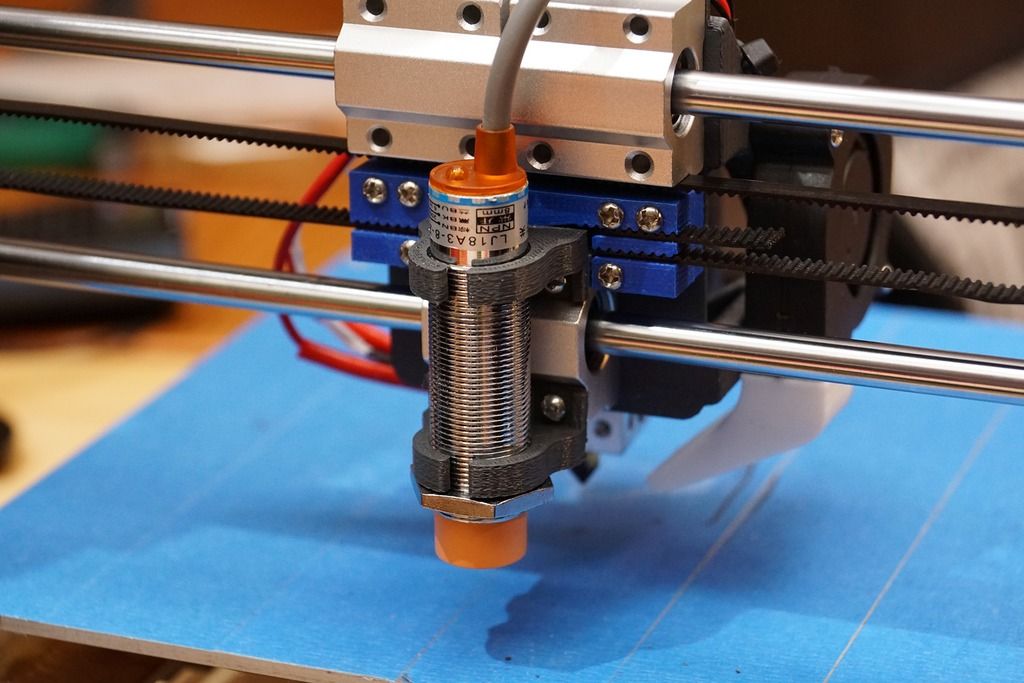
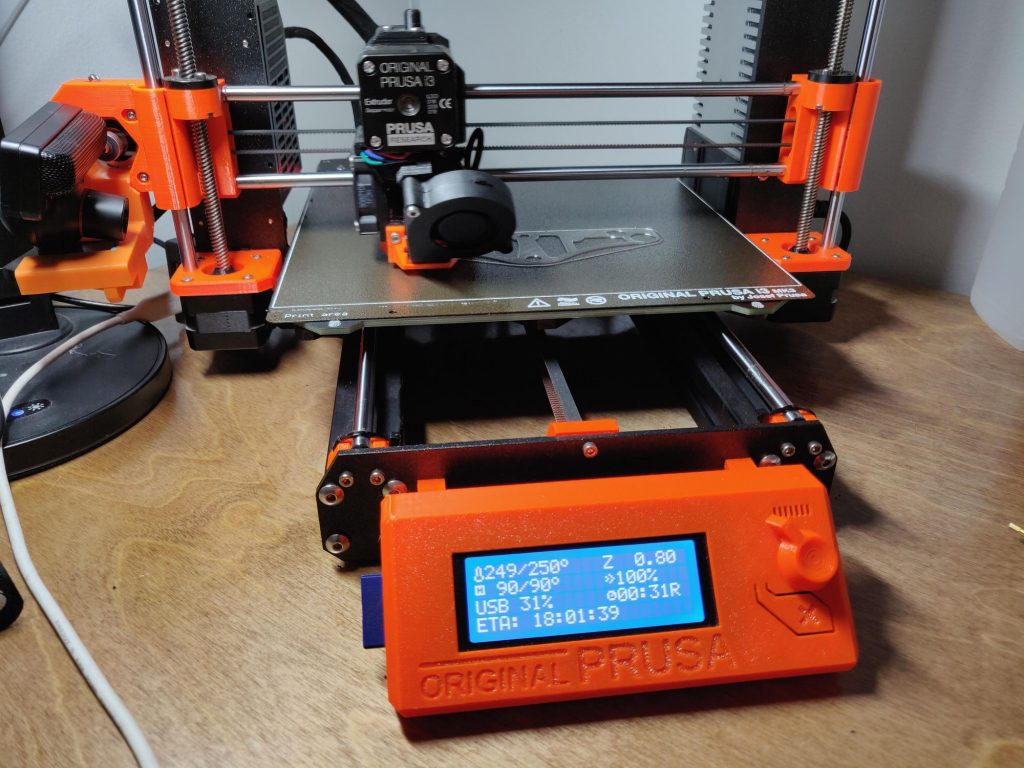
(Image credit: Tom's Hardware)Whether you’re using a brand new 3D printer for the first time or noticing that your prints come out uneven or, even worse, fail to stick, you need to level the print bed. Entry-level 3D printers, even those which sit among the best 3D Printers, often do away with luxuries like color screens, direct drives and probes for automatic bed leveling. Don’t worry, learning how to level a 3D printer bed is not hard; it just takes a little practice.
“Leveling the bed” is a bit of a misnomer. We’re actually “tramming” the print surface: making sure the nozzle is at the same height across the bed at every point on the X and Y axis.
Level is a simple, if not precise, word everyone can understand.
The biggest problem when manually leveling a 3D printer bed is finding the correct distance between the nozzle and the print surface. Too far and your prints won’t stick. Too close and you’ll damage the print surface.
Luckily for those of us stuck with manual 3D printer bed leveling, we don’t need to be laser accurate. We’re dealing with fractions of a millimeter, so pretty darn close will get us the quality we seek.
When Do You Need To Level a 3D Printer Bed?
- After assembly and before your first print.
- After changing the nozzle to make sure the nozzle remains the correct distance from the bed.
- Once a week. Even the best printer can fall out of calibration with use, so check your level occasionally.
- After a failed print. Prints not sticking? You might be out of level.
What You’ll Need to Level Your 3D Printer Bed
- A Piece of Paper: This is used to gauge the distance between your nozzle and the print bed. Computer paper is a good choice, but a piece of junk mail or a Post-It Note will work too.
- Filament: Load your printer with PLA for running a test print.
 PLA is a commonly used filament and sticks well without fuss. We’re using Inland PLA + Orange for this article.
 - Isopropyl Alcohol : Clean the print surface before leveling. Filament never sticks well to a dirty bed.
- Paper Towel: For cleaning the bed.
- Slicer App: You’ll need to slice your test print – any slicer will do. We like to use Ultimaker Cura.
- Bed Level Test Print: There are several files online, we’ll use this one from Thingiverse. It’s sized for an Ender 3. You can size this one to fit your printer’s bed or search for a test that’s made for your specific machine.
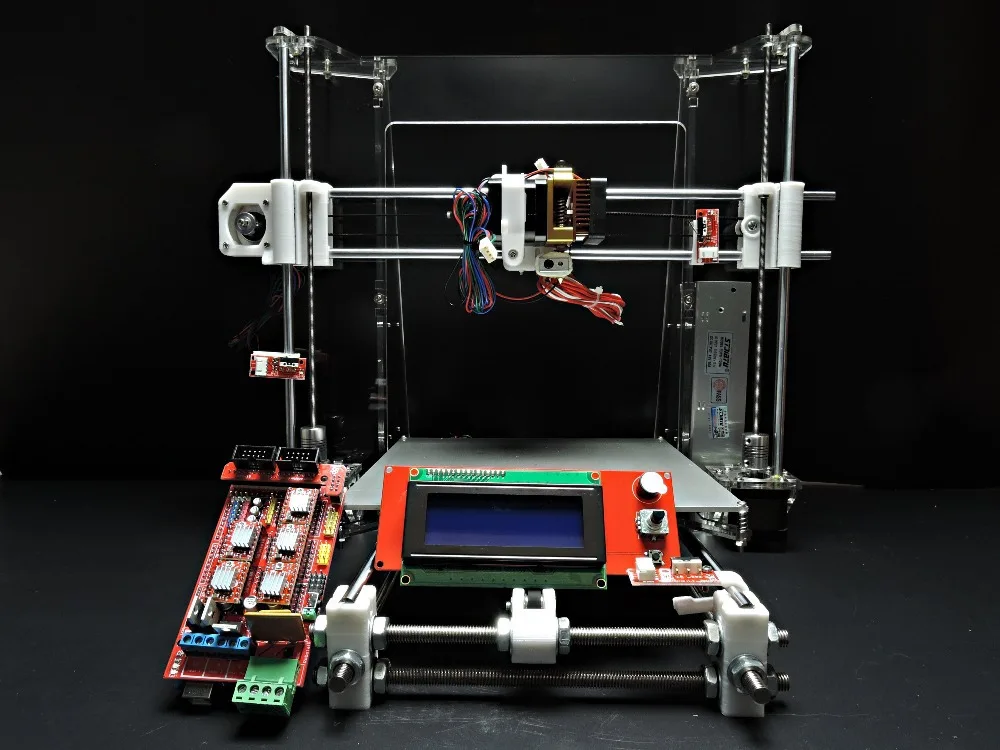
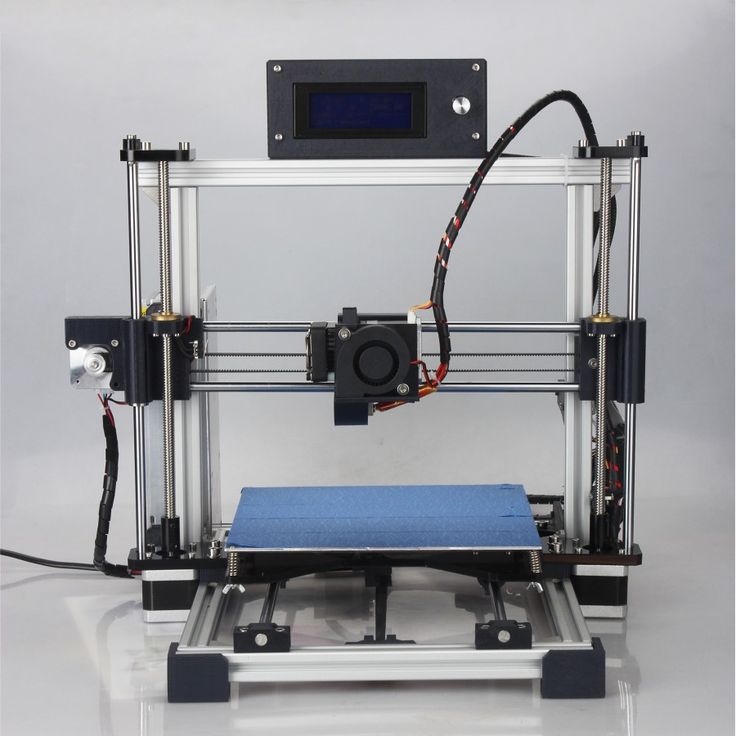
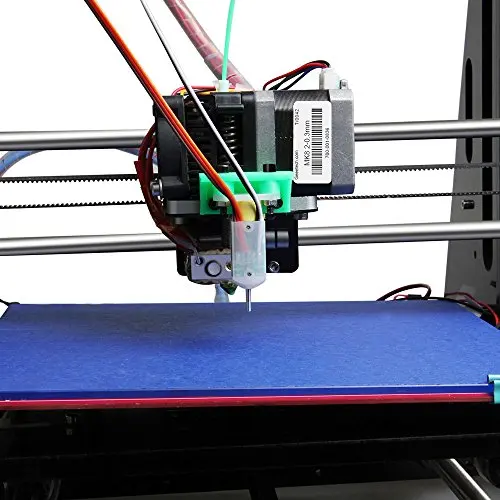
- Your 3D Printer: In this article, we’re using a Creality Ender 3 Pro FDM 3D printer. The four-point print bed is similar to many popular 3D printers on the market today, including the Elegoo Neptune 2.
Prepare your Printer
1. Clean the bed. Lightly scrub the print surface with Isopropyl Alcohol and a paper towel to remove fingerprints and any bits of leftover filament.
2. Preheat your printer and bed to its normal operating temperature. For PLA, we warm up the printer to 200° on the nozzle and 60° on the bed. Wait at least 5 to 10 minutes to let the printer absorb the heat.
Some experts believe it's unnecessary to preheat the bed, as the possibility of heat expansion is very small. We prefer to level the bed under the same conditions we use while printing.
3. Home the printer. This will take it to the 0,0,0 position.
4. Check your printer controls for an option called Bed Leveling, Level Corners or Bed Tramming. This option will move the printer around the four corners of the bed while you adjust the springs underneath.
A few Ender 3 models come with leveling aids installed. You’ll need to select “Disable Steppers,” which turns off the stepper motors and allows you to push the print head by hand.
Note: Our Ender 3 Pro has been upgraded to Marlin 2 firmware, which added a Bed Tramming routine.
5. Slide the print head (or let the printer do it) to the first corner, centered more or less over the adjustment knob under the bed. Slip a piece of paper under the nozzle.
6. Use the adjustment knob underneath the bed to raise or lower the nozzle until it barely touches the paper.
Do this for all four corners and the center. Then do it again. Leveling the bed is a balancing act where adjusting one corner can throw off the opposite corner.
(Image credit: Tom's Hardware)Run a Test Print
1. Load a bed level test print into your slicer of choice. Since we’re using a Creality Ender 3 Pro, we’ll use one found on Thingiverse called “Ender 3 Bed Level”. If your printer has a larger or smaller print surface, adjust the x and y coordinates accordingly.
2. Reduce the Z height to 0. 4 for a single layer test print.
3. Clean the bed with Isopropyl Alcohol and a paper towel.
4. Run the print.
Diagnose the Results
- Nozzle is too close. If your nozzle is too close to the bed, it will plow through the filament, causing a rough, uneven surface. You could have thin patches where the plastic is being pushed into the bed surface. It may be difficult to remove.
- Nozzle is too far. If your nozzle is too far from the bed, there will be gaps between the lines of filament. The lines of plastic appear rounded and may not stick to the bed at all.
- Nozzle is just right. When the nozzle is a perfect distance from the bed, it will appear slightly squished or lightly flattened. Lines will blend into each other with a uniform appearance. There will be very little roughness.
If the squares of the test print appear too far or close to the nozzle, make adjustments as needed and re-run the test print.
3D Printer Bed Leveling Aids
It can be difficult to achieve a perfect first layer with manual 3D printer bed leveling. Here’s a few things to try before you give up and buy a BL Touch Auto Sensor , which can be used to do auto leveling on an Ender 3-style 3D printer.
- Clean the Bed. A squeaky clean bed is extremely important for bed adhesion. Even a few fingers prints can add enough grease to make a print not stick.
- Use a Raft. Your slicer can place a chunky first layer down that helps tall or delicate prints stick. The downside is that you’ll have a rough surface on the bottom of your print. You will find rafts under Build Plate Adhesion in Cura and under Support Material in PrusaSlicer. Other slicers have their raft options in other menus.
- Use Glue Stick. A washable disappearing glue stick – the purple kind – from the children’s craft aisle is a perfect adhesion helper. It lays down a tacky layer that helps filament grip the surface. Lightly smear the glue across the whole bed, then wash off after 3 or 4 prints and reapply. The brand doesn’t matter, so feel free to stock up during the next Back to School sale.
- Shim the Bed. Warped beds are sadly common in inexpensive printers. If your bed seems lower or higher in the middle – and you have a removable print surface – you can shim the bed with aluminum foil, masking tape or even a Post-It Note.
To Shim the Bed
1. Remove the print surface.
2. Place a steel ruler or similar straight edge on the bed and shine a flashlight behind it.
(Image credit: Tom's Hardware)3. Note how big the gap is and cut a piece of foil or tape approximately that size.
4. Place it on the printer bed and look for gaps with the ruler.
5. Layer additional pieces of foil or tape until the bed is mostly flat.
6. Replace the bed surface and level the bed.
(Image credit: Tom's Hardware)Denise Bertacchi is a Contributing Writer for Tom’s Hardware US, covering 3D printing.
Topics
3D Printing
Best method for 3D printer bed levelling
Watch the full video on my YouTube channel!Getting a good first layer is crucial and it's the most common question I see from beginners. The problem is that everybody is showing you how to do it with a piece of paper! I mean, it's good as a rough guide, but there's a better way that's much more reliable and just as simple.
Printers with manual bed levelling
We'll start with a printer that has manual bed levelling. I'll be using a CR-10.
Most of them have a levelling knob in each corner that let's you adjust the height of the bed. A lot of them are too small though, so I recommend printing larger ones like these. You'll find plenty of them on Thingiverse.
Before doing anything, ensure that your bed is actually clean. Get a bottle of isopropyl alcohol and quickly wipe the bed. I do this before every print job.
You should always level the bed at working temperature, because it expands with heat. For PLA, I recommend setting it between 50 and 60 degrees.
Some printers have an assisted levelling function. The printer will move the head around by itself and all you have to do is set the height at each corner. If you don't have that option, then you'll have to disable stepper motors and move the head manually.
Move the head to each corner and set the initial height using a piece of paper. Keep raising the bed until the nozzle drags against the paper. This is just a starting point and if your nozzle is already close enough, you can skip this step. Do this once for each corner.
Next, we'll be using calibration squares to fine tune our first layer. You'll find links for common bed sizes below, but you can always scale them to match your specific printer.
- Bed levelling squares (300x300mm)
- Bed levelling squares (200x200mm)
- Bed levelling squares (150x150mm)
- Bed levelling squares (100x100mm)
- Bed levelling square (center)
Print the first batch and then examine each square individually. Your goal is to get as smooth surface as you can and all the squares should look the same.
Nozzle too high
If your nozzle is too high, the filament will either not stick at all or you will see gaps between individual lines. If that's the case, raise the bed slightly. You only have to adjust the closet corner for each square.
Nozzle too low
If your nozzle is too low, it will scratch against the first layer. The surface will be rough to the touch or it might even buckle if the nozzle is really low. In any case, you have to lower the bed slightly.
After you've examined every square and adjusted the corners, print another batch. Check the squares again and keep going until you get a smooth and consistent surface on all of them.
Perfect first layer
When all of the corners are set, the middle square should automatically be good as well. If it's not, then your bed is probably warped. Try turning the glass around and see if that helps. You could also print a wedge jack to raise the bed in the middle. Better still, I recommend using a mirror instead.
Mirrors have a special coating that works much better with PLA than ordinary glass. My favourite ones are from Ikea that are called "Lots" and you can buy a pack of 4 for next to nothing.
Anyway, your printer should now be ready. If you notice any warping, simply raise the bed slightly in that corner. Quarter of a turn or even less should be enough.
Printers with automatic bed levelling
If your printer has automatic bed levelling, the process is even simpler. As the printer automatically compensates for the bed surface, we can print only a single square in the middle (although that's technically not always true as I'll explain later).
Look for a setting called Live Z, Z offset, baby steps or something similar depending on your printer. Whatever the name, the setting should allow you to fine tune the distance between the bed and the nozzle.
As we did before, keep changing the Z value until you get a smooth surface. Because the square is larger now, you don't have to print the entire square with just one setting. I usually change it in the middle, so I can test two Z heights in one go.
Change Z value mid-print to test multiple settings in one go.As you can fine-tune the offset now, it might be helpful to write down the values that you've used. You can then compare them and see which ones were the best.
You can see how even small changes can affect your first layer. Tune your Z slowly.Perfect!Because automatic bed levelling isn't perfect, most will let you adjust the Z offset for individual sides as well, so it's not just one setting for the entire bed. If you want to test for this, print the full set of squares in each corner and compare them with the center one.
And that's about it. You should now get a perfect first layer no matter which printer you're using. Let me know if you're having any issues or if your printer has different settings and I'm sure we'll figure it out.
Free STL file Anycubic Chiron
Futures Fins Surfboard Template for Router
5 €
Ortur LM2 Height adjustable feet
Free
Artillery X1 Clip FFC Cable
Free
Artillery X1 - Z Calibrate
Free
Fysetc mini 12864 case
Free
Anycubic Chiron Direct Extruder BMG+V6 with linear rail
Free
Anycubic Chiron Bowden extruder E3D V6 Volcano original carriage
Free
Anycubic Chiron Stabilize Y axis motor
Free
The best files for 3D printers in the Tools category
Caliper
Free
Bead buddy for bicycle tire installation
Free
Spool Divider
Free
High-low suction suction ejector / dental turbine
0. 69 €
69 €
Face Shield - Minimal Assembly - COVID-19
Free
Raspberry Pi 2/Model B Triangular Case
Free
MakerBot Replicator 5th Gen Spool Holder
Free
IKEA_SKÅDIS_Hookset (tight fit -> without wobbling)
Free
Bestsellers in the Tools category
Ratchet holders - magnetic - holders for tool box organization
2,89 €
FAST PRINT STACKING STORAGE BOXES STACKING CONTAINERS
€1.50 -fifty% 0.75 €
INDICATOR FOR BETTER BED LEVELING FOR ENDER 3 V2
3.19 €
Cooling system Minimus Hotend
€2. -twenty% 2.02 €  52
52
SUPERBOX
1,50 €
Grinder | Grinder
€1.50
GEAR AND DRIVE
3.56 €
Quick print paint bottle holder (6 sizes)
2.88 €
NEW GENERATION CAR PHONE HOLDER
2,50 €
PRECISE DIAL INDICATOR 3D PRINT DIY
1.85 €
Business card embossing system
3 €
well designed: Hemera fan duct
2.50 €
Fire hydrant storage container
2.04 €
Paint stand with scissors
5.62 €
PRECISION CALIPER 3D PRINT DIY
3.03 €
Scissor Paint Rack (Citadel)
5. 66 €
66 €
Do you want to support Cults?
Do you like Cults and want to help us continue our journey on our own ? Please note that we are a small team of 3 people, so supporting us in maintaining activities and creating future developments is very easy. Here are 4 solutions available to everyone:
-
AD: Disable the AdBlock banner blocker and click on our banner ads.
-
AFFILIATION: Shop online with our affiliate links here Amazon.
-
DONATIONS: If you want, you can donate via PayPal here.
-
* INVITE FRIENDS: * Invite your friends, discover the platform and great 3D files shared by the community!
Getting Started with Universal Bed Leveling
Last time we talked about Marlin having several bed leveling mechanisms including Unified Bed Leveling or UBL. UBL tries to be everything to everyone and has dense meshes that model your bed and give you ways to customize and modify those meshes.
Last time we covered how to prepare the printer for UBL, but didn't cover how to use it while printing. To do this, you will need to create at least one grid and enable it in your start code. You'll also want to set the Z-height correctly for everything to work well.
stages
Almost all UBL mechanisms are in the G29 command. If you are not starting from scratch, you need to load the mesh from "slot" into EEPROM:
G29 L2
This means that the slot 2 mesh is now in memory and you will work with it. If you do not save it, all changes made will be lost. By the way, this does not necessarily include alignment. It just loads the grid. If you're starting from scratch, you don't need to download anything.
Grid setup requires use of phase commands in G29, which use the letter P and a number:
- P0 - reset the grid and disable the alignment system.
- P1 - Automatically explore as much as possible. This will usually erase the existing grid unless you use the C option. If you find you don't want to explore dozens or hundreds of points, you can stop by holding down the controller button for a few seconds.
- P2- Manually explore all unspecified points. The printer screen will ask you to continue. You can manually touch the bed with the nozzle, or use argument B to measure the wedge like a piece of paper the first time, and then use that height to manually measure all points. You can cancel, again, by holding the controller button.
- P3 - Fill in the blank areas of the grid. You can specify the value with C or omit it and the printer will try to guess the correct value from the surrounding data. Surprisingly good at it. However, if you have multiple rows or columns with unspecified points, this command will only run the "first" set of points so you can eventually refine them and guess better for the rest of the points.
 This means that if you are just trying to populate a grid, you may need to P3 multiple times.
 - P4 - Refine grid points. The printer will then prompt you to measure certain points on the screen. Typically you provide X and Y coordinates along with the number of repetitions (often 1).
- P5 - Give grid statistics including mean and standard deviation. Switch on C if you want to move the grid so that the mean is considered zero.
- P6 - Offset mesh. Specify a value with C to move the entire grid up or down. This can be useful if, for example, you were printing PLA and wanted the print to rise a few hundred microns to avoid over-adhesion.
Sounds confusing, but the general idea is that you start with P1 and then use P2 or P3 (or both) until all points are set. The rest is used for special purposes or to customize things. Don't forget to save the mesh and remember where you put it:
G29 C1
I suggest you save your first P1 result in a location you never change, and then save the results after P2 and P3 elsewhere. This way, if you make a mistake, you can go back to your original level and start all over again without having to re-run a lot of tests.
Visualize the height of your bed
So how do you know what UBL is doing? You can request a topographic report (T) and get the data:
G29 T
You can add V1 to get a little more detail, and T1 will produce data suitable for reading in a spreadsheet or other software.
Here is an example report:
Reservoir topography report: ( 0.210) (210.210) 0 1 2 3 4 5 6 6 | -0.533 -0.533 -0.522 -0.483 -0.461 -0.429-0.400 | 5 | -0.400 -0.367 -0.324 -0.245 -0.183 -0.112 -0.183 | 4 | -0.359 -0.259 -0.183 -0.075 -0.026 +0.076 +0.200 | 3 | -0.333 -0.233 -0.115 -0.001 +0.070 +0.181 +0.200 | 2 | -0.348 -0.248 -0.140 -0.009 +0.062 +0.161 +0.200 | 1 | -0.350 -0.290 -0.177 -0.049 -0.003 +0.130 +0.400 | 0 | -0.350 [-0.290] -0.177 -0.049 -0.003 +0.130 +0.400 0 1 2 3 4 5 6 ( 0, 0) (210, 0)
Incidentally, the P5 command indicates that the standard deviation of this set is about 0. 24. This means that approximately 68% of the data is within plus or minus 0.24 mm of the mean. Then 95% of readings are within 0.48 mm (again plus or minus). As you can see, I have a corner that needs a bit of work - the total deviation is about 1 mm from the top point to the bottom point.
Z-height
Although we know the shape of the bed, other factors come into play, in particular the actual nozzle height is critical. You must set the Z offset so that the difference between sensor and nozzle is correct.
Everyone has their own way of setting UBL, but my advice is to turn it off first. Then print out a small ring or disc in the center of the bed. It should not be very thick and should be small enough that the bed is flat underneath. For example, a cylinder with a height of 5mm and a diameter of 20mm. You can quickly see if the plastic is stuck to the bed or not. If it is too soft or not sticky, adjust the Z offset until it is. Then take the mesh measurements.
However, the offset does not change the shape of the bed, so you can set the offset last or also adjust the height of the net. All legitimate solutions, but I prefer to set the height first.
start
Your start code needs to do a few things. You need to load the desired mesh and enable alignment. By default, the home command disables it, but you can change this if you rebuild Marlin. Your bed probably won't change shape, but it may change a little. You can use G29 J to take a three point measurement and tilt the grid based on that measurement. You also need to turn on alignment with G3 A if it's not always on.
You also need to set the fade height, which you can do once in EEPROM if you like. It's usually 10mm and the correction applied due to the mesh gets smaller and smaller on each layer until you reach that height. After that, Z correction is not applied. Usually at this point your printing is good and it also saves time and wear on your Z axis.
Plan
So if you want to experiment with UBL here is the plan: from too many points. You may want to review first and then increase your points. The 7x7 grid is suitable for many printers. You can also set it up so that the auto alignment is restored to its previous state after HOME.

hints
Octoprint can edit grids with a little help, Please note that I always try to do surveys from a warm bed. Heat causes things to expand, so probing the cold layer is probably not as accurate as one would like.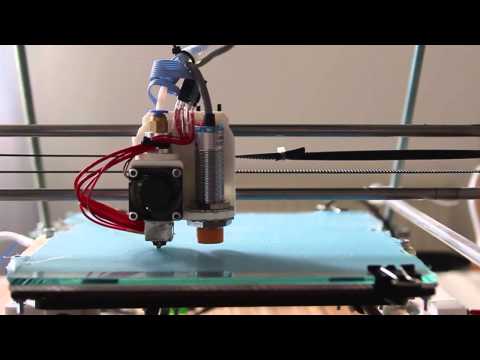
If you need a quick bed receipt printout, there are plenty of sites like Thingiverse, including mine. You can scale the x and y dimensions to fit your bed instead of recreating it. Do not resize the Z axis proportionally.
If you are using Octoprint, you can view and edit grids using the plugin. There is also a grid rendering plugin, or you can do as I did above and use the website for that purpose.
It's a wrapper!
So do you use UBL? If not, why not? Of course, if you have a large bed, you can just make it parallel to the x-axis and you're good to go. But if you're using beds that aren't perfectly flat, you can't just move the corners to make everything perfect.
The UBL system is a kind of "virtual bed surface", which means you can easily set it up without any mechanical problems. If you want the PETG to not stick as much, you can just move the mesh up a bit. If the part of the model is very small and needs some extra grinding in bed, you can do that as well.