3D pen printer projects
10 Cool Things To Make With A 3D Pen For Beginners
Sign in
Welcome!Log into your account
your username
your password
Forgot your password?
Create an account
Privacy Policy
Sign up
Welcome!Register for an account
your email
your username
A password will be e-mailed to you.
Privacy Policy
Password recovery
Recover your password
your email
Search
Date:
There is no better way to express your creativity than through art. With the recent advances in technology, 3D artists can now create their work on the go without having any artistic skills!
3D pens are a great way that let you ‘draw’ in three dimensions and craft a piece of art. They are relatively low-cost and easy to use, making them perfect for beginners.
3D pens can be used for a variety of purposes, including crafting, architecture, and even education. While some may see 3D pens as nothing more than a toy, the reality is that these versatile tools can have a wide range of applications. So whether you’re an artist or an engineer, a 3D pen might just be the perfect tool for you.
In this blog post, we will take a look at some cool things you can make with a 3D printing pen. We will also provide some tips on how to get started. So, if you are interested in learning more about 3D printing pens, keep reading!
Read More About:
- What Can I Make and Sell With a 3D Printer? (10 min read)
- 6 3D Printing Business Ideas That Anyone Can Start Today! (3 min read)
- How to Use a 3D Pen?
- What Filament Do 3D Pens Use?
- 10 Cool Things to Make With a 3D printer For Beginners
- 1.
 Handmade Jewelry
 - 2. Animal Toys
- 3. Architectural Model
- 4. ArtWork and Wall Painting
- 5. Mobile Phone Stand
- 6. Keychain
- 7. Customized Container Box
- 8. Science Diagrams
- 9. Decorative
- 10. Repairing Something With 3D Pen
- 1.
- Final Thought
How to Use a 3D Pen?
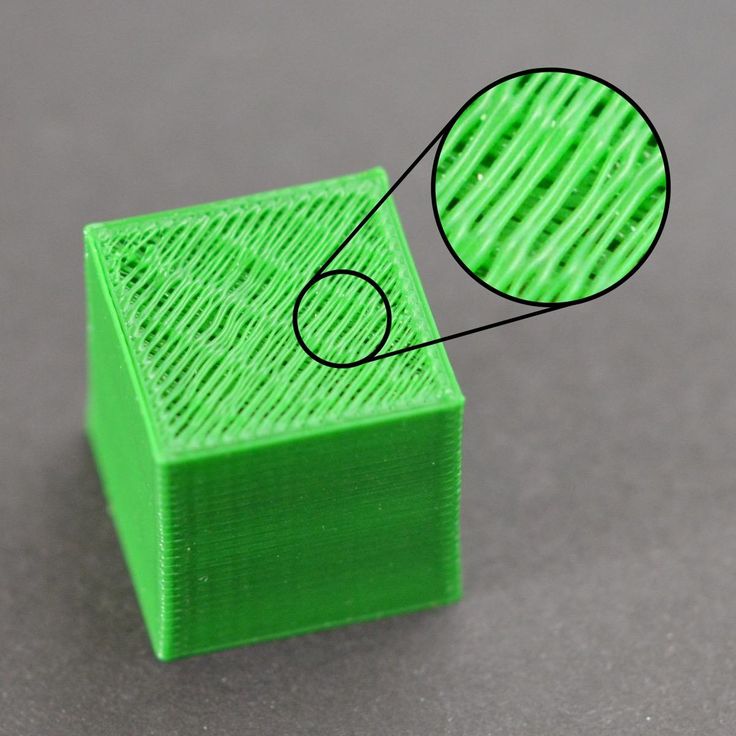
The 3D pen works in much the same way as other printing devices, it produces 3D objects by heating up the plastic filament and forcing it through an extruder.
The process for making these items is very simple: you just need heated liquid filaments such as PLA or ABS that’s been pushed through the extruder of your Pen—a glue gun does exactly this!
Once melted at its melting point, all we have left to do are paint or mold our desired shapes onto whatever object will be receiving them before letting them cool naturally.
What Filament Do 3D Pens Use?
3D pens use a variety of filaments, depending on the specific pen. The most common type of filament is ABS and PLA. The type of filament you use will depend on your intended use for the pen.
Each type of filament has its own benefits and drawbacks, so it’s important to choose the right one for your project.
For example, PLA is biodegradable, so it may be a better choice if you’re looking for an eco-friendly option. Alternatively, ABS is stronger and more heat-resistant, making it a good choice for projects that require durability. Ultimately, the type of filament you choose is up to you and will depend on your specific needs and preferences.
Some 3D pens even have the ability to use multiple types of filament, giving users even more flexibility in their creations.
However, PLA and ABS are two of the most commonly used filament types. ABS filament is slightly more expensive but more durable and flexible. PLA filament is less expensive but not as durable.
But I recommend PLA filament for beginners.
10 Cool Things to Make With a 3D printer For Beginners
1. Handmade Jewelry
3D pen jewelry is a new and exciting way to create one-of-a-kind pieces of jewelry. You can create intricate designs and patterns that would be impossible to create with traditional jewelry-making techniques.
You can also add personalization to your jewelry by adding initials, names, or dates. Best of all, 3D pen jewelry is relatively inexpensive and easy to make.
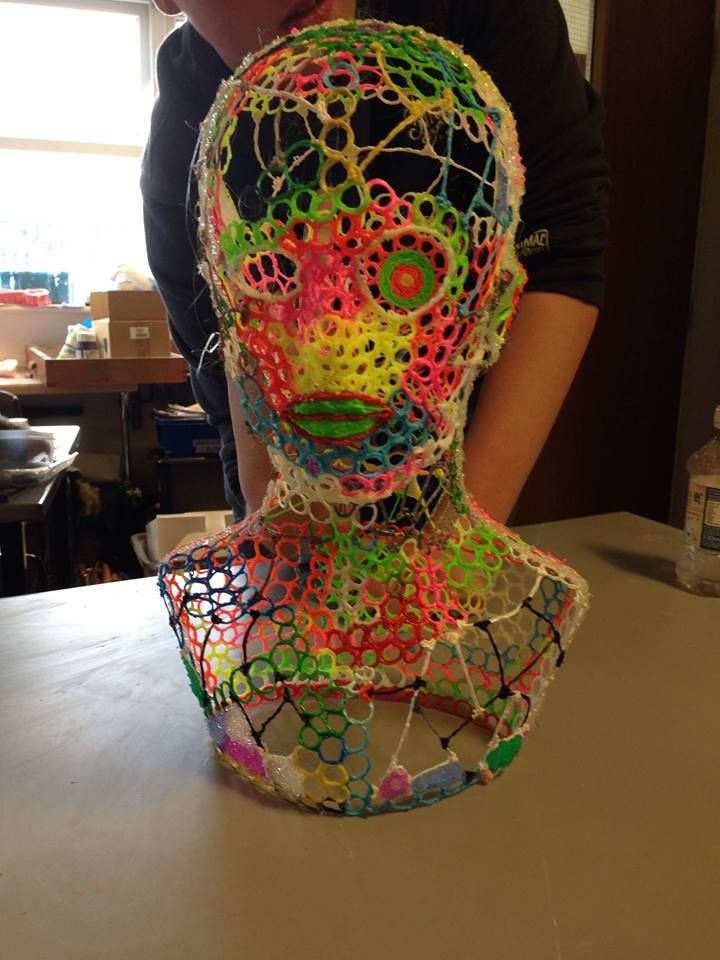
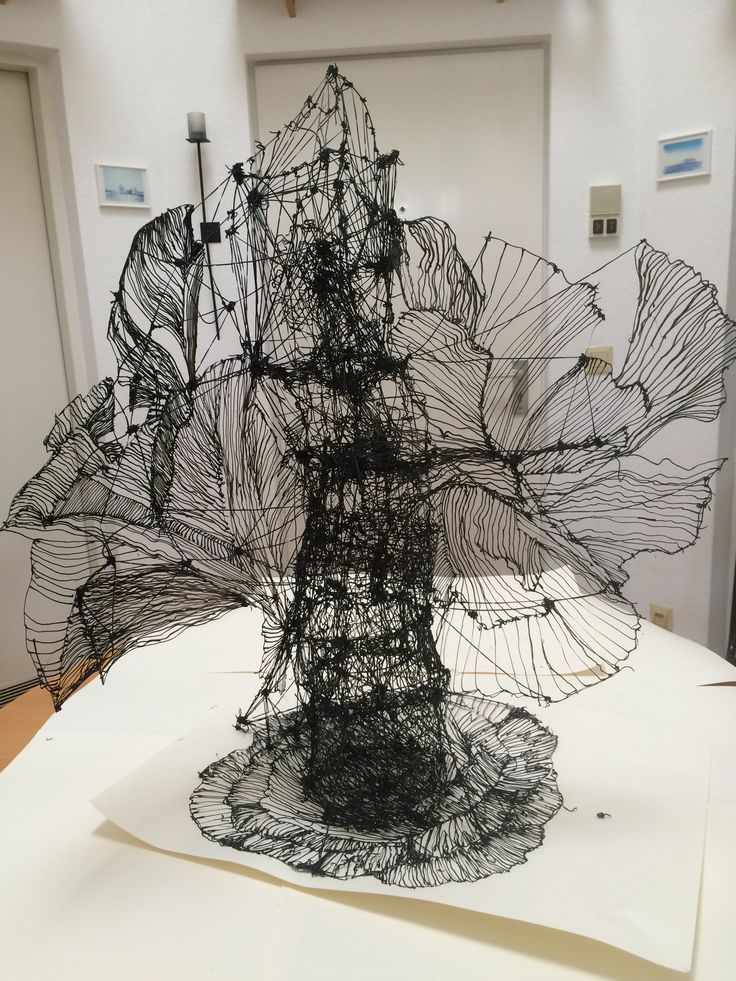
2. Animal ToysOne of the most popular uses for 3D pens is to create animals. By carefully laying down layers of material, it is possible to create realistic-looking animals that can be used as decorations or toys.
With a little practice, you’ll be able to create all sorts of amazing sculptures and other works of art. So why not give it a try? You might just surprise yourself with what you’re able to create.
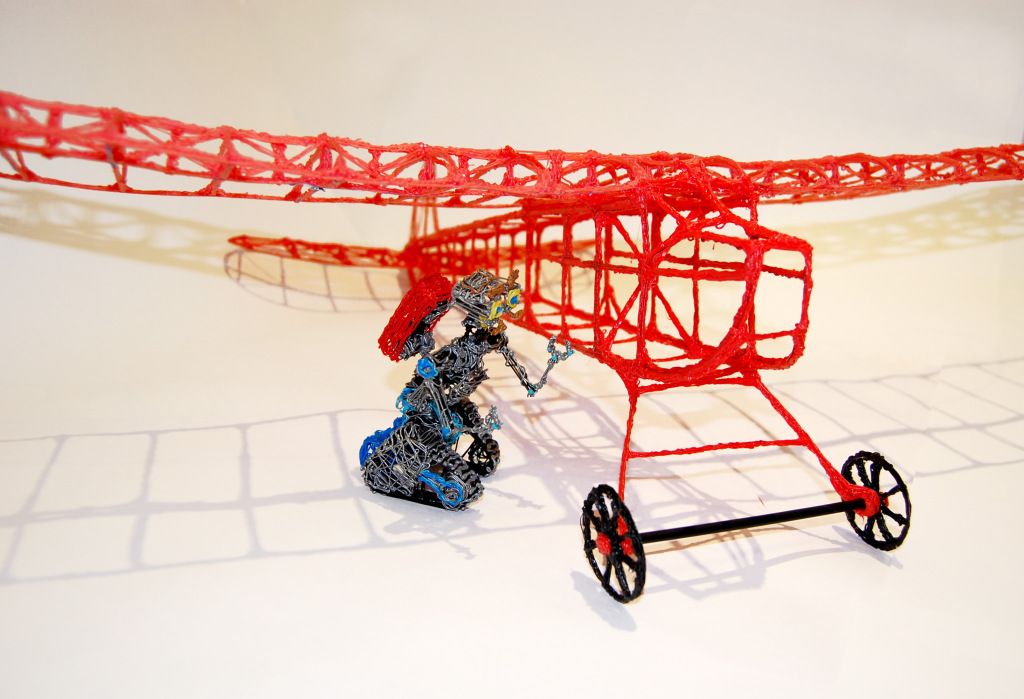
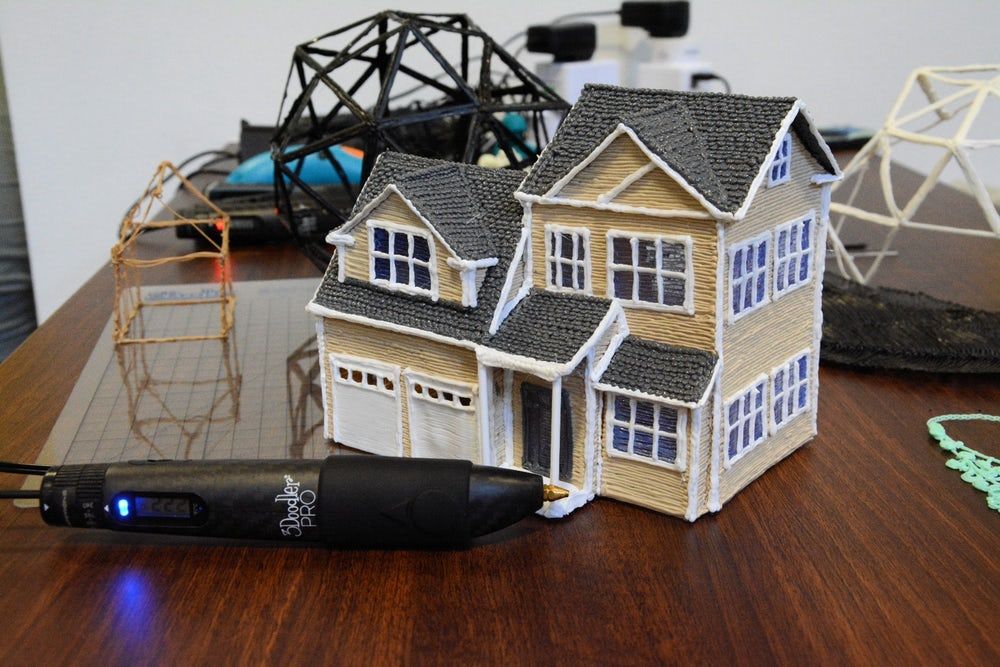
3. Architectural Model
If you love to build and design, a 3D pen can be a great way to create architectural models. A 3D pen can draw vertical and horizontal lines, as well as curves and other shapes.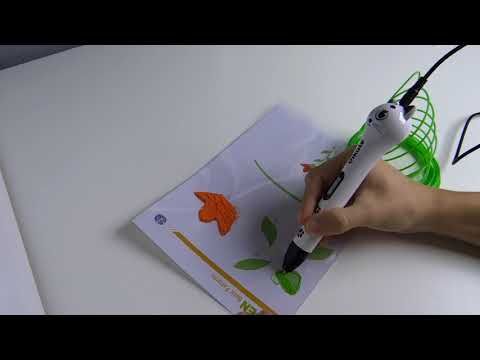 You can also add details such as windows, doors, and roofs.
You can also create entire cities, or build detailed models of individual buildings. You can even create landscapes and make miniature replicas of famous landmarks.
4. ArtWork and Wall Painting
With a 3D pen, you can add dimension and texture to any drawing or picture. Simply trace the outline of your design with the pen, and then fill it in with color. You can also use the pen to add details like stripes, polka dots, or even words.
Plus, you can create artwork that can be viewed from all angles, making it truly unique.
If you love art and want to find a unique way to fill your walls, 3D pen art is the way to go! Using a 3D pen, you can bring your favorite pictures to life by adding dimension and depth. This will create a more realistic look that is closer to the real thing.
Plus, it’s a great way to show off your creative side. So if you’re looking for something different and fun, be sure to check out 3D pen art!
5.
 Mobile Phone Stand
Who says you need a fancy 3D printer to make your own mobile phone stand? Now you can make your own stand that’s both functional and stylish using 3D pen.
In this case, the best material for a mobile stand is ABS. It’s sturdy enough to hold up your phone but also flexible so that you can use it in various situations without worrying about breaking or bending anything!
Simply use the pen to draw a stand in any shape or design that you like.
So what are you waiting for? Get started today and see what you can create!
6. Keychain
3D pens are a great way to add some personality to your keychain! You can use them to create any design you want, whether it’s something simple and geometric or something more complex and organic. Plus, 3D pens allow you to make keychains in any color or combination of colors you can imagine.
3D printed keychains are extremely durable and long-lasting. With proper care, your 3D pen keychain will last for many years to come.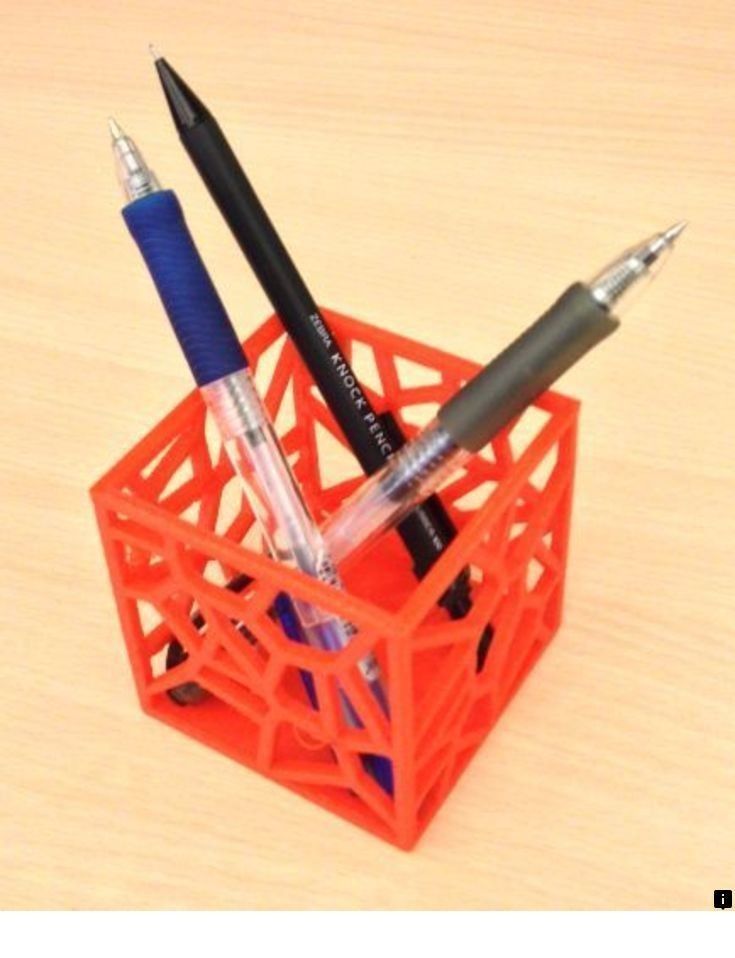
7. Customized Container Box
Have you ever needed a small storage box or holder but couldn’t find anything that was just the right size? Well, now you can make your own simply by using a 3D pen.
To make one, simply start by drawing a basic shape with your 3D pen. Then, add additional layers to build up the sides of the box. Once you have the basic shape and size that you want, you can start getting creative with the design.
Add patterns, colors, or whatever else you like to personalize your storage box. And when you’re done, you’ll have a handy place to store all sorts of small items. So get out your 3D pen and give it a try!
8. Science Diagrams
We have heard a lot about how 3D printers are being worked out to provide students with a new way of learning. And, the same goes for 3D pens as well. However, 3D pens don’t cost as much as 3D printers.
Who says science and geometry have to be boring? 3D pen can bring your drawings to life in a whole new way.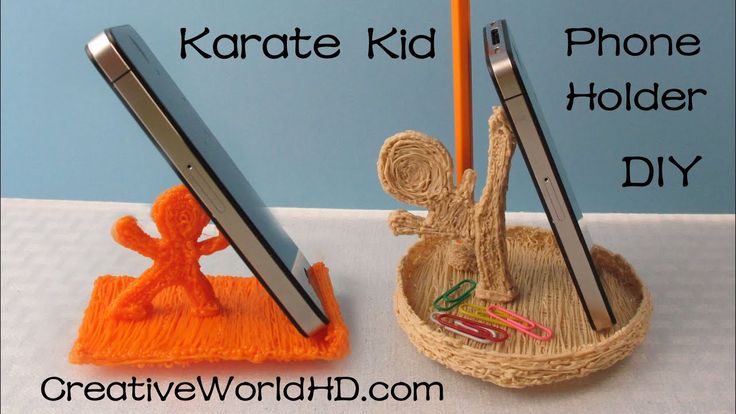 Just trace out your design on a piece of paper, and then start drawing with the pen.
In math class, a 3D pen can be a great way to help students visualize concepts. For example, when learning about geometry, students can use a 3D pen to create models of different shapes. This can help them to understand the relationships between different dimensions.
It can also be used to create models of functions and equations. This can allow students to see how these concepts work in the real world. Using a 3D pen in math class can be a great way to engage students and help them to better understand complex concepts.
9. Decorative
A 3D pen can be a fun and creative way to make unique decorations for your home. You can use your 3D pen to create intricate designs in a variety of colors and materials.
You can even add textural elements to your creations by using different tip sizes or combining different mediums. And best of all, once you’re done decorating, simply let your creation harden and it will last for years to come.
So if you’re looking for a new and exciting way to add personality to your home, office, or business, consider picking up a 3D pen and let your creativity flow.
10. Repairing Something With 3D Pen
3D pens are becoming increasingly popular for a variety of tasks, including repairs. While they may not be able to fix everything, 3D pens can be used for a variety of small repairs, such as filling in holes or cracks and bonding broken pieces together.
3D pens offer a versatile and convenient way to make repairs, and they can be an especially useful tool for those who are not familiar with more traditional methods of repair.
For example, if you’ve got a loose screw or a small hole in drywall, using a 3D pen to fill it in can be a quick and easy fix. You can also use a 3D pen to add reinforcement to weak areas or create custom shapes and designs.
So next time you have a small repair to make, don’t reach for the super glue – grab a 3D pen instead!
Final Thought
3D pens are amazing tools that can be used to create some truly incredible things. We’ve shown you 10 of our favorite 3D pen creations, but there are limitless possibilities of what can be made with these versatile devices.
So if you’re just getting started with 3D pens or are looking for some new and exciting ideas, we hope this list has inspired you. These projects are a great way to show off your creative side and have a lot of fun with your 3D pen. What will you make next?
Have you tried any of these projects or do you have your own favorite way to use a 3D pen? Let us know in the comments below.
Share post:
Popular
More like this
Related
By continuing to use the site, you agree to the use of cookies. more information
Ultimate College 3D Pen Projects That Will Transform Your Dorm Room -
The ultimate guide to creating 6 projects with your 3Doodler 3D pen that are purposeful, creative, and ~aesthetically pleasing~ without breaking the bank!
As many of you are heading out to college this September, we wanted to take the opportunity to talk to you about how to decorate your space on a student budget!
The good news is, if you have a 3Doodler pen already, then you have a great tool on your hands that’ll allow you to create practical and personalized creations perfect for your new space.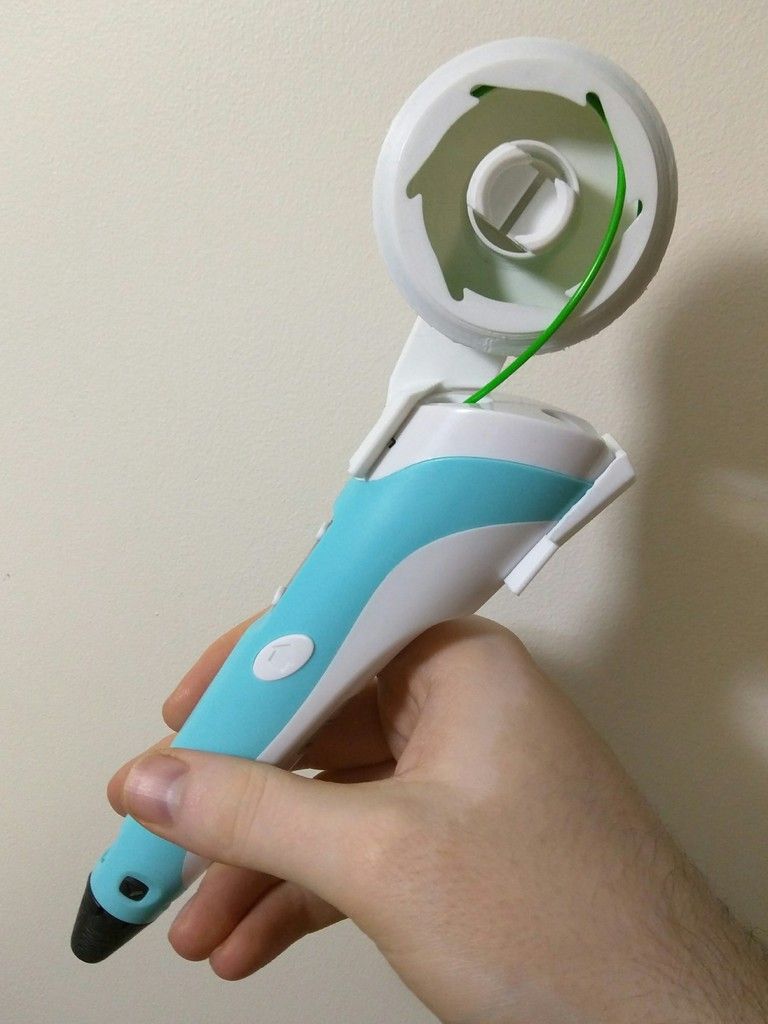
Here is our list of favorite dorm projects to do with a 3D pen!
1. Create personalized wall decorations!
Wall Art
Chances are you’ll have plenty of bare wall space. This is where you could buy an expensive wall tapestry. Or you can use your 3D pen and our free stencil and Doodle your own!
You can download a free stencil for this project here. Check out the tutorial here
Cost of materials: $7.99 (1 25-pack of PLA plastic)
Retail price: $39.00
Saved: $31 or 79%
Extra tips
2. Easily organize all of your cords by creating your own cord holder!
Cord Holder
Today everything needs a cord, especially at your desk. If you’re anything like us, they tend to get tangled up in one another and can clutter up your space pretty quickly. It’s easy to Doodle your own cord holders similar to these with your 3D pen, and stick them anywhere you want!
You can download a free stencil for this project here.
Cost of materials: $0.32 each (1 strand of filament)
Retail price: $4.99 each
Saved: $4.67 or 86%
Extra tips
3. Create the perfect accessory to hang all of your favorite photos!
Photo Hanger
Why buy an expensive photo hanger like this from the store, when you can create your own custom version that will reflect your personal style? This project will completely transform your dorm, and we love using it to store all of our favorite photos and memorabilia!
You can download a free stencil for this project here.
Cost of materials: $7.99 (1 25-strand pack of PLA or ABS)
Retail price: $21.51
Saved: $13.52 or 63%
Extra tips
Simply retrace the outer frame to add more sturdiness.
Use the holes on the corners to hang it onto the wall!
Recommended plastics: ABS
4. The ultimate project to add that ambiance you never knew you needed!
Lotus Flower Lamp
Your friends will be completely envious of your dorm with the beautiful DIY version of this lotus light! Just add an LED candle in the middle to add a laid-back vibe to your room.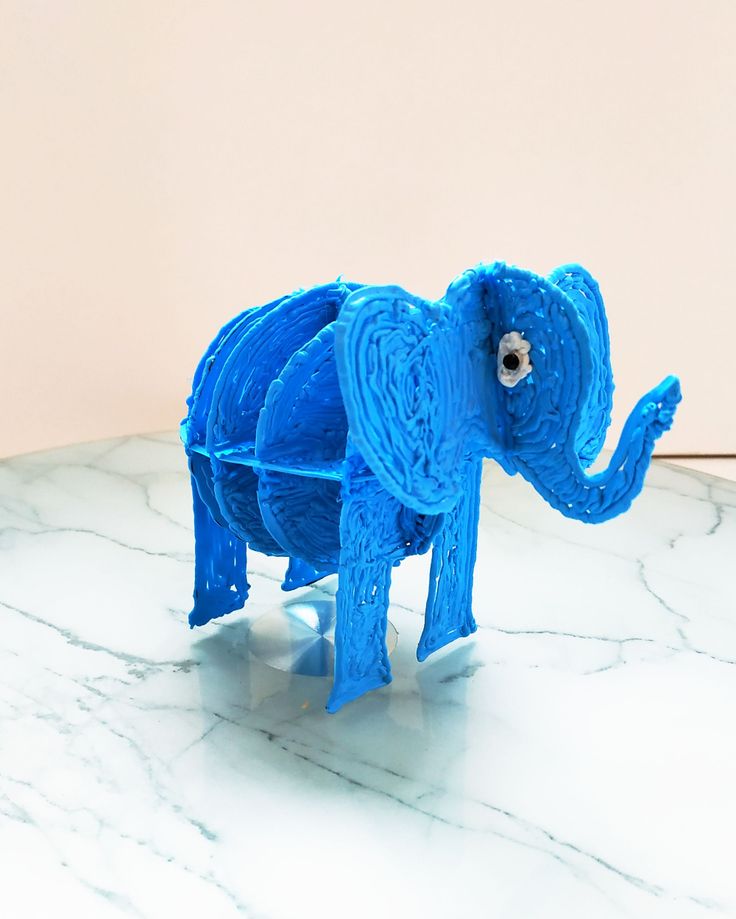
You can view the video tutorial here and download a free stencil for this project here.
Cost of materials: $14.99 (1 75-strand Collection of PLA or ABS)
Retail price: $83.71 each
Saved: $68.72 or 82%
Extra tips
5. Never lose your keys & keep your jewelry organized
Jewelry Tree
This jewelry tree is very simple to make, and it checks the boxes of being functional and decorative.
You can view the video tutorial here and download a free stencil for this project here.
Cost of materials: $9.99 (1 25-strand pack of WOOD filament)
Retail price: $20.98 each
Saved: $10.99 or 52%
Extra tips
Use the holes in the tree stencil to put your earrings!
If you want to Doodle a tree with a more circular base, simply use a bottle cap and trace around it until you get your desired tree height!
Preferred plastics: WOOD
6.
 A project inspired for the Doodler who appreciates minimalistic vibes!
Orb Lights
If you want an item in your dorm that pulls everything else together and adds style to your space, this orb light project is perfect for you! Grab a friend and you can finish the entire project in no time.
You can view the video tutorial here.
Cost of materials: $14.99 (1 75-strand Collection of PLA or ABS)
Normal price: $39.99
Saved: $25 or 63%
Extra tips
If you don’t want to use the method shown here, you can Doodle on two halves of a tennis ball, and then fuse them together to make one whole sphere.
Preferred plastics: PLA
Overall, we saved a total of $154 (or 73%) on these 6 items!
Finding creative ways to save money is always something to be proud of! We hope you had fun getting inspiration from things you find in stores or online, and then trying to recreate them on your own at home. With 3Doodler don’t have to sacrifice substance and style for price, and each item you create is sure to be a conversation starter, just wait and see! We hope we’ve inspired you to be creative and try something new for your dorm room this year!
Cool 3D projects using 3D printing
3D printing
Subscribe to the author
Subscribe
Don't want
13
Chapter 1. Background. In this article I will talk about why you need a 3D printer at home and what you can do with it. And you can make and print on a 3D printer any part, both plastic and rubber. but the secret of success lies in the fact that it is not enough to have a 3D printer, but you also need to be able to model parts and properly prepare them for the printing process. Anyone can afford to buy a printer, or you can assemble it yourself. But it takes time to learn how to model. A lot of my projects required the manufacture of non-standard parts, which is why the idea of buying a 3D printer was born.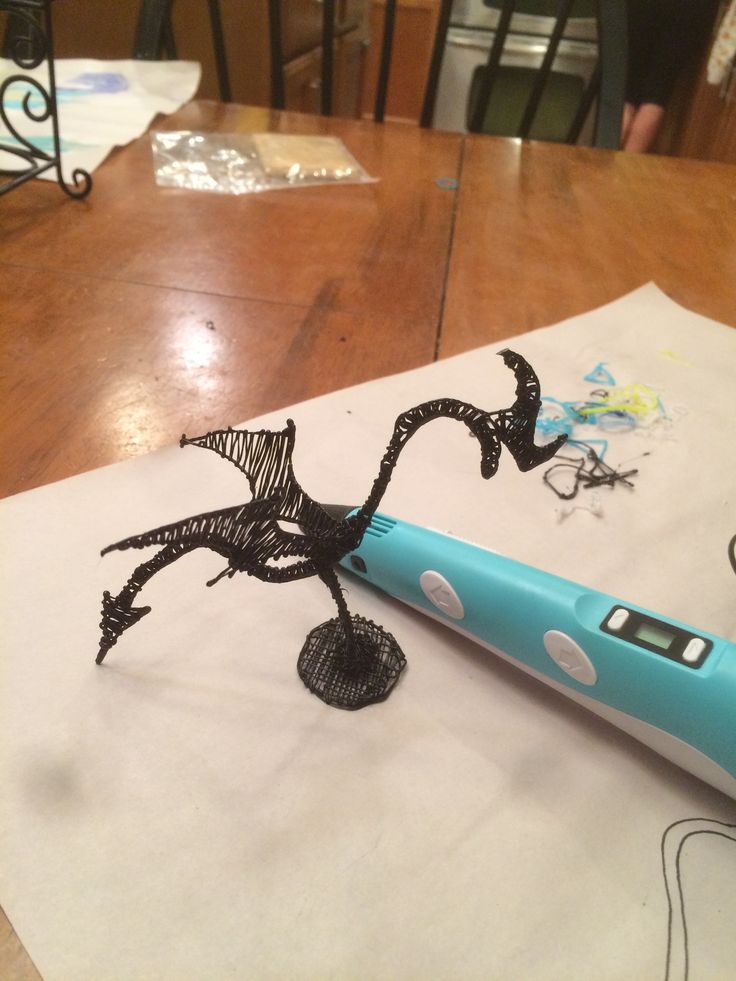
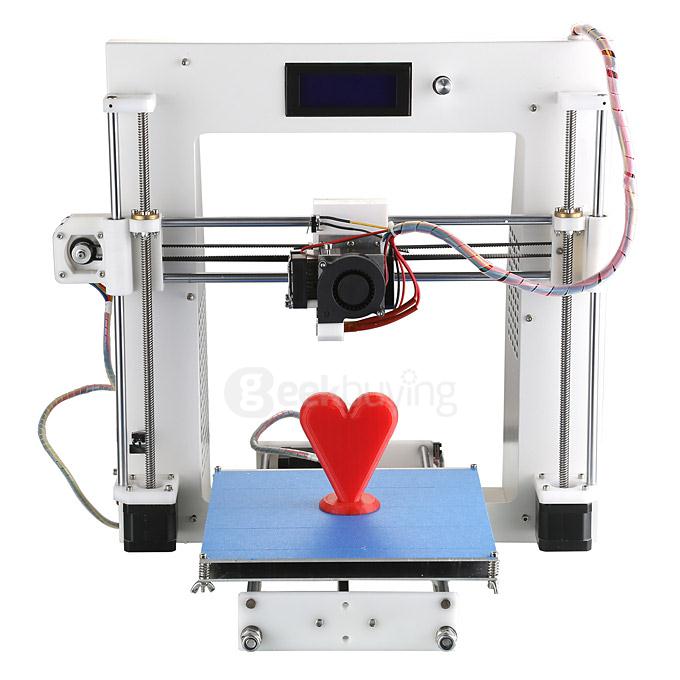
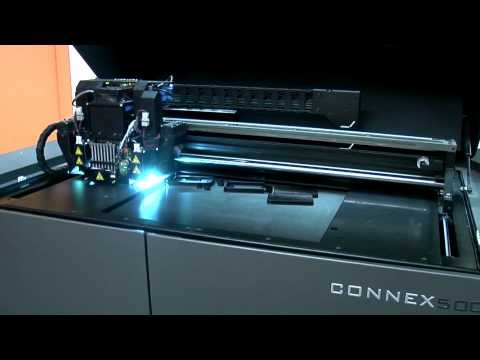
Chapter 2. Exploring the world of 3D printing and technology. My first printer was Anet A8. And like all beginner 3D printers, the first thing I started printing was upgrades for it.
Since stock printers from the budget segment, in my opinion, it is necessary to refine them so that they give more or less good results in printing. I described in detail about all my improvements on the site, who are interested can familiarize themselves with and apply for their Anet (https://3dtoday.ru/blogs/alexforward/konkurscrealityv). The printer turned out to be very functional and gave rise to a new printer with CORE XY kinematics. The printer turned out to be of decent quality and produced a good print result. And most importantly, it was more compact, had its own heat chamber, direct extruder, and the print speed on it was faster. This project is also described in detail by me https://3dtoday.ru/blogs/alexforward/klassnyi-3d-printer-po-tipu-core-xy-iz-orgtexniki-konkurscreality
But these were all finished projects modeled by other people, I just took the best and brought it to life. More serious projects already required the study of 3D modeling programs.
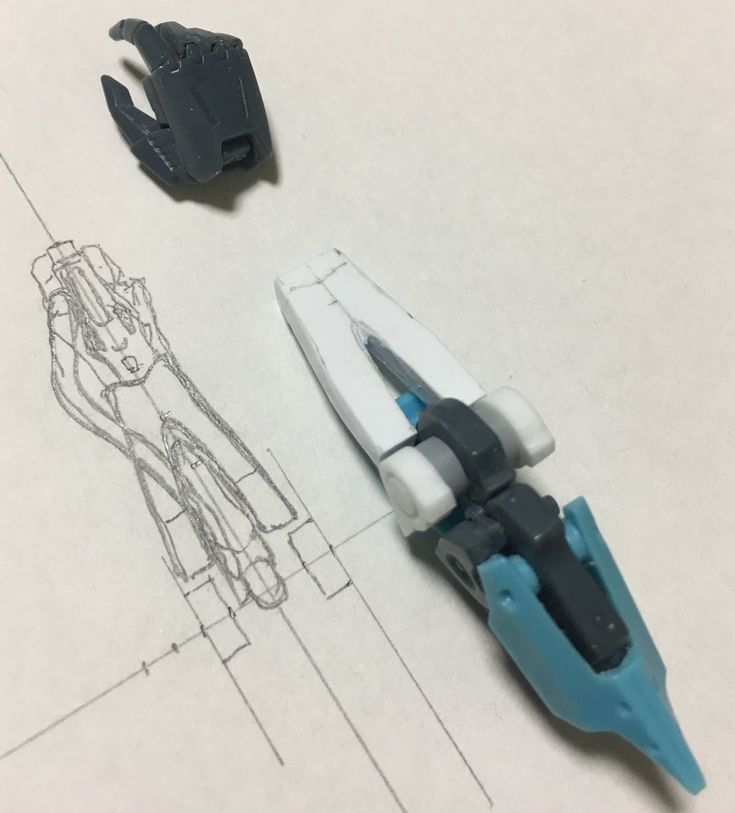
Chapter 3. Program selection and training . To study 3D modeling, I chose Compass 3D from Ascon. I think one of the best programs, since it is used by the majority, Compass is actively used in industry and enterprises, many free study lessons. But the most important factor, my brother, who works as a design engineer at the factory, can easily fix jambs when creating a model or suggest how best to do it. By the way, the program is easy to study on your own and does not require basic skills. I learned it from scratch, having no idea about 3D modeling at all. My first completed projects using Compass 3D and 3D printing were the creation of fittings (legs, handles, plastic dowels, etc.), electronics cases, radio-controlled models.
Toys and accessories.
Tool. I will give an example of my template for installing handles and locks for interior doors. This template is my own developed copy of the existing model on the Internet.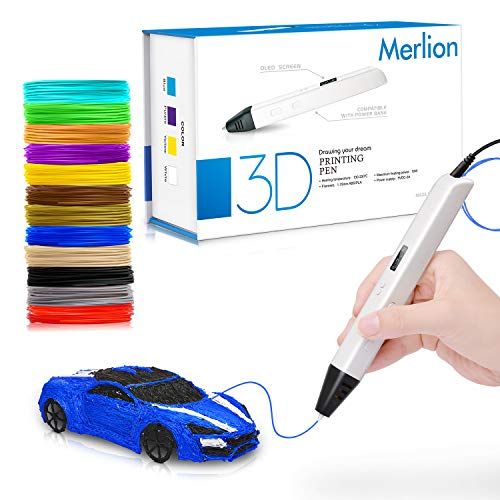 In terms of money, the template cost me almost 10 times cheaper than it is sold on the Internet.
But in order to create a part consisting of several parts, and print everything the first time, so that everything fits together, Compass 3D has a wonderful assembly function for this. In it, in fact, you can check whether the parts fit together and immediately make changes and corrections to the model. According to this principle, I implemented projects for the modernization and upgrade of my friends' 3D printers.
JGAurora print carriage upgrade. First, 3D models were made separately. Then, with the help of the assembly, they were brought to mind and adjusted to each other. The carriage became lighter, there was an adjustment of the tension of the belts along the axis, better blowing of the parts and, most importantly, the installation of an E3D V6 hotend.
Full upgrade of Anycubic I3 Mega. But in this project, half of the details were borrowed from other users.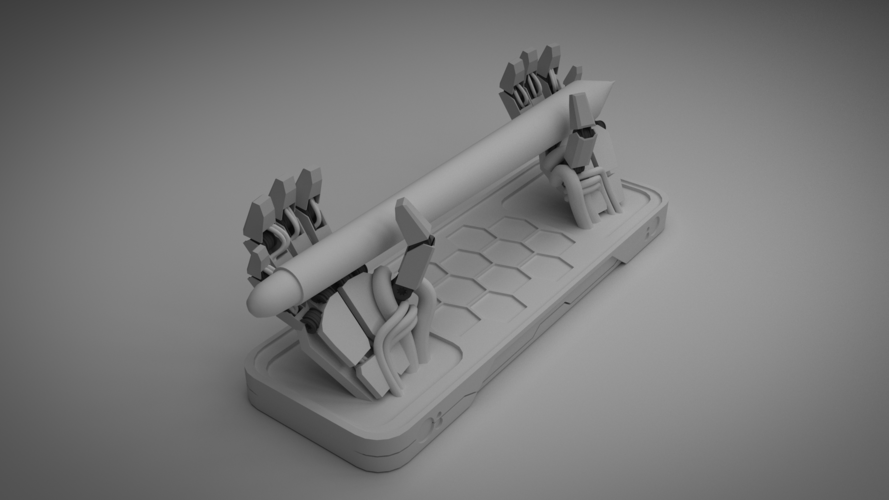
Before
Now
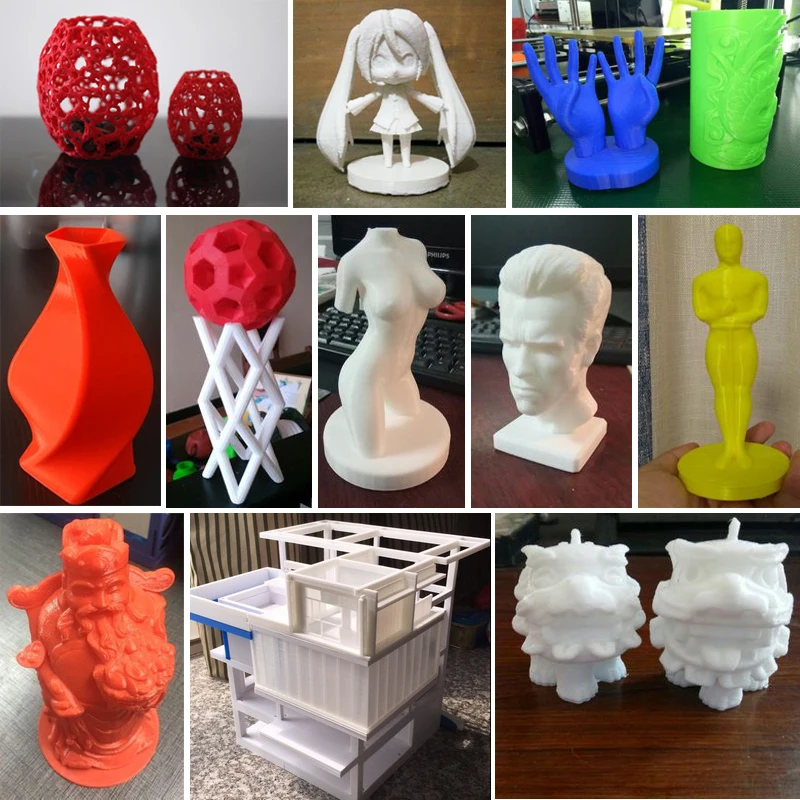
This is just a part of my work. In fact, a huge number of parts and spare parts were printed. Not always everything worked out the first time, especially printing with ABS plastic was hard to master. I mostly print ABS as it is the cheapest material and is easily machined. Yes, it has many disadvantages, but for my purposes, ABS is the best material.
Chapter 4. Summing up. Having received basic knowledge of 3D printing and modeling, I decided to assemble a 3D printer for my purposes, so that it would be an indispensable assistant and meet the following requirements:
1. Printing with ABS plastic - need a hot table and closed case
2. E3D V6 hotend - for fast repair and availability of spare parts at low prices
3. Good print quality and printing speed - fast production of parts
4. Compact - takes up little space on the desktop
5. The printer must be popular with users - a large number of upgrades and the availability of information on maintenance and repair.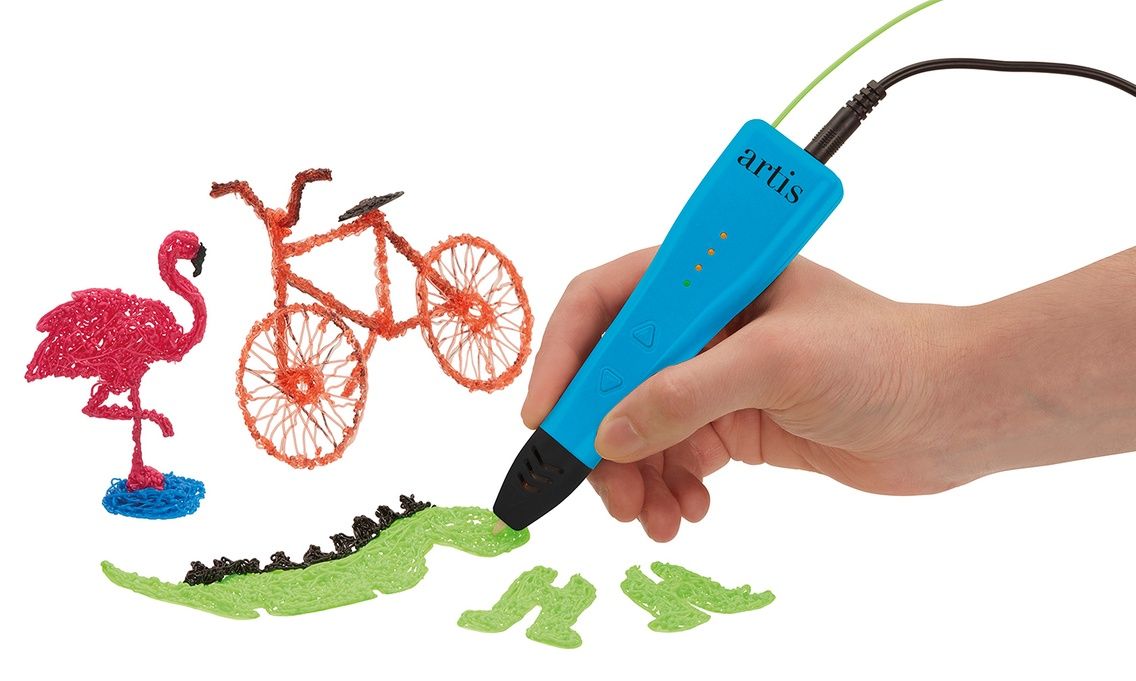
Ultimaker Original proved to be ideal for these requirements. This printer has all the files for its creation and refinement in the public domain, produces excellent print quality at high speeds.
To make an airtight chamber from a draft, I developed drawings for the doors and the hood of the printer, since I could not find these parts, and I made a box for tools. As a result, the printer takes up minimal space on the table. Someone will say that it is easier to buy a new one. I do not argue with this, but my goal was to minimize the cost of building a 3D printer, which is several times cheaper than the original. At the moment, Ultimaker is already hard at work creating my next projects. At the moment, a machine for sharpening knives and scissors has already been developed, it is waiting for its implementation.
And plans to build a CNC router and laser engraver from a structural profile for home use with a small area. These tools will significantly expand the scope of modeling and product creation.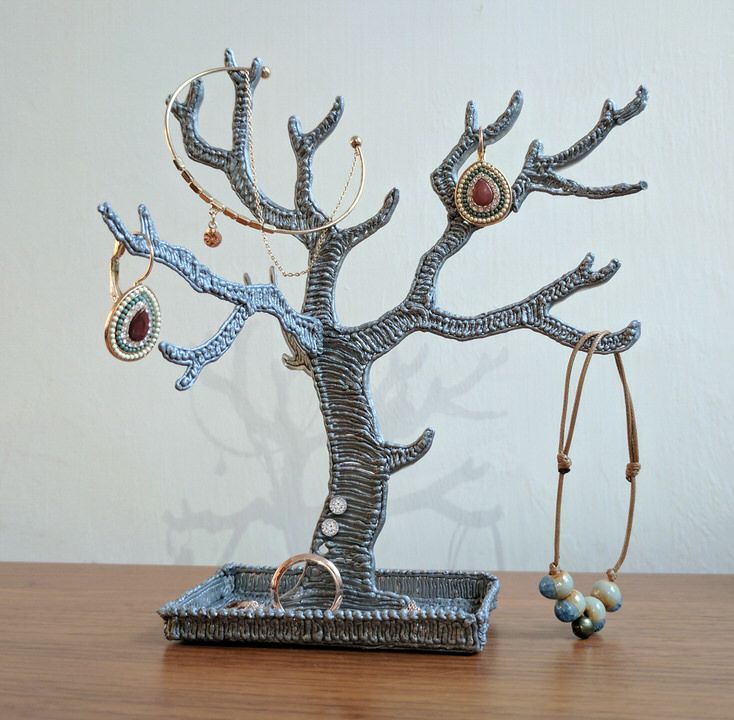
3D idea
Subscribe to the author
Subscribe
Don't want
13
Order 3D printing and 3D modeling anywhere in the world
-
Looking for the right 3D printing service?
Order 3D printingThousands of 3D printer owners around the world. Just find a 3D printing service nearby
-
Need a 3D model development?
Order a 3D modelOffers from the best designers. List of performers with examples of work
-
Need a 3D model or a finished 3D object?
Buy ready-made designFinished 3D designs and 3D printed models.
 Just choose what you like
-
Step 1. Upload your 3D modelYou upload your 3D model in .stl or .obj format. You can skip this step and find the artist without downloading the model.
-
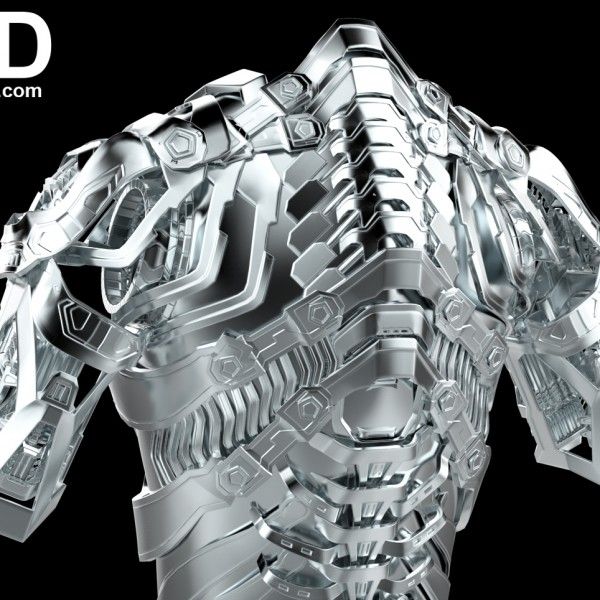
Step 2 Media selectionYou choose the material from which the product will be made. It can be plastic, photopolymer or other materials.
-
Step 3. Select artist for printingYou choose a contractor from among companies or individuals, and send him an order by filling out a form with contact details.
-
Step 1. Designer's ChoiceIn the list of performers, you select a 3D designer.
-
Step 2. Design orderSend the order to the contractor by filling out the form with contact details.
-
Step 1. Select 3D model or finished productIn the catalogs of 3D models or printed 3D models, select the required model.
-
Step 2.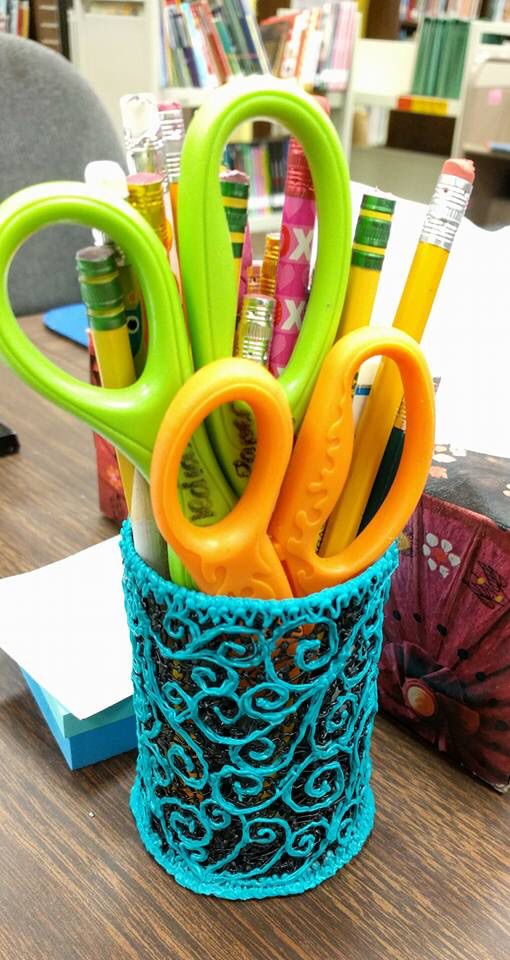
Learn more