3D object printing
12 amazing 3D printed objects
Logos, websites & more…
Logos, websites, book covers & more…
Get a design
3D printer MakerBot Replicator 2 at the CeBit computer fair in Hanover. Photo: Reuters
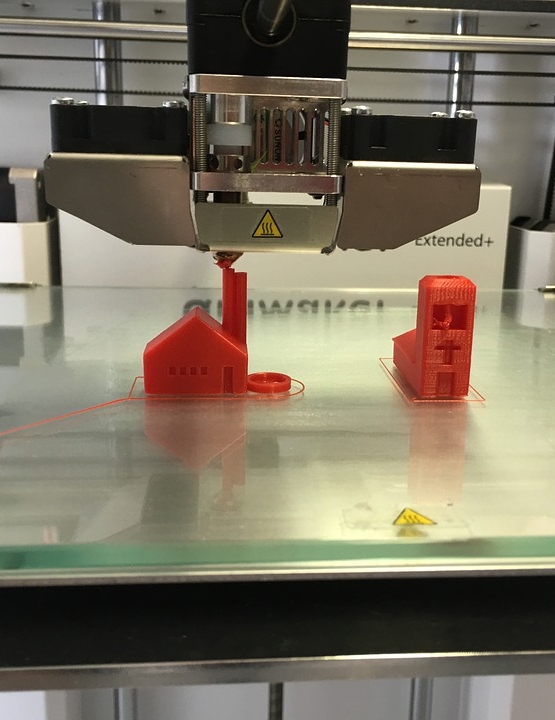
3D printing, or additive manufacturing, is where a 3D object is printed from a digital model. The 3D printer extrudes materials out of a nozzle, building objects layer by layer according to the instructions from the digital file.
3D printing has been used to make manufacturing prototypes for decades, but the technology has only recently become available for consumers to use themselves. The technology still has its limitations but it’s only a matter of time until this technology advances and dominates our manufacturing systems. 3D printing can also be a powerful tool for designers, who can create prototypes and mockups to pitch ideas to clients.
We’ve rounded up 12 amazing 3D printed objects that show just how powerful this technology can be:
1.
These printed snacks are made of ground-up meal worms, yum!
These “Meal Cubes” were printed on a 3D printer that combines powdered proteins, carbohydrates and sugars to create edible food products. The printer is being developed by Systems & Materials Research Corp to address world hunger and improve our unsustainable food systems by using this more efficient and economical way of producing food. Their argument is if food is made from nutritionally balanced powders, then we could get the same nutrients from a wider range of sources, such as ground-up insects, algae or grass. The printer can also be programmed to print personalized meals depending on the exact nutrients that a particular person needs.
2. Chocolate!
The most important utilization of this technology.
Now this is something I would invest in. This 3D chocolate printer heats up the chocolate in the cartridge and squirts out layer after layer of chocolate after you upload your own design file to the machine! The Choc Creator is the first commercial chocolate printer and was invented by a team of researchers at the University of Exeter. This miracle machine from Choc Edge retails for a mere $4,384.56!
3. Prosthetic jaw bone
3D printing is going to be huge in the medical field.
This custom prosthetic was printed from titanium powder with a lightweight porous structure, like real bones. The patient who needed it was able to talk normally with this new jaw minutes after waking up from surgery. 3D printing is going to be huge in the medical field, where individualized parts can be printed based on scans of patients’ bodies.
4. Guns
This plastic gun has been named the “Liberator” by its creator.
This is the world’s first working 3D printed gun. It’s made almost entirely of plastic and has successfully fired a .380 caliber bullet. It was developed by Cody Wilson, a law school student who runs the organization Defence Distributed, that aims to make gun blueprints available online for anyone to download and print. The U.S. State Department has already forced Defense Distributed to take down the blueprints from Defcad, however allegedly more than 100,000 of the plans were downloaded before the crackdown. The good news is real guns are still cheaper and easier to obtain than printed guns. However as the costs of 3D printing go down, the more worried we should be.
5. Your face
Now you can actually print the face only a mother could love and give her the perfect present!
Artist Heather Dewey-Hagborg took samples of people’s DNA from gum, hair and cigarette butts left in public places, and created 3D portraits based on their genetic makeup. The printed result isn’t an exact copy of the real person’s face, but it’s a pretty cool (and creepy) way of combining art and science.
6. Clothing
This drafty-looking dress is made of a lightweight, flexible material.
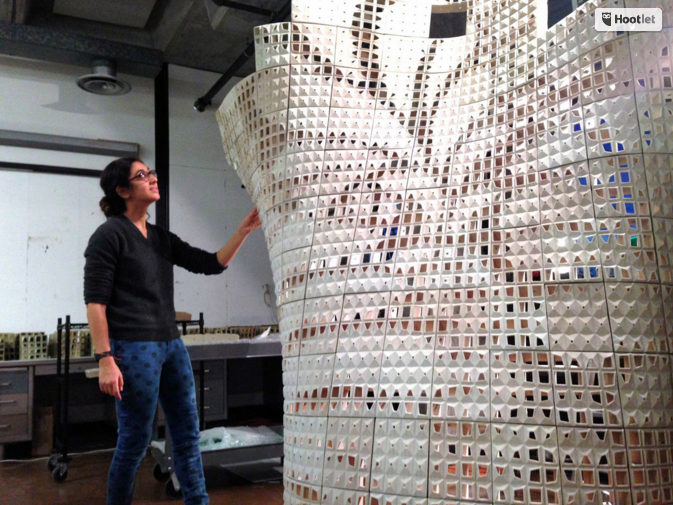
Modeled by Burlesque dancer Dita Von Teese, this nylon dress was printed by Shapeways and designed on an iPad by Michael Schmidt and Frances Bitoni. It’s made up of thousands of components that were printed to fit her body exactly, and based on the Fibonacci sequences of numbers.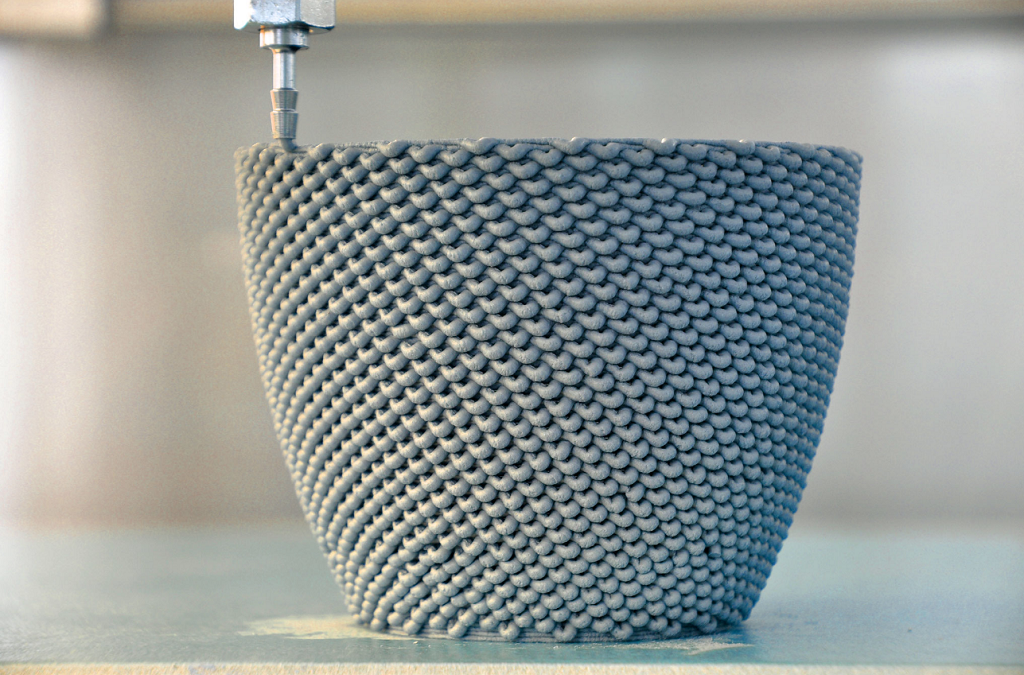
7. Ceramics
Try throwing this one on a pottery wheel!
This delicate vase is available for purchase on Shapeways and was designed by user virtox. It’s produced with a fine ceramic powder, fused together with a binding agent, fired and finished with a glaze. It’s food-safe and available in several finishes including Avocado Green Glossy and Eggshell Blue Glossy!
8. Your unborn child
Can’t wait to meet your child? Print them out in utero!
A Japanese service called “Shape of an Angel” will print a 3D model of your unborn fetus, using a technology called BioTexture, which processes image data from MRI and CT scans for 3D modeling. Expectant mothers have been shelling out the cash for this hot new product, which starts at $1,275 per figure, and goes up depending if you want to get the result made into keychains or cellphone dongles. This consumer product may seem a little strange, however it’s potentially a very powerful tool for vision-impaired parents, and for doctors to study potential malformations in developing fetuses.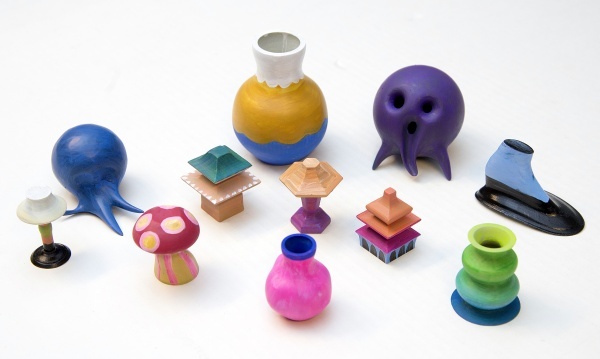
9. Custom iPhone cases
This is a great first project for designers who are starting to learn CAD.
This custom iPhone case design was inspired by Indian patterns such as Mandalas. It’s available for purchase on Shapeways.com and was designed by user Genghis. It’s printed in a strong and flexible plastic and starts at $18.22.
10. Metal jewelry
Forget metal-smithing! Now designers can simply print their bling.
This intricate bracelet is also available for sale at Shapeways, and designed by user nervoussystem. It can be printed in plastic and stainless steel, and is a top seller on Shapeways.
11. Complex art
Even Michelangelo couldn’t carve this out of a block of marble.
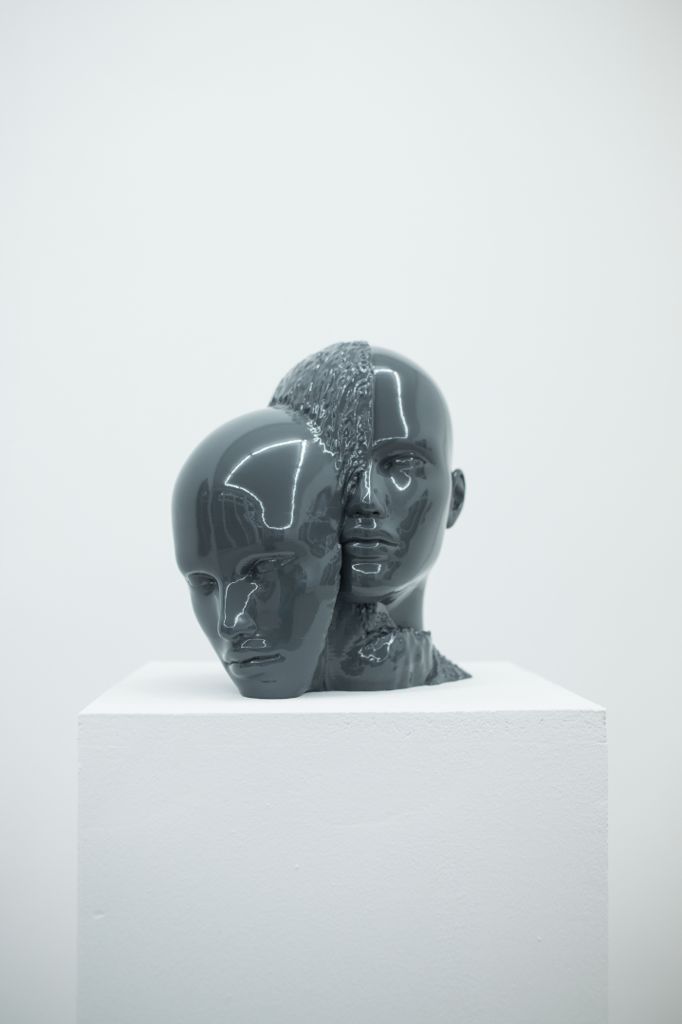
This incredibly detailed sculpture by artist Kevin Mack would be difficult and time-consuming to produce without 3D printing. According to Mack, “this sculpture represents a physical manifestation of the flow of consciousness in a transhuman entity.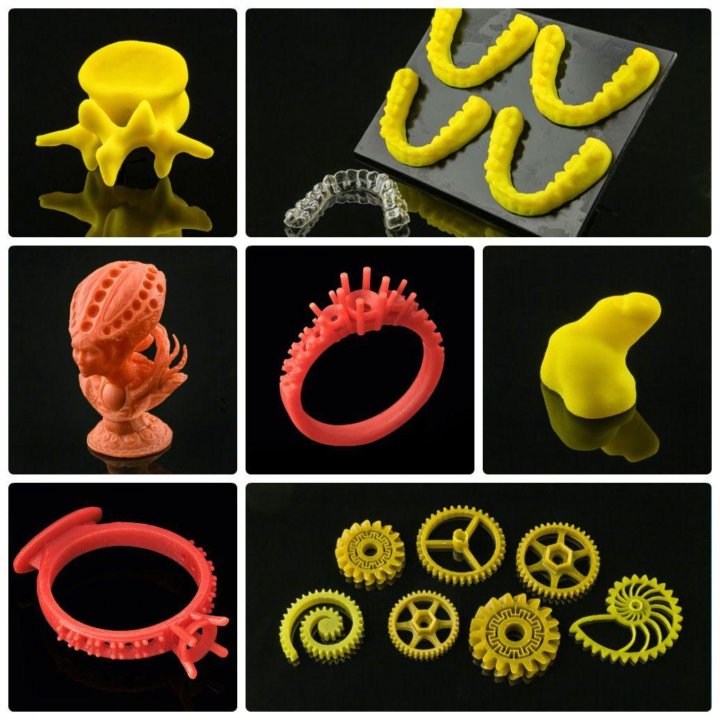 ”
”
12. Your boss
For this 3D figurine, we chose to create Community Director Jason Aiken (in his fist tee).
This little guy look familiar? He bears a striking resemblance to our very own Community Director Jason Aiken, and he’s even wearing the exclusive 99designs fist T-shirt! We used an online application called MixeeMe to create this customized figurine. They partner with Shapeways, and their online customization app lets you pick and choose facial features, hair color and upload designs to print on their clothing.
Resources to get you started!
These amazing printed objects are redefining the manufacturing process, but many are made on industrial-grade printers that are not as accessible and affordable for the average consumer. For designers, 3D printing is better used as a tool than an end product. They’re great for making inexpensive prototypes of product designs to pitch to clients before they invest in expensive manufacturing processes and supplies.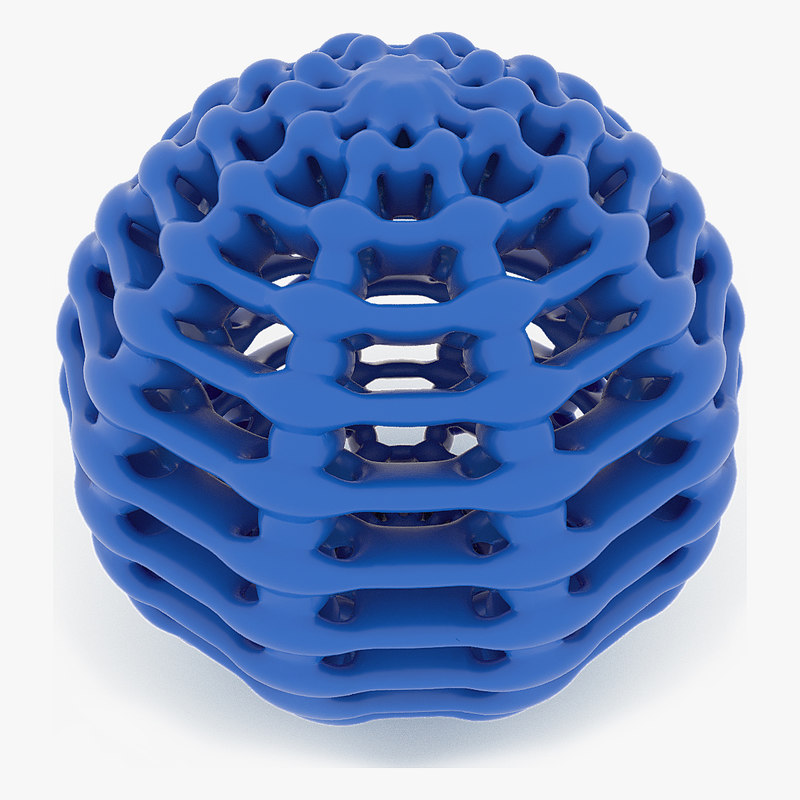
From digital file to physical object. This model was created in the program MeshLab.
Clients are super responsive to seeing print designs like business cards photoshopped into mock-ups, the same thing is true for 3D printed prototypes. Some designers actually use 3D printed characters to pitch company mascot designs to clients by giving them a maquette they can hold in their hands.
If you’ve ever wanted to do product design but were limited by your lack of manufacturing knowledge, here’s your chance to start making your ideas reality! The technology is only going to advance, so why not start learning the basics now? Here’s a few resources to get started:
SketchUp is very user friendly and it can create 3D printer-ready .STL files.
Google SketchUp: This free CAD program is extremely basic, but it is very easy to learn for beginners. If you’re serious about making professional, finished products with this technology, you’ll want to learn more advanced programs like SolidWorks and Rhino 3D, both of which are a little pricey but have a pretty sweet trial programs you can download from their websites.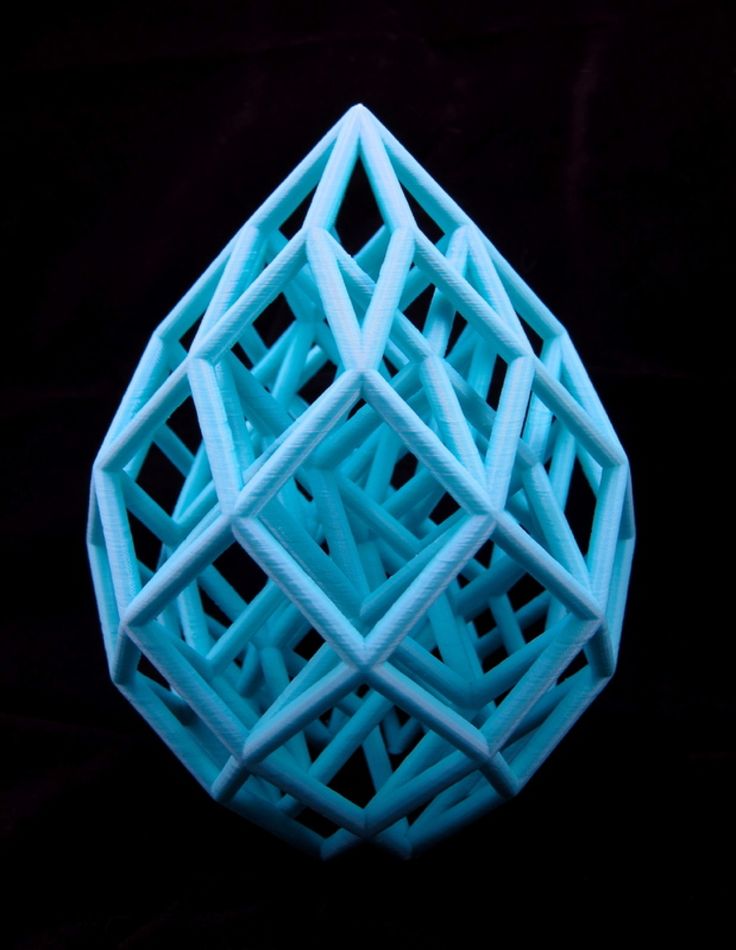
Ideally, you should go to your local 3D printer shop to see your designs getting printed and learn firsthand how to design according to the specifications of the printer. But if that’s not the case, you’ve got a couple of options: buy a consumer 3D printer or send your design files to a 3D printing company to print.
The Cube®‘s dimensions are 10 x 10 x 13 inches, and can fit comfortably on the average desk!
One of the most affordable and consumer-friendly 3D printers out there is the Cube® made by Cubify®, starting at $1,299.
Join an online community of 3D printing enthusiasts at Shapeways.com.
Shapeways.com is a seriously cool, 3D printing marketplace where users can make, buy and sell their own 3D printed products. They also have a bunch of easy-to-use online customization apps for beginners to start playing with. Note to self: start designing my own smart phone case so I can print it out!
Additive manufacturing is more efficient and less wasteful than traditional subtractive manufacturing, and it’s only going to get cheaper.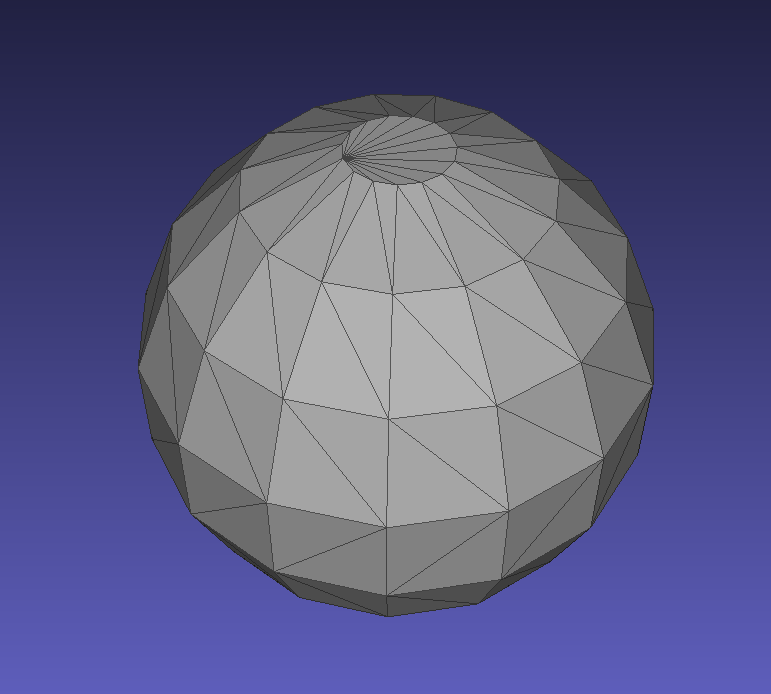 The ultimate goal of 3D printing would be to manufacture all consumer products in the location of their purchase, on demand and on the spot, which would eliminate shipping costs and wasting unsold products. In the future, the possibilities for 3D printing will be limitless.
What object would you print in 3D?
Header image: fdecomite (via Flickr)
Cults・Download free 3D printer models・STL, OBJ, 3MF, CAD
Featured
By agepbiz
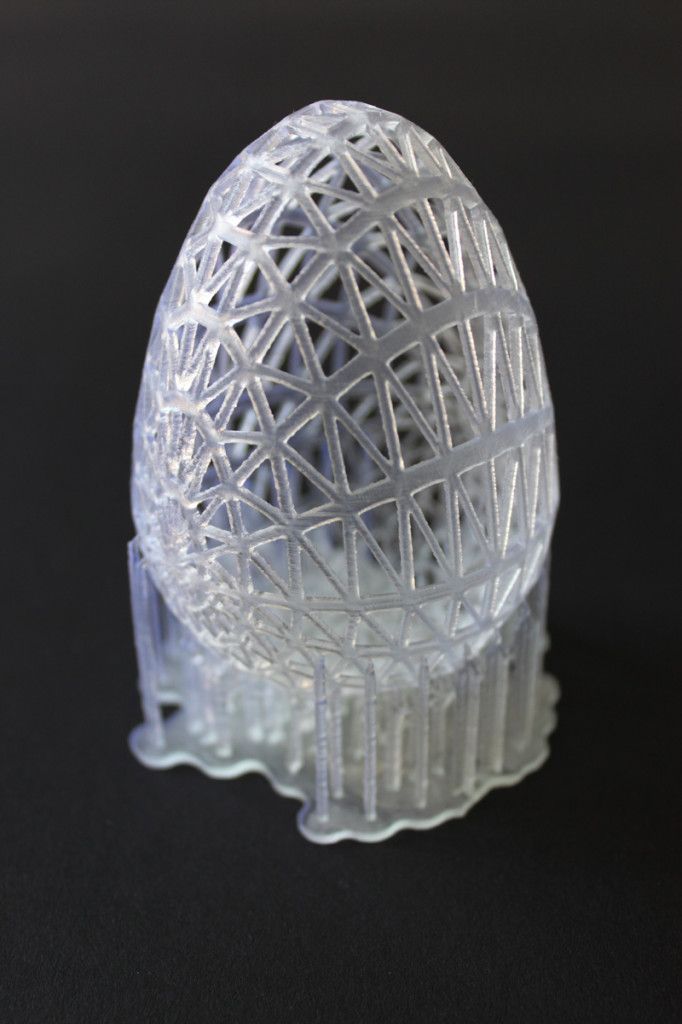
Yet another amazing Print-in-place and articulated "egg" by agepbiz, this one is for the 3d printable f14 jet fighters and is named USS EnterSurprise. This playset container 3D prints without the need for any supports or assembling and will fit two tiny planes.
Download 3D model
01
Desk mounted trash bin
€1.50
02Kratos - God of War: Ragnarok
€9
03Thumbs Up Keychain
Free
04gingerbread shrek gingerbread man christmas
€3. 52
52
Christmas House
€6.83
06S-Hook
€1
07Ice Dragon
€5.21
08Barn Owl Mask
€15.11 -50% €7.56
Rocket by Play Conveyor
€3.01
10Customizable Scoreboard
Free
11itsboyinspace Rocket Keychain
Free
12Christmas Present - Present With Legs
€1. 49
49
GROIZER X
€10.04
14Tray for cards and board game tokens
€2
15Croods Tiger
€1.59
16Patterned Planter
Free
17ORGANIC TRASH BIN
€1.92
18Gengar Mimikyu - presupported
€2
19snowflake/christmas decoration
Free
20Whiskey Bottle Shoulder Armor
€10.07
01
DISNEY STYLE CASTLE - RING BOX
€2. 37
37
Candlestick - Arbre de vie
€1.20
03Cut-Man - PET bottle cutter with handle!
€3.49
04Cauldron Bucket
€3.72
051/14 Excavator - Vulpa 505
€65.79
06Articulated Plague Doctor Mask
€5.04
07Phone holder
€2.61
08Wodfolk Explorer
€10.07
01
Playmobil VW Beetle loading area with rear wall
€1.99
02planl pen, ballpoint pen
Free
03Benjamin Franklin Clock 2
€3
04KIT - E
€6. 27
27
Wall Pegs
Free
06JAPANESE TEMPLE - NO SUPPORTS
€1.38 -10% €1.24
fun and articulated fly swatter and mosquito swatter
€1.98
08Dwarf Gekko 1/6 Scale Kit
Free
09Bosch Professional 18V Battery Wall Holder ProCore and Old type Minimalistic Bracket Organise Accu
€1.25
10Flora Book and Box
€4.06
11Cactus bookmark
Free
12MOATY
€4. 99
99
Vanzzla Jump Pads for Electric Unicycles (EUC)
€20.15
14The TINHOLE Camera XL - Shoots a full roll of 35mm film. A pinhole camera from a tin can
€5
15Illusionist's Print-In-Place Charm
€3.04
16Scale Builders Drawer System
€10.08 -25% €7.56
KAWAII CACTUS COUPLE FIGURINES
€1.25
18Erik and Frida Xmas Gonks
€7.41
19V8 engine print in place
€0. 88
88
Yawning cat figurine
Free
01
Mini Flip Middle Finger Keychain
Free
02Wile E. Coyote
Free
03Gore Krusha Mega Walker
Free
04flexi turtle
Free
05Rick The Thinker
Free
06Bogal Born Battle Bank
Free
07Print-in-place and articulated F14 Jet Fighter with Improved Wingdesign
Free
08Renegade Death Division - Commissar - Heretics
Free
🔁 Updated
Pratt & Whitney R2800 C ( late ) 1/32 scale
Free
GIANT SPACE MANTIS
€40
Glock 19 Barrel Airsoft Spare Part Compatible With All Gens
€2 -40% €1. 20
20
Glock 17 Barrel Airsoft Spare Part Compatible With All Gens
€2 -40% €1.20
Fight Club Soap
Wile E. Coyote - Looney Tunes
Modular dual monitor stand
CLASSIC GHOST RIDER CAT - Helmet
cajita hexagonal a rosca
€0.76
voopoo drag x stand
€1.25
Air Dragon 3D Set
€10.07
Racquet grip #SPORTXCULTS
€0.50
Fiat Sienna 2013
€10.07
saber-toothed cat low poly model
€1. 84
84
Juan Pedro de Blas Castañeda
Free
Externa shell for a PixHawk mounted on DJI F450
Free
See all 3D models
Cults, the 3D printing platform
Welcome to Cults, the world’s leading independent website for 3D printer files. Discover and download the best 3D models for all your 3D printing & DIY projects.
Cults is a digital marketplace for 3D printing and design. Use our 3D model library to discover everything you can do with a 3D printer (FDM, SLA, DLP, SLS) event with CNC machining and laser cutting. You don’t know how to make a 3D file but you want to 3D print objects? Cults is for you! Browse our different categories and download the best 3D printer models for free, open-source or paid mode. The formats you can download are in STL, OBJ, 3MF, CAD, STEP, SCAD or DXF, DWG, SVG format, they are all 3D printable guaranteed or CNC compatible.
We are connecting 3D print files makers with people who want to use their 3D printer. Our 3D model repository acts as a real source of inspiration since the best designers share their best STL files daily to offer you their latest inventions!
On Cults you can also find a 3D printer nearby, get voucher codes to buy cheap 3D printers or filaments at best prices and also a whole series of 3D printing contests. Cults is a joyful community that brings together all 3D printing fans to dialogue and create together.
Commission system
You are a designer and you want to sell your 3D models optimized for 3D printing? Thanks to Cults you can earn money with your files STL, OBJ, CAD, 3MF, etc. ! For each download, you will receive 80% of the net selling price (excluding VAT) via PayPal. Cults keeps 20% of commission which is used to finance bank fees (about 5%) and then all the costs related to the technical maintenance of the platform: hosting, bandwidth, accounting, email communications, translations, etc. There is no subscription system or fixed fee to pay. You sell, you win!
If you are still hesitating to share your models on Cults, feel free to read this article Why publish my designs on Cults? List of advantages and benefits to get an idea.
- Designers 80%
- Cults 15%
- Banking fees 5%
Upload a 3D model
Printing 3D Objects in Photoshop
User's Guide Cancel
Search
Last update Dec 13, 2021 08:23:10 PM GMT
- Photoshop User Guide
- Introduction to Photoshop
- Dream about it.
 Do it.
 - What's New in Photoshop
- Editing the first photo
- Create documents
- Photoshop | FAQ
- Photoshop system requirements
- Transferring presets, operations and settings
- Introduction to Photoshop
- Dream about it.
- Photoshop and other Adobe products and services
- Working with Illustrator artwork in Photoshop
- Working with Photoshop files in InDesign
- Substance 3D Materials for Photoshop
- Photoshop and Adobe Stock
- Working with the built-in Capture extension in Photoshop
- Creative Cloud Libraries
- Creative Cloud Libraries in Photoshop
- Working in Photoshop using the Touch Bar
- Net and guides
- Create transactions
- Cancellation and transaction history
- Photoshop on iPad
- Photoshop on iPad | General questions
- Introduction to the working environment
- System requirements | Photoshop on iPad
- Create, open and export documents
- Adding photos
- Working with layers
- Drawing and painting with brushes
- Selecting areas and adding masks
- Retouch compositions
- Working with Adjustment Layers
- Adjusting the key of a composition using the Curves layer
- Applying transform operations
- Trim and rotate compositions
- Rotate, pan, zoom and restore canvas
- Working with text layers
- Working with Photoshop and Lightroom
- Getting missing fonts in Photoshop on iPad
- Japanese text in Photoshop on iPad
- Application parameter management
- Touch shortcuts and gestures
- Key combinations
- Image resizing
- Live stream your creative process in Photoshop on iPad
- Fix imperfections with Healing Brush
- Creating brushes in Capture and using them in Photoshop
- Working with Camera Raw files
- Creating and using smart objects
- Adjusting the exposure of images with the Dodge and Burn tools
- Photoshop Web Application Beta
- Frequently Asked Questions | Photoshop Web App Beta
- Working environment overview
- System requirements | Photoshop 9 Web App Beta0010
- Keyboard shortcuts | Photoshop Web Application Beta
- Supported file formats | Photoshop Web Application Beta
- Opening and working with cloud documents
- Collaboration with stakeholders
- Limited editing options for cloud documents
- Cloud Documents
- Photoshop Cloud Documents | Frequently Asked Questions
- Photoshop Cloud Documents | Workflow Questions
- Work with and manage cloud documents in Photoshop
- Cloud storage update for Photoshop
- Unable to create or save cloud document
- Troubleshooting Photoshop cloud documents
- Collection of cloud document synchronization logs
- Sharing and editing cloud documents
- File sharing and commenting in the application
- Working environment
- Working environment basics
- Learn faster with the What's New panel in Photoshop
- Create documents
- Working in Photoshop using the Touch Bar
- Tool gallery
- Performance settings
- Using tools
- Touch gestures
- Touch gestures and customizable workspaces
- Technology overview versions
- Metadata and comments
- Default key combinations
- Touch gestures and customizable workspaces
- Putting Photoshop images into other applications
- Installations
- Default key combinations
- Rulers
- Show or hide non-printing auxiliaries
- Specifying columns for the image
- Cancellation and transaction history
- Panels and menus
- File storage
- Positioning of elements with referencing
- Positioning with the ruler tool
- Setting sets
- Customizing keyboard shortcuts
- Net and guides
- Web, screen and application content development
- Photoshop for design
- Artboards
- View on device
- Copy CSS from layers
- Splitting web pages into fragments
- HTML options for snippets
- Changing the arrangement of fragments
- Working with web graphics
- Create web photo galleries
- Understanding images and working with color
- Resizing images
- Working with raster and vector images
- Image size and resolution
- Importing images from cameras and scanners
- Creating, opening and importing images
- Image viewer
- "Invalid JPEG marker" error | Opening images
- Viewing multiple images
- Customize color palettes and color swatches
- HDR images
- Image color matching
- Converting between color modes
- Color modes
- Erase sub-images
- Blend Modes
- Choice of colors
- Making changes to indexed color tables
- Image information
- Distortion filters not available
- Color details
- Color and monochrome corrections with channels
- Selecting colors in the Color and Swatches panels
- Sample
- Color mode (or picture mode)
- Shade
- Add color mode change to operation
- Add swatches from HTML CSS and SVG files
- Bit depth and settings
- Layers
- Understanding Layers
- Reversible editing
- Create and manage layers and groups
- Selecting, grouping and linking layers
- Putting images into frames
- Opacity and layering
- Layer masks
- Application of smart filters
- Layer compositions
- Move, arrange and lock layers
- Layer masking with vector masks
- Manage layers and groups
- Effects and Layer Styles
- Editing layer masks
- Extract resources
- Display layers with clipping masks
- Generation of graphic resources from layers
- Working with Smart Objects
- Blend Modes
- Combining several fragments into one image
- Combining images with Auto Layer
- Alignment and distribution of layers
- Copy CSS from layers
- Load selections based on layer boundaries or layer masks
- See-through to show the contents of other layers
- Layer
- Mixing
- Composite images
- Background
- Selections
- Select and Mask workspace
- Quick area selection
- Getting Started with Selections
- Selecting with the Marquee Toolbox
- Selection with the Lasso tools
- Selecting a color range in the image
- Pixel highlight setting
- Convert between contours and selection boundaries
- Channel Basics
- Moving, copying and deleting selected pixels
- Creating a temporary quick mask
- Save selections and alpha channel masks
- Selecting focus areas in an image
- Duplication, splitting and merging of channels
- Channel calculation
- Extraction
- Bounding box
- Image corrections
- Perspective distortion
- Blur reduction due to camera movement
- Healing Brush Tool Examples
- Export color lookup tables
- Image sharpening and blurring
- Introduction to color grading
- Applying the Brightness/Contrast setting
- Shadow and Highlight Detail Correction
- "Levels" correction
- Hue and saturation correction
- Juiciness correction
- Adjusting the color saturation in image areas
- Quick tone correction
- Applying special color effects to images
- Image enhancement with color balance correction
- HDR images
- View histograms and pixel values
- Image color matching
- Crop and straighten photographs
- Converting a color image to black and white
- Adjustment and fill layers
- Curves correction
- Blend Modes
- Target Imaging for Press
- Color and tone correction with Levels and Curves eyedroppers
- HDR Exposure and Toning Compensation
- Filter
- Blur
- Lighten or darken image areas
- Selective color correction
- Changing object colors
- Adobe Camera Raw
- Camera Raw system requirements
- What's New in Camera Raw
- Introduction to Camera Raw
- Creating panoramas
- Supported lenses
- Camera Raw 9 Vignetting, Grain, and Haze Removal0010
- Default key combinations
- Automatic perspective correction in Camera Raw
- Reversible editing in Camera Raw
- Camera Raw Radial Filter Tool
- Manage Camera Raw Settings
- Processing, saving and opening images in Camera Raw
- Improving Images with Camera Raw's Improved Spot Remover
- Rotating, cropping and modifying images
- Camera Raw color correction
- Function overview | Adobe Camera Raw | Issues for 2018
- Overview of new features
- Processing versions in Camera Raw
- Making local adjustments in Camera Raw
- Fixing and restoring images
- Removing objects from photos using Content-Aware Fill
- Content-aware patching and relocation
- Retouching and fixing photos
- Image Distortion and Noise Correction
- Basic troubleshooting steps to solve most problems
- Image transformation
- Object transformation
- Crop, rotate and canvas adjustment
- Crop and straighten photographs
- Creating and editing panoramic images
- Deforming images, shapes and contours
- Perspective
- Using the Liquify filter
- Content-aware scale
- Transforming images, shapes and paths
- Deformation
- Transformation
- Panorama
- Drawing and painting
- Drawing symmetrical ornaments
- Options for drawing a rectangle and changing the stroke
- Drawing details
- Drawing and editing shapes
- Paint tools
- Creating and modifying brushes
- Blend Modes
- Adding color to contours
- Edit contours
- Painting with mix brush
- Brush Presets
- Gradients
- Gradient interpolation
- Fill and stroke selections, layers, and paths
- Drawing with the pen tool group
- Making patterns
- Creating a pattern with the Pattern Builder filter
- Loop control
- Managing pattern libraries and presets
- Drawing with pen tablet
- Creating textured brushes
- Adding dynamic elements to brushes
- Gradient
- Draw stylized strokes with the Artistic Archive Brush
- Drawing with pattern
- Synchronizing presets across multiple devices
- Text
- Adding and editing text
- Universal text editor
- Working with OpenType SVG Fonts
- Character formatting
- Paragraph formatting
- Creating text effects
- Text editing
- Leading and letter spacing
- Font for Arabic and Hebrew
- Fonts
- Troubleshooting fonts
- Asian text
- Create text
- Text Engine error when using Photoshop's Type tool | Windows 8
- Adding and editing text
- Video and animation
- Video editing in Photoshop
- Editing video and animation layers
- Introduction to video and animation
- Video and animation preview
- Drawing frames in video layers
- Import video files and image sequences
- Create frame animations
- Creative Cloud 3D Animation (Preview)
- Create timeline animations
- Creating images for videos
- Filters and effects
- Using the Liquify filter
- Using Blur Gallery group effects
- Filter basics
- Filter effects guide
- Adding lighting effects
- Using the Adaptive Wide Angle filter
- Oil Paint Filter
- Effects and Layer Styles
- Application of specific filters
- Image area feathering
- Saving and exporting
- Saving files in Photoshop
- Export files to Photoshop
- Supported file formats
- Saving files in other graphic formats
- Moving projects between Photoshop and Illustrator
- Saving and exporting video and animation
- Saving PDF files
- Digimarc copyright protection
- Saving files in Photoshop
- Printing
- Printing 3D objects
- Printing with Photoshop
- Printing and color management
- Checklists and PDF presentations
- Print photos in a new image layout
- Spot color printing
- Duplexes
- Printing images on a printing press
- Photoshop Color Enhancement
- Printing troubleshooting | Photoshop
- Automation
- Create activities
- Creation of data-driven images
- Scenarios
- File batch processing
- Operation playback and management
- Adding conditional operations
- About actions and the Actions panel
- Recording tools in operations
- Add color mode change to operation
- Photoshop UI Development Kit for Plugins and Scripts
- Color Management
- Understanding Color Management
- Accurate color assurance
- Color settings
- Working with color profiles
- Color management of documents for viewing on the web
- Color management for printing documents
- Color management of imported images
- Perform proofing
- Content authenticity
- Learn more about content credentials
- Identity and origin of NFT tokens
- Connecting accounts for creative attribution
- 3D objects and technical images
- 3D in Photoshop | Common questions about deprecated 3D features
- Creative Cloud 3D Animation (Preview)
- Printing 3D objects
- 3D drawing
- 3D Panel Enhancement | Photoshop
- 3D Concepts and Tools
- Rendering and saving 3D objects
- Creating 3D objects and animations
- Image stacks
- 3D graphics workflow
- Measurements
- DICOM files
- Photoshop and MATLAB
- Image object count
- Combining and transforming 3D objects
- Editing 3D textures
- HDR Exposure and Toning Compensation
- 3D panel settings
Photoshop allows you to print any compatible 3D model without worrying about the limitations of a 3D printer.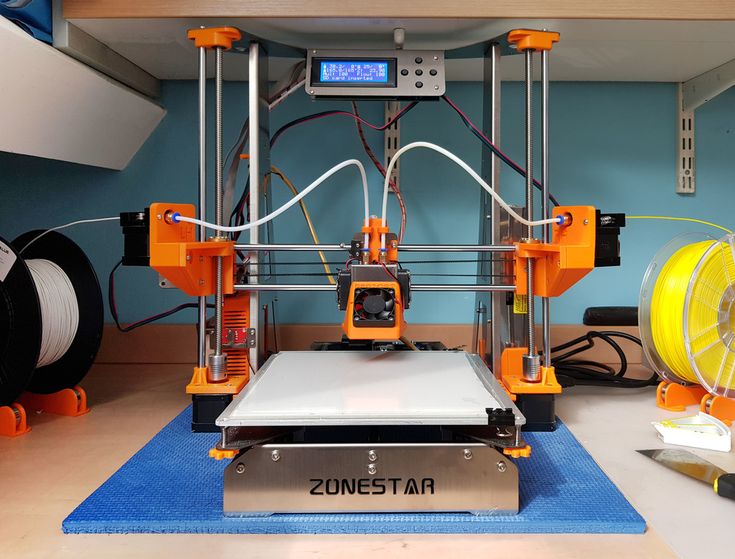 When preparing to print, Photoshop automatically renders 3D models impenetrable. Photoshop also generates the necessary support structures—platforms and bases—to help you achieve successful 3D printing results.
- Select the menu item Window > Workspace > 3D to switch to 3D mode.
- Open the 3D model in Photoshop. If necessary, resize the 3D model while opening the file.
- Select menu item 3D > 3D Print Settings.
- In the 3D Printing Preferences panel, choose whether to use a printer connected to your computer via USB (local printer) or online 3D printing services such as Shapeways.com or Sculpteo.
You can now print 3D models as 3MF (3D Manufacturing Format) files. When specifying 3D printing options, select 9 for option0844 Print to is Local and Printer is 3MF File. When you send a 3D object to print, Photoshop creates a 3MF file. On Windows computers, Photoshop also launches the Microsoft 3D Builder application to further process the 3MF file.
To update the list of supported printers or online profiles, select Get Latest Printers from the Send to Print To pop-up menu.
- Select a local printer or Shapeways.com print profile.
View estimated prices for printing 3D models using available Shapeways.com profiles by selecting Printer > Estimated Price.
- Select the unit of measure for print volume from inches, centimeters, millimeters, or pixels. This unit will serve to measure the dimensions of the volume of the printer as well as the dimensions of the printing plate.
A. 3D model B. Printing plate C. Printer volume overlay
- Select the 3D Printing Detail Level—Low, Medium, or Fine. The time it takes to print a 3D object depends on the level of detail selected.
- If you do not want to see the bounds of the 3D model's print volume, clear the Show Printer Volume Overlay check box.
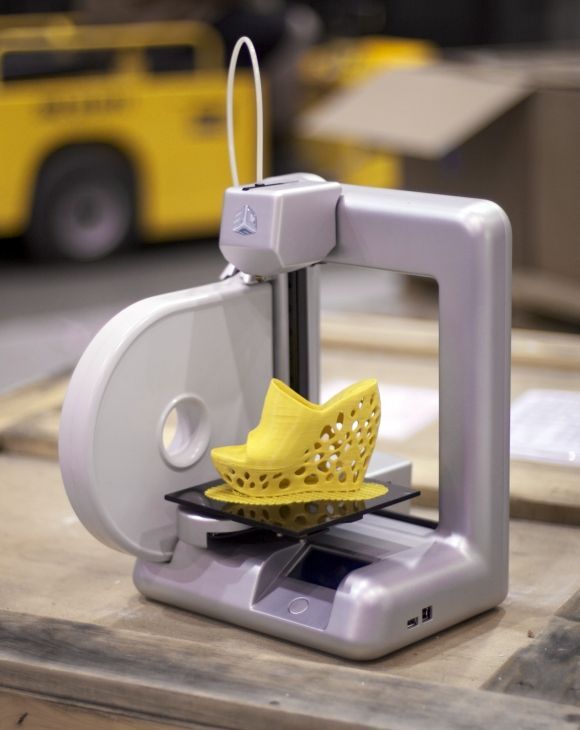
- Set the Scene Volume options to the appropriate size for the 3D printed object. When you change one value (X, Y, or Z), the other two values are scaled proportionally. When resizing the Stage Volume, notice that the print plate under the 3D model resizes accordingly.
You can scroll through the Scene Volume settings by clicking the size label (X, Y, or Z) and dragging the cursor left or right. By holding down the Shift key, you can scroll through the values faster.
- Select Scale by printer volume if you want to automatically resize the 3D model so that it takes up the entire available printer volume on the selected printer.
- If the 3D model includes normal maps, bump maps, or transparency maps, you can ignore these types of maps when printing the model. Notice how the 3D model changes in real time as you change the Surface Detail settings.
- Optionally, you can exclude the support structures of the 3D object (platforms and bases) from printing.
 Use this option with caution as printing a 3D model without the necessary support structures may produce unsatisfactory results.
 - If your printer supports multiple materials, select the material you want to use to print this 3D object.
You can enable an experimental feature that allows you to print continuous tones with your MakerBot Replicator 2x 3D printer.
Requirement: Enable experimental Photoshop features
Experimental features must be enabled in Photoshop before using multitone printing:
- Select Preferences > Experimental Features.
- Select the Enable multitone printing check box.
- Click OK.
- Restart Photoshop.
Experimental features not yet fully tested. They should be used with caution.
Choose a multi-tone surface material
- Select the MakerBot Replicator 2x printer in the 3D Printing Settings panel.
- In the Material field, select Multitone Surface.
 If you don't see this option, make sure the experimental Multitone 3D Printing feature is enabled.
- Set other parameters according to the generated 3D model.
- To view and print a 3D object, select 3D > 3D Print.
After setting the 3D printing options, follow these steps.
- Click the Start Print icon () or select the menu item 3D > 3D Print. Photoshop will combine the 3D elements of the scene and prepare it for the printing process.
- If you choose to print with a Shapeways.com profile, Photoshop will display a message that the actual print cost may differ from the estimated cost displayed. Click OK.
- In the preview window that opens, you can use the 3D camera tools to rotate, scale, or move the 3D object.
Rotate the 3D camera.
3D camera rotation.
Move the 3D camera.
3D camera slide.
Return to the home position of the 3D camera.
- If necessary, select the Show restoration check box.
 Photoshop displays various restoration colors such as Initial Mesh, Thickened Walls, and Hole Closed.
- You can also turn on Ray Tracing Preview. Viewing ray tracing allows you to more accurately reproduce the printed material.
- If you want to export the 3D printing settings to an STL file, click the Export button and save the file to the desired folder on your computer. This STL file can be sent to a network service server or moved to an SD card for printing with your own printer.
- View a summary of the 3D print object and click the Print button.
You can cancel the current 3D printing process using the menu item 3D > Cancel 3D printing.
Photoshop provides interactive step-by-step utilities that you can use to set up, calibrate, and maintain your 3D printer. These utilities can only be used when the 3D printer is turned on and connected to a computer.
- Select the menu item 3D > 3D Printer Utilities.
- Select the utilities you want to run.
Print plate calibration
Helps in leveling the printing plate. This utility includes the following general steps:
- Requires you to remove all residual print materials from the 3D printer.
- Initializes the print head.
- Allows you to adjust the amount of gap between the platen and the printhead at nine nozzle positions.
You can use this utility in wizard mode or manual mode.
Download Thread
Helps load filament into a Fused Deposition Modeling (FDM) 3D printer. To facilitate filament loading, Photoshop starts the head heating process and the filament loading mechanism.
Remove thread
Helps remove the filament from the FDM 3D printer. To facilitate the removal of the filament, Photoshop starts the head heating process and the filament loading mechanism.
Replace thread
Helps to replace the old filament in the FDM 3D printer with a new one. To make changing filament easier, Photoshop starts the head heating process and the filament loading mechanism.
- Follow the instructions on the screen.
Sometimes you may want to print multiple instances of an object on the same panel. Do the following.
- Select the required objects in the 3D panel.
- Select 3D > Pack Objects on Ground Plane.
- Start printing objects.
Photoshop currently supports the following 3D printers:
- MakerBot Replicator 2
- MakerBot Replicator 2x
- ZCorp Full Color
- Mcor Iris
- MakerBot Replicator 5th Generation
Photoshop also supports several Shapeways. com and Sculpteo profiles.
The MakerBot Replicator 5th Generation Printer Profile does not yet support USB direct printing. You can export files to a USB drive and print them to a local printer.
Yes. Before printing, you can set a cross section to cut off part of the 3D model. Follow these general steps.
- Select the menu item Window > Workspace > 3D to switch to 3D mode.
- Open the 3D object you want to print.
- Select Scene from the 3D panel.
- On the Properties panel, select Cross Section.
- Specify the cross section parameters in the Properties panel.
- Select the menu item 3D > Apply Cross Section to Scene.
- Print the 3D scene.
The desired cross section must be dried before printing.
Yes. Follow these general steps.
- Select a material in the Stage panel.
- In the Properties panel, click the folder icon () next to Emboss/Transparency/Normals and load the texture.
 You can also specify a new texture to apply to the 3D model.
 - When specifying a new texture, save this texture. The texture is applied to the 3D model as a bump map or transparency.
- Print a 3D model.
If your 3D printer has two heads, you can print 3D models in two colors. Pop-up menus for additional heads available are displayed in the Print Properties panel. In the 3D workspace and in the 3D Print Preview window, the model appears in two colors.
Printing a 3D model in two colors From a printing point of view, each layer of a 3D model is treated as a separate 3D object. You can optionally merge two or more layers (3D > Merge 3D Layers).
Related topics
- How to print a 3D object in Photoshop
- 3D painting
- 3D panel enhancements | Photoshop
- Photoshop 3D Documentation
Sign in
To come in
Account management
3D friend of great objects.
 Company stats «3Dplast
 Regardless of whether you want to enlarge your model or bring it to the proportions of 1: 1 in full size, you can get stuck with a serious physical problem: the size of a large camera, which you have, is insufficient.
Don't get lost, even if you're building large-scale projects, you can go beyond the help of a standard tabletop printer. A simple method, in such a way that you edit your models, draw and edit them, make great models with accessories for others on a large number of 3D printers.
If you want to be your deputy and just joke around with a bigger 3D printer, then you know the stench. Ale їх or else it is not enough, but tse vzagalі testі zrazki. The most widely used printers can expand cameras 60 by 60 by 60 centimeters. So, it’s rich, paired with standard tables of 20 * 20 or 30 * 30 centimeters, but not less than that, you can get enough, so you need a meter copy of the Formula 1 car, for example.
So, how to inflict a great object on a great 3D printer? Time management has the same understanding of "drag the elephant. " If the task is great, it is so unreasonable how to step up, to divide into a dekilka of more other tasks, as simple as a viskonat. So and here - and for drawing our figurative 3D-elephant, it is necessary to make sprats of crocks.
Croc 1. Shared model
Actually, if you search your favorite model on the Internet, try to know the ready-made model. A lot of designers are interested in alternative versions, so you know - more printers are not big enough.
The name of the split model is the cost of typing STL-files, ready to each other in parts. Most of these models ideally go together one by one, and the deacons are rіzhutsya on shmatochki, to help them to friend. Qi files save your time, so that you do not happen to split the files on your own.
Before speech, before STL, online acquisition, modeled as STL warehouse. Files of this type are often necessary for a rich variety of rich components. Ale, you don’t care about winning them with other great models.
It is also possible to select different programs for a sub-model. One of them is Slic3r. Open the warehouse STL in the program, press the button "Split" on the toolbar, and your warehouse STL will be divided into more files. Now you can cut the skin part according to your needs after you have decided or export the skin part from the small STL that looks like it is small, attached to the other.
Autodesk Meshmixer – just one more tool that you can hack for sub-storage STLs - everything you need to hack the Separate Shells command.
If the model you want to infringe is not available in folded form, you can split the STL file yourself. It is possible to work for the help of a general function, called a cut flat, as is available in most popular CAD programs.
If you want a simple task, change your mind so that you have cut the model strategically correctly.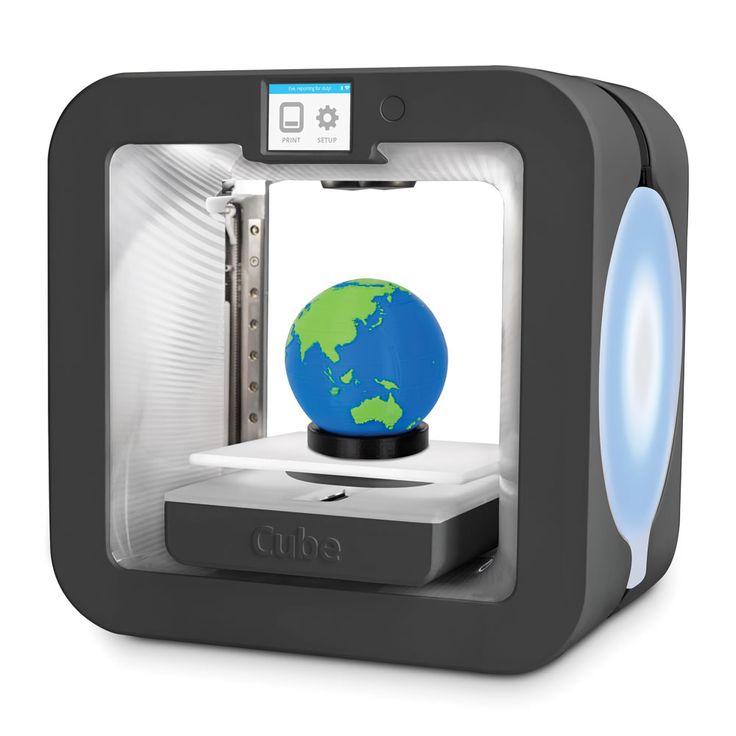 First, change your mind, so that your rozrіz will lighten other models and you will not need support with a friend. And in a different way, try to know such a cut area for your model, so that the seam will not be so memorable and obvious, if the model is ready.
. To ask for a bribe, you can model flanks, outlets and pits, or open in detail, so that you can help them get back, if the hour comes.
Another popular method of joining parts is to open the whole 2-millimeter one at your parts, and then insert a short piece of melted filament into it to catch the alignment before gluing.
If you need a special construction, then you can try to beat traditional locks and keys, for example, from the galuzi of woodworking. You can use other materials, such as metal shears, screws or bolts for fastening parts, especially if you need more material. It may be necessary, as you create requisites or functional details.
Krok 3. Druk
Proceed to krok, because you know Drukar, you yourself know the most. Mi tezh wrote a lot about the different aspects of 3D-druk in these articles.
Basic rules for using ABS plastic (part 1)
Basic rules for using ABS plastic (part 2): delamination
How to achieve clarity in 3D using the FDM method
The same goes for selecting materials. You yourself choose the optimal material, depending on your needs and possibilities. And we described the different powers of the filaments in the coming articles.
What is the difference between PLA, ABS and PETg?
Choice of plastic for 3D other company 3Dplast
Croc 4. Gluing
In fact, gluing can be part of the post-finishing process. That's why classical methods of post-processing are used for making details.
For example, the surface of the two ABS parts can be treated with acetone.