360 3d printer
Tips to Prepare Your Design for 3D Printing
Autodesk’s Fusion 360 is a versatile CAD package that has all the features needed to develop products from the conceptual phase through design verification to manufacturing on both traditional and digital fabrication tools like 3D printing.
In this in-depth Fusion 360 3D printing tutorial, you’ll find a quick overview of Fusion 360’s interface and features for 3D printing as well as detailed tips to help you prepare parts for 3D printing.
Webinar
In this webinar, dive deep into the brand new Formlabs-specific workflows built into Fusion 360. This integration makes it easier than ever to make downstream design changes with a seamless connection between design and manufacturing.
Watch the Webinar Now
Fusion 360 is a cloud-based CAD platform that is an affordable, highly capable alternative to other major players in the industry. It is easy to use and has all the common features you can expect from popular CAD packages. Fusion 360 was built from the ground up to be an all-encompassing product development solution and aims to offer a simple workflow from conceptual design all the way through manufacturing.
Fusion 360 has a very large knowledge base that thoroughly covers every feature of the software, these tutorials can be accessed through Fusion 360 as well as through the Autodesk website. There is also an official YouTube channel with many hours of free tutorials.
The software receives frequent upgrades and new features arrive every few months. Fusion 360 is ideal for high turnover businesses as well as start-ups looking for a professional tool to get them into the market.
Fusion 360 can perform resource-intensive operations on the cloud, including rendering, simulation, shape optimization, and generative design. This means that work can continue while all the heavy lifting is done on the cloud.
There are various licensing packages available, these are listed below:
- Free Trial: Autodesk offers a 30-day free trial upon signup.
- Educational: Like most other CAD packages, Fusion 360 comes with an educational license to students, educators, and academic institutions.
- Start-up: A free license is available for start-ups, enthusiast, and hobbyist. In order to use this license, the user must run a company that has a turnover of less than $100 000 per year. The start-up license does not include any of the more advanced features such as generative design.
- Commercial: There used to be two versions of the paid license, namely a standard and ultimate, but these have been merged into one version that contains all the features that used to be in the ultimate version. The fees are structured as a subscription model.
In Fusion 360, you can switch between seven different workspaces. Each workspace has its own set of tools and functions:
- Design: For drawing 3D models and surfaces by making use of sketches, extrusions, revolves, and many other standard CAD tools.

- Generative Design: Generative Design is a form of artificial intelligence that leverages the power of the cloud and machine learning to output efficient design iterations based on your mechanical constraints.
- Render: Create photorealistic renderings of components and products.
- Animation: Animate assemblies to see if they function as expected or to show functionality to prospective clients.
- Simulation: Computer-aided engineering to perform various stress analyses on the designs to make sure they can handle the operating conditions.
- Manufacture: Computer-aided manufacturing (CAM) to assist with manufacturing the part on various digital fabrication tools, such as CNC mills, CNC lathes, laser cutters, and waterjet cutters.
- Drawing: Create shop drawings of designs for manufacturing in a traditional manual machine shop or to accompany the G-code for CNC machined parts.

The Fusion 360 workspace is divided into seven main sections, namely the tool bar, data panel, navigation, timeline, browser, view cube, and the marking menu. Each of these is described in more detail below.
The toolbar contains all the tools and features that are available in a workspace. In the case of the design workspace, these tools help create and modify 3D models, surfaces, sheet metal, and assemblies.
The data panel allows the user to open existing projects, create new ones, manually save a project and access the data panel. The data panel is a space where designs can be saved and organized in an easy to navigate format. The data panel allows you to create project folders as well as a place to find sample parts and tutorials.
The navigation bar contains all the tools for rotating, translating and changing the visual style of a model. There are also options to break the canvas into subsections with each indicating a different view of the model.
The timeline shows a history of all the operations performed to create the part. This includes all features, patterns, material changes, and sketches to name a few. This is a unique feature that allows you to see the complete history of their part without having to navigate through the browser tree. Any feature can be modified with a right-click within the timeline. The timeline can also be used to find that specific feature in the browser tree.
The browser contains all the components, features, bodies, sketches, and construction geometry of a design. The browser takes the form a tree-like structure which should be familiar from common CAD packages.
The view cube allows you to manipulate the model in a more structured way. By clicking either on the corners, edges, or faces of the cube the model will re-oriented inside the canvas. This makes it easy to switch between standard views. If the user clicks the arrow on the bottom right of the view cube, a drop-down menu appears that provides more options to control the view.
The marking menu is a situation specific pop-up menu that contains commonly used features, it can be accessed by clicking right on the model or the canvas. The features that show up in the menu are determined by what is clicked and what workspace is currently active. This menu helps increase modeling speed and convenience.
Webinar
In this webinar, Formlabs Product Marketing Lead Jennifer Milne will provide a simple overview explaining what generative design is, framed in a way that is applicable to mechanical part design, including a step-by-step tutorial of Fusion 360 where she’ll produce a lightweight bracket.
Watch the Webinar Now
Formlabs and Autodesk have partnered to streamline your digital workflow with introducing new functionality in Fusion 360 for 3D printing your designs with SLA and SLS technologies from Formlabs. Our Form 2, Form 3+, Form 3B+ and Form 3L SLA 3D printers and the Fuse 1+ 30W SLS printer are included in the Machine library for Fusion 360. This new workflow combines the best of Autodesk’s versatile CAD package with professional 3D printing results. We’re excited to bring this new functionality to Formlabs users, who can now iterate on new ideas in just a few steps.
The software integration includes a brand new graphic interface where users can visualize how parts will fit into the build volumes of the different printers natively in Fusion 360. Individual designers can orient their parts, arrange them within the build platform and automatically generate support structures parametrically all within the manufacturing workspace of Fusion 360. If they need to make a design change, their print preparation operations update automatically. Teams can also streamline file management by exporting their build platform as a “.form” file from Fusion 360 and open them in PreForm. Soon additive manufacturing setups created in Fusion 360 will be sent directly PreForm as well. This new integration eliminates the need to save individual parts as “.stl” files and importing them to PreForm manually, giving designers and manufacturers more reliable version control.
Sample part
See and feel Formlabs quality firsthand. We’ll ship a free sample part to your office.
Request a Free Sample Part
The form feature, denoted by a purple cube, allows the sculpting of complex organic shapes. It opens a new workspace that has a wide array of features for sculpting complex shapes. This feature is ideal for creating organic and artistic models for 3D printing.
The surface tools allow the user to repair models for 3D printing. Surfaces can be stitched closed, extruded, pulled, and pushed to reshape the part. The surfacing tools also help create a watertight model that has no openings in the shell.
This feature is useful for simulating how your 3D print will behave under time dependant loads and velocities. For example, snap fit joints can be modeled to show what loads are experienced by the clip as it is forced closed, providing a good idea of where the weak points are so that the design can be optimized.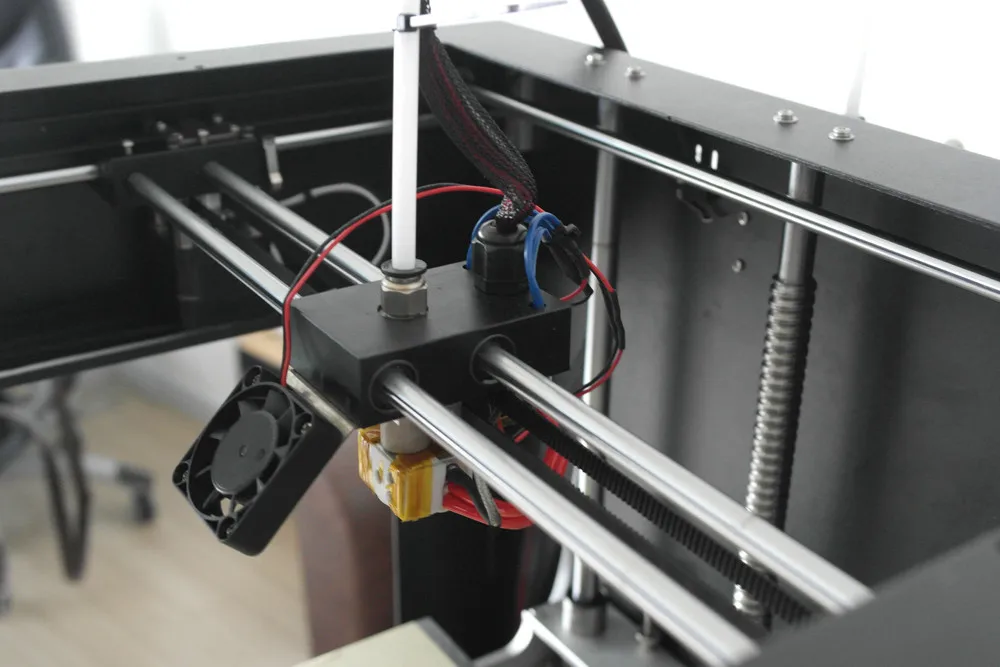
Some 3D printing technologies like fused deposition modeling (FDM) create parts with non-linear material properties that can only be simulated if the FEA package has a non-linear study type. Fusion 360 features a very capable non-linear study type that can accurately predict the stress on a component provided the correct material data is loaded in.
Find out more about isotropy in 3D printing.
Webinar
In this session, Peter Deppe of KUHMUTE discusses how he leverages Fusion 360 with 3D printing to reduce costs, iterate quickly, and manufacture bespoke solutions for customers.
Watch the Webinar Now
Designing for 3D printing is not an overly complex task, however, there are a few general guidelines to ensure a perfect print every time.
First, consider the 3D printing technology that will be used to print the part(s). This will determine the type of design constraints, the levels of accuracy achievable, and support structure requirements
Learn more about the three most established technologies for 3D printing plastics today—stereolithography (SLA), fused deposition modeling (FDM), and selective laser sintering (SLS)—in our comprehensive guide.
Wall thickness is critical because parts with too thin walls will be brittle and might break during 3D printing or in post-processing. The minimum recommended wall thicknesses vary by printing technology.
Download the Formlabs design guide for stereolithography 3D printers.
Overhangs are easy to print on SLS 3D printers, as the material is supported by the unfused powder. Other technologies like SLA or FDM might require support structures for overhanging features.
Depending on the technology, printing large solid or flat components can result in warping due to the heat build up in the part. Add design features like ribs to make the design structurally stronger and help minimize warping.
Read our guide for ten insights to help you optimize your 3D printing rapid prototyping workflow to be as cost and time efficient as possible.
Clicking the Make icon in the Design workspace opens the 3D print menu to make a number of modifications to optimize the model for printing and then send the model to a 3D print utility.
The menu is broken down into a number of options as listed below:
This option allows the user to select the model for 3D printing.
This checkbox shows the mesh on the model that is useful if the user wants to see what effect changes in the settings have on the model.
This shows the number of individual triangles that make up the model. A higher refinement will increase this number.
This option allows you to select one of three pre-defined refinement settings: low, medium, and high. This determines the total number of triangles used in the model. There is also a custom option which allows the user to further refine the mesh based on specific parameters:
Fusion 360 allows you to send the model to a range of 3D print utilities such as Meshmixer or Formlabs PreForm for 3D printing.
Use PreForm software to prepare parts for 3D printing on Formlabs SLA 3D printers.
If the “Send to 3D print Utility” is not selected Fusion 360 will export the model as an STL file according to the refinement options selected. This STL file can then be loaded into any 3D printer slicer software.
Fusion 360 is a versatile CAD package with an array of features that makes it easy to connect digital workflows and move from design to manufacturing.
Looking for the right tool to turn your design into reality? 3D printers empower engineers and product designers to rapidly prototype in-house, saving time and costs at every stage of product development.
See the quality firsthand by requesting a free sample part printed on a Formlabs 3D printer.
Explore Formlabs 3D PrintersRequest a Free Sample Part
Fusion 360 | 3D CAD, CAM, CAE, & PCB Cloud-Based Software
Contact sales at 1-833-843-3437-
Talk to sales: 1-833-843-3437
-
Have Autodesk contact you
Download free trial
See pricing options
Contact sales at 1-833-843-3437-
Talk to sales: 1-833-843-3437
-
Have Autodesk contact you
Download free trial
See pricing options
Fusion 360 capabilities
Flexible 3D CAD
Fusion 360 enables you to explore many iterations quickly with easy-to-use cloud CAD software.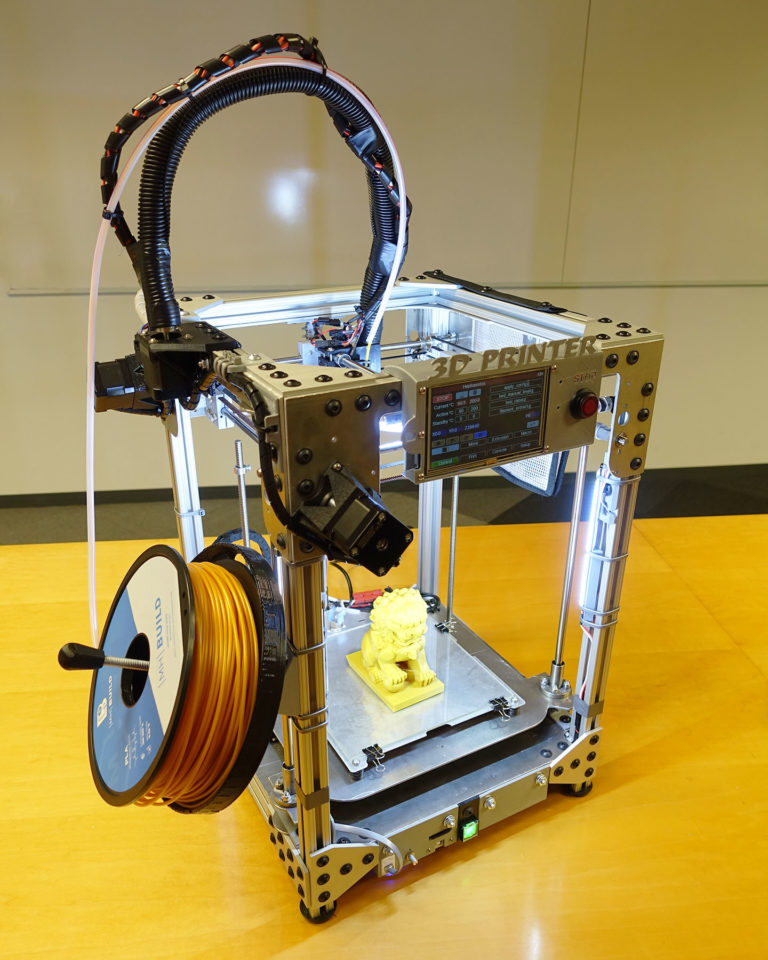
See 3D modeling features
Integrated CAD/CAM
Produce high-quality CNC machined parts, and additively manufacture builds using FFF or PBF for metal 3D printing.
See manufacturing features
Unified PCB design
Gain all the advantages of a full-featured schematic capture, electronics design, and mechanical CAD with Fusion 360.
See electronics features
Seamless 3D simulation
Test your designs to ensure they survive real world conditions. Simulate digitally and reduce prototyping costs.
See simulation features
Explorative generative design tools
Explore many manufacturing-ready outcomes meeting your design specifications through generative design.
See generative design features
Instant-on data management
Use integrated cloud collaboration tools to bring teams together and manage product data.
See data management features
"Fusion 360 is recognized as the best professional cloud product design and manufacturing software platform on G2."
– 4.5/5 rating, 300+ reviews
Trusted by 1.2 million customers, including:
What you can do with Fusion 360
Flexible 3D modeling and design
Use direct, surface, parametric, mesh, or freeform modeling.
Interactive assemblies
Detailed visualizations of complex products with exploded views and animations.
Sheet metal part creation
Design and engineer products to ensure aesthetics, form, fit, and function.
Innovative generative design
Explore, design, quote, and fabricate faster with automation tools.
Unified electronics and PCB design
Comprehensive electronics and PCB engineering tools.
Push-button SPICE simulation
Easy SPICE (Simulation Program with Integrated Circuit Emphasis) setup.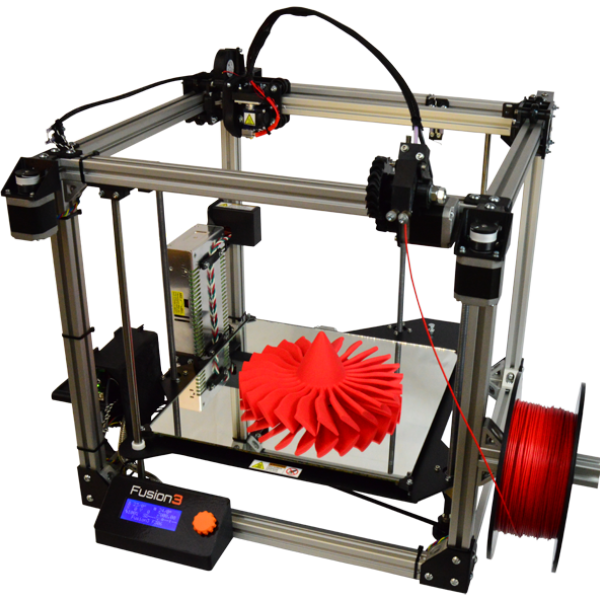
Unlimited hierarchical schematic capture
Support for 16-layer PCB systems.
Electronics cooling simulations
Manage thermal constraints of electronics components.
Integrated CAD and CAM
Additive manufacturing, 2 & 3-axis, 3+2, 4 & 5-axis milling and more.
Cloud collaboration and data management
Connect teams, communicate in real-time, and manage projects with global collaboration.
Photo-realistic rendering and documentation
Annotate, dimension, and document models with real-life rendering technology.
FEA verification, test, and simulation
Topology and shape optimization with cloud-based machine learning and AI.
Unlock advanced capabilities with Fusion 360 extensions
Machining Extension
Gain access to advanced manufacturing tools, including 3 to 5-axis strategies, toolpath optimization, and process automation.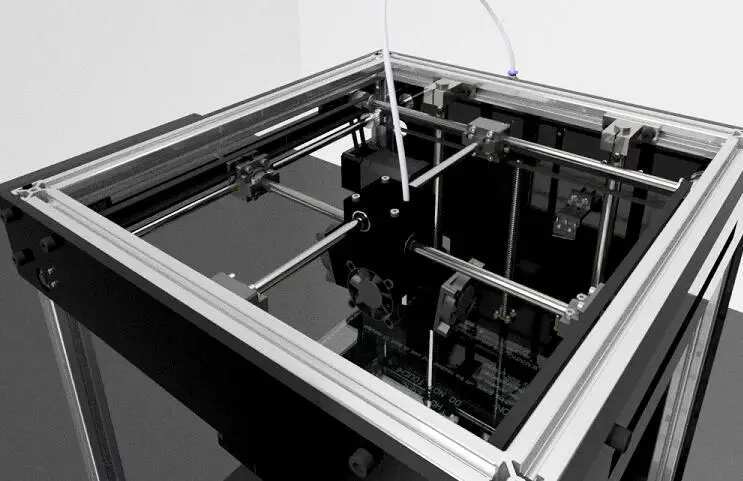
Download free trial
/year
Learn more
Product Design Extension
Easily create complex geometry to enhance the performance and aesthetics of your products.
Download free trial
/year
Learn more
Generative Design Extension
Explore unlimited generative designs. Optimize for specific materials and manufacturing techniques.
Download free trial
/year
Learn more
Nesting & Fabrication Extension
Create optimized and associative multi-sheet layouts for sheet metal and non-sheet metal parts automation.
Download free trial
/year
Learn more
Additional Fusion 360 offerings
For personal, hobby use
Fusion 360 for personal use is a limited free version that includes basic functionality.
Download Fusion 360 for personal use
For startup use
Free for eligible startups that are less than 3 years old with 10 or fewer employees.
Download Fusion 360 for startup use
For educational use
Free for qualifying students and educators or institutions.
Download Fusion 360 for educational use
For collaborators
Fusion 360 - Team Participant is for additional users to share, review, and manage projects.
Learn more about team participant
Frequently asked questions (FAQs)
Autodesk Fusion 360 is the first 3D CAD, CAM, CAE, and PCB tool of its kind, connecting your entire product development process into one cloud-based software.
Industrial designers, mechanical engineers, electrical engineers, machinists, hobbyists, and startups use Autodesk Fusion 360.
Autodesk Fusion 360 is free for hobbyists, non-commercial use, and for qualifying startups.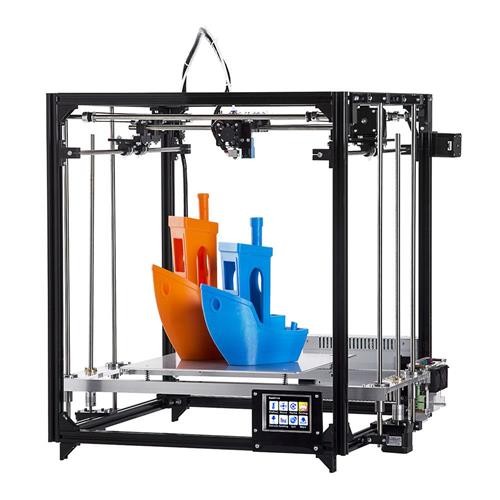
Autodesk Fusion 360 is integrated CAD, CAM, CAE, and PCB software, whereas AutoCAD is CAD software to create 2D and 3D drawings. Compare Fusion 360 vs AutoCAD
Autodesk Fusion 360 is paid monthly, paid annually, or paid every 3 years.
If you purchased online, your subscription will automatically renew unless you’ve turned auto-renew off. Simply sign in to your Autodesk Account and select the product you want to renew and verify that your auto-renew is set to on and your payment method is correct.
Operating System
Apple® macOS™ Monterey 12.0, Big Sur 11.x*; Catalina 10.15; Mojave v10.14 (learn more about Apple Security Updates)
Microsoft® Windows® 8.1 (64 bit) (until January 2023)**
Microsoft Windows Windows 11, 10 (64-bit)
CPU
x86-based 64-bit processor (e.g. Intel Core i, AMD Ryzen series), 4 cores, 1.7 GHz or greater; 32-bit not supported
ARM-based processors partially supported via Rosetta 2 only
With a subscription to Fusion 360 software, you can install it on up to 3 computers or other devices.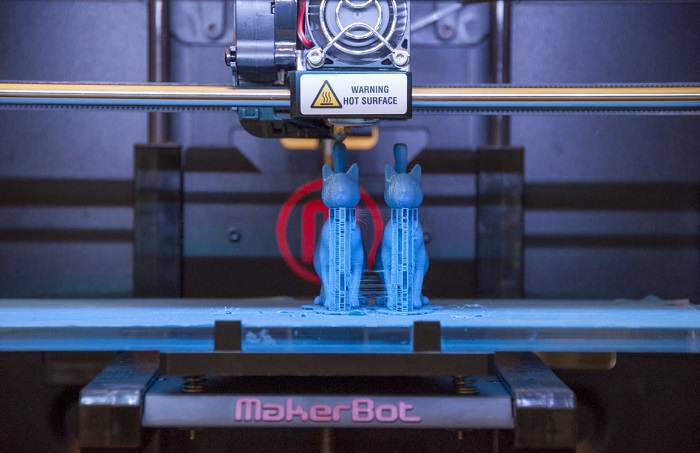 However, only the named user can sign in and use that software on a single computer at any given time. Please refer to the Software License Agreement for more information.
Launch your trial software and click Subscribe Now on the trial screen or buy Fusion 360 here. When buying your subscription, enter the same email address and password combination you used to sign in to your trial. Learn more about converting a trial to a paid subscription.
See more
See less
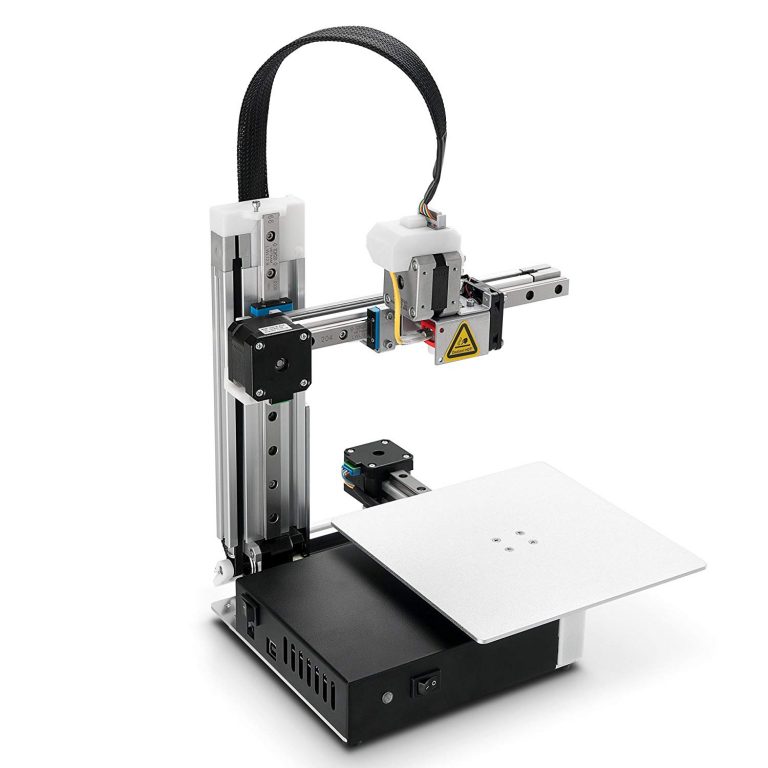
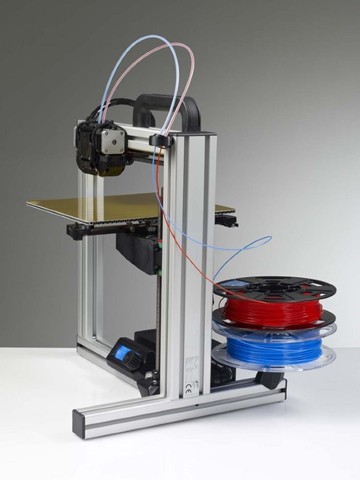
3D printer MZ3D-360: equipment, reviews, specifications
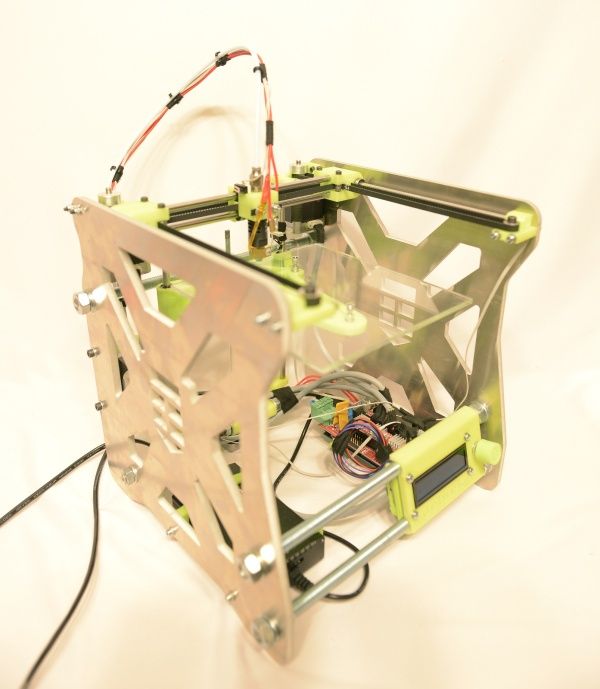
3D printer MZ3D-360 is one of the most successful Russian developments in the personal printer industry. According to professionals, it combines all the best qualities of equipment for home and office - compact size, light weight, simple, reliable design and the highest print quality.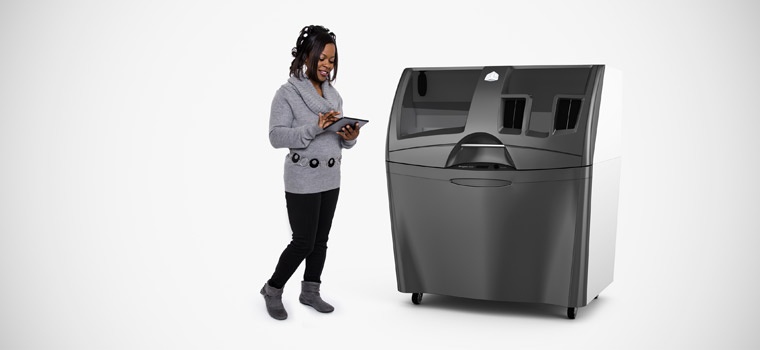 In this review, we will try to reveal all its advantages and huge potential.
Model 9 Features0007
The M33D 3D printer has a classic design for most FDM devices with an open build chamber, but unlike its counterparts, it is completely undemanding in maintenance due to the use of modern technological solutions in the package.
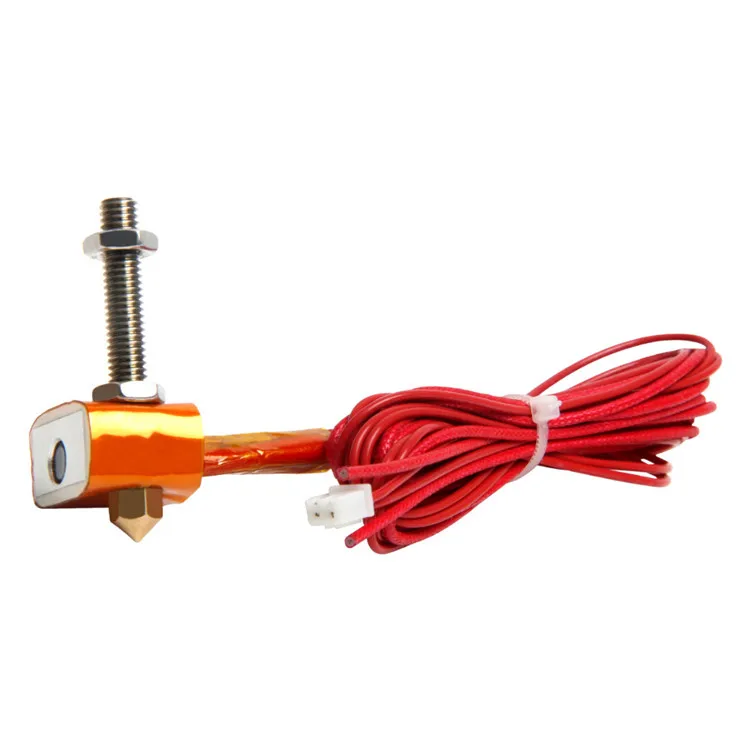
One of them is the use of stainless steel sheet to make thermal barriers with a mirror surface. In comparison with the more popular PTFE for the manufacture of thermal barriers, steel has greater wear resistance. Another feature of this printer is the special rail nozzle design. This guarantees excellent results when printing with various types of plastics.
By the way, about the plastic - this model can be filled with both pla and abs, which are in demand among professionals and beginners, as well as more specialized materials - Nylon, Rubber, Flex, SBS with a diameter of 1.75 mm.
Depending on the requirements, the unit can be equipped with nozzles of various diameters - from 0. 25 to 0.45 mm. The layer thickness reaches only 0.04 mm - for an inexpensive printing unit, this is more than a worthy indicator. Printing models, regardless of complexity, is very fast - with stable quality in 1 second, the printer grows up to 150 mm of the future product. The heated platform guarantees good adhesion of the first layer, thus minimizing the risk of deformation of the model at the very beginning of the printing cycle. There is also a camera backlight for even more control.
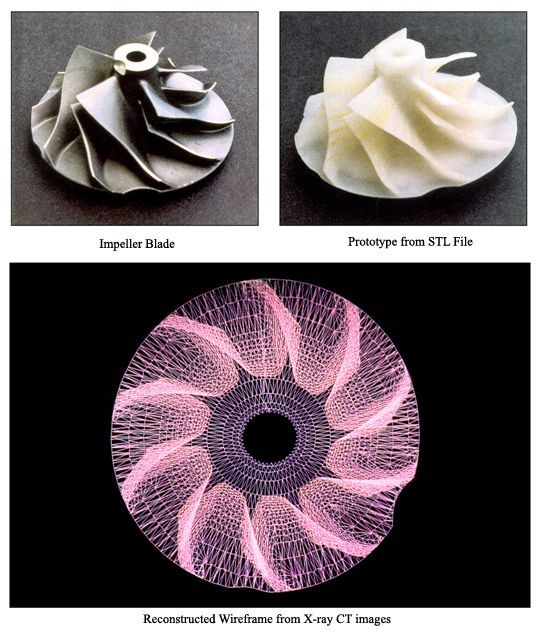
For clarity, we offer you several photos of objects printed on this device - they can be used to evaluate the surface quality and visual parameters of objects.
Software
It is no coincidence that one of the most functional software was chosen to complete the device - easy to use even for a beginner in the field of 3D printing Cura. The process of building an object is almost completely automated, which is very convenient when using this model for training. The image can be loaded directly from a computer or external storage.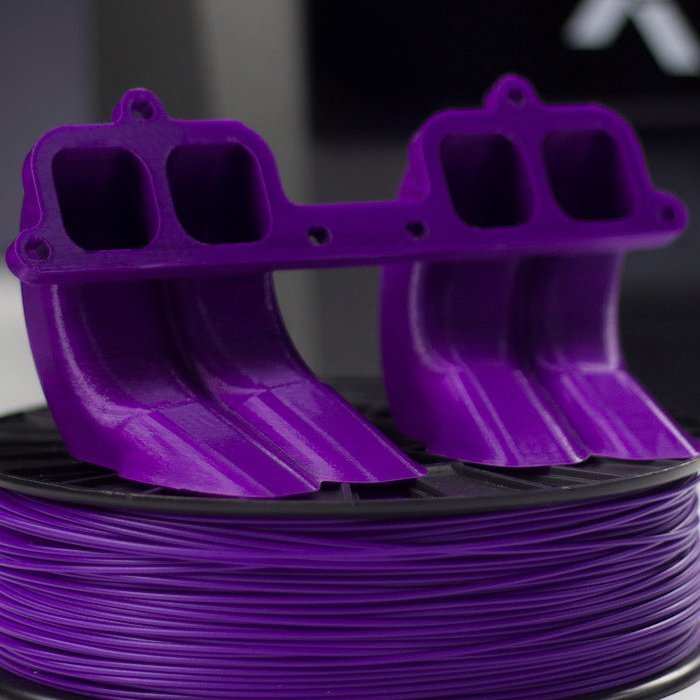
If the printer is unable to install the necessary drivers to get started, you can use the optional Ch441SER module available for free download.
Applications
Since the device supports a wide variety of plastics, it can be used in a variety of industries, including:
- science and education;
- design and architecture;
- marketing and advertising;
- functional prototyping in engineering and mechanical engineering;
- production of medical templates;
- non-serial additive manufacturing.
The high quality of the printer itself is also complemented by a modern, as users write in recent reviews, approach to equipment. It includes a reel of plastic - that is, you can immediately start printing, and a specialized set of keys for working with models and caring for the printer.
We hope you found our overview helpful.
Preparing models for 3D printing within a single Autodesk Netfabb product
Before proceeding to get acquainted with the declared program, let's say a few words about 3D printing.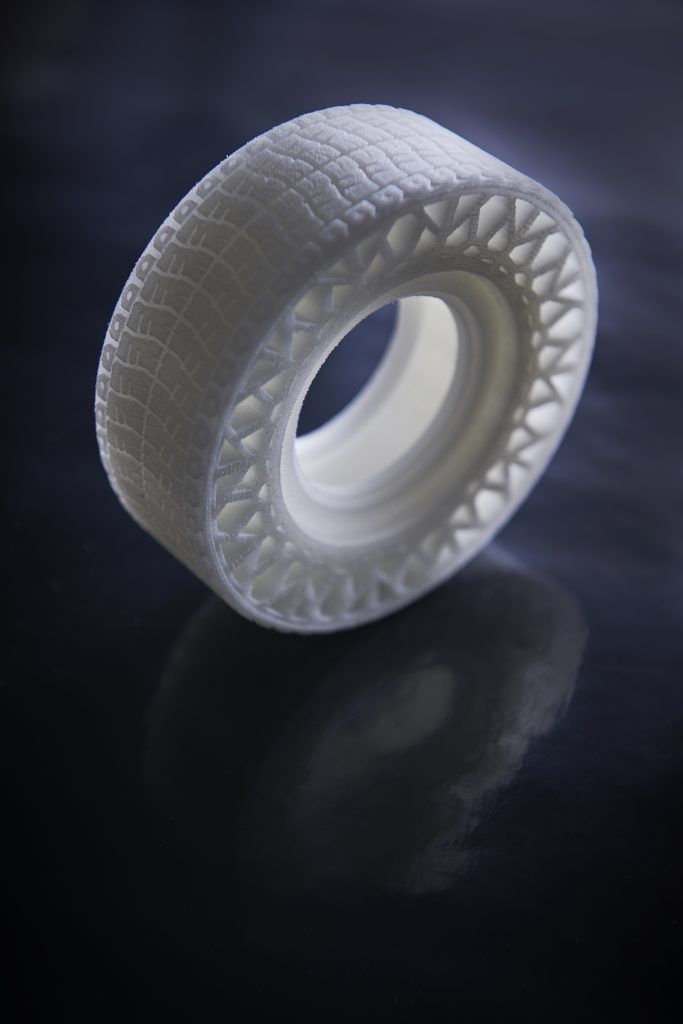
3D printing is the process of creating three-dimensional objects on a 3D printer by printing material in layers based on a designed 3D model.
The Autodesk Netfabb program was created to prepare and simulate the 3D printing process, this article describes its main features.
- Geometry creation
There are two ways to get a model into Netfabb to prepare it for 3D printing: creating geometry directly in the complex using the cloud-based Fusion 360 CAD system or importing from other programs.
Fusion 360
The Ultimate and Premium versions already include Fusion 360, the Standard version must be purchased separately. With Fusion 360, the user has extensive modeling capabilities: free, surface, solid, parametric, mesh - as well as analysis and calculation tools, built-in Generative Design technology and CNC production preparation tools.
Import
More often than not, Autodesk Netfabb imports models.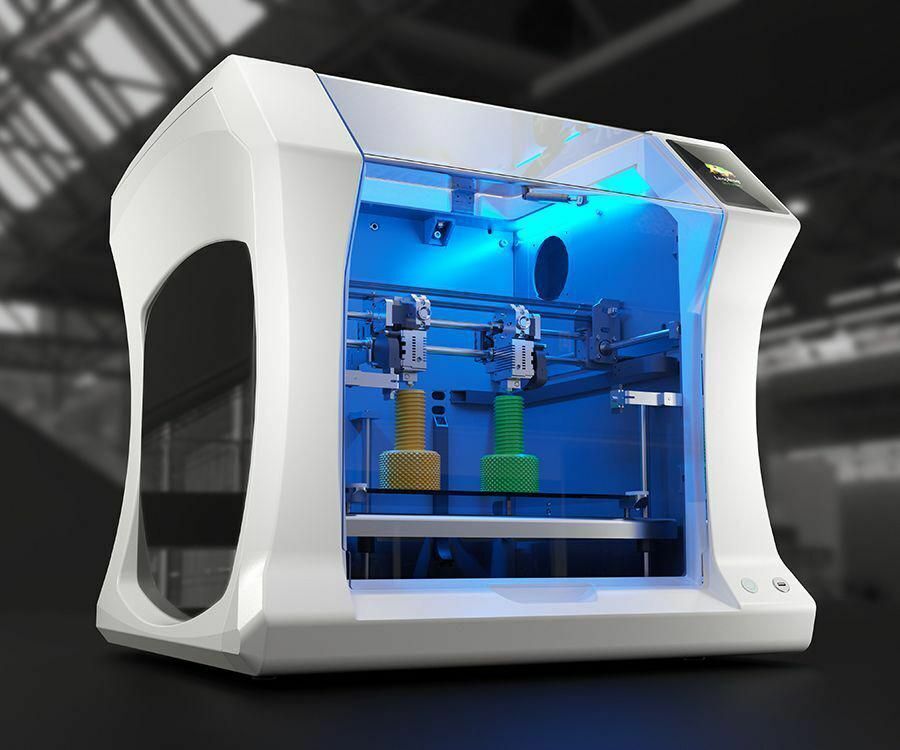 Design results from conventional CAD are uploaded to Autodesk Netfabb for further work. Here are some examples of CAD files supported by Netfabb directly in source format: Autodesk Inventor, Catia, Rhino, NX, ProEngineer, Autodesk Alias, and others. Geometry from other programs can be easily imported into Autodesk Netfabb using one of the many popular neutral file formats supported by the product, a partial list of which can be seen in the picture above.
As for neutral file formats, their undoubted advantage is the support for many different 3D systems. But the downside of this popularity is that each program handles them differently, which can lead to various errors or inaccuracies when importing geometry. Of course, such geometry must be corrected before being sent to print. Autodesk Netfabb allows you to do this both manually and largely automatically.
Netfabb got direct access to Autodesk cloud storage and collaboration. The user shares a link that opens through the browser, and in any corner of the planet, another user will see the design solutions of colleagues.
- Optimization methods
- Lattice structures
The main and most common optimization method is based on the fact that the internal volume of the model is filled with lattice structures. The concept of lattice structures is quite extensive, they can be both compounds of simple elements, and surface elements and their combinations. There are a number of built-in fill structure types, and there is an editor that allows you to generate new structure types. As a result, the model is lightened, the internal volume is filled with a weightless, but at the same time strong lattice, which is printed faster than monolithic volumes.
- Optimized Variable Density Lattice Structures
Netfabb also includes functionality to optimize a model with a lattice internal structure, resulting in the model becoming a system of shells of variable thickness filled with lattice structures of variable density, optimized for the loads acting on the design model. Thus, the model is not only optimized for weight, but also provides the necessary strength within the specified limits.
- Topology optimization
Optimization is based on the Autodesk Nastran solver, which calculates and removes zones in the designed part that do not contribute to the required strength, which makes it possible to lighten the final design.
- Generative Design
The user sets the general parameters of the designed part: search areas for a constructive solution, obstacle areas, fixed elements and zones, etc. In the given parameters, the program itself will suggest several forms of parts. The user will be able to choose the optimal form that meets the necessary requirements. This method calculates in Fusion 360.
- Preparing print model
- Part location
Autodesk Netfabb automatically selects the optimal position of the part in the workspace of the selected printer. The user sets the criteria for the optimal location of the model and the settings for its allowable change, after which the program will offer several optimal options, and the user will be able to choose the most suitable one.
- Creation of supports
The program can automatically create a support system of different types, for different technologies. Supports are edited for different requirements, and parts can be automatically updated as the position changes. Finely customized support types can be saved as a template for later use in other projects.
- Automatic packing
Used when it is necessary to maximize the load on all equipment in production, increase the print speed and the number of manufactured parts. With this functionality, the working space of the printer is filled as densely as possible with a multitude of simultaneously printed parts. In doing so, Autodesk Netfabb will automatically enforce user-defined limits and seeding rules
- Extensive machine library
Autodesk Netfabb is connected to a large number of machines. The program knows almost all the most common machines on the market - this applies to the working space and the printing technology used. If, nevertheless, the used machine is not in the library, the user can set its parameters manually.
- Trajectory Fine Tuning Utility
Any 3D printer is essentially a CNC machine, but only with an additive tool. The utility offered by Autodesk Netfabb allows you to edit control programs for the printer in a visual form at a low level, including using the built-in programming language - LUA Scripts.
- Print analysis
3D printing, especially from metals, is a very expensive and time-consuming process, during which the user may encounter a number of problems:
- inaccurate 3D printing;
- fragility of materials;
- repeated adjustment of models and unsuccessful attempts to print;
- errors are detected too late.
To eliminate these problems, Netfabb Simulation module is designed, which:
- simulates printing from metals;
- predicts possible problems;
- visualizes strains and stresses;
- compensates for deformations;
- protects the printer from damage.
Learn more