Diy 3d printer extruder hot end
Hotend | Hackaday
August 25, 2022 by Danie Conradie
Evaluating the performance of 3D printers and component upgrades is a more difficult than it may seem at first glance, and subjective observations can lead to incorrect conclusions. To objectively determine the maximum flow rates of different FDM 3D printer hotends, [MirageC] is developing a robust testing standard backed by more than just visual observations.
Defining the max flow rate threshold is not straightforward. A common method is to run a test print while slightly increasing the flow rate with each layer, and visually making a judgment on the last acceptable layer. It would be easy to miss errors, or unconsciously be inconsistent with observations over time. [MirageC] wanted to back up observations with measurements. To do this, he is measuring the true feed rate of the filament with an encoder wheel, and the backpressure of the filament on the extruder using a load cell. A Bowden tube helps to isolate the extruder from the vibration of the moving printhead.
After much testing, [MirageC] determined that the numerical threshold would be a specific deviation percentage between the desired and actual flow rate. At temperatures above 230°C, [MirageC] found that the last visually acceptable layer was consistently around 5.75% flow rate deviation for one specific PLA filament. It does not mean that 5.75% will be the magic number for all filaments and nozzle size, but it does provide a measurable parameter to back up visual observations.
In a world of questionable product reviews this dedication to objectivity is a breath of fresh air. If you are looking to upgrade your 3D printer’s hotend [MirageC]’s tests would be a good source of information.
Continue reading “Objective Hotend Performance Measurement Is Hard” →
Posted in 3d Printer hacksTagged 3d printer extruder, high flow nozzle, hotendJuly 24, 2022 by Danie Conradie
Multicolor printing on FDM machines can be tricky to get working flawlessly, and purging hotends when changing colors can end up wasting a lot of filament and material.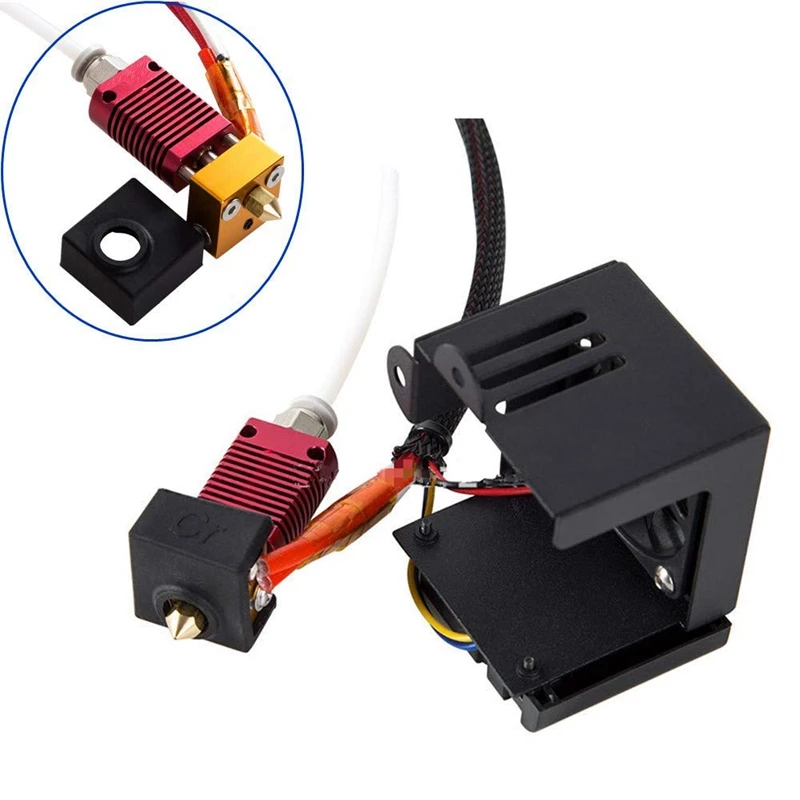 To solve this problem for the popular Prusa i3 and Ender 3 printers, [BigBrain3D] developed the Swapper3D, an automated system that swaps the entire hotend when the material is changed, eliminating the need for purging almost entirely. Video after the break.
The Swapper3D works very similarly to the tool-changing systems on CNC machines, and is just as satisfying to watch. A large circular carousel on the side of the machine holds up to 25 hotends, and in practice, a pair of robotic arms pop out the previous hotend, cut the filament, and load up the specified hotend from the carousel. This means you can have a separate hotend for each color or type of filament. Since most existing hotends also integrate the heating element, [BigBrain3D] created a special hotend assembly that can be robotically removed/inserted into the heater block.
The Swapper3D is designed to be used with existing filament changers like the Prusa MMU and the Mosaic Palette. Using these systems involves a lot of purging, to the point where you sometimes end up using more filament during purging than you need for the actual part. On one five-color demo print, the Swapper3D reduced the print time by 45% and the filament used by a massive 86%. It also helps to eliminate problems like stringing and color fading in multicolor prints. With those advantages, it looks like the Swapper3D might be a worthwhile upgrade if you do a lot of multi-color printing, even though it adds quite a bit of complexity to the printer.
For larger, more expensive machines, swapping the entire toolhead is becoming more popular, with even E3D stepping into the fray.
Continue reading “Automated Hotend Swapping For Less Wasteful Multicolor Printing” →
Posted in 3d Printer hacksTagged automatic tool changer, hotend, Multicolor 3D printing, multimaterialNovember 23, 2021 by Al Williams
Sometimes advances happen when someone realizes that a common sense approach isn’t the optimal one. Take radio. Success in radio requires bigger antennas and more power, right? But cell phones exist because someone realized you could cram more people on a frequency if you use less power and smaller antennas to limit the range of each base station.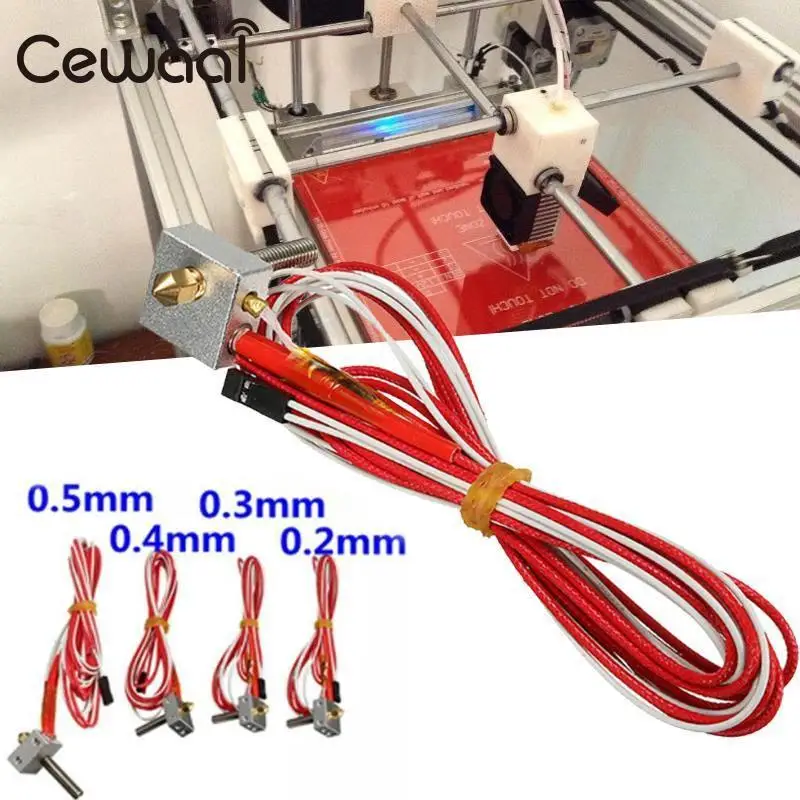 With FDM 3D printing, smaller nozzles were all the rage for a while because they offer the possibility of finer detail. However, these days if you want fine detail you should be using resin-based printers and larger nozzles offer faster print times and stronger parts. The Volcano hotend started this trend but there are other options now. [Stefan] over at CNC Kitchen decided to make his own high flow nozzle and he claims it is better than other options.
Don’t get too carried away with the DIY part. As you can see in the video below, he starts with a standard nozzle, so it is really a nozzle conversion or hack. The problem with high flow isn’t the hole in the nozzle. It is melting the plastic fast enough. The faster the plastic moves through the nozzle, the less time there is for it to melt.
Continue reading “DIY High Flow 3D Printing Nozzle” →
Posted in 3d Printer hacksTagged 3d printing, high flow nozzle, hotend, volcanoJuly 29, 2021 by Al Williams
My son, Patrick, has observed on more than one occasion that I do not like 3D printing. That may sound odd, because I built a printer back in 2012 and since then I’ve built a lot of printers and I currently have at least three in my lab. But Patrick correctly realized that I don’t actually enjoy printing things that I need. What I do enjoy is building, fixing and even more importantly improving the printers themselves. If you are reading Hackaday, you probably know how that is. This is the story of an upgrade gone bad, although the ending is happy enough. If you’ve ever thought about moving from a traditional hot end to an all-metal hot end, you might want to hear me out and maybe I can save you some trouble.
A few years ago, I picked up an Anet A8 for a really low price. As printers go, it is adequate. Not bad, but not amazing. But it is a fun printer because you really need to do some work on it to brace the acrylic frame and fix other shortcomings. I merrily improved the printer quite a bit over a relatively short period of time and I also bought a bunch of aluminum extrusion to rebuild the frame to the AM8 plans you can find on Thingiverse.
Continue reading “Fail Of The Week: The Metal Hot End Upgrade” →
Posted in 3d Printer hacks, Fail of the Week, Hackaday ColumnsTagged 3d printing, all metal hotend, E3D, hotendApril 13, 2021 by Joshua Vasquez
For all of us fascinated with 3D printing, it’s easy to forget that 3D printer jams are an extra dimension of frustration to handle. Not to mention that our systems don’t really lend themselves well to being easily disassembled for experiments. For anyone longing for a simpler tune-up experience, you’re in luck. [MihaiDesigns] is dawning on what looks to be a cleanly designed solution to nozzle-changing, servicing, and experimenting.
The video is only 39 seconds, but this design is packed with clever editions that come together with a satisfying click. First, the active part of the extruder is detachable, popping in-and-out with a simple lever mechanism that applies preload. For consistent attachment, it’s located with a kinematic coupling on the side with a magnet that helps align it. What’s neat about this design is that it cuts down on the hassle of wire harnesses; tools are set to share the same harness via an array of spring-loaded pogo pins. Finally, a quick-change extruder might be neat on its own, but [MihaiDesigns] is teasing us with an automatic tool change feature with a handy lever arm.
This is a story told over multiple sub-60-second videos, so be sure to check out their other recent videos for more context. And for the 3D printing enthusiasts who dig a bit further into [MihaiDesigns’] video log, you’ll be pleased to find more magnetic extruder inventions that you can build yourself.
The world of tool-changing 3D printers is simply brimming with excitement these days. If you’re curious to see other machines with kinematic couplings, have a peek at E3D’s toolchanger designs, Jubilee, and [Amy’s] Doot Changer.
Continue reading “Removable Extruder Pulls Out The Stops On Features” →
Posted in 3d Printer hacksTagged 3d printing, hotend, toolchangerFebruary 10, 2020 by Tom Nardi
At a recent swap meet, [digitalrice] found what appeared to be a like-new QIDI X-Plus 3D printer. It wasn’t clear what was wrong with it, but considering it retails for $900 USD, he figured the asking price of $150 was worth the gamble. As you might expect, the printer ended up being broken. But armed with experience and a supply of spare parts, he was able to get this orphaned machine back up and running.
The first and most obvious problem was that the printer’s Z axis didn’t work properly. When the printer tried to home the axis, one of the motors made a terrible noise and the coupler appeared to be spinning backwards. From his experience with other printers, [digitalrice] knew that the coupler can slip on the shaft, but that didn’t appear to be the case here. Removing the stepper motor and testing it in isolation from the rest of the machine, he was able to determine it needed replacing.
Improving the printer’s filament path.Unfortunately, the spare steppers he had weren’t actually the right size. Rather than waiting around for the proper one to come in the mail, he took an angle grinder to the stepper’s shaft and cut off the 5 mm needed to make it fit, followed by a few passes with a file to smooth out any burrs.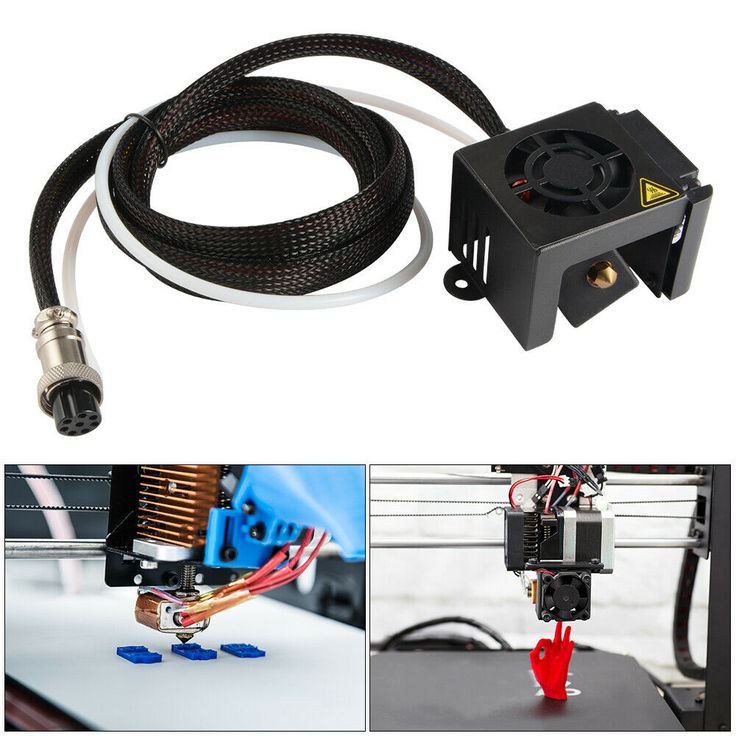 We’re not sure we’d recommend this method of adjustment under normal circumstances, but we can’t argue with the results.
The replaced Z motor got the printer moving, but [digitalrice] wasn’t out of the woods yet. At this point, he noticed that the hotend was hopelessly clogged. Again relying on his previous experience, he was able to disassemble the extruder assembly and free the blob of misshapen PLA, leading to test prints which looked very good.
But success was short lived. After swapping to a different filament, he found it had clogged again. While clearing this second jam, he realized that the printer’s hotend seemed to have a design flaw. The PTFE tube, which is used to guide the filament down into the hotend, didn’t extend far enough out. Right where the tube ended, the filament was getting soft and jamming up the works. With a spare piece of PTFE tube and some manual reshaping, he was able to fashion a new lining which would prevent the filament from softening in this key area; resulting in a more reliable hotend than the printer had originally.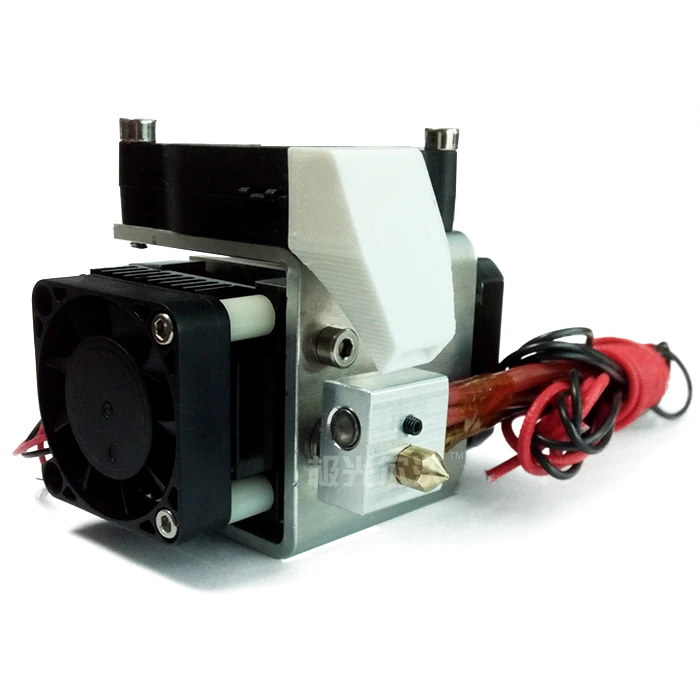
It’s great to see this printer repaired to working condition, especially since it looks like [digitalrice] was able to fix a core design flaw. But a broken 3D printer can also serve as the base for a number of other interesting projects, should you find yourself in a similar situation. For example, replacing the extruder assembly with a digital microscope can yield some very impressive results.
Posted in 3d Printer hacks, Repair HacksTagged 3d printer, hotend, ptfe, repair, stepper motor, swap meetNovember 30, 2019 by Al Williams
When you zoom in on a fractal you find it is made of more fractals. Perhaps that helped inspire the Harvard 3D printers that have various arrays of mixing nozzles. In the video below you can see some of the interesting things you can do with an array of mixing nozzles. The coolest, we think, is a little multi-legged robot that uses vacuum to ambulate across the bench. The paper, however, is behind a paywall.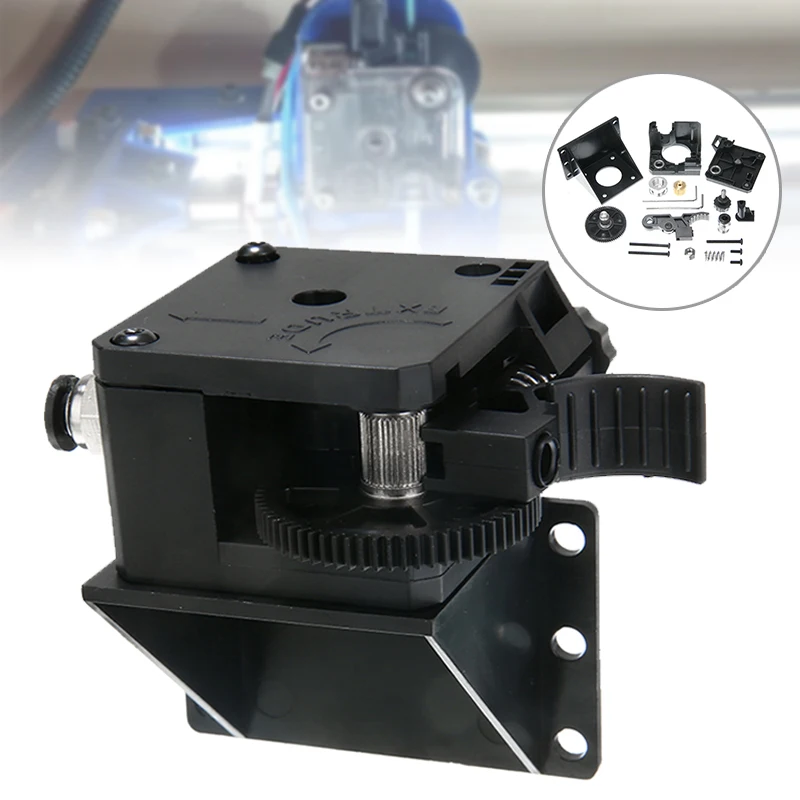
There are really two ideas here. Mixing nozzles are nothing new. Usually, you use them to mimic a printer with two hot ends. That is, you print one material at a time and purge the old filament out when switching to the new filament. This is often simpler than using two heads because with a two head arrangement, both the heads have to be at the same height, you must know the precise offset between the heads, and you generally lose some print space since the right head can’t cross the left head and vice versa. Add more heads, and you multiply those problems. We’ve also seen mixing nozzles provide different colors.
Continue reading “Multi Material 3D Printing Makes Soft Robot” →
Posted in 3d Printer hacksTagged 3d printer, 3d printing, hotend, mixing hot end, multimaterialDIY High Flow 3D Printing Nozzle
- by: Al Williams
Sometimes advances happen when someone realizes that a common sense approach isn’t the optimal one.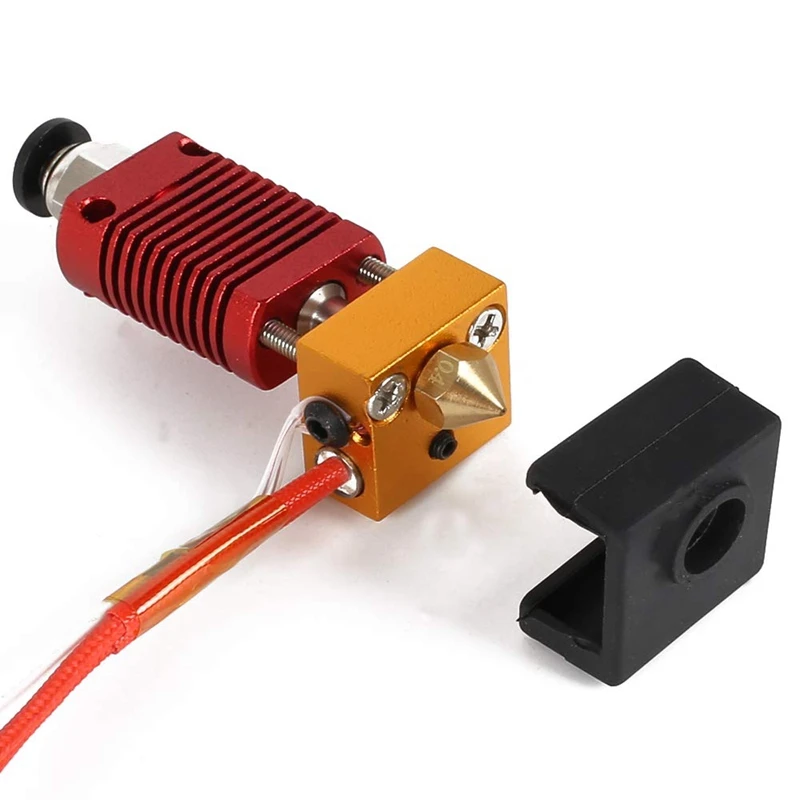 Take radio. Success in radio requires bigger antennas and more power, right? But cell phones exist because someone realized you could cram more people on a frequency if you use less power and smaller antennas to limit the range of each base station. With FDM 3D printing, smaller nozzles were all the rage for a while because they offer the possibility of finer detail. However, these days if you want fine detail you should be using resin-based printers and larger nozzles offer faster print times and stronger parts. The Volcano hotend started this trend but there are other options now. [Stefan] over at CNC Kitchen decided to make his own high flow nozzle and he claims it is better than other options.
Don’t get too carried away with the DIY part. As you can see in the video below, he starts with a standard nozzle, so it is really a nozzle conversion or hack. The problem with high flow isn’t the hole in the nozzle. It is melting the plastic fast enough. The faster the plastic moves through the nozzle, the less time there is for it to melt.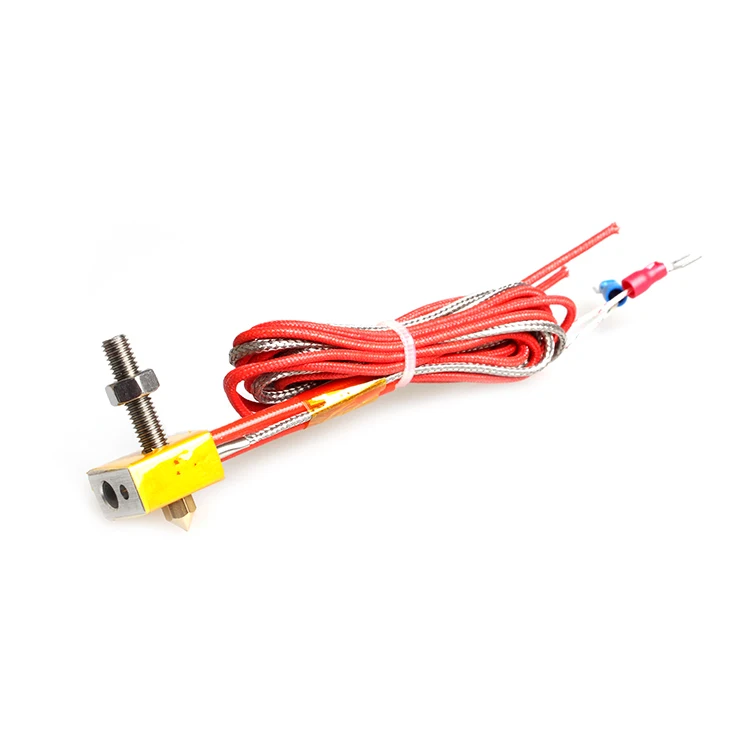
Bondtech has a high flow nozzle that splits the filament into pieces to allow better heating of the filament. Apparently, they licensed this technology from a patent holder. [Stefan] was inspired and simply drilled a hole in a standard nozzle and inserted a copper wire. We don’t think the wire is actually dividing the filament stream, but it does transmit more heat into the interior. Or maybe the hot wire does divide the filament as it goes by, but at least some of the wires do not quite go right through the center. Anyway, he’s not selling the devices, so call off your lawyers.
The devil, of course, is in the details. [Stephan] shows how he soldered the wires using a high-temperature solder, cut them flush, and used an M6 die to rethread the nozzle. It doesn’t look hard, but it does take some care. Luckily, standard nozzles are quite cheap so if it takes a few attempts, it won’t break your piggy bank.
As usual, [Stefan] scientifically tests everything. You can see the difference between a normal nozzle and the longer Volcano nozzle along with the Bondtech nozzle.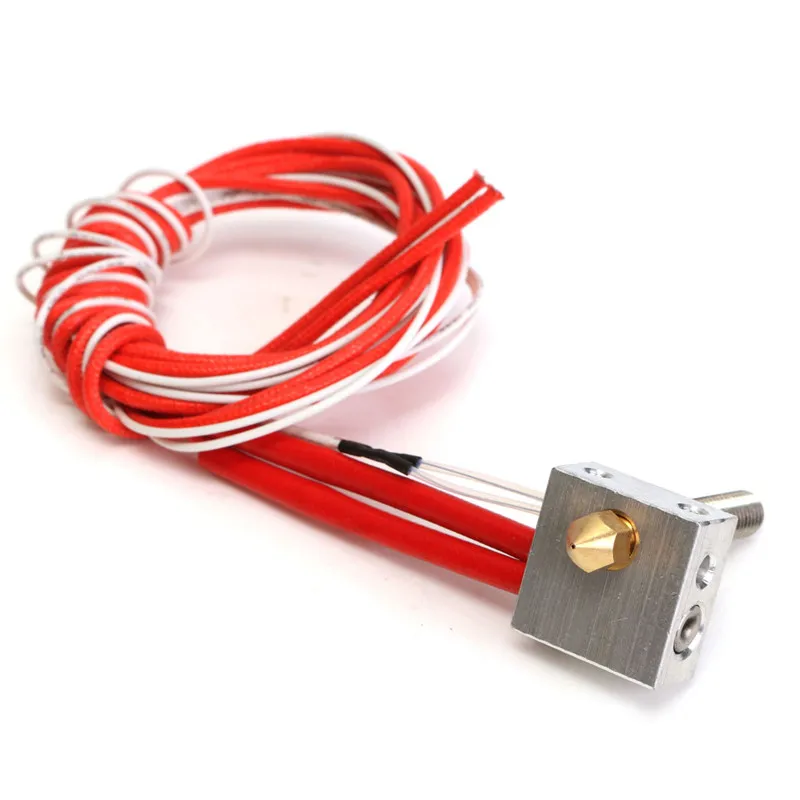 The homebrew nozzle with one wire was able to approximate the performance of a Volcano nozzle. Some more drilling and another wire offered even more performance.
This technique falls under a patent, so we don’t expect to see a lot of legal clones appearing. But if you are handy with tiny drills and solder, you can probably make these for your own use, at least in many parts of the world. However, since the performance is about the same as a Volcano, maybe just stick with that for now.
If you are interested in high flow, you may be wanting to build strong parts. Design can have a lot to do with that, too. This is especially important for — um — bridging.
Anet® 0.
 4mm 1.75mm Filament 12V Extruder Nozzle Hot End Kit for A8 Plus 3D Printer Reviews Anet® 0.4mm 1.75mm Filament 12V Extruder Nozzle Hot End Kit for A8 Plus 3D Printer Reviews - Banggood
 Customer reviews
- 5 star20 (100.0%)
- 4 star0 (0%)
- 3 star0 (0%)
- 2 star0 (0%)
- 1 star0 (0%)
Write a review You'll get double Banggood points for a review if you're one of the first 3 to leave it!
- All reviews (20)
- Image (0)
- Video (0)
- All Stars
- All stars (20)
- 5 Star (20)
- 4 Star (0)
- 3 Star (0)
- 2 Star (0)
- 1 Star (0)
Sort by:
evaluation
- estimate
- utility
- date
Reviews only from your country (Russian Federation)
|
Show original
Part of the review is translated automatically.
General 0 pages
Go to page
Go
Recommended
recommendation for you
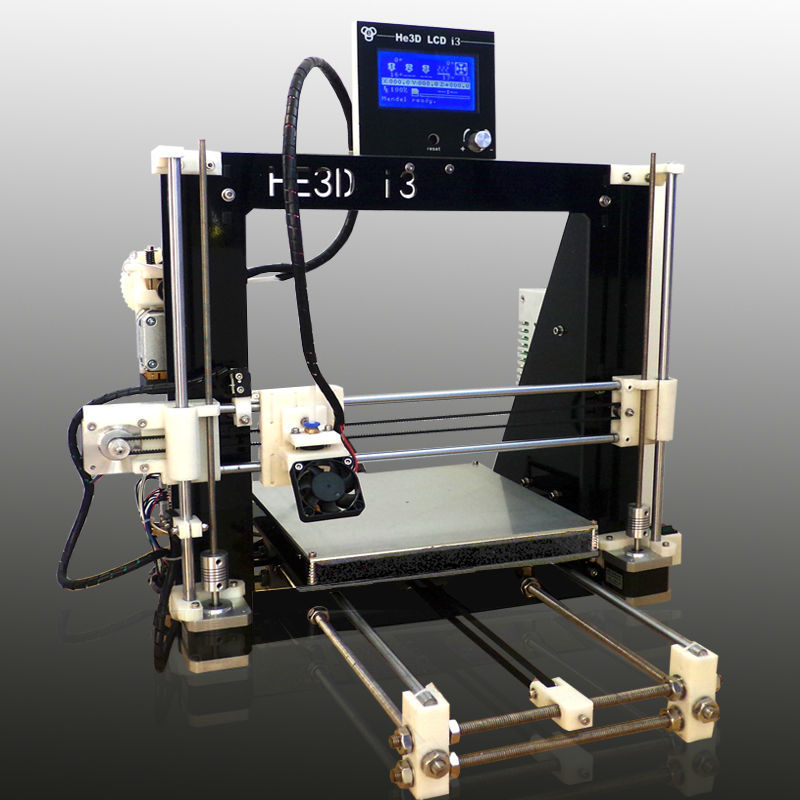
Assembling a 3D printer - my experience / Habr
PavloG
3D printers DIY or DIY
Reason
The reason that prompted me to assemble my printer from everything at hand is very commonplace - In May, M3D was ordered on kickstarter (I was in the January bucket). January came and, judging by the updates from the kickstarter, the delay promised to be quite large (at the moment it’s already 7 months), and there was a home-made CNC that I hadn’t used for about a year. I stopped using CNC as soon as I realized that for my needs (assembling a robot), the flat parts that I sawed out of textolite did not solve my needs, and milling volumetric parts was not from anything and technically difficult (it is physically impossible to cut some models on a 3-axis CNC do not break it into its component parts) and the garbage content of this process is clearly not for home use.
Robot
The hinges and joints bent under the weight and I didn’t manage to make me take at least one step, for example, I lifted one leg, but the second one didn’t have enough strength to hold the hinge of the second foot along the axis where there is no degree of freedom. It became clear that for strength it is necessary to use a ball / cone joint (with a servo inside) - which will limit rotation only along one axis and not allow it on the rest.
CNC before disassembly.
In stock after disassembling the CNC machine, 3 stepper motors of the Nema23 size appeared.
Target
Building a printer from scratch without using printed parts from another printer. The long-term goal is to compare the printer that will arrive and assembled by yourself.
Printer type and mechanics
The type of printer was determined very simply - 3 stepper motors screamed that they would only work normally in Delta form (For non-delta, 2 stepper motors or 1 but with a complex belt drive are needed on the Z axis).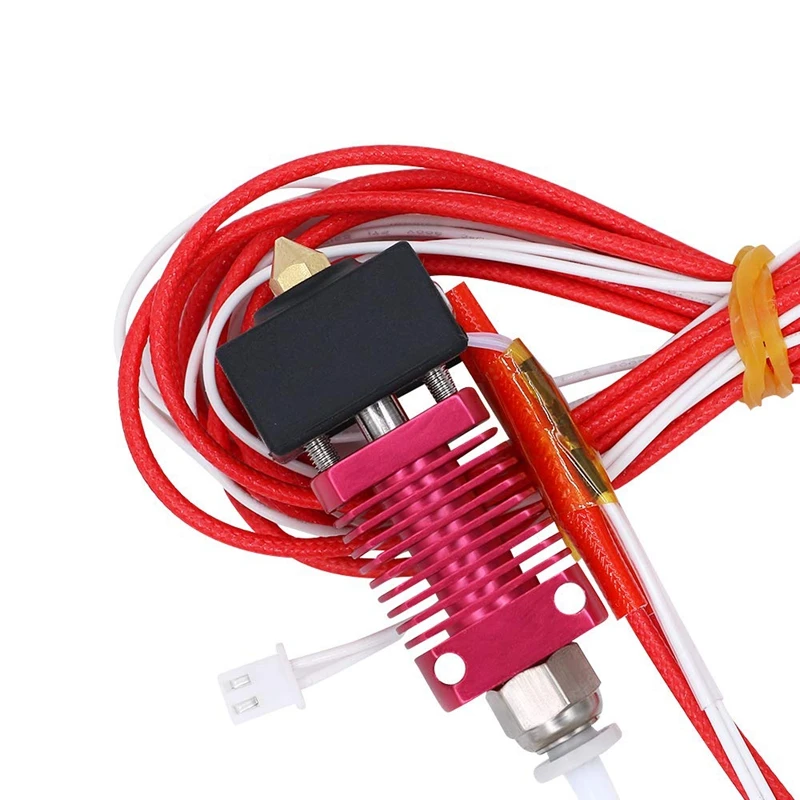
Delta printer parts:
- Guides and linear bearings in carriage
- Platform
- Hinges for connecting platform and carriage
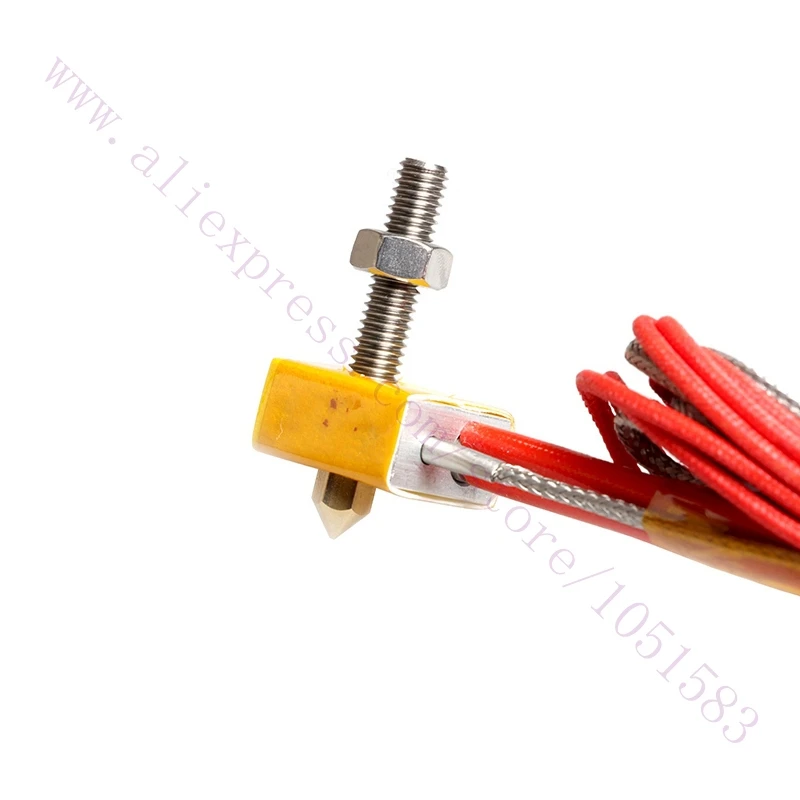
- Hot End (Hot end?)
- Extruder
- Electronics
Component details (Delta Mechanics):
- 8mm rails — 6pcs 500mm
- SC8UU linear bearings in SC8V blocks - 12 pieces (2 per guide)
- Ball joints DIN 71802 (Search well with "FEBI BILSTEIN 07041") 6mm mounting - 12 pieces
- GT2 belt and 3 gears for gt2 (I used 20 teeth)
- 6 bearings 8mm inner diameter for belt on top of printer
- 3 stepper motors Nema23 from CNC machine (20+kg per centimeter) - usually use nema17
Print head
- e3d v5 (nozzle 0.4)
Extruder
- Plywood
- Nema17 stepper motor
- Door hinge
- Pair of springs
Heated platform
- MK2b
- Thermistor - I used Chinese NSC 100K 3450
- 4 springs
- Glass 3mm (but I use 4mm because I couldn't find 3mm, if you find borosilicate glass it's generally super)
Electronics
- Ramps 1.
 4
4 - LCD screen - I took Full Smart Graphics Controller, but it's really hefty, later I bought 20x4 controller
- Drivers A4988 - 4 pieces
- Bluetooth HC-05 for working without a wire (3 bucks in total - it's not clear why everyone doesn't do it) ( I even learned to reflash via Bluetooth )
- Wire bundle 0.75 for heated platform 0.5 for steppers
- End pieces 0.75 and 0.5
- 0.25mm pin female connectors (4-ex 2-uh and single) and pieces of iron for them (it turns out they are just crimped, but I soldered)
- Voltage converter 12v to 5v - Arduino was clearly not enough, it was worth connecting the bluetooth module and the screen brightness dropped to unreadable
- Small radiators for cooling transistors on ramps 1.4
- Cooler for general cooling ramps1.4 (resets the temperature on the radiators of the transistor from 105 to 40)
Any
- Hardware
- Drills
- Screwdrivers
- Fum tape - actually fluoroplastic, aka Teflon - for thermal insulation of the print head
- Kapton tape - as for me, I can’t do without it, it is used to fix the thermistor, thermal insulation for the platform, and for the layer on which printing is done over glass
- Kitten in a package
Result
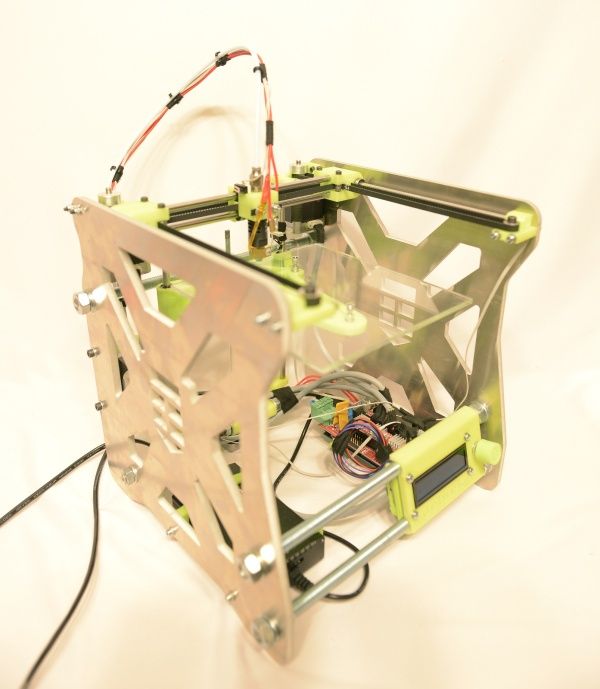
Printer
(Plywood is laid so that the glass does not die ahead of time)
Print head - first option
Print head - second option
Printhead - latest maglev (highly recommended)
View of the electronics
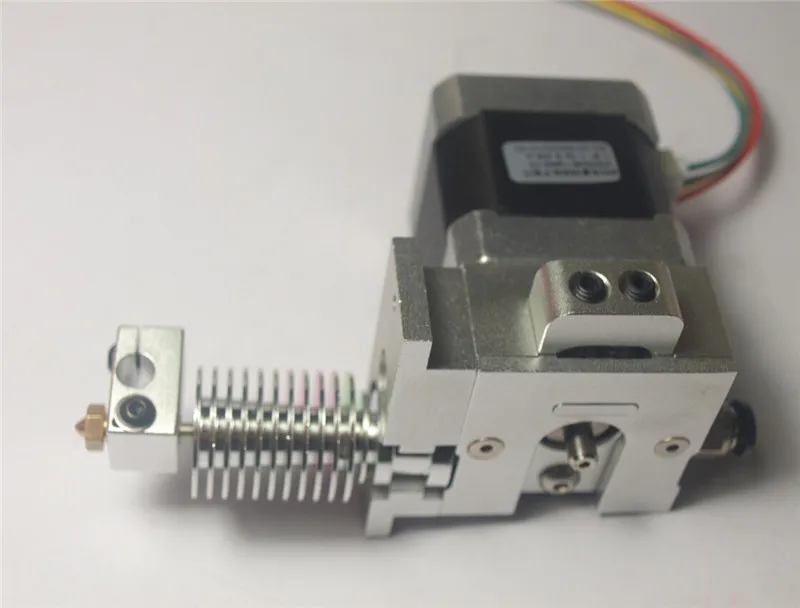
Extruder - First option
Extruder - upgrade
Plastic reel (hose reel)
Price
If I ordered everything on Ali and from scratch