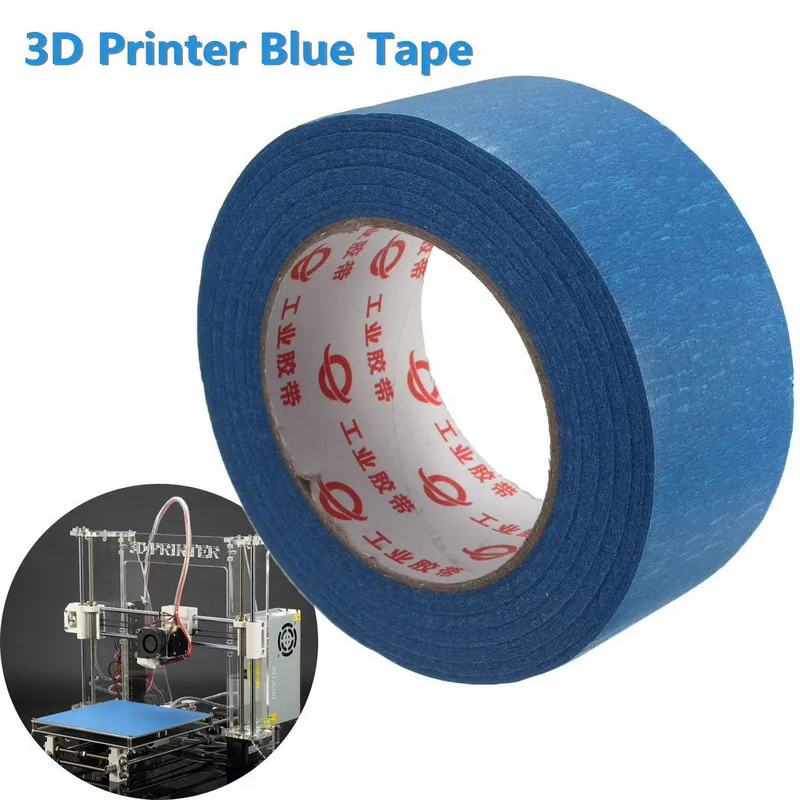
Blue tape 3d printer
Blue Tape for 3D Printing: The Complete Guide [2021]
3D Printing has rapidly grown in popularity and accessibility. What used to only be possible in advanced laboratories is now possible in the comfort of the home!
Whatever your purpose for 3D printing, whether professionally or just for fun, there are many components that play into the quality of the final product. One of the most important is bed adhesion.
Here is the ultimate guide to 3D printing with blue painters tape.
3D Printing Bed AdhesionWhat is 3D printing bed adhesion?Bed adhesion in 3D printing is how well the printed plastic parts are able to stick to the build plate. Good bed adhesion means that the plastic will not be easily removed or nudged, while poor bed adhesion means that it might move around during the printing process.
Essentially, as the filament hardens on the build plate, bed adhesion is what keeps everything in place. If the plastic pieces become top-heavy or get bumped, adhesion to the build plate is what keeps everything in place.
Bed adhesion is an important part of the 3D printing process. Luckily, there are special products designed to create the perfect amount of bed adhesion. Here are the reasons why bed adhesion is so crucial in 3D printing.
Not enough adhesion
If the 3D printed parts are loose enough to move around during the printing process, it can ruin the entire build. 3D printing requires exact measurements, so any sort of movement can misalign the entire build.
Too much adhesion
Alternatively, if the build plate has too much adhesion, it can be difficult to remove the plastic components. Any particularly thin pieces can potentially become damaged by the greater force required to remove them from the adhesion.
What kind of adhesives are used for 3D printing?Options for 3D Printing Bed Adhesion
PEI Sheets
PEI sheets, or Polyetherimide sheets, are adhesive plastic sheets designed to withstand the cycles of heat in 3D printing..jpg) On one side, they adhere to the build plate, and on the other they allow you to build your 3D prints.
On one side, they adhere to the build plate, and on the other they allow you to build your 3D prints.
While are supposed to be reusable for up to a month, the soft plastic can be dented and damaged very easily. A build plate that isn’t perfectly level can ruin a print. Investing in a PEI sheet can be risky because if it is damaged during an early print, the sheet can become unusable.
Adhesive Spray
Another option for bed adhesion is adhesive sprays. You simply spray the adhesive onto the plate and start printing. This route is easy and allows you to maintain a level bed. Plus, cleaning up is simple too, as most sprays are soluble in water.
Even though this is certainly a convenient method of getting your prints to stick, it is not the most effective. Getting an even stickiness to the bed with a spray can be difficult, and often it can be hard to get the bed to be sticky enough.
Glue
Using a glue stick is a way to keep your prints in place during 3D printing.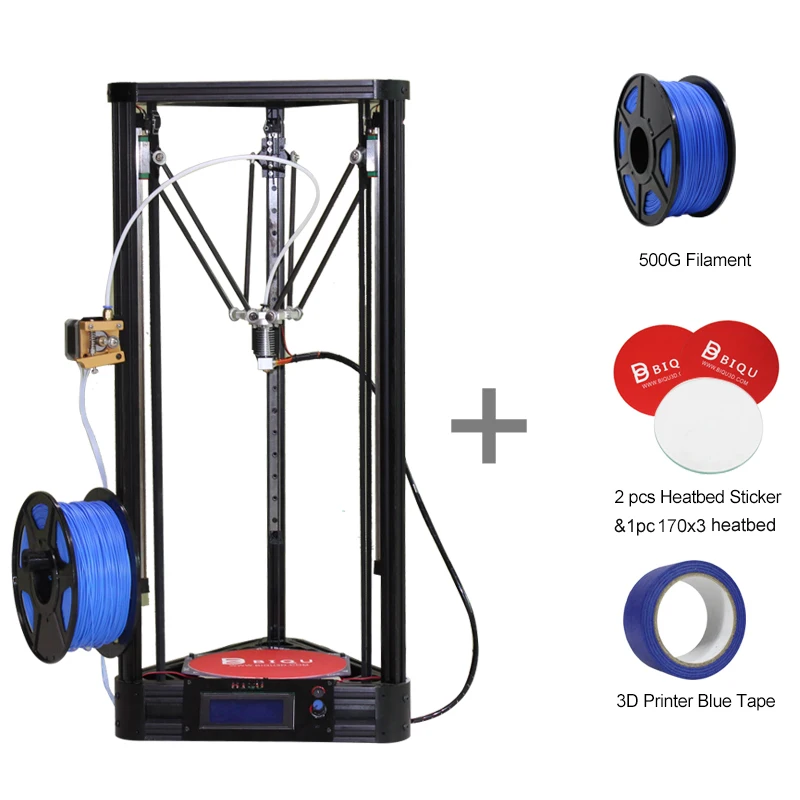 Special glue designed for 3D printing is available at a relatively low cost. All you have to do is rub the glue stick where you are going to be printing, and the printer will take care of the rest.
However, like PEI sheets, they can create an unlevel bed. If too much glue builds up in one spot, the print can become crooked. Also, clean up can be kind of a pain because the glue will stick to the plate and the print.
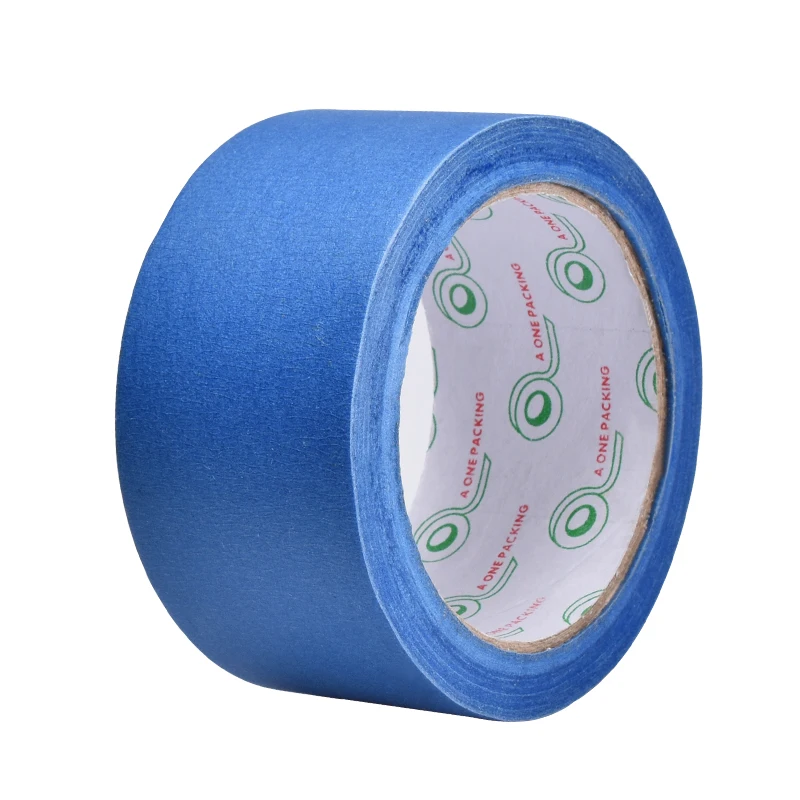
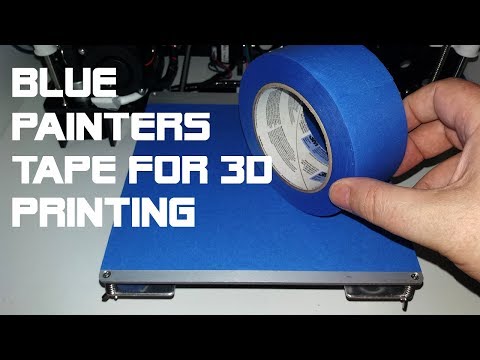
Blue Painter’s Tape
Specialized blue painter’s tape is a great option for creating bed adhesion. The porous nature of the blue tape allows PLA nylon, and other filaments to stick directly to the back of the tape. Painter’s tape is also heat resistant so it can withstand heated beds and the heat of the filament.
While it does take some set up, the price of the supplies and the quality of the printed parts are unmatched.
How to Use Blue Tape for 3D PrintingClean the Surface
Before you start applying the tape, you should clean your printing bed of all residue.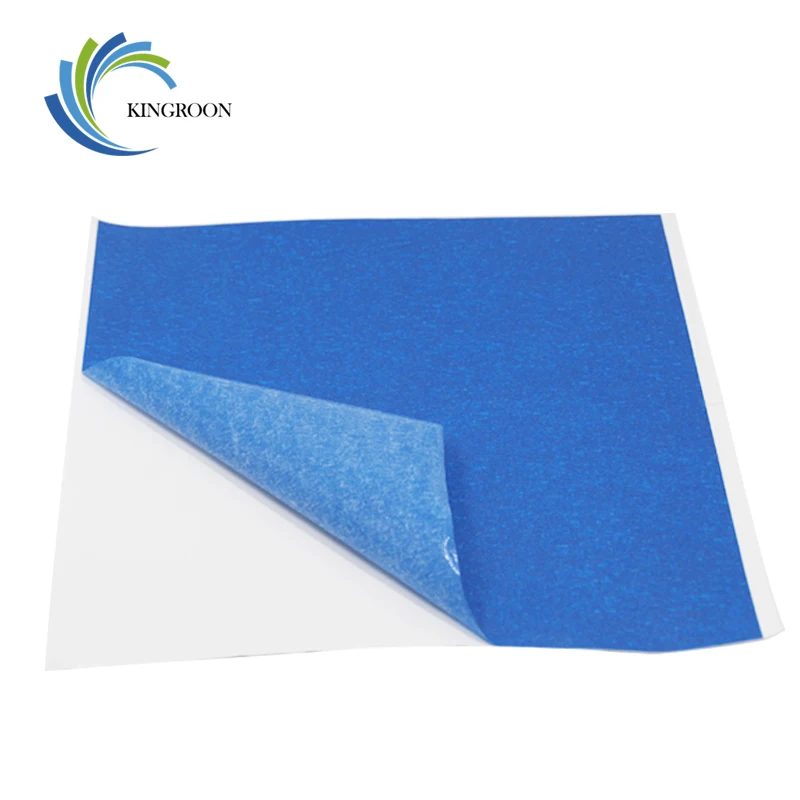 This lets the tape stick and helps to keep your plate level.
Taping a 3D Printer Bed
While it will take a few minutes to properly tape your build plate, the prep work is not too difficult and can quickly be mastered.
With the adhesive side down, lay the tape down side by side. You want to be as precise as possible with this step so that there are no gaps that could let the filament through, but you also do not want any overlap of the tape which would cause the surface to be uneven.
Tape Diagonally
A key tip for taping a build plate is to lay the pieces of tape diagonally. When laying out the pieces side by side, start from one corner at a forty-five degree angle and work your way over.
This is helpful because it keeps the tape from warping with the print. If the straight edges of the print line up with the straight edges of the tape, the tape can lift off the plate as the filament cools.
Remove Bubbles with a Scraper
As you lay the pieces of tape down, be sure that there are no bubbles underneath the tape. To ensure this, run a scraper over every piece as you place it.
You want to be gentle so that you do not damage or tear the tape, but you must be firm enough to remove any imperfections. If there is a piece of tape that becomes unusable, tear it off and try again; it is better to waste one piece of tape than an entire print!
Trim the Tape
When sizing up the strip of tape, pull it so it is longer than the width of the plate. Then when placing it, be sure to leave plenty of slack on either side of the plate. With a sharp razor, carefully slice the ends of the tape so it is flush with the sides of the plate.
If you don’t have a razor, it is also an option to wrap the excess tape underneath the bottom of the plate. However, this can affect the leveling of the build plate.
Avoid Touching the Top of the Tape
During this whole process of taping your build plate, try to touch the top of the tape as little as possible. The oils in your fingers can affect the porousness of the tape.
If you are trying to print onto tape that you have been touching a lot, the oils from your hands may keep your parts from adhering to the tape. It is not so impactful that you need to wear gloves to place the tape, but just keep your contact to the tape at a minimum.
Preparing the Surface of the Tape
Once you have your blue painter’s tape on the build plate, there are various ways you can prepare the surface of your tape. Depending on what kind of adhesion you are looking for, you can use different methods for your own work.
You want to find the best balance between adhesion and clean removals that you can. If it has too much grip, the parts will not be easily removed. This could rip the tape or damage the parts. Too little adhesion will keep the printed parts from staying in place.
Unprepped Blue Tape
Leaving the blue tape untreated is a viable way to get adhesion. The porous nature of the tape allows the filament to attach itself, keeping your printed parts in place.
This method of adhesion should give you extremely clean removals. However, for prints that are top-heavy or unbalanced, you may need more adhesion to keep them steady and attached.
Scuffed Blue Tape
A simple trick you can use to add more adhesion to your blue tape is to scuff up the surface. Just take a dry sponge and rub-down the spot that you want to add adhesion to. By doing this, you increase the porousness of the tape, allowing the filament to stick to it even more.
This increases the adhesion of the tape, but it still allows for very clean removal of printed parts. The downside is, it will limit the lifespan of your tape. If you continue scuffing the same spot print after print, the tape will become worn down more quickly and will stop giving you quality results.
Glue on Blue Tape
Another option to greatly increase adhesion is combining blue tape with other methods of adhesion. Spraying hairspray or adhesive spray on top of the tape can give it more grab, and adding glue to the tape can increase it even more!
However, adding too much adhesive can cause problems.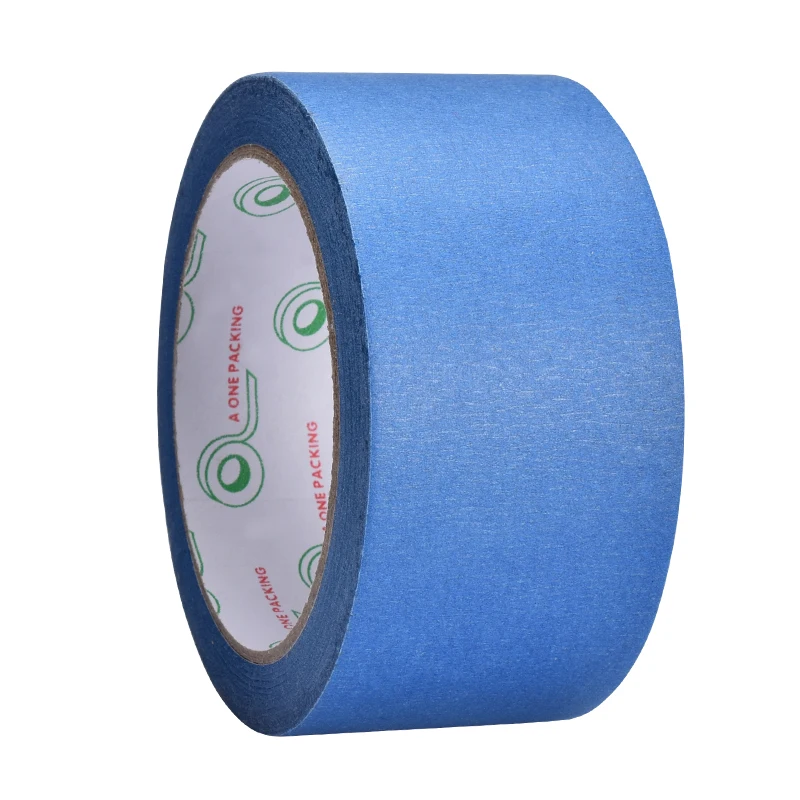 If you have a print with a large surface area stuck to the tape, it can be very challenging to remove it cleanly from the build plate.
Additionally, while you can clean glue and spray off of the build plate, you cannot clean it off of tape. Using alcohol to clean glue off of the tape ruins porousness, making it unusable for future prints.
When to Add More Adhesion to the Build Plate
The typical rule of thumb is the more surface area that is in contact with the plate, the greater the adhesion will be. This is a good rule to take into account when dealing with bed adhesion. Blue painter’s tape will already provide great adhesion even without any added prep work.
Large-Based Parts
If your printed part has a wide base that will be making a lot of contact with the build plate, it could be unwise to add more adhesion. It could become difficult to remove the part even without added adhesion.
Small-Based Parts
On the other hand, printed pieces that have small legs or slim bases will not attach as firmly to the tape. These pieces may need additional adhesion to keep it in place.
The best way to remove a 3D printed part from a taped bed is simply to wrench it loose with your hand. Do this carefully though, because applying too much force could snap your part.
You want to use this method if you can because it will preserve the quality of your tape, letting you use it again for future prints. However, if the adhesive of the tape is too strong, use these tricks to remove your printed parts safely.
Pry with a Putty Knife
After trying to wiggle the printed part free with your hand, the next course of action should be to use a putty knife to pry the piece off of the plate. If you can, slide the knife under a corner and work around the part, gently prying the piece free.
Remove the Tape
If that does not work, then the next step will be to remove the tape from the build plate. You can use your knife to make tears in the tape so you can remove it all.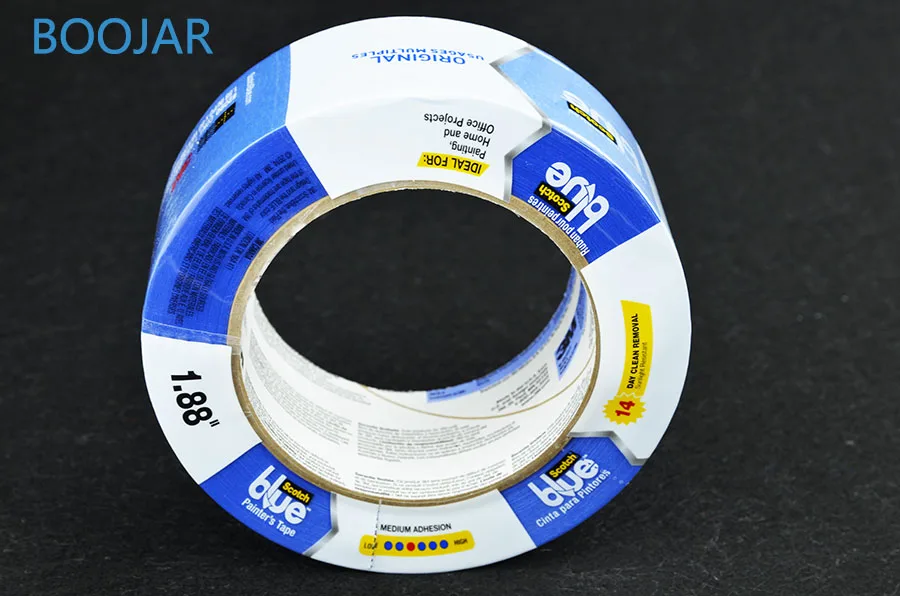
Spray Isopropyl Alcohol
It is possible that the tape will tear up everywhere except for underneath the part. In this instance, you will want to spray or rub a solution made up of alcohol and water around the base of the piece. Wait a few seconds and the printed part and the tape underneath should remove easily.
Adjust the Height of the Nozzle
If your printed pieces are so hard to remove that you need to resort to removing the tape and spraying alcohol after every print, you may just need to adjust the height of the nozzle. The filament might be taking too long to cool between leaving the nozzle and contacting the plate, so it is seeping too deeply into the pores of the tape.
Start by raising the distance between the nozzle and the build plate by .1mm for your next print. Then continue raising it by this increment until you find that your parts are easy to remove but still have enough adhesion to the bed to get the job done.
When to Remove Blue Tape from a 3D Printer Bed
If you treat your blue tape carefully, you can get several weeks of use (up to 20 prints) out of a single taping.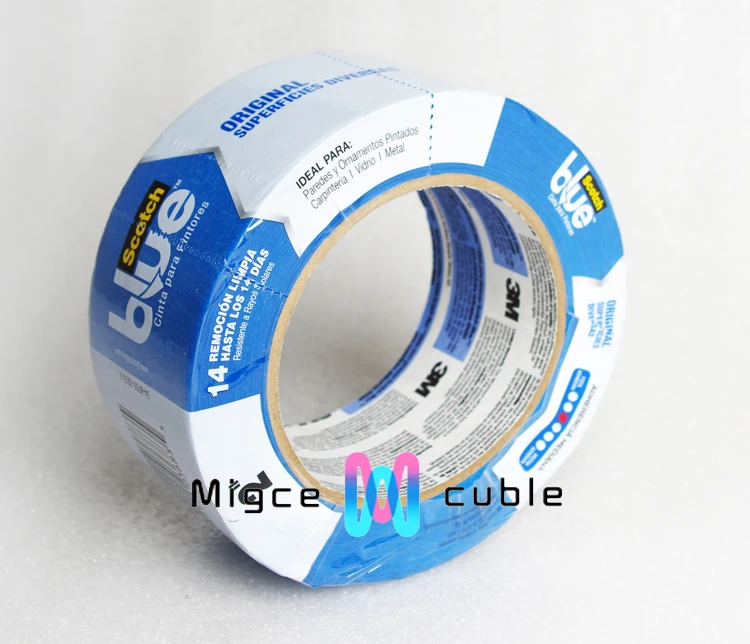 The more care you take with placing and maintaining your tape, the longer it will work for you.
If you need to apply alcohol, tear up the tape, or the filament stops sticking to it, you will have to apply a fresh layer of tape to the build plate.
How to Remove Blue Tape from a 3D Printer Bed
Once you decide that it is the proper time to remove the tape, the process is as simple as unsticking it from the plate. If you have trouble getting it off in spots where parts were built, spray some alcohol and wait ten seconds. It should come off cleanly after that.
Once you have removed all of the tape, you should clean the build plate with alcohol so that there is no adhesive residue left behind. Once you have a clean build plate, you are ready to retape it to begin your next print!
Common QuestionsDoes blue painter's tape work on heated beds?
Because blue painter’s tape is heat resistant, it is able to withstand the heat generated by a heated 3D printing bed. Quality painters tape will not come loose from the bed or become misshapen from the heat.
PLA and PETG are the best filaments for sticking to blue tape. They seep into the tape, allowing for grip to take place with no extra adhesives applied. ABS will stick to blue tape if you add some sort of extra adhesive.
Can masking tape be used for 3D printing?While masking tape can be used for 3D printing, it is not nearly as effective. Even though a roll of masking tape is similarly priced to blue tape, the rolls are typically slimmer so it takes more tape to cover the build plate.
Additionally, masking tape does not remove cleanly like painters tape does, meaning you will have to work a lot harder to clean your build plate once you are done with a layer of masking tape.
Is investing in blue tape to improve bed adhesion worth it?YES! Blue painter’s tape is an extremely cheap way to get bed adhesion for your 3D prints.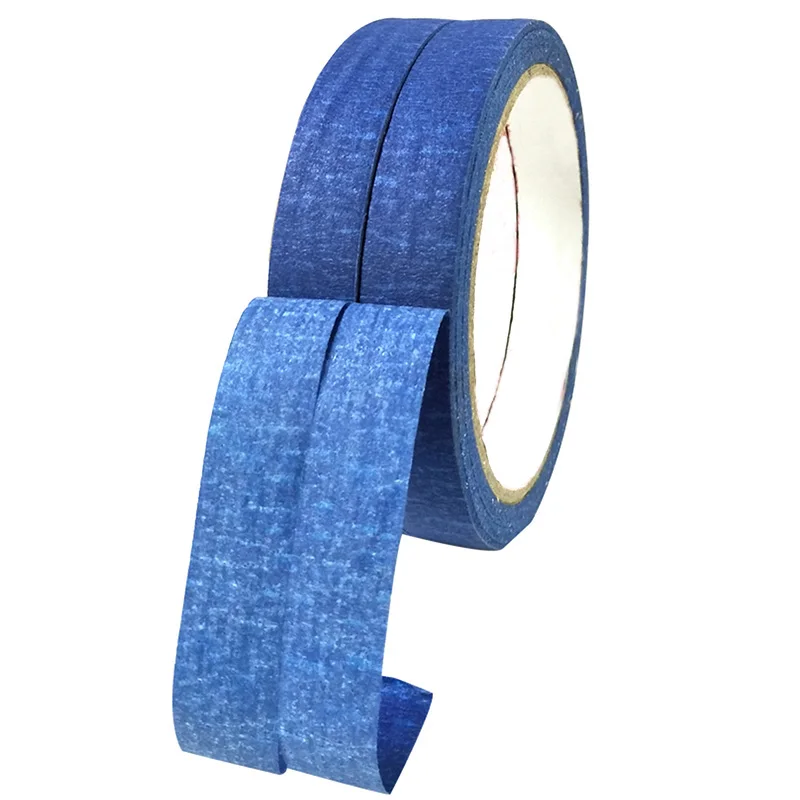 With other products, you need to worry about potentially damaging your bed adhesives, but a build plate can be covered with blue tape for less than a dollar.
Blue tape is cheap, resilient, and simple to use. If you need a simple solution to your bed adhesion problems, blue tape could be the answer you are looking for.
Shop Blue Painter's Tape
Blue Tape for 3D Printing
- Author
- Recent Posts
Martin
Martin has a M.Sc. in physics and has gained many years of experience in industry as a lab manager and quality assurance manager. He has now tested dozens of 3D printers and is happy to share the collected experience with each new article.
Latest posts by Martin (see all)
Disclosure: Links marked with * are Affiliate Links. I earn from qualifying purchases if you decide to make a purchase through these links – at no additional cost for you!
Poor print bed adhesion is one of the most common problems in 3D printing. Blue Tape is one of the easiest methods to increase print bed adhesion.
To increase the print bed adhesion with Blue Tape, the tape is applied diagonally without bubbles, creases or overlapping areas on a previously cleaned print bed. As long as the Blue Tape remains undamaged, you can use it several times in a row.
In this article, you will learn why this method stands out from other methods such as glue or hairspray. We’ll also go step-by-step on how to best use it and how you can remove your print object at the end.
The most popular is Scotch Blue Tape from 3M*.
Scotch Blue Tape*Check Price at:
Amazon*
Table of Contents:
- 1 Print Bed Adhesion
- 1.1 When do I need more adhesion?
- 2 Methods for Improving Print Bed Adhesion
- 2.1 Glue sticks
- 2.2 Spray adhesive
- 2.3 PEI sheets
- 2.4 Kapton Tape
- 2.5 BuildTak
- 2.6 Blue Tape
- 3 How to Use Blue Tape
- 3.
 1 Step 1: Clean the print bed
 - 3.2 Step 2: Apply Blue Tape diagonally
- 3.3 Step 3: Remove bubbles
- 3.4 Step 4: Cut off excess tape
- 3.
- 4 Do Not Touch the Blue Tape!
- 5 Can I use Blue Tape on Heated Print Beds?
- 6 Blue Tape Printing Bed Temperature
- 7 Rough up the Blue Tape
- 8 Detaching Print Objects from Blue Tape
- 8.1 Increase print bed temperature
- 8.2 Remove by hand
- 8.3 Use a spatula or knife
- 8.4 Peel off Blue Tape with object
- 8.5 Isopropanol
- 8.6 Increase Nozzle Distance
- 9 When to Replace Blue Tape?
- 9.1 Removing the Blue Tape from the print bed
- 10 Blue Tape Troubleshooting
- 11 Surface Quality
- 12 Conclusion
Print Bed Adhesion
Print bed adhesion ensures that your print object stays in place while you print. If you have good print bed adhesion, the first layers will stay exactly where you want them.
If the print bed adhesion is too poor, either the entire object can detach and your print is completely destroyed or only individual areas (usually the corners) lift off the print bed.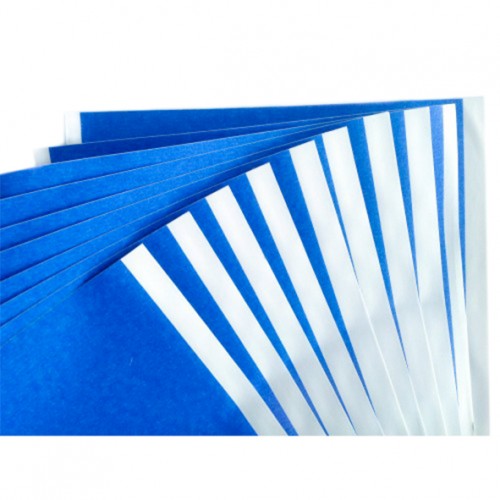
If the print bed adhesion is too good, you may not be able to detach your print object from the print bed. If you then try to remove the object by force, it is often destroyed.
It is therefore important to get the right balance in print bed adhesion.
When do I need more adhesion?
There are a few obvious clues when you need more adhesion on your print bed. Two of them are warping and layer shifting. It is also possible to estimate beforehand whether you should improve the print bed adhesion or not.
Warping
Warping is the phenomenon when individual parts of your print object detach from the print bed. Mostly these are protruding areas like corners.
The warping phenomenon is very annoying because it can destroy the entire print object. Increasing the print bed adhesion is an effective way to eliminate the problem.
Layer Shift
In some cases of layer shifting, it can be caused by the object briefly losing its adhesion to the print bed.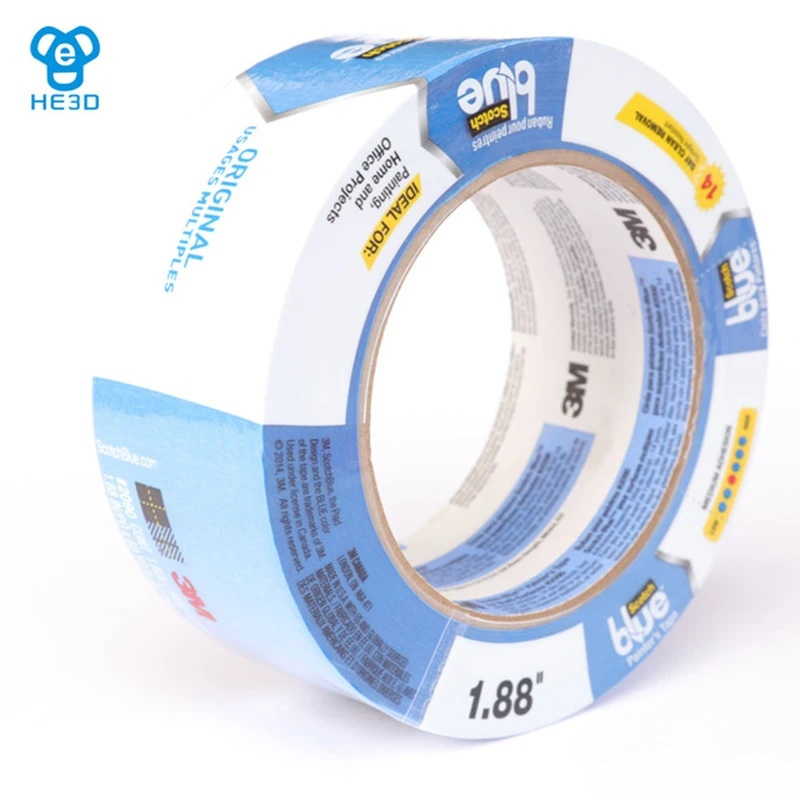 By increasing the print bed adhesion with Blue Tape*, for example, you can eliminate this problem.
First layer not sticking to the bed
If the first layer doesn’t adhere at all, it’s pretty obvious that you need to increase your print bed adhesion as long as you use the correct temperatures for your filament.
Often it can be sufficient to print a skirt before the actual print to stimulate the filament flow. In severe cases, you can also print a raft to create a whole new print bed on which even delicate objects adhere better. However, this is really only an emergency solution and should not be necessary if you create the right print bed adhesion.
Print object detaches during printing
If the entire print object comes off during printing, it’s also pretty obvious that you need more print bed adhesion.
Objects with a small base
If you sometimes have sufficient print bed adhesion with your 3D printer and sometimes not, you are on a boundary where some objects will stick and some will not.
In general, objects with delicate and detailed first layers tend to suffer more from poor print bed adhesion. The surface area between the first layer and the print bed is simply too small to create a sufficiently high adhesion.
Objects with a large base
For objects with a large base, it looks already different. Especially if this base has no filigree extensions but is more like a rectangle or a circle.
You then have a raft, so to speak.
Such a high surface area provides much more print bed adhesion than small parts with less surface area.
Methods for Improving Print Bed Adhesion
Glue sticks
Glue sticks are a common way to quickly increase print bed adhesion. There are now even special glue sticks for 3D printers*.
The application is very simple: you just have to spread the glue on the print bed where you want to print.
However, there are a few disadvantages with this method:
- The print bed cleaning is complex
- The print bed may become uneven
The glue on the print bed is difficult to remove.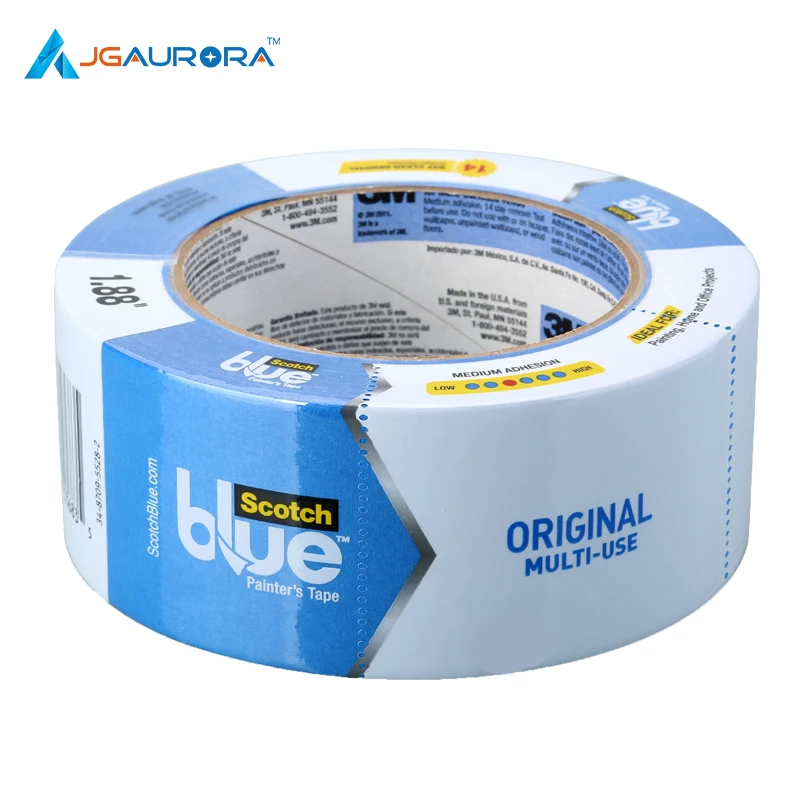 In addition, the adhesion may be far too great and you may not be able to get the print object off at all.
In these cases, it may help to heat the print bed to soften the adhesive again.
Another issue is that irregularly applied adhesive can create an uneven print bed. If too much adhesive accumulates in one place, the nozzle could drive into it or create irregularities in the print image.
Spray adhesive
Spray adhesives* have the advantage over glue sticks that they can be applied more evenly. You just have to spray it on the printing plate and you can start printing. So it’s very easy and quick to use.
In addition, most sprays are easier to remove during cleaning than other adhesives because they are soluble in water. The disadvantage, however, is that it is not always easy to achieve uniform adhesion over the entire print bed. In addition, the print bed adhesion is not quite as strong as with other methods.
PEI sheets
PEI sheets* are adhesive layers that can be stuck to the print bed.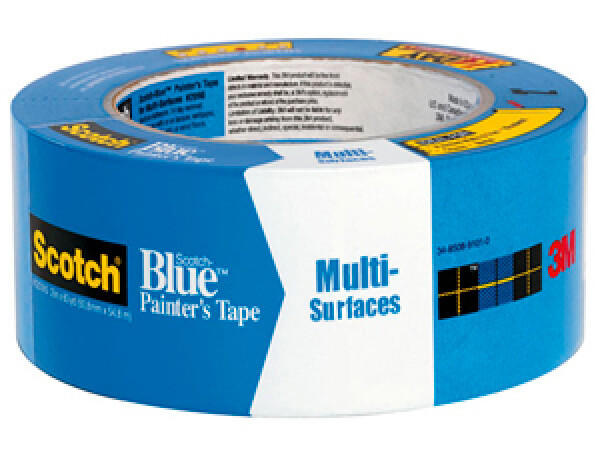 Unlike an adhesive strip, the surface is one complete sticker.
With these sheets, you can also very quickly increase your print bed adhesion. However, it is often the case that the films do not last as long as promised because they are scratched or otherwise damaged very quickly.
Kapton Tape
Kapton Tape* is particularly suitable for ABS. However, it is very difficult to apply and the leveling of the print bed must be perfectly adjusted.
Unless you are printing with ABS where you have severe difficulties with warping or other effects, you should first try other methods to increase print bed adhesion.
BuildTak
A BuildTak surface* is particularly suitable for PLA, PETG and other standard filaments. Only for TPU it is not suitable.
Just like a PEI sheet, BuildTak is a large sticker that you stick on the print bed. However, the application is very easy because the surface is designed in such a way that it cannot throw bubbles.
In addition, the surface is very robust and is very difficult to damage.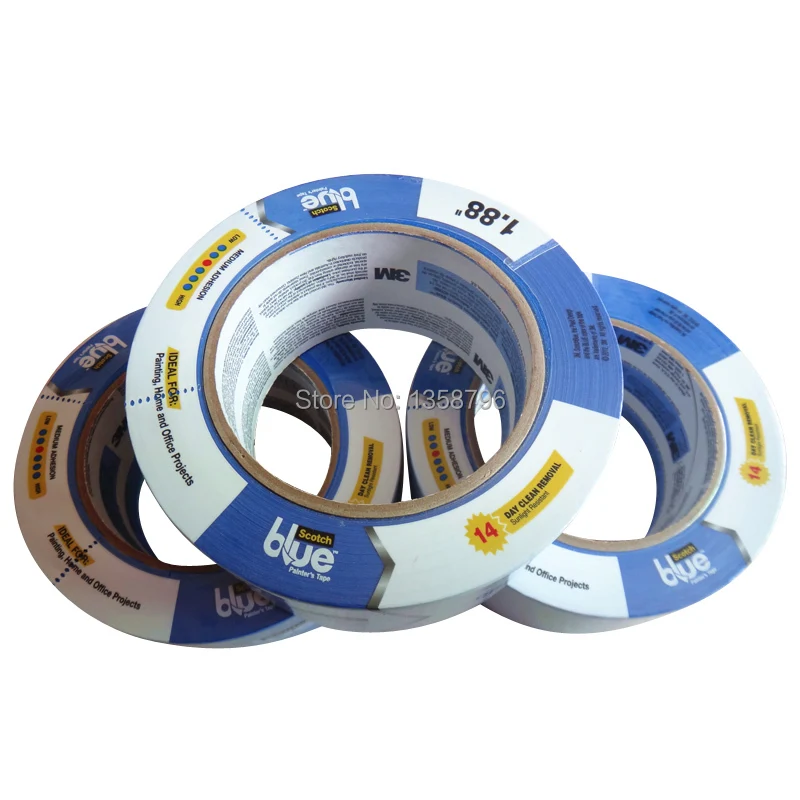 One could argue that the BuildTak surface is the biggest competitor to Blue Tape when printing with PLA.
Blue Tape
Blue Tape is a type of masking tape that you apply to the print bed to increase print bed adhesion.
In 3D printing language, Blue Tape usually means Scotch Blue Tape*. There are many blue painter’s tapes available, but only the Scotch Blue Tape from 3M gives you the desired adhesive effect for your print objects.
With which filaments does Blue Tape work?
Blue Tape works great with PLA, PETG and TPU. For ABS you would have to roughen the Blue Tape a bit or even use some more glue.
TPU without and with Blue TapeHow to Use Blue Tape
You might think that using Scotch Blue Tape* should be pretty easy. But why you shouldn’t just apply the tape without thinking about it will become clear in the next steps.
Step 1: Clean the print bed
This step applies in principle to any method of increasing print bed adhesion. In order for the Blue Tape to adhere properly to the print bed at all, the print bed must be clean:
- Dust, grease, oils and other contaminants must be removed from the print bed.
 All these things prevent good adhesion of the Blue Tape to the printing plate.
 - Foreign bodies must be removed. This mainly refers to old filament residues on the printing plate. Since these are often difficult to remove, the spatula is usually used for this purpose.
As already mentioned, it is best to first remove coarse filament residues and dirt from the print bed with a spatula. Then you should clean the print bed thoroughly and remove all adhesive residues, grease and oil.
You can just use normal dish washing soap for this. What other options there are and what you need to consider in detail, you will learn in this detailed guide to print bed cleaning.
Step 2: Apply Blue Tape diagonally
Why diagonal?
You’re probably wondering why it’s important to apply the Blue Tape diagonally. I asked myself the same question the first time and simply ignored this tip…
After the first few prints with Blue Tape, however, I found out why it actually makes sense to apply the tape diagonally.
Since most print objects are oriented at right angles along the X and Y axes, it is often the case that their corners and edges are parallel to the X or Y axis.
If such an edge lies directly next to a gap between two adhesive strips, the print object together with the Blue Tape can lift off the print bed. This is very rare – but it can happen! And to reduce this probability, you should simply apply the tape diagonally.
Of course, you could always rotate the object in the slicer by 45 degrees…
Glue on exactly
The print bed must be level. To achieve this with Blue Tape, you must apply the individual adhesive strips exactly next to each other. There must be no gaps or overlaps.
If gaps or overlaps occur, they will form directly on your print object and can destroy your print image.
Step 3: Remove bubbles
Already when applying the Blue Tape you have to make sure that no bubbles appear. If this should happen, you can try to press them out carefully.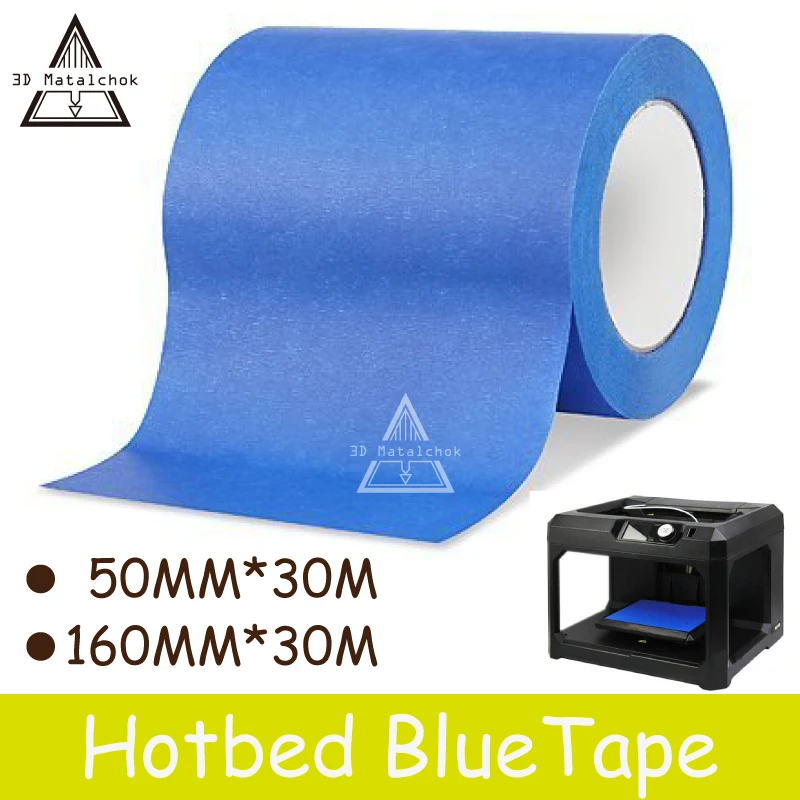
To do this, you can carefully use a spatula or a cloth and your hand. The bubbles you can then very carefully press to the side to the edge of the adhesive strip where they disappear.
However, you must be very careful not to create any damage or kinks. As mentioned, the print bed must be even. If you have not succeeded in doing this, you must remove the adhesive strip and stick on a new one.
Step 4: Cut off excess tape
When applying the Blue Tape, you should use the entire print bed. And since you’re sticking it on diagonally, there’s always going to be some of the tape sticking out beyond the print bed.
You can simply cut this off at the end with a knife or scissors. You should not leave the excess tape or stick it under the print bed. It could get tangled up with moving parts or affect the leveling of the print bed.
In addition, the adhesive strip can loosen more easily over time if you dont cut it off. So better cut it off for longer durability and fewer problems.
Do Not Touch the Blue Tape!
There is always some grease and oil on your hands. You can not avoid this even with thorough washing.
An oily surface will significantly weaken the print bed adhesion.
Therefore, you should avoid touching the Blue Tape at all costs. When applying the tape, you only need to touch the two ends of the strip and to press it firmly to the surface and remove any bubbles, you can use a cloth.
Also, when you later remove the print object from the Blue Tape, be careful not to touch it.
Can I use Blue Tape on Heated Print Beds?
Blue Tape can be used on a heatable print bed. The tape itself and the adhesive can withstand the temperatures.
Since you can use the Blue Tape several times in a row, you will eventually notice that bubbles form after multiple uses when it cools down again. This is simply because the adhesive loses its effectiveness over time and the tape contracts when it gets cold.
However, as long as it still adheres during printing and the bubbles have disappeared when hot, you can still continue to use it.
Blue Tape Printing Bed Temperature
The print bed temperature is only slightly different from the temperature you would use without Blue Tape. Since every material is somewhat temperature insulating, it is only logical that you have to increase the temperature on the print bed a bit to get the same temperature on the first layer of the print object. However, since the Blue Tape is very thin, a few degrees are sufficient.
With some filaments like PLA, you can work with Blue Tape even without a heated print bed.
Rough up the Blue Tape
In most cases, Blue Tape is used as it is. However, you can also roughen the surface to generate even more print bed adhesion. In general, however, this is only very rarely necessary.
As mentioned before, it can also be disadvantageous to create too good a print bed adhesion. At some point, it becomes difficult to detach the print object from the print bed.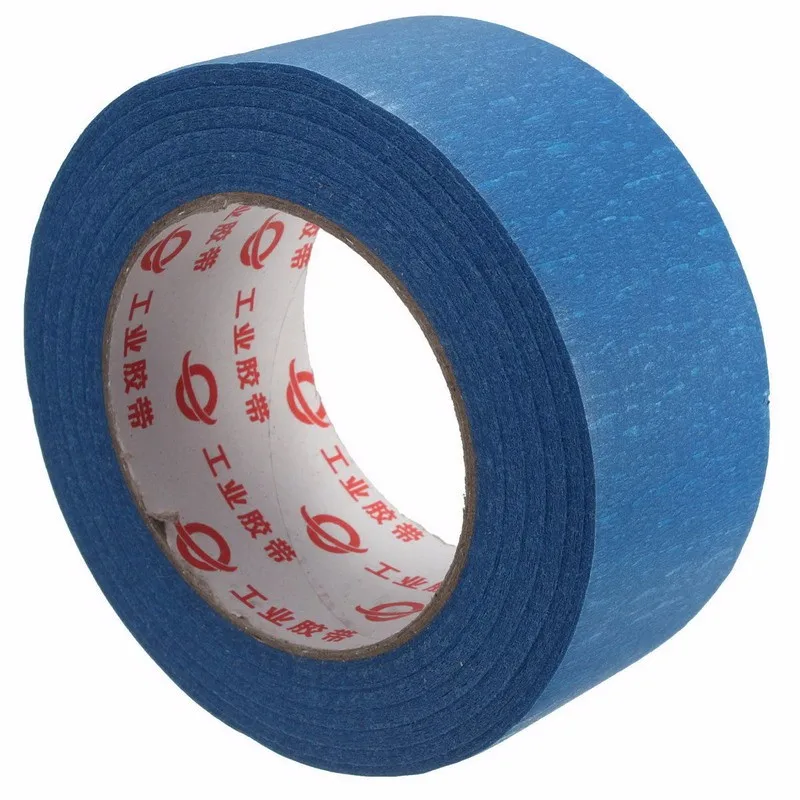 A balance between easy detachment and good print bed adhesion is therefore important.
Extra strong print bed adhesion through a roughened Blue Tape surface can be worthwhile for objects that have a high center of gravity and are not well balanced. Such objects can otherwise detach themselves when printing is already well advanced.
To roughen the Blue Tape you can use a dry sponge or a rough cloth. Rub lightly on the Blue Tape to make the surface more porous.
More pores means more surface area and more surface area means more adhesion. This way you can greatly improve the adhesive properties of the Blue Tape. The disadvantage of this method is that it also reduces the durability of the Blue Tape. The more often you rough up the same area, the thinner it becomes. At some point, you will have to replace the Blue Tape.
Detaching Print Objects from Blue Tape
Increasing the print bed adhesion can also be disadvantageous. Sometimes the adhesion is so strong that you can only release the print object with difficulty at the end.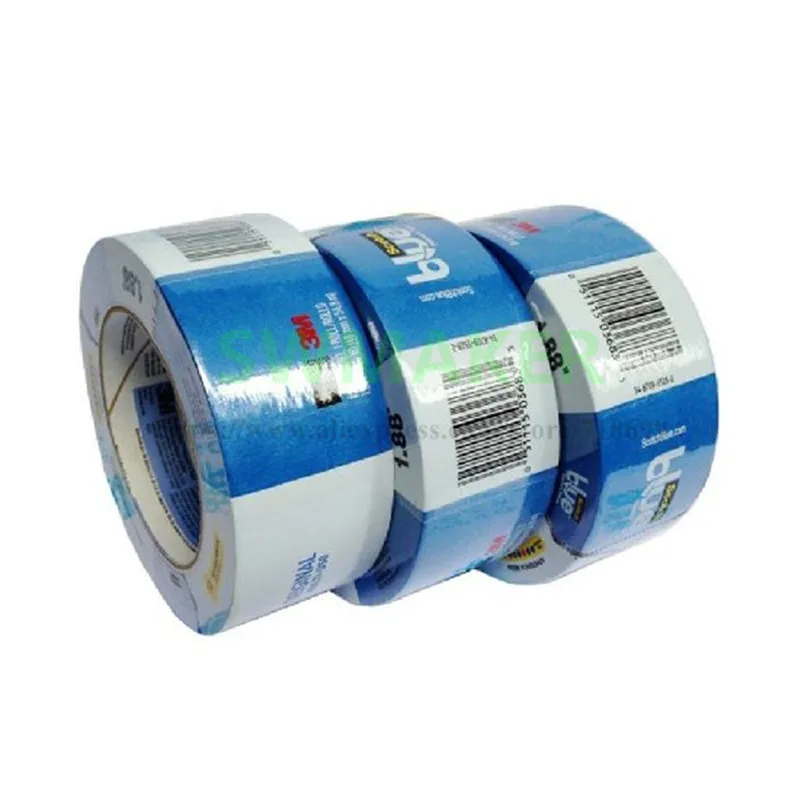
Depending on what filament you used and what the first layers of the object look like, this can be easier or harder.
Increase print bed temperature
Often, print objects can be easily detached from a print bed when the temperature of the print bed has reached room temperature again. With a glass bed, for example, this is usually the case.
This is because filaments contract again when they cool down. These tensions on the print bed mean that the print object can come loose on its own.
With Blue Tape, however, the situation is somewhat different. Due to the rough surface, this effect does not occur and it may even be more difficult to remove the print object from a cold print bed than from a warm one.
Therefore, for Blue Tape with most filaments, it is advisable to remove the print object when the print bed is hot. At high temperatures, the adhesion between the print object and the Blue Tape is not so great, as the two materials are still somewhat softer.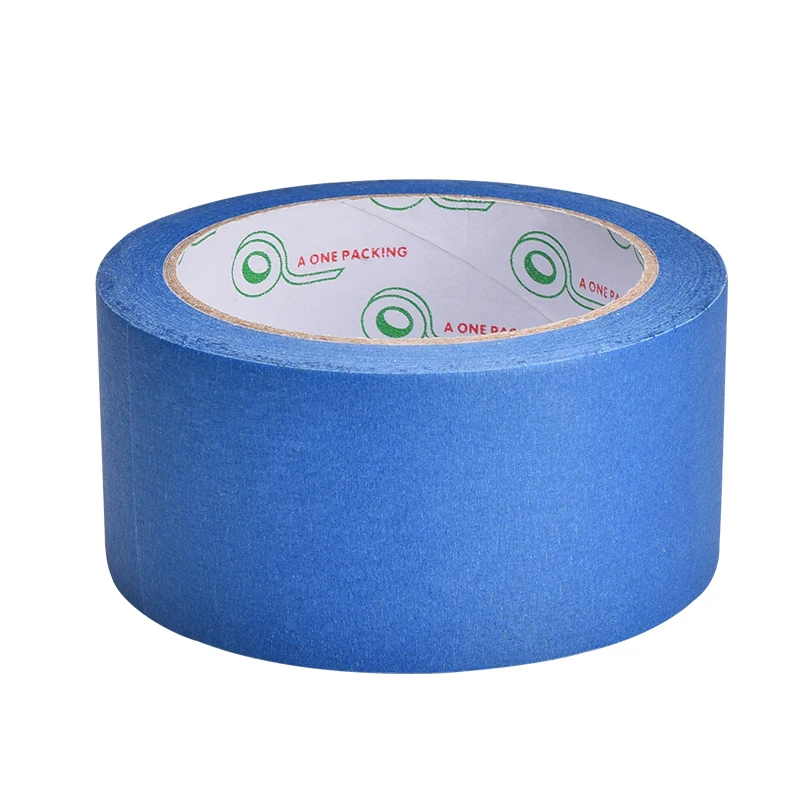
Remove by hand
The safest and easiest way to remove the print object from the Blue Tape is to use your hands. Especially if you follow the previous tip about the print bed temperature, this is the best way to safely remove your print object from the print bed without damaging the Blue Tape.
Depending on the form and size of your print object, you may find it easier or harder to remove it by hand. For example, if the object is very tall but has a small base, it will be easier to remove by hand than if it is very flat with a very large contact area.
To remove a print object from the Blue Tape with your hand, lift it up sideways. Make sure that you hold the Blue Tape with your other hand to prevent it from coming loose.
Use a spatula or knife
If the Blue Tape does not come off by hand, you can carefully loosen it with a spatula or a knife.
If you use a spatula, you just need to press it lightly under a corner and then use leverage to push the object up.
You can also try this with a knife or lightly peel all sides of the Blue Tape around the object and then use your hand.
The problem with these methods is that you can easily destroy the Blue Tape. As soon as you scratch the Blue Tape, you have to replace the affected strip or even the complete Blue Tape.
Such damage to the surface directly affects the result of your print object. It may even be that the first layer will no longer adhere to it.
Peel off Blue Tape with object
If it’s an object that needs to look good aesthetically, I’m usually willing to sacrifice the Blue Tape for that print and not use it again.
As soon as I notice that the object cannot be removed from the Blue Tape by hand (not even with a hot print bed), I simply tear off the complete Blue Tape with the object from the print bed.
After that, I have the print object in my hand, but the Blue Tape is still stuck to the underside. Now it is easier to remove it from the underside. Especially at the edges this should no longer be a problem and on the underside, you can carefully use tweezers or a fine knife to help to remove it.
Isopropanol
In very hard cases, the print object may adhere so well to the Blue Tape and the tape itself may also adhere extremely well to the print bed that you can’t loosen either one.
The print object sticks together with the Blue Tape rock-solid to the print bed and cannot be detached. In such cases, the Blue Tape simply tears off at the points where the print object starts and you have no chance to tear it off.
Isopropanol* can be used as a solution here.
You can spray this on the sides of the printer object or apply it lightly with a brush, which will cause the glue to dissolve and lose its effect.
You should be careful not to touch the print object itself as some filaments, like PLA, can be sensitive to isopropanol.
Increase Nozzle Distance
If you regularly create too much print bed adhesion with the Blue Tape, it may be useful to increase the Nozzle distance.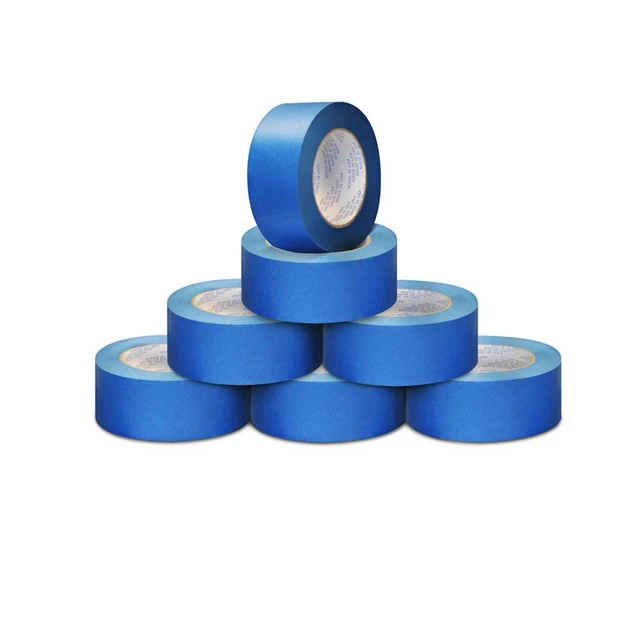
Especially if you’ve had to use isopropyl alcohol or regularly tear your tape, you should adjust the spacing.
Blue Tape is porous. The still liquid filament therefore bonds easily with the Blue Tape. This is how the good adhesion is created.
However, if the filament is too liquid and remains too long in the liquid state on the Blue Tape, it penetrates deeper and deeper into the tape and the adhesion becomes stronger and stronger. To reduce this, you should not reduce the temperature but the distance between the nozzle and the print bed. This way the filament has less contact with the Blue Tape and does not have as much time to penetrate the pores.
So as soon as you need isopropanol, you should try increasing the distance by 0.1 mm. If you want to reduce the adhesion in general, start with 0.05 mm and work your way up.
When to Replace Blue Tape?
Blue Tape can be used repeatedly as long as it remains undamaged. In principle, you only need to replace the Blue Tape when it is either damaged or you notice that the adhesive properties are weakening.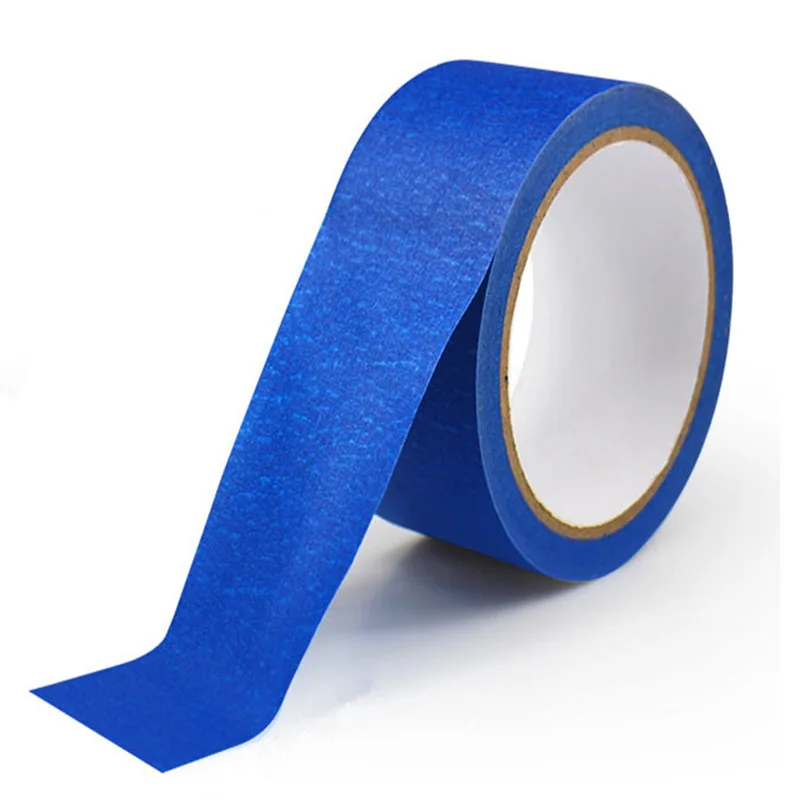
For me, the former is usually the case sooner. The adhesive properties really last a long time. Even if you use it so often that it becomes very fibrous on the surface, the adhesion is still excellent.
Removing the Blue Tape from the print bed
The longer you use Blue Tape, the different it will be to remove it from the print bed. On some print surfaces it will be more difficult to remove it over time and on some it will be easier.
If it gets more difficult, you may end up needing isopropyl alcohol to completely loosen it from the print bed and rid it of adhesive residue. On other surfaces, however, it is also the case that it will eventually come off by itself or bubbles start to form. Then it is quite easy to remove with bare hands.
Blue Tape Troubleshooting
While Blue Tape is one of the easiest methods to optimize print bed adhesion, difficulties can still arise.
To improve print bed adhesion with Blue Tape, you can try the following:
- reduce printing speed for the first layer
- increase the nozzle temperature for the first layer (in max.
 5 °C steps).
 - increase the print bed temperature for the first layer (in max. 5 °C steps).
- leveling the print bed
- changing the distance between the nozzle and the print bed
- roughen Blue Tape a little
- deactivate object fan for first layer
Surface Quality
The bottom of your 3D print will not be as perfect with Blue Tape as it would be on a smooth glass print bed. The surface will be slightly matte and you can see the texture of the tape.
If some Blue Tape remains stuck to the bottom of your print, you can simply remove it carefully with your fingernail or a knife. If this happens more often, it is a sign that you should replace the Blue Tape.
The advantage of Blue Tape surface texture is that the bottom surface is no longer so different from the other surfaces of your 3D print. Often the smooth result from a glass bed is very different from the other surfaces.
However, if you want you can smooth the underside with sandpaper and even polish it to get a perfectly smooth surface.
Conclusion
Scotch Blue Tape* is one of the easiest ways to solve print bed adhesion problems.
It is suitable for many filaments, lasts for multiple prints and can significantly increase the quality of your 3D prints.
Disclosure: This website is the property of Martin Lütkemeyer and is operated by Martin Lütkemeyer. Martin Lütkemeyer is a member of the Amazon Services LLC and other Affiliate Programs. These are affiliate advertising programs designed to enable websites to earn advertising revenue through advertising and linking to Amazon.com and others. Links marked with * are affiliate links.
What do you use to keep your blue ribbon from rising?
adhesion build plate monoprice-maker-select masking-tape
I'm having a few issues with the blue tape I'm trying for the first time.
Ribbon appears to warp, bubble, and peel off the aluminum plate when it is heated and cooled and during printing. I've put a few clips on it, but I'm not sure if that's the standard.
The print also seems to come off the ribbon itself (lower left corner). I applied some magic glue to it. Perhaps I shouldn't have done this.
I feel like this print won't do it...
I'm printing with Monoprice Select V2, AmazonBasics ABS with a 100°C bed and extruder temperature of 250°C, with a seed bed speed of 15mm/s and print speed of 60mm/s sliced with Ultimaker Cura.
@kane, 👍3
6 answers
▲ 2
My dad uses the print stick on the table before printing and the table keeps the print stick at the right temperature for it to stick.
, @ Bin-Yamin Ali
▲ 4
Your printer has a built-in tac clone surface. The blue tape doesn't stick well to this: you'll get better results by printing directly onto a Build-Tac clone.
Masking tape I use only on flat surfaces: it works well directly on glass, aluminum or unheated fiberglass, but it is absolutely necessary to take into account its thickness when leveling.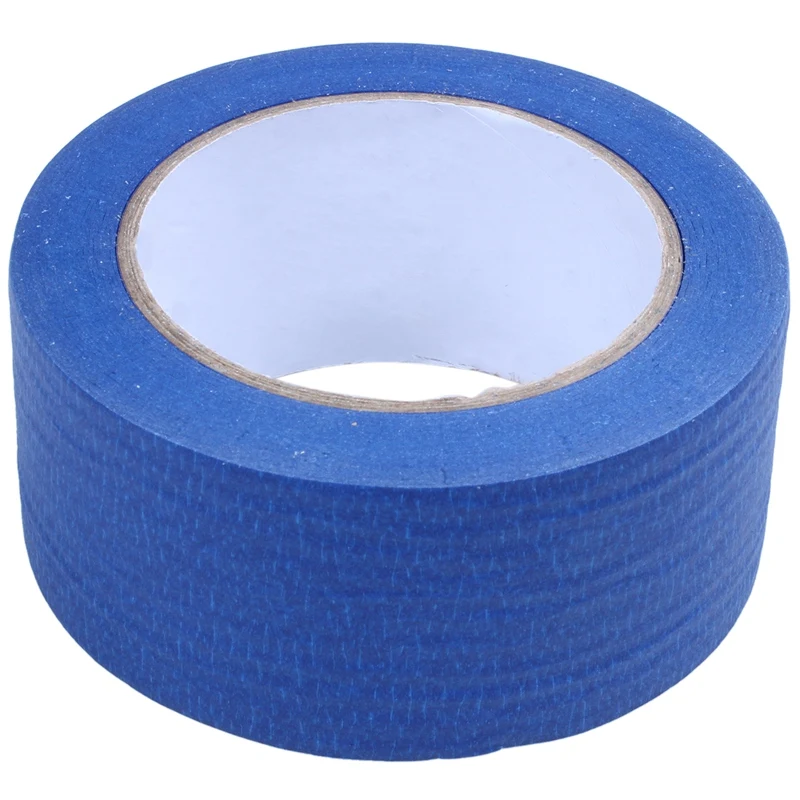
, @ Trish
▲ 4
The tape would probably adhere better to the aluminum table than the cloned BuildTak sheet you have, as it would have more surface area to attach to.
What I have found to work best is printing on a bare aluminum table with a PVA based spray, this could be hairspray or a specific 3D printer like 3DLAC or just a glue stick. I threw the ribbon away after the first day (for the reasons you mentioned) and only print on aluminum or glass with no problems, sometimes it sticks too well and the table has to cool to room temperature before I can remove the print. This has been described as an answer to the question: Should hairspray be used on a metal desktop 3D printer? .
Removing a BuildTak clone sheet can be quite laborious if a very sticky adhesive is used (it took me a long time and a lot of solvents to remove the slime/adhesive from a PEI sheet I used once), better try printing on a BuildTak sheet, maybe use PVA-based spray (for hair) or glue stick.
In addition, ABS is more difficult to print than PLA or PETG. ABS printing is difficult due to the relative large shrinkage on cooling of the filament. Therefore, it requires careful heat management (no cooling of parts, traction, fencing, etc.). This thread needs a good surface to build on and requires edges, mouse ears, glue spray or glue to get the first layer to stick and not curl. Tape at 100°C will become soft and lose its ability to stick. Kapton's tape could have worked better.
, @ 0scar
▲ 0
The absolute best way to solve the sticking problem is with an overture assembly surface. I couldn't get anything to stick. Got a free build sheet when I bought a filament from them. What's the difference, now everything sticks, just cleaned with alcohol between uses.
, @ Joe Wesley
▲ 1
Old thread, but I have a direct answer to the specific question asked. This is a technique that I haven't seen documented elsewhere and works pretty well for me.
- Clean the glass plate with an isopropyl alcohol swab - allow to air dry completely.
- Apply blue tape (the two most famous, well-known brands work best) to the glass plate, ensuring there are no overlaps - small gaps are fine.
- Place the plate on the heated table with the tape down.
- Turn on the table temperature to 50 °C for about 3 minutes.
- Remove the sheet quickly and roll the entire surface of the tape tightly with a wallpaper seam roller while the adhesive tape is still warm.
- Operate normally, with or without adhesive tape.
, @ allardjd
▲ 1
While the other answers are correct, I'd say another correct answer is that you don't stop it from rising.
If it rises, it means the part is deforming significantly and the blue tape was never meant to deal with them.
Blue tape was introduced to 3D printing when PLA took over ABS (8-10 years ago, for example), so it's because with PLA you didn't get ABS warped.
If the part is twisting, look for better solutions. You already have PEI so use it.
If you are printing ABS on an open printer, which is quite possible, you should get rid of the blue tape and check my other answer.
, @ FarO
Techno Print 3D Company
This is our first review of the most popular and inexpensive 3D printers for 2020. The list will include the best-selling devices in two price ranges (up to 30 tr and up to 60 tr). Printers working with both plastic filament (FDM) and photopolymers (LCD/DLP) will be presented. This list will always be up to date, as it is periodically updated and supplemented. Read more→
The Chinese company Dazz3D announces the launch of the project on KickStarter and accepts pre-orders for Dazz3D Basic and Dazz3D Pro 3D printers.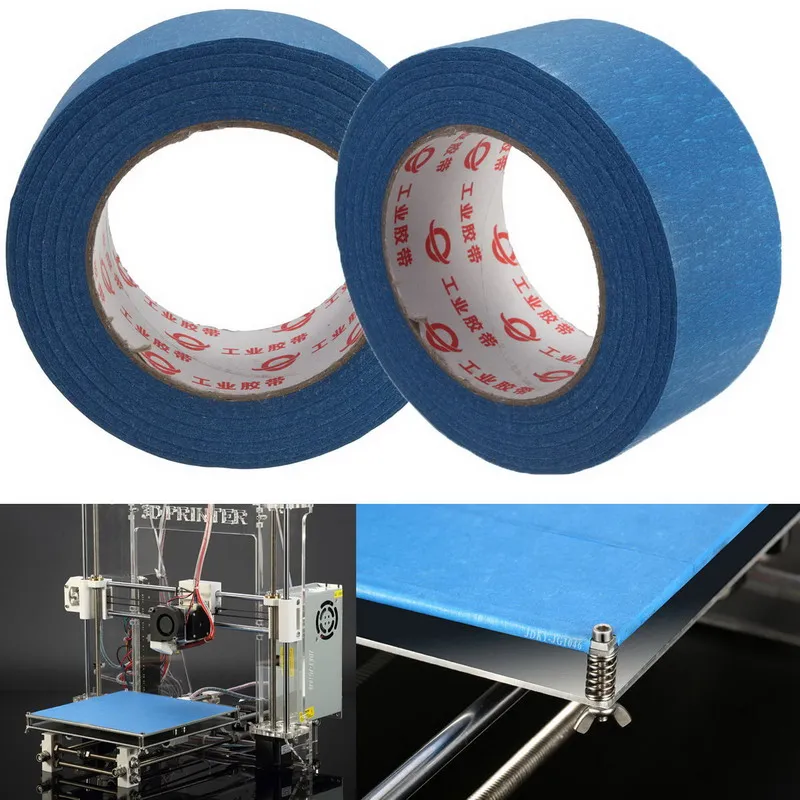 These revolutionary new devices are aimed at both the professional and amateur markets. Read more→
We all know that precise calibration of the 3D printer desktop is the foundation and the key to successful printing on any FDM printer. In this article we will talk about the main and most popular ways to level the "bed". So, as mentioned above, 3D printing without desktop calibration is impossible. We face this process Read more→
It's hard to go through a day today without hearing about 3D printing technology, which is bursting into our lives at an incredible speed. More and more people around the world are becoming addicted to 3D printing technology as it becomes more accessible and cheaper every day. Now almost anyone can afford to buy a 3D printer, and with the help of Read more→
The FormLabs Form 2 and Ultimaker 3 are perhaps the most popular 3D printers today, capable of high quality printing with incredible surface detail. Moreover, these two devices use completely different technologies, and therefore, there are a lot of differences between them.