Xone 3d printers
X-Series | Desktop Metal
Team DM
Platforms
Metal and composites 3D printing 3D printing solutions for health care Industrial-grade polymer 3D printing™
Sand and tooling 3D printing solutions 3D printers for sheet metalMaterials
Breakthrough photopolymer development Advancing 3D printed upcycled woodApps & More
The hydraulic additive manufacturing experts Multi-material powder recoating technology Driving digital transformation in dentistryBinder jet 3D printing featuring patented Triple ACT for excellent surface quality and specialty materials, including both metals and ceramics.
Order Now Your browser does not support the video tag.Systems Overview
-
— 01
InnoventX
The most compact binder jet 3D printer for the production of metal, ceramic or composite parts.
Launched in 2018, this easy-to-use system features Triple ACT and a piezoelectric printhead. It’s suitable for education, research, prototyping, rapid product development, and short-run production of small components.
InnoventX
InnoventX
The most compact binder jet 3D printer for the production of metal, ceramic or composite parts. Launched in 2018, this easy-to-use system features Triple ACT and a piezoelectric printhead. It’s suitable for education, research, prototyping, rapid product development, and short-run production of small components.
[SPECS]
Download Spec SheetInnoventX
Print Technology
Triple Advanced Compaction Technology™
Print direction
Uni-directional
Build box size
160 x 65 x 65 mm (6.
 3 x 2.5 x 2.5 in)
Max build rate (65μm layer thickness)
54 cc/hr
Binder Systems
AquaFuse™, CleanFuse™, FluidFuse™, PhenolFuse™
External dimensions
1203 x 1016 x 1434 mm (47.4 x 40.0 x 56.5 in)
-
— 02
X25Pro
This mid-volume advanced binder jet 3D print system is already being used globally for the production of metal, ceramic and composite parts.
 Launched in 2020, this system features Triple ACT and a piezoelectric printhead. It’s suitable for research, prototyping, rapid product development, short-run production or continuous 24/7 production.
X25Pro
X25Pro
This mid-volume advanced binder jet 3D print system is already being used globally for the production of metal, ceramic and composite parts. Launched in 2020, this system features Triple ACT and a piezoelectric printhead. It’s suitable for research, prototyping, rapid product development, short-run production or continuous 24/7 production.
[SPECS]
Download Spec SheetX25Pro
Print Technology
Triple Advanced Compaction Technology™
Print direction
Uni-directional
Build box size
400 x 250 x 250 mm (15.
 75 x 9.84 x 9.84 in)
Max build rate (65μm layer thickness)
1,200 cc/hr
Binder Systems
AquaFuse™, CleanFuse™, FluidFuse™, PhenolFuse™,
External dimensions
2300 x 1800 x 2300 mm (90.5 x 70.9 x 90.5 in)
-
— 03
X160Pro
The world’s largest binder jet 3D printer for the production of metal, ceramic or composite parts.
 This system features Triple ACT and a piezoelectric printhead. It's designed for continuous 24/7 production, yet supports short-run production, rapid product development, and even research and prototyping
X160Pro
X160Pro
The world’s largest binder jet 3D printer for the production of metal, ceramic or composite parts. This system features Triple ACT and a piezoelectric printhead. It's designed for continuous 24/7 production, yet supports short-run production, rapid product development, and even research and prototyping
[SPECS]
Download Spec SheetX160Pro
Print Technology
Triple Advanced Compaction Technology™
Print direction
Uni-directional
Build box size
800 x 500 x 400 mm (31.
 5 x 19.7 x 15.8 in)
Max build rate (65μm layer thickness)
Up to 3,120 cc/hr
Binder Systems
AquaFuse™, CleanFuse™, FluidFuse™, PhenolFuse™,
External dimensions
3300 x 3300 x 2700 mm (130 x 130 x 107 in)
Applications by Industry
_Industries
Explore applications for 3D printing across a range of industries.
Keep Up with the Latest News
ExOne (XONE) Releases Office-Friendly Bound Metal 3D Printer - 3DPrint.com
The competition in Binder Jet is heating up. Just a week ago, Desktop Metal (NYSE: DM) announced the two-step bound metal Studio 2 System. By eliminating one step of the usual three, Desktop Metal could have a very efficient, easy-to-use technology on its hands. In that article, we pointed out that a company called Rapidia had previously introduced a two-step bound metal technology. Now, ExOne (NASDAQ: XONE) has announced that it will offer the ExOne Metal Designlab by Rapidia 3D printer in Q2 through a strategic partnership with ExOne having “a right of first refusal for majority ownership of Rapidia.”
ExOne now has printers ranging from million dollar industrial units for large parts and large scale manufacturing to smaller, more compact units and an office-type system, as well.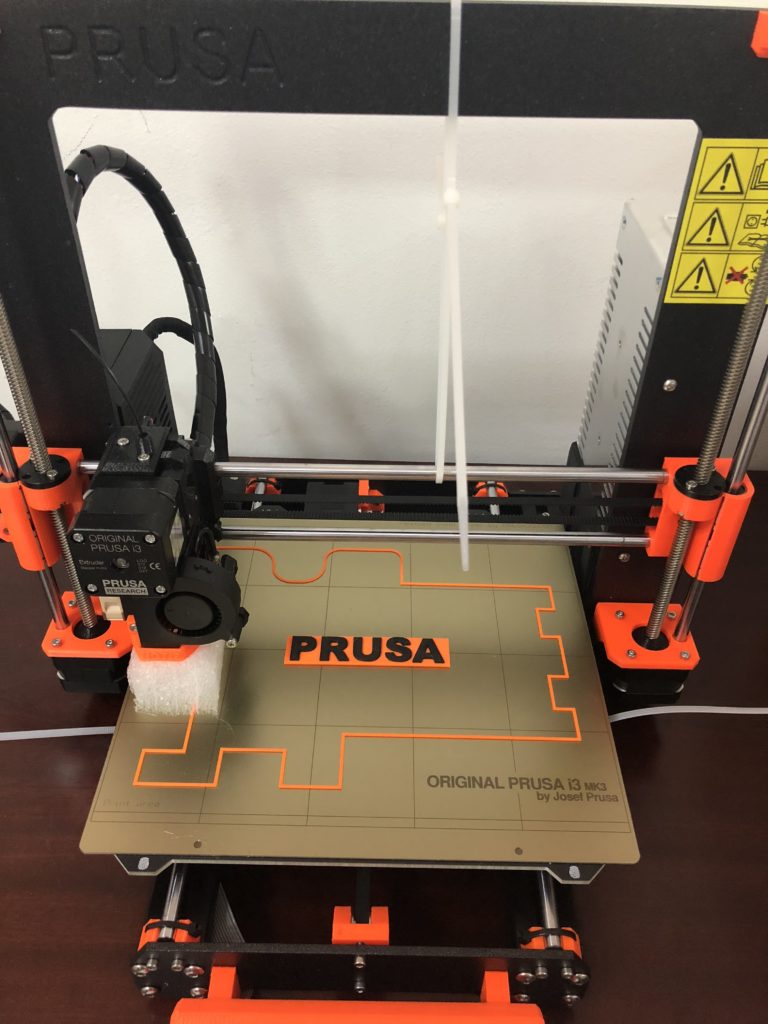 The two-step process means that a separate debinding no longer has to occur. The loss of this step represents fewer nasty chemicals and reduced time to part. The X1F oven has also been designed to work in an office-like environment
The company also specifically claims that part of the advantage of the Rapidia process is that, “Unlike competing systems that require chemical or thermal debinding, and limit the thickness of 100% solid (no infill) parts for successful debinding, the ExOne Metal Designlab allows you to print any part thickness without infill. Many applications require the strength of solid metal, restricting the use of infill. This means strong solid parts suitable for more end-use applications.” The company is launching with 17-4PH and 316L steels for its canister-based system and says that ceramics are on their way. The company touts it as a safer in-office solution that doesn’t require hydrogen, just comparatively little argon, and doesn’t give off fumes.
ExOne CEO Josh Hartner said of the new system:
“We are delighted to partner with the visionary Dan Gelbart and the Rapidia technology team to offer the new ExOne Metal Designlab and X1F furnace, This technology is a true time-saving innovation that complements ExOne’s portfolio.
Now, researchers, educators, and industrial designers will be able to bypass days of waiting and produce high-quality parts without the limitations faced by parts that require traditional debinding.”
Inventor Dan Gelbart contributed:
“We set out to develop a simple, environmentally friendly system that creates the toughest, most intricate parts overnight. Today, we’re excited to leverage ExOne’s global marketing and sales team to help customers around the world enjoy the benefits of our revolutionary technology. I also expect a lot of innovation to come from combining the deep technical knowledge of both companies. Now, users can 3D print complex parts today without any thickness limitations for solid parts and produce high-strength parts overnight.”
ExOne is clearly chasing Desktop Metal here. While ExOne has more revenue and a much longer history in binder jet, it is Desktop Metal that has stolen investors’ hearts. DM is on a tear on the stock market, while ExOne’s stock has long languished—until recently.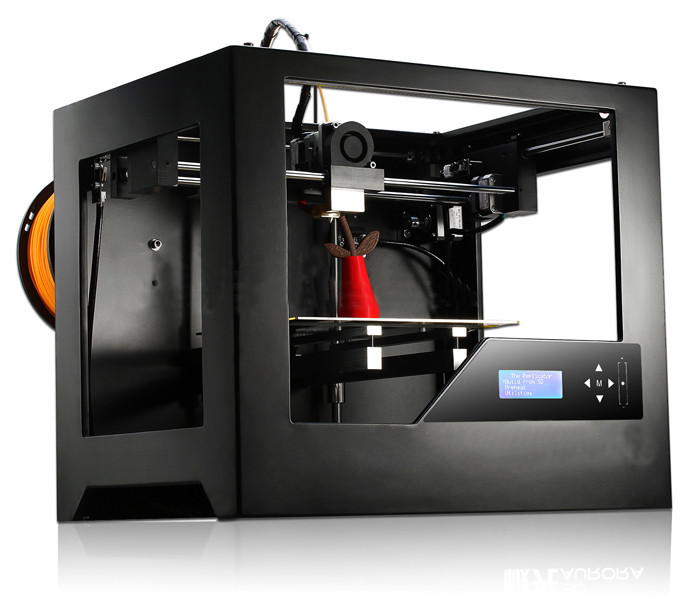 Since January, ExOne itself has seen huge gains, with its stock price quadrupling. For five years, ExOne traded between $11 and $16, but now it has shot up. The reason? ExOne’s strong position in binder jet is interesting all of a sudden since Desktop Metal has become a company with a market cap of $7 billion. With Desktop Metal up from a $1.5 billion offering, all of a sudden ExOne looks inexpensive. In similar news, the stock of voxeljet (NASDAQ: VJET), which has the same technology, has also more than doubled since the beginning of the year.
Image courtesy of SmarTech.
By releasing an office-based system, ExOne is taking the fight directly to Desktop Metal. Analysts should conclude that the company is relatively cheap, which will buoy its efforts to raise its price and perhaps undertake acquisitions of its own. Meanwhile, analysts looking at Desktop Metal could conclude that ExOne and voxeljet validate the space and find this more of a reason to believe in Desktop Metal. A rising tide, therefore, lifts all boats. This fits with the projections of SmarTech Analysis, which notes in its “Bound Metal Additive Manufacturing Market Outlook – Metal Binder Jetting and Bound Metal Deposition” report that the bound metal printing market will grow at twice the rate of the overall metal additive manufacturing market over the next ten years.
Across the board, however, current bound metal revenues will not be able to sustain inflated expectations, at the moment. Even with the rise in interest in the technology, it will take some months for customers to evaluate and adopt bound metal systems. It will be interesting to see what the OEMs do in response: gently watch their valuations deflate or aggressively seek revenue through acquisitions. Or they could attempt new raises to propel themselves forward. Bound metal, as a technology, has a lot of promise and, from what we can see here, Wall Street wants to be in the driving seat to companies that deliver on that promise. We’ll need to look to GE, Voxeljet and HP’s responses over the coming weeks to see if they will help fan the flames for heatless 3D printing.
Stay up-to-date on all the latest news from the 3D printing industry and receive information and offers from third party vendors.
Tagged with: binder jet • Binder Jetting • binder jetting 3d printer • bound metal printing • desktop metal • exone • ExOne Company • new 3d printer • rapid • Rapidia • strategic partnership • two step
Please enable JavaScript to view the comments powered by Disqus.
Qidi X-one 2 3D Printer Review.
A little about myself so that fewer questions arise during the review.
I worked for a long time as a tester of software and hardware systems in the field of security systems. So spotting flaws is in my blood. I am neither a professional reviewer nor a blogger. So I ask you to forgive in advance for the clumsy style and some confusion. All of the following is based on personal experience, speculation and assumptions and is purely personal opinion.
The printer for review was provided by the official representative in the Russian Federation, Lider-3D. This model is the youngest, budget in the line. Please remember this and keep it in mind throughout the review!
Let's get down to the actual review.
The printer is supplied in a cardboard box. Pay no attention to appearance. The box was opened for inspection and repackaged.
There are very comfortable handles.
And believe me, they are needed, the printer is not easy. 15.5 kg.
With the printer, I was kindly provided with branded plastic for test printing.
The filament is packed in vacuum bags, unfortunately without a zip fastener, with a larger bag of silica gel.
The most popular is PETG.
Well, where without PLA.
Let's proceed to the autopsy.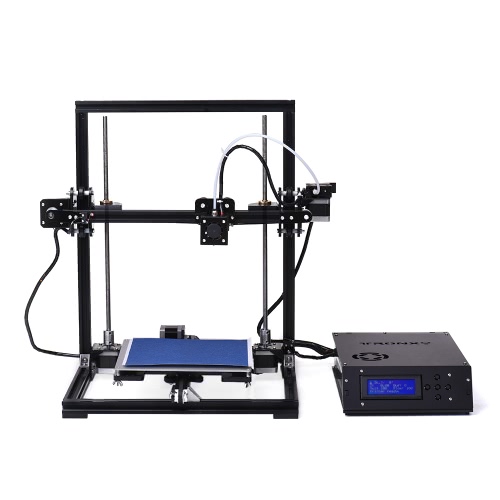
About the configuration a little later.
We remove the foam and here it is, the printer.
Retrievable at the bottom...
In general, thoughtful packaging.
I remind you that I'm not a reviewer or a blogger, so I don't have a studio or even a special desk. Therefore, we put the handsome man simply on the table.
Let's look at the printer from different angles.
Heavy iron body. Comfortable handles above the window. The printer can be carried around the room, but it is not light. By the way, you carry the printer by the same handles when it is in the box. So that during transportation, the bottom of the box will not come off and the printer will not fall!
We continue the inspection.
Top view. Shipping clips are visible. They hold the belts and prevent the mechanisms from moving during transport. As they say, everything ingenious is simple.
Mechanical limit switches everywhere.
Plastic front panel and door. Plastic, match the metal, thick.
There are tensioners on the belts.
This is so that you do not forget that you have a younger, simple model.
On the right side USB, SD card and instructions on how to install the card. Fool-proof, that's good. Even if you can't read, it's hard to make a mistake.
By the way, the memory card is not some kind of non-name, but Sandisk is already 8 gigs. There is a manual on the map, a bunch of video instructions, slicer distributions (about it later) and examples for printing.
Nothing interesting on the left side. Don't stick your fingers into the outlet.
Let's go from the rear.
Connector for power cable with fuse. The cable is about one and a half meters long. And here is the first remark - when you turn on / off the printer, you stick your hand into the wire, and the button is behind it.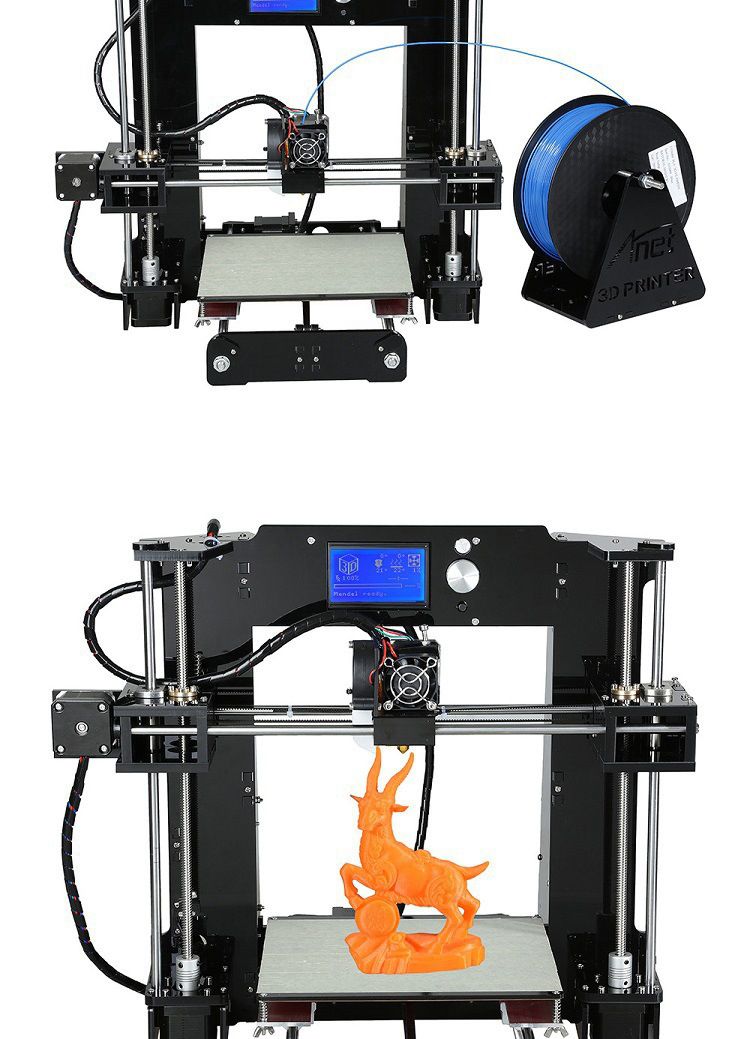 Not very comfortable. It is necessary either to turn this block over or install a block with a mirror arrangement of elements.
Raise the table, remove the transport pad, and there...
Caring for the customer. Everything you need is already included.
Spool holder. He also has questions.
Screwed into the rear wall.
Insert the holder into the spool.
And we screw this whole structure into the body. Not the most convenient way. On the other hand, we do not change the coil so often.
Pressing tool required for half spools.
But you can no longer use the coil from Fdplast with a standard holder. You can, of course, screw in a bolt of the desired length, and even print a sleeve on it. In general, we will write this down as conditional minuses.
There will be no problems with the Bestfilament coil.
Left plastic for calibration with instructions. Again, customer care. No need to look for a piece of paper of unknown thickness. On the right is the instruction in English. Thick paper, color printing. In electronic form, it is present on the SD card.
Spare nozzle. And then we have an extruder - direct!
Tools and spare parts. The tool and box are not disposable. Everything is rich and expensive! The tool was not useful from the word at all.
Space maps filled into tablets. I mean, the filament is tucked into the hotend. I did not film this process, there is a very detailed video instruction on the flash drive. I will post the contents of the flash drive on Yandex disk.
First use.
I almost forgot. Installed side windows. They sit in vyshtampovki and hold on magnets. The body is steel.
LCD color touchscreen welcome window.
Inside System we see such a set. Language English or Chinese. Screen sensor calibration. Reset to factory settings. Return to the previous screen.
Info
About. The sound can be turned off. The squeaker is loud. Firmware version and interface color. While there is only one color, apparently the choice will be in the next firmware, by the way the button is clickable.
Inside Tool. The purpose of the Stop and Back buttons is already clear.
Manual. Everything is like everyone else. When you need to steer the handles.
Icon with a thermometer. Current and desired temperature. Everything is intuitive.
Filament. To change the filament. Arrows with direction. Nozzle temperature current/set. When you press the arrow, the motor will spin until you press the stop button.
Anchor button. Table setting. We have already seen this instruction on the calibration plastic. We press the button on the left and the nozzle goes to the left point. By the way krutilok 3, not 4 as we are used to. 2 in the front and 1 in the back in the middle. Triangulation. In general, the calibration of the table did not cause problems. Moreover, when moving to the next calibration point, the table goes down. Again care and protection from the fool. With this approach, it is impossible to plow the table with a nozzle during calibration.
Well, the last button on the start screen. A trifle, but nice.
The top right button on the start screen is GO. The structure of files and folders on the memory card. The last run file is highlighted in red. Moving is possible throughout the map, in all folders and subfolders. Therefore, you can structure the storage of models on the map.
When selecting files, we see the full path, model. We can delete, start printing and go back. For display. This is essentially a screenshot from a slicer. Moreover, the screenshot is at the moment of saving the file. This means the picture depends on the position of the model on the screen and the display mode.
A little inside. The guide shafts are fixed in plastic parts. Looking ahead, I will say that this does not affect the quality of the print in any way.
Bottom table. Such a massive piece of iron. I forgot to say, the printer has a backlight. On as long as the printer is turned on.
Smooth transition to printing. Naturally calibrated cube. I saved the file in layer view mode, so the cube looks translucent on the preview. In principle, all the necessary information is on the screen.
At the start of printing presses the strip from left to right and back and continues it to the skirt.
This is what it looks like after printing. At the same time, the printer beeps. Not always.
After printing, the table goes down and the head goes to the left and forward.
To the question of adhesion to the table. The table is rough. You remember that the glue stick was included. I thought it was needed with insufficient adhesion. It turned out the opposite. The first seal was right on the table. Adhesion is such that I broke the cube by tearing it off. But we can look at the inside.
Well, where without Benci? The screenshot is beautiful!
This is what we see when we press the right button while printing.
But after the return, the screenshot is lost. An icon of an unknown format is displayed. Representatives informed. I hope they fix it in new firmware.
Now let's look at the print quality. Top cover of the cube.
Steps, caking of layers, walls. All discussions, reflections and conclusions at the end of the article.
We don’t look at the bottom part, I screwed up there.
Corner. In general, the quality is top notch.
Roundings.
Table imprint.
Inner bottom side.
Inner case towards the lid.
Corner.
Benchy will be born soon.
Benchy is ready. There is a nuance with the printing time. Just like all printers. The time is taken from the slicer. It does not quite coincide with reality, but it is not critical.
Freshly baked boat. Here I was smarter and smeared the table with glue.
Let me explain a little. I have an Ender 3 Pro printer. With magnetic mat. Its adhesion is good, but not as strong as here. I used to remove the mat and finish the piece by bending the mat. Here you can not do without a sharply sharpened spatula. And it's not included in the package.
Now we run another test.
Let's start looking at printed models
Printed in full stock. Installed the slicer, loaded the model. Peeled off for print. All default settings.
Now close. Base speed 60.
Roof.
Aft flagpole.
Board.
You get the idea...
Nose.
Window.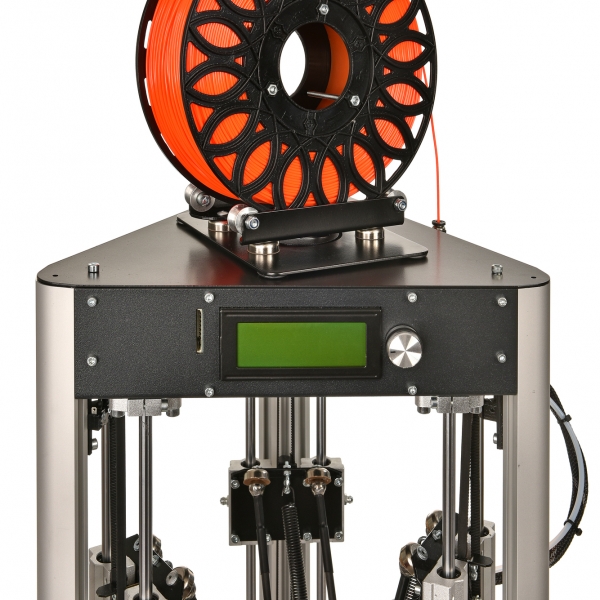
Breakwater.
Feed.
Trumpet.
Roof steps.
Now the test is ready.
At this point, I've almost learned how to pull the model off the table.
The miracle did not happen. The printer cannot print while in the air. And the rest is very good.
Set the speed to 80 and another test cube.
How do you like the result?
Caliper Chinese...
The quality is very good!
Different angles.
Z near.
Y outside.
Y inside.
X outside.
X inside.
Small tower.
Big tower.
Arch.
Set the slicer speed to 100 and start printing.
When comparing the boats, I did not notice a fundamental difference.
Roof at speed 100.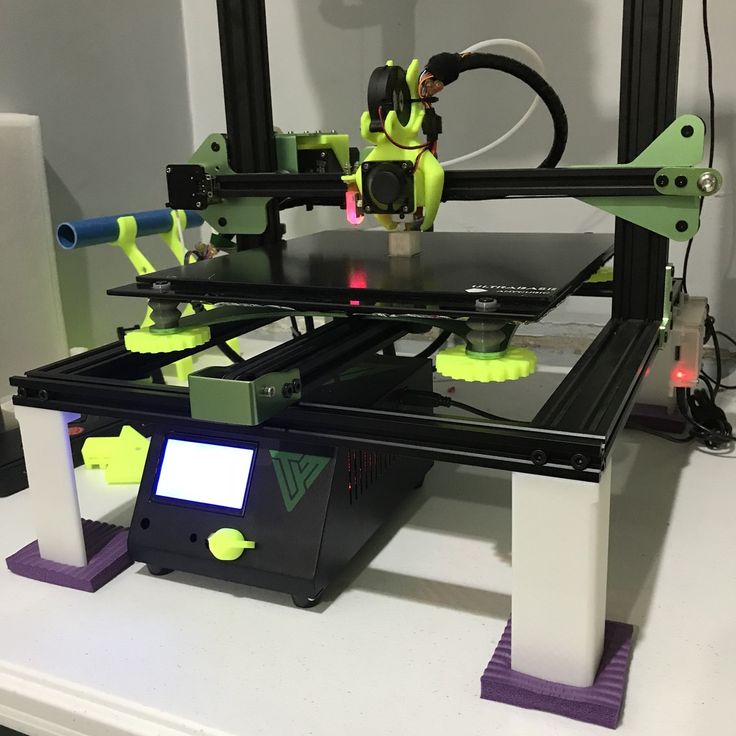
In general, no quality loss is observed during acceleration.
Slicer - Customized Kura. If you want a familiar interface, you can request a printer profile.
Reflections and conclusions.
I started my acquaintance with this printer very skeptically. I have a "god-like" Ender, and even with modifications. But in the course of communication with this device, my worldview and views changed.
Comparing these printers is like comparing an apple to an orange. On the one hand, this is a budget device. On the other hand, there are many "goodies" from the pros of the segment. Steel frame. Rubber feet. Door, removable windows. Backlight. But ... Plastic rollers on which belts run on motors as well. Plastic parts in the places where the shafts are attached.
But in the end we get a finished product out of the box with good print quality. Not requiring understanding of what is happening. And with not a bad possibility of overclocking if desired.
I thought for a long time about how to communicate my feelings to you? Who is this printer for? What is its target audience?
This comparison was born to me. This printer is like an automatic coffee machine. I poured coffee, poured water, chose a drink, pressed a button, got a drink. And Ender and others like him, it's like brewing coffee in a Turk. Chalk by choosing a grind. Weigh coffee and water. Pour carefully. Put on fire. Follow and stir. Yes, you can vary the tastes of the output, but much more action and understanding is needed.
So who is this printer for? In my opinion.
An unencumbered person who wants to get a finished product, and not understand and adjust, that's all.
Schools and clubs from elementary grades. The printer does not require assembly and configuration. The closed body will save your hands from burns, and the model from drafts.
Small companies for which 3D printing is not a business. It will be the same office unit as a coffee machine and a copier. Does not require a separate specialist.
P.S. I did not open the case and hotend. Firstly, the printer must be returned safe and sound. Secondly, there is a photo of the insides and a video on disassembling the head on the memory card. The contents of the memory card will be in the public domain.
I did not describe the performance characteristics of the printer. You can see them on the printer's page on the website of the official representative in the Russian Federation.
Ready to answer questions that I missed when writing this article. This is my first such experience. Please do not shoot at the pianist, he plays as best he can.
Contents of the printer's SD card.
Video version of the review below.
endless, for printing ceramics, with non-standard kinematics and other interesting models / Selections from Aliexpress and more / iXBT Live
Is there a printer for endless printing? You will be surprised to get a 3D printer in your use, in which the movable table is a conveyor and provides continuous printing and printing of long (really long) models.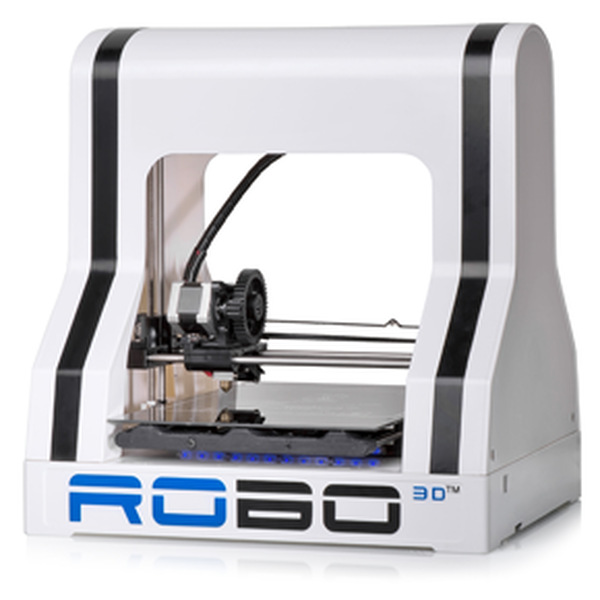 What about unusual kinematic printers? Or options that have a certain “zest”, for example, a mix extruder for mixing plastic colors. I tried to pick up the models that are relevant for the current day, including an unusual printer for printing with ceramic clay.
Creality 3D PrintMill CR-30 Infinite 3D Printer
Get Price
Probably one of the most controversial printers for commercial printing. A special conveyor table ensures continuous printing of models, including large and long models. The Creality 3D PrintMill CR-30 allows you to print in a continuous flow by simply scrolling the table and providing a new place for new models. The specification says so - the working field is 200 x 170 x infinity.
Tronxy Moore 1 3D printer for ceramic models
Get price
Extremely unusual Moore 1 3D printer from Tronxy. It is this model that can print clay products. The principle of printing is similar to FDM - this is a layer-by-layer application of material, but clay acts as a material, and a special mechanism for supplying prepared clay acts as an extruder. After printing and initial drying, the models can be baked in a microwave or muffle furnace. Ceramics can be additionally coated with glaze, obtaining an original result.
Geeetech A30T 3D printer for color models
Get price
Geeetech A30T 3D printer provides printing in three colors of plastic at once. The kit includes holders for three coils of plastic at the same time. A special 3-in-1 extruder ensures that plastics are mixed in the right proportions. The working field is an impressive 320 x 320 x 420 mm, which gives a certain scope for creativity. Geeetech Color Mixer proprietary software is used to manage and prepare programs.
FYSETC VORON V2.4 fixed table 3D printer with CoreXYZ kinematics
Get price
One of the top DIY kits currently available. The FYSETC VORON 3D printer is distinguished not only by the presence of a belt in XY, but also by attention, a belt drive with gearboxes in Z. Such kinematics ensures maximum smoothness of the movement of the print head, eliminating all sorts of negative consequences on the model (does not “ring”, does not “thread” and etc.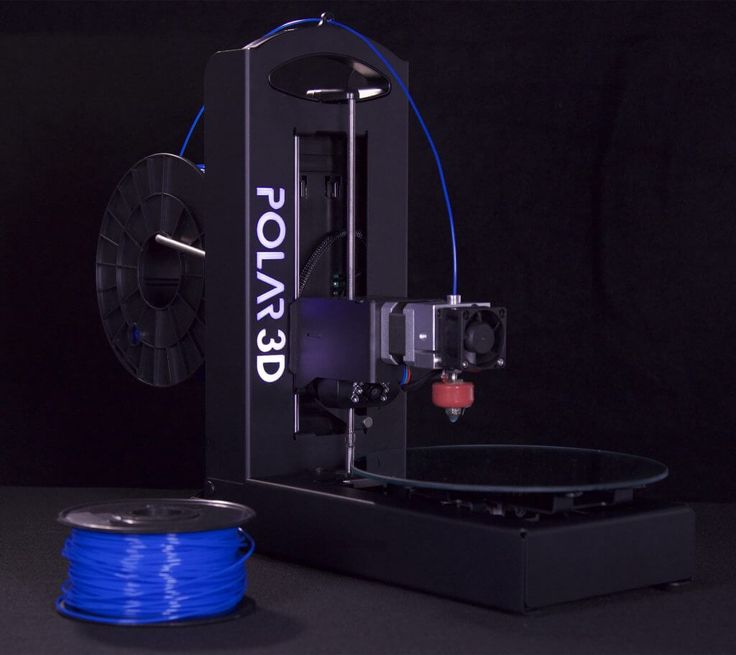 ). The table is fixed, which makes it possible to print complex models without the risk of tearing off the surface. Please note, the link is only not a complete 350 x 350 x 350mm build kit, this is not a finished printer.
Scara Arm 3D printer with polar coordinates
Request price
One of the most complex kinematic schemes for printing is implemented in Scara Arm 3D printers. A complex system of motorized linked arms moves the print head to create a pattern. Unlike previous printers, Scara Arm 3D uses a polar coordinate system. The declared print area for the model at the link is 200 x 200 x 150 mm.
KINGROON KP3S Minimalist 3D Printer
Ask for price
A great option for those who are just getting started with 3D printing. The KINGROON KP3S printer won't take up much desk space or hit your pocket hard. It is an entry-level model with a console version. I note that the model on the link is equipped with linear rails (MGN12), quiet drivers, and an extruder with titanium nozzles, which is quite good for such a price. Area available for printing: 180 x 180 x 180 mm.
Watch for discounts and promotions. Aliexpress offers coupons as part of the next sale. Such 3D printers can be a help in learning and instill in a child the skills of 3D modeling. Save this collection for yourself, recommend to your friends! You can find other tests and reviews of smart gadgets and technology, as well as selections at the links below and in my profile.
News
Publications
Today I'll tell you about the monitor from the Brest Electric Lamp Plant, which is assembled under the license of a Chinese company. I must say right away that to pay attention to this model 23.8 "with full hd resolution ...
Floaudio Calla headphones are a new name on the market, like the headphones from Truthear & Crinacle Zero. The differences are only in price, but the reviewed ones do not lose their named Lovers of dense...
Many who saw similar photos on the net thought that this was a "photoshop".


