Waterproof 3d printed parts
How to 3D print waterproof parts
Arun Chapman1 March 2022
Guide
3D printers promise endless applications. However, sometimes reality gets in the way of that promise. One example of where that can happen is when trying to print something that needs to hold water, only to watch it leak like a sieve. Read on to find out to avoid such a tragic waste of liquid.
Is it possible to print waterproof and watertight parts?
Yes, it can be done but it’s not always easy. To get the best results, you need to pay special attention to both the material and the settings you use. And even then, some post-processing may also be needed to get a part that is truly and reliably waterproof.
It is also worth talking about what we mean when we say waterproof. When talking about clothing or electronics, the word waterproof is usually used to indicate that an object is capable of keeping water out. For anything that needs to keep water in such as a vase, a more appropriate description would be watertight. Some industries like electronics also use the term water-resistant to describe something that can water out, up to a limit. Such as a phone which is only waterproof up to a certain depth.
In this article, we will use waterproof as an umbrella term to include all the above. The steps you take to make a print waterproof will also help it to be watertight and water-resistant. Although, most parts will not meet the same criteria that your waterproof phone is held to so it’s probably best not to go deep-water diving while relying on a printed part to protect anything sensitive.
How do you print waterproof parts?
To get waterproof parts, there are three areas that are important. The material used, your slicer settings, and post-processing.
It is possible to print waterproof parts with a variety of different 3D printing technologies. Some industrial printers with six-figure price tags are even capable of making extremely reliable waterproof parts with robust materials like metal. However, most people don’t have access to those printers so for this article, we will be focusing on the most common and accessible 3D printing technology, FFF printing.
Materials for printing waterproof parts
Most FFF filaments are thermoplastics. Plastics are generally good at being waterproof which is why most water bottles are made of plastic. Plastics are also not normally degraded or damaged by water which is also why so many of those plastic bottles end up in the ocean and are likely to stay for a long time to come. However, there are a lot of different types of thermoplastics and all of them have different properties which are worth knowing before you try to print your waterproof parts.
A note on swelling: Many 3D printing materials are hygroscopic, meaning they absorb water. Some are worse than others (PETG, Nylon, PLA) and some are better (ABS, PP) but most absorb water to some extent. The result is, if you leave a part in contact with water for a long time it may start to swell. The amount of swelling is usually small, but it can deform your part and even cause it to split or break in a way that stops it from being waterproof or watertight. The swelling will not continue indefinitely or cause the part to degrade completely like it would with untreated wood. Instead, the part will likely swell up to a certain point (depending on the material) and then stop. If you have ever printed a part that was initially waterproof but started leaking over time, this was probably why. It should be possible to dry your part to remove the swelling but allowing a part to swell and then drying it repeatedly may cause increasingly more damage.
PLA
PLA is one of the cheapest and most common FFF printing materials. PLA can be used to create waterproof parts, but it does have some disadvantages. As mentioned above PLA can be prone to absorbing water and swelling.
PLA is also biodegradable. Meaning that (under the right circumstances) it can be composted. This is not an issue if it’s only exposed to perfectly clean water, but if you were to leave a PLA printed part submerged for an extended period in a body of water that contains microorganisms, like a pond, there is a chance that your part could start to degrade. Albeit slowly.
Lastly, PLA has low heat resistance. Meaning that if you wanted to use a printed part to hold hot water, it would likely deform. This can be solved by heat treating your part after printing. Heat treating is explained more later in this article.
PETG
PETG is another common and affordable FFF material. PETG is particularly hygroscopic meaning it’s prone to swelling. On the flipside, PETG has a high heat resistance so printed parts can be kept outside in direct sunlight without issue, and they can stand up to hot (although not boiling) water.
PP
PP is one of the better options for printing waterproof parts. It is less prone to swelling than PLA or PETG and it is chemical resistant. PP can also be used to print flexible parts that hold their shape and do not break after repeated bending.
ABS
ABS is a decent option for printing waterproof parts. It has a high heat resistance and is not as hygroscopic as many other materials. The best reason to use ABS, though, is that you can use Acetone to vapor-smooth parts printed in ABS. Vapor-smoothing will be talked about more in the post-processing section.
PVB
PolySmooth is a PVB-based material made by PolyMaker that is easy to print and has mechanical properties similar to PETG. The big advantage of PolySmooth for printing waterproof parts is that it can be vapor smoothed using isopropyl alcohol. The process is similar to how ABS is smoothed using acetone but isopropyl alcohol is much safer and easier to handle than acetone.
Which settings to use for printing waterproof parts?
Just as important as the material you choose, is the settings you use. FFF printing works by stacking layers of material on top of each other, one at a time. The problem with that is that each layer has a chance of leaving a small gap between itself and the layer below. The following settings are mostly aimed at avoiding those gaps or mitigating their effect:
Wall line count
Wall line count is the setting that determined how many layers thick the outer wall of your print is. Generally, more wall lines will increase the chance of your part being waterproof. The reason is that they reduced the chance of water having a direct path through all the walls present. If under extrusion or some other issue has caused a small gap in one wall, the next wall acts as a backup to plug that gap.
A wall line count of 3 is normally a good place to start. It’s worth noting that increasing the wall line count for thin parts will have no effect. There is also one situation where a single wall is the best option, and that’s when using vase mode.
Spiralize outer contour (vase mode)
Spiralize outer contour (also known as vase mode) is a setting that enables smooth printing of objects with a single wall thickness. It turns the print into one continuous print path which means there are no retractions between layers and therefore no Z seam.
That is the biggest benefit of vase mode. The Z seam is one of the most common areas for gaps in your printed part to occur. Removing that seam makes parts with even a single wall capable of being waterproof. However, this setting is not suitable for most parts as it requires a very specific geometry. Vases, cups, and bowls are the kinds of prints that can be printed using vase mode.
Temperature
Gaps can appear when one layer is not properly bonded to the layer below. A higher printing temp is one way to increase layer adhesion. It’s generally best to print at as high a temp as your material will allow. Beware that when you print at too high a temp, the material can boil as it comes out of the nozzle, leading to more issues and potential gaps.
Flow rate
Under-extrusion is a major cause of gaps in your part. Even well-tuned print profiles can suffer from under-extrusion at times as they normally prioritize high dimensional accuracy, structural strength, or visual fidelit over other considerations. A slight increase to flow rate should be enough to see an improvement. Start with 105% and increase until you see diminishing returns.
How to post-process a part to make it waterproof
Ideally, you should be able to pull a printed part off the build plate and have it be completely waterproof. However, sometimes a bit of post-processing is needed to shore up an almost waterproof part. Here are some of the main methods you can use:
Apply a waterproof coating
This is the easiest and most straightforward way to waterproof an otherwise leaky part. Applying a waterproofing spray, a clear coat, or even just water-resistant paint can help plug up any tiny gaps in your part. Multiple coats may be needed depending on the part and the coating used.
Vapor smoothing
Vapor smoothing using acetone for ABS or isopropanol for PVB is a great way to make a part more waterproof. Vapor smoothing is the process of using a chemical to melt the outer surface of a printed part just enough that it smooths out the part and removes the layer lines that are synonymous with FFF printed parts. Vapor smoothing is normally done to make a part look better but since it fuses the layers of a printed part together, it’s also a great way to fill gaps and make a part more waterproof.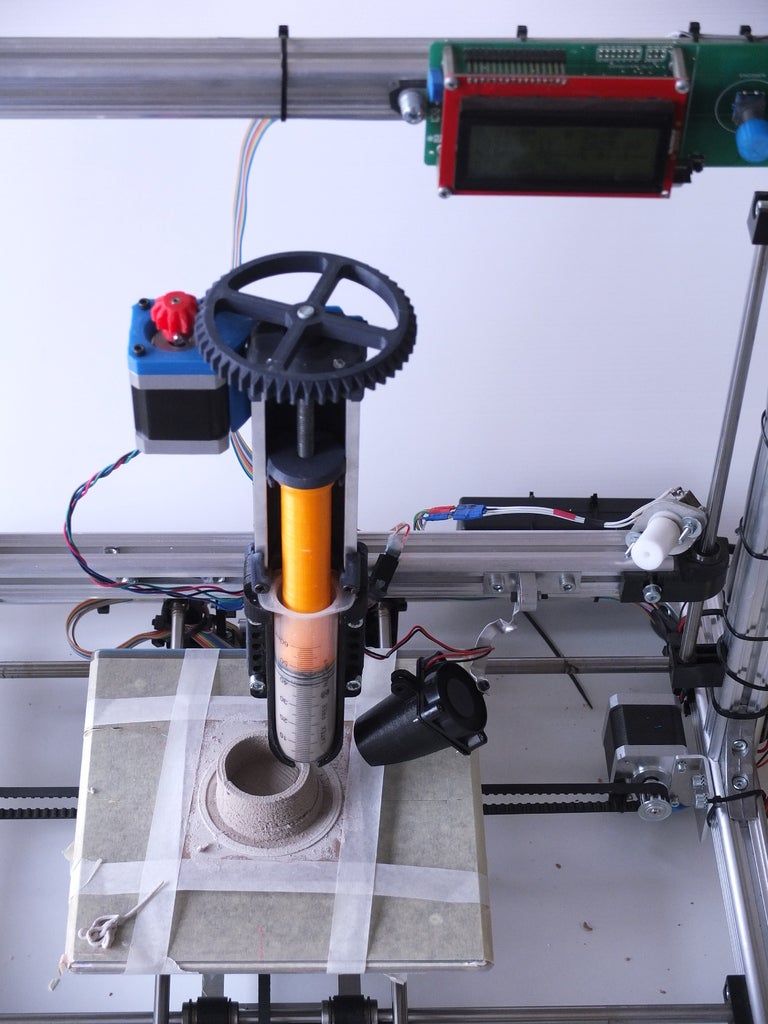
Temperature treatment
Temperature treatment can be done in two ways and for two very different goals. The first is to apply heat to the outside of a print (usually with a heat gun) so that the outer surface melts just enough to fuse the layers together in order to remove the layer lines. This works in the same way as vapor smoothing and it helps remove gaps in the surface of a part and therefore makes it more waterproof.
The second is to heat soak a part over an extended period in an oven or other heated chamber. This process is called annealing. Annealing a part allows the layers of the entire part (even the interior) to bond together more strongly. This increases the strength of the part and makes it more temperature resistant in the future. This can result in PLA parts that have equal or higher temperature resistance to that of ABS or PETG parts.
What are the applications for waterproof parts?
Once you have perfected printing waterproof parts, there is a whole world of possible applications. One obvious area is food and drinks related prints like bowls, cups, or water bottles. While all these prints are possible, we would advise against it as FFF prints are often not food safe and the process for assuring they are is beyond the scope of this article.
However, there are plenty of other applications for waterproof parts. Some examples are:
Scientific research
3D printed parts can be perfect for helping in scientific research related to fluid dynamics and microfluidics. An example of this in practice are the researchers at Cardiff University using 3D printed parts to study microfluidics in a way that is cheaper and more flexible than traditional alternatives.
Watch the videoGardening
Plant pots, composting containers, and hydroponics are just a few areas that are ripe for 3D printing to help with gardening. Beware that if you are using a printed part outside then you should make sure the material you use is suitable to the climate and environmental conditions.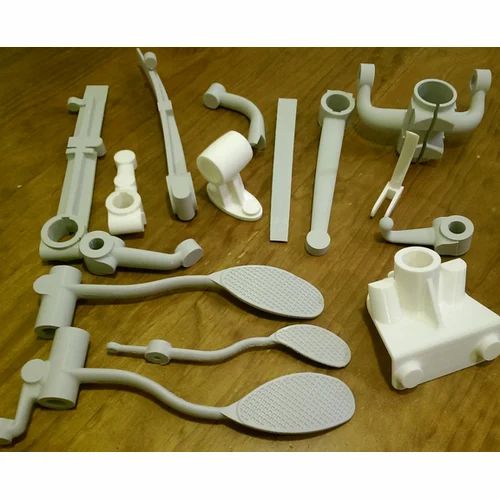 More robust materials like PETG and ABS might be a better choice than PLA, for example.
Water features
3D printed water features can be perfect for your pond or fish tank. And with the complete creative freedom that 3D printing provides, there’s no reason you can’t create an epic rube Goldberg-style water feature that fills your whole house with the soothing sound of gently flowing water.
We hope you enjoyed learning about how to print waterproof parts. If you found these tips valuable, you might be interested to know that a lot of the same techniques apply when trying to print transparent parts. To learn more, check out the blog post we did on the topic.
Read blog
9 Ways How to Make Your 3D Prints Waterproof & Airtight – 3D Printerly
Creating 3D prints that are waterproof and airtight is something that many people try to achieve, or even wonder if they can do it in the first place. It’s definitely possible to make your 3D printed objects watertight when you follow the right directions.
3D printing models with a flow rate of 150%, a large layer height and a wide nozzle diameter works very well to create waterproof and airtight models. Increase your printing temperature to help layers adhere and seal up potential gaps. Seal the final model with an epoxy resin for better results.
The rest of this article will detail the process and tips on how you can get some of the best waterproof 3D prints out there, so keep reading to find out more.
Is 3D Printing Waterproof & Airtight? Can 3D Prints Hold Water?
It is possible to 3D print a waterproof and airtight object which can hold water for long periods of time without leaking. Generally, 3D prints created normally are not waterproof because there are many small gaps throughout an object due to the nature of 3D printing. You also need to have a model which is optimized to be airtight.
Most 3D prints are not going to be watertight because 3D printing creates several layers on top of each other, and in many instances, your nozzle can get slightly clogged during printing leading to imperfections in prints.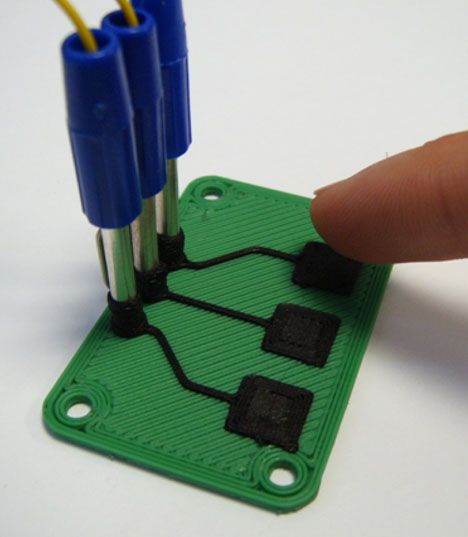
These imperfections can lead to sections having small or large holes in the model. The larger your layer height, the less dimensionally accurate your models will be which is another factor which can create a 3D print that is not waterproof or airtight.
In order to make your 3D prints waterproof and watertight, there are steps you can follow which go from picking a good model, to adjusting your slicer settings, to post-print treatment of the model itself.
The next section will go into some more details to set you on the right path to making your 3D prints waterproof, whether it is PLA, ABS or another type of filament.
How Do You Waterproof PLA 3D Prints & Containers?
To waterproof your 3D prints you should:
- Use a known water-resistant filament which can withstand water easily and be affected by it negatively
- Change your print settings to print larger layers
- Increase the thickness of the exterior, otherwise known as walls or perimeters
- Increase your flow rate/extrusion multiplier to over extrude the amount of plastic to fill up those gaps
- Increase your printing for better layer adhesion
- Use a wider 3D printing nozzle such as a 0.
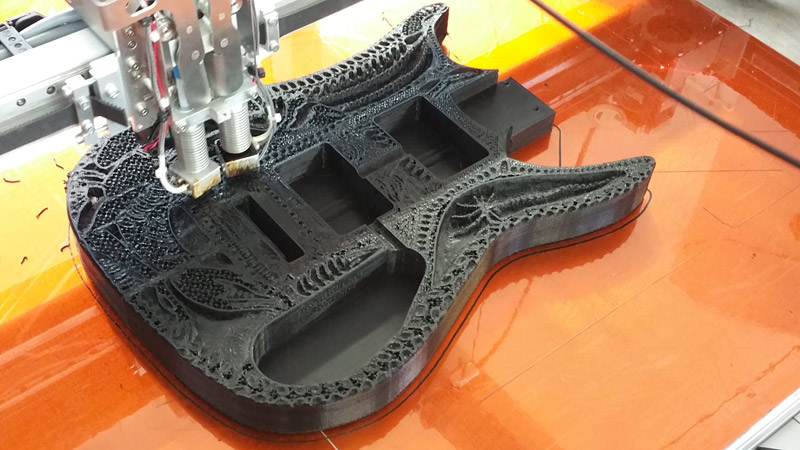 6mm or even a 1mm nozzle
 - Increase your infill percentage/density to fill the model more
- Apply a coat of epoxy resin to seal any gaps or holes in your 3D print
- For ABS, do some acetone vapor smoothing to smooth out any holes or gaps
Using these strategies is going to lead you to a much better path to finally create some real waterproof 3D prints, whether PLA or ABS.
It’s all geared towards reducing how many holes, gaps, and layer separations we get during the printing process, then doing some post-processing to get of any holes that may have got through the FDM, layer-by-layer process.
One amazing product to seal your 3D prints that not many people know about is the MG Chemicals Silicone Conformal Coating from Amazon.
It’s an aerosol spray which people usually use to waterproof their electronics, even having great corrosion resistance when tested in a salt spray environment. Many people use it for their 3D prints to seal PLA and ABS models.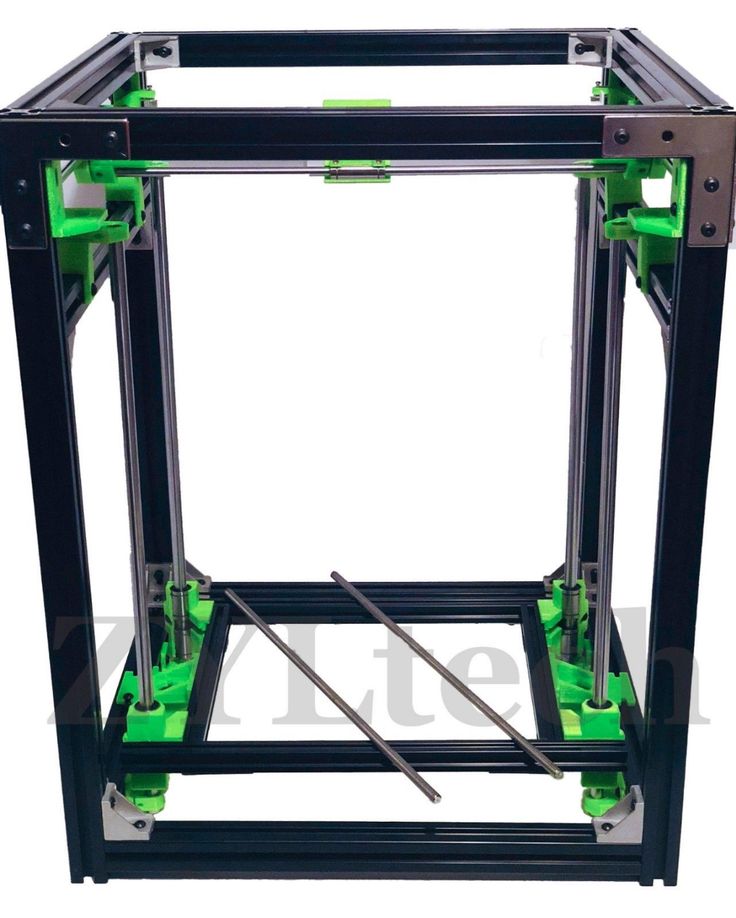
One user said he applies 4 coats, letting each coat dry for 30 minutes before applying the next. It’s really easy to use and only requires thin coats. One of the best things is how it has no weird smell or look after it dries.
Ensure you spray in a well-ventilated area.
Now let’s get into the rest of the strategies.
Use a Water-Resistant Filament
Although you can use filament that isn’t water-resistant like PLA or ABS, you would be best off picking a filament which is.
Some good water-resistant filament to use for waterproof 3D prints are:
- PETG
- Polypropylene (PP)
- GF30-PP (Polypropylene with glass fibers)
These filaments are known to hold water nicely and have a good amount of chemical and impact resistance. Polypropylene is even hydrophobic and repels water, so it’s a great choice to go with.
Increase Your Layer Height
Printing with a thicker layer height leads to fewer spaces for there to be gaps and holes in your 3D models. It essentially squishes together and makes it more likely that your prints will be airtight and waterproof, reducing your chances of experiencing leaks.
Increase Wall Thickness or Perimeters
The outer layers, or the exterior of your model are where your 3D prints will have any gaps, so ensuring that you add more material to these sections means you can make models more waterproof.
A good rule of thumb for a good airtight 3D print is to have around 2 or 3 walls/perimeters, making sure you also have a good wall thickness of at least 1.7mm. This would mean you would have around a 3.4-5.1mm external barrier to keep that water or liquid inside.
You should also have 4-6 top and bottom layers to provide even more of a solid exterior.
Increase Flow Rate/Extrusion Multiplier
Another great way to make your 3D prints waterproof and airtight is to increase the flow rate or extrusion multiplier in your slicer. This has similar results to some of the methods above, which extrudes more material to reduce the spaces between layers.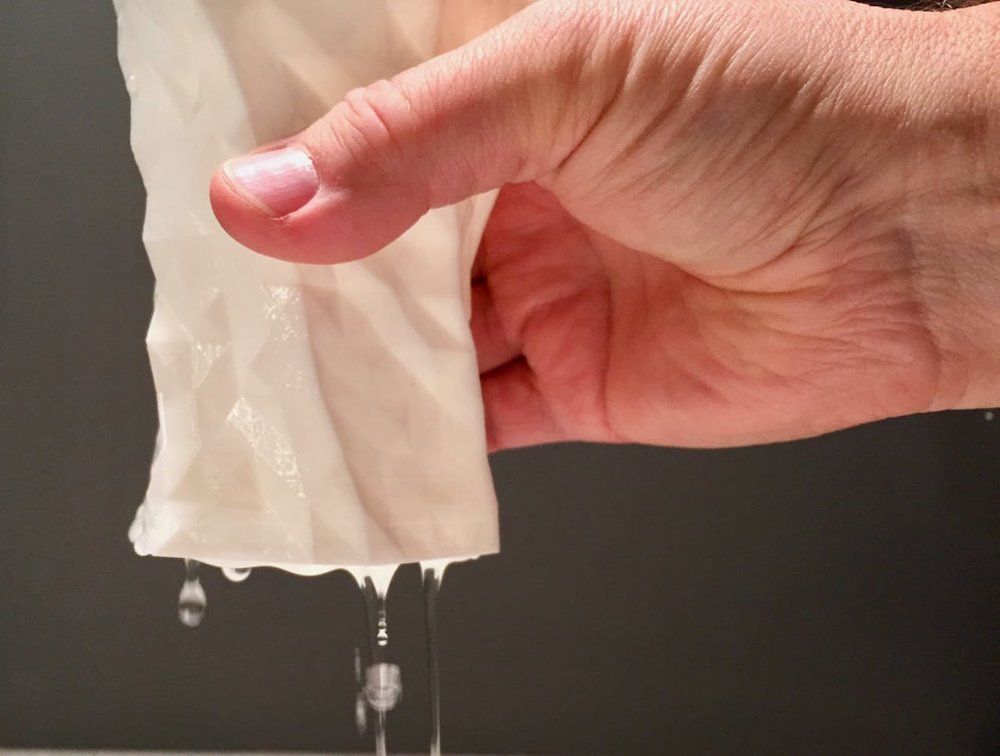
Each layer of your 3D model should have better adhesion since there is more pressure and material coming out the nozzle to connect with the previous layer.
Since we are increasing the amount of material coming out the nozzle, you would usually compensate by either reducing your printing speed, increasing your printing temperature, or both!
A flow rate of 150% should work well for making your prints watertight.
Increase Printing Temperature
As mentioned above, you can increase your printing temperature to add to the necessary element of good layer adhesion between every layer. When you have a relatively lower temperature, layers may not bond as well as they need to.
Use a Wider Nozzle Diameter
Increasing your nozzle diameter is one of the best ways of improving the reliability of waterproof and airtight 3D prints. It relates to increasing the flow rate and reducing the spaces between each layer.
Your layers will extrude much faster and thicker, meaning that it takes longer to cool down. This leads to better layer bonding because the filament is in more in the “liquid-state”.
I’d recommend a nozzle diameter of between 0.6mm and 1mm for the most optimal option.
Increase Infill Density Percentage
When you have a higher infill density, it reduces the presence of gaps in your model. This is a great way of ensure that your 3D prints are more waterproof, so use an infill density of 40-100%.
Apply a Coat of Epoxy Resin or Clear Coat
This is a great method of post-processing that clears up any slight failures in the printing process, because 3D printers aren’t perfect! By applying a smooth, clear coat of epoxy resin, it provides a thick protection against any smaller gaps or holes in your model.
People tend to apply a coat of XTC Smooth-On High Performance 3D Print Coating (Amazon) on the inside of their model to make it waterproof, then letting it dry. Once it’s dried, you should have a 3D print which is optimized for holding water or any liquids you choose to use.
It has a great rating of 4.4/5.0 on Amazon at time of writing and not only does it help with waterproofing your 3D prints, but it also provides a glossy shine to any of your models to make them pop.
When you sand your 3D models then apply a coat of this stuff, you can really get some professional looking 3D objects that you’ll be impressed with.
Do Acetone Vapor Smoothing
Creating waterproof 3D models with ABS is a lot easier due to the acetone smoothing technique. This works because acetone is a known solvent for ABS, and in some cases PLA depending on the brand and manufacturing methods.
The preferred way to smooth ABS prints with acetone is to create an environment where the ABS vapor can slowly work on dissolving each layer of the model and close up any gaps that may be present.
Use SLA 3D Printing
SLA or resin 3D printing provides a better alternative for making waterproof 3D prints due to its very fine layer heights of 0. 01mm or just 10 microns. A 3D printed vase at 50 microns on an SLA 3D printer should be enough to provide you with a waterproof 3D print.
Since FDM works on heat and extrusion, the dimensional accuracy are much lesser, and presence of gaps are are much more prominant.
How Do You Waterproof a Vase?
If you have a vase made out of ABS, you can use acetone to slightly melt/dissolve the surface and clear up any small gaps where water might leak out.
Another great method that works to waterproof a vase for other materials is by using an aerosol spray. Many people have had success with the Performix Multi-Purpose Rubber Coating Aerosol from Amazon.
It is an air-dry special rubber coating spray which is flexible, non-slip, and provides an amazing durable finish.
The best thing is how it will remain flexible and not crack or become brittle regardless of any extreme conditions, even proven to work in temperatures from -30°F to 200°F.
One user got great results with printing a vase by setting extrusion width to 30% bigger than the nozzle diameter, using two perimeters with overlap (Skin Overlap Percentage) of more than 30% to completely seal the perimeters.
Best Water-Resistant & Moisture Resistant 3D Printing Filament
Every thermoplastic is reasonably waterproof as long as the manufacturing method is sound. One user who put a PLA piece in their aquarium did a 2 year update and found that it held up without showing any signs of degradation or damage.
PLA would do fine underwater, but it’s likely going to become brittle over time.
In terms of some of the best water-resistant and moisture resistant 3D printing filament out there, I’d recommend:
- PETG
- ABS
- Polycarbonate
- ABS (acetone smoothed)
Thousands of meters underwater: 3D printing in deep ocean research
URI Deep Sea Robotics Lab Principal Investigator Brennan Phillips.
Despite the international craze for space travel, the true last frontier may be closer to home. Oceans cover more than 70% of our planet's surface, but the National Oceanic and Atmospheric Administration (NOAA) estimates that less than 20% of the oceans are fully explored. Compared to the scale of space exploration, the study of the oceans is underfunded and undervalued. However, some researchers are persevering despite the challenges and are turning to 3D printing as a way to go deeper. nine0005
At the Underwater Robotics and Imaging Lab at the University of Rhode Island's Bay Campus, Professor Brennan Phillips and his students are building instruments that can probe thousands of meters below the surface of the ocean. Using the Formlabs Form 3+ and Form 3L SLA 3D printers, the lab prints waterproof camera cases and a variety of research tools for its work.
Pressurized Waterproof Parts
Ocean mapping requires tools that are not only watertight, but remain watertight even under enormous pressure far below the surface of the ocean. Phillips and lab students began designing a printed camera case that could keep the device completely dry even under pressure while still being easily disassembled for data retrieval. After dozens of iterations, the team settled on a two-piece cylindrical design printed on Form 3+ in Clear Resin. The internal structure of the case holds the circuit board and is filled with epoxy resin that holds the camera lens in the air. Everything under the lens is epoxy, poured through holes built into the body structure. nine0005
"We have been given the task of what is the smallest and cheapest deep sea camera we can make? Now we have printed dozens of these cameras in different shapes, and since this is a printable thing, we can make any shape we want. We can quickly design something then, assemble the electronics, put it in there, optimize the size, and then pour the epoxy," says Phillips.
3D printing allowed the lab to iterate rigorously without worrying about going over budget, and also allowed for more design flexibility than machining. nine0005
The DEEPi camera design uses a hybrid printed mold and an O-ring, an epoxy-filled volume for PCB components, and an external clear glass viewing window.
The laboratory uses a pressure vessel to simulate deep water conditions. Once Phillips and his students settled on a two-piece epoxy design, they placed the pieces in a pressure chamber, increasing the pressure to simulate a true deep sea environment. nine0005
Why SLA 3 D - perfect for deep sea robotics
When evaluating various 3D printers for Phillips Lab, accuracy and material properties were top priorities. The isotropic nature of SLA parts means they are not porous or water-permeable, as FDM printed parts can be. The smooth surface of the SLA parts also ensures that functional assemblies, such as two-piece cylindrical housings, can be connected to each other without a rough surface causing air gaps. Precision and high resolution also contribute to water resistance - incredibly tight tolerances and small part sizes allow screw threads to be printed directly into the material, and in Phillips Lab this is done for both the two-piece body and the screws that serve as additional protection for the mounting.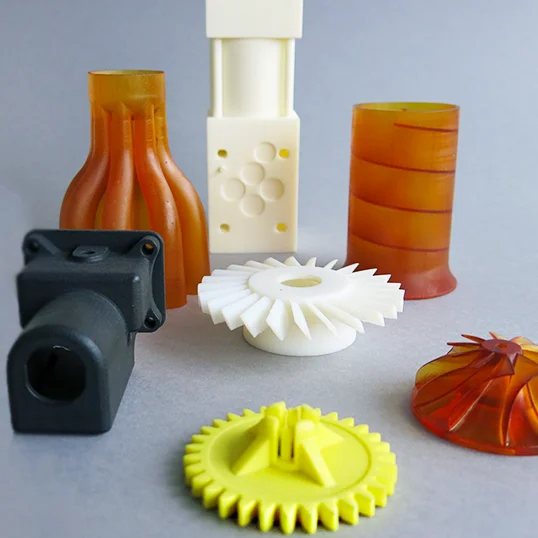 nine0005
Fully printed housing capable of protecting electronics from sea water at depths of more than 1000 meters. The O-rings are printed directly on the parts and the body is sealed by a hand-screwed rim.
“You need 100% SLA detailing - with FDM you might be able to get an IP rating from them, but you won't be able to withstand more than a couple meters of pressure. Secondly, you need permission so that the o-ring between the two parts will ensure a complete seal. These parts come straight out of the printer and we sand them a little, but then orient them so that the critical surfaces are smooth and we get a perfect seal" , says Phillips. "And the third reason is that the properties of SLA materials are much better - there is no comparison at all. They are much better in terms of yield strength. All elastic moduli are better than any other material."
The precision of Formlabs printers and the availability of Formlabs materials have allowed the lab's core work, watertight deep-sea hulls, both onshore and offshore, to flourish. In January 2020, Phillips and his students published their 3D printing process using a stabilization rig on the Form 2. They were able to print the same cases without perceptible differences from their land-based counterparts, which means these devices can be printed and deployed. locally, on ships around the world. Continuing the laboratory's mission to democratize deep sea science, this work provides evidence that these important tools can be made inexpensively and locally. nine0005
Working with Form 3L
When Formlabs announced the Form 3L large format 3D printer, Phillips and the lab were among the first to get to work right away. "We were among the first to purchase Form 3 L " , says Phillips. The Form 3L's large format allowed them to experiment with larger underwater structures and improve other lab functions with innovative research tools. nine0005
To deploy these housings and other monitoring devices underwater, the laboratory must use and maintain thousands of feet of thin fiber optic cable. To avoid tangles or knots, they first used repurposed bicycle wheels to guide the fiber over the side of the boat. However, with a large-format SLA printer on hand, they were able to prototype the design to reduce the size and increase productivity of the process.
A 3D printed "slide" helps guide fiber optic cables smoothly along the side of the boat without tangling or breaking them.
“We didn't want to use a swivel pulley or wheel for line. We needed a slide. So we've printed about three or four iterations of this slide. It's big and nice and smooth, and that smoothness helps with finer lines," says Phillips. The slide printed on Form 3L in Clear Resin reduces the time it takes to store line carefully for reuse and reduces the number of times they need to replace their equipment. nine0005
Innovations in fiber optics
Line, despite the complexity of rewinding, is not the thinnest material. However, fiber optic cables cannot be treated in the same way, as they are much more expensive in the event of a breakdown.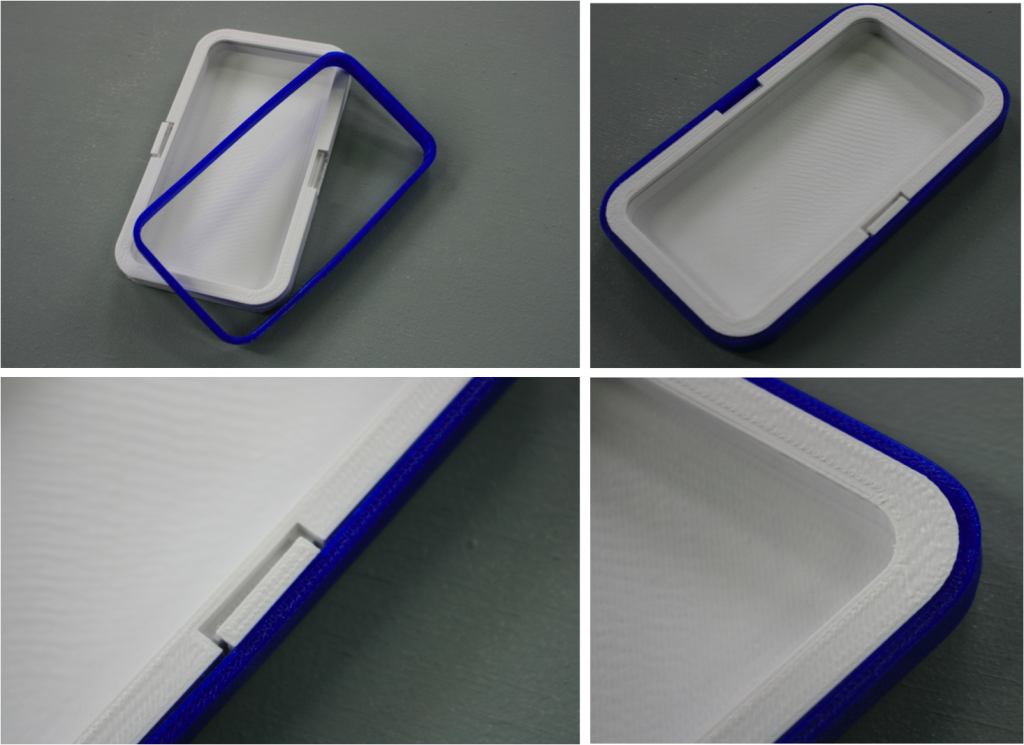 Phillips Laboratories partnered with Nautilus Defense LL, based in Pawtucket, Rhode Island, to pioneer the invention of a new type of fiber optic line, or FOFL. “Fiber optics gives us Ethernet, live video and the like. This is very difficult to do with copper cables over long distances”, says Phillips.
But the fiber optic line was not quite usable on its own - it needed a mechanical connection point so that it could be pulled without breaking the fiber optic strand. Since fiber optic cables cannot be knotted or manipulated in the same way as other, stronger fishing lines, the laboratory had to invent a device for the end of the cable.
Printed to the tight tolerances achievable with Formlabs high resolution SLA printers, the load-bearing outer braids of the line can be separated from the fragile strand of fiber. Using injected epoxy, the braided line is glued to a 3D printed fixture, and the fiber optic is routed into a metal branching tube that can connect to a computer to receive the information carried by the fiber optic cable.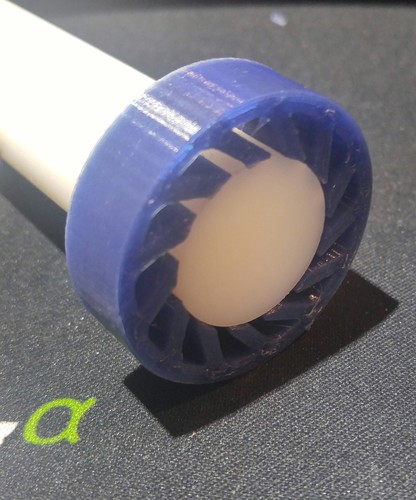 nine0005
SLA printed parts are used as mechanical terminations for "fiber line" or FOFL), separating the load-bearing outer braid from the fragile fiber optic core.
"This type of mount is very strong, it can hold at least 100 kilos. We have filed for a patent and also published it in the public domain. Without 3D printing, in a normal manufacturing process, they could cost $3,000 or $4,000" , - says Phillips . "It's the combination of rapid prototyping techniques like Formlabs printers and the new fiber optic line that makes it possible to realize new ideas like this" .
3D printed lower cost seals
Prior to 3D printing, these tools were expensive to develop, deterring researchers from making the necessary design changes and preventing underfunded programs from developing them at all. The Underwater Robotics and Imaging Lab is part of the global "deep and cheap" movement, an effort to democratize science and open access to these technologies to better understand the oceans around us. nine0005
"I started 3D printing end caps that had O-rings built into them, and it worked. If you print on a machine, it costs hundreds or even thousands of dollars, and the drawings must be accurate. With these With printers, I can print three or four and get a perfect fit for about $50 per material," says Phillips.
The lab team didn't just print the final parts; using Clear Resin, they have developed a successful workflow for printing forms. The end result is an optimized way to quickly splice submarine cables using printed forms. nine0005
Versatile Uses
At Phillips, Formlabs printers are used for prototyping, end products, quick tooling, workpieces and fixtures, and even medical devices. Even in a small research lab, the innovative spirit of Phillips and his students is constantly expanding the possibilities of using printers.
During COVID-19, Phillips and his students realized they had an opportunity to make a real difference in the fight against the pandemic in Rhode Island. Through extensive testing and exhaustive research, the lab was able to publish the results of the chemical degassing of Formlabs Surgical Guide Resin for use in 3D printed ventilator parts. They accomplished the feat of not only scientific publication, but also applied for FDA approval and emergency use authorization. nine0005
“There has been a huge effort during the pandemic and we wanted to really get involved and help where we could make the most difference. Thanks to the quality of the Formlabs printers and the availability of Surgical Guide Resin, we were able to contribute at a higher level.” says Phillips.
Y-splitter ventilator parts developed in collaboration with researchers at Brown University and Rhode Island Hospital are 3D printed using Surgical Guide resin in the early stages of the COVID-19 pandemic.
Depth democratization
The lower cost of manufacturing these parts not only benefits the lab budget, but also means that learning (and the inevitable stage of failure when trying new ideas) does not deprive students of access to these machines. Senior students designing parts for the first time can access the technology and learn how to 3D print without fear of making any mistakes that cost precious resources.
URI second year students have the opportunity to design and 3D print molding cases each year, contributing to research while gaining valuable new CAD and 3D printing skills. nine0003 "Before the advent of 3D printers, students didn't design or build their own underwater enclosures until they were graduate students or worked in industry and couldn't get trained because cost and access were just limited. But Formlabs printers are opening doors - I had a high school student who made a pressurized case," , says Phillips.
These opportunities are not limited to college students in America - Phillips is part of an international community committed to improving access to deep sea instruments in underdeveloped coastal countries around the world . "We're working to build the capacity of countries that want to do their own research in the deep ocean. Money is a constraint, training is also a constraint, but these methods have the potential to really unlock that opportunity and democratize deep ocean research," says Phillips.
PolyJet 3D printing. Waterproof Innovations ― Printer-Plotter.ru
3D printing molds enable rapid production of functional prototypes that can be tested in the field. This significantly reduces the time to market for the product. nine0005
PolyJet technology facilitates the creation of demanding models.
PolyJet Technology to Increase Competitiveness
A Leader in Water Metering Solutions Arad Group (Arad) designs, manufactures and markets water meters for residential, wholesale, irrigation and water companies worldwide. The company operates its own manufacturing facility using sophisticated testing and quality control methods.
Arad turns to 3D printing to increase competitiveness PolyJet for the development of smart water meters. Implementing the technology internally means rapidly printing prototypes on a 3D printer and printing 3D injection molds for short runs. Thus, functional testing can be carried out with the intended production material and process.
3D Printed Injection Molds
The design, testing and production of waterproof components that protect electronics is subject to strict requirements. The ultrasonic welding required to connect parts to each other can only be tested on actual end material components, usually made using an aluminum test mold or even a final steel mold. These metal molds cost between $5,000 and $20,000 and take four weeks to three months to make. If a test weld reveals a need for a design improvement, the mold making process starts over again and the cost increases exponentially. nine0005
Instead, Arad creates injection molds using a PolyJet 3D printer. The design provides for a stepped joint for the welding process, which ensures high strength and good aesthetic appearance, since the welding melt partially seals the joint. The molds are 3D printed using Digital ABS material and consist of four parts: a core, a cavity, and two negative thrust inserts. The total print time is only 10 hours. nine0005
Ready to weld
After the injection molds are printed, the male and female parts are mounted on the injection molding machine and injected using two different test materials: Grilamid TR90 (amorphous nylon) and ABS 757. After Once the parts are injection molded, they are welded together for a waterproof fit with the electronic components inside.
3D printed injection molds enable rapid production of functional prototypes that can be tested in the field. By using 3D printed injection molds to produce functional prototypes, Arad reduced time to market by five weeks and prototype production costs by 80 percent. nine0005
Printer-Plotter.ru specialists will be happy to answer your questions and help you choose the equipment that best suits your needs. Let us know what and how much you print, and we will offer the optimal configuration.
You can always get detailed information about this technology, as well as select and buy a Stratasys 3D printer for your tasks by contacting Printer-Plotter.