Prepare 3d model for printing
How to prepare a model for 3D printing
3D printing can be a frustrating business. You've stroked and sculptured your character to on-screen perfection yet, somehow, your character crumbles when you try and print it.
As you read on, we'll explore some simple techniques that will help you tweak your models for successful 3D printing.
In animation software, your model exists in a world without gravity or physics. For your model to exist in a physical space, you’ll need to keep the material’s characteristics in mind, such as tolerances and uses.
For example, if you want to print in colour Shapeways offers a Full Colour Sandstone material, if printing prototypes with interlocking parts you’ll need a strong nylon material and for hand-painting models a grained material is best, such as Shapeway’s Frosted Plastic. You can now even print jewellery in gold.
02. Weight Distribution
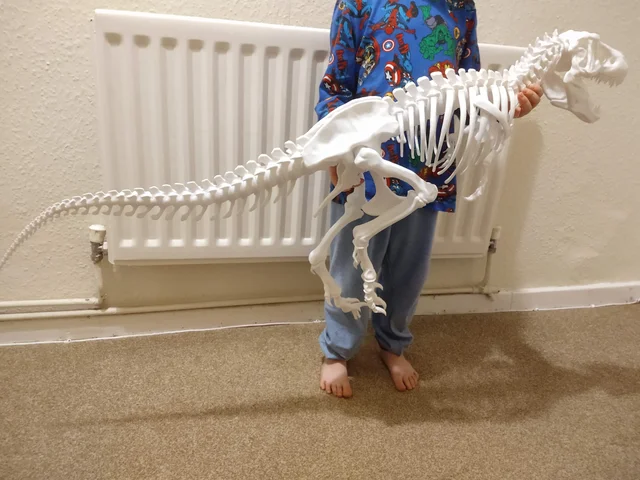
Take the time to review how your model’s weight will be distributed. If you want your model to stand by itself and not topple over, make sure the bottom of your model has a strong grounding. Maybe your model needs a base, thicker legs or multiple points of contact on the ground to hold it up.
03. Think about size
Size your model to fit your needs and the printers. When you see Maximum Bounding Box in a Material Design Guideline, that is how large a model can be printed in the given material.
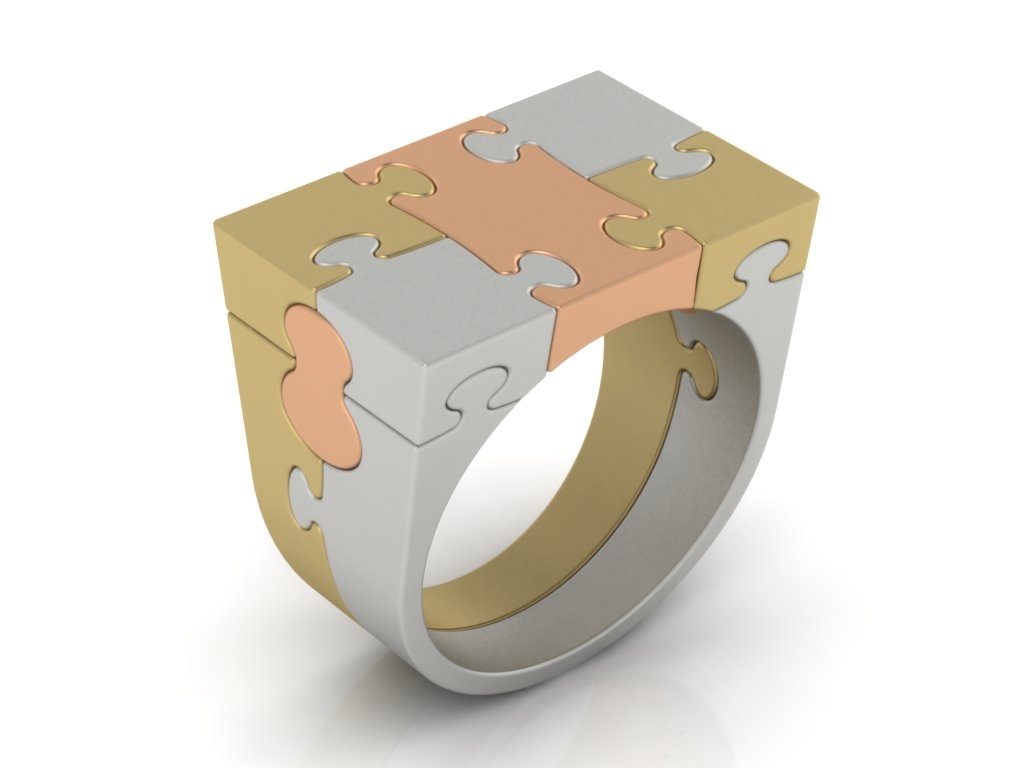
Size is especially important for prints that fit together (like puzzles) or are worn (like rings). Because of casting, certain materials – such as brass, bronze, silver and steel – can shrink in production. Ceramic prints shrink about three per cent when fired and expand when glazed.
04. Making your mesh watertight
A watertight mesh is achieved by having closed edges, creating a solid volume. If you were to fill your model with water, would anything leak out? Check your normals and make sure they all face outward (any flipped normals will be read as holes by the printer). You may have to clean up any internal geometry that could have been left behind accidentally from booleans.
05. Thicken vulnerable areas
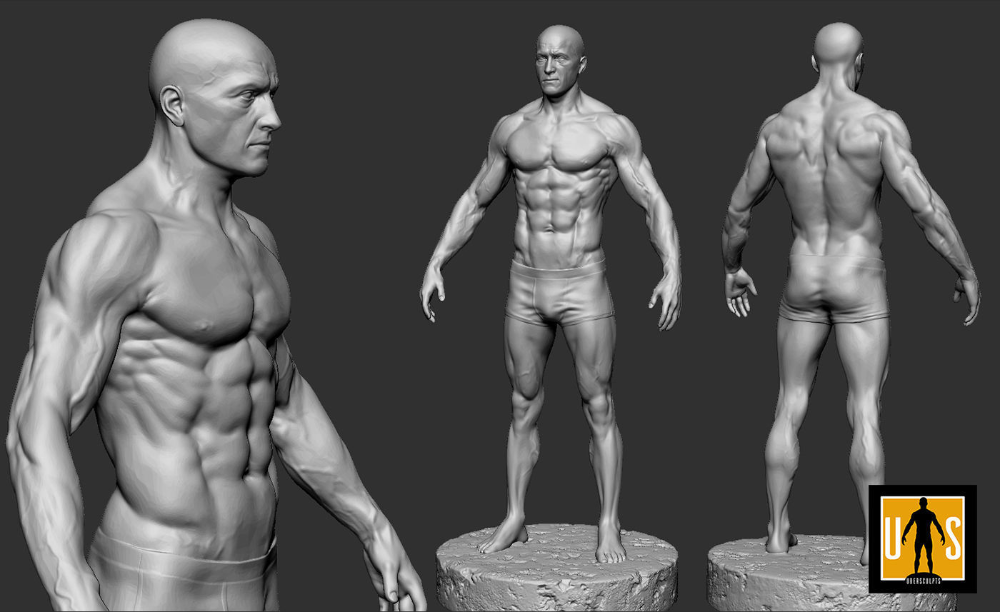
Outstretched appendages from the core of your model might snap off during or after printing, if the point of contact or joint is too thin. In 3D printing, these appendages can sometimes be referred to as wires.
During the production process, some materials are very delicate. You might need to reconsider the pose of your character in order to bring appendages back to the core to create supported wires over free wires. This will add to the strength of your model.
06. Escape Holes
The price to print your model is mostly based on the volume of material used. Hollowing out your 3D model can help you save on the expense of your print. When printing your model is created in a tray full of support material, such as plastic nylon powder or wax.
It is best to have an escape hole so the excess material can be removed. This is especially necessary for models that are dyed because if excess powder is trapped inside your model, the model will not dye evenly. It is important that the escape holes are large enough for the support material to escape.
If the support material cannot all be removed at first, it may leak out during the dying process, contaminating the dye and ruining the batch.
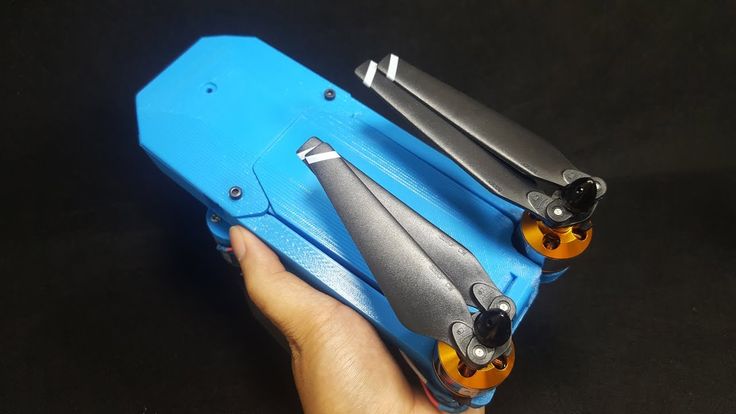
3D printing uniquely allows for creation of intricate, interlocking, movable pieces without assembly. The level of intricacy and detail that industrial 3D printers can produce is unparalleled.
We encourage you to experiment with different types of joints and mechanisms so that your finished print can have moveable parts. If you are creating separate or interlocking parts, make sure there is a large enough distance between tight areas.
08. Remove smoothing modifiers
When modelling, to create a high-poly feel with a low poly count, you typically use a smoothing modifier for faster render time. Each package has a different name for this setting: Maya has Nurbs, 3ds Max has Curves and Lightwave has SubDs.
3D printers do not read smoothing modifiers though, so you need to remove them and raise your sub-division level to recreate the illusion smooth modifiers offer. Now your model has a higher resolution.
Words: Laurie Berenhaus
Laurie Berenhaus is a designer and educator with a focus on 3D design and printing. This article originally appeared in 3D World issue 183.
Thank you for reading 5 articles this month* Join now for unlimited access
Enjoy your first month for just £1 / $1 / €1
Already have an account ? Sign in here
*Read 5 free articles per month without a subscription
Join now for unlimited access
Try first month for just £1 / $1 / €1
Already have an account ? Sign in here
Sign up below to get the latest from Creative Bloq, plus exclusive special offers, direct to your inbox!
Contact me with news and offers from other Future brandsReceive email from us on behalf of our trusted partners or sponsorsThe Creative Bloq team is made up of a group of design fans, and has changed and evolved since Creative Bloq began back in 2012. The current website team consists of six full-time members of staff: Editor Kerrie Hughes, Deputy Editor Rosie Hilder, Deals Editor Beren Neale, Senior News Editor Daniel Piper, Digital Arts and Design Editor Ian Dean, and Staff Writer Amelia Bamsey, as well as a roster of freelancers from around the world. The 3D World and ImagineFX magazine teams also pitch in, ensuring that content from 3D World and ImagineFX is represented on Creative Bloq.
Ultimate guide to preparing 3D models for printing
Posted By Kat Plewa on Nov 7, 2018 |
Before sending your 3D models for printing there are a few things crucial to keep in mind. They are important to assure your 3D models will come out looking just as good as on your screen. With this blog post, you will learn what are the essential requirements your 3D model has to meet and how to prepare your 3D models for printing. Let’s get started with our list for the best 3D printing results!
1. Assure the solidity of your model
This picture shows exactly the case, if your 3D models have holes, missing walls or vertices, they will be unprintable.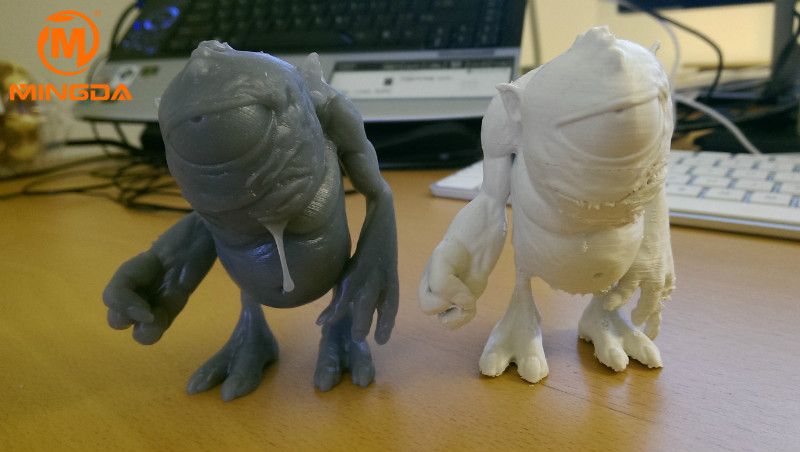 You need to assure all the points, curves, lines, and vertices are connected and the objects created only of closed shapes. 3D designers might already know the tools, such as ”cap holes” in 3Ds Max, but if you’re new to 3D modeling software, check out our tutorials.
2. Don’t forget about gravitation
Just as important is the stability of your object. Just because the object looks stable on your screen doesn’t mean it will act the same in reality. This is especially important for mechanical parts which have to withstand a lot of stress. If such need occurs, add supports. They will assure your parts are 3D printable and stable.
3. Choose 3D printing technology
Most of the points on our checklist are universal, however, the Additive Manufacturing you will choose is one of the most important aspects of preparing your 3D models for printing. That’s because each 3D printer and material has its own restrictions.
For example, maximum size to 3D print your objects with SLS and material Nylon PA12 is 545 x 675 x 366 mm, but for the same technology Nylon 3200 Glass-Filled has size limitations at 240 x 315 x 190 mm.
Remember to check all the restrictions of the chosen technology and adjust the parameters of your 3D model in your 3D modeling software. We will go over the most important things to check in the next few points of our design guide.
4. Check Wall Thicknesses
As we said each Additive Manufacturing technology has its own design guidelines based on the 3D printer and the properties of 3D printing materials. Because of that, the limitations of wall thicknesses will differ. Assure your 3D models for printing have the right wall thickness.
It is crucial to check it, especially for mechanical parts. If the walls will be too thin, not only your 3D models might be unprintable, but they also might lose mechanical properties needed for your project.
Find the full list of wall thicknesses limitations for all of our 3D printing technologies and Materials.
5. Set Minimum Detail
Different Additive Manufacturing methods also come down to the accuracy of the technology and the level of detail it can handle.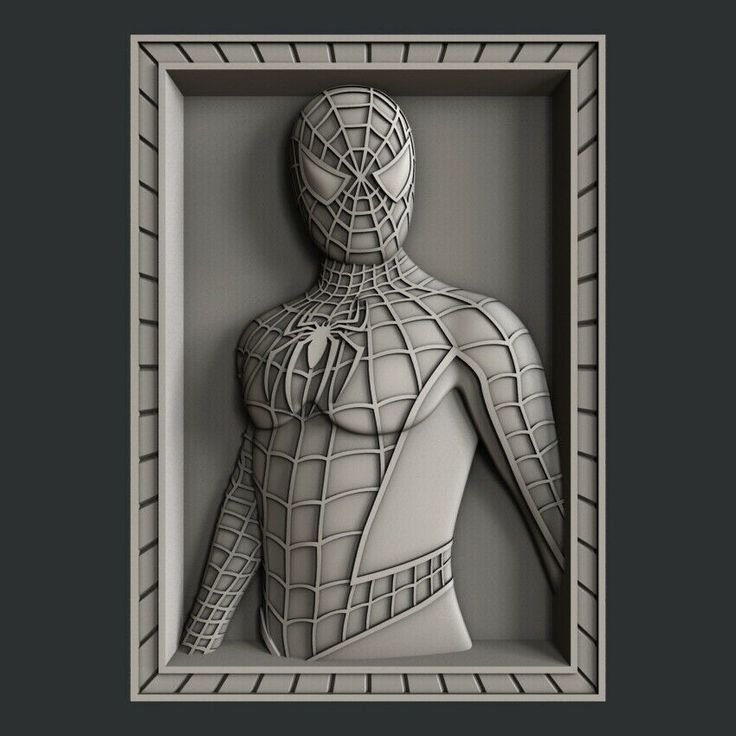 Before sending your 3D models for printing, check if the complexity and details are not too small.
3D printing technologies are already capable of producing some really finely detailed designs, however, the detail limitations are based on 3D printers and materials. Reassure that your complex 3D models still meet the needed restrictions for 3D printing.
Below we listed for you all the minimum detail restrictions for each of our materials.
6. Design the right Minimum Clearance
As Additive Manufacturing gives you new design freedom, you can 3D print not only highly detailed designs but even interlocking parts! This brings a revolutionary solution to part assembly, eliminating such a time-consuming process. However, it’s important to remember that there has to be a specific amount of space between the parts called minimum clearance.
For your 3D models to be printable, you have to consider the minimum clearance, otherwise, your 3D printed interlocking parts won’t work properly.
In the timetable, you can find the minimum clearance for all our technologies.
7. Size matters
3D printing technologies are very accurate and when you upload your 3D models for printing to our online service we offer you a scaling tool, however for the best result it is safest to scale your models through your 3D modeling software.
This way it will be certain that your 3D models will come out as a 3D print perfectly the same. And while scaling your 3D models, remember that different technologies have their own size limitations.
We prepared for you a design guide on the maximum size for 3D printing your 3D models with different technologies and materials.
8. Check Strength
Checking the strength of your 3D models is essential, especially when it comes to mechanical engineering parts. Additive Manufacturing technologies are capable of producing fully functional parts, but for them to be able to stand the stress, they need to be strong. There are 3D modeling software tools you can use for that, as explained in the video above.
9. Hollow your 3D model
Another useful thing to do before sending your 3D models for 3D printing is to hollow them. This way the production costs will be lower as less powder will be used. This might seem like a design challenge, but there are easy ways to do it. Our tip for 3D designers is to use our Hollowing tool, available when you upload your 3D models for printing.
10. Printing Multiple Objects?
Despite that you can 3D print interlocking parts, it is better not to print multiple copies of one part within the same 3D printing order. We highly recommend for you to upload your part once and order multiple copies instead of uploading a file with multiple objects. Such file will be heavy and hard to upload as well as impossible to operate by our 3D printers.
11. Before applying Finishes
Multi Jet Fusion Finishes
Also, take in consideration if any finishing options will be applied to your 3D models.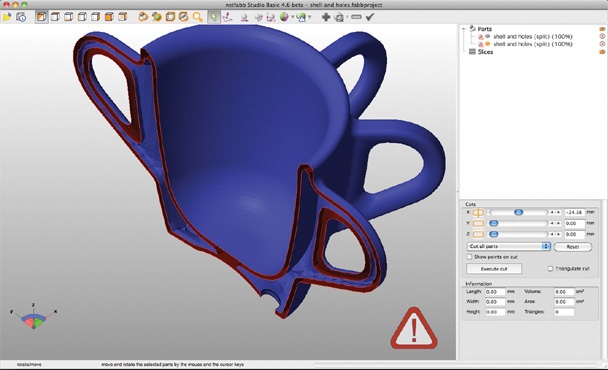 If so, maybe some design adjustments will be necessary to assure your 3D models will not lose any quality or details when the finish is applied.
Our online 3D printing service offers various finishing options such as Smoothing Beautifier, Polishing, Dying with Color Resist or Color Touch finishes. To give you the best idea of how your 3D models will look like our online 3D printing service will give you a 3D visualization of how your 3D models will look like.
12. Round details
Speaking of finishes, it’s important to mention metal 3D printing. As metal is a harder material to work with than plastic, some heavy polishing is applied. It’s a vital thing to look into when preparing 3D models for printing as any rough edges will be smoothed out while polishing.
However, some finishes might be just what you need for your production as we offer different plating options such as Mirror Polished for Sterling Silver or Pink Gold and White rhodium for Brass.
13. Multicolor 3D printing
If your production needs parts that are colorful, we also have a solution. Our multicolor will meet your expectations. But it’s important to remember about having the right color settings, otherwise, your 3D files will be unprintable.
Send your 3D models for printing today!
Hopefully, this design guide helped you to understand the steps you have to take to prepare your 3D models for printing. Our list included the most important aspects such as choosing the Additive Manufacturing technology, checking the size, detail and clearance limitations, making sure your 3D models are strong enough and adding supports if necessary.
If you run into any troubles preparing your 3D models for printing don’t hesitate to contact us! Our 3D printing experts at the Sculpteo Studio are here to help and ready to answer any of your questions.
And don’t forget to subscribe to our Newsletter and follow us on Facebook for the latest 3D printing news!
Rules for 3D modeling for 3D printing
It is known that a prerequisite for 3D printing is the presence of a 3D model, according to which the printer will grow a three-dimensional object. But, even after simulating an object, you should not assume with absolute certainty that the job is done, and soon the printer will give you the finished product. The fact is that not all models are suitable for 3D printing. There are certain requirements for the dimensions, thicknesses and design of models - and these requirements vary depending on the material used and the printer. In addition to these individual characteristics, there are general requirements that distinguish print models from other 3D models. And now we will talk in more detail about how to prepare a model for 3D printing. nine0003
First of all, you need to remember that STL files (for one-color models) and WRL (for color plaster 3D printing) are suitable for 3D printing. Almost all 3D modeling programs allow you to export models to STL, so this should not be a problem. You should also take into account that for online download on our website, files no larger than 50 MB each are accepted, as well as an extended list of formats that are automatically exported to STL: STP, STEP, OFF, OBJ, PLY and directly STL.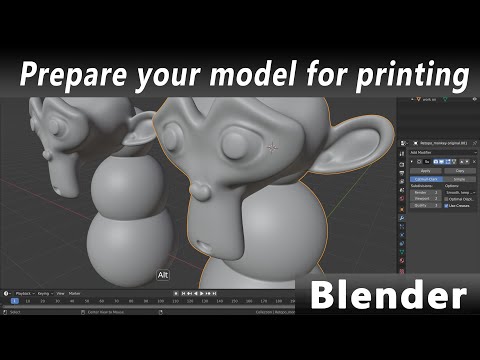 If the file size is more than 50 MB, then you need to send the model to our email address: [email protected]. By the way, one of the easiest ways to reduce the volume of the model and the file size is to create hollow 3D models, we already wrote about how this works in our blog. nine0003
Before you start creating a model for 3D printing, it is important to understand what material you want to print the product from. Each material has its own individual characteristics for 3D modeling - maximum and minimum model dimensions, wall thicknesses, distance between moving parts, etc. You can learn more about the requirements for a particular material in the appropriate section on our website.
If you use the online model upload on our website, it will automatically check for standard 3D modeling errors. Models are checked instantly, and if errors that prevent 3D printing were not found, then immediately after uploading the model will appear in your personal account in the "My Models" section. If the model did not pass the test, then you will see a notification that the file cannot be loaded, then you will need to check and refine the model again. nine0003
What are the most common errors encountered when modeling for 3D printing?
- Inverted normals - incorrectly oriented normals. Normals should always point outward, they define the boundaries of the object and allow the 3D printer software to understand which is the inside and which is the outside of the model. If at least one of the normals is directed in the opposite direction and contradicts the other normal, then this causes a failure in 3D printing, since the printer cannot distinguish between the front and back sides of the object. nine0018
- Non-manifold geometry - Non-manifold 3D model is a prerequisite for 3D printing. The essence of this concept is that each edge of a 3D model must have exactly two faces.
The following errors are usually included in this concept:
o Mesh with holes - "unclosed" mesh problem. Remember the basic rule of 3D modeling: your model must be "watertight" or "airtight". If a hole is formed, it means that some edge is missing one face, therefore the model is not manifold, and therefore not suitable for 3D printing. nine0003
o Presence of internal polygons. There must be no faces inside the model, for example inside walls.
o Common ribs. An error occurs when more than two polygons are attached to the same edge. Each edge in your 3D model should connect only two adjacent faces.
o Matching edges. Occurs when two separate edges are created at the same location and are not connected, such edges must be merged into one common edge. nine0003
o Polygon overlap. Occurs when a polygon is created on top of an existing one. Intersecting edges can confuse a slicer - a program that translates a 3D model layer by layer into a control code for a 3D printer.
o Zero polygon thickness. To avoid this error, make sure that each polygon has the specified thickness.
How can standard errors in 3D modeling be corrected?
To do this, it is enough to use the Netfabb program, which, with more than 95% chance to correct all errors. You can download Netfabb here or use the online version of the program.
Read about the basic principles of working with Netfabb in the "Lessons" section of our blog.
HOW TO CREATE A MODEL FOR 3D PRINTING
Hello everyone, my name is Bogdan, I'm a concept artist, I'm most interested in Hard Surface. He graduated from several courses, for example, Super Maya - Yuri Snytko's video course, Hard Surface XYZ course. Now I'm studying the Movie Man XYZ course. Participated in various concept art competitions: nine0003
https://www.ggac.com/v2/work/detail/169998
https://render.ru/ru/gallery/artwork/211240
At the moment I'm just starting out in the gaming industry, so I'm open to any job offers.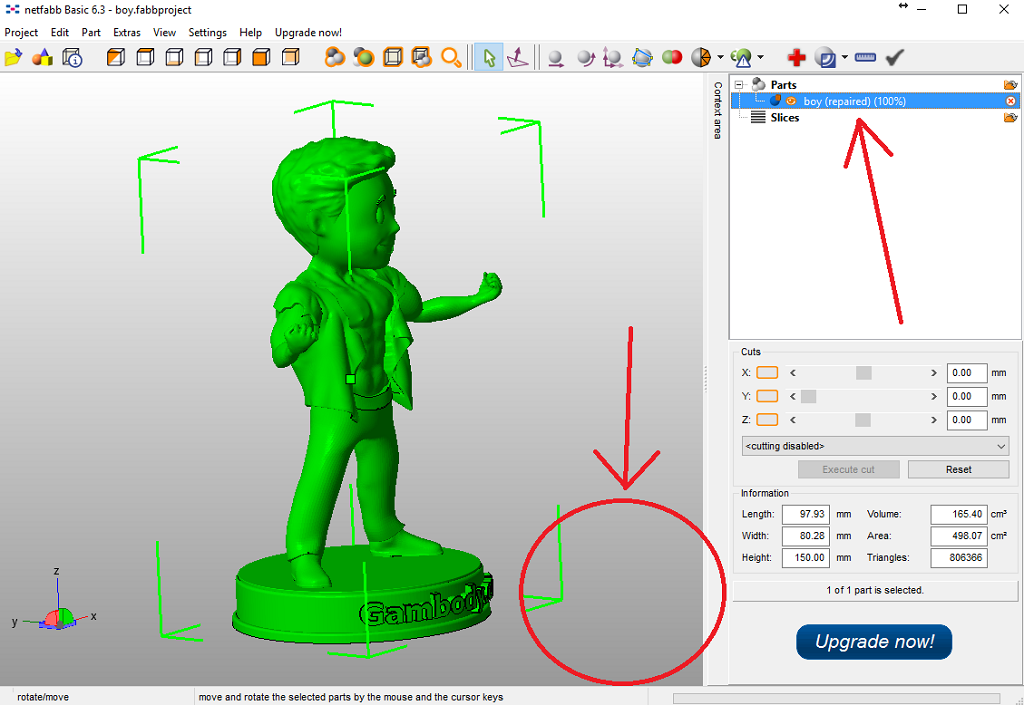
My favorite hobby is board games, I really enjoy building and painting models and then playing with them. Having mastered the basic skills of design and modeling, I decided to start developing my own wargame from the lineup. The first unit was the BMP "Ferus" (here it is on ArtStation: https://www.artstation.com/artwork/8wo90m) because Hard Surface is my favorite and I could test the glue-free build, spinning wheels and turret. After choosing a topic, I began to select references. Usually I don't limit myself in the number of images, as they can be conveniently saved and sorted in the wonderful PureRef program.
For modeling I usually use ZBrush and Maya. In Maya, you can very quickly make Blockout and Kitbash for a future model, after which you can work on the shape, silhouette and guide lines in ZBrush, put the model together. nine0003
Due to the lack of clay modeling skills, as well as the lack of my own 3D printer (but it will appear soon :)), I turned to a company that prints on an SLA printer.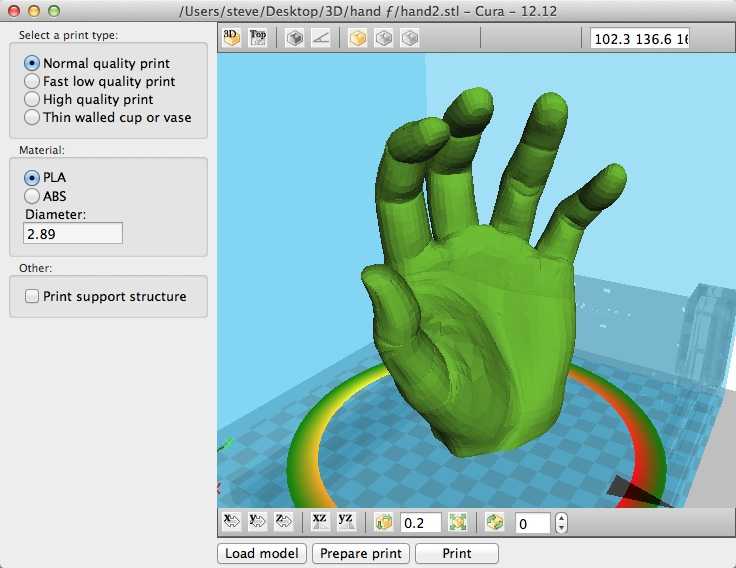
Before sending the model to be printed, I went through a few steps. Below is a short guide.
1) Make sure the model is solid. This can be verified in ZBrush using the 3D Print Hub plugin. If the parts do not pass the test, then you can correct the geometry using the functions in the Geometry menu. nine0003
2) Then you need to reduce the number of polygons using the Decimation Master plugin, and then repeat the test.
3) Next, check that all parts are to the correct scale. Since OBJ and FBX do not contain information about the size of parts in real dimensions, you need to use the 3D Print Hub plugin to export from ZBrush (watch the dimensions carefully!), Or use a simple but long method so as not to be mistaken. I decided on the dimensions and, using a box, scaled each detail and saved it in STL format. nine0003
4) After that, don't forget to make holes in the parts to reduce material consumption, check the mesh again.
5) Next, you need to arrange supports for printing, many programs can help you with this, which will place them automatically, you just have to add additional supports in the necessary places or move already generated ones.
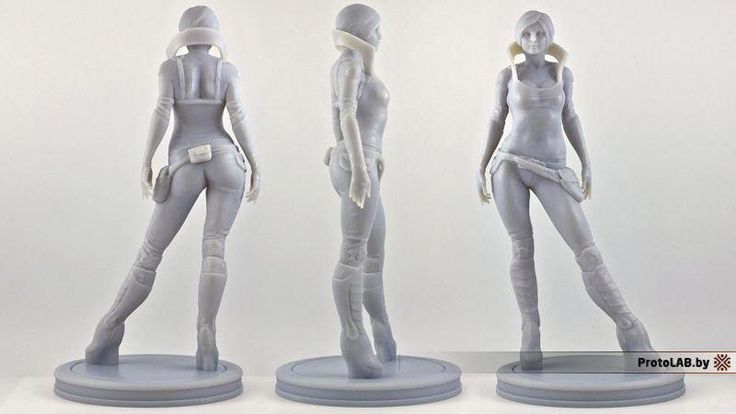
After all the preparation steps, I sent the model to the company, where it was printed, dried in an ultraviolet oven and the supports were cut off. I recommend additionally cleaning the model in an alcohol or soapy solution after production, because even small residues of the polymer are quite toxic. For additional protection, you can varnish the model or paint it. nine0003
I learned all the necessary information to prepare the model for printing when communicating with the company's employees, or found it on the Internet.
These videos helped me a lot:
If you are interested in a new, yet unknown wargame and want to take part in the discussion or development of the project, something is not clear to you or you have something to say about modeling and preparing the model for printing, write comments, I will be glad to communicate.