Pla transparent 3d print
Tips and tricks for easy printing with transparent PLA
Jul 22, 2022
PLA is one of the easiest and most accessible materials in 3D printing. It has a wide variety of colors and can be purchased anywhere. Among them, there is one that stands out more than the rest; transparent PLA. In this article, we will teach you how to print with this material and how to get the most out of its main feature; transparency.First of all, it is important to explain the difference between translucent and transparent. A transparent material is one that lets light pass through and allows you to see clearly through it. A translucent material, on the other hand, allows light to pass through but does not allow you to see clearly through it.
Achieving a completely transparent PLA is going to be very complicated, but we are going to give you some tips to make it as translucent as possible, even reaching transparency.
The main points to be taken into account are the following:
- The layer height
- The infill
- The layer bonding and glossiness of the layer
- Post-processing
Although it may seem strange, one of the things that most influences the transparency of a material is the layer height. When light passes through the part, its dispersion is greater when passing through a layer change than through the layer itself, so the higher the layer height, the fewer layer changes there will be, and the easier it will be for the light to pass through the object in question.
It is recommended to use a layer height of more than 0.4 mm to ensure good transparency. For this, it is important to use hotends with a large nozzle diameter, preferably 0.8 or 1 mm.
It is true that the surface quality of the piece will decrease minimally but taking into account that to increase its level of transparency it will be necessary to do post-processing as, as we will explain in one of the following sections, this loss of quality will not be noticeable.
InfillIt should be known that when we talk about parts made in 3D printing, these are usually neither completely hollow nor completely solid, but have a certain percentage of infill that gives them certain properties depending on the needs of each one. This filler does not help to make the transparent PLA as it obviously hinders the passage of light. Therefore, in order to obtain the maximum transparency in your piece, we will try to reduce this infill as much as possible, even eliminating it and making the piece completely hollow if possible.
If this is not possible and for reasons of geometry, mechanical strength, or any other reason we cannot make our part hollow, we will try to reduce the visibility of our infill as much as possible. We can use for example the concentric infill pattern, which does not leave any marks on the surface of the part and reduce the percentage of the infill as much as possible.
Another option is to increase the number of perimeters of the part, in order to avoid the infill pattern we are using leaving marks on the walls of our part.
The union between layers and its glossinessAs we have said before, one of the factors that reduce the transparency of the part is the welds between layers, therefore, the closer the layers are together and the glossier they are, the greater the transparency of our part.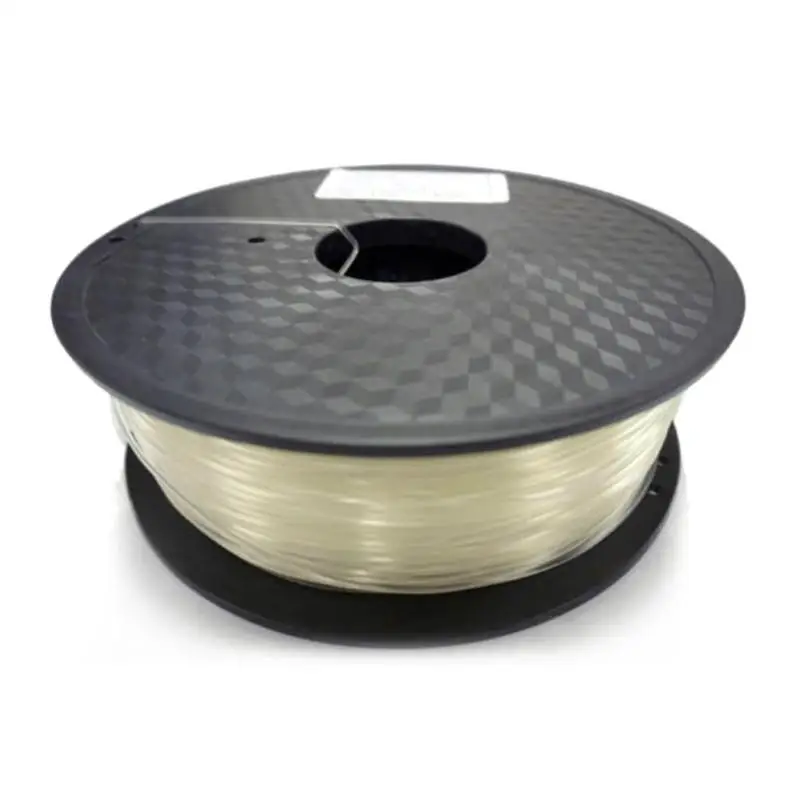
To achieve a shinier finish and greater welding between layers, it is advisable to print more slowly, around 20 mm/s, and at a higher temperature (within the limits recommended by the manufacturer).
Post-processingThere are many post-processing processes applicable to 3D printing, but when the goal is to achieve a transparent PLA there is one that stands out above the rest. This is the solvent vapor bath, a post-process that will help smooth the layers of the part giving it a crystalline appearance and improving its transparency.
You have two options to perform this process; the first is to use a steam polisher, which helps you control the process time and the amount of solvent applied to the piece. However, if you don’t have a steam polisher, you can always use a sprayer to help you apply the solvent directly to the part. There are just a few things to keep in mind if you are going to use this option:
- You should clean the part with water after applying the solvent on it.
- Try to avoid solvent build-up on the part and apply only a thin layer of solvent.
- If the part is hollow, do not immerse it in water to remove the solvent, try using a spray bottle with water.
- Wait at least 30 minutes to apply another coat of solvent.
In any case, avoid leaving the part in contact with the solvent for more than 10 minutes, and above all, carry out this process in a ventilated and clear environment to avoid problems with toxic gases that may be released by the solvent.
ConclusionsDespite the features offered by transparent PLA, you can increase its transparency with some of the tricks discussed in this article. Remember to use layer heights as large as possible, reduce the infill as much as possible or use the concentric pattern, and subject the part to good post-processing such as a solvent bath. Follow all these tips to get completely transparent pieces and for even more advice on 3D printing materials, visit our knowledge base.
How to get clear PLA filament print more clearly?
There's nothing more frustrating than spending hours on a clear PLA print, just to have it come out looking foggy or milky. How to get transparent / clear PLA filament to print more clearly? Before handing this issue it’s necessary to learn some truth about 3D print results of clear 3D printer filament. And then, there share tips and tricks that help you get the clearest prints possible. Let's get started!
▲Clear pla filament 1.75mm of Flashforge
1. Truth about 3D print results of clear PLAPLA filament is usually sold in various colors. Transparent / clear pla is one type of it. As clear it is called, we have to realize the fact that none plastic clear pla filament of any brands could reach the effects of glass clarity. The clear crystal-like object images you searched on internet that were self-claimed as 3D printouts of clear 3D printer filament are decently handled after printing finished, whether through photographic tactics or through post-processing skills after printing.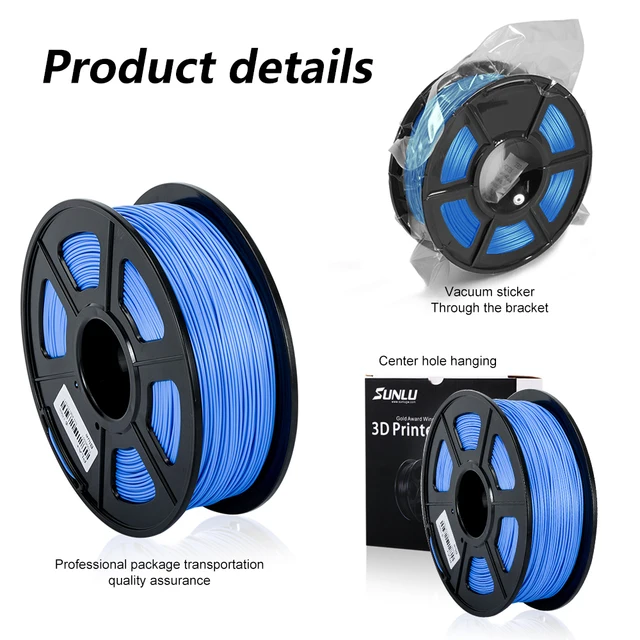
If your goal is glass-like transparency, filament 3D printer may be not the best option. You’re suggested to try transparent resin printing using a resin 3D printer. Nevertheless, that doesn’t mean the transparent effect of clear PLA filament should be defied.
▲Flashforge clear PLA print: primitive with no post-process
We can reach better see-through effects of clear 3D printer filament than the above when using proper slicing and post-processing methods. Let’s head to the next section revealing how to do it.
2. How to improve print results of clear PLAExcept for a good selection of clear PLA product, good slicing setting and dedicated post-process contribute a lot in raising its clarity.
2.1 Finer slicing makes finer print resultsWhen printing with clear PLA filament 1.75mm, a fine printout that is with no layer lines, no air bubbles, and well-textured eventually shows better transparency results.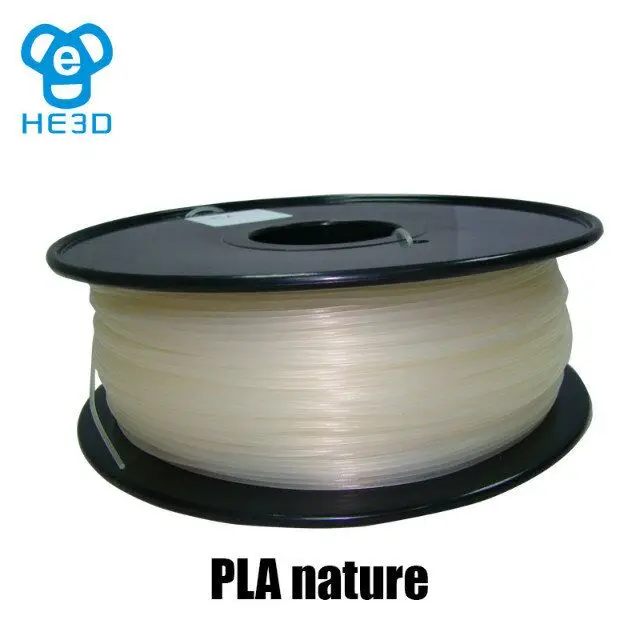 Eminent slicer setting helps a lot in reaching perfect print.
Dispel layer lines
layer lines act just like lenses which bounce the light around inside the filament material. So, we need adjust slicing parameters that may have impacts on causing layer lines, like slowing print speed and lowering layer height, to weaken or even eliminate layer lines on the printing model. A flat surface bounces and reflects light ray evenly so as not to abate light-admitting quality of the clear PLA filament.
▲Layer lines on printout
Get rid of air bubbles
The same light refraction principle as layer lines, air bubbles also gives an opportunity to bounce light around. Besides, when air bubbles poured in, the printed model would take on a heterogeneous surface texture, which is an deadly enemy of transparency.
▲Filament air bubbles
Air bubbles inside the clear PLA filament, uneven extruding from printer’s nozzle, and insufficient flowing of filament, all may lead to air pocket problems. The slicing resolution is to increase the flow rate of the transparent PLA coming out of the nozzle. More material flowing out makes for less chance of air pockets, while for the former two problems, filaments of high-quality and printer extruder of high-configuration are good resolution.
Lower fill density
A printed object may be a solid one or a hollow one, which all depends on how and where we’ll apply the printed object. If we print a bottle or vase that is fully hollow and only a bottle shell is needed to print, infill is in no consideration. Whereas, if printing an enclosed model, such as a garage kit model that draw higher attention to good surface outlook than to good strength, we take “infill” into consideration.
▲Slicer setting on Infill Density
we often don’t print an enclosed model that is so fully infilled (solid) as to save filament as well as speed up print speed. When inner density is lower than 100%, the model becomes hollow. That explains the fill density parameter in the slicer. Tracking back to clear PLA printing, what’s the point of adjusting fill density? Less infill density like 5% elicits improved transparency!
In the pictures below you can clearly see my fingers through the transparent PLA filament bottle. Actually this extent of transparency is already 90% success and capable of satisfying most users’ needs.
▲Vase printed with clear / transparent pla 1.75mm
Whereas, if you persist in affording excessive labor and endeavor in post-processing, you can approach glass-like clarity.
Using sandpaper or power tools to sand it
Try to sand the surface of the print with a fine-grit sandpaper. Start with a coarse grit and work your way up to a finer one until the surface is smooth. Your end results will be a beautifully transparent object that allows you to see perfectly through it.
Transparent PLA filaments are perfect for those who want to add a touch of transparency to their prints. And, good application of transparent PLA print makes their lucidity manifested adequately!
3.1 Transparent enclosuresIf you're looking to create a transparent enclosure for your electronics project, Clear 3D printer filament is a great option. You can use it to create a clear case for your Raspberry Pi, for your game consoles, or for your iPhone. Transparent case makes the circuit board, the console switch, or the iPhone Apple Logo visible!
3.2 Transparent bottlesTransparent vase, bottle, and flower pot is also adding fun to your daily life. Transparent bottles sets foundation for eye catching arrangement, definitely a unique gift idea in occasions showcasing flowers and bouquets. It’s quite easy to use transparent 3D printer filament to print transparent bottles, because you only print one shell count and no infill is needed when doing slicing setting. Transparent vase containers tremendously show off the clarity of the clear PLA filament!
▲Flower pot printed usingwith clear pla filament 1.75mm
3.3 Customized transparent gadgetsHow about decorating your car with clear emblems? How about printing a clear jewelry prototype? How about decorate your house with clear accessories? Clear PLA 1.75mm is great for creating custom gadgets, like clear prototype and clear things for house ornament.
▲Clear PLA gadgets
3.4 Transparent Light diffuserA most wonderful use of clear 3D printing filament is for brilliant light effects! Transparent PLA is perfect for making transparent lampshades. From a simple lamp cover to a vibrant lighting fixture, LEDs provide an interesting way to use clear filaments. Besides the clear transparent PLA filament, makers can also select colorful transparant PLA types, like red transparent pla, bule transparent pla, or yellow transparent pla, to make your night lighting colorful!
▲Lamp covers printed with transparent pla
Final sayingAll in all, this article clearly describes how good slicer setting, dedicated post-processing, and proper using scenes make the glamour of clear PLA filament clearly showcased.
In addition to all that, we should have learned that premium clear PLA product printing in a nice 3D printer is the very premise of getting clear effect. Good clear PLA filament that is extracted from high quality raw materials and with fine manufacturing formula can take on a color that is relatively more natural and clear. Good clear PLA material ensures no air bubbles or no uneven flow extruded when molding in the 3D printer, which furthermore guarantees uniform texture of the printouts and helps in reaching better transparent effect.
Related articles people may be interested in reading:
Does your transparent PLA reach the best printout effects?
Is it necessary to buy a filament dry box?
Really useful review on 3D printer filament types and uses
Which 3D printer materials should you use for your printing?
Transparent 3D Printing Guide
Stereolithography (SLA) 3D printing can produce transparent objects that, after some post-processing, become optically transparent.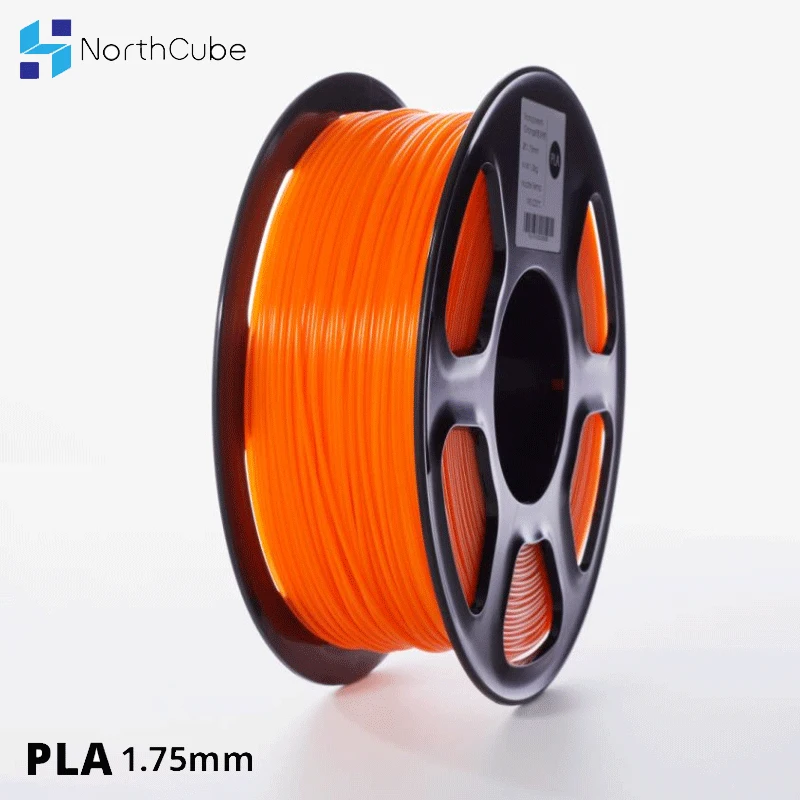
Formlabs' latest stereolithographic 3D printer, the Form 3, improves model transparency by using an elastic resin reservoir that reduces forces on the model, resulting in smoother, more transparent parts. 3D printing on a Form 3 in Clear Resin is a great way to produce parts that require light transmission and, with the right post-processing techniques, transparency. nine0003
The following processing methods can be used to 3D print transparent parts for a variety of purposes, from optical devices to light guides and liquid elements. Techniques range from quick solutions to obtain sufficient transparency to specialized techniques for creating optically transparent parts.
Clear and transparent 3D models are ideal for creating transparent prototyping elements, showing internal cavities and details, making LED housings or windows. Formlabs and our customers have used Clear Resin to create an optically clear 100% 3D printed camera lens, Times Square Fresnel lens tiles, light guides, prisms, millifluidic devices, and more. nine0003
Formlabs application engineer Amos Dudley designed and 3D printed a lens for a fully 3D printed camera.
Curious to see with your own eyes what a transparent SLA 3D printed part looks like? We will send a free transparent 3D printing sample directly to your office.
Request a Free Sample
We have tested several post-processing methods for 3D printed Clear Resin parts. In this article, we will cover hand sanding, spray clear coating and resin impregnation. Each treatment option requires a different amount of effort, depending on the required degree of transparency and surface quality. nine0003
Application of : Hand sanding and polishing can be effective on simple shaped models with few fine details, but is not suitable for complex shaped models. With this method, it is very difficult to achieve complete optical transparency.
Hand sanding will require you to sand with very fine grit sandpaper, but with some effort you can sand and polish the parts to the transparency level of a magnifying glass.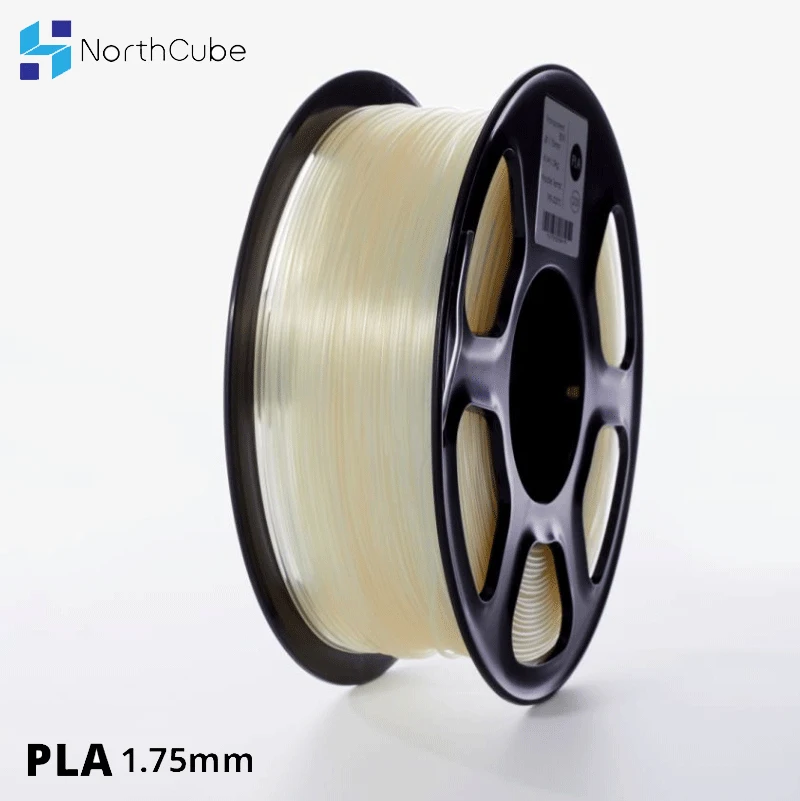 However, it is very difficult to completely remove all the layer lines with manual processing - if you turn the part at a slight angle to the light, you can notice micro-scratches. nine0003
Instruction : Use sandpaper to smooth the surface, then polish the part with acrylic cleaner and a microfiber cloth.
With approximately 3000 grit sandpaper, transparent SLA 3D printed parts become glossy and very smooth to the touch. After sanding with 12.000 grit, they reflect light. Try different sandpapers and abrasive sheets from 400 to 12,000 grit in 200 increments. Before moving on to the next grit step, slowly and carefully clean the lens and remove scratches from the previous level of sanding. nine0003
Our support site offers a simple step-by-step manual sanding guide that includes an acrylic spray finish.
If all you need is translucency, mineral oil will suffice to create a smooth surface and hide light spots.
We have tested various polishing methods for transparent 3D models, from hand sanding and spray coating to resin impregnation.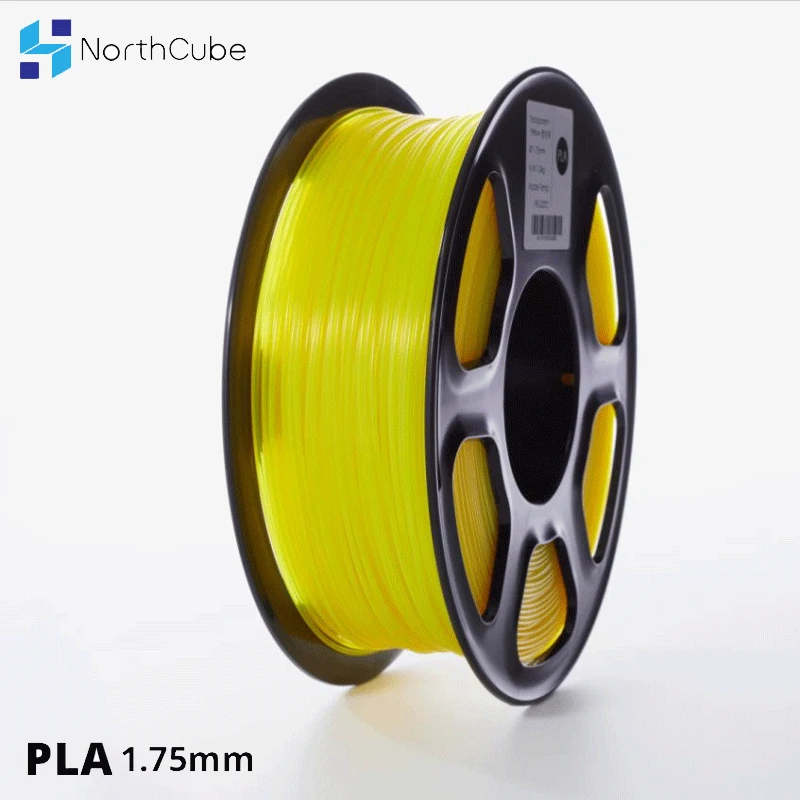 nine0012
Application of : Spray coating is a quick and easy way to improve the transparency of parts without significantly reducing detail. The method is effective for all types of models, since it is possible to spray the coating on complex-shaped parts, which can be difficult to grind and polish.
Clearcoat application helps to hide layer lines and protect parts from UV exposure which can cause yellowing and unintended final cure. If you require a smooth, glass-like surface, hand sand and polish before coating; the more thorough the sanding before applying the clear coat, the better the clearness. This extra step is great for post-processed prototypes that look like completely transparent plastic, such as packaging, bottles, and microfluidic devices. nine0003
Instruction : A variety of aerosols can be used to apply a clear coat, from inexpensive sprays to products that require a separate room and tools.
- General purpose clear aerosol paints: : The selection ranges from good, very inexpensive options like Rustoleum Painter's Touch 2X to affordable high quality aerosols like Spray Max 2k Clear Glamor.
- Automotive sprays : Products such as Lesonal Universal Clear, a high solids acrylic urethane clear coat, give a very good glossy effect. They are designed for air drying and stoving and require a spray gun and free space to spray. A base coat must be applied before applying Lesonal Universal Clear and similar aerosols.
Coat a clean, dry model already rinsed in isopropyl alcohol (IPA). Do not finalize the model before spraying as this may cause yellowing. Air dry the model. Once it is completely dry, apply two to three coats of spray in a dust-free environment. nine0003
For a fee, a coating such as Lesonal Universal Clear can be applied at a workshop. In most cases, bodyshops use a volatile solvent such as naphtha to clean and prepare the surface of the model prior to spraying.
For the Times Square installation, Window to the Heart, Formlabs and Aranda/Lasch spray-coated the tiles with Lesonal Universal Clear in an auto body shop.
Application of : This method is best suited for cases where very high transparency of parts is required and can only be applied to flat or nearly flat surfaces such as lenses or "windows" into the interior of the part.
Resin immersion produces very smooth details with crisp and sharp surface reflections.
The method can be used to increase the smoothness of parts printed with other SLA materials, although it may reduce detail. nine0003
Instruction : Apply Clear Resin to the part using a syringe or by dipping the part into the resin, as desired. The viscous polymer will fill in the delaminations and scratches present on the part, forming a completely smooth surface.
The resin layer should be as thin as possible while still eliminating layer lines. Remove all bubbles with a syringe. Completely cure the part using the appropriate parameters, then repeat the process on the other side, both dipping and final curing. nine0003
Lens subjected to a 3-step polymer immersion procedure, final result on the left.
The polymer immersion process slightly changes the focal length of the lenses. Formlabs Applications Engineer Amos Dudley designed and 3D printed a lens tester to create a fully 3D printed camera.
With the Form 3 Stereolithographic 3D Printer, you can create crisp and fully transparent 3D models at an affordable price with minimal post-processing. nine0003
Check out our white paper, , for a detailed overview of SLA ecosystems and a step-by-step 3D printing workflow.
Would you like to see the resulting quality with your own eyes? Request a free transparent model sample.
Request a sample printed from Clear Resin
ABS, PLA, HIPS, FLEX plastic 3D printing in Moscow
Color plastic 3D printing is a new generation technology in wide application! Imagine: small copies and prototypes of houses and cars are “printed” on a printer, shoes are created, exactly, according to your foot. No, this is not a new fantasy story. These are the possibilities of 3D printing with PLA and ABS plastic. nine0003
ABS 3D printing: convenient, reliable, safe
-
Plastic products withstand temperatures up to 100 degrees. Do not melt in the sun. Feel free to use them without worrying about damage due to domestic heating.
-
Plastic is highly durable. Tensile strength: 22 MPa, bending strength: 41 MPa. Be sure of the durability of any ordered design, whether it is a simple souvenir or an electronic piece. nine0003
-
3D plastic printing is a safe technology for human health. Products may be given to children. 3d printing of ABS plastic parts. Such printing is unsuitable only for the manufacture of dishes. However, PLA plastic will solve the problem.
-
Plastic for 3D printing can be decorated. The material is different from conventional raw materials - finished parts are made with a rough surface. Products can be given the desired look by polishing, painting, grinding, cutting. 3D printing in business is becoming more and more widespread. nine0003
World-famous technology
Foreign AMIE project
Manufacture of cars and houses using ABS 3D printing technology.
Adidas
Promises to release customized sneakers soon. The buyer sends the parameters of their feet to the 3D printer and receives the perfect shoes.
Do you want the same? Request a quote for your idea right now! nine0117
We use many different plastic 3D printers and will use the most suitable one depending on your request.
PLA and ABS 3D printing technology
-
To get the product, the plastic filament is heated in the printer's extruder.
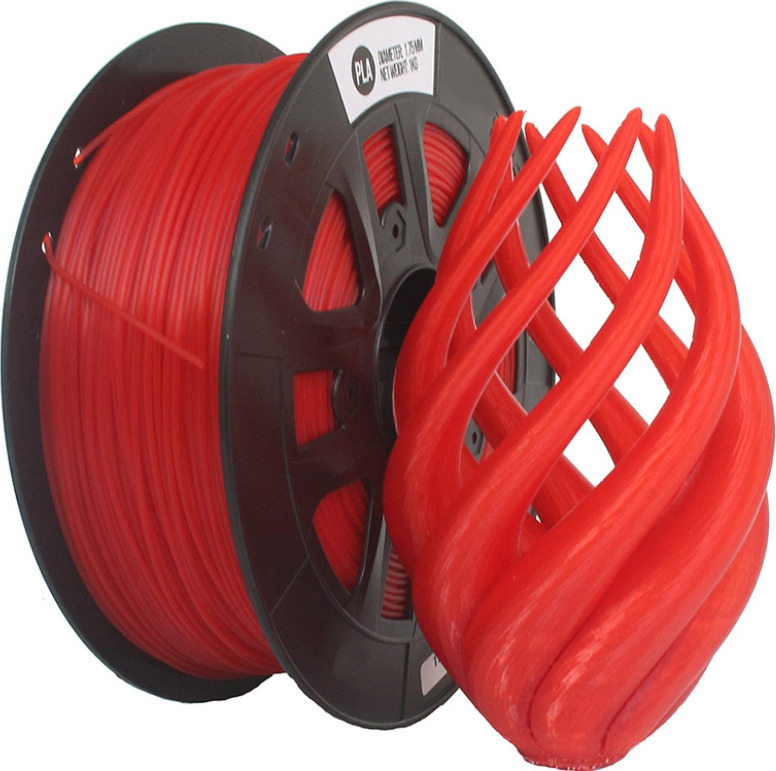
-
It is then melted and applied in layers to the platform. The material quickly solidifies and a three-dimensional object is formed
Our "3D Printing Lab" uses many types of materials: plastic PLA, ABS, FLEX, HIPS, WOOD, PVA, PP and others.
Comparison of 3D Printing Plastics:
ABS
Durable, plastic, heat resistant.
Used in professional and engineering constructions
PLA
Details with a smooth surface, transparent, different colors.
Suitable for making souvenirs and household items.
HIPS
Food grade, harmless
Used in the packaging and food industries.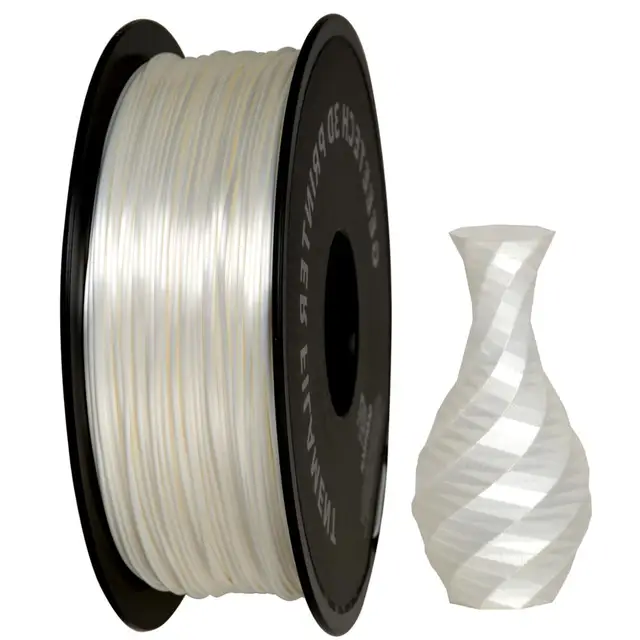
ABS 3D printing capabilities
The 3D printing laboratory is equipped with professional 3D printers. We use plastics and photopolymers as starting materials. We quickly deal with orders of any volume. Flex printing in a couple of days - it's possible! nine0003
We will select the optimal layer thickness (from 0.1 to 0.3 mm), weight, color. The product will be exactly as you envisioned it.
3 reasons to contact the 3D Printing Lab
Affordable price
3D printing with PLA/ABS plastic. The lowest price on the market.
High precision printing.
The created objects fully correspond to the layouts. nine0003
Quality assurance.
For 7 years of work, the 3D Printing Laboratory has produced more than 4,000 3D models. We regularly update the assortment and equipment, test new schemes.
Order online calculation! Send a request to the manager to find out the cost of printing.


