Nylon 3d printing temperature
Ultimate Materials Guide - 3D Printing with Nylon
Overview
Nylon (a.k.a. Polyamide) is a popular material in the plastics industry, known for its toughness and flexibility. Nylon filaments typically require extruder temperatures near 250 ºC, however, some brands allow printing at temperatures as low as 220 ºC due to their chemical composition. Many printers do not include a hotend that can safely reach 250 ºC, so these lower-temperature versions can be useful and potentially save you from needing to upgrade your hotend. One big challenge with Nylon filaments is that they are hygroscopic, which means they readily absorb moisture from their surroundings. Printing Nylon after it has absorbed moisture will lead to several print quality issues, thus filament storage becomes very important and requires special attention.
- Tough and partially flexible
- High impact resistance
- No unpleasant odor while printing
- Good abrasion resistance
- Prone to Warping
- Air-tight storage required to prevent water absorption
- Improperly dried filaments can cause printing defects
- Not suitable for moist and humid environments
Hardware Requirements
Before 3D printing with Nylon make sure your 3D printer meets the hardware requirements listed below to ensure the best print quality.
Bed
Temperature: 70-90 °C
Heated Bed Required
Enclosure Recommended
Build Surface
Glue Stick
PEI
Extruder
Temperature: 225-265 °C
May require All-Metal hotend
Cooling
Part Cooling Fan Not Required
Best Practices
These tips will help you reduce the chances of common 3D printing issues associated with Nylon such as warping and moisture absorption.
Filament Storage
One of the challenging aspects of using Nylon is the need for a special storage system. Unlike other filaments, you cannot keep the filament spool exposed to the air for extended periods of time. Nylon easily absorbs moisture from the environment. Printing the moist filament will result in print quality issues like a foggy rough surfaces or even tiny holes or bubbles on the exterior. These printing issues can also significantly decrease the strength and performance of the printed parts. The typical solution for this issue is to remove the Nylon spools from the printer once you are done, and store the spools in an air-tight container along with some desiccants to remove the moisture from within. If you do not want to constantly mount and remove your filament spool, there are also commercially available storage containers that will keep the filament dry, while allowing it to feed out of a hole in the container.
Use an Enclosure to Prevent Warping
Some high-temperature Nylons are prone to warping due to the large temperature change between the extruded plastic and the ambient environment. Heated beds can reduce the warping to a some extent, but using a printer that has a heated chamber or enclosure would be the ideal solution. Keeping the air around your part at a temperature of about 45 ºC will help eliminate warping by reducing this temperature variation. If your printer doesn’t include a heated chamber and you aren’t able to add an enclosure, there are other tips that you can use to help prevent warping. Our Print Quality Guide has an entire section devoted to this issue which summarizes other common techniques: How to Prevent Warping.
Using Brims and Rafts
In situations where adding an aftermarket enclosure may not be an ideal option, consider using a brim or a raft to help with first layer adhesion. Adding a brim will add several loops around the bottom layer of your model, creating a larger surface area to hold down the edges of your print. Version 4.0 of Simplify3D introduced a completely new raft design that can also be very useful if you continue to have printing difficulties. For more information on the differences between rafts, skirts, and brims, please consult our in-depth article on this topic.
Pro-Tips
- If you do not have air-tight containers for storing your filament, you can dry the spools just before use by running them through a Food Dehydrator. A few hours in this device will dry the filament significantly.
- Nylon makes a good filament for cleaning your nozzle. You can use a technique called “cold pulling” where you allow the Nylon to bond to debris within the nozzle, and then after it partially cools, you pull the filament (and debris) out of the hotend.
Get Started with Nylon
Nylon can be a great material once you have mastered the basics. Once you’re ready to give it a try, here are some tips to help you get started.
Common Applications
- Plastic Gears
- Screws, nuts, bolts
- Cable ties
Sample Projects
- Cable ties
- Nut, Bolt, Washer
- Servo Gears
Popular Brands
- Taulman Nylon
- Matterhackers PRO Nylon
- HobbyKing Nylon
- GizmoDorks Nylon
How To Succeed When 3D Printing With Nylon
Learn how to 3D print Nylon like a pro. Nylon is a stronger and more durable alternative to PLA or ABS and easy to 3D print with using these Tips and Tricks.
MatterHackers
August 30, 2022
Everyone with a 3D printer is familiar with PLA and ABS.
If you’ve 3D printed with PLA, you probably know that while it’s fairly strong, it’s also very brittle. You can’t leave parts out in the sun or anywhere that the temperature gets above 100°F.
If you’ve 3D printed with ABS, you know it’s much more durable than PLA, but 3D printed ABS parts don’t have the strength of injection molded parts, and often aren’t strong enough for functional parts.
Enter Nylon.
Nylon filament is an incredibly strong, durable and versatile 3D printing material. Flexible when thin, but with very high inter-layer adhesion, nylon lends itself well to things like living hinges and other functional parts. Its low friction coefficient and high melting temperature make it an excellent choice for a variety of everyday items such as 3D printed tools, gears, RC cars and more.
Check out our tips below on how to successfully 3D print with nylon filament.
From achieving excellent bed adhesion to proper filament storage, this guide prepares you with the knowledge and tools you will need to succeed when printing with nylon.
Not All HotEnds Are Created EqualMost 3D printers come standard with hotends that use PEEK and PTFE. Both PEEK and PTFE begin to breakdown above 240°C and will burn and emit noxious fumes. When successfully printing with nylon filament, you'll want a hotend that reaches temperatures of at least 250°C. If you aren’t sure if your hot end is setup for 3D printing nylon, send us an email or check with your printer manufacturer and we can let you know.
Most 3D printers can easily be upgraded with an all-metal hot end in order to print at temperatures above 240°C (extrusion temperature). We use the E3D V6 All Metal HotEnd on our machines due to the all-metal design that allows temperatures to safely reach up to 300°C. They are excellent hot ends that we highly recommend. Before replacing your current printer's hotend, make sure to print the correct mount to attach the E3D V6 hotend to your 3D printer.
E3D V6 All Metal HotEnd is the go-to for Nylon 3D printing. You can find them pre-installed on many printers, including our own Pulse 3D Printers.
Bed Surface Matters: Garolite, Glass and PVA GlueLike with any other type of filament, the bed surface you choose to print nylon on can be the make or break between warping and successful 3D printing. For nylon, garolite sheets and glass plates are two build surfaces we've seen produce the most consistent successful results.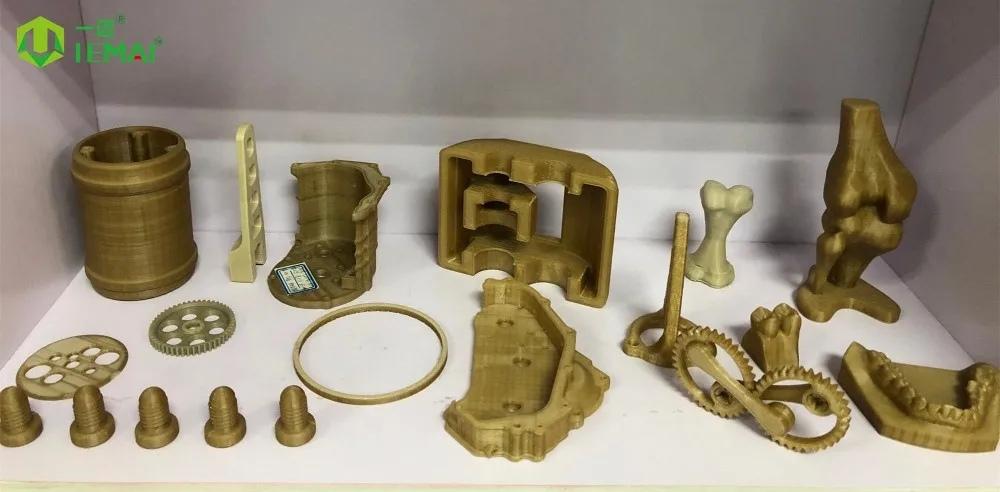 With the addition of a PVA glue stick, both surfaces provide the bed adhesion necessary to bind prints to the build surface for a smooth 3D printing experience.
Our personal favorite surface to use with nylon filament is LayerLock Garolite Build Surface. Made out of fiberglass linen cloth laminated with epoxy resin, this surface has high stability over temperature so it easily withstands the 60°C recommended for successful nylon bed adhesion on a heated bed. Another perk of using a garolite surface is its strong adhesion quality that lasts for thousands of prints with sandpaper. Using a sheet of 220 grit sandpaper, lightly sand down the top of the garolite to remove any blemishes and reveal a more textured, even surface. This allows nylon to achieve a better grip on the bed for a successful flat first layer, leading to a successful nylon 3D print overall for years to come.
LayerLock Garolite Build Surface is designed to succeed with nylon, nylon-based filaments like NylonX, and other 3D printing materials.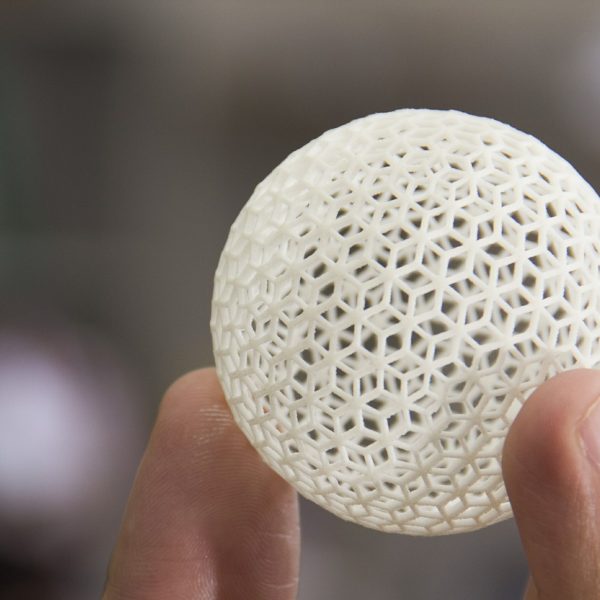
We trust in the success of garolite so much that we offer it as the stock bed surface for our Pulse XE, the 3D printer designed to succeed with 3D printing nylon and nylon-based filaments (on top of standard filaments). For maximum success, PVA glue and sandpaper are also included with LayerLock Garolite Build Surfaces for additional adhesion and minimal maintenance for longevity. To learn more about printing on garolite, check out our "How To: 3D Print Nylon on Garolite Print Beds" article.
Nylon Filament Must Be Dried Before PrintingNylon filament is incredibly hygroscopic, meaning it readily absorbs water from the air. Nylon can absorb more than 10% of its weight in water in less than 24 hours which is why it is best to not leave hygroscopic filaments sitting out in the open. When you 3D print with nylon filament that isn’t dry, the water in the filament explodes causing air bubbles during printing that prevents good layer adhesion, greatly weakens the part and ruins the surface finish. No doubt about it; successful 3D printing with nylon and nylon-based materials require dry filament.
Dry nylon, on the other hand, prints buttery smooth and has a glossy finish.
Desiccant helps keep filaments dry, but packets of desiccant are nowhere near enough to actually extract the moisture from your 3D printing materials. MatterHackers' preferred tool for drying Nylon is the PrintDry system. Just place the spools in the PrintDry chamber, set the system to 75c, and leave to dry for 8-12 hours.
Another way to dry nylon filament is by placing it in an oven at 160°F - 180°F for 6 to 8 hours. Keep in mind that most all convection and household ovens do not regulate their temperature well at these lower temperatures and can easily warp your spool or soften the plastic causing it to deform and even adhere the filament stands together.
After drying, either immediately print with it in a room that isn't cold or drafty or store it in an airtight container with desiccant to use for later. If using a system like the PrintDry, you can leave the spool in the unit and print directly from it, keeping moisture at bay while on those long prints. To learn more about desiccant as well as some useful 3D printing tools, click here.
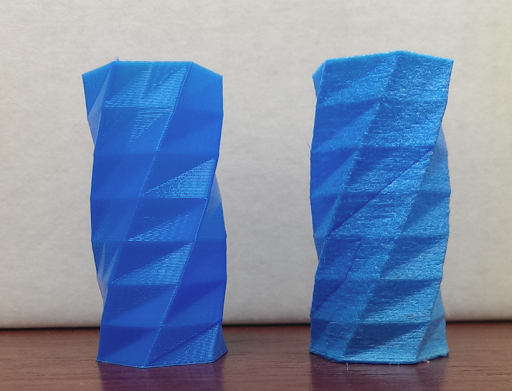
Dry 3D printed nylon on the left, wet 3D printed nylon on the right
While kitchen ovens are capable of drying filament, we highly recommend using a PrintDry PRO Filament Drying System instead. PrintDry is a safe, desktop-friendly machine engineered specifically for removing moisture from filaments. With its compact, transportable design, you can simply place the PrintDry PRO next to your 3D printer and feed dry filament into it while it's printing. If you are unable to feed the filament in the PrintDry PRO directly into your printer, this filament drying system still works very well for simply drying filament and then storing it in an air-tight container for later. To get the best quality prints possible, filament drying systems like the PrintDry are a 3D printing accessory we highly recommend for consistent success.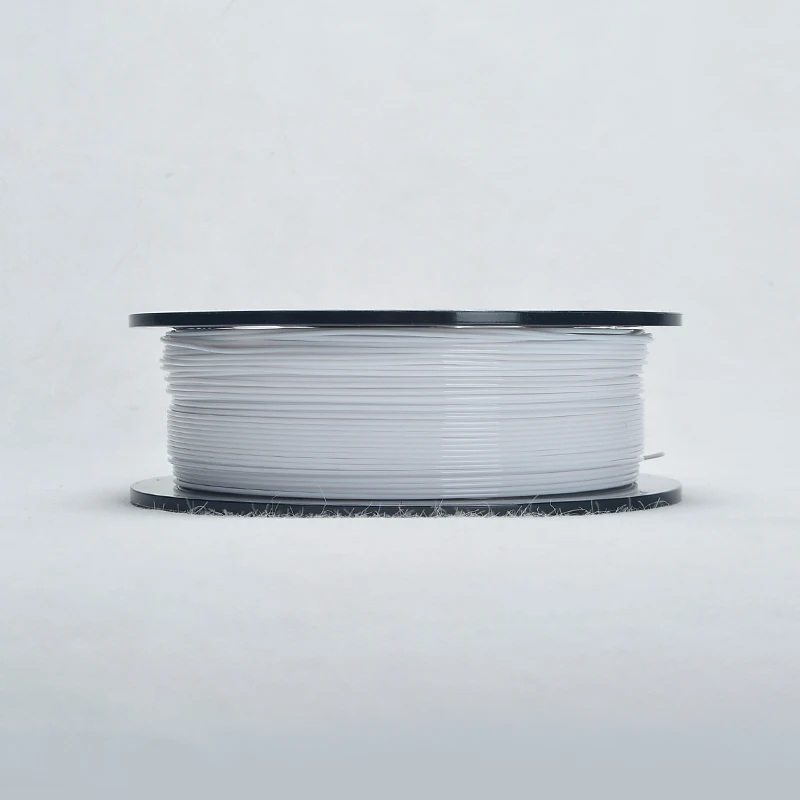
To learn more about the benefits of drying filaments, check out our article here.
Filament drying systems like PrintDry are highly recommended to remove moisture from hygroscopic filaments for maximum strength and durability in your 3D prints.
Nylon Can WarpWe've found 3D printing nylon can warp about as much as ABS.
When printing on glass or garolite, a heated bed is required with nylon filament. A PVA based glue stick applied to the bed is the best method of bed adhesion. Elmer’s or Scotch permanent glue sticks are inexpensive and easily found at a reasonable price.
We've found that a bed heated to 75°C with a thin layer of glue applied in a cross-hatch pattern works best for glass plates.
When printing on a garolite surface, a build plate is required with nylon filament. Whether it's directly on a heated bed, a sheet of glass, PEI glass or a FlexPlate System, we recommend the garolite sheet be attached to some kind of build plate that is able to transfer heat to this build surface. Like printing on glass, a PVA based glue stick applied to the bed can be helpful with bed adhesion for garolite build surfaces. We recommend Elmer's glue sticks for this surface. If more adhesion is needed, use 220g sandpaper to lightly sand all across the garolite for a textured, even surface that the print can grab onto.
For bed temperature, we recommend anywhere between 55°C - 65°C depending on what type of brand and nylon or nylon-based filament you're printing with. If it's NylonX, we recommend 60°C. If it's NylonG, we recommend 65°C.
Do not use layer cooling fans and avoid drafty or cool rooms for best results. If you can't avoid placing your printer in drafty or cold rooms, consider either make shifting your own printer enclosure or purchasing one of the 3D printer enclosure kits sold here.
3D Printed Nylon Surfboard Fins Reinforced with Carbon Fiber using the MarkForged 3D Printer
Recommended Nylon 3D Print Settings:- Extruder Temp.
 : 240°C - 260°C
 - Start printing at 250°C and adjust in increments of 5°C until you find the right temperature that produces a strong, durable print with a beautiful finishing surface
- The right temperature may vary between nylon and nylon-based filaments
- The right temperature may vary between brands of nylon and nylon-based filaments
- Bed Temp.: 55-65°C
- This is for garolite surfaces with PVA based glue
- Bed Temp.: 70-80°C
- This is for glass and other surfaces with PVA based glue
- Speed: 30-60 mm/s
- 0.2 mm - 0.4 mm layer heights
- 0% Layer Cooling Fan
We hope this helps you succeed with 3D printing Nylon. If you have any further questions hop on our forum full of helpful posts and fellow makers working together towards a successful 3D printing experience.
If you are looking for a machine that prints nylon right out of the box, check out some of the following printers below:
- Ultimaker S5
- LulzBot TAZ 6 / LulzBot TAZ Workhorse / LulzBot TAZ Pro
- Pulse XE / Pulse DXE
- Raise3D Pro2 / Raise3D Pro2 Plus
- BCN3D Sigma R19 / BCN3D Sigmax R19
- MAKEiT PRO-M / MAKEiT PRO-L
Happy Printing!
Produce strong, durable prints with a variety of vibrant colors from our line of MatterHackers Series PRO Series Nylon filament.
Optimal temperatures for 3D printing PLA, PETG, Nylon and TPU plastics
3DPrintStory 3D printing process Optimal temperatures for 3D printing with PLA, PETG, Nylon and TPU plastics
Although almost all 3D printing materials are thermoplastics, each has its own temperature requirements. The specificity arises from the fact that individual fibers differ greatly from each other in chemical composition. Some, like PLA, are made from starches, while others, like ABS, are oil-based.
The chemical composition of a thermoplastic directly affects its glass transition temperature, the temperature at which the material changes from a brittle filament to an extrudable elastic substance. It is this temperature that must be maintained for high-quality 3D printing. And since each material has a different glass transition temperature, each plastic must be used for 3D printing at a different extruder temperature.
In addition to a specific extrusion temperature, some materials require a specific hot bed temperature. When some fibers cool, they shrink and deform. The heated bed allows these plastics to cool more slowly during extrusion so that bending is minimized.
The heated layer also provides additional adhesion, ensuring that the first layer adheres well and the part does not separate from the base during 3D printing.
So 3D printing temperature is a very important parameter that differs depending on the material that is used.
Recommended temperature for 3D printing with PLA plastic
PLA is the most popular plastic in the world today. One of the reasons is undemanding to the conditions of 3D printing.
PLA prints best around 210°C, although it is very versatile and can work at 180 to 230°C. It doesn't require a heated bed to print, but if your 3D printer has one, set the bed temperature somewhere between 20 and 60° C.
When printing with PLA, make sure the cooling fans are on. PLA produces the best results when cooled properly.
Overall, PLA is very easy to use and doesn't require much drumming to be successful.
Recommended temperature for 3D printing with ABS
Until recently, ABS was the most widely used material for 3D printing. Then ABS lost to PLA in the battle for the lead. The main reason is the great difficulty during 3D printing.
ABS requires a slightly higher temperature to print successfully. The recommended nozzle temperature is between 210 and 250°C. A heated table with a set temperature between 80 and 110°C is required. This is because the ABS shrinks as it cools, and if the model cools too quickly, it deforms. For the same reason, the cooling fans must be turned off when printing ABS.
Recommended temperature for 3D printing PETG plastic
PETG is a relative newcomer to the 3D printing media market, combining many aspects of PLA and ABS.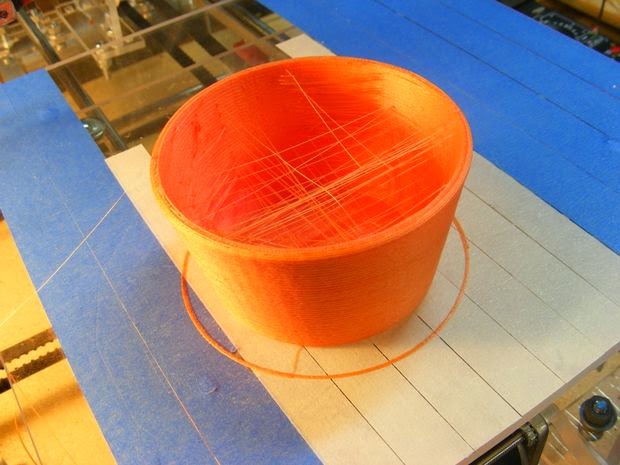
It requires very high nozzle temperatures of 220 to 250°C. However, unlike ABS, PETG does not require a heated bed.
PETG prints best with blue masking tape on the table. Without it, the table must be heated to 50-75°C so that the extruded material will adhere well to the table on the first layer. And because this material doesn't flex like ABS, cooling fans can be turned on during 3D printing.
Although PETG is not as easy to use as PLA, it is much less demanding than ABS and is now the top of the list in popularity.
Recommended temperature for 3D printing Nylon with plastic
Nylon is another popular and interesting material, although it is more difficult to work with.
It requires a higher temperature than any of the other materials on the current list: 240 to 260° C is recommended. Required table temperature is 70 to 100° C. However, the glue stick layer is very important as Nylon suffers from adhesion quality problems first layer.
Nylon should not be printed with cooling fans as this will cause layer adhesion problems.
This material is also very hygroscopic, meaning it absorbs moisture from the air very actively. This significantly reduces the quality of 3D printing, so the nylon must be dried before printing or a quality thermal box must be used.
Nylon can be problematic at first, but once you learn how to print properly with this material, it will cover many of your questions and needs.
Recommended temperature for 3D printing TPU plastic
The flexible materials known as TPU are an unusual and sometimes very useful material, but very difficult to work with.
TPU is used at the same temperatures as PLA. Works best between 210 and 230°C with table temperatures between 30 and 60°C.
Because this material is very flexible, it can bend and stretch from the extruder gear to the nozzle itself. Therefore, it is important that the material is extruded slowly and without retract.
If these problems become noticeable, a slight increase in extruder temperature can help reduce any material distortion that could cause it to buckle.
The melting temperature of plastic on a 3D printer and the subtleties of its choice
Types of plastics and their melting points
The most important is the choice of nozzle temperature, because it determines how exactly the plastic will extrude and stick to the previous layers.
Too high will result in model geometry distortion, cavities, or even printer failure. This will also affect the model: the plastic will not have time to harden in the place where the printer squeezed it out and move a little. Also, with a slight cooling of the throat, traffic jams will appear in it, completely stopping the seal.
And at too low a temperature, the plastic can be squeezed out in insufficient volume, thereby deteriorating the strength and appearance of the model. If the plastic is too hard, then the printer will not be able to push through the required volume.
The temperature of the table is important for the adhesion (adhesion) of the first layer. Rarely seen in budget printers, but still fairly well known, thermal chamber technology helps prevent cracking if the shrinkage of the plastic (i.e. reduction in volume with a drop in temperature) is too high. Next, we look at the most popular plastics, their print temperatures and features.
PLA
This abbreviation stands for polylactide. Made from corn and sugar cane, PLA is one of the safest plastics for home use. Due to its ease of 3D printing and low toxicity, this plastic is the most popular for beginning 3D printers.
Temperature settings:
-
Nozzle temperature: 190-210°C
-
Table temperature: 60-70°C
-
Fan speed: 100%
The printing temperature of PLA plastic is one of the lowest among all the variety of materials, but it is worth paying attention to the fan speed of the model, as this plastic remains flexible over a wide range of temperatures.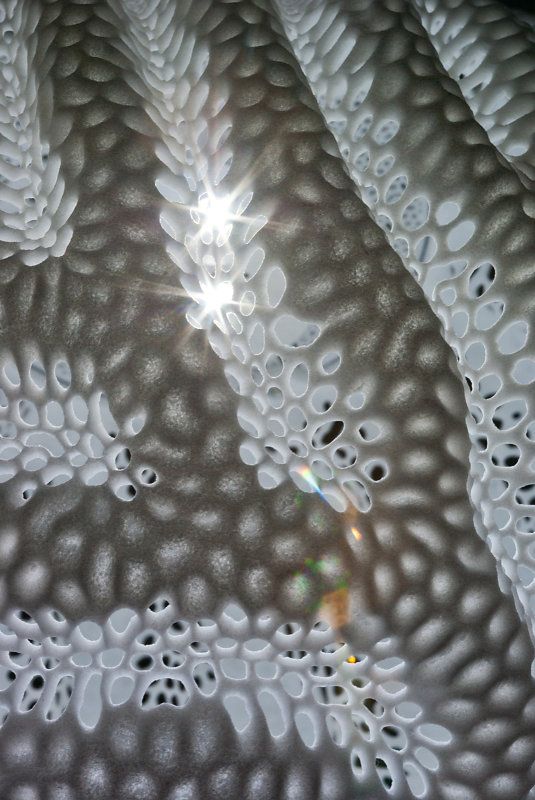 With insufficient airflow, the edges and corners of the model may be bent. In order for the model to adhere better to the table, it is necessary to set the temperature of the nozzle to about 210°C, and the temperature of the table to about 70°C. On the second and subsequent layers, it is better to reduce the temperature in order to prevent the above problems with curling edges.
ABS
Despite the difficulties in 3D printing with this plastic, it is the second most popular, as it combines cheapness and versatility. Much more flexible than PLA plastic, allowing springs and bendable parts to be printed. Due to its lower strength, it is easier to process it mechanically: with needle files and sandpaper. But due to the release of toxins when heated, this plastic is best not used when printing dishes or kitchen appliances.
Temperature settings:
-
Nozzle temperature: 230-250°C
-
Table temperature: 90-100°C
-
Fan speed: 50-75%
ABS plastic shrinks a lot, so it is better not to increase the fan speed above 40-60%, but if there are small parts or printing of bridges, then the speed can be increased to 75-80%. If the part cools too quickly, it may crack right during printing.
The strength of this plastic is highly dependent on temperature, so if accuracy is not so important, then it is better to increase the temperature up to 250 ° C. If you print at the lowest temperature, then the strength of the part may decrease by 2 times, relative to the same model printed at the maximum allowable temperature.
Be careful when printing with ABS indoors, you may experience dizziness or headache! Printing on a 3D printer should be carried out in well-ventilated areas, covering the 3D printer from direct drafts so that the fumes from the plastic do not harm you.
PETG
This plastic has a high chemical resistance, so it is used in the manufacture of dishes. At the same time, it combines the strength of PLA plastic and the flexibility of ABS. But it takes a long time to set the correct temperatures for your printer in order to remove all print defects.
Temperature settings:
-
Nozzle temperature: 230-260°C
-
Table temperature: 60-90°C
-
Fan speed: 25-50%
Often there is a problem with “hairs” in some parts of the model. In such cases, the retract distance can be increased. Changing the temperature does little to change the situation. Due to the low adhesion of plastic to itself, the fan speed should not be adjusted above 50%, otherwise the model will easily break apart between layers.
HIPS
This plastic is used as a backing material for printers with multiple extruders. Usually the main plastic is ABS or PLA, since they are neutral to D-limonene, and HIPS is completely soluble in it. This allows you to get an almost perfect quality of overhanging elements.
Temperature settings:
-
Nozzle temperature: 230-240°C
-
Table temperature: 90-100°C
-
Fan speed: 0%
Since the strength and hardness of this plastic is extremely low (sometimes it can be pushed through with a fingernail), it should not be used as the main material of the model. Airflow is not needed, because even when using HIPS for the entire model, it has time to harden during the printing of the layer.
Add to compare
Product added to compare Go
| Manufacturer | Tiger3D |
Add to compare
Product added to compare Go
| Manufacturer | Tiger3D |
Add to compare
Product added to compare Go
| Manufacturer | Tiger3D |
Add to compare
Product added to compare Go
| Manufacturer | Esun
SBS
The main property of this plastic is transparency and flexibility. This allows you to make bending parts: loops, fasteners, clamps. When processing the model with a solvent, the model becomes almost completely transparent, as in the photo below. But two simple rules must be observed: thin walls and complete filling of the space between them.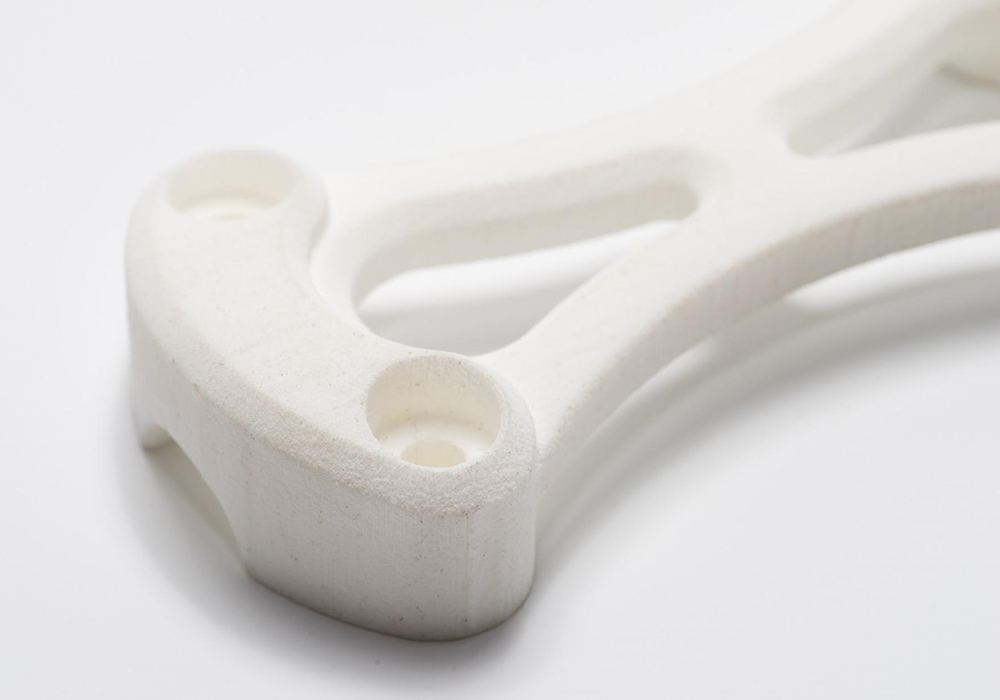
Temperature settings:
-
Nozzle temperature: 220-230°C
-
Table temperature: 60-80°C
-
Fan speed: 50-100%
Tip: If you want to print a sealed part, then the flow should be increased by 1-2%. This will increase the dimensional discrepancy with respect to the model, but will make the model completely airtight.
Nylon
This plastic is familiar to many in everyday life thanks to nylon clothing. It is used in the manufacture of gears and other moving parts due to its flexibility, strength and low coefficient of friction.
Temperature settings:
-
Nozzle temperature: 240-260°C
-
Table temperature: 70-90°C
-
Fan speed: 0-25%
Plastic requires a long time to choose the right temperatures, as it has many problems: poor sintering between layers, low adhesion, hygroscopicity (the ability to absorb moisture from the air).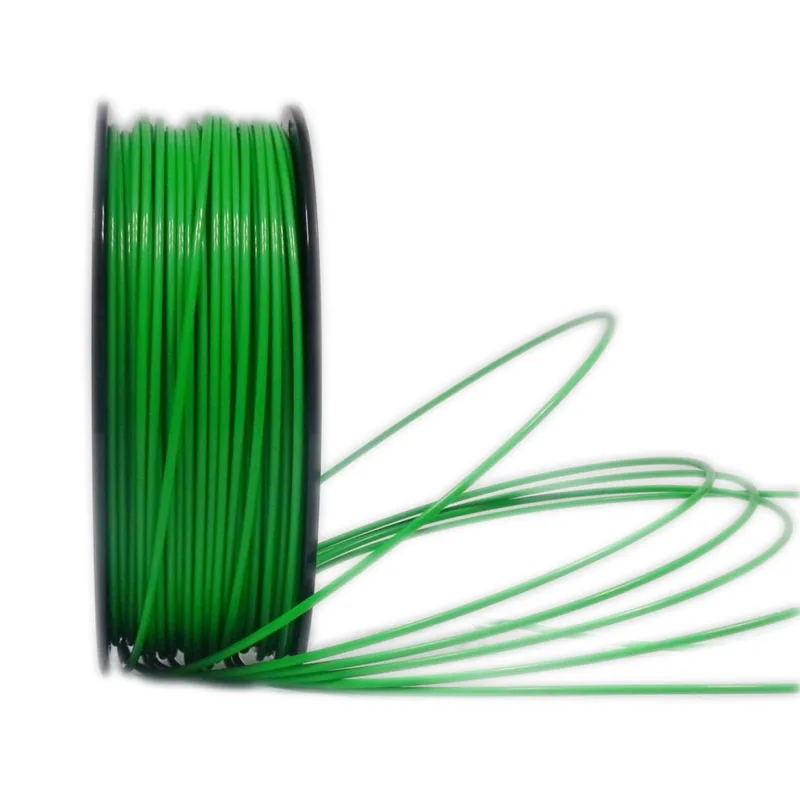 The last characteristic is extremely important, since it radically changes the behavior of plastic. Due to the presence of water particles in the plastic, the model becomes very fragile, and the surface is rough, for example, as in the photo below.
Therefore, it is extremely important to keep the plastic dry. And if it is not known whether the plastic has gained moisture, then it is better to dry it using special devices or in an oven at a temperature of 60-70 ° C for 2-5 hours.
TPU
Some call this plastic “rubber”. And this name suits it, because it is the most plastic material for 3D printing, capable of stretching up to 4 times, relative to its initial size. However, over time, it returns to its original form.
Temperature settings:
-
Nozzle temperature: 210-240°C
-
Table temperature: 50-70°C
-
Fan speed: 50-100%
Due to its flexibility, printing problems can occur, namely plastic jamming in the feed mechanism.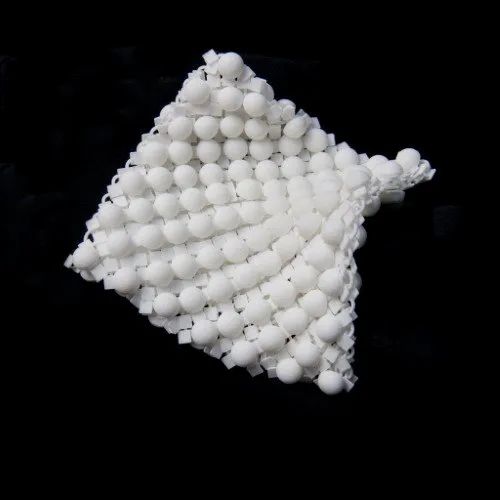 It is recommended to print with this plastic only in direct extruders at low speeds, not exceeding 40 mm/s. You can try to print them in bowdens, but then the speed should be no more than 20-30 mm / s, otherwise the filament will curl up in the tube and the printing will stop.
The cause of this problem is the gap between the hole where the filament exits the extruder and the feed gear. Special spacers that reduce this gap will help solve this problem.
PVA
Water soluble plastic used for printing supports. It has low strength, which makes it impossible to use as the main material of the part. Unlike HIPS, which has similar properties and applications, PVA is much easier to remove from the part, since even when heated and dissolved in water, it remains absolutely harmless.
Temperature settings:
-
Nozzle temperature: 220-230°C
-
Table temperature: 65-75°C
-
Fan speed: 0-50%
Since this plastic is only needed to create supports, it is better not to use airflow.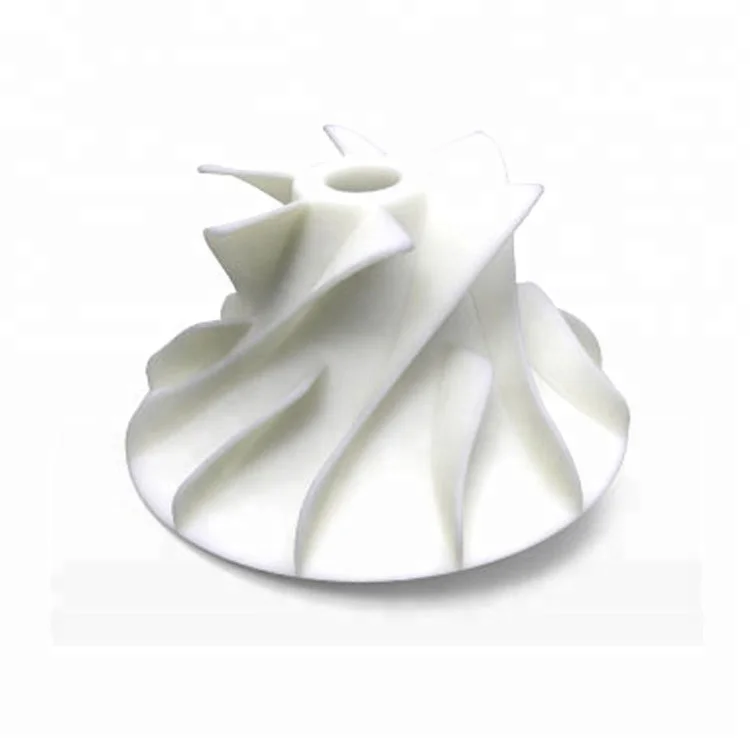 If a high-quality part is required, consisting entirely of PVA plastic (for example, a soluble cork or fastener), then the blowing speed should be below 50%, since the adhesion of the layers of this plastic is extremely low. You can increase the strength of the PVA plastic model with water: you need to gently moisten the part, wait 5-7 minutes and dry the surface. Thus, the outer walls of the part will “stick” to each other much more strongly, thereby increasing the overall strength of the part.
Add to compare
Product added to compare Go
| Manufacturer | Esun
Add to compare
Product added to compare Go
| Manufacturer | Esun
Add to compare
Product added to compare Go
| Manufacturer | Esun
Add to compare
Product added to compare Go
| Manufacturer | Bestfilament |
PC
This name stands for polycarbonate.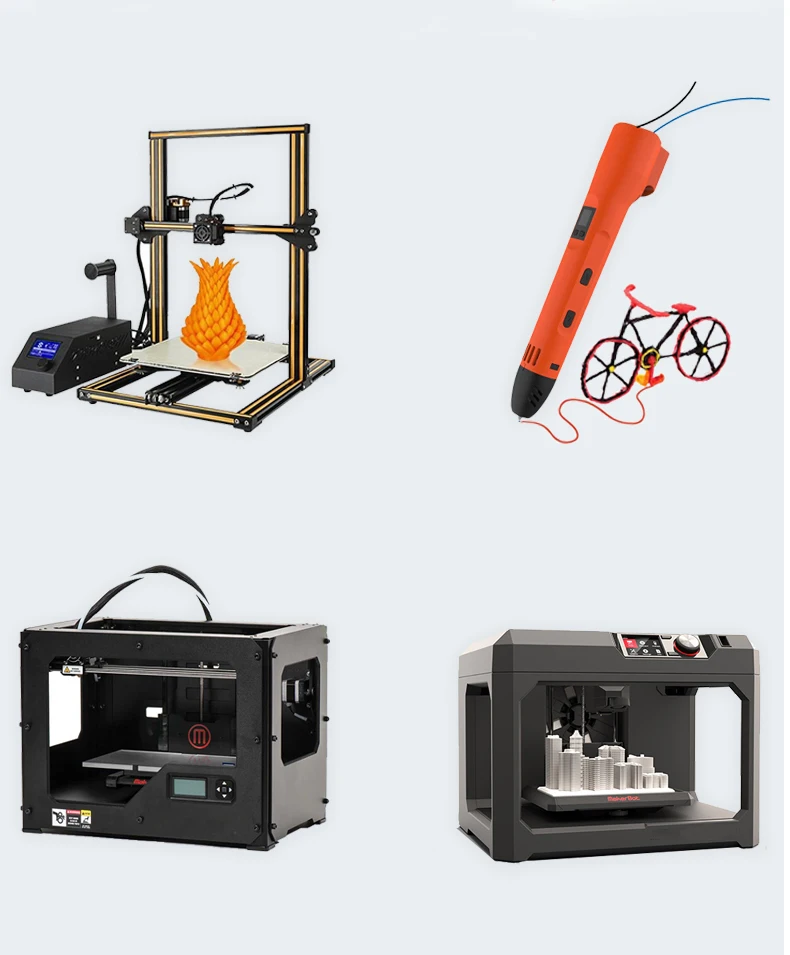 It has great strength, but has relatively little flexibility, less than that of PLA. Also, when tanning, it tends to self-extinguishing, which increases fire safety.
Temperature settings:
-
Nozzle temperature: 290-310°C
-
Table temperature: 90-120°C
-
Fan speed: 0-25%
Like PETG, this plastic is very hygroscopic, so it needs to be stored in a dry space, preferably in a silica gel bag. Due to the need to maintain high temperatures and storage characteristics, polycarbonate is not widely used in 3D printing.
PEEK
This plastic is difficult to 3D print, but it has outstanding mechanical characteristics. Therefore, parts are made from it, designed to work with high loads and friction. It is also neutral to various chemicals.
Temperature settings:
-
Nozzle temperature: 350-410°C
-
Table temperature: 120-150°C
-
Fan speed: 0-25%
To print PEEK, you need to have professional 3D printers.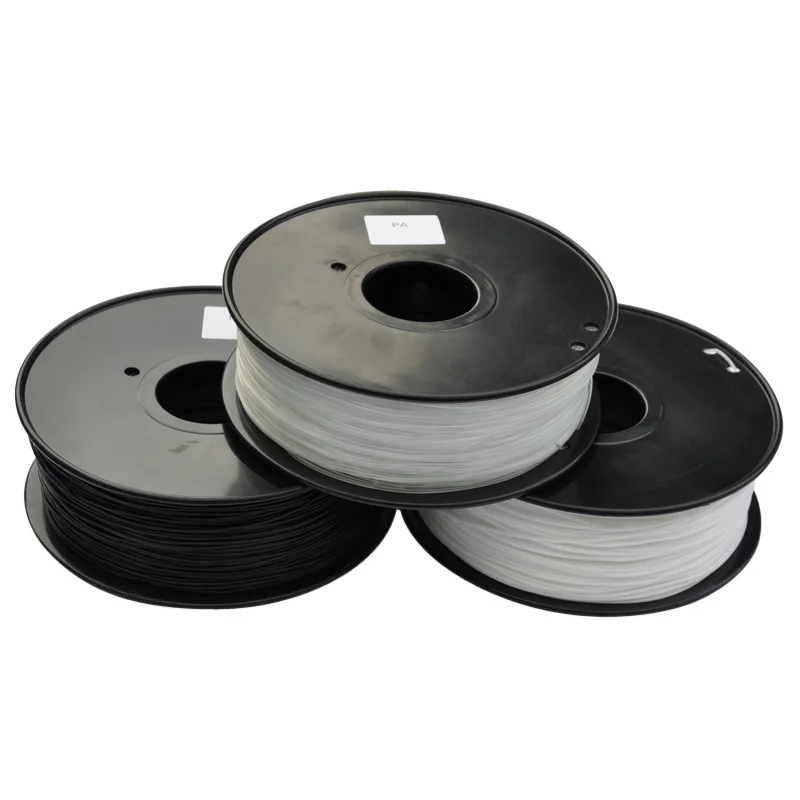 If you use a 3D printer designed for home use, then there is a chance of burning the extruder and the heating element in it. A heated chamber is also required.
Composite plastics
This category includes filaments containing particles of any material. Such a material consists of two parts: a base (usually PLA, ABS or other plastic) and an added component (wood, metal, ceramic or carbon fibers). These plastics differ not only in the type of added component, but also in percentage. Usually, the higher the content of the additional component, the more the properties of the plastic differ from those of the base.
The temperature depends on the basis of which the filament is composed. All necessary parameters must be obtained from the manufacturer.
A common feature of all plastics in this category is the need to use a nozzle with a large outlet diameter (from 0.5 mm). Otherwise, the nozzle will quickly become clogged with the added component. The material of the nozzle is also extremely important, as conventional brass nozzles will wear out quickly. Hardened steel nozzles are usually sufficient.
Temperature setting on the printer
Before you start printing, it is very important to be sure that the printer heats the nozzle to the correct temperature and does it without jumps. To do this, you need to make sure that the printer firmware is configured and that the thermocouple is installed correctly.
Correct placement of thermocouple in hot end
The printer receives data on the temperature of the hotend using a thermocouple, which is installed in the hotend. Usually there is a special hole for this, you need to insert a thermocouple as deep as possible into it. It is important to secure the thermocouple wire. Often, for this purpose, there is a hole in the hot end where the screw is screwed. It is best to run two wires on opposite sides of the center of the screw. This will securely fix the thermocouple in the hotend. If there is no provision for mounting the thermocouple, then it is necessary to fix the thermocouple wire on the wire of the heating element.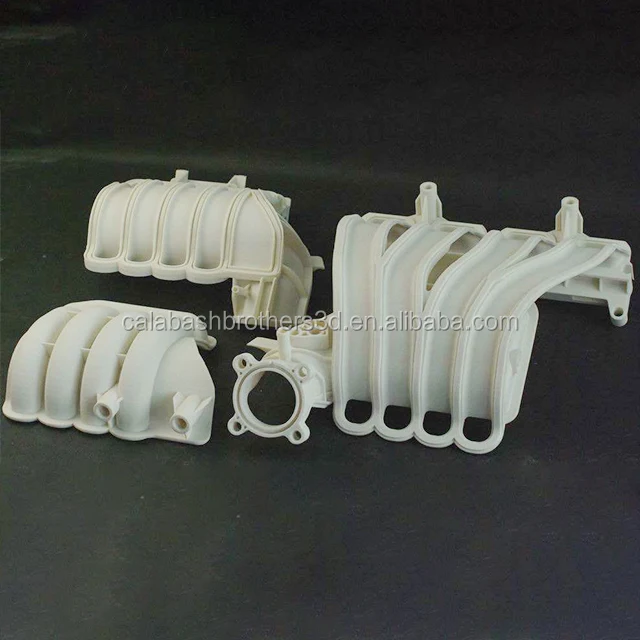 An example of how to do this is in the photo below.
Attention: a poorly fixed thermocouple may fall out of the hot end, thereby creating a fire hazard!
Firmware setting
If the printer is assembled on its own, then it is important to select the type of thermocouple in the firmware. If you are going to use the Marlin firmware, then you need to go into the Configuration.h file and find the line:
#define TEMP_SENSOR_0 0
In place of the last digit, there may not be a zero, but another digit. In most cases, if your printer has a thermistor in the form of a “droplet”, then instead of the last digit you need to put 1. As a result, you should get a line:
#define TEMP_SENSOR_0 1
If the printer determines the temperature incorrectly, then you should try changing the last digit to a different one. A list of numbers and the thermocouples they represent is written above this setting.
The table has the same setting, it can be found by the line:
#define TEMP_SENSOR_BED 0
Here you should also change 0 to 1.
PID tuning
This abbreviation hides a complex name: proportional-integral-differential controller. In simple terms, this is a function that allows you to more accurately keep the temperature within the specified limits. Since the printer can only turn the heating element on and off, the only way to control the temperature is to turn off the heating element when the desired temperature is reached, and turn it on if the temperature falls below the set temperature. But in this case, the temperature will “jump” strongly due to the inertia of the heater. This is what the PID function is for - to compensate for the inertia of the heater. But each printer needs its own PID setting, as the inertia can vary greatly depending on many parameters.
PID tuning requires a wired connection to the printer. The best way to send commands is to use Repetier-Host. As soon as you connect to the printer, you need to send a command to it:
M303 C3 S210
Here, the number after C is the number of heat-up cycles the printer will go through, and the number after S is the temperature for which the PID is being tuned.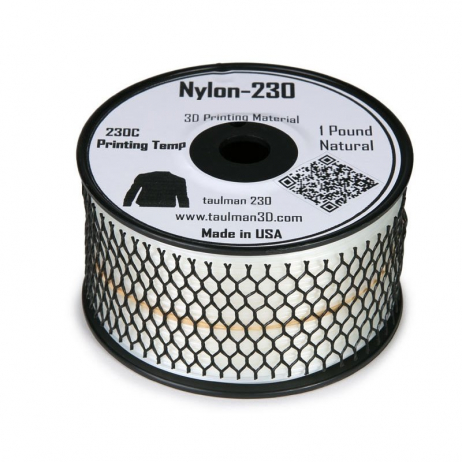 Although the printer will be set at a certain temperature, these settings will work for higher temperatures.
After some time, the printer will send to the console the values of three PID parameters: Kp, Ki and Kd. These parameters are responsible for tuning the PID. To enter these numbers into the printer settings, you need to send a command:
M301 P14.82 I0.8 D68.25
Here, the letters P, I, and D are followed by the corresponding Kp, Ki, and Kd values from the previous step. If you enter this command, then the PID setting will be saved only until the printer is turned off. You can add this command to the start GCODE for each model you will be printing. For some printers, you can change these settings through the printer's menu.
Softening temperature and post-processing
After 3D printing, you can process the part using high temperature. This allows you to increase its strength and change the geometry of the part. At home, you can use the oven for these purposes. But you should be careful: some plastics release hazardous substances when heated, so it is better to use other methods. For example, a steam bath, hot water, or a hair dryer can serve as an alternative. The main parameter of such processing is temperature. It is necessary to have a sufficiently high temperature so that the material of the model begins to change from a solid state to a sluggish flow, but not to exceed a certain temperature threshold, after which the part can change its geometry uncontrollably.
List of plastics and their softening points:
-
PLA - 70°C
-
ABS - 105°C
-
PETG - 80°C
-
HIPS - 85°C
-
Nylon - 125°C
-
TPU - 95°C
-
PC - 145°C
-
PEEK - 255°C
The data is relatively inaccurate because plastics don't have a specific temperature when they fully transition from one state to another.
Universal table
For those who often use various plastics, we have prepared a table containing all the necessary information for adjusting the temperature of a 3D printer on the fly.
| Plastic | Nozzle temperature, °C | Table temperature, °C | Blowing speed, % | Peculiarities |
| PLA | 190 - 210 | 60 - 70 | 100 | Safety Strength |
| ABS | 230 - 250 | 90 - 100 | 50 - 75 | Flexibility |
| PETG | 230 - 260 | 60 - 90 | 25 - 50 | Chemically neutral Friction resistance |
| HIPS | 230 - 240 | 90 - 100 | 0 | Soluble Supports |
| SBS | 220 - 230 | 60 - 80 | 50 - 100 | Transparency, great flexibility |
| Nylon | 240 - 260 | 70 - 90 | 0 - 25 | Chemically neutral Heat resistance |
| TPU | 210 - 240 | 50 - 70 | 50 - 100 | Huge flexibility Frost resistance |
| PVA | 220 - 230 | 65 - 75 | 0 - 50 | Water solubility |
| PC | 290 - 310 | 90 - 120 | 0 - 25 | Strength Heat resistance |
| PEEK | 350 - 410 | 120 - 150 | 0 - 25 | Strength |
Add to compare
Product added to compare Go
| Manufacturer | Tiger3D |
Add to compare
Product added to compare Go
| Manufacturer | Esun
Add to compare
Product added to compare Go
| Manufacturer | Esun
Add to compare
Product added to compare Go
| Manufacturer | Raise3D |
#Useful
Expert in the field of additive and subtractive technologies, 3D equipment and CNC machines with over 10 years of experience.