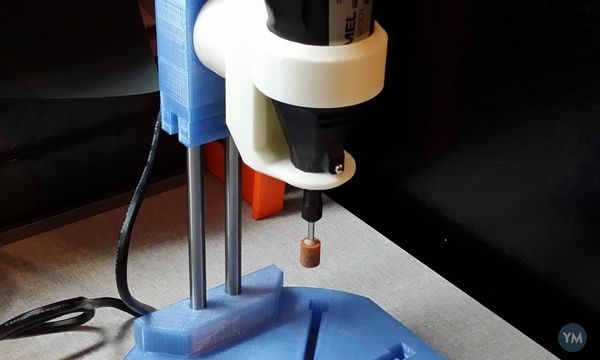
Noctua fan for 3d printer
Which Noctua fans can I use for 3D printers? : Noctua Knowledge Centre
Solution home Frequently Asked Questions Fan FAQs
Modified on: Mon, 21 Nov, 2022 at 1:49 PM
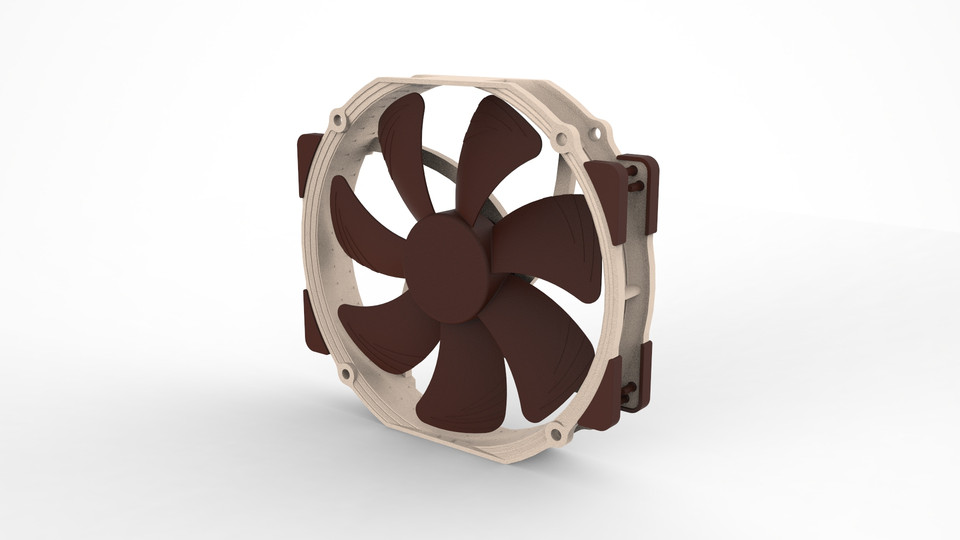
Noctua’s premium quality quiet fans are widely popular in 3D printers. They are ideal both for providing extra cooling to the printed part and for replacing noisy or broken stock fans. Many Noctua fans are available in 5V and 5V PWM versions that are particularly easy to integrate into 5V based 3D printing environments. 24V versions are available in 120 and 140mm size in the industrialPPC range.
- Fan replacements: Many 3D printers come with loud stock fans or suffer from fan failures after long usage time. In these cases, Noctua fans such as the NF-A4x10 and NF-A4x20 have become popular replacements for stock 40mm fans due to their superior quietness of operation and long-term stability.
Both fans are available in 5V versions that can be powered directly from many printers’ native 5V circuits. There are many tutorials on YouTube and other sources that explain how to replace the stock fans in 3D printers from popular brands such as Anet, Cetus, Creality, E3D, FlashForge, MakerGear, Prusa, Robo 3D or Wanhao. Since many of these printers come with proprietary fan headers, it is usually necessary to either cut the fan cable and solder the original fan’s connector to the new fan or to use the OmniJoin™ adaptor set supplied with the NF-A4x10 or NF-A4x20. If your printer is not using a standard 3-pin or 4-pin fan connector, please refer to our FAQs (pin configuration) to check the standardised pin-alignment and pin-configuration used by all Noctua fans and make sure that you connect the fan correctly. Noctua cannot be held responsible for any damage caused to the fan, printer or other components due to misaligned connections.
- Extra part cooling: Adding extra fans to 3D printing setups is a highly effective method to improve print quality.
 This is especially true for small, thin objects with fine details as well as bridging and overhanging structures where the freshly printed layer often does not have enough time to cool down before the next layer is being added. In these cases, adding extra ventilation helps the printed parts to cool down more quickly and can thus lead to better print quality. The biggest improvements are usually seen with PLA materials, but careful extra ventilation can also help to improve the results with ABS and other materials. The most common way of adding extra fans is to use customised fan mounts or ducts that are installed to the extruder and funnel the fan’s airflow to go directly to the printed object. A wide range of duct designs is available on 3D printing databases such as Thingiverse. While some of them are tailored to particular 3D printer and fan models, others are multipurpose designs that can be used with various configurations. 40, 60 and 80mm fans are most commonly used for this purpose, so the NF-A4x10, NF-A4x20, NF-A6x25 and NF-A8x25 fans are the most popular models when it comes to providing extra airflow over the printer’s hot end.
Did you find it helpful? Yes No
Send feedbackSorry we couldn't be helpful. Help us improve this article with your feedback.
How to install Noctua fans on a 3D printer
Watch the full video on my YouTube channel!When a hotend reaches a certain temperature, the fan will turn on to keep it from overheating, which would otherwise cause a jam. Unfortunately, most fans are really loud, but some manufacturers are producing fans that are almost silent. Noctua fans are one of the most famous, not just when it comes to 3D printers.
Replacing the hotend fan
The stock fan on a Prusa is 30mm, but Noctua doesn't sell anything smaller than 40mm, so you'll have to buy that one. Just be careful to buy one with the correct voltage.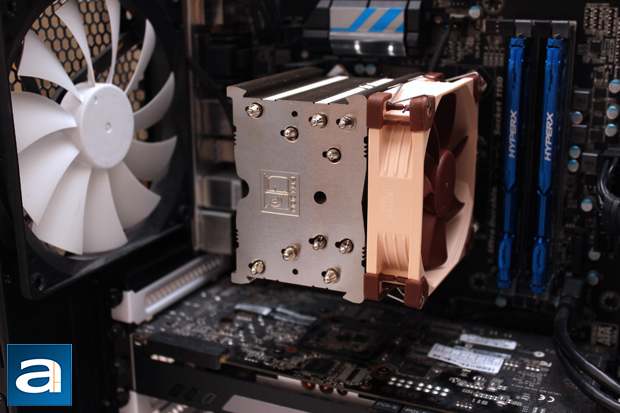 Most printers use 12V for their fans, but there are some exceptions (like the Creality Ender 3) which use 24V for the fans as well.
Here's a link for the Noctua 40mm 12V fan.
Many fans come with 3 wires, one of which is used as a signal wire that reports actual RPM's back to the device. On the majority of printers, the yellow signal wire is not used, so you can cut it away. The Original Prusa Mk3 does use the 3 wire configuration though, so be sure to double check your printer before you cut away anything.
I highly recommend that you use Dupont connectors (standard plugs that you see on computers and electronics). Fans used for 3D printing fail quite often and it's very likely that you'll have to replace yours in the future. Having connectors that you can just plug new fans in to will save you tons of time and frustrations down the road.
I've made a separate video on Dupont connectors and 5 other ways of connecting wires, so check it out if you want to find out more.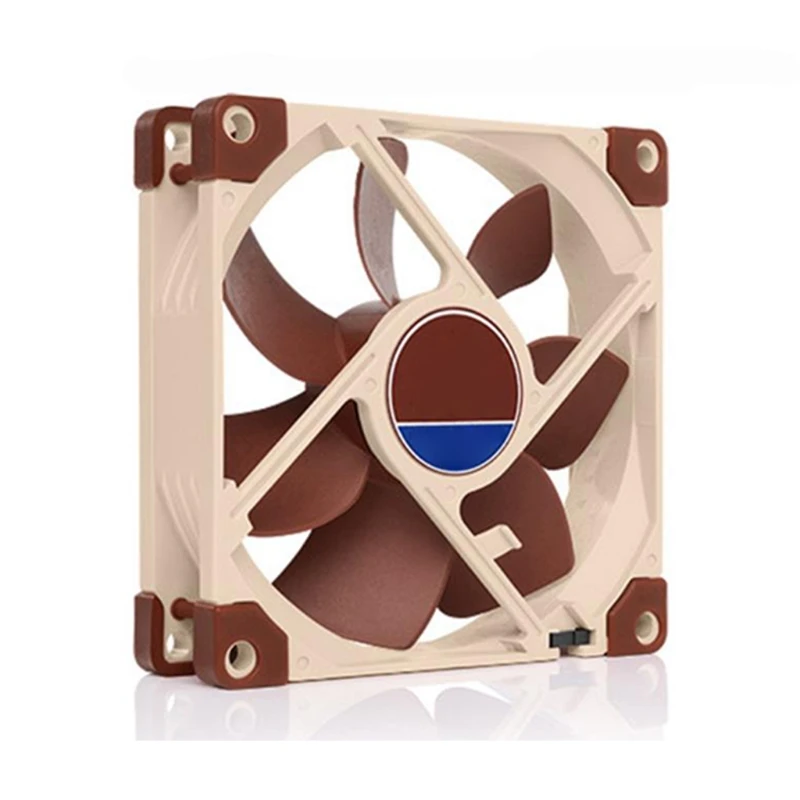
Because Noctua fan is usually larger than the stock fan, you'll have to print an adapter for it. While you can use PLA (the fan should be far away from the hotend), I highly suggest that you use PETG or ABS instead.
Before you mount the adapter, start a thread in each hole first. It's much easier to do it now and will make your life a lot easier when you'll have to attach the fan.
Next, carefully remove the old fan. Take it slow, other nearby wires for the heater and thermistor are very fragile.
Cut away the wires as close to the old fan as possible. It might be difficult to attach the new fan if you don't have enough of the wire left.
Again, I highly recommend that you use the Dupont connectors. Use the female connectors for the wires of the old fan.
Continue by attaching the adapter for the new fan. Don't cut away or shorten the wires of the new fan, we don't know the exact length yet.
Now attach the fan as well.
With the adapter and fan securely in place, we can cut away the fan wires now. You should leave about 5cm of extra length and cut away the rest.
Attach the male Dupont connector similarly as you did before and then connect the two cables.
Wrap electrical tape around the connectors just for good measure. The constant movement and vibrations of the hotend might loosen the connectors apart over time.
Now it's time for some cable management. Route the new cables close against the hotend, other cables, possibly the bowden tube if your printer has one. Basically, ensure that the new cable won't hit any part of the printer while the hotend is moving. It's very important to check that the new wires are not hitting anything, especially the frame. Take a look from multiple sides. I've also applied just a bit of glue on the new wires to really hold them in place.
Ensure the new cable isn't hitting anything!Move the hotend in all directions and look closely at the new cable.You can now power on the printer and check if the fan is working. On some printers, you'll have to heat the nozzle to about 50°C before the fan will turn on. You can do a self-test on Prusa so that you don't have to heat up the nozzle and then just reset the printer when the fan is working.
Replacing the part cooling fan
For the part cooling fan, you will need at least the 60mm version if you want to achieve the same airflow as with the stock radial fan.
Noctua 60mm 12V fan.
Same as before, be sure to get the 12V or the 24V version depending on your printer.
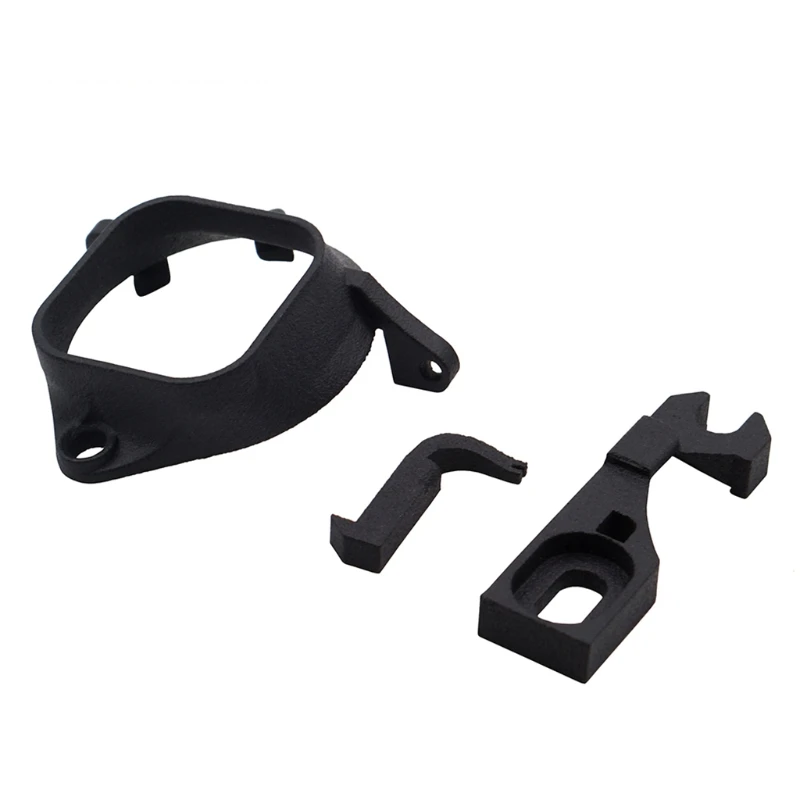
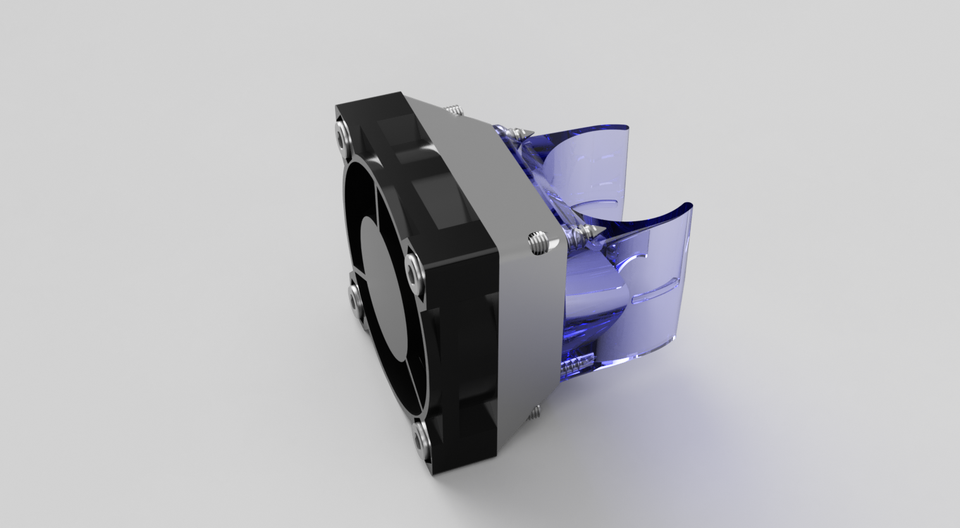
You will also need to print an adapter first. There are multiple designs available on Thingiverse, I've decided to go with this one by Crunch4D.
Everything else is basically done in the same way as before. Cut away the old wires, attach the adapter, create Dupont connectors and plug everything back together.
I suggest you print a torture test like this one. Pay special attention to overhangs and bridging. The new adapter might be restricting too much airflow or there might be something wrong with the fan. Issues like this will be most noticeable with overhangs, where good cooling is critical.
If you wish to buy any of the items mentioned here, you can use my Amazon affiliate links below. As an Amazon Associate I earn from qualifying purchases.
- Noctua 10mm hotend fan, 12V (not appropriate for Prusa Mk3!)
- Noctua 25mm part cooling fan, 12V (not appropriate for Prusa Mk3!)
Minor improvements D-Bot
RepRap
In continuation of the topic of fighting fans, I decided to buy the quietest 40 mm fan - Noctua NF-A4x10. The first test inclusion surprised me - I even thought that I had connected the contacts incorrectly, but when I looked at the fan, I was surprised to see that it was working. And in stock there was also a complete adapter, which allows you to slightly reduce the fan noise by reducing the speed.
In order not to be unfounded, I decided to measure all the parameters, and then record a video. I took an anemometer with a sound level meter from the shelf and started measuring.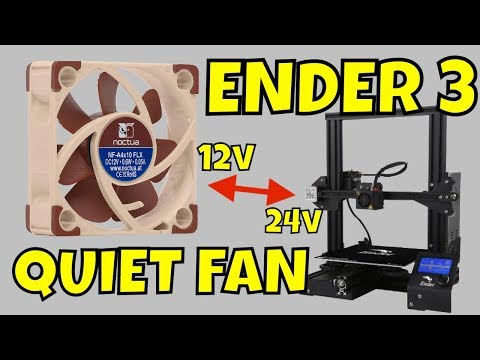 First, I measured a new fan, after printing a white ABS mount for it:
The airflow was 1.9 m/s, and the noise level was only 47 dB, which is only slightly above the background noise.
Then I removed and measured a unit with a Chinese fan
The noise got to 62 dB, but the air flow was already 2.6 m/s.
Yes, I didn't really want to lose almost 0.7 m/s, but the temptation to get silent operation prompted me to continue the experiment and put the fan on the hot end.
The first switch on again struck me - the sound of the fan is not audible at all. From the workplace, it is not at all clear whether the printer is turned on or not, and during operation, the operation of the extruder motor with the A4988 driver is already clearly audible. On the advice of colleagues, I also put the A4988 on the Z axis instead of the DRV8825. He seems to have a better hold mode. Now those are the two loudest axes in the printer :)0003
Next, I took a Sony action camera, a Zoom H5 recorder and recorded the operation of the printer without plastic, with the old fan and with the new one.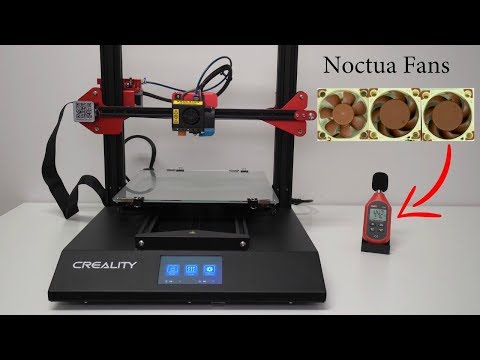 With a full set of A4988 drivers, the printer worked similarly to this video from Picaso Designer. Now on the A4988 printer only on Z and E, and on X and Y there are TMC2100.
And one more video. Now to the camera with the background work of the TV and the walking of the household for comparison :)
Here you can mainly hear the operation of the extruder motor and the stabilization system of the camera. And you need to understand that the video was recorded at a distance of 15 cm from the hot end, when in real life we are a little further away from it :)
As a result, I am satisfied with the new thing. There is zero noise, there is enough flow to cool the radiator - the maximum temperature of the radiator is about 50 degrees when the hot end is heated up to 240.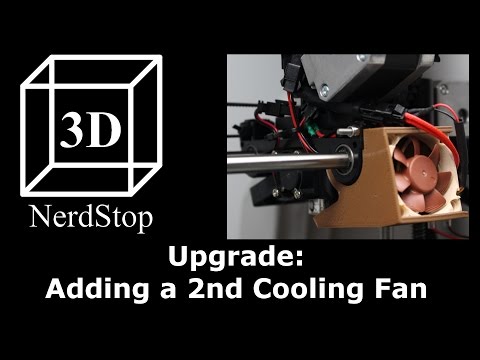 Even if it were a little noisier and more productive, unfortunately, you can only make it even quieter. As an option, buy a voltage boost module and see how the fan behaves at 14-16 volts.
Another minor update is the glass fixing on the table.
I decided to print out a toothbrush holder and remembered a spool of silvery PLA plastic, which was the best for this task. Yes, and it was necessary to deal with PLA after all. Immediately after assembling the printer, somehow it didn’t work out with me and I put it on the back burner. This time the printing went great, but one minor problem was revealed - the nozzle touched the poorly cooled 'bridges' and gradually shifted the model along with the glass.
After assembling the furniture, I found small metal corners in the storerooms, bent and screwed them into the corners of the table.
But because Since the glass is slightly smaller than the table, we had to design an adjustable holder for one of the corners, which would support the glass in the installed corners.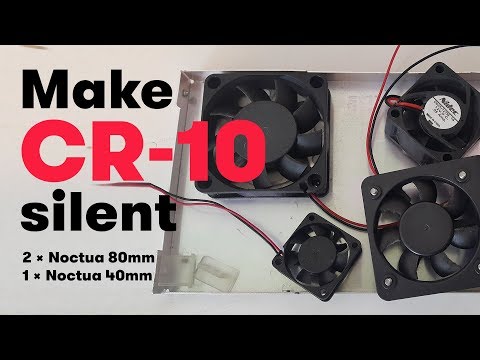
Now there is nothing to stop you from trying to print the toothbrush holder again. This time everything went almost smoothly, only the blower system for PLA needs to be made more powerful for printing 'bridges'.
And a couple of minor improvements.
First - I made a 'roof' for the optical sensor of the Z axis, as advised in the comments in previous posts. There are no statistics on the benefit yet, but there is no harm either :)
The next revision - finally got around to attaching a Teflon tube from the coil to the extruder. The detail is small, but it's really convenient that the tube no longer hangs where it pleases.
And in the end, I had a question:
- Have I reached the quality of my 'parent' ?
By 'parent' I mean custom printed parts for the printer, the quality of which I was pleasantly surprised at the time.
To answer this question, I printed out a few parts and compared them with those installed.
It turned out very well and in my opinion even a little better, despite even the cheapest ABS plastic from FDplast;)
But I'm not going to stop there - work with the Z axis (shafts and / or 3rd screw) is ahead, system update blowing parts, most likely ordering two more TMC2100 for Z and E, and a lot of other things to upgrade this 3D printer.
Follow author
Follow
Don't want
24
Best STL files for Noctua・Cults 3D printer
CR-6 MB cover for fan replacement
Free
Noctua 60 x 25 mm fan shroud
Free
NF-A15 Spacer M4 Screws v1.0
Free
NF-A15 Spacer M4 Screws for CoolerMaster NR200
Free
Noctua Batman 40mm Fan Shroud
Free
40mm axial fan with 4020 adapter (fits Hero Me Gen.
 5)
5) Free
Lenovo M73 M92 Cover with fan cutout
4 €
Alfawise U30 Pro - 40mm Fan Duct
Free
Ender 3/Ender 3 pro power supply cover
Free
Fan cover FANG
Free
Hevo hot end retainer with 45 degree fan
Free
Creality CR 6 SE Noctua 9 motherboard fan0005
3 €
[CR6-SE] Lightweight support for 40mm fan
Free
Ender 3 & Ender 3 Pro - Fang for 40x40x20 mm cooler fan
Free
Ender 3 Sprite Pro noctua fan mounts
€3.69 -15% 3. 13€
13€
Wanhao i3 Noctua one-piece spacer
Free
ENDER 3 S1 PRO Bottom plate for FAN Noctua
2.10 €
Simple yet effective air duct for noise reduction
Free
Fan shroud Noctua NFA15
Free
Converter Box Buck for eBoot Mini MP1584EN
Free
Noctua Fan Shroud 40x20mm for Prusa i3 Mk2
Free
Improved ADKS mount for Ender 3V2, fits dragonfly hot end and original BLTouch mount
Free
CR-6 SE PSU for Noctua A6x25 Fan
Free
80mm Noctua Fan Shroud/Grille
Free
Mount for two 80mm fans and air duct for 40mm space
Free
Noctua fan adapter for MGN/hypercube
Free
Air duct Elegoo Mars 3
Free
Amiga 1200 IndiAGA MK3 Socket
Free
Thin Ender PSU Cover for 90mm Fan Upgrade
Free
Ender 3 Pro Noctua PSU Case 92x14mm
Free
Ender 5 Plus Noctua PSU Enclosure 92x14mm RSP-500-24
Free
Creality Ender 3 Pro Custom Build
Free
Support CR-10 NF-A6x25
Free
CR-10 Noctua to support board
Free
Noctua Fanguard (4020/4010)
Free
Ventilation panel 19" 1U 6 fans
10.