Make your own 3d printer from scratch
How to Build a 3D Printer From Scratch
If you are reading this article that means that you’ve probably decided to join the community of 3d printing enthusiasts and find out more about 3d printers, or maybe you have already got some experience in it and are ready to try to create your own 3d printer from scratch.
In this article you will find general understanding how 3D printers can be built as well as links to really useful resources where you can find more detailed information with step-by-step description.
Currently there is a big variety of 3d printers in the Internet that already assembled and are ready to print right after you unpack them from a box, of course you also need to buy a 3d printer filament for it. Do not forget that not all 3d printers can use the same filament types, so please read the instruction before you purchase it.
But for some people who love to make something new with their own hands can be more interesting to build their own 3d printer from scratch. Based on our research the 3D printing community is filled with many enthusiastic people so called DIY’ers (Do It Yourself’ers), who are fascinated with building 3d printers literally almost from scratch.
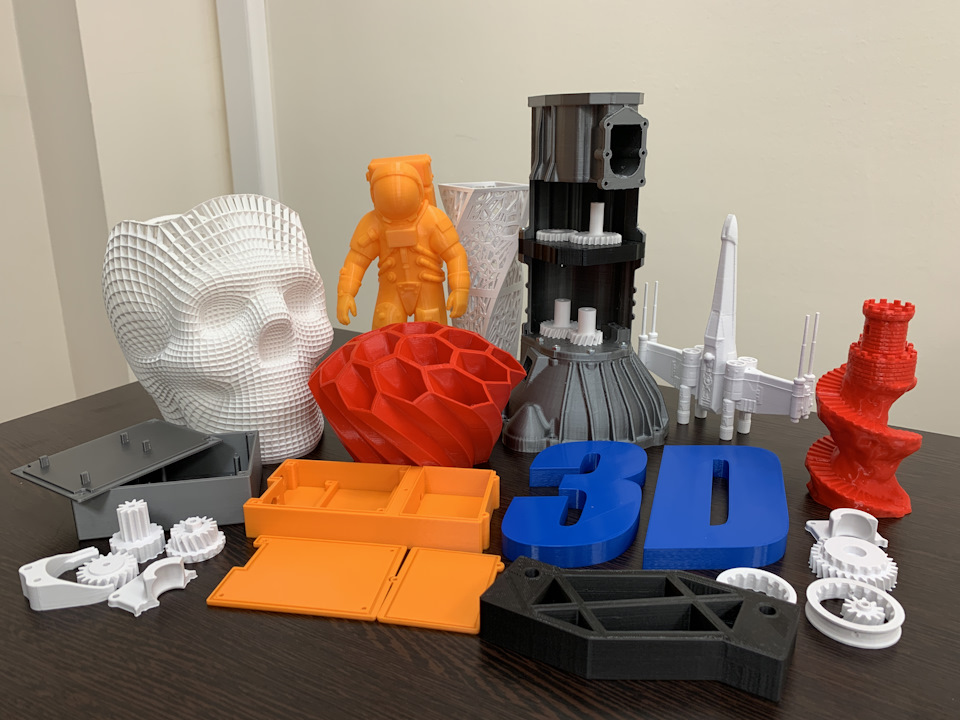
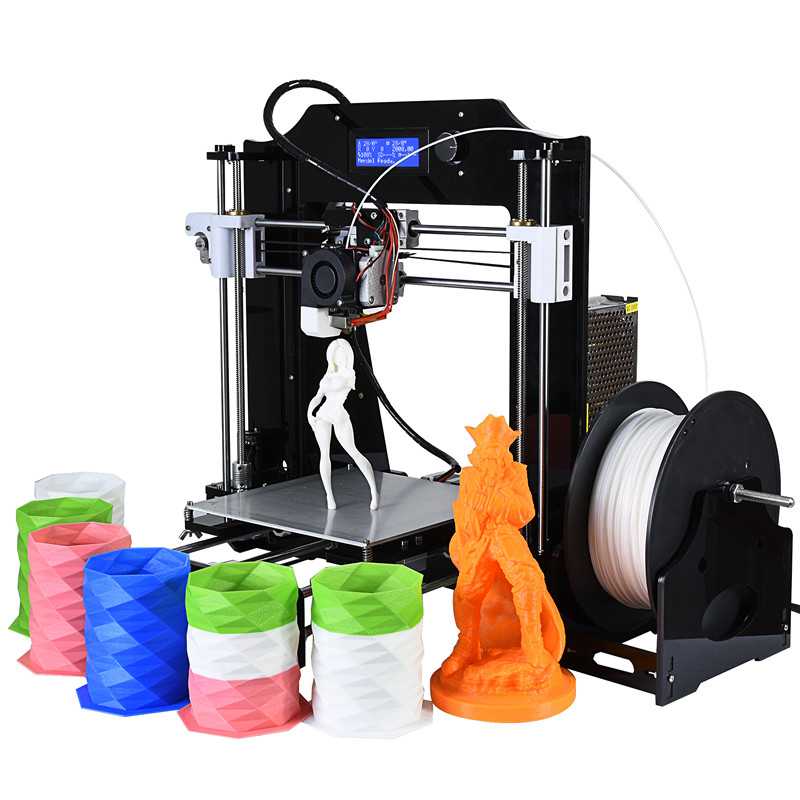
Good example of it is RepRap movement. RepRap is short for a Replicating Rapid-prototyper. In other words it is the self-replicating 3d printer. In fact most of today’s top consumer level 3D printers (picture above) are originated in one way or another from RepRap.
You can find a lot of examples on how to build a 3d printer from scratch on RepRap website, but we also want to describe some of more essential steps in order to give an overall understanding of what to expect if you really decide to make your own 3d printer.
The first step is to find and buy 3d printer DIY kit. Kits usually contain most of parts needed to assemble the printer and can be divided into two main types:
Scratch Built 3D Printer – This 3d printer DIY kit is for those who prefer to build thing from scratch, or in other words go to DIY RepRap route. Apart from some essential advantages this approach has also its disadvantages. In theory it can save you some money and since you build it from scratch you will know every nut and bolt in it by the time you can use it and successfully print your first object. Main disadvantage of this method is time. Literally it will take a lot of time to deal with all these hundreds of bolts, wires, belts and much other stuff. In the end you still need to select and purchase or build a controller board, but it depends on your skills level.
Kit Built 3D Printer – This type of kit is good if you want to save some money and at the same time not to deal with all challenges described in the 1st kit type. Many manufactures sell such kits with “easy-to-assemble” instructions included. I doubt that it will be as easy as assemble a chair from IKEA, so you still have to be mechanically inclined and able to understand basic geometry. Some of such kits contain not all parts and you may need to buy something in addition.
The next step will be to determine the design for your 3D printer. In my humble opinion most of DIY 3D printers have not very breathtaking and futuristic design in comparison with MakerBot and other brands. But it is also a matter of taste, for some people the design is not very important.
Once you have got your 3d print DIY kit and chosen the design you could go ahead and start the most fascinating and time consuming part – build your own 3d printer. Be prepared for sleepless nights and a lot of fun. Maybe you will make up something new and present your findings to RepRap community.
When the hardware part of the 3d printer is ready you also need to add a software component to it. It basically does the following things: allows you to view and alter 3d graphical objects, as well as converts the 3d images into instructions that 3d printer can understand.
Finally you can 3d print your first object! If you do not have anything to print, you can find a big variety of objects on specialized marketplaces such as Shapeways, Thingiverse and others.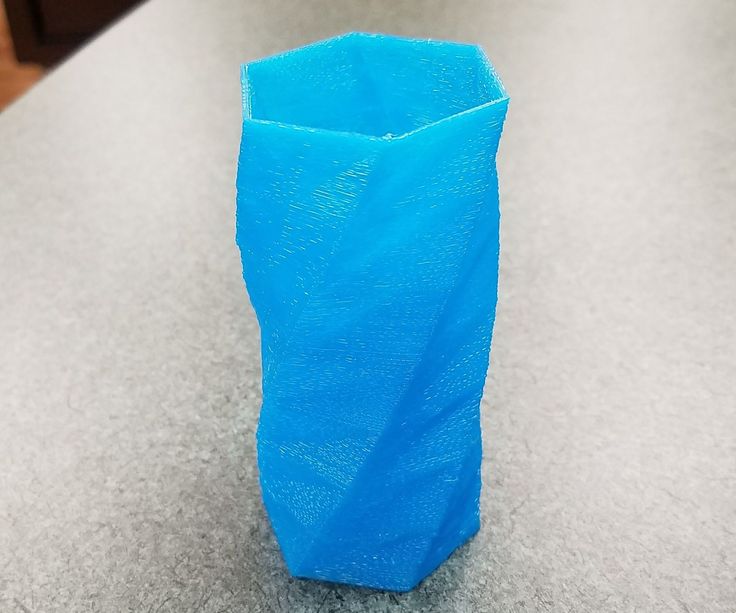 Before printing make sure that the object you want to 3d print has the right size and fit on the printer frame.
At the end there is a list of some links where you can find more information about how to build your own 3d printer from scratch:
- RepRap options
- 3D Printer DIY: How to Build Your Own 3D Printer from Scratch
- 3D Printing: Build Your Own 3D Printer and Print Your Own 3D Objects
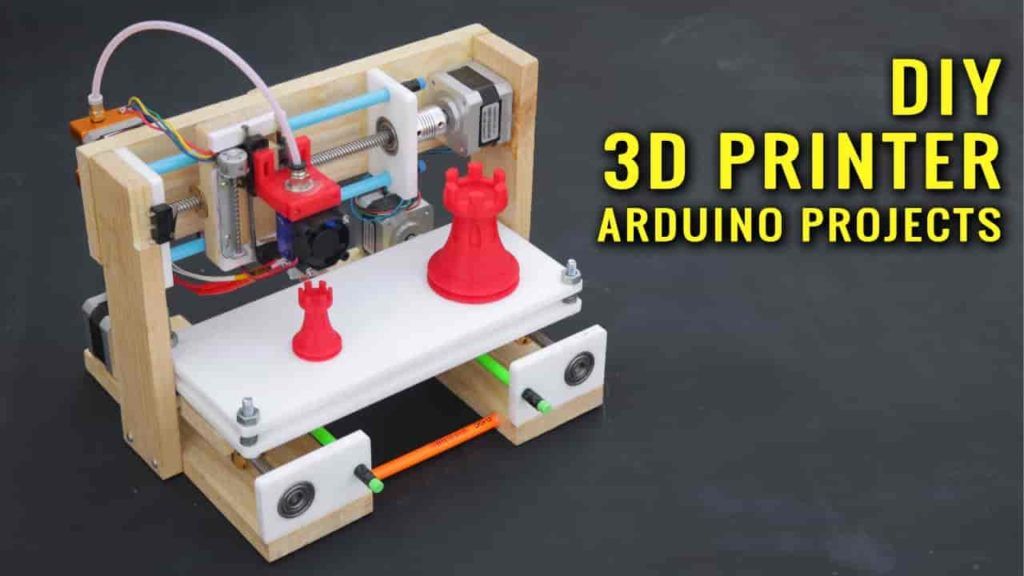
- Arduino Controlled CNC / 3D Printer Hybrid
- El34 World – 3D Printer Build using 1 inch T-Slot extrusions
- CNET 3D Printer Build Week
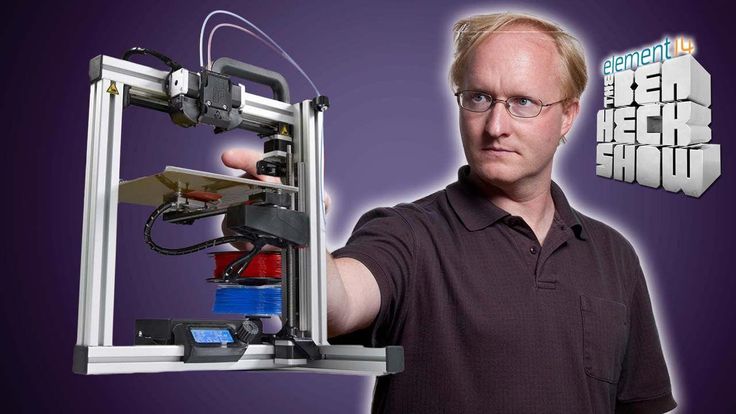
Also watch a video from Ben Heck in which he answers on some 3d printing related questions.
Related Articles:
- What is 3d printing – 3D printing technologies overview
- What is 3D Printing?
- History of 3D Printing
- Direct and Binder 3D Printing techniques
- Photopolymerization and Sintering
- 3D Printing Process
- 3D printing revolution
- 3D Printing Materials
- How to choose a right 3D printer filament type
- 3D Printer Filament Types Overview
- Types of 3D printers or 3D printing technologies overview
- How to find and buy a right 3D printer
- History of 3D printing in one picture
- Places to download 3D printer files and files formats overview
- 3D Printing Services Overview
- You Should Know These Important 3D Printing Concepts
How to build your own 3D printer
Skip to main contentWhen you purchase through links on our site, we may earn an affiliate commission. Here’s how it works.
Build a printer
The idea of 3D printing is fascinating; set a printer going in a public place and it's sure to quickly gather a crowd. The basic technology is amazing to watch, as layer upon layer is built up to create a 3D object.
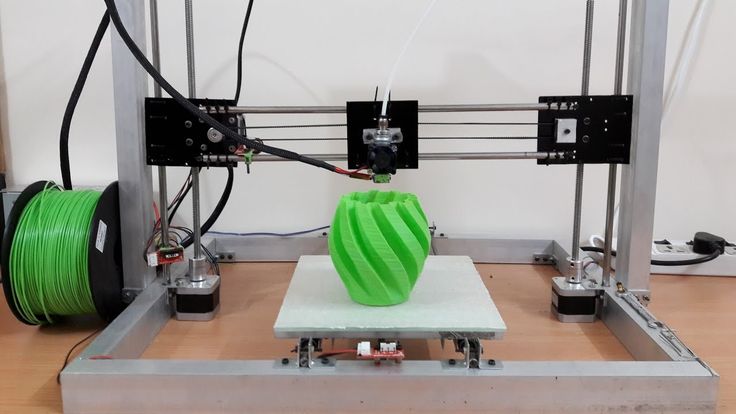
Fused Filament Modeling (FFM) is the most popular process and it will be this type of 3D printer that we'll look at in this tutorial. The basic principles of FFM are incredibly simple; a thin thread of plastic, known as filament, is melted and pushed through a small nozzle, this nozzle is accurately moved around a print platform in order to slowly build up layers.
The process put into its simplest terms is much like using an icing bag and nozzle to create three-dimensional cake decorations. Although the technique is simple, the technology that makes it possible is incredibly advanced and precise, and luckily with relatively recent advancements in micro controllers – such as the Arduino board – and stepper motors – such as the Nema 17's – the accuracy and price of the technology is now accessible to everyone.
- How 3D printers work
Accurate control with the use of these boards and stepper motors has made it possible for the maker community to get involved with building their own and adapting designs. The starting point for any FFM project is the ground-breaking work or the RepRap project.
The work of Adrian Bowyer and his team established today's 3D print revolution and now anyone who wants to build a 3D printer at home has the ability and for a minimal outlay. There are plenty of 3D printer designs out there, and the majority are based around the original work of the RepRap project.
One printer that has evolved from RepRap is the Prusa i3, which is a very simple printer that's capable of achieving incredible results if built correctly.
In this tutorial, we're going to use a Prusa i3 as the foundation, and discover the importance of components – such as the hotend and extruder – and how these and other components relate and can be changed and upgraded.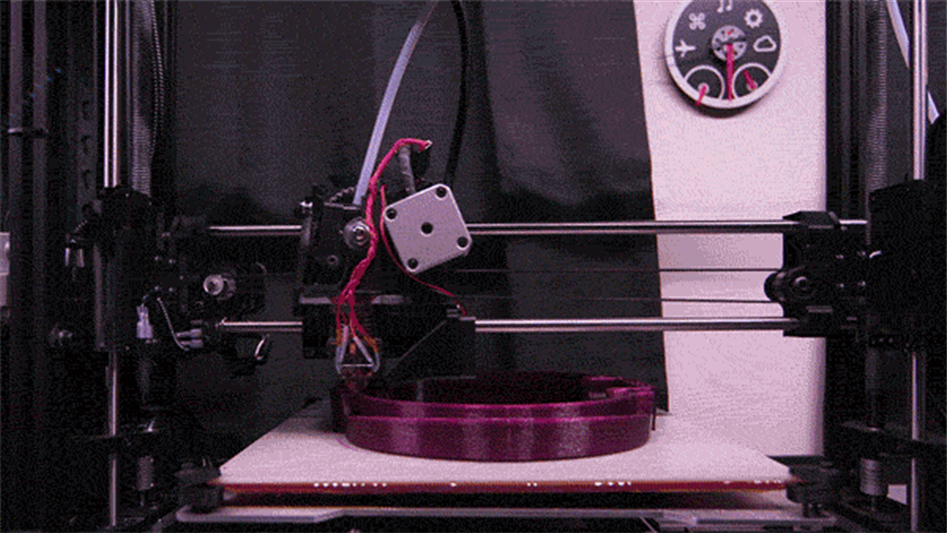 There really is no better way to discover 3D printing than to build your own.
Why build a 3D printer
Have a quick look online and you'll see that the price of 3D printers is now relatively cheap. An XYZ Da Vinci Jnr can be purchased for as little as £250 (around $366, AU$490) for instance.
Prusa does sell kits and pre-built printers, and the quality of the parts and ability to upgrade is extensive compared with other cheap kits. Cheaper printers such as the XYZ are good but limited to the materials and quality that they can print, and cheap kits from the internet generally use cheap parts and it's often difficult to get them to print consistently.
By building your own 3D printer you get to learn about every aspect of the machine and process. This not only enables you to better understand the way things work and how to correct them when or if they go wrong, but you also get a better understanding of how to make your printer print better.
- 10 best 3D printers
As you go through your build you'll discover that there are many parts that will need a tweak or adjustment, so it's worth knowing how each component relates to the rest of the printer especially if you do need to venture online for help.
Buying a kit is the cheapest way to gather together all of the parts, so even if you don't use the hotend and extruder supplied it will still work out cheaper than buying all of the parts individually. A company that buys in bulk and puts a kit together will be able to sell you the complete kit for less than you could put that kit together yourself.
When it comes to buying a kit, the two companies that are worth a look at are Prusa, the original designers of the printer or Ooznest who produce a decent version of it.
If you decide to go it alone then you'll need to download the source files for the Prusa i3. One of the issues here is that in order to print the parts to build the 3D printer you need a 3D printer.
- 1
Current page: Why build a 3D printer
Next Page Key components
TechRadar is part of Future US Inc, an international media group and leading digital publisher. Visit our corporate site .
© Future US, Inc. Full 7th Floor, 130 West 42nd Street, New York, NY 10036.
Homemade 3D printer
Skip to content
Admin Electronics
You can buy a ready-made 3D printer with free shipping in this Chinese store. Radio components, arduino at this link.
Contents
- Is it possible to make a 3D printer with your own hands?
- How to build a 3D printer from scratch | 3D printing from scratch
- Plywood 3D printer
- 3D printer design
- Electronics
- Table for 3D printer
Is it possible to make a 3D printer with your own hands?
How to build a 3D printer from scratch | 3D printing from scratch
3dprintingfromscratch.com
If you're reading this article, it means that you've probably decided to join the 3D printing enthusiast community and learn more about 3D printers, or maybe you already have some experience with it and are ready to try making your own. 3D printer. printer from scratch. nine0003
Goods for inventors Link to the store.
In this article, you will find a general idea of how 3D printers can be built, as well as links to really useful resources where you can find more detailed information with a step-by-step description.
There are now a large number of 3d printers on the Internet, already assembled and ready to print immediately after unpacking them from the box, of course, you also need buy filament for 3d printer . Keep in mind that not all 3D printers can use the same types of filament, so please read the instructions before purchasing.
DIY electronics in Chinese store.
But for some people who like to do something new with their hands, it might be more interesting to build their own 3d printer from scratch . Based on our research, the 3D printing community is filled with many enthusiasts, so-called do-it-yourselfers, who are passionate about building 3D printers literally from scratch. nine0003
You can find plenty of examples of how to make a 3d printer on the RepRap website, but we also want to cover some of the more important steps to give you a general idea of what to expect if you do decide to make your own printer.
The first step is to find and buy a 3D printer kit. Kits usually contain most of the parts needed to assemble a printer and can be divided into two main types:
Scratch Built 9 3D Printer0046 - This kit is for those who prefer to build things from scratch or in other words go the DIY RepRap route. 3D Printer - This type of kit is good if you want to save money and at the same time not deal with all the problems described in the first type of kit. Many manufacturers sell such kits with "easy to assemble" instructions. I doubt it will be as easy as putting together an IKEA chair, so you still have to have a mechanical tilt and be able to understand the basic geometry. Some of these kits do not contain all the parts, and you may need to buy something extra. The next step is to define the design of your 3D printer. In my humble opinion, most DIY 3D printers don't have very exciting and futuristic designs compared to MakerBot and other brands. But it's also a matter of taste, for some people the design is not very important. Once you've purchased your 3D printing kit and selected a design, you can start building the most fun and time-consuming part - building your own 3D printer. Get ready for sleepless nights and lots of fun. Perhaps you will come up with something new and present your results to the RepRap community. nine0003 When the 3d printer hardware is ready, you also need to add the software component. It mainly performs the following functions: allows you to view and modify 3D graphics objects, as well as convert 3D images into instructions that a 3D printer can understand. Finally, you can 3d print your first object! If you don't have anything to print, you can find a wide variety of items on dedicated marketplaces like Shapeways, Thingiverse, and more. First, see how this printer works Now in detail how the device was assembled Recently, the author of the Yar channel promised to show in detail the design of his 3d printer and tell where you can get components for it. Today it will not be possible to make a video on how to build a 3d printer from start to finish, because the printer is already ready. But maybe in the near future a video will appear on the channel on how to make a 3d printer from wood from scratch. Because it will be redone. nine0003 Basically, the printer is made of wood, for its construction a single board was used, which the author had. He doesn't have a circular, so the board isn't loosened narrower, it's so big and heavy. In order to assemble the frame, I sawed the board into several parts, glued it here, twisted it with self-tapping screws here, and this made up the frame design of this printer. Homemade 3D printer The carriages are also driven by motors from scanners, with native gearboxes, with native belts. Here, however, I had to use a gearbox from one scanner, and a motor from another, so that the movement of this axis coincided in steps with the Y axis. For some reason, other printers have two motors. But the master decided that there was no difficulty in using the belt. It’s not even clear why they make two motors. nine0101 In order to align the axis, I used paper pads. That is, a lot of small paper sheets that I put under the fulcrum of the guides in order to bring them in parallel with each other. They are, as already shown, right here, right here, right here. Homemade electronics. It is definitely better to buy it, because in the end I got a lot of crap. But that's not the point. The bottom line is that the electronics are made by Arduino Uno Chinese. Here, with a margin, are field-effect transistors. Here are two even with a radiator. Because before it was already at 200 watts. And, of course, four drivers are worth it. There is currently no extruder on the 3D printer, or rather, its cold end. There is only the nozzle itself with a heating block. All this is because he started reworking it for a lighter motor. Initially, this motor was here, everything worked perfectly. To be able to fly them faster, you need to reduce weight. Plus, I freed this motor for one of the axles, and bought another one for it. All this is done in order to make the printer a little faster in the future. In the previous video you could see another table, it is quite large and made only of glass. But this is a big problem, because the glass cracks from strong uneven heating. So I had to give up this table. The second table is much smaller, because there was just such a large piece of metal. Already made under replaceable glass. It can be attached here with clothespins. By the way, it also cracked, it was originally in size. nine0003 Standard 5 watt resistors are screwed to this sheet of steel. One of the serious shortcomings of this 3D printer is the lack of ends. If you can print in 2D, can you print in 3D? Well, the technology is already here. You can print 3D objects based on a working template, and they are not only meant to be looked at. They actually work! Manufacturers can provide you with a template from which you can print a broken machine part, say a screw, rather than placing an order and then waiting for a replacement. In addition, you can make an exact copy of an expensive car, for example, 1960 Aston Martin DB5 in 1:3 scale, and then, for example, knock it down or burn it for fun, as the creators of the James Bond movie Skyfall did. 3D printing is made possible by fusing layer by layer of durable plastics and metals based on a pattern designed with ARPA (Computer Aided Design). Each layer, about 0.1 mm thick, consists of liquid, powder or whole sheets of material. With this technology and a 3D printer, you can design, construct, or 3D print almost everything around you, as long as you have the templates. Firearms In the past, printed firearms broke easily after a few shots. Today, however, the non-profit corporation Defense Distributed is offering users to download the necessary files to print your own firearms if you have a 3D printer at home. Here is one of the videos of their semi-auto and semi-auto weapons: Acoustic guitar Scott Summi printed the world's first 3D acoustic guitar, which means that now everyone else knows it's possible. 3D printed guitars can be made from plastic complete with a metal sound hole cap and heel. In addition to creating working musical instruments, guitarists can also make exact 3D copies of the guitars of their favorite musicians or idols. Homemade camera lens A camera lens is quite tricky to make, but with 3D printing you can make your own lens and even get some creative and unique results with it. The creator of this lens (http://www.thingiverse.com/thing:37147) used acrylic to replace glass in the lens, as well as some other parts and mechanisms to bring them together. And, most importantly, the lens works! Check out some pictures taken with this lens: http://suzuki11.tumblr.com/ Shakuhachi Flute This beautiful Japanese flute is 3D printed stainless steel. It comes in a variety of finishes such as gold plated matte or glossy and antique bronze matte (pictured below). The flute is 9.4 inches long and if you look closely you can see a small dragon on it. You can buy this beautiful musical instrument for $239.95. Just imagine what this technology means for fantasy lovers. nine0003 Simple Loom If you are going to weave a small amount of fabric, you can create this simple loom with a 3D printer and some plastic. All parts were fastened with bolts. To model this loom, the author used a 3D modeling program called openSCAD. The lessons of history would be much more interesting if you could see real goods that were sold during a certain period of time. nine0003 Machine model: http://www.thingiverse.com/thing:11374 3D kids drawing figures maybe a sculpture? Well, now you can do it for 99 euros. Thanks to 3D printing, your child's colorful drawing can be turned into a work of art. Approximately 4" long object can be used to decorate your desktop or home, or as a trophy for your child's artistic talents. http://www.crayoncreatures.com/ 3 D- embryo "3D scanning" of your unborn child takes on a whole new meaning. Instead of a picture of your ultrasound, a Japanese company is offering you the so-called Angel Shape, a 3D print of your embryo for $1,275. A 3D model is created based on the processed image data using BioTexture. Medical models When it comes to technology, science has to be involved. The printing of these medical models is so accurate that surgeons can use them to plan operations before operating on the real patient. Illuminated shoes This sneaker has a lot of intricate details and 1 meter of wires to light it up, so it's not a shoe you could wear. It was 3D printed and used for a commercial advertisement for the Onitsuka Tiger. The link says you can buy it for 5879.83 euros and use as a modern sculpture in your home. In this video you can see how this amazing shoe was made: Case for your iPhone with card slot This creation by Janne Kyttanen may look like a good case design for iPhone 5, but it is more functional than a normal case. It is called the "Mondriaan" case, after the artist Piet Mondriaan, who liked the design of horizontal and vertical lines. This case costs 34.9$9 and available in 3 colors. Wire Storage If you bring your USB cables or other wires with you and want them to be neatly folded and tangle-free, you can buy this wire storage to help you get rid of from the hassle and save your time. It can be printed in a wide range of colors and costs between 10 and 20 euros depending on the color and size you choose. nine0003 https://www.shapeways.com/product/E6PH6YKMC/gear-wrap Infinite Sisu iPad Stand This stand is inspired by the Finnish concept of determination; The little muscular "man" holding your iPad is pretty hard to ignore. This is definitely a work of art that you can purchase for $161. You may find it expensive compared to the standard and more well-known stands for smartphones and tablets, but this is the price you have to pay for any work of art. Bugdroid according to your design Fans of the Android operating system and especially its splash logo figurines will also love these 3D crafted figurines, where the most amazing thing is that you can customize and choose different themes that suit you best. There are 25 standard themes to choose from, priced at $21.99; If you don't find one that's right for you, then there's the option to customize your own Bugdroid for a starting price of $29$.99 Lamp Your attention is the so-called palm lamp or lamp (Palm Lamp) from the same designer who made the iPhone case in the 10th item of our list. Janne Kyttanen has designed this rather eye-catching piece of art that comes in a wide variety of sizes. This lamp can be used as part of the decor, as a floor or table lamp or even a chandelier. Kaleidoscope watch This is a 3D printed watch that consists of two parts: part "A" and part "B". With the instructions, you can quickly and easily assemble and set them up. Two versions of the watch are available for order: the kaleidoscope watch in white design will cost a total of $51, while the black one will cost $61. Revolution in 3 D Anatomical Sculpture Prints This piece of art is the creation of one of the most famous 3D designers Joshua Harker. This sculpture is printed in polyamide, obtained by laser sintering nylon and glass. Follow the link to see more photos of this intricate creation: https://www.kickstarter.com/projects/joshharker/anatomica-di-revolutis Coffee cups ceramics. The printing process takes almost a full day, and the One Cup a Day project aims to design and create 30 unique cups in 30 days. You can purchase their creations from this site where prices range from $36 to $77: https://www. High heels This pair of 3D high heels called "Morphogenesis" was designed by Pauline Van Dongen and made from laser sintered nylon. She collaborated with Freedom Of Creation on the design, which in turn won the Most Creative Collection award at Mittelmoda 2010. These shoes come in a variety of colors and truly define the future of 3D printed accessories. . nine0003 https://www.3dsystems.com/blog/foc/high-heel-shoes-by-pauline-van-dongen Fabrics printed with 3 D Designer Jiri Evenhuise together Janne Kyttanen has worked hard to make needle and thread a thing of the past. In their work, they use software that collects data on the physique of a particular person and instantly creates clothes that will fit exactly on the figure. This type of production is recyclable, less labour-intensive, reduces production time and is ultimately a more sustainable way to produce clothing. In addition to some significant advantages, this approach also has its drawbacks. In theory, this could save you some money, and since you're building it from scratch, you'll know all the nuts and bolts in it by the time you can use it and successfully print your first object. The main disadvantage of this method is time. It literally takes a long time to sort through all those hundreds of bolts, wires, belts and more. In the end you still have to choose and buy or build a controller board, but it depends on your skill level. nine0003
  nine0003
  Before printing, make sure the object you want to 3d print is the correct size and fits on the printer frame. nine0003
 Plywood 3D printer
Construction of the 3D printer
 The board is thick, so stiffness with a margin.
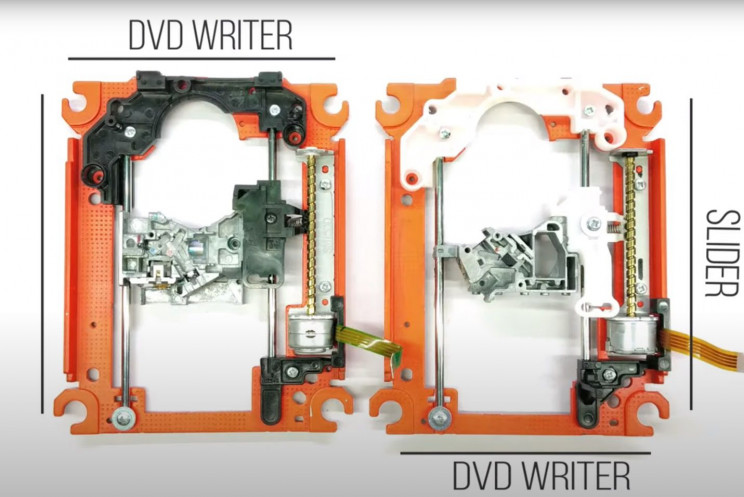
Parts from old scanners are used for axes. More precisely, for two axes of three 3d printers. That is, there are two guides for the Z axis. And for the X axis, two guides. nine0101 The Y axis hangs on an aluminum profile, quite thick too. And homemade carriages from ordinary ball bearings. This is what was in the garage just.
In fact, this part should have been used on the Z axis, this will be taken into account when reworking.
The motor from the scanner is also on the Z axis. It was unipolar, that is, five wires sticking out of it, now four wires are sticking out of it. To do this, I had to cut the jumper there. With a converted gearbox that has the ability to turn just such an M5 stud. And there are two of these pins: one on the right side, the other on the left. They are tied together with a belt.
These pads are also used for rough adjustment of the table. Electronics
 Arduino can be bought at this link. nine0003
Speaking of speeds. Scanner motors for 12 V allow you to reliably have a speed of about 25 millimeters per second. At higher speeds, they may begin to lose steps. nine0003 Table for 3D printer
Made from scanner glass with steel tie wire underneath. And on the other hand, it is to some extent insulated with glass tape.
It is held on the carriage with the help of these trimming bolts 3 pcs., with nuts screwed on them. They sit on the thread lock, spinning quite tight. Due to this, they can be adjusted in relation to the axes of the printer.
This is one of the few parts printed on this printer. This is the Z axis bearing support. Why did the craftsman print it, because the one that was made of wood was quite skewed. Due to which, on the parts that were printed on this printer, a noticeable unevenness of the layers appeared. That is, with layers 0.1 mm or 0.2 mm thick, they looked like they were about 0.7 thick. And the bonding strength between the layers was low. nine0003  That is, the axes do not know where the beginning is, and you have to set them manually.
If this does not cause any problems with the X, Y axis, and the author of the model probably did not even make endings on them. For the reason that you can manually set the center of the printer to any place, and thus print several parts in succession from one G-code. But setting the Z-axis manually is very inconvenient. This takes about 5 minutes each time before each print. nine0101 Another disadvantage that is common to many printers is that it is open. What is printed is accessible to any drafts and is accessible to external cooling at room temperature. And it is desirable for printing, so that it twists less, so that it has less internal stress, it is desirable to have the printer closed and maintain a temperature of about 70 degrees inside. This is something that needs to be corrected in the future. You need to completely redo the printer, make it an H-bot (H-bot).
If the author of a model of a self-made 3D printer remakes it, then a video about this will definitely appear on the Yar channel.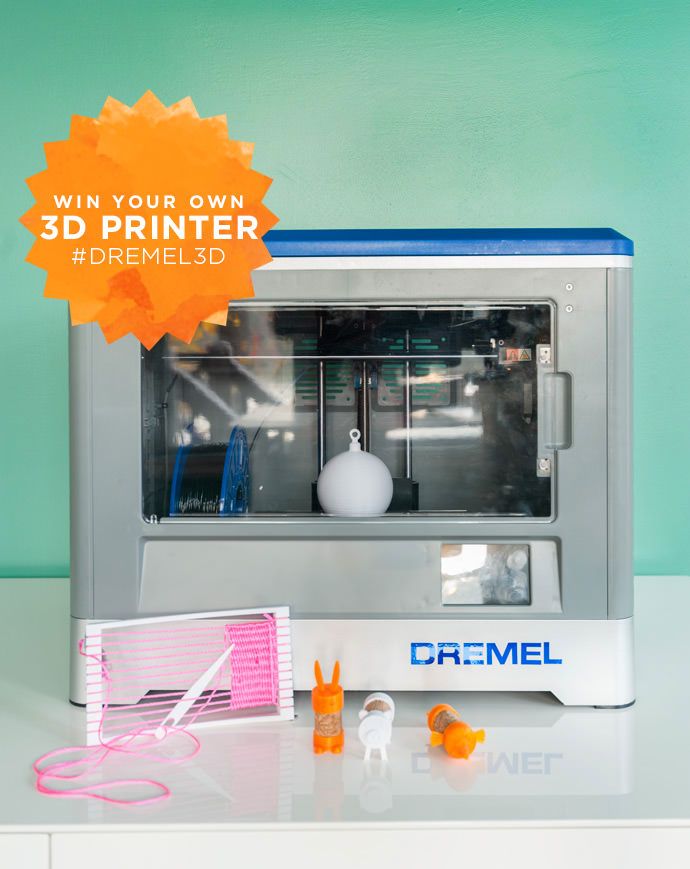 nine0003
 20 amazing things made with a 3D printer
 Just to give you an idea of what you can do with 3D printing, check out these 20 amazing printed masterpieces. nine0003
 Thanks to 3D printing, doctors will have a cheaper alternative to study human anatomy, as well as the ability to introduce more realistic models into surgical practice without the use of cadavers. nine0003
  It can also store any two cards.
 nine0003
 The first part is the purple dial itself, the second is the design part behind the dial.
  cunicode.com/works/one-coffee-cup-a-day/
Learn more


