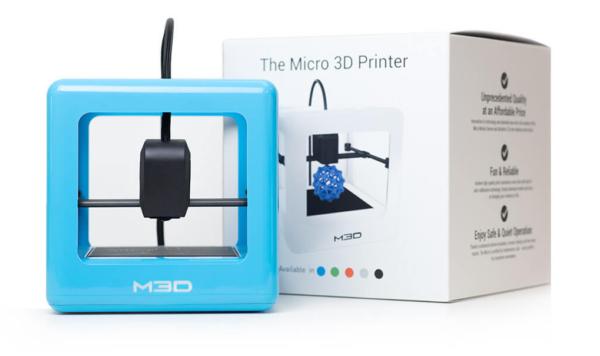
M3D micro 3d printers
M3D Printer Review 2022 - Is This 3D Printer Worth The Money?
2.2
See Price
Usually, when you see a seemingly great product for a very low price, alarm bells start ringing. However, every once in a while, you’ll find a product that genuinely lives up to the hype. Today, we’re taking a look at the M3D (Micro 3D) – an extremely compact, budget 3D printer.
We’ll be looking out for any areas it excels, but won’t shy away from mentioning any flaws we uncover. This way, you’ll know our coverage is balanced and impartial. This not only benefits us but lets you decide if a given printer is right for your needs. With that said, let’s begin.
| Filament Diameter | 1.75mm |
| Extruders | 1 |
| Supported Materials | PLA, ABS, Nylon |
| Connectivity | USB only |
| Printing Speed | Up to 55mm/s |
| Build Volume | 4. |
Table of ContentsShow
Design
This printer comes in five bold shades: red, blue, green, grey, and black. It’s cube-shaped, 7.3” in every direction, meaning it’s among the most compact 3D printers on the market – perfect for sitting atop a standard desk. The whole thing weighs just 2.2lbs, too, thanks to its lightweight, carbon fiber frame.
As you might expect, the build area is fairly small. It’s not uniform either, as it’s a little wider than it is deep. Still, this offers enough flexibility for most small projects, and larger models can always be printed in several parts. That said, the print speed isn’t fascinating, so it might take slightly longer this way.
Notice the lack of a filament spool – it’s actually contained underneath the print bed! Now, this printer can only fit about half a spool at a time, so you’ll have to either buy smaller rolls or re-spool half of it each time. This isn’t a huge problem, but it’s definitely worth bearing in mind.
Printing
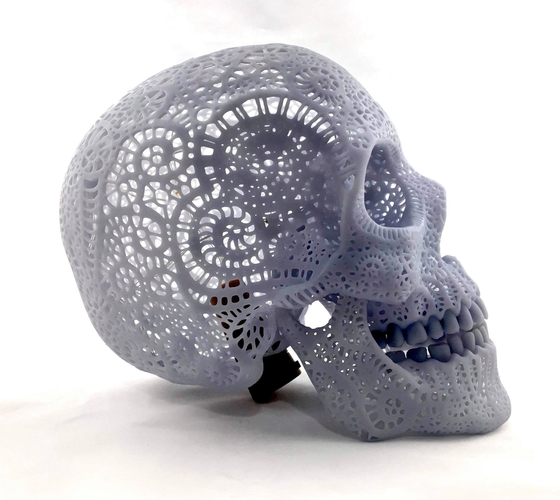
For its size and price, the M3D actually produces decent-quality prints. It has a layer resolution of between 50 and 350 microns, so you can reproduce fairly detailed models. However, it does have a tendency to produce loose threads and extra hanging material, particularly on areas with an overhang.
The edges come out crisp and well-defined, although supporting structures are often wispy. A quick buffing with a cloth will remove most of these imperfections after the fact, though, and supports are intended to be removed, so as long as they do their job, there’s no problem. All in all, not bad.
Usually, entry-level printers only support a handful of different materials, but this one is capable of printing with a whole host of different filaments. With the right nozzle upgrade, you can even use carbon fiber, if you’d like – something very few budget printers support.
Features
One of the best things about the M3D is the lack of fuss. Normally, there are several things to check before getting started, but the M3D does a whole range of checks and calibrations automatically.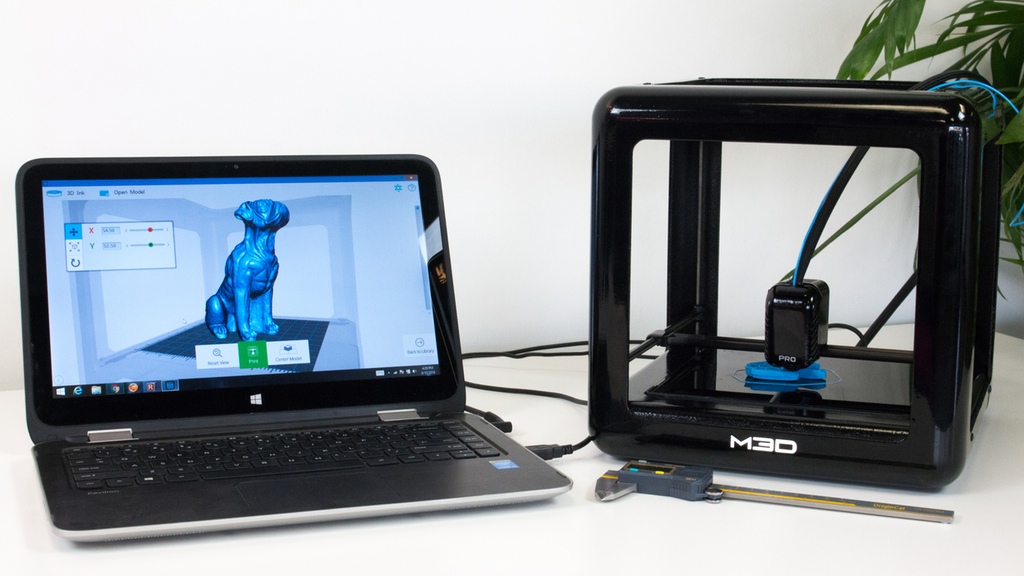 Everything is taken care of, leaving you free to get the good bit: the printing itself.
This printer comes with its own, specially-designed software, which is available for Windows and Mac. There’s no Linux support, unfortunately. This software is easy to use, although it does have to be left running for the entirety of the print. There’s a handy little percentage notice, though, to give you a vague idea of when it’ll be finished.
You can, of course, use different software if you’d like. However, for new users, the M3D application allows you to hit the ground running. It’s straightforward but allows for a good degree of versatility and control over your models.
Cost
Considering this model retails for less than $300, its print quality is astounding. This is among the least expensive printers available, yet it outperforms some far more expensive models. Sure, it’s likely not going to be enough to satisfy pro users, and it absolutely can’t stand up to commercial use, but for beginners, it’s perfect.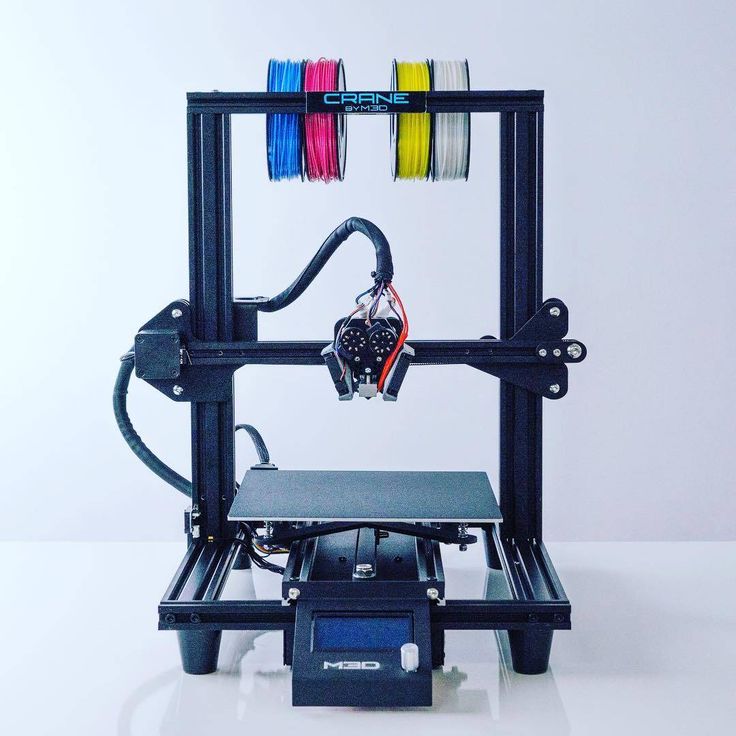
This unit doesn’t offer any upgrades or variants (other than the color), plus the software it uses is included for free. As such, there are no hidden costs beyond those of the proprietary, smaller spools of filament. These are entirely optional, though, and third-party filament can be used if you spool them manually.
As far as pricing goes, there’s nothing to complain about. What you see is what you get: a low-cost, compact printer with no additional charges.
Support
Micro 3D provide a good range of support options in case you run into trouble. There are tutorials, a Discord-based user forum, and even a dedicated area where you can log in and raise a support ticket. This is how you’re supposed to do customer support: as simply as possible.
That said, the warranty period is pretty short at just three months. You can extend this by a year or two for a price, but at the time of writing, the page to do so returned a 404 error. Still, we’d expect the price to be fairly low given the cost of the printer. We’ve seen printers where the extended warranty costs more than a brand new M3D though, so don’t take it for granted!
The knowledge base is pretty extensive, with guides covering everything from the basics of 3D printing to advanced tips for the software. Really, just about any issue you could face will be addressed in here somewhere, so in all likelihood, you’ll never need to request help from support.
Summary
Update: As of May 2019, we can no longer recommend this 3D printer.
The M3D was once a powerful and versatile printer, but it is no longer recommended due to its substandard customer service. It won’t do in 2022. If you want to buy a 3D printer but don’t know where to start, you could do far better than the M3D.
Best filament for M3D Micro? - 3D Printing - Talk Manufacturing
Cheese3DPrints
#1
Just wondering what others considered to be the best filament to use for the Micro.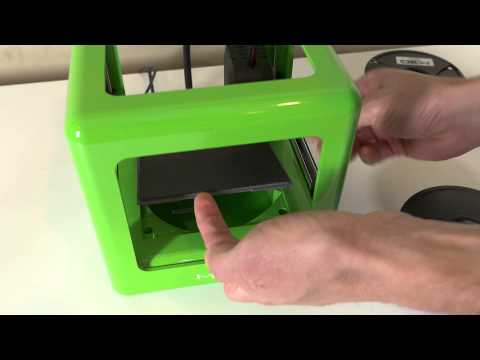 I’ve used the standard M3D PLA and gotten some very good results, and some ultra cheap no-name low quality stuff off eBay, but I hear that Hatchbox filaments from Amazon are good? Anyway, what are your opinions?
4 Likes
mmcnama4
#2
I’m using Inland PLA from Micro Center. Been really good for the most part. Just picked up a new color and I’m having a few issues, but not sure if it is humidity related or the filament as other colors from this brand have worked well.
1 Like
Cheese3DPrints
#3
Wow, that stuff seems pretty cheap at $15 a kg… It’s a shame I’m in Australia, so shipping would not be so cheap…
kwh42901
#4
I love hatchbox, I have used multiple colors of their PLA in my M3D and had great results.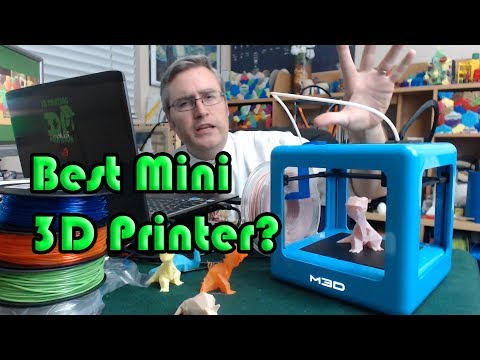 You will need to adjust the temperature to 210 when using it vs 200 for the M3D filament.
mmcnama4
#5
Yea. I pay $18-$22 per spool depending on the variety. It’s cheap enough that I’m not totally upset if a roll doesn’t work out and thus far I haven’t been disappointed.
Maybe you could start a distribution business in Australia
gabriela3d
#6
Hey guys, if you have any prints to show off the Hatchbox filaments, go ahead and share them! Nothing like a shown’n’tell to see the the quality of the filament. I’m sure many people are curious to see them!
StephenC
#7
White pla hatchbox on M3D
1 Like
compwizard7
#8
I use Hatchbox and it works well, but I don’t have experience with any other filaments, yet.
StephenC
#9
hmm I actually has been using it with temp around 195 or 200. above this temp I find it too stringy…
natewin
#10
Nice print! I’ve been using some clear PLA from Makergeeks with decent results.
Food Safe FDA PLA 1.75mm / 1KG Spool by Maker Filament
http://www.makergeeks.com/fosafdapla11.html
I’ve been running it with the WOW code, so whatever the default M3D temp is for that, 215 I believe.
Looks like these printers all have a slight step during the transition from Y+ to Y- or vice versa. I’ve been able to get pretty good circular parts and overall prints are impressive for the machine, but that step remains. Took me a while to dial my machine in.
Logan_Tanner
#11
This is a really helpful thread. I’ve been looking at getting either the M3D Micro or or the UP! Mini. My concern with the M3D is I couldn’t find anything about using non-proprietary filament. Pardon the noob question, but how are you adjusting temps to use other brands of filament?
tazza3571
#12
I use M3D with other filaments from my country Argentina and until now I get good results after adjusting the temperature and speed of impression. This is very easy to adjust after you load a filament and you enter the typical code of M3D for example “PLA” and when you describe the filament loaded top right you will see a configuration wheel. When you set the layer height and fill density you also have this setting wheel to adjust the print speed. Google Translator pardon.
magicjay
#13
I am using inland and not working it is like shifting i guess when i use m3d stuff it prints fine what settings do you use
M3D Micro
3D printer overview The M3D Micro is a budget 3D printer with a small workspace. This model has a simple but pleasant design, it works quite quietly. From the very beginning, I would like to note the presence of an automatic calibration system for the printing table - this is a huge plus. There are also disadvantages. For example, the print speed is low, the surface of the model is not very high quality and requires additional processing if you want to bring it to the ideal. It's a strange decision not to cover the working area with acrylic, because there is a frame... However, given that the price for it is about $250, these shortcomings can be neglected.
Construction of the M3D Micro
I don't want to impose a personal opinion, but the M3D Micro is really nice to look at. This is a small 3D printer in a 7.3 inch plastic frame. The model used to write this review was blue, but black, white, green, orange, silver are also available.
Only the filament feed tube is exposed, which extends beyond the body and hides behind the back of the frame. On the front of the case is an LED M3D logo that lights up when the 3D printer is turned on. There are no buttons on the printer itself, you control the printing process from a personal computer via USB, the port for which is provided on the back of the frame.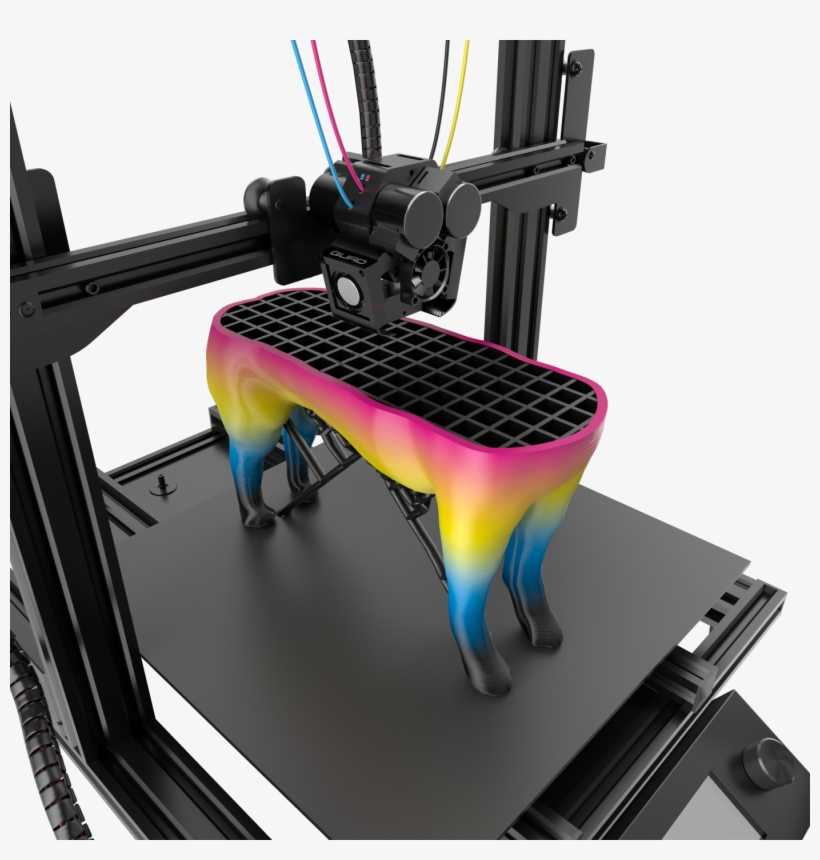
Inside the frame is the 3D printer mechanism itself, which consists of several screws and belt drives. The print head moves in all directions: left and right, up and down, forward and backward. The print table is made of a textured plastic called BuildTak, so there will be no problem with the adhesion of the first layers. The table can be replaced.
Considering the dimensions of the M3D Micro, the maximum print size is impressive: 4.2 x 4.4 x 4.6 inches, that is 86 cubic inches! In this case, each of the sides of the cube of the body is 7 inches. This is certainly less than printers like Polar 3D (which works in the polar coordinate system and reaches 400 cubic inches) or LulzBot Mini (223 cubic inches), but still enough to print many useful and simply beautiful 3D models. .
M3D Micro 3D Printing Materials
M3D Micro uses a special 5" filament drum called 3D Ink. These drums are supplied by the company itself. Drum prices range from $14 (PLA and ABS) to $28 (special ABS plastics that change color depending on the temperature of the 3D printer's print head).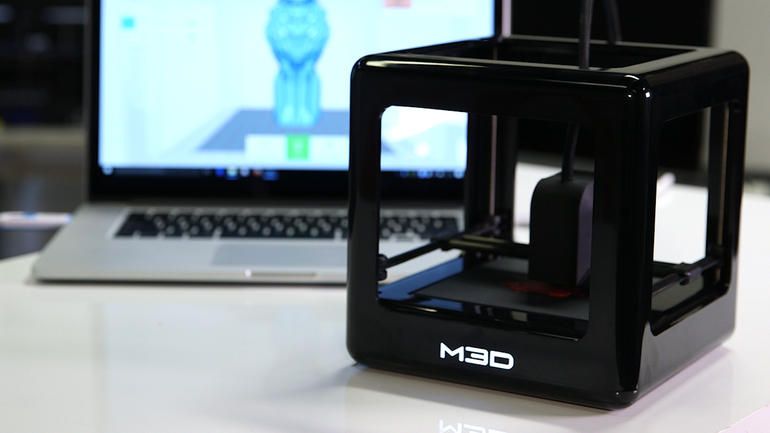 That is, 1 kilogram of plastic will cost from $56 to $112, which is slightly more expensive than most 3D printing materials that are available in online stores.
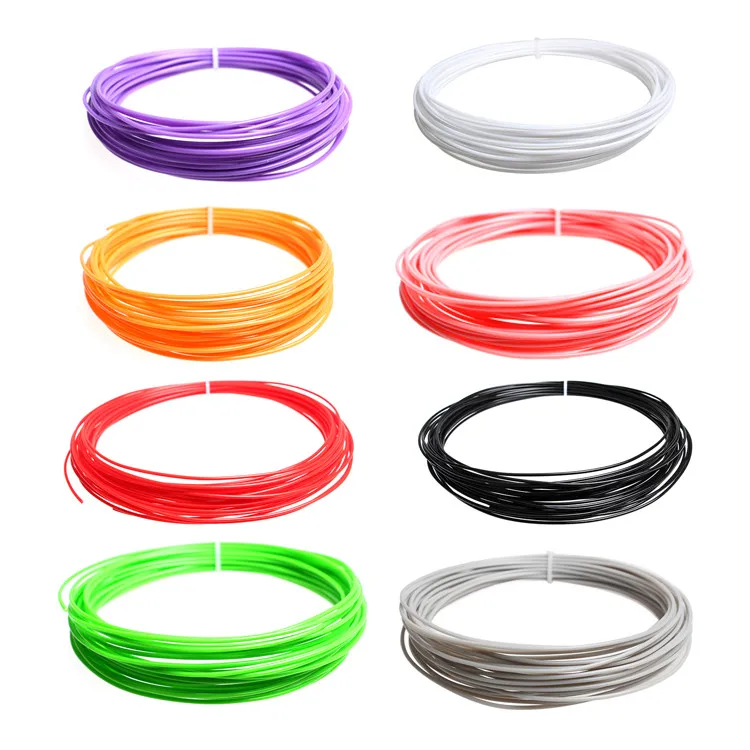
Fortunately, everything is not as sad as it might seem at first glance. Micro works with 1.75 mm materials from any manufacturer. The only thing you will have to figure out is how to install a larger reel. Most likely, it can simply be placed next to the printer. Everything will not look so refined and aesthetically pleasing compared to the original version, when the material is hidden in a case under the table, but this will not affect the quality of 3D printing.
With a heated bed, the M3D Micro can print on a wide range of materials including PLA, ABS, nylon and more. During the tests, PLA and ABS were used. The result of printing with PLA plastic was better. It was with 3D printing with PLA plastic that it was possible to make models that covered most of the table and at the same time gripped perfectly with it.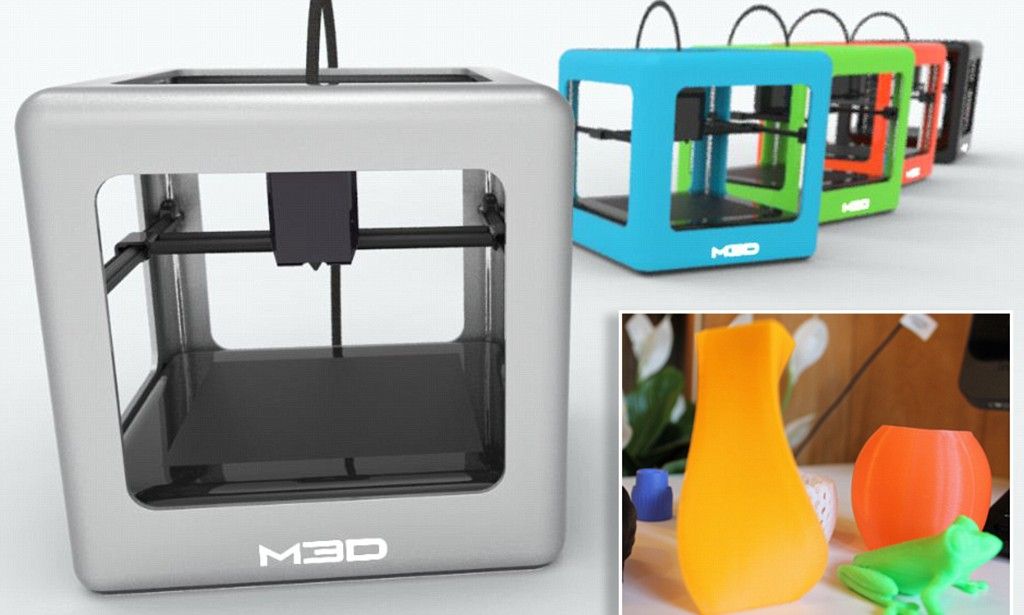 ABS, of course, behaved worse. If the area of the first layer exceeded a few square inches, the material began to come off the table as it cooled.
Setting up the M3D Micro
3D printer In fact, setting up the M3D Micro is to take it out of the box, remove the protective films, plastic, install the supplied software on your Mac or PC, turn on the power and connect the USB cable. Our 3D printer came with a reel of PLA filament and was ready to print.
All I had to do was start the automatic calibration process in the M3D application. As a result, the print head is positioned exactly in relation to the print table. Very handy and useful feature. Those who have, for example, Anet A8, know how painful the manual process of calibrating a 3D printer table can be.
M3D Micro control software
The M3D Micro is only controlled by the supplied application. The application can be downloaded for free on Mac or Windows. There is no mobile version or app for a smartphone / tablet, as a USB cable is required for connection.
The program is easy to use. There are several options for loading a 3D model or reloading recently used ones. After loading the model, you will see a print preview with the ability to move, scale and rotate the model. There is no way to create a new model or modify an existing one. To do this, you will need a separate program.
Once the model is ready, press "print" and the program will process the model and start 3D printing. You have several options to control the 3D printing process: you can define the print quality and the fullness of the 3D model. More detailed settings, including adding support material, are available in the More Options section. But these possibilities are still quite limited. For example, you will not be able to select the number of calipers or specify the type of filling. It's a pity, as these two options, when properly matched, can provide better quality as well as speed up the 3D printing process.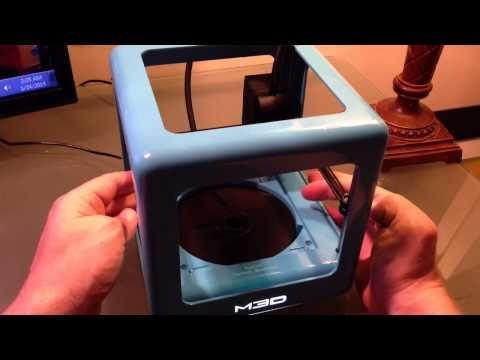
3D printing process on M3D Micro
While the 3D printing process is in progress, a simple dialog box displays percentages. There is no information about how much time is left until the end of 3D printing, and a preliminary estimate of the time before starting work was too "optimistic". According to preliminary estimates, printing was supposed to take 16 hours, but in practice it lasted 25 hours. While 3D printing is in progress, you cannot use the program: it must continue to work in the same mode until the end of printing.
M3D Micro is quiet. You will only hear a slight hum from the cooler and motors. Since the frame of the printer is not closed, you will feel fumes. So do not get carried away printing ABS plastic in a poorly ventilated area.
There were several failed tests. In particular, there were problems with the nozzle, which was clogged or the motor did not supply enough material, and the print head still continued to move.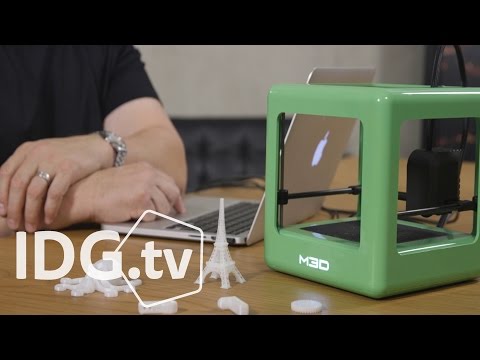 This happened rarely and in general the model was not damaged, but it is very unpleasant when 3D printing lasts 24 hours and because of such a trifle it may not be printed.
Most 3D printers use a heated bed to improve material adhesion. This is not the case with the M3D Micro. A BuildTalk table is used here as an analogue of heating, which, unfortunately, does not perform very well during 3D printing with ABS plastics with a large contact area of the first layer. So blue tape or a solution of ABS plastic in acetone will come in handy. True, here, too, not everything is as smooth as we would like. Residual melted coating can get under the table onto the material spool or the mechanism itself. In general, there are some disadvantages.
3D print speed M3D Micro
The M3D is a very, very slow 3D printer. We have tested on standard models with standard settings and can summarize that the M3D is one of the slowest 3D printers we have ever encountered.
It took 14 hours and 54 minutes to 3D print a Thinker PLA model with low quality settings (layer height 0.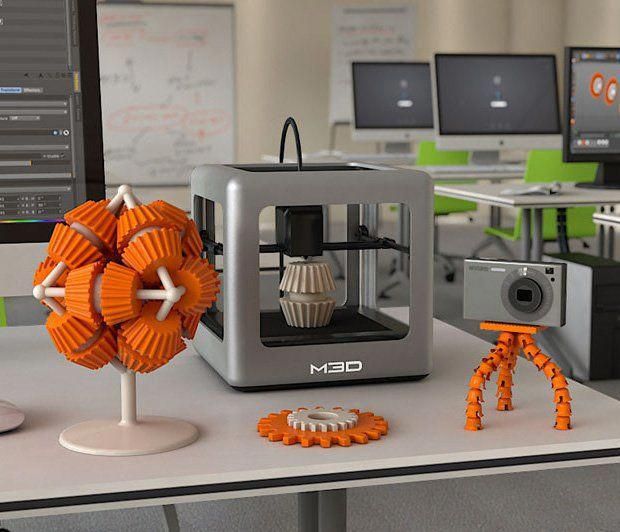 3 mm). The high quality version (layer height 0.1 mm) took 25 hours and 34 minutes to print. This is twice as long as, for example, Polar 3D, which took 5 hours and 19minutes for draft 3D printing and 6 hours 51 minutes for 3D printing at medium quality settings.
3D print quality M3D Micro
The print result on M3D Micro is decent, but there is an obvious, recurring flaw: threads of material remain on the model when the nozzle changes direction (this is especially noticeable on the side surfaces of finished products). To test the possibilities of reproducing sharp and right angles, a three-dimensional star model was used. The result is good: even at medium settings, almost perfect angles and minimal layer shifts were obtained. However, this model also shows material residues when changing direction. In principle, the disadvantage is not critical and can be easily corrected by minimal surface processing of the model.
I would like to note once again that the Thinker model showed the strengths of M3D. The model has a large number of smooth transitions and smoothed corners, which show how well the 3D printer works out the given coordinates and how the melted material is applied. The enlarged photo below shows that the quality is good.
Conclusions
The M3D Micro is a nice little 3D printer that has a lot of positives. Good, convenient software and decent print quality. At the same time, let's not forget that it costs about $250.
One of the shortcomings is the low print speed. ABS plastic can be used, but problems can arise, especially if the area of the first base layer of the model is large. But if you don't mind using PLA, then the M3D Micro is a great option to get started with 3D printing. Definitely recommend for beginners.
The Micro - a small home 3D printer
Purely out of interest and for self-education, I decided to order a 3D printer for myself. The choice fell on the American printer M3D Micro, due to its neat appearance and small dimensions. I knew that I could not print big things on it, but for me the size of the printer itself played a decisive role. Believe me, due to its compactness, it can be put away in any cabinet, it will fit on any shelf and it takes up little space on the table.
By the way, I already wrote a little about this printer in the article “3D printers for the home”.
So, I ordered only the printer and did not order anything other than the printer. I decided to use plastic from a 3D pen.
The parcel sent via DHL took only 3 days, but for some reason it was already wrapped in Moscow. And the package went back to the sender. It came to the sender in 8 days and, having agreed with me, it was sent to me by US mail. She went by mail for 18 days. In total, from the moment of order, along with shipments and correspondence with the store, the parcel went 32 days, i.e. month.
I received a package from my post office. The yellow corrugated cardboard box was badly dented on one side.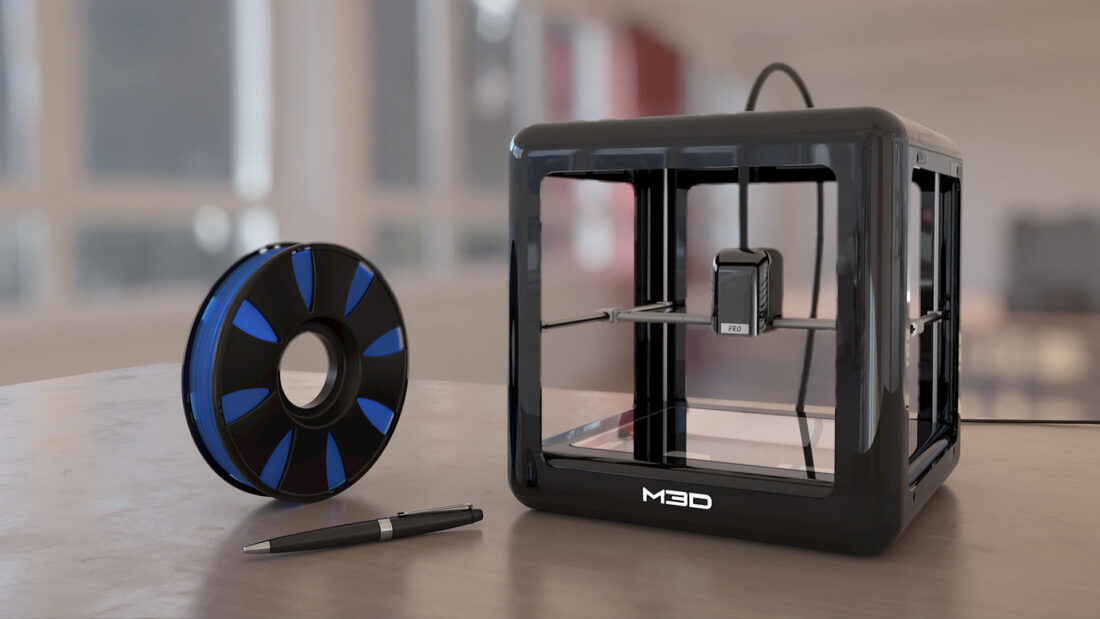 The postal worker at the checkout put it on the table a few more times, I even shuddered, thinking how this box was thrown all the way as it walked to me.
The yellow corrugated box contained a box made of fine thin cardboard.
Inside the box were a power adapter with an euro plug, a USB cable for connecting to a computer, and a printer wrapped in bubble wrap.
The print head and bed (in English it's called "Print bed" but I'll call it a table) are securely fixed with adhesive tape and clips.
Brief instructions for installing and removing the table were attached inside the printer (it is removed in the photo below).
Installing software and drivers
After unpacking, I downloaded the software from here. Here you can choose software for Linux, Windows or MAC. Before connecting the 3D printer to a computer, you need to install this software. After installation, I immediately launched the program.
Connecting a 3D printer to a computer
Connecting to a computer should be done as follows: first, connect the printer to a computer using a USB cable, then to a power outlet using an adapter.
After that, if the connection happened for the first time, the installation of the driver for the 3D printer starts, which will take some time. After installing the drivers, proprietary software may offer a firmware update. Here you need to click on the "Update Now" button.
Also, after the first start, the program will check if you have removed the clips that hold the print head: the head will move inward a little.
It is recommended to turn off the printer as follows: first, disconnect the USB cable, then, after at least 10 seconds, disconnect the power.
Calibration
Before the first print, the printer must be calibrated so that the printer knows exactly where the table is. To do this, in the program window, you need to click the button with the image of a gear, then select the "Calibration" tab, then the "Advanced Calibration" tab and click on the "Recalibrate Bed Location" button. Calibration will take no more than 5 minutes. During calibration, the printer must be on a level, stationary surface.
Installing the plastic spools
There are two ways to install the plastic spools: inside the printer or outside. Inside, under the table, you can install branded small coils. There is a special hole in the print head for installation outside. For this method of installation, any coils or skeins are suitable.
I found several printable outdoor spool holders, but at first I built the holder from LEGO parts.
After you have decided on the plastic and are ready to insert it into the print head, in the program you need to click on the "3D Ink" button on the top left, then on the "INSERT FILAMENT" button.
After that, the program will ask you which plastic you are using. If you use branded coils, then you need to write off the number from them. And if you use third-party plastic, then you need to specify ABS or PLA.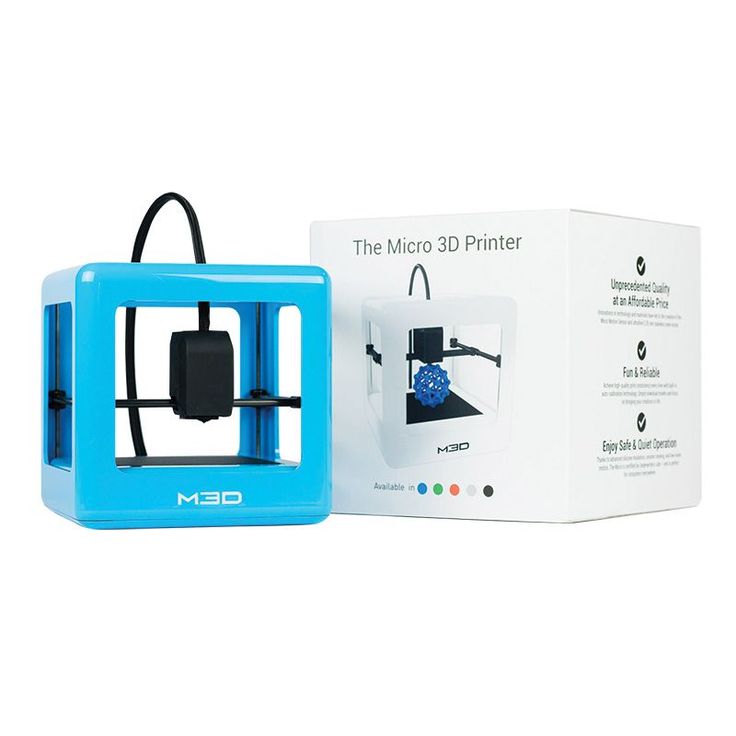 After that, click "Next".
Then choose a color. The selected color in the program will show your modelka before printing. Click next.
Then we choose how we insert the plastic: from the inside (INTERNAL) or from the outside (EXTERNAL). I inserted from the outside, so for me it will be the "INSERT FILAMENT (EXTERNAL)" button.
After that, the nozzle will start to heat up, which the program will notify you about.
After heating, this message will appear, which means that you need to insert plastic. In this case, you need to press it until you feel that the print head is tightening it. In this case, the plastic should begin to be squeezed out of the nozzle.
After a while the program will ask if plastic comes out of the nozzle? If you had a plastic of a different color installed before, make sure that the plastic of the right color comes out. If you still need to stretch the plastic, press "No" and the procedure will continue. If the inserted plastic is squeezing out of the nozzle and does not mix with the previous plastic, you can click "Yes".
After that, the program will remind you to clean the nozzle, i.e. remove all extruded plastic. After that, you can click "Continue".
After that, the resulting information about the installed plastic will be displayed: color, material and melting point.
Press the REMOVE FILAMENT button to remove the filament. Before this, it is better to remove the table, because. during this operation, the nozzle rested on the table and made a recess in it, which is very bad. It seems to be some sort of bug in the software. After that, the head will begin to move to the center and a corresponding message will appear.
The head will then stop and a message will appear indicating that the nozzle is heating up.
The head will then begin to feed the plastic and a message will appear telling you to do this to prevent blockages.
Then the print head will start to pull the plastic back. Here you need to pull on the bar, and when you feel that it has stopped moving, pull it out of the printhead completely. At this time, the following message will appear on the screen:
After a while, the program will ask you if the plastic has been removed. If you didn't have time to pull it out, you can press "No" and continue to pull it out. If the plastic is removed, click "Yes".
A message will appear at the end saying no plastic is loaded. This window can be closed.
3D Printing on Micro 3D
Click on the “Open Model” button and open the file with the model you want to print. After that, we see the model on the table in the program. You can move the mouse around to view it from different angles. On the panel with coordinates, you can move the model on the table, rotate and scale it. The "Reset View" button sets the initial viewing angle, and the "Center Model" button centers the model in the middle of the table. After everything is ready for printing, you can click the "Print" button.
After that, a window will appear with a choice of print options. Selectable here:
-
-
- Print Quality.
- Fill Density.
- Whether to use support (the "Use support material" checkbox).
-
-
-
- Whether to use model support on the model (“Use model on model support” checkbox).
-
-
-
- Whether to check the table level (“Verify bed level” checkbox).
- Whether to use wave bonding (“Use wave bonding” checkbox). When this option is enabled for the very first layer, anchor points are created approximately every 5mm to ensure the model adheres better to the print surface. It is recommended to use this function when printing large format products to prevent warping/peeling of the first layer.

-
-
-
- Whether to use a raft (checkmark "Use raft"). The raft is the reference layer for the model. The raft is printed first and smooths out the unevenness of the table.
- Whether to enable the skirt (“Enable skirt” checkbox). The skirt is an additional strip around the detail of the future model, which is made by a 3D printer on the table before printing starts. It does not concern the detail and the raft. The skirt helps create a smooth flow of extruded plastic from the nozzle before printing.
-
After the settings are configured, press the "Print" button.
This will start preparing the model for printing first.
The software will then show how long and how long the media will take to print. At this point, you can change your mind, click "Cancel" and return to the previous window to change the print settings. If everything suits you, then you can click "Start Now" or wait until the start occurs automatically.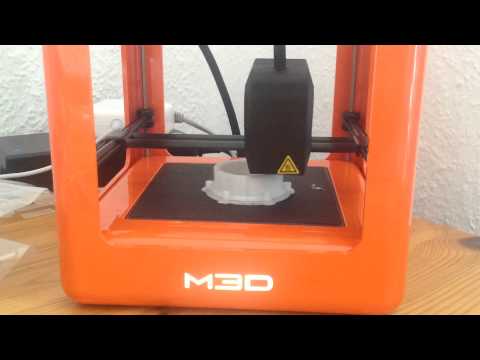
Then print preparation will begin.
After a few seconds, a message will appear warning that you do not need to disconnect the 3D printer from the computer during printing, otherwise it will need to be recalibrated. Click "OK".
Next, a long process will begin, which, judging by the inscription in the program, checks the height. At this time, the head will slowly lower until it finds the table.
Printing will then start. The panel on the top right will show the percentage of work completed and the remaining time. There is also an "Abort" button, which can stop printing at any time.
And if you click on the round button with the “i” symbol, more information about the current print will appear.
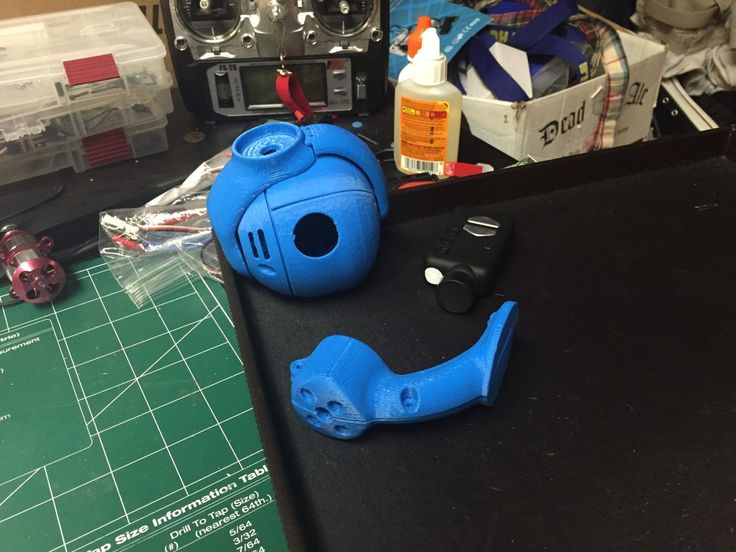
And here is the finished printed part, still on the table.
Here it is from the back after I pulled it off the table. As you can see, the raft is in all its glory.
And here is the detail after cleaning the raft and supports.