How to prepare a 3d model for printing
How to prepare a model for 3D printing
3D printing can be a frustrating business. You've stroked and sculptured your character to on-screen perfection yet, somehow, your character crumbles when you try and print it.
As you read on, we'll explore some simple techniques that will help you tweak your models for successful 3D printing.
In animation software, your model exists in a world without gravity or physics. For your model to exist in a physical space, you’ll need to keep the material’s characteristics in mind, such as tolerances and uses.
For example, if you want to print in colour Shapeways offers a Full Colour Sandstone material, if printing prototypes with interlocking parts you’ll need a strong nylon material and for hand-painting models a grained material is best, such as Shapeway’s Frosted Plastic. You can now even print jewellery in gold.
02. Weight Distribution
Take the time to review how your model’s weight will be distributed. If you want your model to stand by itself and not topple over, make sure the bottom of your model has a strong grounding. Maybe your model needs a base, thicker legs or multiple points of contact on the ground to hold it up.
03. Think about size
Size your model to fit your needs and the printers. When you see Maximum Bounding Box in a Material Design Guideline, that is how large a model can be printed in the given material.
Size is especially important for prints that fit together (like puzzles) or are worn (like rings). Because of casting, certain materials – such as brass, bronze, silver and steel – can shrink in production. Ceramic prints shrink about three per cent when fired and expand when glazed.
04. Making your mesh watertight
A watertight mesh is achieved by having closed edges, creating a solid volume. If you were to fill your model with water, would anything leak out? Check your normals and make sure they all face outward (any flipped normals will be read as holes by the printer).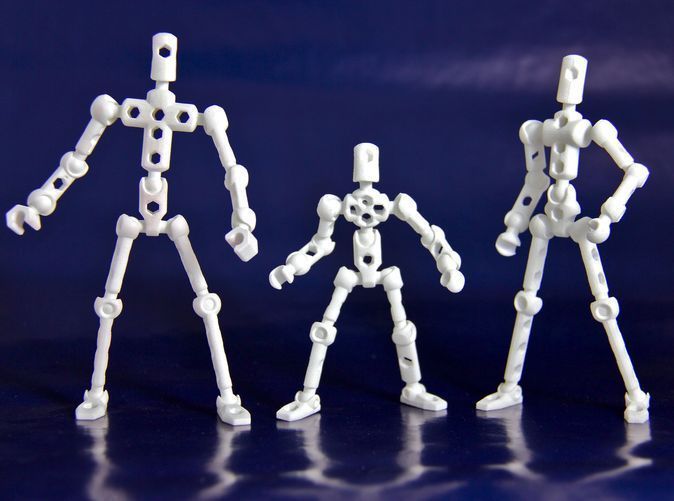 You may have to clean up any internal geometry that could have been left behind accidentally from booleans.
05. Thicken vulnerable areas
Outstretched appendages from the core of your model might snap off during or after printing, if the point of contact or joint is too thin. In 3D printing, these appendages can sometimes be referred to as wires.
During the production process, some materials are very delicate. You might need to reconsider the pose of your character in order to bring appendages back to the core to create supported wires over free wires. This will add to the strength of your model.
06. Escape Holes
The price to print your model is mostly based on the volume of material used. Hollowing out your 3D model can help you save on the expense of your print. When printing your model is created in a tray full of support material, such as plastic nylon powder or wax.
It is best to have an escape hole so the excess material can be removed.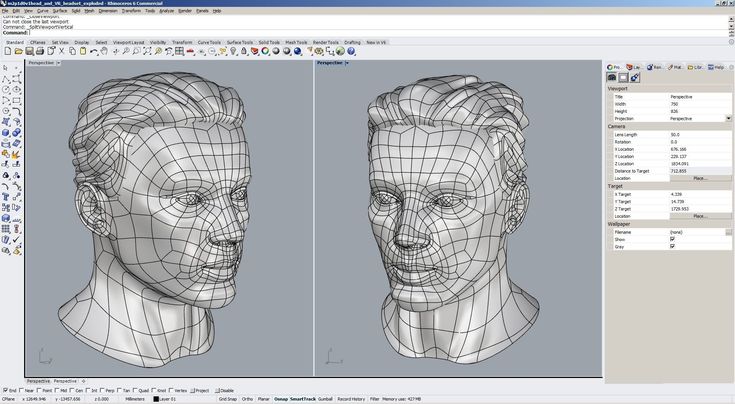 This is especially necessary for models that are dyed because if excess powder is trapped inside your model, the model will not dye evenly. It is important that the escape holes are large enough for the support material to escape.
If the support material cannot all be removed at first, it may leak out during the dying process, contaminating the dye and ruining the batch.
3D printing uniquely allows for creation of intricate, interlocking, movable pieces without assembly. The level of intricacy and detail that industrial 3D printers can produce is unparalleled.
We encourage you to experiment with different types of joints and mechanisms so that your finished print can have moveable parts. If you are creating separate or interlocking parts, make sure there is a large enough distance between tight areas.
08. Remove smoothing modifiers
When modelling, to create a high-poly feel with a low poly count, you typically use a smoothing modifier for faster render time. Each package has a different name for this setting: Maya has Nurbs, 3ds Max has Curves and Lightwave has SubDs.
3D printers do not read smoothing modifiers though, so you need to remove them and raise your sub-division level to recreate the illusion smooth modifiers offer. Now your model has a higher resolution.
Words: Laurie Berenhaus
Laurie Berenhaus is a designer and educator with a focus on 3D design and printing. This article originally appeared in 3D World issue 183.
Thank you for reading 5 articles this month* Join now for unlimited access
Enjoy your first month for just £1 / $1 / €1
Already have an account ? Sign in here
*Read 5 free articles per month without a subscription
Join now for unlimited access
Try first month for just £1 / $1 / €1
Already have an account ? Sign in here
Sign up below to get the latest from Creative Bloq, plus exclusive special offers, direct to your inbox!
Contact me with news and offers from other Future brandsReceive email from us on behalf of our trusted partners or sponsorsThe Creative Bloq team is made up of a group of design fans, and has changed and evolved since Creative Bloq began back in 2012. The current website team consists of six full-time members of staff: Editor Kerrie Hughes, Deputy Editor Rosie Hilder, Deals Editor Beren Neale, Senior News Editor Daniel Piper, Digital Arts and Design Editor Ian Dean, and Staff Writer Amelia Bamsey, as well as a roster of freelancers from around the world. The 3D World and ImagineFX magazine teams also pitch in, ensuring that content from 3D World and ImagineFX is represented on Creative Bloq.
Preparing Files for 3D Printing: A Handy Checklist | 3D Printing Blog
Preparing Files for 3D Printing: File-Fixing Terminology Explanation and Checklist
by Aura | May 29, 2018
Creating a model for 3D printing can be somewhat intimidating at first. In this blog post, we will cover some essential tips designers should keep in mind to get a stunning 3D print.
Sticking to this checklist will make sure that your 3D model is perfectly prepared to be 3D printed.
1. Watertight / Non-ManifoldA printable model must not have any holes in its surface. Ask yourself the question: if I were to put water inside my model, would it flow out? If that’s the case then you need to find those holes and close them. Sometimes this process is also called ‘creating a manifold model’.
The design below is an example of a model that is not watertight. You can clearly see that there is a big gap in its surface.
2. Wall Thickness and VolumeIt’s very important that every surface of your 3D model has been assigned a wall thickness. When using your 3D modeling software it is possible to design a surface without a wall thickness. Many visual 3D models (i.e. 3D models intended for games) only have surface visual purposes and thus do not have wall thickness.
However, 3D printers need information about how thick you intend the wall of your object to be or if you want to print a completely solid model. Therefore, when turning a 3D model into a real 3D print, the wall thickness or volume information is needed.
Wall thickness is simply the distance between one surface of your 3D model and its opposite sheer surface.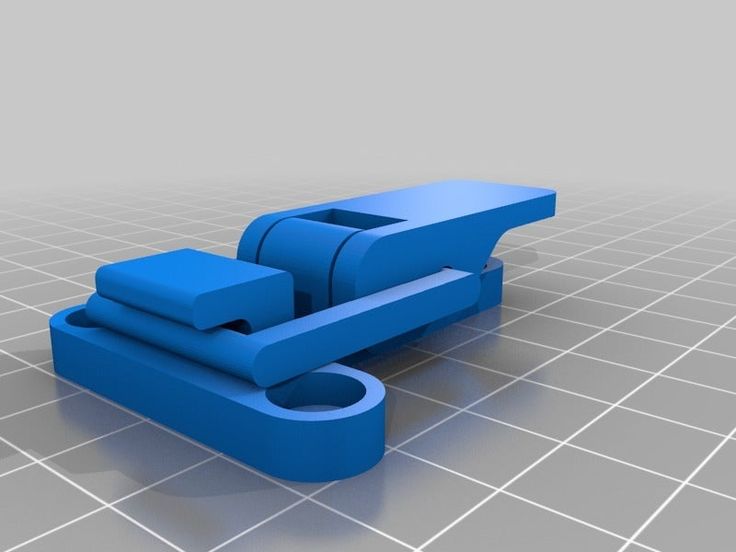 Many printing problems can be traced back to wall thickness issues. The minimum printable wall thickness primarily depends on the material you choose.
You can learn how to choose the perfect wall thickness for your 3D print here.
3. Auto Intersections/Internal Overlapping/Self-Intersecting SurfacesWhile a model might look great for 3D printing from the outside, intersections in the model can make it unprintable and confuse printers about what you want to print exactly. Intersections and walls within your design will therefore make your life difficult. That’s why it makes sense to think about your model in a 2-dimensional space first.
In the case below, the left shape will not be printable once it is transformed into a 3-dimensional object since as it will feature paper-thin walls within the object. The shape on the right, however, won’t be a problem to print because it won’t feature those walls on the inside. In most cases, it is useful to implement a Boolean operation, which is a function that helps to merge several overlapping elements.
Another problem that can occur is the phenomenon of so-called inward-facing or reversed faces. Most 3D modeling programs distinguish between the inside and outside of a surface in order to determine the model’s volume.
A reversed face or inverted normal means that the surface of your model is facing in the wrong direction: typically this means that it is facing the inside of the object instead of the outside.
It’s important that you double-check your file and make sure that all normals are facing the correct direction.
5. Grouped ModelsUnfortunately, so-called grouped models are a common reason for us to cancel orders. For example, users that upload the following design with six separate shells will get a notification that their order will be cancelled (of course they will be fully reimbursed).
When you need more than one print, simply upload the separate objects individually. If you need exactly the same design several times, there’s even a quantity discount. If you need many small polyamide or alumide parts, then considering to design a grid container for your 3D prints is an interesting option.
The details, or the small decorative parts of the 3D object such as embossed or engraved text, need to be of a certain size or they will not appear on the printed object. The exact minimum size of the smallest possible features of the design depend heavily on the material of your choice. That’s why you need to carefully read through the design guide of the material of your choice first.
This is especially important if you intend to add embossed or engraved details such as text. Sticking to the minimum detail size will make sure that everything is as readable as you intended.
7. Hollowing and Escape HolesA hollow model means that the interior of your object will not be solid. Solid designs are not necessarily a problem – they will be stronger and harder to break, but they will also be more expensive as more 3D printing material is used.
With a hollow model, the interior of your print will be empty. However, since our printers print layer by layer, 3D printing material can get trapped in the interior of your model.
If you would like to avoid this, you can add ‘escape holes’ to your design. Material that is not used for building your 3D print can then be removed.
You can read more about hollowing and how this reduces 3D printing costs here.
8. File Resolution and File SizeFor 3D printing, the most common file format is STL (Standard Triangle Language), which means that your design will be translated into triangles in a 3D space. Most 3D modeling software has the option of exporting your designs to an STL file format and lets you set the desired resolution. Here’s a visual representation of different file resolutions from extremely high (left) to quite low (right):
In most 3D modeling software, when exporting a file you will be asked to define the tolerance for the export. This tolerance is defined as the maximum distance between the original shape and the STL mesh you are exporting. We advise choosing 0.01 mm for a good export. Exporting with a tolerance smaller than 0.01 mm does not make sense because 3D printers cannot print at this level of detail and your file will be unnecessarily heavy.
When exporting with a tolerance larger than 0.01 mm, however, triangles might become visible in the 3D print. You can read more about this in our blog post about file resolution where we also explain the 40 other 3D file formats that we support.
Summary: File Fixing for 3D PrintingLet’s take a deep breath. Don’t worry: things sound more difficult than they are. If you are struggling to learn how to 3D model you can always find plenty of resources and tutorial videos online. Once again we want to point out our material guides to you where you will find valuable and precise instructions for each 3D printing material there.
If you designed a 3D model for printing, why not print it with our online 3D printing service? It’s easy, fast and efficient.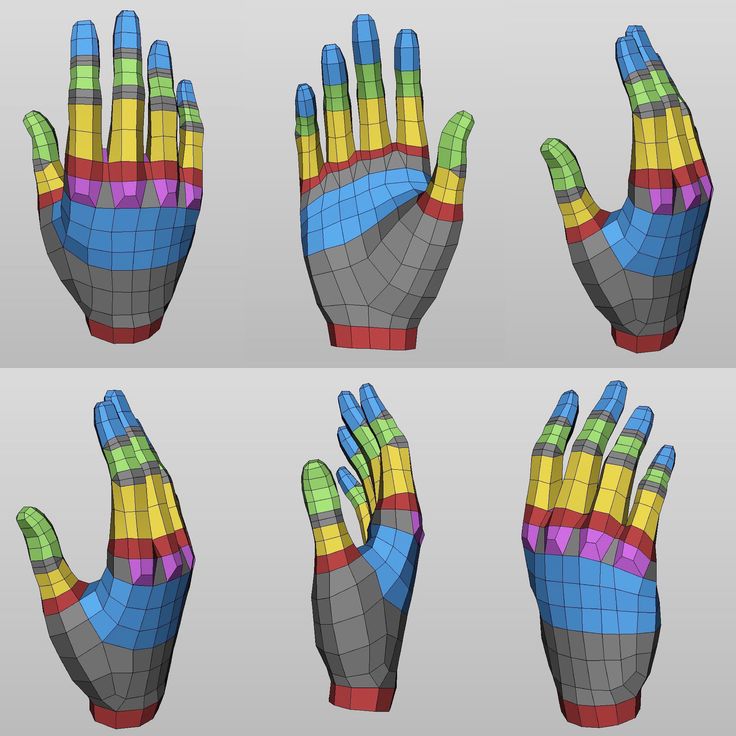 When uploading a model to our website we will always double-check your design before we send it to the printers, and if there are mistakes or if parts of your object could break, we will warn you about this and tell you what went wrong.
Learn about these 5 mistakes to avoid when designing a 3D model for 3D printing to make it even easier.
Featured image: 3D model of the Šibenik Cathedral of St. James 3D-printed in transparent resin
Rules for 3D modeling for 3D printing
It is known that a prerequisite for 3D printing is the presence of a 3D model, according to which the printer will grow a three-dimensional object. But, even after simulating an object, you should not assume with absolute certainty that the job is done, and soon the printer will give you the finished product. The fact is that not all models are suitable for 3D printing. There are certain requirements for the dimensions, thicknesses and design of models - and these requirements vary depending on the material used and the printer. In addition to these individual characteristics, there are general requirements that distinguish print models from other 3D models. And now we will talk in more detail about how to prepare a model for 3D printing. nine0003
First of all, you need to remember that STL files (for one-color models) and WRL (for color plaster 3D printing) are suitable for 3D printing. Almost all 3D modeling programs allow you to export models to STL, so this should not be a problem. You should also take into account that for online download on our website, files no larger than 50 MB each are accepted, as well as an extended list of formats that are automatically exported to STL: STP, STEP, OFF, OBJ, PLY and directly STL. If the file size is more than 50 MB, then you need to send the model to our email address: [email protected]. By the way, one of the easiest ways to reduce the volume of the model and the file size is to create hollow 3D models, we already wrote about how this works in our blog. nine0003
Before you start creating a model for 3D printing, it is important to understand what material you want to print the product from. Each material has its own individual characteristics for 3D modeling - maximum and minimum model dimensions, wall thicknesses, distance between moving parts, etc. You can learn more about the requirements for a particular material in the appropriate section on our website.
If you use the online model upload on our website, it will automatically check for standard 3D modeling errors. Models are checked instantly, and if errors that prevent 3D printing were not found, then immediately after uploading the model will appear in your personal account in the "My Models" section. If the model did not pass the test, then you will see a notification that the file cannot be loaded, then you will need to check and refine the model again. nine0003
What are the most common errors encountered when modeling for 3D printing?
- Inverted normals - incorrectly oriented normals. Normals should always point outward, they define the boundaries of the object and allow the 3D printer software to understand which is the inside and which is the outside of the model.
 If at least one of the normals is directed in the opposite direction and contradicts the other normal, then this causes a failure in 3D printing, since the printer cannot distinguish between the front and back sides of the object. nine0018
 - Non-manifold geometry - Non-manifold 3D model is a prerequisite for 3D printing. The essence of this concept is that each edge of a 3D model must have exactly two faces.
The following errors are usually included in this concept:
o Mesh with holes - "unclosed" mesh problem. Remember the basic rule of 3D modeling: your model must be "watertight" or "airtight". If a hole is formed, it means that some edge is missing one face, therefore the model is not manifold, and therefore not suitable for 3D printing. nine0003
o Presence of internal polygons. There must be no faces inside the model, for example inside walls.
o Common ribs. An error occurs when more than two polygons are attached to the same edge. Each edge in your 3D model should connect only two adjacent faces.
o Matching edges. Occurs when two separate edges are created at the same location and are not connected, such edges must be merged into one common edge. nine0003
o Polygon overlap. Occurs when a polygon is created on top of an existing one. Intersecting edges can confuse a slicer - a program that translates a 3D model layer by layer into a control code for a 3D printer.
o Zero polygon thickness. To avoid this error, make sure that each polygon has the specified thickness.
How can standard errors in 3D modeling be corrected?
To do this, it is enough to use the Netfabb program, which, with more than 95% chance to correct all errors. You can download Netfabb here or use the online version of the program.
Read about the basic principles of working with Netfabb in the "Lessons" section of our blog.
10 rules for preparing a model for 3D printing / Habr
Download the model, print it, use it - what could be easier!? But, if we talk about FDM 3D printers, then not every model can be printed, and almost every model (not prepared for 3D printing) has to be prepared, and for this it is necessary to imagine how this 3D printing goes. nine0061
First, a couple of definitions:
Slicer is a program for converting a 3D model into a control code for a 3D printer. (There are plenty to choose from: Kisslacer, Slic3r, Skineforge, etc.). It is necessary, because the printer will not be able to immediately eat the 3D model (at least not the printer in question).
Slicing (slicing) is the process of translating a 3D model into a control code.
The model is cut (sliced) in layers. Each layer consists of a perimeter and/or fill. The model may have a different percentage of filling with a fill, and there may not be a fill (hollow model). nine0061 On each layer, movements occur along the XY axes with the application of a plastic melt. After printing one layer, it moves along the Z axis to the layer above, the next layer is printed, and so on.
1. Mesh
Intersecting faces and edges can lead to funny slicing artifacts. Therefore, if the model consists of several objects, then they must be reduced to one.
But it must be said that not all slicers are mesh-sensitive (for example, Slic3er). nine0061 And even if the grid is crooked, and it’s too lazy to fix it manually, then there is an excellent free cloud service cloud.nettfab.com that will help in most cases.
2. Flat base
Desirable, but not mandatory. A flat base will help the model stay on the printer table better. If the model peels off (this process is called delamination), then the geometry of the base of the model will be broken, and this can lead to a shift in the XY coordinates, which is even worse.
If the model does not have a flat base or the base area is small, then it is printed on a raft - a printed substrate.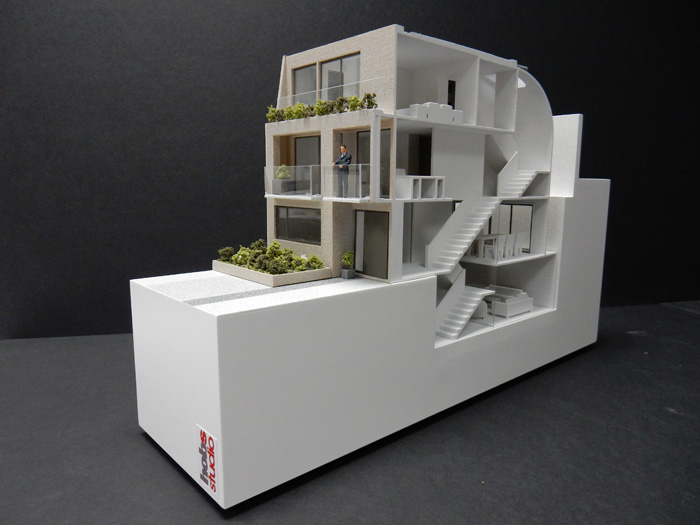 The raft damages the surface of the model it comes into contact with. Therefore, if possible, it is better to do without it.
3. Wall thickness
The walls must be equal to or thicker than the nozzle diameter. Otherwise, the printer simply will not be able to print them. The wall thickness depends on how many perimeters will be printed. So with 3 perimeters and a nozzle of 0.5mm, the wall thickness should be from 0.5, 1, 1.5, 2, 2.5, 3mm, and above it can be any. That is, the wall thickness should be a multiple of the nozzle diameter if it is less than N * d, where N is the number of perimeters, d is the nozzle diameter. nine0003
4. Minimum overhangs
Each overhanging element requires a supporting structure - support. The fewer overhanging elements, the less supports you need, the less material and printing time you need to spend on them, and the cheaper the print will be.
In addition, the support spoils the surface in contact with it.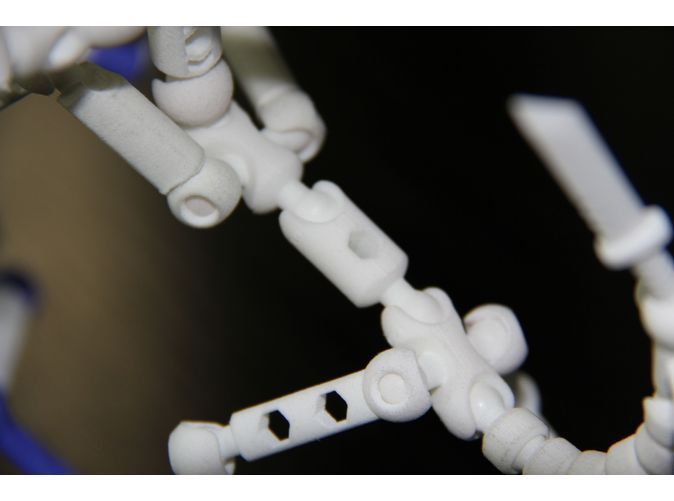
It is allowed to print without wall supports, which have an inclination angle of not more than 70 degrees.
5. Precision
Accuracy along the XY axes depends on backlash, structural rigidity, belts, in general, on the mechanics of the printer. And it is about 0.3 mm for hobby printers.
The Z-axis accuracy is determined by the layer height ( 0.1-0.4 mm). Hence, the height of the model will be a multiple of the height of the layer.
It should also be taken into account that after cooling, the material shrinks, and at the same time the geometry of the object changes.
There is also a software side of the problem - not every slicer correctly processes internal dimensions, so it is better to increase the diameter of the holes by 0.1-0.2 mm. nine0003
6. Small parts
Small details are quite difficult to reproduce on an FDM printer. They cannot be reproduced at all if they are smaller than the nozzle diameter.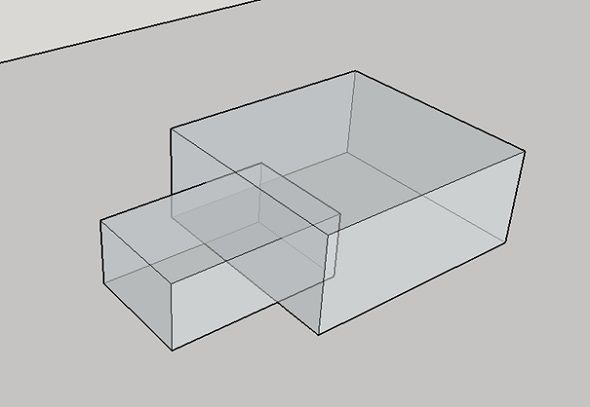 In addition, when processing the surface, small details will become less noticeable or disappear altogether.
7. Bottlenecks
Bottlenecks are very difficult to handle. If possible, it is necessary to avoid such places that require processing, which cannot be approached with a sandpaper or a microdrill. Of course, you can treat the surface in a solvent bath, but then small elements will melt. nine0003
8. Large models
When modeling, it is necessary to take into account the maximum possible dimensions of the print. If the model is larger than these dimensions, then it must be cut in order to print in parts. And since these parts will stick together, it would be nice to immediately provide connections, for example, a dovetail.
9. Desktop location
How to place the model on the desktop depends on its strength. nine0061 The load should be distributed across the print layers, not lengthwise.