Control 3d printer with raspberry pi
How to control your 3D printer using OctoPrint and Raspberry Pi
All tutorialsControl and manage your 3D printer and more using OctoPrint and Raspberry Pi. Here’s everything you need to know to get started!
What you’ll need:
- Raspberry Pi
- Suitable power supply (depending on model of Raspberry Pi — see Choosing the right Raspberry Pi below)
- microSD card (we recommend a minimum storage size of 8GB. If you plan to use a camera and save timelapse recordings of your prints, you’ll need a larger capacity card)
- SD card adapter
- USB cable (this will depend on your printer)
- Raspberry Pi camera or USB webcam (optional)
For the initial SD card setup, you’ll also need:
Another computer connected to your network. We’ll refer to this as “your usual computer”, to distinguish it from the Raspberry Pi computer that you are setting up for retro gaming.
Choosing the right Raspberry Pi and accessories
While older Raspberry Pi devices are supported by OctoPrint, we’ll be using a 2GB Raspberry Pi 4 for our tutorial, because this will give you a faster, smoother experience. With this model you will need a USB-C power supply. If you plan to use an older model, you’ll need a micro USB power supply instead.
Installing OctoPi
We’re going to use an application called Raspberry Pi Imager to write Raspberry Pi OS to our microSD card. Raspberry Pi Imager is available for free for Windows, macOS, Ubuntu for x86, and Raspberry Pi OS. You can download it to your usual computer here.
Open Raspberry Pi Imager and connect your microSD card to your usual computer using a microSD card adapter. Now we can go ahead and install OctoPi to the SD card. In Raspberry Pi Imager:
CHOOSE OS: Select Other specific purpose OS, followed by 3D printing.
Next, select OctoPi, then OctoPi (stable).
Open the advanced menu: select the cogwheel icon in the bottom right corner.
Enable SSH: check the Enable SSH box and set a username and strong memorable password.
Configure wifi: enter the SSID of your network and its password, then select Save to close the advanced menu.
CHOOSE STORAGE: select your microSD card.
WRITE: lastly, click to write OctoPi to your microSD card.
Set up your Raspberry Pi
Once your microSD card is ready, insert it into your Raspberry Pi. Next, connect your 3D printer using your USB cable. The type of 3D printer you have will determine what type of USB cable you need. For this tutorial, we’re using an Ender 5, which requires a USB-A-to-mini-USB cable.
Lastly, connect the USB-C power supply to your Raspberry Pi.
Set up OctoPrint
Open a web browser on any computer connected to the same local network as your Raspberry Pi, and type http://octopi.local into the address bar. This will allow you to set up OctoPrint. Follow the on-screen instructions to set up OctoPrint and enter details of your 3D printer. Once complete, OctoPrint will restart and you’ll be able to get printing by following the on-screen instructions.
You can access OctoPrint at any time by visiting http://octopi.local on a computer or mobile device that is connected to the same network as your Raspberry Pi.
Optional: add a camera
Add a Raspberry Pi camera or a USB webcam to your Raspberry Pi to allow you to keep an eye on your model as it prints.
To do this, unplug your Raspberry Pi from the power supply, and connect your Raspberry Pi camera or webcam.
Reconnect the power supply and open OctoPrint by going to http://octopi.local.
Next, go into OctoPrint settings by clicking the wrench icon at the top, and select Webcam & Timelapse under FEATURES.
Here, you can click the Test button to make sure your camera is working properly and make any necessary changes, such as altering aspect ratio and rotation.
You can also enable timelapse recordings of your prints and save them to your Raspberry Pi.
You can view your camera settings under Control on the main OctoPrint dashboard.
Using OctoPrint
OctoPrint offers an easy-to-use dashboard that most users will be able to navigate quickly. More advanced users, and those interested in expanding their 3D printing experience may want to look into the vast array of third-party plugins managed by its wide community of users. You can find them in the OctoPrint Settings menu.
OctoPrint is a free-to-download open-source web interface created and maintained by Gina Häußge. If you would like to support OctoPrint, you can make a contribution via their website.
Learn more about 3D printing with HackSpace magazine
Would you like to learn more about 3D printing? HackSpace is a monthly magazine for creative people, and it provides a wealth of 3D-printing tips and tricks, along with news, reviews, interviews and tutorials for every kind of making and crafting you can think of. You can download HackSpace for free here, or buy it in print from your favourite supermarket or newsagent, as well as from the Raspberry Pi Press store.
For a taste of what to expect from HackSpace, here’s their video all about 3D printing infill patterns.
Help and support
More help and information on OctoPrint is available from their website and forums.
OctoPrint.org - Download & Setup OctoPrint
Guy Sheffer maintains “OctoPi”, a Raspbian (and thus Debian) based SD card image for the Raspberry Pi that already includes OctoPrint plus everything you need to run it:
- OctoPrint plus its dependencies
- MJPG-Streamer for live viewing of prints and timelapse video creation, compatible with various USB webcams and the Raspberry Pi camera
Recommended hardware: Raspberry Pi 3B, 3B+, 4B or Zero 2. Expect print artifacts and long loading times with other options, especially when adding a webcam or installing third party plugins. Setups not using recommended hardware are not officially supported.
Please note that the Raspberry Pi Zero and Zero W are not recommended explicitly since severe performance issues were observed, caused by the WiFi interface when bandwidth is utilized (e.g. the webcam is streamed), negatively impacting printing quality. See also here. The Zero 2 however is recommended.
Installing OctoPi
OctoPi is available through the Raspberry Pi Imager, which you can use to download and setup OctoPi. You can install it yourself, or alternatively simply buy one of the available
Installing OctoPi using the Raspberry Pi Imager
🤚 Before you begin
Read and follow these instructions precisely. Most importantly, leave the system username as “pi”, do not change it to anything else or OctoPrint won’t work!
-
If you haven’t already, download and install Raspberry Pi Imager on your computer
-
Find the OctoPi image under “Choose OS”, by selecting “Other Specific Purpose OS” > “3D printing” > “OctoPi” and then the “stable” version.

-
Open advanced options by clicking on the button with the gear, or by using the keyboard shortcut
ctrl+shift+xand then:-
Configure your wifi options: Set your SSID, password and WiFi country:
-
Change the system password in “Set username and password” by entering a new password to use for the system user “pi”. This is not the password you’ll use for logging into OctoPrint but one that you’ll have to use to log into your Pi via SSH should you ever need to. Leave the username as “pi”, do not change it to anything else!
-
Optionally: Change the configured timezone in “Set locale settings”
-
Optionally: Change the hostname in “Set hostname”
-
-
Install the image to your SD card, then plug everything in to your Raspberry Pi and boot it up.
 Do not format the SD card after installing, even if prompted to do so. This will break the installation and you will have to start over!
 -
Access OctoPrint from your browser via
http://octopi.localor the hostname you chose (if your computer supports bonjour) orhttp://<your pi's ip address>.httpsis available too, with a self-signed certificate (which means your browser will warn you about it being invalid - it isn’t, it’s just not recognized by your browser).
Please also refer to OctoPi’s README, especially the “How to use it” section.
Alternative Initial Setup
If you decide against using the Raspberry Pi Imager, here are some alternative steps to get started:
-
Flash the image to your SD card through whatever alternative means you’ve chosen.
-
With the SD card still attached to your computer, set up the Wifi connection using the
octopi-wpa-supplicant.file on the root of the installed card when using it like a thumb drive. Important: Do not use WordPad (Windows) or TextEdit (MacOS X) for this, those editors are known to mangle the file, making configuration fail. Use something like Notepad++, Atom or VSCode instead or at the very least heed the warnings in the file. If your computer doesn’t see the card right away after flashing, try ejecting and inserting it again. Do not format the SD card after installing, even if prompted to do so. This will break the installation and you will have to start over! txt
txtPlease also refer take a look at the full WiFi setup guide in the FAQ that also includes troubleshooting tips.
-
Plug everything into your Raspberry Pi and boot it up
-
Log into your Pi via SSH (it is located at
octopi.localif your computer supports bonjour or the IP address assigned by your router), default username ispi, default password israspberry. Run
Run sudo raspi-config. Once that is open:- Change the password via “Change User Password”
- Optionally: Change the configured timezone via “Localization Options” > “Timezone”.
- Optionally: Change the hostname via “Network Options” > “Hostname”. Your OctoPi instance will then no longer be reachable under
octopi.localbut rather the hostname you chose postfixed with.local, so keep that in mind.
You can navigate in the menus using the arrow keys and Enter. To switch to selecting the buttons at the bottom use Tab.
You do not need to expand the filesystem, current versions of OctoPi do this automatically.
You also do not need to manually enable the RaspiCam if you have one, that is already taken care of on the image as well.
-
Access OctoPrint through
http://octopi.local(if your computer supports bonjour) orhttp://<your pi's ip address>.
httpsis available too, with a self-signed certificate (which means your browser will warn you about it being invalid - it isn’t, it’s just not recognized by your browser).
Please also refer to OctoPi’s README, especially the “How to use it” section.
Image Downloads
Raspberry Pi Imager will download the latest version of OctoPi for you, but if you want to download the images yourself you can do so here.
Stable OctoPi
OctoPi 0.18.0 & OctoPrint 1.8.6 SHA256: 851573629147ec5385b9168a78377b8ed51af0a1d76c2174fe0e4ccb4f637a9d
Raspberry Pi 3B, 3B+, 4B or Zero 2 strongly recommended, Raspberry Pi Zero/Zero W not officially supported!
Image compatible with Raspberry Pi A, B, A+, B+, 2B, 3A+, 3B, 3B+, 4B 1/2/4/8GB, 400, Zero, Zero W and Zero 2.
OctoPi Release Candidate
The current OctoPi Release Candidate 1. 0.0rc3 can be found here:
OctoPi 1.0.0rc3 & OctoPrint 1.8.6 Raspberry Pi 3B, 3B+, 4B or Zero 2 strongly recommended, Raspberry Pi Zero/Zero W not officially supported!
Image compatible with Raspberry Pi A, B, A+, B+, 2B, 3A+, 3B, 3B+, 4B 1/2/4/8GB, 400, Zero, Zero W and Zero 2.
OctoPi Nightlies
You can also get the 32bit nightlies here or the highly experimental 64bit nightlies here.
Further resources
- For customizing OctoPi, take a look at CustoPiZer.
- Scripts to build the image yourself can be found in OctoPi’s Github repository.
Filip Grzywok maintains “Octo4a”, an Android app that allows you to use an Android based smart phone as an OctoPrint host. Root is not required!
Check out the Octo4a README for information on how to obtain the app, install and run it.
Video
There’s also a video guide on how to get Octo4a up and running by Thomas Sanladerer.
There’s also an official OctoPrint Docker image, octoprint/octoprint. It is maintained by Brian Vanderbush and team on GitHub.
Please refer to its entry on dockerhub for more details on usage and configuration.
octoprint_deploy is a guided script for creating multiple OctoPrint instances. This enables control of multiple printers on a single piece of hardware. It is compatible with OctoPi and also functions as a general Linux installer for OctoPrint, video streamers, haproxy, etc.
The related octoprint_install serves as a single instance Linux installer.
Both are maintained by Paul Paukstelis.
The generic setup instructions boil down to
- Installing Python 3, including pip.
- Creating a virtual environment somewhere:
python -m venv OctoPrint - Installing OctoPrint into that virtual environment:
OctoPrint/bin/pip install OctoPrint - OctoPrint may then be started through
.or with an absolute path /OctoPrint/bin/octoprint serve
/path/to/OctoPrint/bin/octoprint serve
More specific setup instructions for the most common runtime environments can be found below.
Linux
For installing OctoPrint on Linux, please take a look at the setup instructions for Raspbian on the forum. They should be pretty much identical on other Linux distributions.
Windows
For installing the OctoPrint server on a Windows system, please take a look at the setup instructions for Windows on the forum.
Mac
For installing the OctoPrint server on a Mac, please take a look at the setup instructions for MacOS on the forum.
How to Control a Raspberry Pi
3D Printer For the uninitiated, 3D printing can seem like a daunting hobby. However, once you understand how things work, 3D printing can be fun and enjoyable. For beginners, it might be tempting to simply buy a plug-and-play 3D printer to use with Windows 10. Some examples include the Monoprice Select Mini Pro ($250) or the Snapmaker 3-in-1 3D printer ($800), which offers laser engraving and CNC milling capabilities in addition to 3D printing. Both printers are good entry-level choices, but they take up less space when 3D printing, and you'll quickly find yourself wanting to buy a larger printer when you need to print large parts. nine0003
If you're interested in finding a 3D printer for beginners, I recommend the Creality 3D Ender 3. It's a good size 3D printer that delivers consistently high print quality. In addition, the Ender 3 is a self-replicating printer, which means that the printer can print its own updated and replaceable parts. What's more, the printer comes as a DIY kit, which in my opinion is the best way to learn about 3D printing.
I received a Creality 3D Ender 3 as a gift from my wedding receptionist. I didn't know what I was going to print, but I had general ideas. I scoured the internet to find the best mid-range 3D printer and came up with the Ender 3.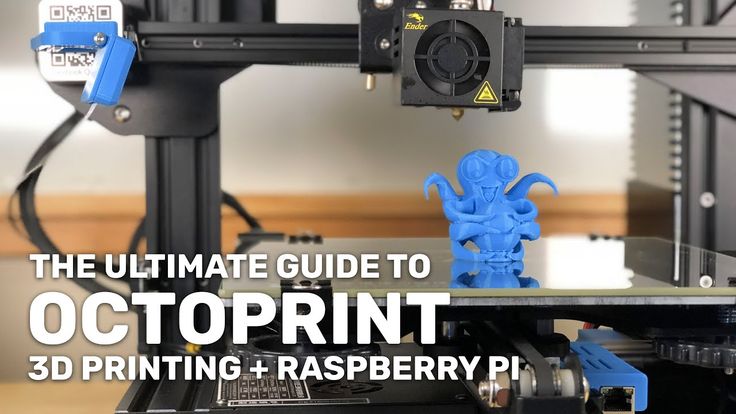 It takes some learning, so if you think you'll buy it and print perfect 3D prints in no time, you're in for a rude awakening. This YouTube video gives a detailed overview of the Ender 3 as well as some basic 3D prints and printer upgrades. The Ender 3 is priced between $200 and $250 and is a great value for the money, although some assembly is required. nine0003
Since I'm using Ender 3, I've run into some problems starting and stopping 3D printing when I'm not in front of the printer. The problem with most 3D printers is that 3D printing companies have not created an efficient interface for interacting with your 3D printer via a computer. To 3D print something, you have to go through a rather complicated process. Here's what you do when you 3D print items using just the printer. nine0003
- Create or load an object from Thingiverse
- Edit the element so that it prints successfully on your printer (temperature settings, scale volume, etc.)
- Transfer the appropriate file from your computer to the microSD card.

- Remove the microSD card from the computer and insert the microSD card into the printer.
- Start printing using the printer control menu
This process is frustrating because if there is a problem with the printer settings for the item you want to print, or the temperature settings are off, or something else goes wrong, you will have to manually stop printing and start the process again. Everything important is on this microSD card. This turned out to be the most frustrating thing about my 3D printer and it drove me crazy until I found OctoPrint. After that, everything changed. nine0003
OctoPrint is an open source web interface for your 3D printer. OctoPrint lets you drag and drop files onto the 3D printer, change the printer's temperature settings as desired, and start and stop print jobs. It is the best and most intuitive. To use OctoPrint, all you need is a Raspberry Pi and you will be able to access your 3D printer via a Wi-Fi connection. Here's what you need to do to get OctoPrint running: Raspberry Pi 3B or 3B+, at least 8GB microSD card and OctoPi, a Raspbian-based microSD card image for Raspberry Pi that includes OctoPrint and all necessary dependencies. run it. More information is available on the OctoPrint download page. nine0003
Although OctoPrint can be installed on Windows, OctoPrint does not run as stable on Windows, which may cause unexpected errors and crashes. The recent news that you can install Windows 10 on ARM on Raspberry Pi is great, but Windows 10 on ARM is not the best OS for Raspberry Pi in my opinion. You can install Windows IoT Core or Windows 10 on ARM just as easily, but the Raspberry Pi works best with Raspbian, a Linux-based operating system built specifically for the Raspberry Pi. I'm using a Raspberry Pi 3B and OctoPrint works well on Raspbian without any issues. nine0003
With OctoPrint, you need to download this OctoPrint image file and follow the instructions on the download page to extract and flash the disk image file to a microSD card, set up the SSID and Wi-Fi password, and then boot the Pi from the microSD card.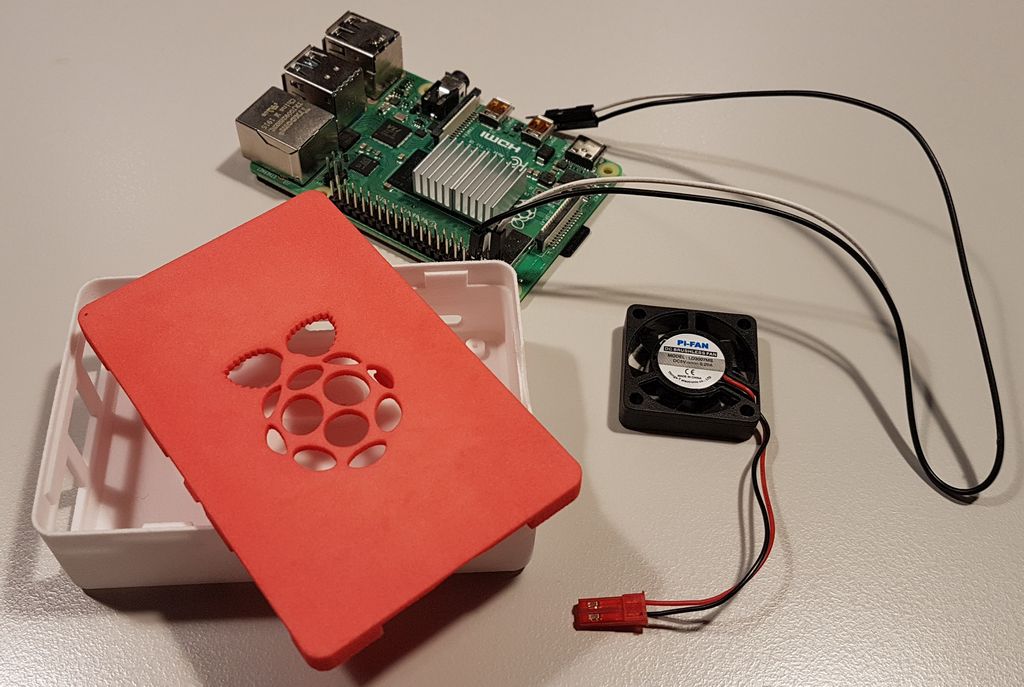 Once you recognize your Raspberry Pi on your Wi-Fi network, you can connect it to a 3D printer and manage the 3D printer settings and print projects from any device, and depending on the OctoPrint settings, even control the 3D printer remotely. Personally, I don't use the mobile access feature because I have fire safety issues when running my 3D printer unattended. nine0003
OctoPrint is the best interface for 3D printing in my opinion. Octoprint provides a simple interface that allows me to control almost every aspect of my 3D printer through a web browser. I wish I could say that you can use OctoPrint with Microsoft Edge, but OctoPrint works much better with Google Chrome. OctoPrint allows me to monitor the temperature, see the remaining print time, and stop printing to adjust the printer's temperature and speed if necessary. Overall, I am very pleased with the quality of my 3D prints. Here is an example of the quality of my 3D printing. nine0003
Creality 3D Ender 3 Pug
The 3D print (Creality 3D Ender 3 Pug) shown above was a larger project that I was able to print after successively printing smaller parts. There was a lot of trial and error in the beginning to find the best temperature and other printer settings to get consistent prints. After I got more stable prints like the one above, I started printing bigger and bigger projects.
Raspberry Pi is a powerful single board computer that allows me to add other add-ons, including a webcam to view my 3D prints in real time in OctoPrint. In addition, OctoPrint allows me to add various plugins to enhance my 3D printer through the OctoPrint browser interface. Overall, using OctoPrint with a Raspberry Pi to control my 3D printer through a Windows 10 computer is very convenient. You won't print things perfectly right from the start, but once you figure out what works well for your 3D printer, you'll find that 3D printing is a rewarding hobby. On Thingiverse you can find more ideas of what you can create. nine0003
Record source: www.onmsft.com
Smart printer. Improving Octoprint / Sudo Null IT News
While developing an open project for a 4-extruder Z-Bolt printer, we encountered the problem of choosing a screen to control the printer. Of the available screens, only the Duet Wifi solution can control more than 2 extruders. The solution, to put it mildly, is not a budget one, and the interface is not for everybody. So we decided to look for an alternative with preference and courtesans. This story is about him…
On the Internet, there is a lot of information about the use of Octoprint. A little more than half a year ago, we became users of this solution, immediately appreciating its advantages. The ability to manage the printer through a web face is really hard to overestimate. Octoprint has a lot of plugins, and the main thing for us is that Octoprint handles well with more than 2 extruders. But there was one more issue to solve.
Many fans of Octoprint confidently assert that they no longer need the screen from the word “absolutely”, that this is an absolutely superfluous part of the printer, which only interferes with them. nine0003
However, I am convinced that there are other users of OctoPrint.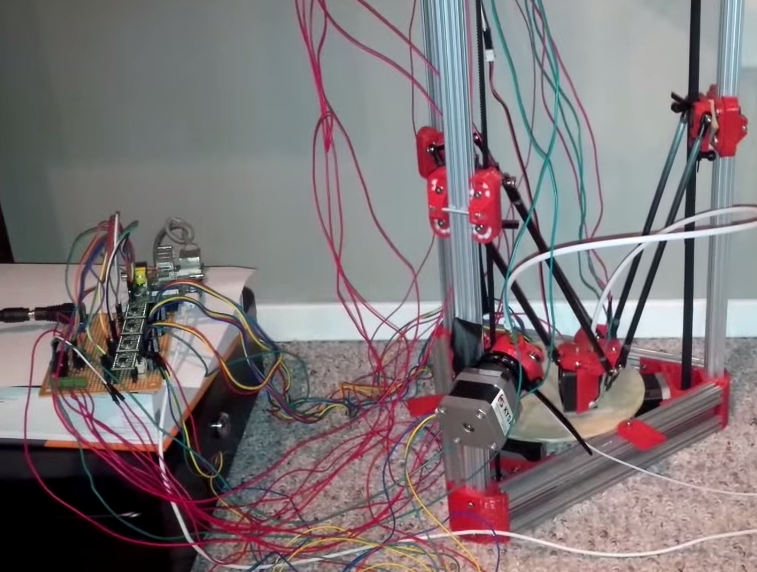 Everyone has their own habits and requirements for the daily use of a 3D printer, and there are operations that are more convenient to perform with a screen:
- Filament replacement
- Table level calibration
- Starting to print a file that has already been printed before
- Printer preheating on
- Ability to see print status
- …
Now the default screen in Z-Bolt printers is MKS TFT. You can put TFT24, TFT32 or TFT35. These are good screens, but they can't integrate with Octoprint. If Octoprint has started printing, the screen will not know anything about it. They use different file repositories, etc. And the MKS TFT screens don't want to work with 3 or more heads 3D printers.
My goal was to find/make/configure a screen for Octoprint capable of controlling more than 2 extruders. nine0003
After some googling, I came across the TouchUI plugin.
The first impression was: this is the solution!!!
I immediately installed the plugin and opened Octoprint from my phone.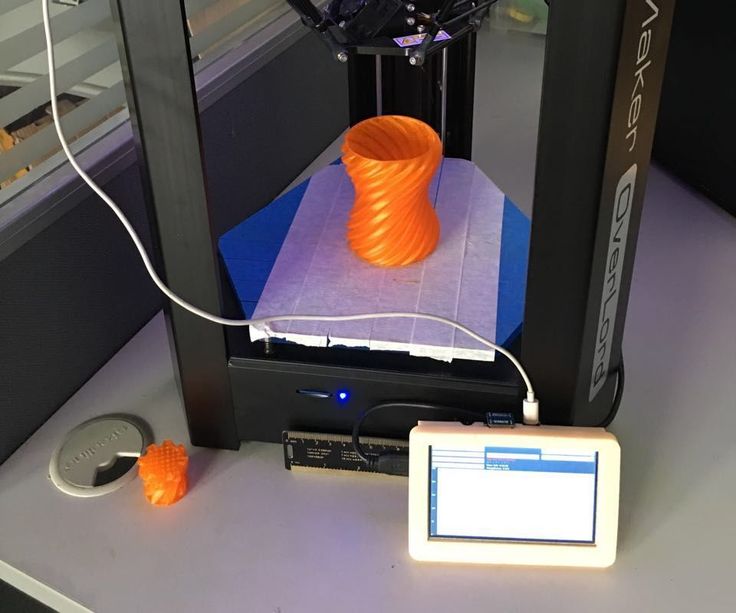 The TouchUI interface was dumb :/. Sometimes the buttons were pressed normally, sometimes they slowed down, and sometimes they didn’t press at all the first time. From the connected screen, TouchUI behaved just as badly as from the phone.
Another solution was found in parallel.
The description was encouraging, unlike TouchUI, this is an independent application that runs without a browser, which means it requires much less computing resources. nine0003
Installation and configuration did not cause problems. The interface really worked much more predictably and more responsively.
But even here, not everything turned out smoothly. The application regularly crashed when printing started. There was an issue on github for this error, created almost a year ago and actively discussed, but not closed.
The main problem turned out to be that the author of the application, apparently, has lost interest in it and is no longer developing it at the moment.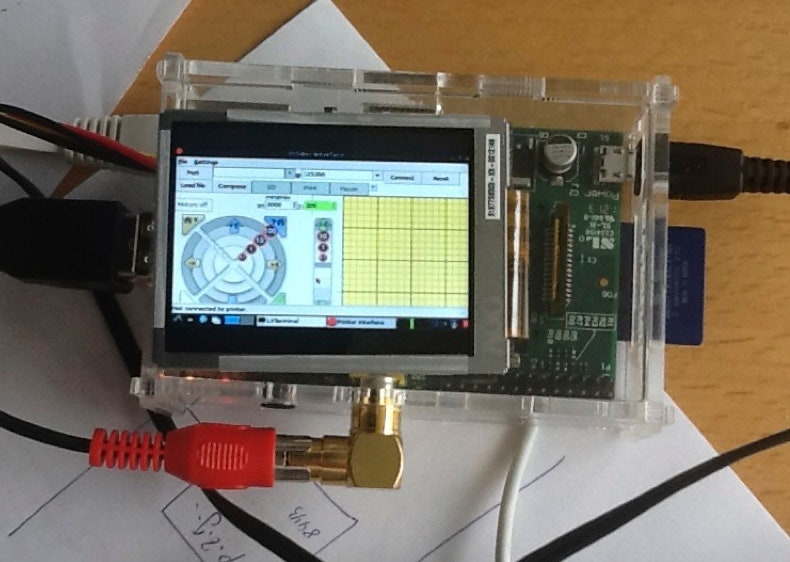
Since, in my opinion, the application is written quite well and has potential, it was decided to make a “hard-fork” and take on the project thoroughly. nine0003
Here's what we got:
- Optimal screens for project selected
- Made “hard-fork” from Octoprint-TFT
- Revised view of the hardware and software architecture of the printer
- Created custom theme for Octoprint interface
But first things first…
Screen selections
We started with the TFT 3.5 screen, which, to put it mildly, did not stand up to scrutiny. No viewing angles, the picture is faded. Therefore, it was decided to choose a better solution. nine0003
The main criteria were:
- IPS matrix
- size 4 - 5"
- capacitive screen (preferred)
- reasonable price
As a result, we settled on two options:
1. The option is simpler. 4'' IPS Resistive Touchscreen
2. Richer option. 4.3” IPS Capacitive Touchscreen
Both screens have a resolution of 800x400. Both have a great picture, color reproduction and viewing angle. Their main difference is the capacitive touchscreen. You get used to it (like everything good) very quickly and it is much more pleasant to use it than resistive ones. However, a resistive touchscreen is also viable. nine0003
It's Hard-Fork, baby!
The application has been seriously improved. And almost ceased to resemble his parent. Therefore (and also because the creator of Octoprint-TFT officially froze the development of his offspring), it was decided to make a hard-fork and call the new project Octoscreen.
- First of all, the screen freeze problem that plagued Octoprint-TFT was completely eliminated.
- - Significantly changed design and layout:
- The screen has learned to understand printer states (waiting/printing):
- Added the function of quick preheating/heating off by pressing the icon of the extruder or table, while the screen highlights the status:
- Manual table calibration screen added:
- Item “Menu” moved to a separate screen:
- Added WiFi management function:
- The application itself now supports up to 4 extruders, which is exactly what it was created for:
You can download the application and find a brief installation guide from our GitHub.
There is also a detailed instruction for screen 3.5, for which special thanks to our colleague Denis (@negativ72rus).
Rethinking printer hardware architecture or changing shoes on the go
Initially, we planned to use Marlin in our multi-extruder printer, but in the end the choice fell on Klipper. There are several reasons:
1. One of the main reasons for us as developers is its flexibility. Marlin and his "pasta" code make it a real challenge to make improvements to it, and even more so to maintain them further.
Klipper is the exact opposite of Marlin in this respect. Firstly, all Klipper configuration is taken out of the program code. The code itself is well structured. But most importantly, Klipper is modular!!! You can add your own logic to the firmware without making changes to its core, and thus greatly simplify the further support of your code. nine0003
2. All firmware settings can be done directly through the OctoPrint web interface.


