How to calibrate a 3d printer
How To Calibrate A 3D Printer [Quick and Simple Guide]
Want to calibrate your 3D printer to achieve the best possible prints? Here's a quick guide that you can improve the quality of your 3D prints even more!
By Justin Evans
So you’ve bought yourself a brand new 3D printer and you can’t wait to get started. Trouble is, you can’t just jump right in. Before that, you’ll have to know how and why 3D printers are calibrated. That’s where we come in.
This guide will explain how you can calibrate your 3D printer. We’ll also be covering a little of the science behind it all, but we’ll try to keep things as easily understandable as possible so don’t worry. Now, let’s start by addressing the common question: “why do we need to calibrate at all?”.
Table of ContentsShow
What Is Calibration For?
Imagine you’re a baker. You’ve finally created a recipe that makes perfect bread each and every time. Congratulations! But fans keep writing to you telling you the recipe doesn’t work. After a while, you realize it’s because they’re all using the wrong size of baking tin. So how could this have been avoided?
Calibration allows 3D printers to avoid scenarios like this. Essentially, calibration helps ensure every print comes out exactly the same, regardless of the equipment used to create it. Nothing lopsided will be printed (unless that’s your intention), and your creations will be identical every time.
Preparing For Calibration
3D printers are very complex machines, and as such, calibration isn’t a one-click kind of task. We’d recommend setting aside at least half an hour to allow you to really get to the bottom of any issues that might occur.
You should also note that all printers are calibrated differently. Some have physical adjustment levers while others are controlled entirely via software.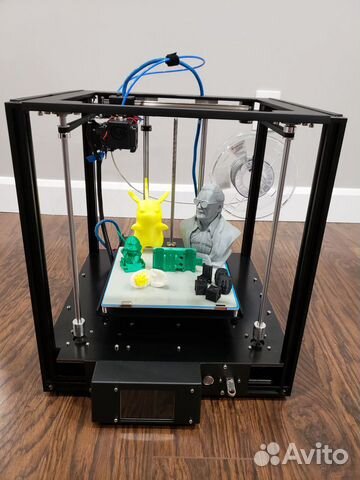 As such, the advice we’ll be giving should be used as a general guideline and not taken as concrete instructions.
Now, there are three main areas of your printer that require calibration: the extruder, the base plate, and the various motors. Below, we’ll explain how to attend to each of these parts.
How To Calibrate The Extruder
There are two main problems the extruder (the part that spits out hot filament) can have. The first is over-extrusion, where too much filament is used, and the second is under-extrusion, where too little is. You should also consider the filament thickness, but this is easy enough to correct if it’s wrong.
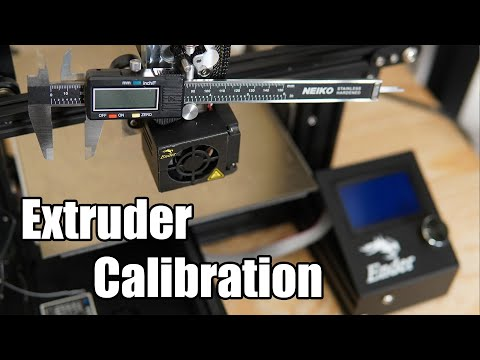
To see if your printer is over or under-extruding, you’ll need a ruler, measuring tape, or set of calipers. Make two marks on the filament 100mm apart and align the bottom mark with the top of the extruder. Next, in your software, set the extrude length value to “100” and tell it to extrude.
If everything has worked as intended, the top mark will now be aligned perfectly with the top of the extruder.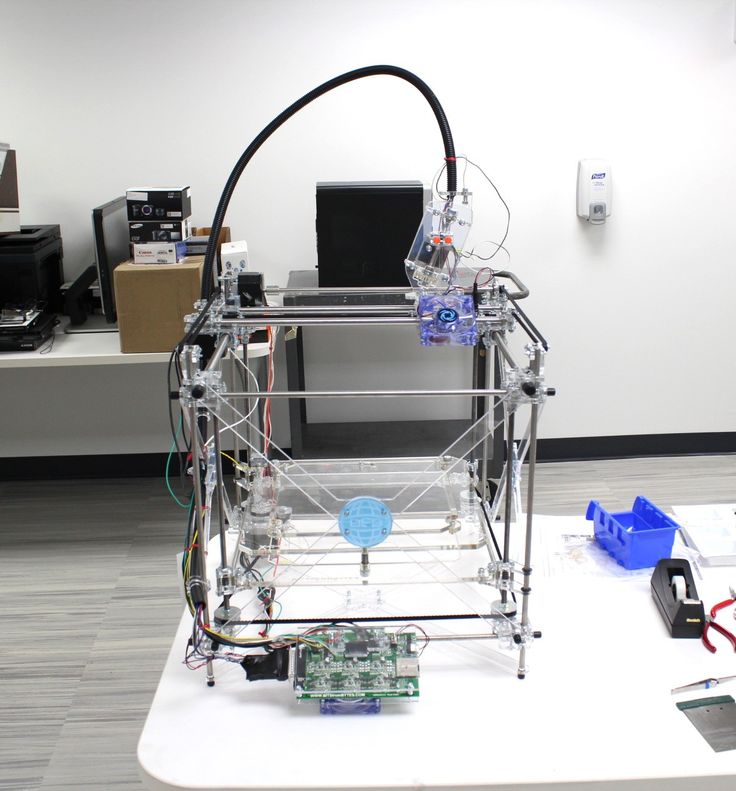 If not, you’ve got some work to do. You’ll have to adjust the extrusion (sometimes called “Flow”) percentage until the top mark aligns correctly.
How To Calibrate The X, Y, and Z Motors
Okay, the next step is to make sure your printer has its measurements right. To do this, use a piece of tape to mark two areas that are 100mm apart on the base plate. Position the nozzle over one, tell the printer to move 100mm in the correct direction and see if it ends up exactly over the tape.
You should note that it’s likely not going to be ideal on the first try. 100.01mm isn’t the same as exactly 100mm, but these small differences can have large repercussions later on so it’s best to address them now. Adjust the M92 values for both the X and Y axes until it works perfectly.
For the Z motor, you’re going to want to use a ruler. Stand it vertically on the print bed and move the Z axis by 100mm. After this point, the process is the same: just change the M92 values until it moves exactly 100mm each time.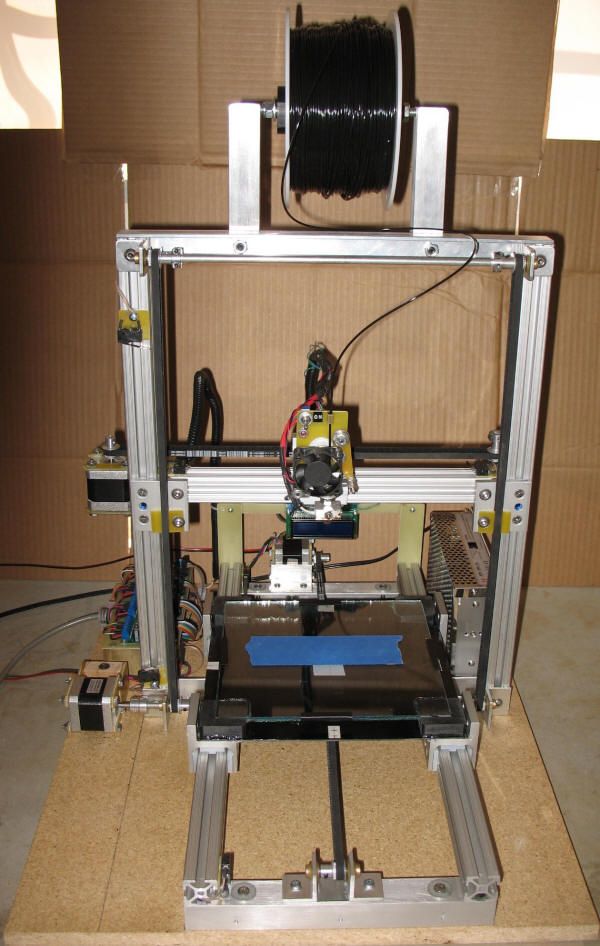
How To Calibrate The Base Plate
If you’ve noticed that your layers are too thin or that filament is gathered around the nozzle, you’ll likely want to level your base plate. This is so you can ensure the nozzle is the same distance from the base at all times. So how do you do this?
Start by centering the print head. You’ll likely have been provided with an index card, so place this between the print head and the base plate. By editing the Z-axis end stop variable, you can fine-tune the head’s distance from the base.
Most printers will have screws you can turn at each corner. Adjust these until you feel a slight resistance when you try to move the index card – you should still be able to move the card, but not freely. When you achieve this, you’re done!
Conclusion
3D printers can be difficult to get the hang of as there are dozens of options to tinker with at first. That said, there are only a few steps to take whenever you make a change. We’ve addressed these above and now, hopefully, you’re ready to start printing. Good luck and most importantly, have fun.
List of Free Photogrammetry Software
HowTo Calibrate, Tune and Fine Tune your printer and filament - No category - Talk Manufacturing
SOC3D
#1
3d printers are quite dumb as far as electronics go in the sense that there is a lot going on during a print which is assumed by the electronics. 99% of the time the electronics are assuming incorrectly.
If you want better prints, tune your printer to your filament.
Ideally you would do most of these steps for every print or every individual roll of filament. If you use a single brand you could setup profiles for each material, if you use a single brand and single material you could do this once. You should do this for every spool of filament or every print.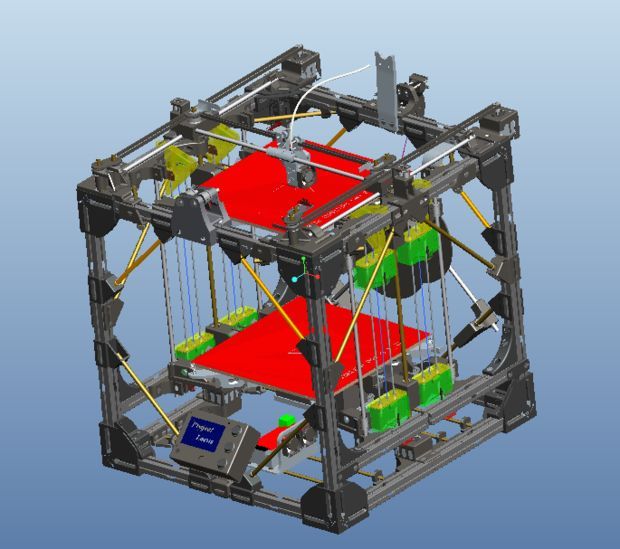
Step 1: Calibrate your extruder (This only needs to be done when something changes)
- Disconnect your hotend from the extruder.
- Cut the filament flush with whatever fitting you have.
- Using whatever interface you use to control your printer extrude 100mm/10cm of filament.
- Your firmware may have a safety temperature preventing cold extrusion. If this is the case you will have to bring your hotend up to temp in order to extrude filament.
- Cut the filament and repeat this procedure two more times.
- Measure the three pieces of filament.
- Get an average (add the three measurements and divide by 300).
- If your average is not close to 100 you need to change your extruder steps per mm. Take the current steps per mm and divide it by (your average/100).
- Repeat until you are happy.
Step 2: Calibrate your filament diameter, do this every print!
Using a caliper, measure your filament diameter at several locations.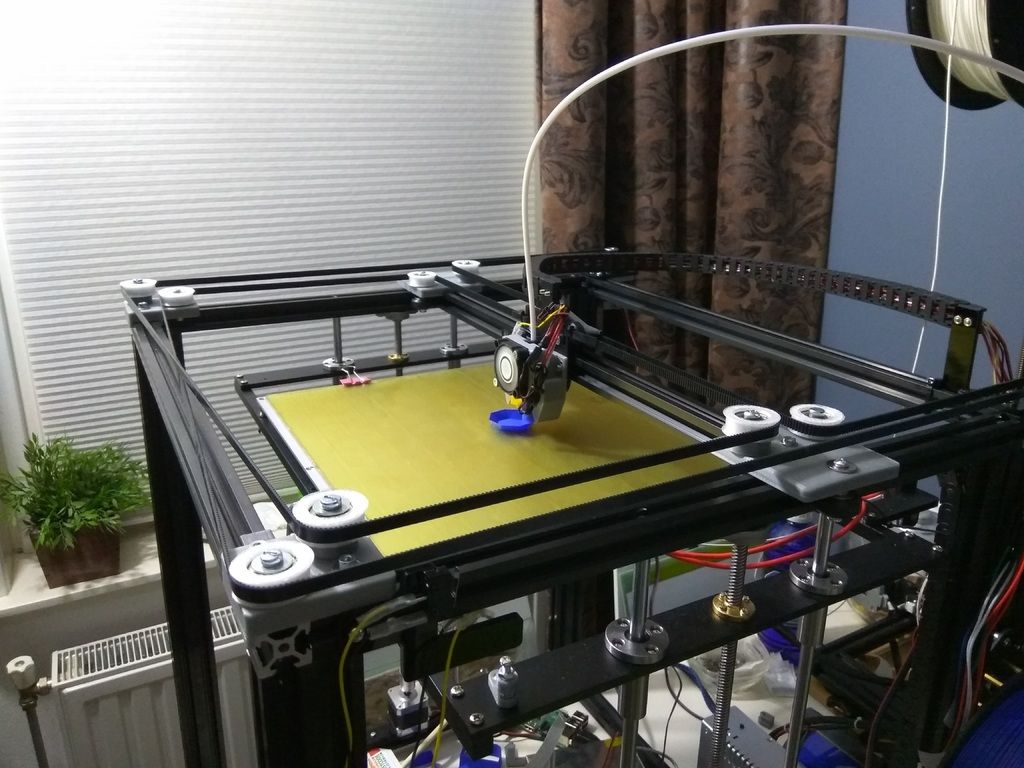 Average out the measurements, at least 3, and enter that into your slicer under filament diameter.
Step 3: calibrate your z height and first layer. Do this whenever something changes in your printer.
- Print a single layer (of say a 20*20mm cube) with your first layer at 100% height and width.
- Using a caliper measure the print in several places (at least 8) and adjust your bed or gcode z offset.
- Repeat until you are happy.
Step 4: calibrate your extrusion multiplier!
Do this every print, to be a little lazy every roll, to be really lazy every brand and material, if your slacker only once
- Print out a cube
- (20mmx20mm would be nice)
- in vase mode (single outline, no infill, no top or bottom layers)
- set your extrusion multiplier to 1
- set your extrusion width to equal the width of your nozzle.
- Measure the walls with a caliper in several places (at least 8) and get an average.
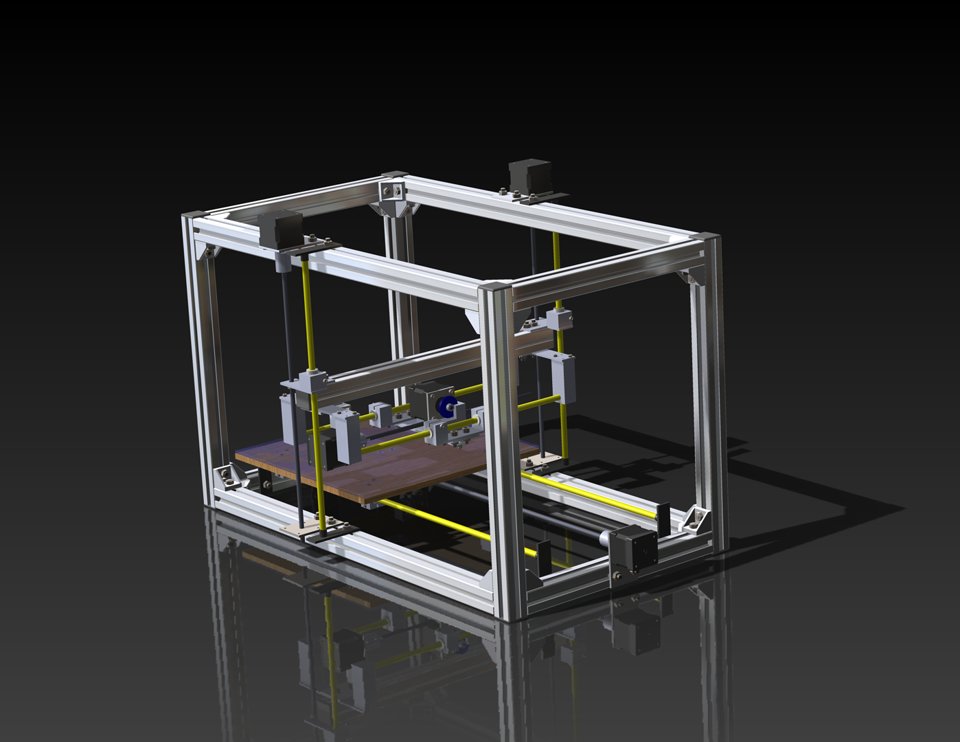
- Change your extrusion multiplier: new multiplier = old multiplier x (extrusion width / average measurement)
- Repeat until you are happy.
Step 4.5: PID tune your bed and hotend.
Before and after you calibrate temperatures and any time you change a fan or move something or a season changes. PID tune your hotend and bed to keep your temperature fluctuations to a minimum.
- M303 E(Extruder 0 for hotend 1 for bed) C(# of cycles 3-8) S(Desired Temperature)
- M303 E0 C5 S180 = PLA Hotend tune for 5 cycles
Step 5: calibrate your temperatures.
Do this for every different filament (color, brand, material, etc)
- Grab a temperature calibration tower off thingiverse: https://www.thingiverse.com/thing:915435
- Set the temperature range to the range listed on your filament or by the manufacturer.
- Print the calibration tower and choose the best temp.
Step 6: Calibrate your fan speed.
(I have a Delta with three really powerful layer fans. If they all three run at 100% the hotend loses temp)
- Print your calibration tower again but change the fan speed vs the extruder temp.
- Choose the best fan speed for the finish you desire.
Step 6.5: PID tune your hotend again with the layer fan set to the ideal speed!
As noted above if your fans in any way change the temperature of your hotend (all layer fans do) you should PID tune the hotend with the fan set at the most common speed to keep temperature fluctuations to a minimum.
I left a lot of details out and some things are vague. Let me know what should be added and I’ll edit it. Also my formulas may be off.
13 Likes
3dprintingguy
#2
thanks for the post!
Christian_Simon
#3
Hi,
I have a Velleman Vertex K8400 printer with a 0. 35 mm standard nozzle. Printing with 1.75 mm PLA without a heated bed.
Step 1: Estep/mm was calibrated from 200 to 140
Step 2: Measured the filament between 1.65 mm and 1.75 mm - On average about 1.73 mm
Step 3: Don’t understand it. Am I to print only the first layer of a Cube, so rectangle of 20x20mm? what am I supposed to measure, and adjusting the bed - are you referring to the bed height? How should one use the measurements to adjust the bed or code z offset?
Step 4: Measured 9 times between 0.45 mm and 0.59 mm . avg. 0.50 mm = New multiplier 0.7
Step 4.5: Didn’t understand this either
Step 5: Not yet tested
Step 6: Not yet tested
On step 4: The cube that I printed is under extruded at 1.0 extrusion multiplier… Step 4 recommend to use 0.7 - is this correct?
SOC3D
#4
Step 3 you should print a single layer of anything at 100% first layer height and 100% first layer width.
You then measure the height of the print in several places in order to find out if your z height is set correctly.
If your layer height is .2mm your part should measure .2 mm.
On Step 4 what was your line width set to? With a .35mm nozzle you should set your extrusion multiplier to 1.0 your line width to .35mm your variance should not be more than 100 micron really it should be within 20-40 micron.
If your extrusion is looking weird or under during this you may just have bad filament? If it’s PLA try a new roll or try heating/vacuuming the moisture out of the filament.
Can you attach a picture of the cube you printed and tell me a little more about the filament, brand - how old is it - how is it stored.
Christian_Simon
#5
Hi,
Follow up question to Step 3: So if I measure 0. 3 mm height when the layer height should be 0.2mm, does this indicate that my nozzle is 0.1 mm to high from the bed?
Step 4: (first picture, and print to the left on the second picture)
See pictures attached from the first 20mmx20mm cube test that had an average wall thickness of 0.5 mm at 1.0 extrusion multiplier. (first picture)
Step 4 - take 2: (second picture, and middle print)
Based on the first test I reduced the extrusion multiplier to 0.84 and did a new print. I printed this only 10 mm tall to see the difference between the two.
Printed wall size was then measured to 0.40-0.43 mm and average of 0.42 mm
Step 4 - take 3: (second picture, print to the right)
Based on the second test I decided to use the new Beta version of Cura (2.1) rather than the Cura (15.04.5). I set the layer height to 0.06 mm, but kept the extortion multiplier at 0.84
Printed wall size was then measured to 0.35-0.42 or an average of 0. 38 mm (so getting fairly close now to the 0.35 mm target)
Regarding the question on the filament. I bought the Velleman own PLA 1KG 1.75 mm filament. It was opened 2 weeks ago. Since then it has been stored on the printer in room temperature of about 23 degree C. Do not see any info on production date.
SOC3D
#6
There is something wrong with your – Filament or Hotend Temperature or Extruder – the prints in those pictures are not due to calibration or tuning of extrusion.
Can you try printing a temperature tower off thingiverse? You should use the temperature range listed on your filament or if there is no range, 5 degree celsius steps from 180 degrees to 220 degrees.
You should also run PID tuning (M303) on your hotend to ensure you are getting a consistent temperature.
Christian_Simon
#7
Hi,
I will try to print the temperature tower tomorrow. I tried to print this today, and it turned out pretty well I think.
SOC3D
#8
Have you run the PID tuning on your hotend?
Mitcheg1
#9
I’m similarly confused about step 3. My first layer averaged 0.33mm when I had a 0. 2mm layer height. So does this indicate my nozzle is too close or too far from from the bed? Do I set my z height to -0.13mm?
SOC3D
#10
That indicates the nozzle is to far away. A negative number should move the nozzle closer to the bed. Should.
zxo3d
#15
It’s been a few years since this was published and nobody has mentioned that you don’t divide by 300 to get the average extrusion… You divide by 3… Update it please as I use this for new printer owners.
Types of tables for a 3D printer
Home / Blog / Useful / Choosing a table for a 3D printer. Calibration and adjustment
21.04.2021
Contents
-
- Print platform materials
- Heated table
- Non-heated table.
- Table surface
- Calibration types
- Automatic calibration
- Manual calibration
- Cartesian kinematic 3D printer table calibration
- Delta printer table calibration
- Total
- Print platform materials
The correct calibration of the 3D printer bed, or as it is also called Hot Bed, is very important. The first layer is like a foundation for a house, if the foundation is fragile, then the house will not stand for a long time.
If the plane of the printed surface is uneven, then the model may be partially peeled off or deformed. The first layer may not stick to the printing platform at all, and the result of many hours of printing will not be a neat 3D model, but plastic noodles.
Print failure example
Therefore, it is very important to properly calibrate the table. Printing platforms can be conditionally divided into two types - adjustable and not.
The adjustable table is attached to the printer with spring-loaded screws. It is not rigidly fixed in height and with the help of screws it is possible to calibrate the plane and the gap between the 3D printer table and the nozzle.
Adjusting screw
Unregulated is a printing platform that is rigidly fixed to the printer body. This solution is used in delta printers. Calibrate them only programmatically.
Non-adjustable delta printer table
Print platform materials
The material from which the table is made may vary depending on whether the table is heated or not.
Heated table
There are several types of heating elements for a 3D printer platform - aluminum, textolite, silicone and kapton. Each of them has its pros and cons.
Textolite heater - inexpensive, but fragile and can be strongly bent when heated.
Silicone heater - can not be used alone. Usually used in conjunction with a metal base.
An aluminum table is expensive, but it heats up more evenly and is less subject to thermal deformation than other platforms.
The Kapton heater is very expensive and cannot be used on its own. Usually glued to a metal base. Can be heated up to 200 degrees.
Types of heated printing surfaces
Most often, an aluminum heating table or a silicone heating pad is used in conjunction with an aluminum plate. Low price, ease of processing and high thermal conductivity make aluminum the most popular material for the manufacture of heated printing tables.
The main advantage of heating the printed surface is to increase the adhesion (adhesion) of the first layer of plastic. If the printer is with a closed case and a heated platform, a “passive thermal chamber” is created inside. Due to this, plastics with high shrinkage do not crack in layers during printing, the adhesion of layers (interlayer adhesion) increases, and internal stress is more evenly distributed during cooling.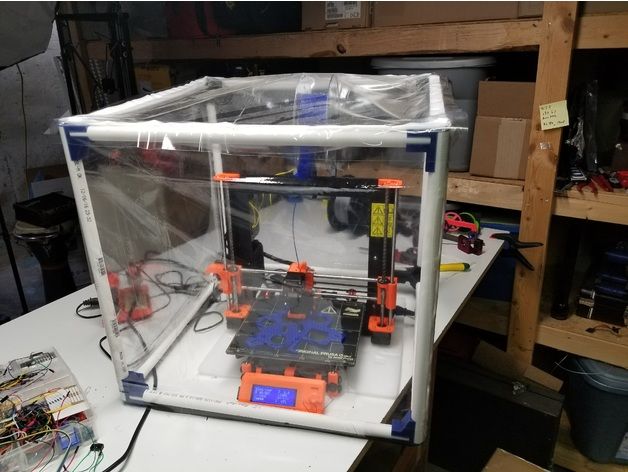
But there are also disadvantages - when heated, the metal table expands a little, and since it has nowhere to expand, it begins to bend. For a printing platform up to 200x200 in size, deformation will not be very critical, but for larger tables this becomes a tangible problem.
Each manufacturer of 3D printers with a large printable area solves the problem of deformation of the metal table in its own way. For example, in Raise 3D, the table is fixed along the entire plane with pins at 13 points.
Heated table fixing Raise 3D
Table without heating.
An unheated printable surface is often used in 3D printers designed to work only with PLA and other low temperature plastics. For example - printers for children or large printers with an open case.
An unheated printable surface is often used in 3D printers designed to work only with PLA and other low temperature plastics. For example - printers for children or large printers with an open case.
Acrylic Printer for Children
Tables without heating are made of aluminum or acrylic. If the table is aluminum, then glass or any other coating should be used on top. Aluminum is a soft metal and even a brass nozzle can scratch or damage it if not properly adjusted.
Heating table with aluminum base and mirror
Acrylic tables are often used in inexpensive 3D printers designed for kids. Acrylic is difficult to damage or break. You can print on an acrylic table without glass or other coating.
Free Shipping
Add to compare
Product added to compare Go
| Manufacturer | Raise3D |
Add to compare
Product added to compare Go
| Manufacturer | Raise3D |
Add to compare
Product added to compare Go
| Manufacturer | Raise3D |
Free Shipping
Add to compare
Product added to compare Go
| Manufacturer | Flash Forge |
Tabletop
In order for the first layer to adhere to the table tightly, different surfaces are used that increase adhesion. It is more convenient to remove the model from the removable surface. If you need to immediately start printing another model, you can simply quickly change from one removable surface to another.
The most popular table surface is the regular tempered glass or mirror. It is not expensive and available. It is believed that the accuracy class of the mirror is higher, but for small working areas (up to 200x200 mm), ordinary tempered glass is enough.
Glass itself does not hold the first layer well, so various adhesives or stickers are used to increase adhesion.
Ordinary glass can burst from a temperature difference or “crumble”, then the model comes off along with pieces of glass. Good thing it's easy to replace.
A piece of glass came off with model
Sitall glass - in fact, it is ordinary glass with the addition of boron oxide. This makes it stronger than ordinary glass and resistant to temperature changes. But the cost of such glass is much higher than ordinary or tempered glass.
Sitall glass
Perforated table - mainly used for printing ABS plastic. Thanks to the perforation, the plastic adheres firmly to the print platform. In order for the bottom of the model to turn out to be even in the slicer settings, you need to enable printing on a raft (substrate).
Perforated table used in UP printers!
Stickers - There is a huge variety of stickers for printing platforms. It can be either ordinary masking tape or a specialized surface (rough with an adhesive surface).
The finished model is easier to remove from a flexible substrate than, for example, from glass. With some substrates, the model can be easily removed after the printing platform has cooled down. For some, you need to heat the table and only then tear off the model.
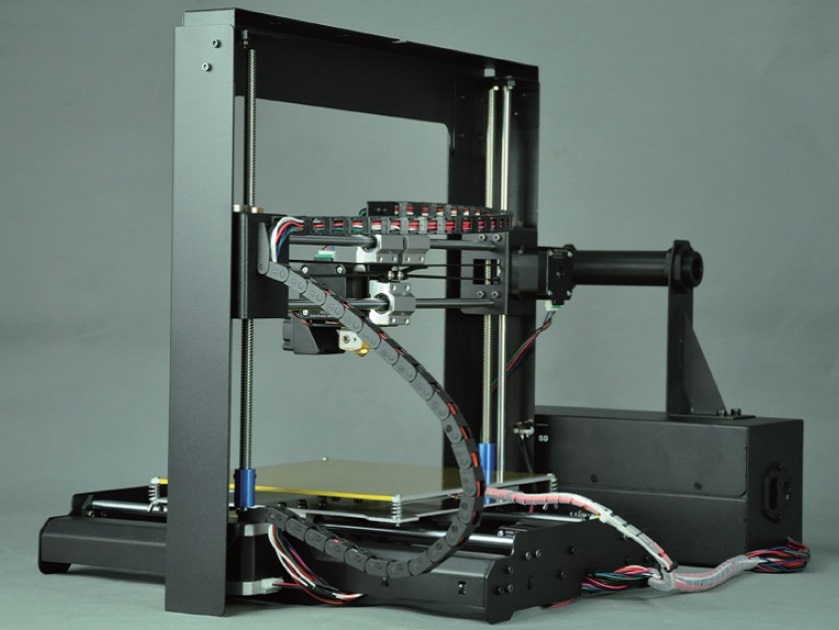
Separately, you can select a variety of compositions that are applied to the surface of the printing platform to increase the adhesion of the first layers. 3D varnishes, 3D adhesives, etc. Probably every 3D maker has his own special recipe for the same composition that almost everything sticks to. It can be BF glue mixed with a solvent or alcohol, ABS diluted in acetone, kvass with sugar, glue stick, etc.
Do not spray varnish or other sprays inside the printer. Glue particles can settle on mechanisms, fans, and even get on electronics. This can lead to damage to the 3D printer. Simply remove the platen surface from the printer and apply the adhesive.
Add to compare
Product added to compare Go
| Manufacturer | Raise3D |
Add to compare
Product added to compare Go
| Manufacturer | Flash Forge |
Add to Compare
Product added to compare Go
| Manufacturer | Flash Forge |
Calibrations
In addition to choosing the surface of the print platform, it is important to correctly level the plane of the table and set the correct gap between the table and the nozzle. Calibration can be automatic or manual.
Printers with large print surfaces, such as the Raise 3D Pro 2 and Pro 2 Plus, are calibrated at the factory. The user only needs to check the gap between the table and the nozzle, because it may go astray during transportation.
Automatic calibration
Automatic calibration is performed using a sensor (optical or contact), which is mounted next to the extruder. The printer checks several points on the print platform one by one and remembers the values. The first layer will be printed correct for the curvature of the table.
You can meet the calibration using a conductive substrate that is placed instead of the printed surface. This method is rare, but still has a place to be. It is commonly used to calibrate 3D printers with delta or delta robot kinematics.
Automatic calibration allows you to quickly and effortlessly level the table. It becomes especially indispensable for printers with delta or delta robot kinematics. Optical sensors "do not see" glass, so for printers with an optical sensor, it is better to use other surfaces of the print platform.
Some printer models have a menu with hints to help you properly set the platform plane and gap. It is enough to launch the “assistant” and follow the instructions on the screen. This is not exactly automatic calibration, but with such help it becomes much easier for a beginner to correctly calibrate the table.
An example of a 3D printer with automatic calibration is Raise E2. The Raise E2 extruder has a contact sensor to determine the distance between the nozzle and the printed surface. The resulting values help to correct the print height of the first layer. You can calibrate not the entire table, but only the area on which the model will be located.
Manual calibration
Manual calibration is when the user sets the plane of the table and the gap between the table and the nozzle himself.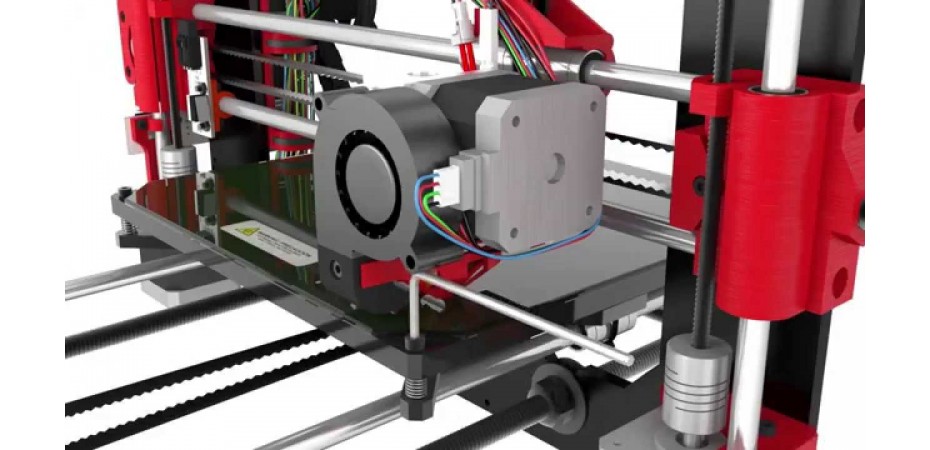 To do this, under the printing platform there are screws or winglets with which you can adjust the height of the printing platform.
Calibration screws
The standard gap between the platform and the nozzle, for most printers, should be - 0.1-0.2mm. If there is no set of probes at hand, a standard A4 sheet folded in half can replace it. Before calibration, the print surface (if it is heated) and the nozzle must be heated.
Sometimes manufacturers of 3D printers recommend a gap between the table and the nozzle - 0. Therefore, read the instructions before calibrating.
We will consider the calibration of the two most common kinematics - Cartesian and delta.
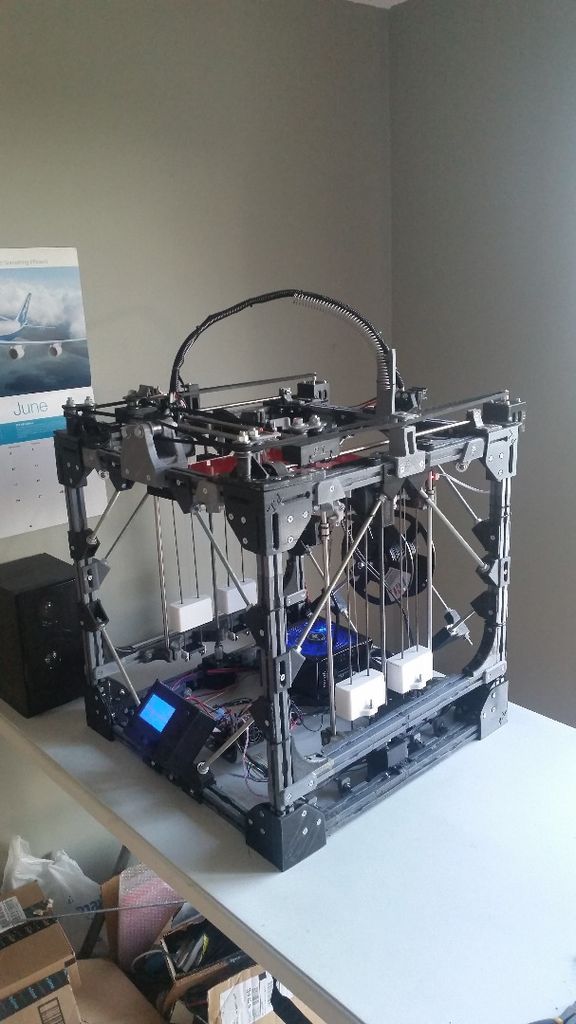
Cartesian kinematics is based on the Cartesian coordinate system and the movement of the 3D printer's head along the x, y, z axes.
Printer example with Cartesian kinematics
In deltas, the extruder moves along 3 identical axes using carriages moving along vertical guides.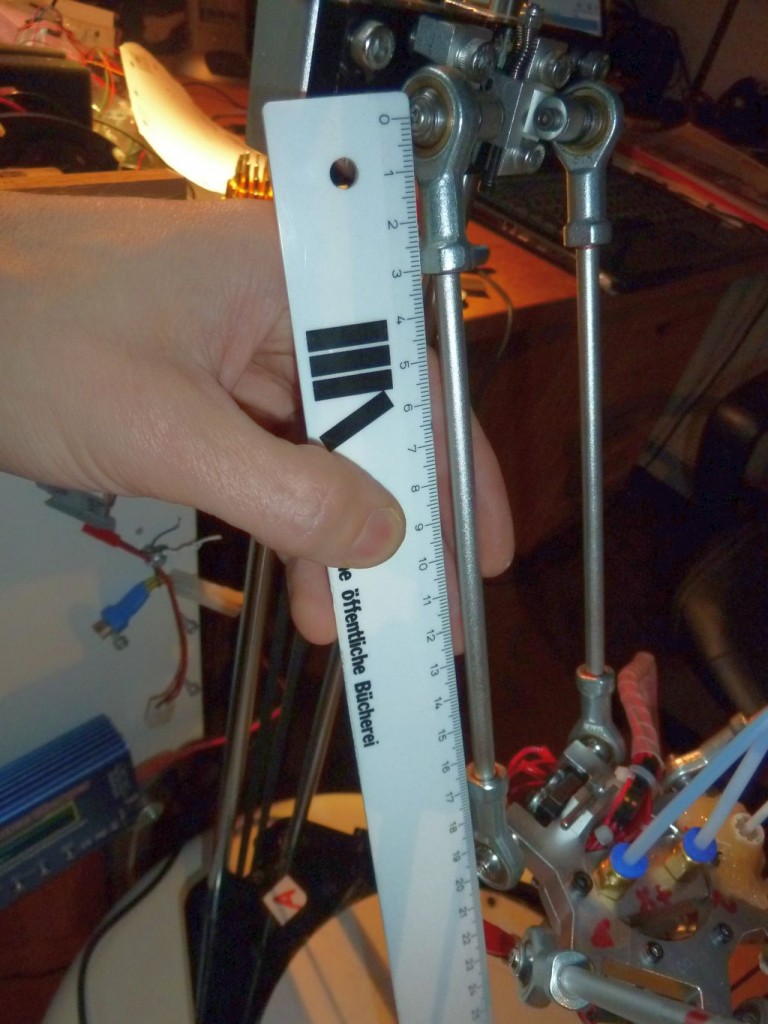 The delta printer can be called a simplified delta robot, but these are still two different kinematics.
Example of a printer with delta kinematics
3D printer table calibration with Cartesian kinematics
Different manufacturers may have slightly different calibration instructions. We will consider here the calibration of the printer with standard kinematics.
-
Heat up the table and nozzle. When heated, the metal expands slightly, so the gap between the printing platform and the nozzle may differ between the “hot” and “cold” ones.
-
Through the printer menu, send the table and extruder to the "home" or zero position in all axes. Usually the zero point is the near left corner of the extruder and the top position of the print platform. Be sure to make sure that the 3D printer does not rest the nozzle on the table and does not damage it. If this is the first calibration, use the nuts to lower the table as low as possible.
-
Through the printer menu or manually (for this you need to turn off the motors through the menu), move the extruder so that the nozzle is above the adjusting screw.
-
Use a feeler gauge and adjusting screw to set the gap between the print bed and the nozzle.
-
Repeat all steps for all calibration screws. Usually there are 3 or 4 screws.
-
After aligning the plane above the screws, move the extruder to the center and check the gap. If the gap matches the feeler gauge, then the table plane and platform distance are correctly calibrated.
Delta printer table calibration
Calibrating a delta printer is a very large topic, so here we will only describe the general principles.
The delta printer does not have the x, y and z axes we are used to. Instead, the delta printer has 3 towers - A, B, C, on which the carriages move.
Since the delta table is static, it is calibrated programmatically. The gap is calibrated by 3 points (at the columns) and the lens (center) of the table. The lens can be concave or convex.
Before calibration, check the mechanics of the printer - the belts must be tensioned evenly, there must be no play in the carriages and the effector (the plate to which the extruder is attached). If the belts are loose or uneven, it will be problematic to calibrate the printer.
Some 3D makers check belt tension with a tuner. Evenly tensioned belts will sound the same, but the correct “note” is found empirically.
There are a huge number of programs for delta calibration, but one of two is usually used - Pronterface or Repetier-Host. Using them, you can directly access the printer using special commands and change the values in the firmware.
As auxiliary programs, you can use a virtual calculator and from there transfer the values \u200b\u200binto the firmware or download the finished GCode. They need to specify the parameters of your printer - firmware (usually Marlin or Repetier), diagonal length, circumference, etc. These parameters can be taken from the firmware or measured with a caliper. It is important to specify all the parameters as accurately as possible, otherwise the printer will not be able to calibrate.
First, 3 points are aligned at towers A, B, C, and only then the lens in the center of the table is corrected.
Manual delta calibration is tricky, but it doesn't have to be repeated often. Typically, the printer only needs to be recalibrated after some mechanical parts, belts, or print bed cover have been replaced.
Totals
The calibration process may seem tedious and complicated, but in fact, once you do it yourself, the process will no longer seem so intimidating. In addition, most manufacturers try to help novice users and equip their printers with auto-calibration sensors or try to simplify this process as much as possible with detailed menu prompts.
And a variety of coatings for a printed table will help you find exactly the surface that suits your needs. As practice shows, every 3D maker, novice or experienced, has his own proven way to make the first layer stick tightly.
Don't be afraid to experiment and let every 3D print be successful.
#Useful
Expert in additive technologies and 3D printing with over 5 years of experience.
Share
all materials
Do you have any questions?
Our specialists will help you with the choice of 3D equipment or accessories, consult on any questions.
How to calibrate a 3D printer?・Cults
Since their invention, 3D printers have proven that printing many objects is much more efficient than conventional manufacturing techniques. However, calibration is required for optimal performance when printing 3D parts. Many 3D printer owners find this procedure tedious and time-consuming. However, it is much easier than it seems if you know the right tips on how to do it.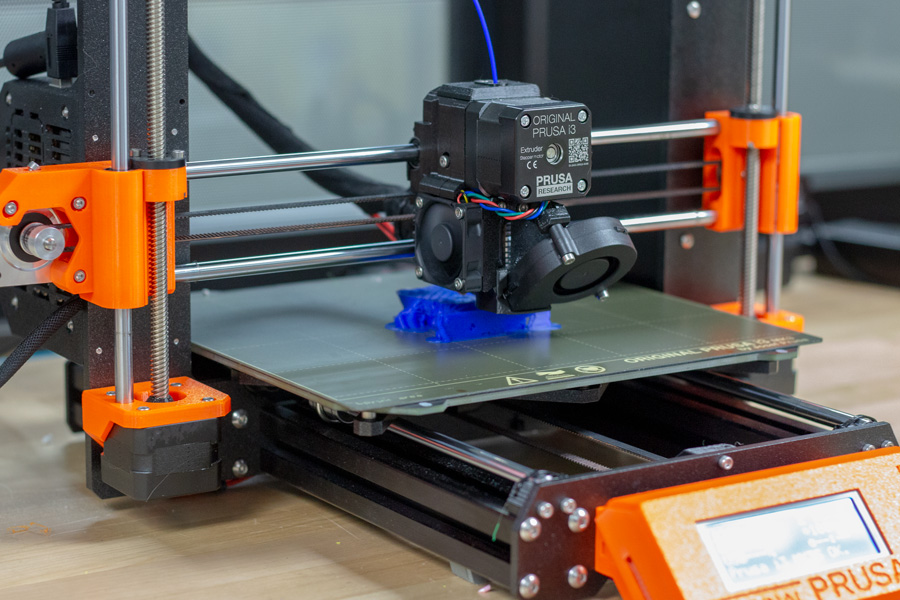 Cults3D presents the various steps you need to follow in order to successfully calibrate your printer.
To ensure that the odds are in your favor during 3D printer calibration, certain precautions must be taken beforehand. Calibrating the printer is indeed an operation that requires the strictness of , but not only. You also need to make sure that your 3D printer is perfectly clean.
To easily calibrate your 3D printer, it is important to take the necessary time to clean the printer tray and existing nozzles. Calibration may be distorted if there is filament residue or print marks on the plate or nozzle. Cleaning the 3D printer nozzle allows to limit the effect of underextrusion and recurring problems when changing materials.
In addition to ensuring that the 3D printer calibration runs smoothly, be sure to check that the mounting screws are properly tightened. It happens that on some models of 3D printers, the screws loosen. So it's important to take a few minutes to make sure has no play between the various parts of your 3D printer. By doing so, you give yourself the best chance of getting your future prints right. If so, feel free to visit our website. You will find the best printable STL files to get started with your 3D printer in complete peace of mind.
Calibrating the 3D printer plate is the first step in this maintenance procedure. To ensure excellent print quality on a 3D printer, it must, like the following steps, be performed correctly. Plate calibration guarantees the success of the first print layer. To do this, you need to perfectly align the plane. In other words, the printer plate must be flat with respect to nozzle movements. It is also important to adjust the distance between the roller and the nozzle.
Calibration of the plate that supports the 3D printer can be manual or automatic. This procedure is slightly different depending on the printer model.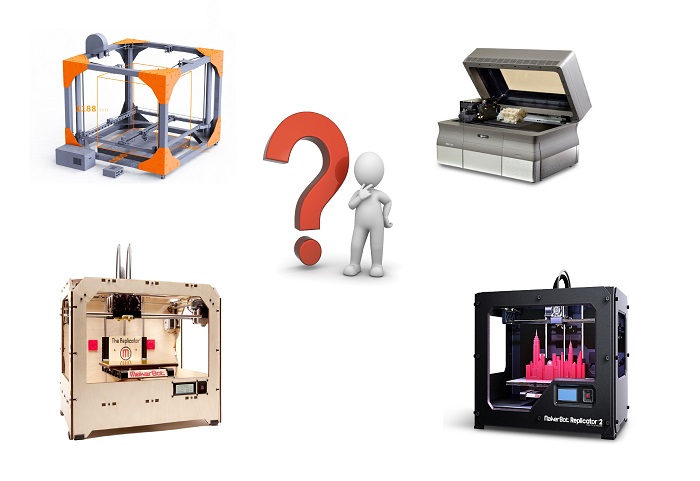 Manual printer calibration is carried out using 4 screws located at the four corners of your machine's plate. The challenge is to find the optimal height ratio between these four screws for 3D printer plate alignment. To achieve this, make sure you repeat the following steps at least once in the center and four corners of the 3D printer tray.
First place a piece of paper between the nozzle and printer plate. Then move the tray up and down, being careful not to get paper stuck under the nozzle. Once the paper can be moved by light friction on the nozzle, you can move to the next checkpoint . Some 3D printers, such as the Raise3D E2, have built-in automatic tray alignment systems.
The printing temperature of a 3D printer is of great importance for the manufacture of your parts. However, it is relatively complex and depends on the material you want to print. This is because the print temperature of standard PLA filament varies between different brands of 3D printers.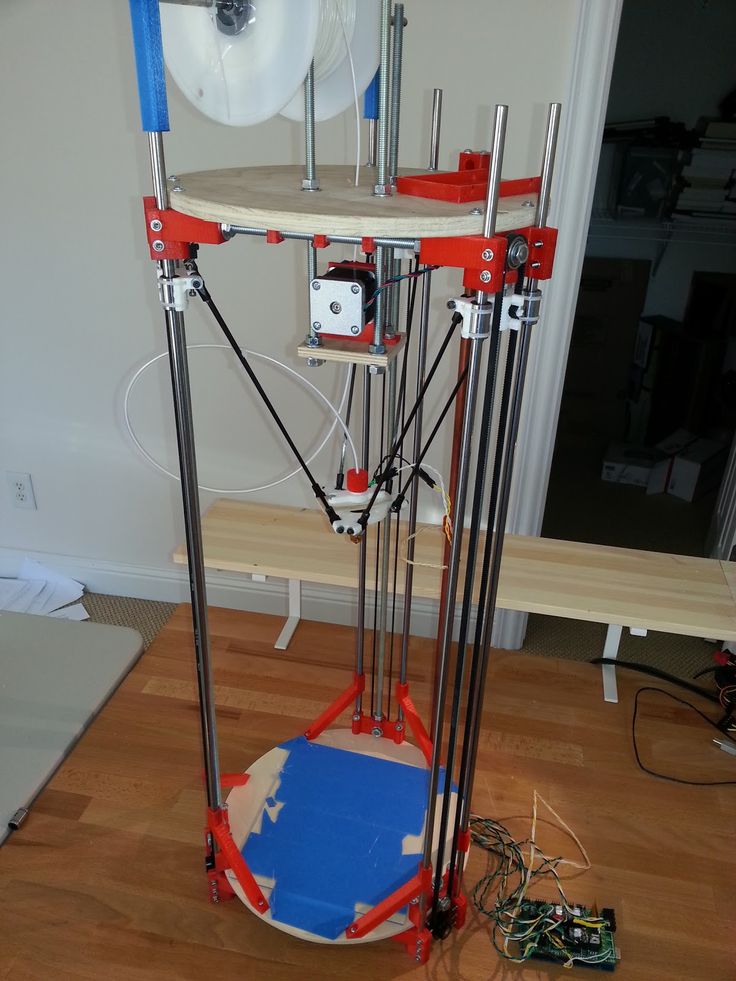 The temperature range for printing is usually specified by each manufacturer on spools of filament. The temperature of the 3D printer plate is also an important parameter to consider. This allows eliminate the risk of re-peeling on some technical materials such as ABS thread.
The 3D printer's extruder is the part that spits out the hot filament. This may be due to two main problems. Over extrusion when the filament is used a lot, and under extrusion when the filament is used little. It is also necessary to take into account the thickness of the filament passing through the nozzle of the 3D printer. However, it is relatively easy to fix if it is out of order. To find out if your 3D printer is under or over extruding, you'll need a ruler, tape measure, or compass. Start by doing two marks 100 mm apart on the filament, then align the bottom mark with the top of the extruder. Then set the extrusion length to 100 in the 3D printer software and run the extrusion command.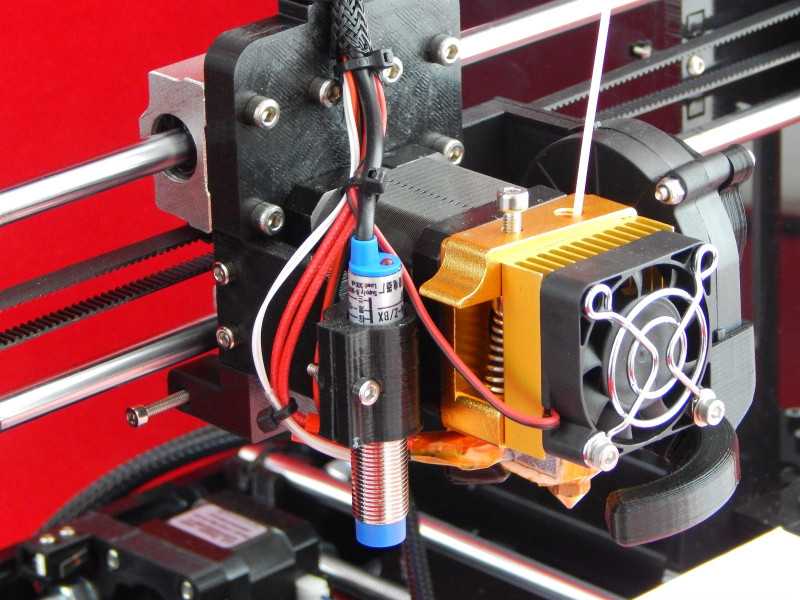
Calibration of 3D printers also requires checking the accuracy of their measurements . To do this, you can use a piece of tape to mark two areas 100mm apart on the printer's base plate. On one of them, install the nozzle and ask the printer to move 100 mm in the desired direction. Then check that your device is exactly on the tape.
Measurements are rarely correct on the first try. Even a difference of tenths of a millimeter can greatly affect the quality of subsequent prints. 3D printers are precision machines and their motors must be calibrated to ensure accuracy. For the X and Y axes , adjust the values of M92 until you fix the offset at exactly 100mm.
A ruler must be used to calibrate the Z motor of 3D printers. Place the ruler vertically on the printing plate and move the Z axis by 100mm. Then, as in the case of engines X and Y, , change the values of M92 so that the travel is always 100 mm.
After these various steps, the calibration of your 3D printer is complete.