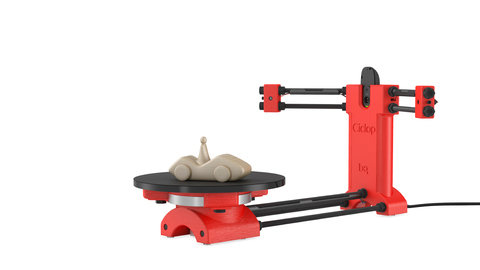
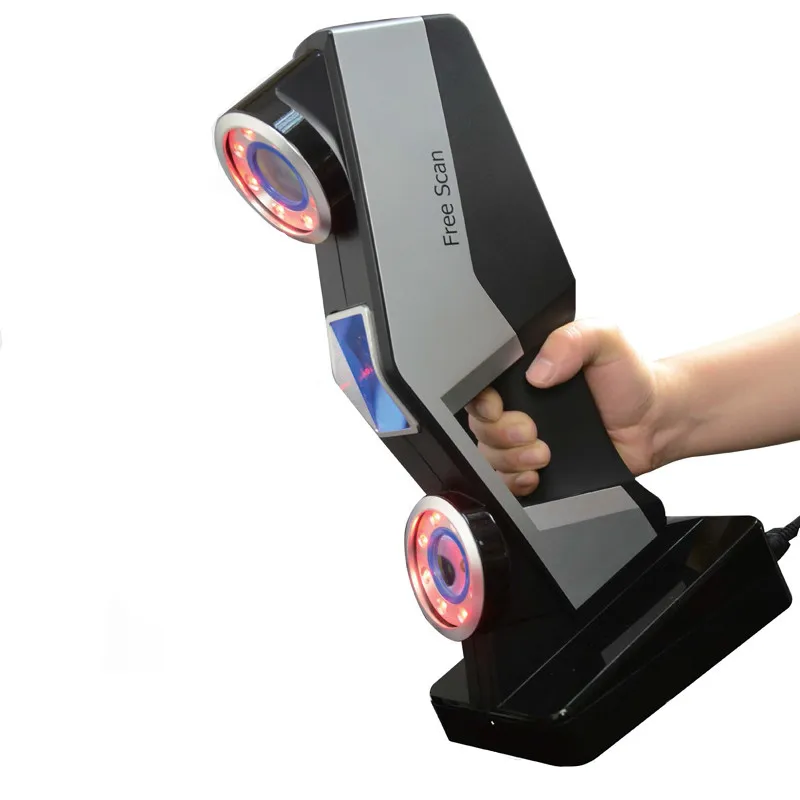
Ciclop desktop laser 3d scanner
CowTech Ciclop 3D Scanner
CowTech Ciclop 3D Laser Scanner
Over $180,000 raised on Kickstarter! 1700+ scanners sold and counting.
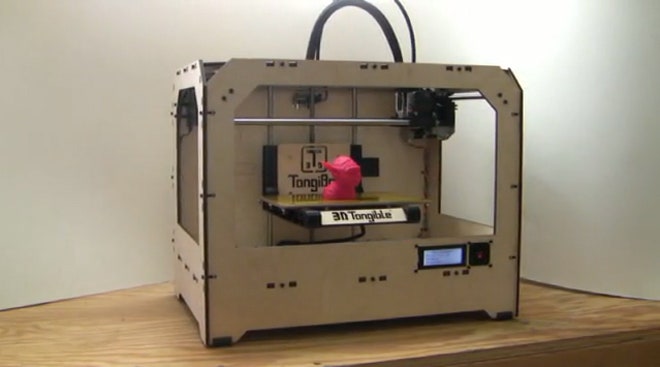
The 3D printing revolution has come, and it’s time for 3D scanning to follow. The CowTech Ciclop is a RepRap 3D scanner with a large scan volume, simple, yet elegant design, and a disruptive price point that blows any other laser scanner out of the water. The user prints the plastic parts on their own printer in any color and resolution they choose, and can assemble the scanner in less than 30 minutes. Then, simply take any object you want to replicate, set it on the 200mm laser cut acrylic turntable, and start scanning. We wanted to make sure our product was usable for anyone who owns a 3D printer, so we meticulously designed our parts for a print bed volume of only 115mm x 110mm x 65mm (4.5 x 4.3 x 2.6in) so they can be produced on even the smallest of printers.
Print your own parts and save money!
How It Works
Laser scanners are a very common type of 3D scanner that use a pair of line lasers that flash in succession in combination with a camera and a rotating turntable. As the lines flash on the object, they trace the outline of the object in red light. The camera then picks up the location of the laser lines in 3D space, converting those lines into hundreds of thousands of points, and as the turntable rotates, every side of the object is scanned into a cloud of points, which can then be stitched together to form a mesh that replicates the surface of the object with up to 0.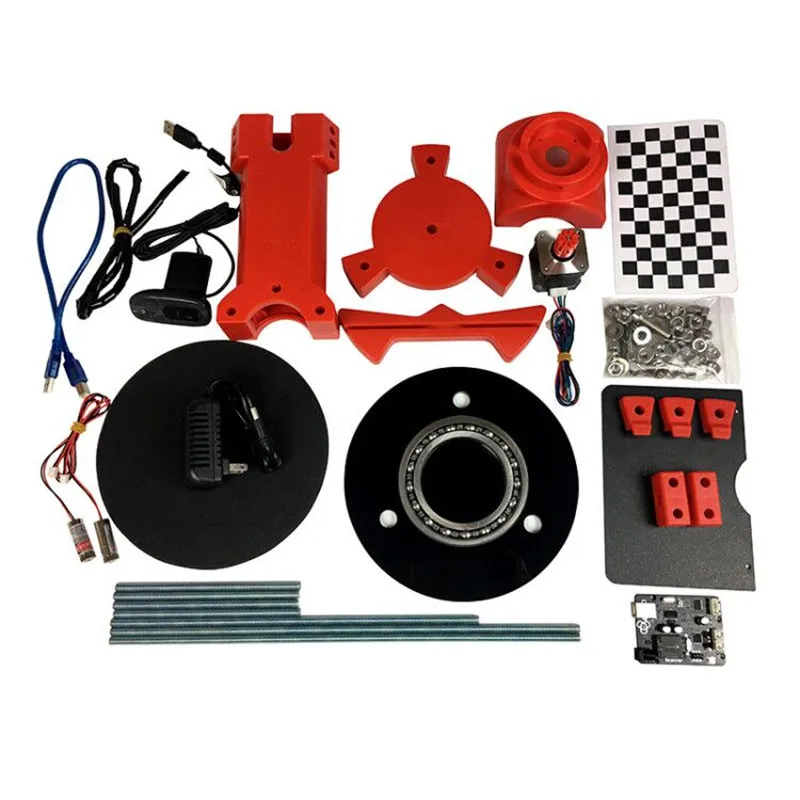 5mm precision.
3D printed model lion, 0.2mm resolution, PLA, Prusa i3
The term 3D scanner is a bit of a misnomer. Technically, most 3D scanners are actually point cloud generators. The scanner itself is a tool to make a .PLY file, or a point cloud, made up of hundreds of thousands of points that represent the geometry of the object. The typical user will want to convert this point cloud to an .STL file, which can easily be printed on a 3D printer.
Scanned and post processed model loaded into Cura for slicing alongside the model mesh in CloudCompare
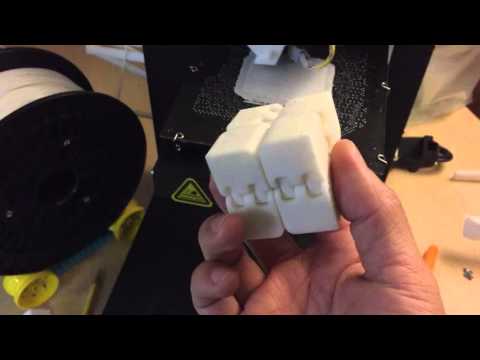
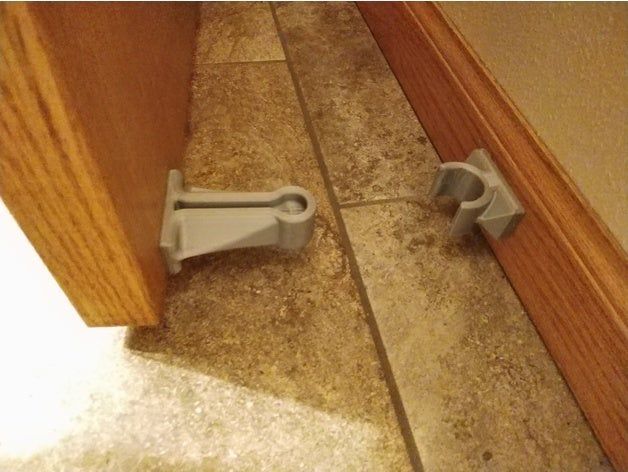
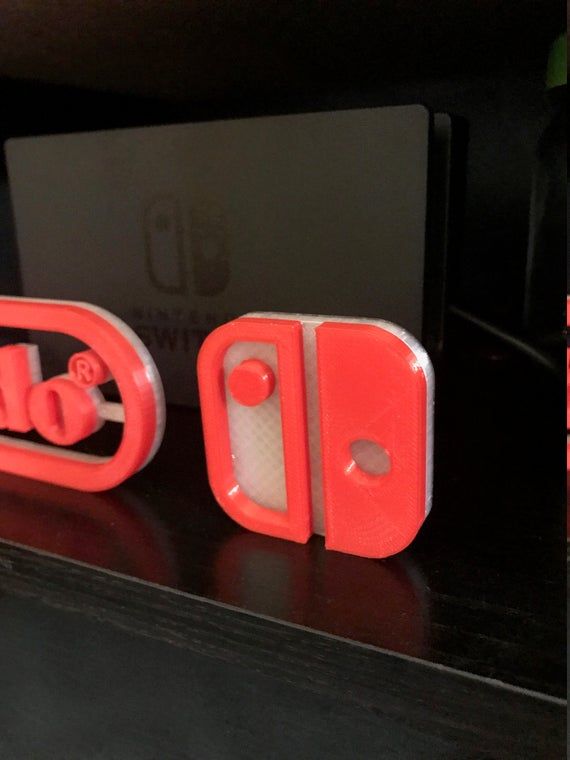
User submitted 3D prints
Once you have a digital 3D file of the part, the possibilities are endless. The CowTech Ciclop uses Horus, software developed by BQ for their version of the scanner. Unfortunately, Horus doesn't support direct .STL exports at this time, but this feature may be developed in later versions of the program. Fortunately, there are many options for post processing programs that can stitch the point clouds together into a printable file.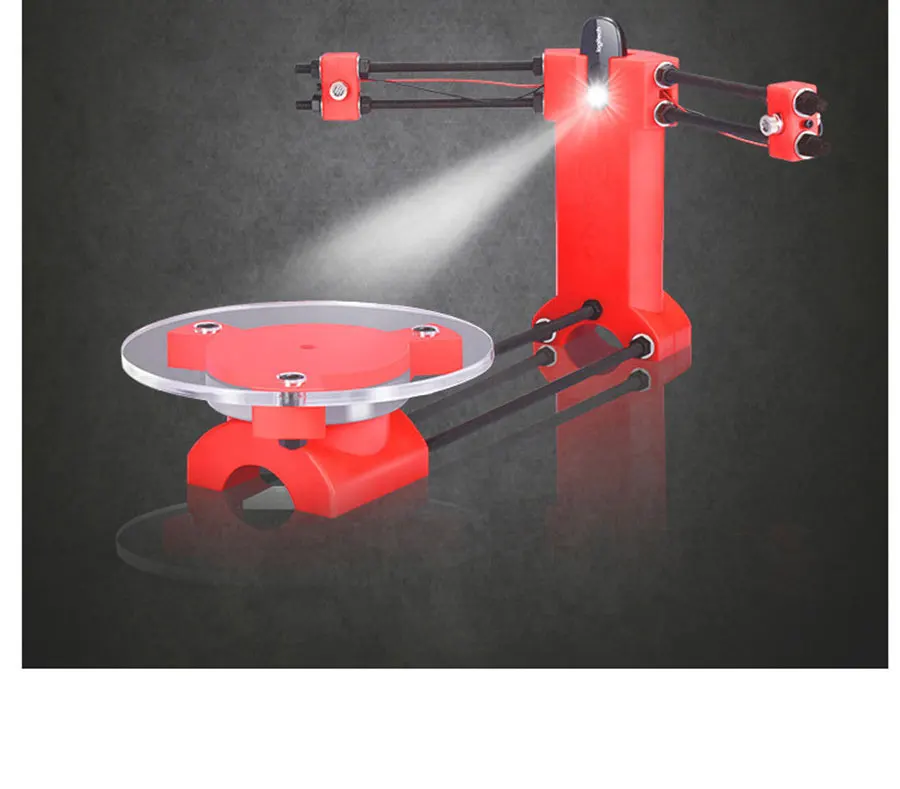 These include Meshlab, Cloudcompare, Netfabb, Blender, and more. We recommend Meshlab and Cloudcompare, and provide detailed documentation with the scanner on how to use these programs.
The CT Ciclop scanner is a fully open source Rep Rap project, and part files and details on how to build your own can be found in the downloads section of our website.
All laser scanners can struggle with objects that are very black, very shiny, or furry, as the laser doesn't register properly with the camera. The CowTech Ciclop, is designed for experienced users who can familiarize themselves with different software programs in order to use the scanner and get high quality outputs from it.
We like to think of a 3D scanner like a video camera. A nice camera gives you the tools to take great pictures and videos, but without post production work in a video editing or photo editing program, you will likely be disappointed in the end result.
Shop Now
CT Ciclop
Ready to Scan Kit
Now Just $179
Ships Free!
Shop Now
CT Ciclop
Standard Kit
Now Just $139
Ships Free!
Shop All CowTech Ciclop Scanners and Accessories
Ciclop - RepRap
Ciclop 3D Scanner Documentation
Main page | Ciclop 3D Scanner Buyer's Guide | Ciclop 3D Scanner Build Manual | Ciclop 3D Scanner User Manual | Ciclop 3D Scanner improvements
Ciclop
Release status: working
| Description | 3D Laser Scanner |
| License | CC-BY-SA |
| Author | User:bq |
| Contributors | CowTech |
| Based-on | None |
| Categories | 3D Scanner |
| CAD Models | |
| External Link | GitHub |
Ciclop 3D Scanner
Ciclop is an open source 3D laser scanner with a rotative platform.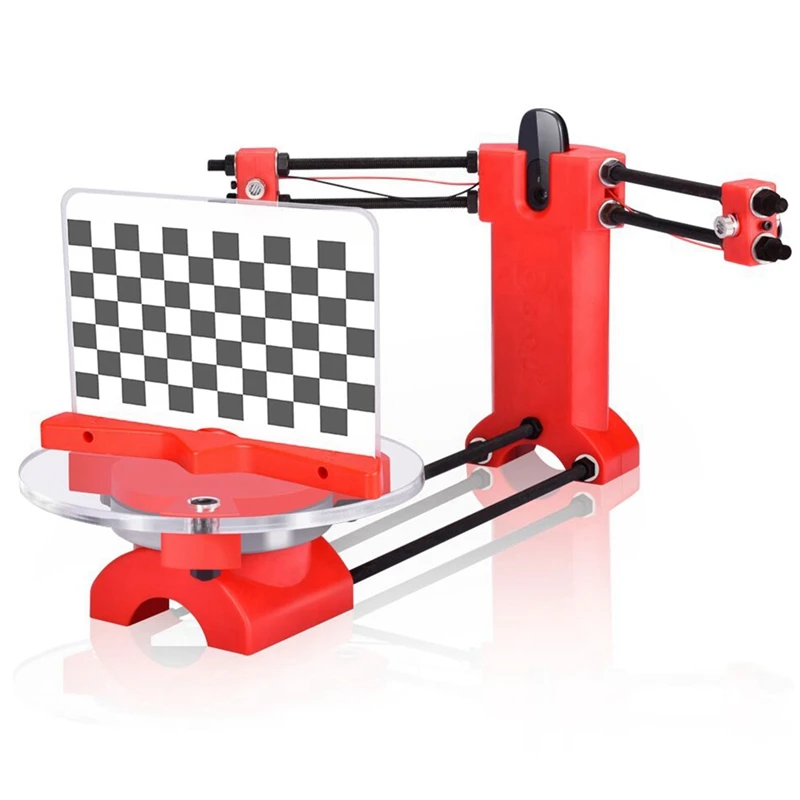 It has been developed from scratch by BQ, and now it has been released to the community, under Creative Commons Attribution-ShareAlike 4.0 International License.
This 3D Scanner is composed by a structure of 3D printed parts, threaded rod, a Logitech C270 web cam, two line lasers and a turntable platform with a stepper motor.
Related to this device, Horus, a complete desktop application for 3D scanning, has been developed also from scratch.
In early 2015, CowTech Engineering released their version of the Ciclop, raising over $183,000 USD on Kickstarter. They made some changes to the physical design, but still use Horus as the scanning software. The CowTech version uses adjustable laser holders and connects the scanner using laser cut acrylic instead of threaded rod. They also redesigned the printed parts and reduced the 3D printer build volume needed to make the parts at home.
Specifications
| CowTech Ciclop | BQ Ciclop (via Lulzbot) | |
|---|---|---|
| Scan Time | 2-8 min | 2-8 min |
| Resolution | 0.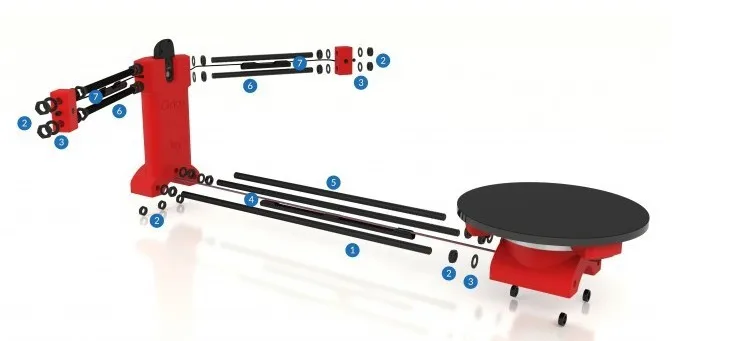 5mm 5mm | 0.5mm |
| Cost (USD) w/o Printed Parts | $119 | na |
| Cost (USD) w Printed Parts | $159 | $400 |
| Scan Area (mm) | 200 x 200 x 205 (h) | 200 x 200 x 205 (h) |
| Adjustable Laser Position | Yes | No |
| Frame Material | Laser Cut Acrylic | Steel Threaded Rod |
Both the Ciclop and Horus are works in progress, and the developers at BQ and CowTech would appreciate it if users shared any modifications with the open source community to continue development of these projects.
Contact on the Google Group or send an email to [email protected]
Resources
Most the important resources for assembling, calibrating and using the scanner, CAD models and .stl files, as well as Google and FB communities from BQ and CowTech are compiled in one place at the CowTech Resources tab.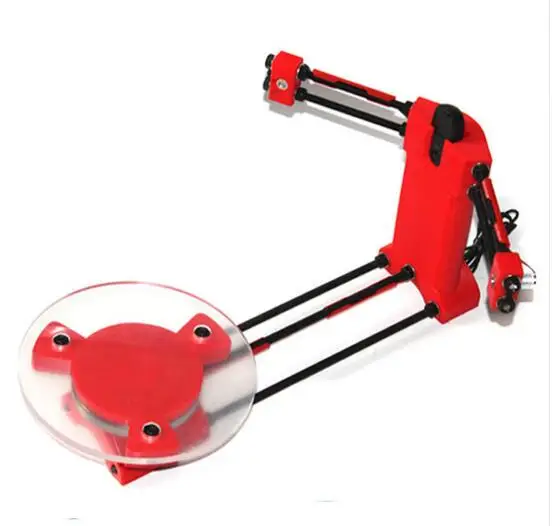 For more detailed resources, particularly pertaining to the development of Horus, please explore the GitHub and DIWO links below.
GitHub
- Sources
- Wiki
- Background / Scientific documentation
DIWO
- Presentation
- 3D Design
- Electronics
- Firmware
- Software
Where to buy?
- he3d
- CowTech Ciclop 3D Scanner
- HE3D Ciclop DIY 3D Scanner Kit Free Worldwide Shipping 130 USD |3D Printers Bay
He3D Ciclop Desktop 3D Laser Scanner
Share to:
- Description
- Reviews (0)
- Delivery and payment
- Bulk request
Descriptions of He3D Ciclop Desktop Laser 3D Scanner
Disclaimer:
● Before assembling or operating the 3D printer, carefully read and follow the operating instructions.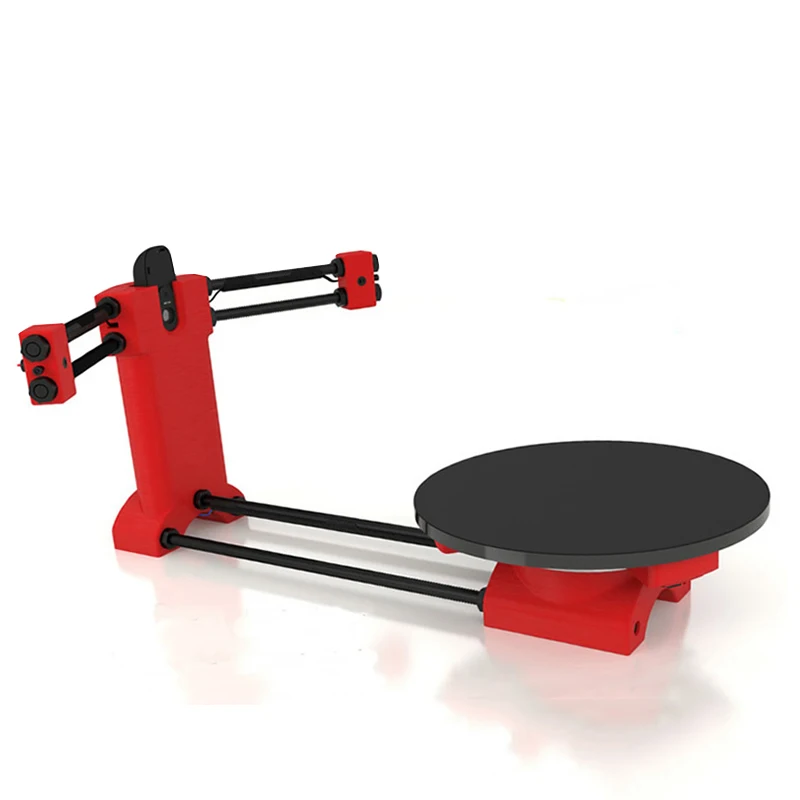
● Modification and customization of the 3D printer is strictly prohibited. We are not responsible for any problems resulting from the changes.
● Always use the correct AC voltage for your region.
● Do not place the 3D printer near flammable/combustible materials or heat sources.
● Only use the 3D printer in a place with good ventilation. Keep a safe distance from the printer. nine0020
Table laser 3D scanner CICLOP with CMOS sensor for scanning objects
Description:
CICLOP Laser Scanner Open source code ACCREASE ACTIONS ACTION , lighting, setting, the shape of the scanned object and many other factors , And post-processing is necessary.
Key Features:
● Open source desktop 3D laser scanner
● Scanning element: CMOS
● Interface type: USB 2.0
● Scanning accuracy related to environment, light, adjust, scanned object shape
● Product color depends on stock availability. Two random colors: red / black
Easily scannable objects:
1. The volume of the object's space is greater than 5 x 5 cm (diameter and height of the space)
2. The volume of the object's space is less than 20.3 x 20.3 cm
3 .Item weight is less than 3kg.
4. The object is stable and motionless
5. Opaque objects
Difficult to scan objects:
1. The volume of the object is less than 5 x 5 cm.
2. Transparent objects (glass, organic plastics, etc.)
3. Luminous or strongly reflective objects • Very dark objects or blurry objects (such as plush toys).
Do not check objects
1. The volume of the object's space is greater than 20.3 x 20.3 cm
2. The weight of the object is greater than 3 kg.
3. Moving objects
Remarks: Two kinds of motherboard shown in the main pictures will be delivered randomly.
Click here to download video and disc reserves the right to replace it with another color/pattern.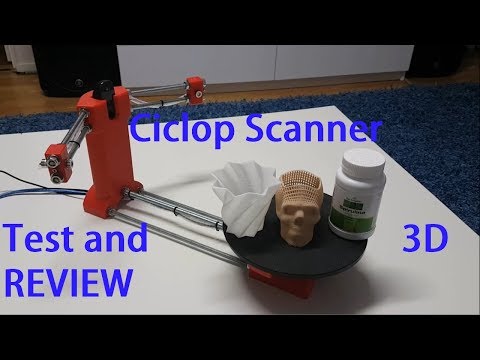
- All (0) nine0006
- Photo (0)
- Video (0)
- Sort by: All
All Popularity Most Helpful Most Recent
-
Translate to English
Get G points! Be the first to write a review!
Want to buy wholesale He3D Ciclop Desktop Laser 3D Scanner ? Please submit your wholesale He3D Ciclop Desktop Laser 3D Scanner inquiry below. Please note that we usually don't provide free shipping on He3D Ciclop Desktop Laser 3D Scanner bulk orders, but the wholesale price will be a big deal. nine0003
Your target price:
Ordered quantity:
Country
Your name:
Your phone:
Your email address:
Company name:
Detailed information about Request:
Your recently viewed goods
Pre-Sales Support
DIY Cyclops assembly and laser scanning software
Greetings to all.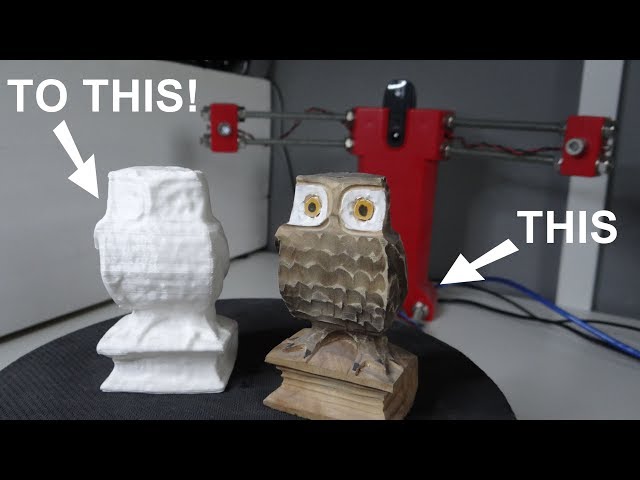 Today is a small review of the Ciclop desktop scanner. nine0003
Once again, the store offered to take something for review. Since I have long been interested in the question of using this thing for the needs of decorative 3d printing, I chose a scanner.
So, the scanner itself was developed by the Spanish company BQ, which has now stopped supporting it (allegedly due to Chinese fakes, but it is doubtful. Now the American CowTech also sells this scanner. The source codes for 3d printing of parts of the scanner are freely available at Thingiverse (there are also links to software and electronics).0003
Links to complete documentation sets:
www.cowtechengineering.com/downloads
www.bq.com/ru/support/ciclop/support-sheet there are a few points:
1. It is not worth rushing to tighten all the nuts - you still have to adjust the geometric dimensions - the convergence of lasers in the center of the site, the distance to the turntable.
2. In my stand, the camera “dangled” a little, by a fraction of a millimeter - but that was enough to skew the picture.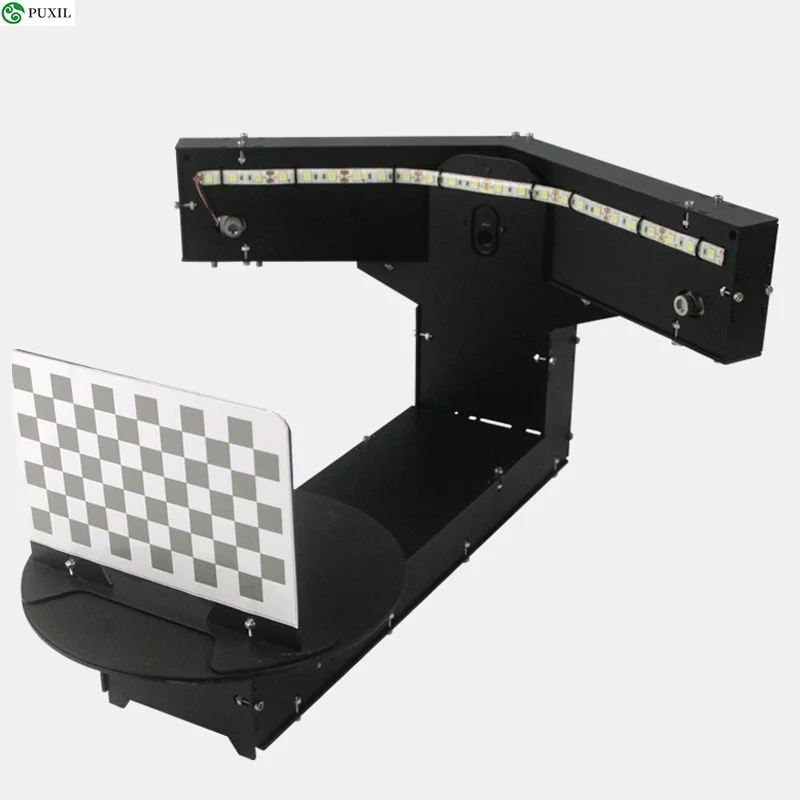 Eliminated by laying foam material. nine0020 4. The turntable was transparent and uncoated (as in the original) - I painted it with plastidip.
5. Check the calibration checkerboard patterns. I don’t know how they printed the one from my kit - but the proportions of the squares were violated. I took it from the Internet and reprinted it myself.
6. The focus of the camera is not adjusted to the distance to the platform. He removed the cover and twisted the focus in place.
88. The economy is managed by the "native" Horus software from BQ.
After assembly, the scanner went through calibration procedures in the native Horus software.
Since by this point I already knew that the quality of scanning is very much dependent on the quality of lighting (stability, diffuseness, color temperature), I took care of having a small lightbox in advance in order to at least provide more or less comparable conditions for samples.
Having selected the "candidates" for the samples, I got ready. nine0020
Requirements for the object are stated as follows:
1. The object must be larger than 5x5 cm but smaller than 20x20 cm
2. The object must be opaque and still
3. The object must weigh no more than 3 kg
Difficult to scan:
1. Shiny, luminous objects
2. Too dark objects
3. Objects with a blurred surface (eg soft toys)
The result of the scan is a cloud of points in PLY format (which must then be converted to a surface). Here is a guide for post-processing the cloud and preparing the STL file. nine0003
After reading the scan optimization guide, I decided to try with a simple cylindrical object.
After several attempts, I was convinced that I had a common problem - mismatches in the point clouds from the right and left lasers, and the issue with proportions.
Nothing worthwhile about this except for trying to calibrate the webcam settings (they are not calibrated when the calibration wizard is running) could not be found (a dude named Jesus from BQ support has not answered questions for a long time).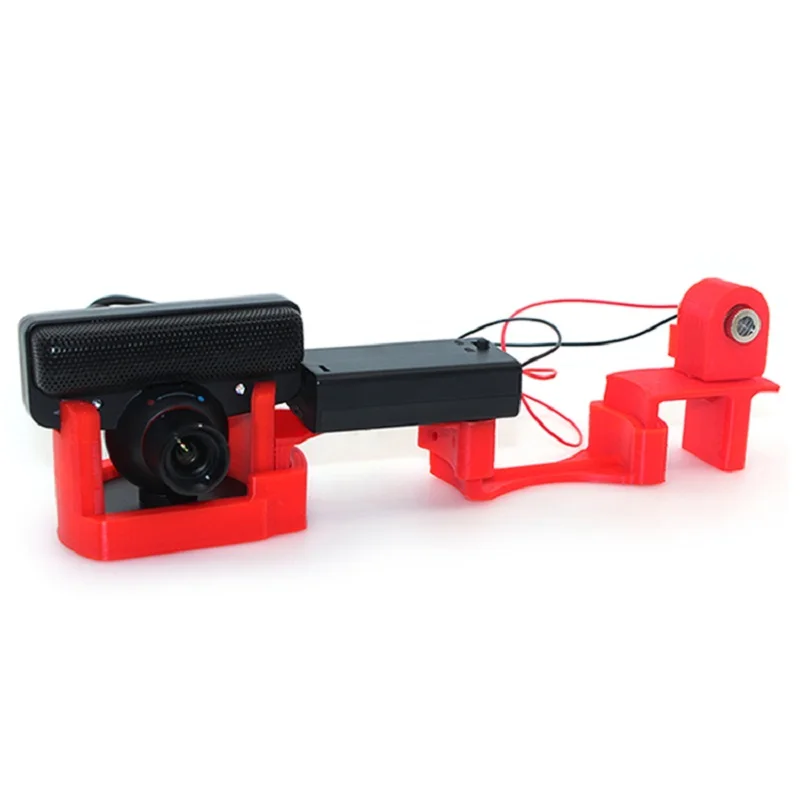 To do this, you need to take several shots with different positions of the calibration table. Done. The situation has improved, but not completely. nine0020 I had to manually edit the calibration file (calibration.json in the Horus-a folder) and by trial and error, scanning a cylindrical object, to achieve the coincidence of the clouds.
And everything seems to be ok:
But no - on complex objects, cloud fragments still sometimes do not coincide, moreover, many "blind" zones are formed:
impossible, at least with regular lasers. nine0003
You can, of course, continue experimenting with scanning with individual lasers and trying to combine all this economy in third-party software, and then try to bring it into a viable form for STL.
All this is reminiscent of a joke about boats in bottles.
-How do you make boats in bottles?
-I put sand, silicate glue, sticks into the bottle and shake it.
It turns out all sorts of shit, and sometimes boats.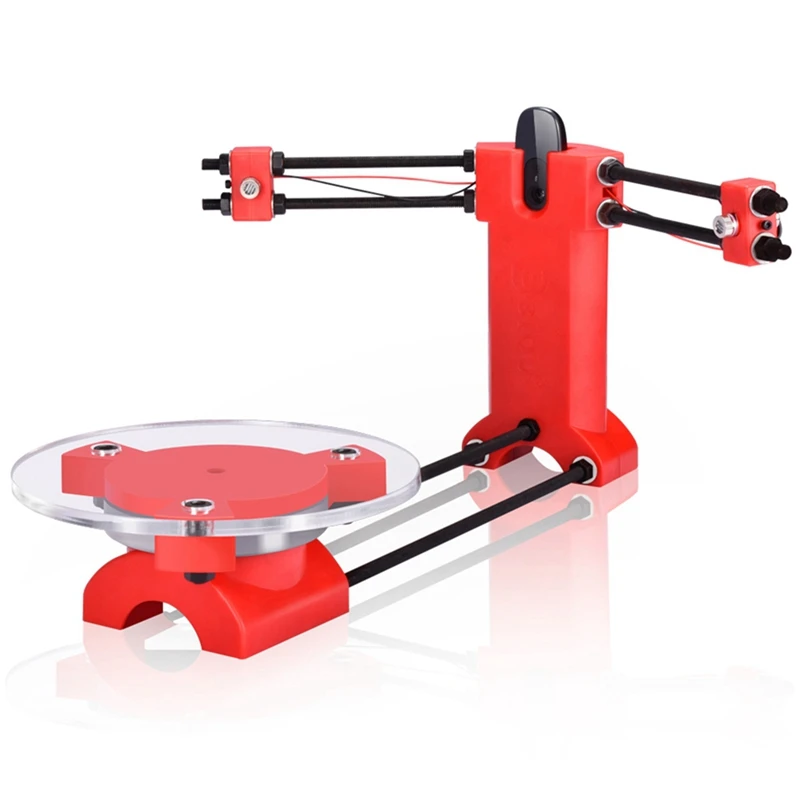
In general, I realized that I am not an adept of such creativity, and I have a suspicion that it is easier to model objects from scratch that are easier for a scanner. nine0003
And complex ones - the scanner cannot cope with complex ones in normal mode, two lasers are not enough for it - blind spots remain. To fix this problem, you need to scan in other positions and then again suffer with the combination of clouds. No thanks.
As a result - the thing will fit only for learning the basics of laser scanning, for something more - absolutely useless. No, of course, you can get something with outlines similar to the original model, but on this (and this, taking into account all the tambourines with cloud processing), that's it. No wonder the Spaniards abandoned this case. nine0020 The store made sure - in the description it is honestly stated that the result depends on the position of the planets and the mood of Aunt Sonya from the third floor.