3D printing resin curing
How to Clean and Cure Resin Prints
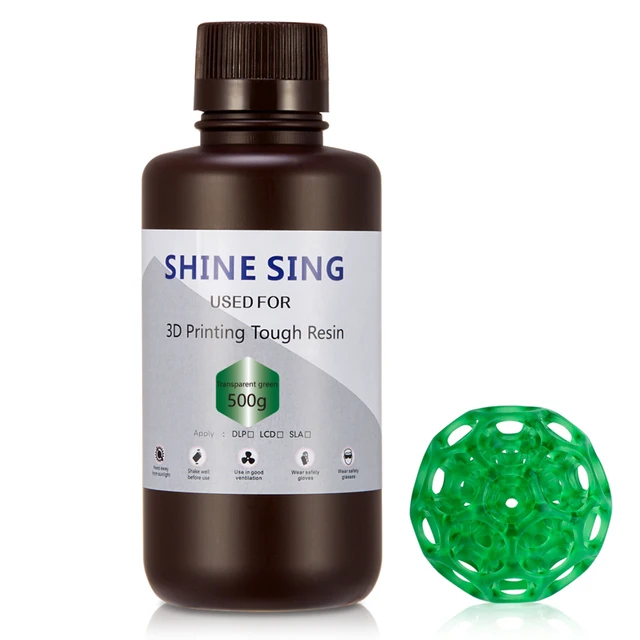
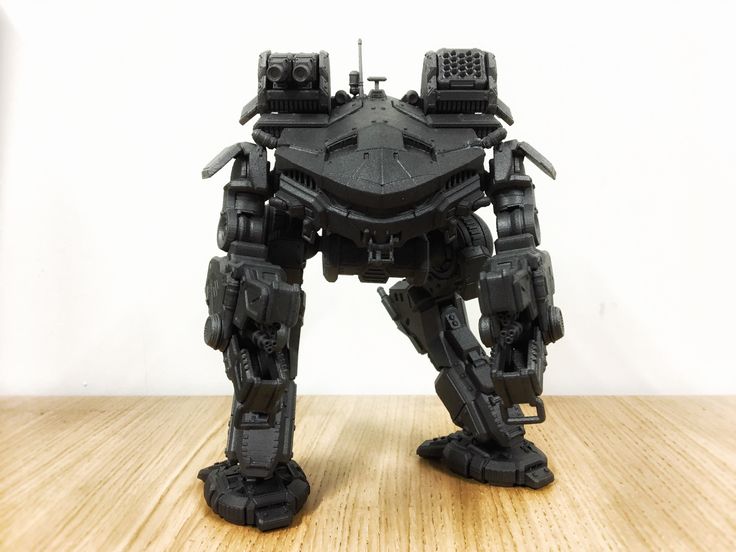
Models by Wekster (Image credit: Tom's Hardware)Resin 3D printers use UV light to build models layer by layer from a vat of photosensitive liquid. When the print is finished, you’re left with a soft model still coated with resin that needs to be cleaned and fully cured with additional UV light.
How to Handle Resin Safely
Resin is toxic, but no more dangerous than many household cleaners. All resins are classified as a skin irritant, therefore nitrile gloves and safety glasses should be worn while handling uncured resin. If you get any liquid resin on your skin, you’ll need to wash immediately with soap and water.
(Image credit: Tom's Hardware)Once resin prints have been fully cured with UV light, they are safe to handle.
Proper ventilation is also important when working with resin printers. They should be kept in a room with an outside vent or a good carbon filtered air purifier . In a pinch, you can ventilate the room by opening a window.
How to Clean a Resin 3D Print by Hand
You don’t fancy equipment or tools made specifically for 3D printing to process your resin models. Most items can be found at a dollar store or the baking aisle of a big box store.
What You’ll Need to Clean and Cure Resin Prints
- Isopropyl alcohol (91% or higher)
- Nitrile Gloves
- Silicone mat (with lip)
- Silicone spatula
- 2 Large water tight containers
- Tongs (optional)
- Metal Scraper
- Plastic tray
- Side Cutters
- Tooth brush, soft
- Paper Towels
Purchase silicone tools for working with resin whenever possible. Resin doesn’t stick to silicone, which makes cleaning up a breeze. If you can’t find an affordable silicone mat, you can also cover your work surface with a plastic trash bag. I’m currently using plastic shelf liner from IKEA. The jugs holding the isopropyl alcohol are from a dollar store, while the scraper and side cutters came with a 3d printer.
Remember to clean up your tools and work area as you go. Resin cures in UV light (aka sunlight), so any overlooked spills will eventually harden.
1. Cover your work surface with a silicone mat or plastic sheet. Ideally, you should also place a mat or plastic sheeting underneath your printer to catch resin drips.
2. Put on your safety gear – gloves and glasses.
3. Fill two containers with isopropyl alcohol. They don’t need to be full, just deep enough to cover most of your model.
4. Remove the build plate from the printer, being careful not to drip outside the vat. Use a spatula to scrape extra resin back into the vat.
(Image credit: Tom's Hardware)5. Put the build plate on the plastic tray.
6. Use the metal scraper to remove the model.
(Image credit: Tom's Hardware)7. Place the models in the container of isopropyl alcohol, seal with a tight lid, and gently agitate the liquid for about 30 seconds.
8. Remove the model with a gloved hand or tongs.
9. Remove the supports. Use the side cutters if needed.
(Image credit: Tom's Hardware)10. Dip an old toothbrush in clean isopropyl alcohol and gently brush detailed areas of the print where resin may cling.
(Image credit: Tom's Hardware)11. Place the model in the second container of isopropyl alcohol, replace the lid and gently agitate.
12. Set the model away from sunlight to dry. If you’re in a hurry, you can use a hairdryer. Always make sure your model is completely dry, or the isopropyl alcohol will turn into an ashy residue that’s difficult to remove.
(Image credit: Tom's Hardware)To get as much use out of my isopropyl alcohol, I use a two rinse method. One container is for the First Rinse and will get dirty quickly. This keeps the second container cleaner for much longer. When the First Rinse solution becomes murky, dispose of it properly (more on that later) and replace it with fresh. Now the slightly dirty Second Rinse becomes the First Rinse.
How to Cure a Resin Print in the Sun
Once a resin print is clean and dry, you can expose it to UV light to finish curing. The cheapest method for curing resin is using the sun as your UV light source.
1. Pick a sunny location, like a southern facing window (if you’re in the Northern Hemisphere), or outside if it’s over 70°F.
2. Leave in the sunlight 2 to 8 hours, until the print is no longer sticky.
Sunlight is less dependable than using an electric UV light. It’s difficult to cure resin on cloudy days and impossible at night. But it is free.
You can make your own UV light box for curing resin prints from a bucket or cardboard box covered in foil. There are several how to’s on YouTube, like this one from ModBot using a paint can.
What You Need
- Bucket
- Aluminum Foil
- UV LED Light Strip
- Glue Stick
- Turntable with reflective surface
- Drill
1. Drill a hole near the opening of the bucket for the light’s cord to come out.
2. Line the bucket with foil, using a glue stick to secure it.
3. Peel the backing off the LED light strip and apply it to the inside of the bucket. Cover all sides and the top with the lights.
4. Place the bucket upside down over the turntable to cure resin prints.
It takes approximately 15 minutes to cure an average print using an electric UV light source. Check the technical details of your resin for recommended curing times.
Once you process a few resin prints by hand you might be ready to speed things up with a store bought wash and cure station.
(Image credit: Tom's Hardware)“All in one” designs are very popular and come in sizes to match your resin printer. These machines work largely the same, having one motorized base that spins the agitator for the washing process and the turntable for the curing step. The one I’m using for this article is an Anycubic Wash & Cure Plus .
Large units like this one need a lot of isopropyl alcohol – this one can hold up to 2 gallons of cleaning agent. I’m still using a separate container of isopropyl alcohol for a first wash in order to keep the machine’s tank clean for as long as possible.
Due to the agitation process, you don’t need to hand scrub your models and they come out clean the first time. The timer is also more convenient, allowing you to do something else while the machine does the work.
1. Cover your work surface with a silicone mat or plastic sheet.
2. Put on your safety gear – gloves and glasses.
3. Fill a water-tight container and the wash & cure’s tank with isopropyl alcohol. They don’t need to be full, just deep enough to cover most of your model.
4. Remove the build plate and model from the printer, being careful not to drip outside the vat. Use a spatula to scrape extra resin back into the vat.
5. Place the build plate on your covered work surface or plastic tray.
6. Set the edge of the metal scraper on the model’s supports and gently scrape them off the plate.
7. Place the models in the container of isopropyl alcohol, seal with a tight lid, and gently agitate the liquid for about 30 seconds.
8. Remove the model with a gloved hand or tongs.
9. Remove the supports. Use the side cutters if needed.
10. Place the model in the wash and cure tank. Set the timer for 2 minutes.
(Image credit: Tom's Hardware)11. Dry the models. Use a hairdryer if you’re in a hurry.
12. Remove the tank from the wash & cure. Place the turntable on the base.
13. Put the model in the wash & cure. Replace the lid.
14. Set the timer for 15 minutes. Always check the resin manufacturer’s website for suggested curing times, some resins need more or less curing.
What if Your Resin Print is Still Sticky?
If your print is still sticky after curing, don’t worry – it can be saved! All you need to do is clean it again with isopropyl alcohol and a toothbrush, then return to the UV light for another spin.
Isopropyl Alcohol Alternatives
91% isopropyl alcohol can be expensive and sometimes hard to find, but there are alternatives. You can also use Mean Green cleaner, denatured alcohol and acetone.
Mean Green is currently the cheapest alternative and cleans nearly as well as isopropyl alcohol.
What about Ultrasonic Cleaners?
Some makers use an ultrasonic cleaner instead of a wash & cure machine. These are highly effective, but should be used with caution. Never fill an ultrasonic cleaner with flammable liquids like isopropyl Alcohol, which can be aerosolized by the machine and cause a fire.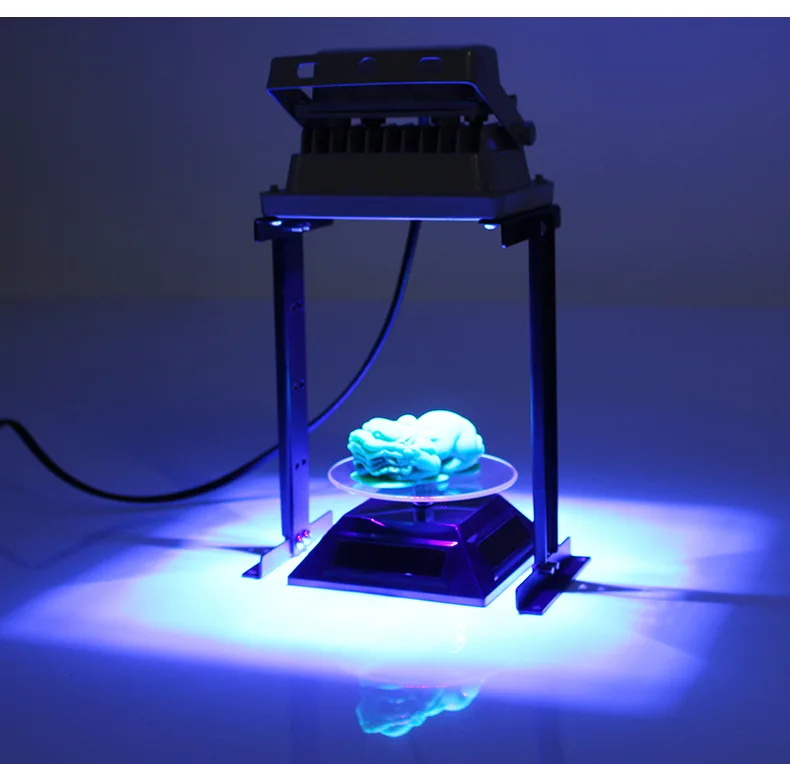 Only use these with a nonflammable cleaner like Mean Green.
What do I do with Resin Trash?
To properly dispose of resin trash you should cure everything with UV light before throwing it into the regular garbage. Trash can be cycled through your curing station or put in a clear bag and exposed to sunlight.
Dirty isopropyl alcohol can be left in an open container to evaporate, then expose the leftover resin gunk to sunlight or your curing station. Make sure you don’t leave isopropyl alcohol where animals or small children can get to it – remember, it is poisonous.
Get instant access to breaking news, in-depth reviews and helpful tips.
Contact me with news and offers from other Future brandsReceive email from us on behalf of our trusted partners or sponsorsDenise Bertacchi is a Contributing Writer for Tom’s Hardware US, covering 3D printing.
Topics
3D Printing
How to Post-Cure Your Resin 3D Prints
If you use a stereolithography (SLA) 3D printer, it’s essential to know how to post-cure your resin 3D prints. Post-curing enables parts to reach the highest possible strength and become more stable. However, each resin behaves slightly differently when post-cured, and requires different amounts of time and temperature to arrive at the material’s optimum properties.
Download our guide on post-curing resin prints to learn the basics of post-curing and how post-curing affects each Formlabs resin
Download the Post-Curing Guide
Each Formlabs Resin is formulated with advanced, light-sensitive polymer chemistries. Formlabs stereolithography (SLA) 3D printers, such as the Form 3+, Form 3B+, Form 3L, and Form 3BL use 405 nm lasers to cure the liquid resin, producing a highly accurate solid part.
When a resin 3D printed part finishes printing, it remains on the build platform in a “green state.” This means that while parts have reached their final form, polymerization is not yet fully completed and the part has yet to attain maximum mechanical properties. Post-curing with light and heat is key to unlocking this last mile of material properties for SLA 3D prints.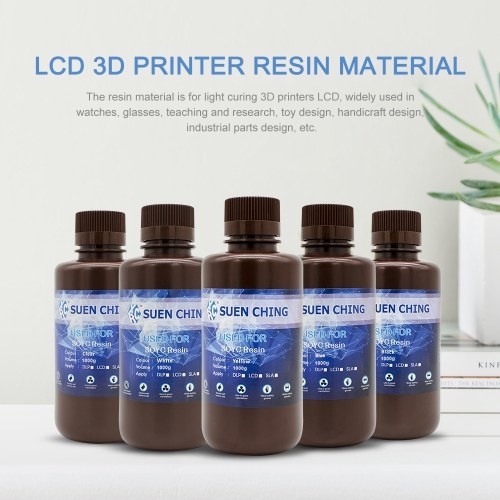
Achieving optimal properties is especially essential when using functional or specialty resins. For biocompatible materials, post-curing is necessary to achieve the safety standards determined by regulatory agencies.
An ideal post-cure setting achieves the properties you need in the most optimized amount of time. For Formlabs Standard Resins (White, Grey, Black, and Clear), this amount may be none at all, or a short 15 minute post-cure. Where strength, rigidity, and temperature resistance are needed, Formlabs Engineering Resins improve with post-cure of up to 120 minutes.
Formlabs developed an in-house post-cure study to identify optimized settings for each individual Formlabs Resin. Using the ASTM method, our materials scientists tested a variety of mechanical properties at various temperatures for each material.
Material properties, such as modulus, are improved by post-curing printed parts. Each type of Formlabs resin requires unique post-cure settings. Please refer to the official Formlabs data sheets with ASTM testing for more information.
Find all up-to-date recommended post-cure settings for Form Cure or Form Cure L on our website. Material data sheets with specific mechanical properties after the recommended post-cure are available for download on our website.
Many methods for post-curing exist, from curing simply with light (natural sunlight, UV nail salons, UV curing stations, DIY UV cure boxes, etc.) to using both light and heat. Heat accelerates the process and enables even more complete bond formation, resulting in increases in material properties impossible to achieve with light alone.
Form Cure and Form Cure L, the two post-curing solutions from Formlabs for desktop and large-format SLA 3D printers, are designed to post-cure parts printed in Formlabs Resins with speed and consistency. With Form Cure and Form Cure L, SLA 3D printed parts can be post-cured at precisely the correct wavelength, at different temperatures, and for varying lengths of time.
Use Formlabs Post-Curing Guide to understand how post-curing affects the key properties of each Formlabs Resin, and determine the optimum post-curing plan for your application.
Download the guide to learn:
- How post-curing affects the key properties of each Formlabs material
- Optimum post-curing recommendations for material-specific applications
- Strategies for avoiding common post-curing issues
Access the Full Post-Curing Guide
Curing photopolymer in SLA printing: how to improve the quality of products
Basics of 3D
Rapid prototyping
Experts recommend
Author: Aleksey Chekhovich
Author: Aleksey Chekhovich
Post-curing of photopolymers - what is it? | Process Chemistry | Competent choice of light | What products need additional curing? | An easy way to improve strength and quality
Additional curing of the product in an ultraviolet oven (eng. post curing) is one of the stages of the 3D printing process using laser stereolithography (SLA) technology. Although often underestimated, it can have a decisive effect on the final properties of a printed part. But this is not a universal method that will work in every situation. nine0003
Making the right decision about the post-curing time for different materials and sizes in a UV oven requires some skill and experience. For some parts, additional polymerization is important, for others it may not play any role. Let's take a closer look at the technical nuances of this process, which is an important part of SLA technology, and discuss why it is important to do everything right.
Want to print a photopolymer prototype or functional product in 1-2 days? Test print for free! nine0021
Order 3D printing service
Post-curing of photopolymers - what is it?
During printing in an SLA printer, certain areas of the photopolymer resin are exposed to a laser, which causes them to cure. Upon completion of this process, the entire part will be cured, and it may not be entirely clear why there is a need for post-curing. To answer this question, we must understand the properties of photosensitive resin and how it changes from a liquid to a solid.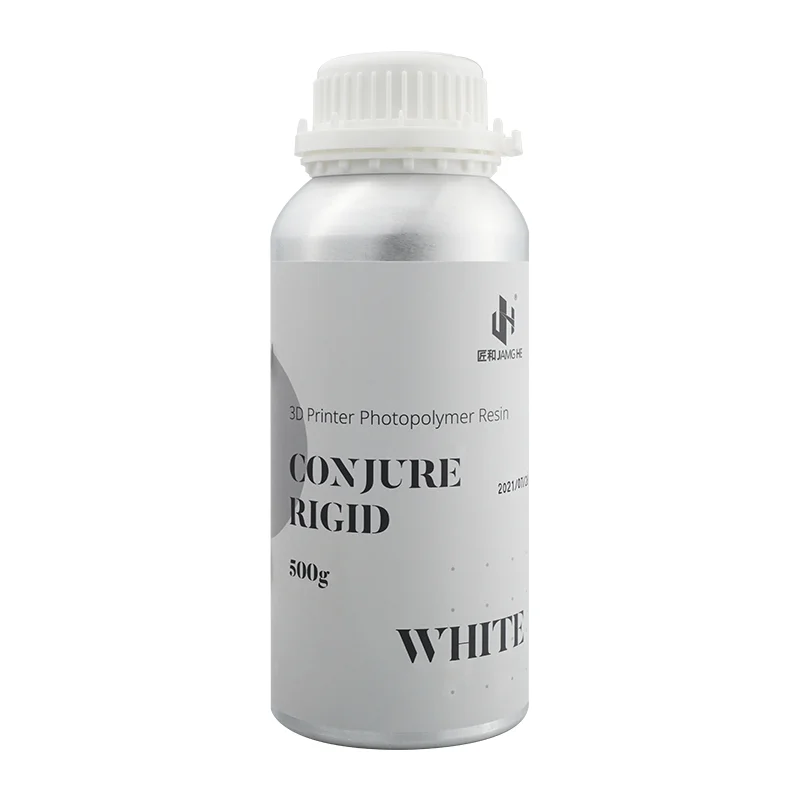 nine0003
Final approval of the prototype in SLA technology
When in a liquid state, a photopolymer resin consists of many unbound monomers mixed with photoinitiators. Exposing this mixture to strong ultraviolet laser radiation causes the photoinitiators to react and the monomers to bind together to form a polymer. This is the initial curing stage.
The cured resin is a cross-linked macromolecule, that is, every part of it is directly connected to every other part of it. However, after 3D printing, there will be many areas that are not sufficiently crosslinked, which affects the tensile strength and other properties. UV light can be used to complete the molecular bond and create any possible cross link. nine0003
The sun is actually a good source of ultraviolet radiation for further curing purposes. Many hobbyists who use home SLA printers simply leave the printed parts in the sun for a while and the process ends. But more professional solutions tend to use UV ovens (polymerization chambers), which are much easier to operate.
iQB Technologies experts recommend: 9 products that are more profitable to make on a photopolymer 3D printer nine0018
Why re-curing?
The post-hardening process makes the parts not only stronger, but also more stable. The presence of unreacted photoinitiator and unbound polymers in the model means that its state can continue to change for a long time after printing, especially when exposed to sunlight. For parts with high demands on accuracy (for example, light-cured fillings in dentistry), this is completely unacceptable.
Unpainted parts can also change color when exposed to sunlight if not properly post-cured. This is a problem with SLAs in general, but it becomes even more pronounced if the part is not cured enough. nine0003
The main reason for post-curing is usually to improve tensile strength and eliminate unwanted surface tack. Models made from individual materials may be slightly soft before post-curing, and weaker areas of the printed part may sag, affecting accuracy.
Fully cured printed part
Equally important is the issue of safety, because uncured resin is toxic to humans. If incompletely cured products come into contact with the skin, irritation or other problems will result, especially if the operator's fingers come into contact with the mouth. The subsequent curing of the part results in the resin being completely stable and safe to the touch. nine0003
Process Chemistry
Curing is affected by both heat and light. Heat increases the energy in the crosslinked polymer network and causes more active movement at the molecular level. This increase in energy and mobility greatly facilitates the contact of reactive groups with each other and the formation of further bonds.
However, UV light is the main ingredient needed for post curing. Although the equipment is called an oven, in fact, the temperature inside it is not at all high - not much higher than in a solarium. The resin used in SLA printing is light sensitive and will react when exposed to light.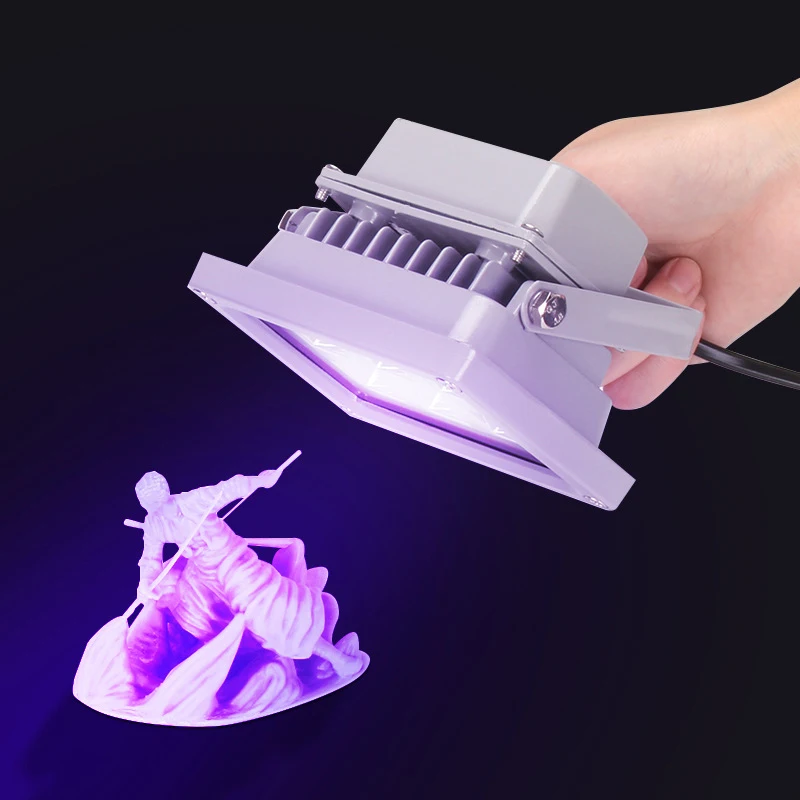 As discussed above, not all possible compounds are formed during the initial curing phase of printing, and therefore further reactions need to be stimulated. When exposed to ultraviolet light during post-curing, free radicals are formed, which bind to neighboring groups and cause polymerization. nine0003
Large automotive component in the post-curing process
Smart choice of light
It is wrong to think that the more light you provide, the faster the process goes or the stronger the material becomes. Here it is important to take into account the wavelength of light affecting the photopolymer from which the model is made. Photosensitive resins are designed to respond to certain wavelengths of light, and using a different wavelength in post-curing will give unfavorable results. nine0003
This is one of the reasons why 3D printing professionals use specialized post curing equipment. For example, ProtoFab photopolymers cure best under 355 nm light. When using resins from another manufacturer in ProtoFab 3D printers, this value may be different.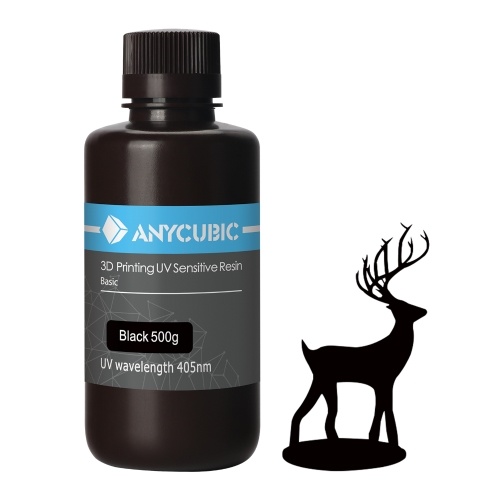 For example, Formlabs photopolymers cure optimally using 405 nm UV light. This is a good reason to use ProtoFab's own UV oven if you are already using the consumables supplied by ProtoFab. The use of a different type of UV chamber or a UV curing agent for nail polish removers will provide some additional curing but will not maximize the mechanical properties of the material. nine0003
ProtoFab equipment in the Business Development Fund of the Krasnodar Territory: UV oven and 3D printer SLA450 DLC
Another problem with sunlight or non-specialized equipment is that curing can be uneven. The sun can shine more on one side than the other if you don't constantly change the position of the model, and the same applies to nail polish removers that only emit light from above. Special ovens usually have a rotating platform or UV lamps that completely surround the part to ensure uniform curing. nine0003
Read the article on the blog Affordable 3D services for business: an industrial SLA printer is being mastered in Krasnodar
Which products need to be cured?
Photopolymers come in a wide variety of types and have a wide range of properties, and this has an impact on post-curing.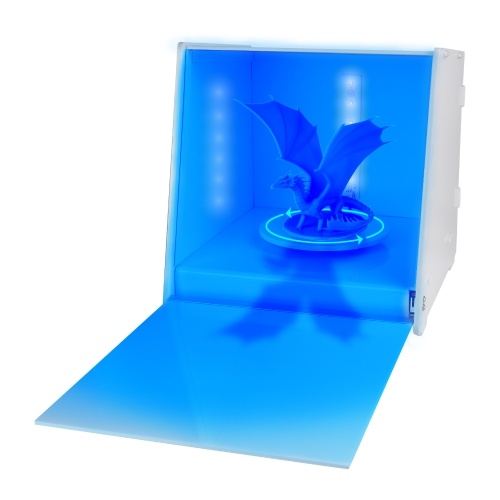 Materials with particularly low strength or high flexibility often do not require post-curing or require little time. Over-curing of these resins will result in reduced flexibility and brittleness. On the other hand, materials chosen specifically for their strength or stiffness require the most post-cure to enhance those properties. nine0003
Left: Smaller parts generally require less post-cure time
Right: flexible materials should be handled with care
For standard SLA materials, such as photopolymers similar to ABS, additional polymerization is required, but not necessarily long. ProtoFab usually subject ABS-like materials to this process in UV ovens for about 20 minutes. Transparent materials will take a little less time, about 10-15 minutes. As a rule, all ProtoFab photopolymers need post-curing to some extent, and only in rare cases it is not carried out at all. nine0003
Product size is also an important factor to consider when deciding how long to post-cure.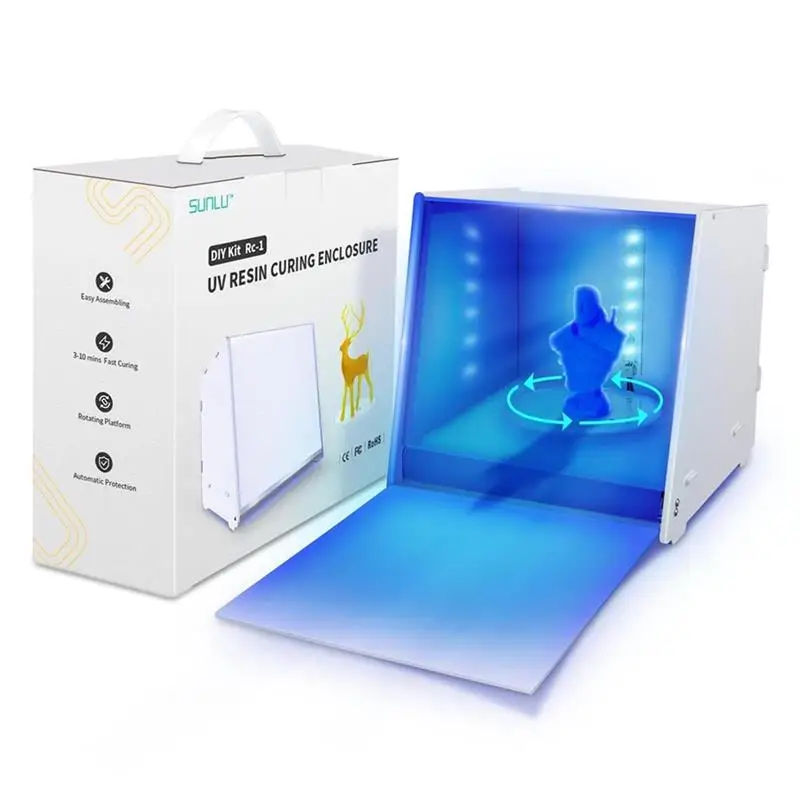 Large objects need to be in the oven for much longer, while small parts will be ready in just a few minutes. This is where experience comes into play. An experienced specialist knows the optimal amount of processing of models based on the material and dimensions, and there is no doubt that the mechanical properties of all printed products will be the same. nine0003
The easy way to improve strength and quality
A well-done post-curing is a quick and easy way to improve the quality of your SLA parts. Models that have been even slightly under-cured will cause various problems and will have a much lower tensile strength than fully cured models.
When it comes to objects printed with softer or more flexible materials, be more careful. In any case, the vast majority of photopolymers used in SLA printing can be significantly improved through additional curing in a UV oven. nine0003
Material provided by ProtoFab
Article published on 06/21/2022, updated on 06/21/2022
Post-curing for SLA 3D Printing - Protofab 3D Printing Company
3D printed prototype sitting in ProtoFab UV oven
Post-curing is an often overlooked step in SLA printing, but can significantly affect the final properties of the printed part. Post-hardening is not a universal process. There is experience and skill required to select the correct post cure length for various materials and part sizes. For some parts post curing is essential, while for others it is not important at all. Let's take a closer look at the science behind SLA post-curing and discuss why it's important to get it right. nine0003
What is post curing?
During SLA printing, certain areas of the resin are exposed to a laser, causing them to cure. Once this process is complete, the entire part will be cured, so it may not be entirely clear why there is a need for a post-curing. To answer this question, we need to understand the properties of hot sensitive resin and how it changes from a liquid to a solid. While in a liquid state, the resin consists of many unbound monomers mixed with photoinitiators. Exposing this mixture to strong ultraviolet light from a laser causes a reaction of photoinitiators, and the monomers combine and form a polymer. This is the main stage of curing. A cured resin is a cross-linked macromolecule, which means that every part of it is directly bonded to every other part of it. However, after printing, there will still be many sections that are not crosslinked as much as possible, which affects the tensile strength and other properties. UV light can be used to complete the molecular bond and ensure that all crosslinks that could be made are made. nine0003
For post-curing purposes, the sun is not really a bad source of UV light. Many hobbyists using consumer SLA printers simply expose the printed parts to the sun for a while and it does the job. However, in more professional settings, a UV oven is usually used, which is much more manageable.
Why after treatment?
Post curing not only makes parts stronger, it also makes them more stable. The presence of unreacted photoinitiators and unbound polymers in the part will mean that its state may continue to change long after printing, especially when exposed to sunlight. For parts that need to be precise, such as dental inserts, this is completely unacceptable. Unpainted parts may also change color when exposed to sunlight if not properly cured. This is a problem with SLA resins in general, but will be more pronounced if the part is under-cured. nine0003
The main reason for post-curing is usually to increase tensile strength and eliminate surface tack. Some printed materials may be slightly soft before post-curing, and weaker areas of the design may sag or droop, affecting accuracy.
There is also a safety issue as uncured resin is toxic to humans. If parts that have not been fully cured are handled with bare skin, this may cause irritation or other problems, especially if the operator's fingers later come into contact with their mouth. Post curing of the part makes the resin completely stable and safe to the touch. nine0003
Fully cured 3D printed part
Curing chemistry
Curing is affected by both heat and light. Heat increases the energy in the crosslinked polymer network and causes more movement at the molecular level. This increase in energy and mobility makes it much easier for reactive groups to contact each other and create additional bonds.
However, UV light is the main ingredient needed for post curing. Although the equipment is called an oven or oven, the temperature inside is actually not high at all, not much higher than the temperature of a solarium. The resin used in SLA printing is photosensitive and exposure to light causes a reaction. As discussed above, during the initial curing phase of the print, not all of the bonds that could have been made, and therefore further reactions need to be stimulated. When exposed to ultraviolet light during subsequent curing, free radicals are formed that bind to neighboring groups and cause polymerization. nine0003
Post-cured large automotive part
The right kind of light
However, it's not that the more light you provide, the faster the process or the stronger the material. More importantly, is the wavelength of the light used in relation to the resin from which the part is formed. Photosensitive resins are designed to respond to specific wavelengths of light, and using a wavelength other than this will give sub-optimal results when cured. This is why one of the reasons why professional 3D printing teams use specialized post curing equipment. With ProtoFab, our resins cure best with 355nm light. If resins from another supplier are used, this value will be different. For example, Formlabs resins cure best with 405 nm UV light. This is a very good reason to use your own ProtoFab UV Oven if you are already using resins supplied by ProtoFab. Using a different type of UV oven or UV nail polish hardener will allow for some degree of post-curing, but will not maximize the mechanical properties of the material. nine0003
Another problem with solar or non-specific equipment is that curing will be uneven. The sun will shine more on one side than the other if you don't constantly rotate it, and the same will hold true for nail polish hardeners that only emit light from the top. Dedicated curing ovens usually have a rotating platform or UV lamps that completely surround the part to ensure uniform curing. nine0003
The ProtoFab UV Oven comes free with every printer sale
Which parts need the most post-curing?
Resins come in many types and have a wide range of properties. As expected, this affects the subsequent curing. Materials that have particularly low strength or high flexibility often do not require post-curing or require only a very small amount. Over curing of such materials reduces flexibility and causes them to become brittle. On the other hand, materials chosen specifically for their strength or stiffness will require the most additional curing to improve those properties. nine0003
Post-cure is required for standard SLA materials such as ABS-like resins, although this should not take place for a particularly long time. At ProtoFab, we typically produce ABS-like materials in our curing ovens within about 20 minutes of curing. Transparent materials will take a little less time, somewhere in the region of 10-15 minutes. All ProtoFab resins generally require some degree of post-cure, only in exceptional cases do we choose not to complete post-cure at all. nine0003
Part size is also an important factor to consider when determining post cure time. Very large parts will take a lot longer in the oven, while small parts will go in and out after a few minutes. This is where experience matters. An experienced technician knows the ideal amount of post-cure for parts of different materials and sizes, ensuring that the mechanical properties of all printed parts remain consistent. nine0003
Smaller parts generally require less post-cure time
An easy way to improve strength and quality
Good post-cure is a quick and easy way to improve the quality of SLA parts. Parts that are even slightly under-cured suffer from a range of problems and have a much lower tensile strength than properly cured parts.