3D printer coins
3d Printed Coins - Etsy.de
Etsy is no longer supporting older versions of your web browser in order to ensure that user data remains secure. Please update to the latest version.
Take full advantage of our site features by enabling JavaScript.
Find something memorable, join a community doing good.
(923 relevant results)
Coin best 3D printer files・Cults
Narcotics Anonymous Coin With Stand
€2. 81
GP Coin
Free
Shiba-inu face mask
€1
Animal Crossing corner
€1.50
Coin Battery Boxes LR44 LR41 CR2032 CR2016 CR2025
Free
Coin redeemable for shaving lessons
Free
Bitcoin real cold wallet coin
Free
corner sofa
€5
Door Wedge
Free
ESP8266 NodeMCU Wallmount and Stand - Mining Rig for DUINO COIN
Free
Big and small Wedge I BM006
Free
Dabloon - Tiktok
Free
Pergola Corner Replacement Part
€14.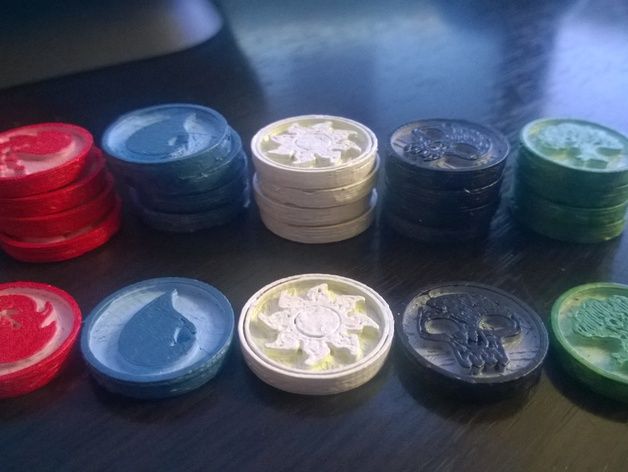 34
34
Fake Euro for grocery carts
Free
Piggy Bank In The Shape Of A Well
Free
US Quarter Coin Holder
Free
Corner wall compatible playmobil
€1.50
decor corniche ceiling bracket
€1
Team Liquid Coin
Free
SkyRC Corner Weight Centering Tool
€2
Boba tea coin
€0.90
Parametric Coin Cell Holder
Free
Crypto Royale Token
Free
Ultimaker 2 enclosure
Free
Monnayeur
Free
Mushroom jewelry box and mushroom piggy bank
€3
coin cleaning jaw
€10
Spidey Coin
Free
Sun baguette diamond cluster pendant and charm 3D print model
€5.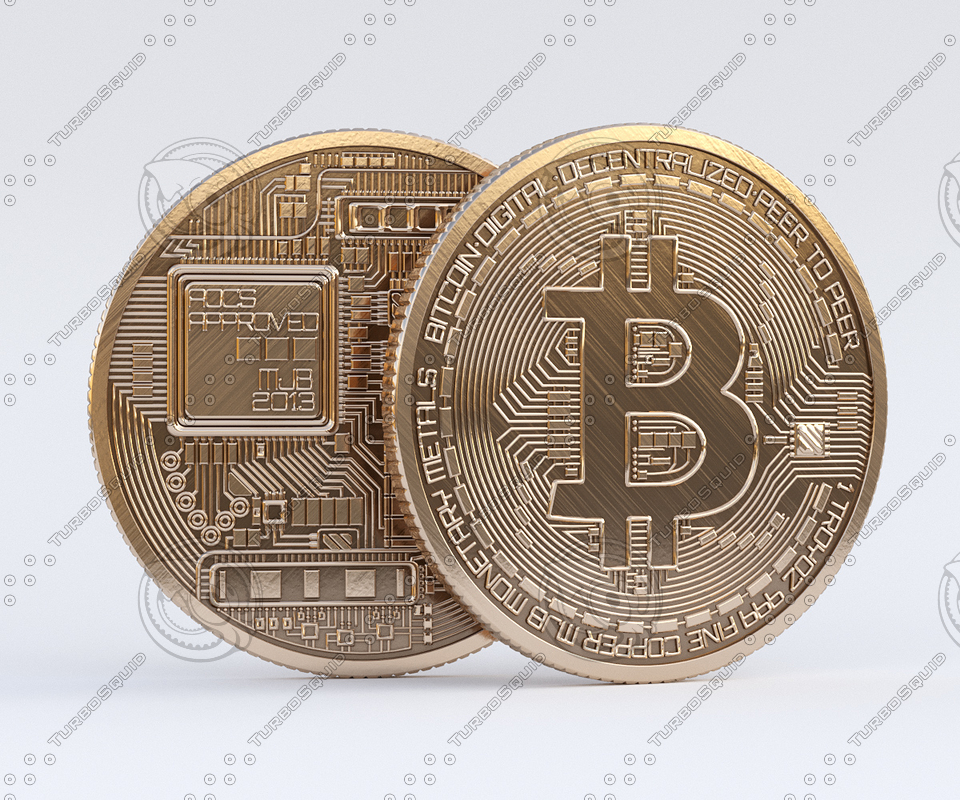 65
65
Fork, Spoon & Knife metals or coins
€0.86
Shopping Cart Coin
Free
WhiteDevil Maker Coin
Free
Sun diamond cluster pendant bail and bracelet charm 3D print model
€5.65
DirtyPlumbusMakerCoin
Free
STL/ KG Customs & Creations My Fucks to Give STL / Fucks coin set
€2.82
coin tube 50 eurocents
Free
Shopping Chip (2in1) / Einkaufchip
Free
Penny holders
€0.94
Nickel Holders
€0.94
JUKEBOX REPLACE seeburg coin parts
€1. 50
50
Yinyang
Free
Union Jack Multi Colour Haptic Coin
€1.14
Nickel and Penny holders
€0.94
Coin Organizer (Brazilian coin) - Organizador de moedas
€0.63
Coin Organizer (Mexico) V2.0
€1.81
Coin Money
€35
Coin Money
€35
Coin Money
€30
One "simple" project.
Greetings, colleagues!
I present to you a small "simple" project that I started in order to please my friends and acquaintances for the New Year.
New Year's gifts are always a sore subject, souvenirs, magnets, postcards, etc. often sent to the urn the week after the holiday.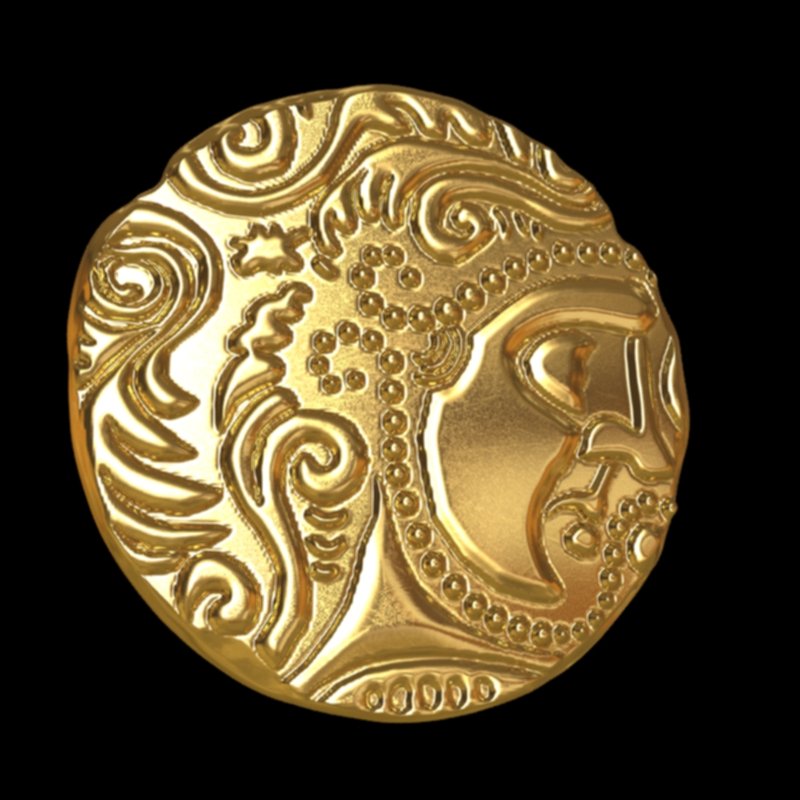
Therefore, I decided to print a souvenir - a personalized "lucky" coin with the symbolism of the year of the rat-mouse, the name of the recipient and an indication of who the donor is. nine0011 I already posted the model - https://3dtoday.ru/3d-models/style-and-fashion/accessories/suvenir-schastlivaya-moneta.
Modeled in my favorite autocad. True, I originally planned a diameter of 50-55mm, but then I realized that this size was too big for a coin, and reduced it to 37.5 mm, so some of the modeled details of the “mice” (teeth, claws) became clearly unprintable.
Fig.1. Model render and printed model. before painting, the remnants of supports are not removed. nine0012
I have been printing for more than a year, I have seen a lot of 3DSLA cubes ... so I roughly understand what and how the printer is able to print. Unfortunately, the 3DSLA cube does not reflect the whole variety of situations with the printing of real products, and, for example, blind holes and slots in reality “float” much more than through slots in the cube .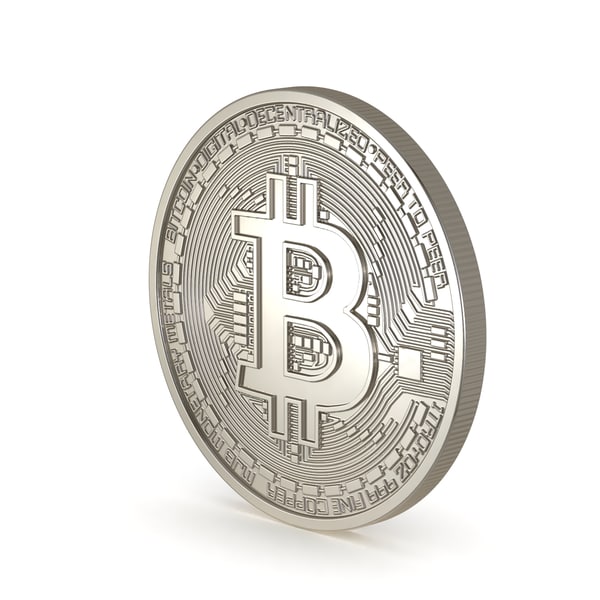 .. but nevertheless, cube tests are what you can push off when modeling. Without them, I cannot understand what is printed and what is not. nine0005
Difficult places for printing are indented text - as I said above, blind holes swim more strongly, and it is more difficult to wash the photopolymer out of them. A meaningful text is also complicated by the fact that it must be readable - if a meaningless ornament is damaged or partially swum, no one will notice, and an unreadable text will immediately catch your eye.
In addition to the text - the tail and eyes of the mouse. They attract attention and are small in size.
In general, when modeling, I proceeded from the fact that the model was “printable” with any red or black photopolymer. nine0005
Since I planned to paint the photopolymer with white metallic, and here are my own pitfalls - a thick layer of metallic hides the relief and looks bad, and a black polymer “peeps” through a thin one - which is not very good. Ideal for metallic paint - light gray.
But when printing with a light photopolymer, there is a risk that the text will not be printed, the eyes will not be printed, the tail will swim - light photopolymers usually do not have good "sharpness", but there are exceptions.
Therefore, I consulted an artist-guru of artistic printing, who did not print anything and for whom and claimed that printability is determined by eye without tests and cubes. I asked to evaluate the “printability” of the project with an unfamiliar flesh-colored polymer (flesh-colored to light gray can always be brought with pigments, the sharpness will only increase). His answer was discouraging - “the project is simple, everything will be printed” - from an artistic point of view, it may be simple, but I asked you to evaluate printability! And in this regard, the project is called "simple"? On the offer to print for testing - "merged" in the most boorish way. nine0005
In order not to take risks and not waste time on experiments, I had to print with almost black polymer.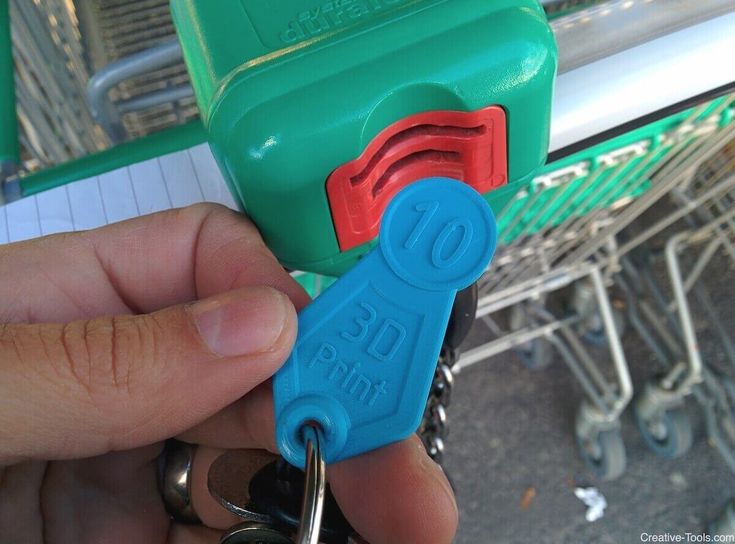 The ratio of Hardlight pigments black and white is 4 to 1. So that it is not completely black, but “sharp” enough.
Fig.2. Embedded text with lines less than 1 mm wide. It printed fine.
Fig.3. The tail... Printed even better than I thought.
Fig.4. Eyes and teeth ... The eyes were printed normally, the teeth were barely outlined. It is clearly seen that the pixel moire does not worsen the perception of the relief.
Fig.5. The claws… were developed for a coin with a diameter of 55 mm, respectively - for a coin of 37.5 mm - non-printable… but something, nevertheless, was printed.
Double-sided coin, such a coin can only be printed vertically “on the edge” - the bottom side is always poorly printed, well, the supports will ruin everything. And yes - the supports spoil the bottom edge a lot. Here it was necessary to experiment with supports - it was quite possible to model something so as not to spoil the edge of the coin, but I managed with the standard ones in ChiTu, and simply processed the edge with a file and sandpaper. nine0005
Next, there is another problem - "sharp" polymers emphasize layering and pixel structure, which does not always look good. So when printing, I rotated the coin at an angle of 14 degrees to the axis when printing - so that the borders of the pixels form a series of horizontal stripes on the coin - to bring the coin to life. As a result, an interesting game of pixel lines appeared on the coin, and the pixel grid became not a disadvantage, but an advantage of the print.
Printed 5..6…7 coins at a time. It printed well - you can see both the eyes and the tail, and even a little teeth and claws are visible. I planned to paint over the text and background in red - but I did not have time. Most of the coins and varnished, without red. But pure metallic looks good too. nine0005
With metallic, I really missed a bit - I took KUDO chrome. And it is a little grayish, and the gray color intensifies with varnishing ... Was it necessary to have something more white - silver? Alas, I'm not good with metal.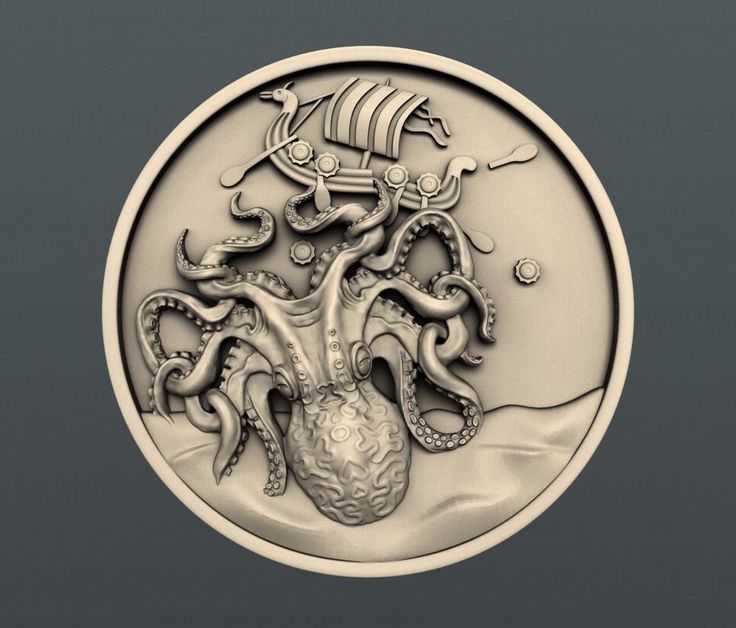
But on the whole it turned out okay.
Fig. 6. I planned to paint the coin, but there was no time - most of them were only “blown out” with metallic and lacquered.
For those who want to repeat a similar project, I inform you that the thickness of the 3.8mm edge was chosen based on the ability to print with polymers with ordinary mechanical properties (hard and brittle), when using non-brittle polymers from Hardlight or any "Chinese" ( I don’t like and don’t understand Chinese photopolymers, but among them there are excellent polymers in terms of mechanical properties) - the thickness can be reduced to 2 mm or a little less, respectively, the diameter of the coin can also be reduced - flat coins 28 ... 33 mm in size will look better. nine0005
Well, for those who want to repeat such projects on a paid basis, a few data to assess the profitability:
1. With the finished template, simulate an inscription with the name and from whom - business for no more than 15 minutes.
2. With group printing, the time spent is 0.5..1 hour per coin.
3. If you don't bother with painting the text and background, the time spent on washing, separating from the supports, “blowing out” with metallic and varnishing is half an hour, maximum an hour per coin. nine0005
4. Weight - approximately 5 grams with a diameter of 37.5 mm and a edge thickness of 3.8 mm.
Given the cost and creepy appearance of similar "coins" and "medals" in souvenir shops - success and effective demand is very likely, commercial effectiveness - not sure.
That's all for now!
Successful prints in the coming year!
What is the best way to print a coin with a depth map?
3d models slic3r
If I have an image like the one attached, what is the best way to create an accurate depth map of it? I have photoshop CC and 3ds Max but don't know what settings work best with Slic3r. Both programs have many settings and combinations to choose from.
Has anyone done this before? If so, can you share your technique?
@NLed, 👍-1
Talk
3 answers
▲ 4
From this point of view (front view) alone, you cannot show the surface of the coin in detail. Limited success has been reported in estimating the depth of individual images, but this applies to images with a clear perspective (for example, an image of a room in which the walls and floor are shown at an angle). In order to render a surface, you will need to have multiple images and it is desirable to know the direction of the light on that object.
People with one eye cannot judge depth very well, you need two eyes and a trained brain to understand the difference in depth. nine0005
, @ 0scar
▲ 1
I have designed a coin to use as RPG tokens. I decided to do it from scratch instead of making a heightmap. I tried two different approaches.
Smooth height change
I found a 3D model of the head that I wanted to use on my coin. Then I cut it in half and laid one of the pieces flat side up on top of the coin. Then I flattened the head to fit the coin better. When I cut it to the layer height supported by my printer, I noticed that I lost too much detail in my head. nine0005
Change layer heights
I found a photo of the head that I wanted to use and drew the outlines of the various parts of the head that I wanted to include. I then added each pattern to the coin in different thicknesses. This gave me a clear pattern on the coin and this is what I ended up printing.
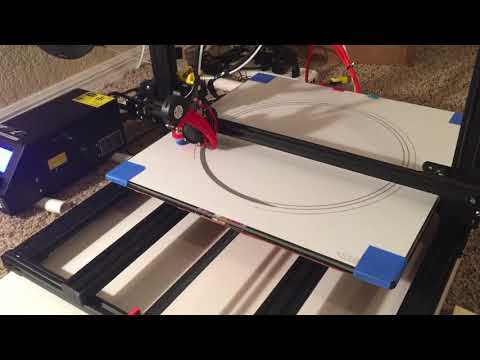
Printing
I printed the coins standing up. 2 of my 42 coins failed because the coin fell off while printing. At that time, I printed 4 and 4 coins placed in each corner of the printing surface.