3D printing onto fabric
3D printing on fabric - Art and new techniques
3D printing on fabric: an innovative technique
3D p3D printing always surprises us with its wide range of applications: here, we’ll discover a new technique to create shapes. It’s an innovative way to design: algorithms are used to generate patterns of curves that, through tensions, develop structures.
Design is always influenced by manufacturing, and the change in a process also changes the way to think about shapes that can be reached. The progress of technology permits to rethink of esthetics and creates new cultural values.
Can 3D printers print on fabric?
3D printers can print on fabric, and It is effortless to do! You can easily create new shapes or give a new life to your old fabrics with any printer you have. Here are some tips to print and some case studies from which you can get inspiration.
How to 3D print on fabric
3D printing on fabric is easy, and it doesn’t require many other additional components. The only things you need are pins and, in some cases, a platform to raise the printing bed. In this workshop, students learned how to print on textile with their small printers, Delta WASP 2040 PRO. Trying small pieces before shifting to a larger scale is really useful.
The more difficult part is the design process: when you print you don’t see the final result until you release the tensions of the pins on the textile. This can be really exciting, for the continous experiments and the discovery of new shapes. It’s a totally different way to design.
The textile needs to be stretched on the bed and fixed well to print the layer of curves in the same way. If it is not tested regularly, It can lead to deformed geometry.When the melted filament is deposited on the fabric, it merges with the material, and with the cooling, they are united forever.
Click here to see the full workshop article
Fashion industry: 3D printed clothes
We will see how 3D printing is revolutionizing the fashion industry. It’s a new technology in this field, so not many people know how and why to use it. Plus, the design of the clothes is complex: it requires knowledge of 3D modeling and 3D printing. But it’s also a new way to visualize the artwork more realistically.Until now, it has been confined to Haute Couture, artists, and passionate hobbyists.
As we expected, the knowledge and enthusiasm are spreading worldwide, and there are many examples also in the mass fashion market. Other than accessories, 3D printing is used more for shoes, bags, and functional clothes. Also, NASA has its research laboratory where scientists study how to upgrade spacesuits with 3D printing.
Flexible filament
The materials that suit the creation process of 3D printed clothes are those with flexible features. TPU is the most used filament to create objects that need to be in contact with skin because it adapts its shape to body curves. So it is widespread in medical and fashion fields.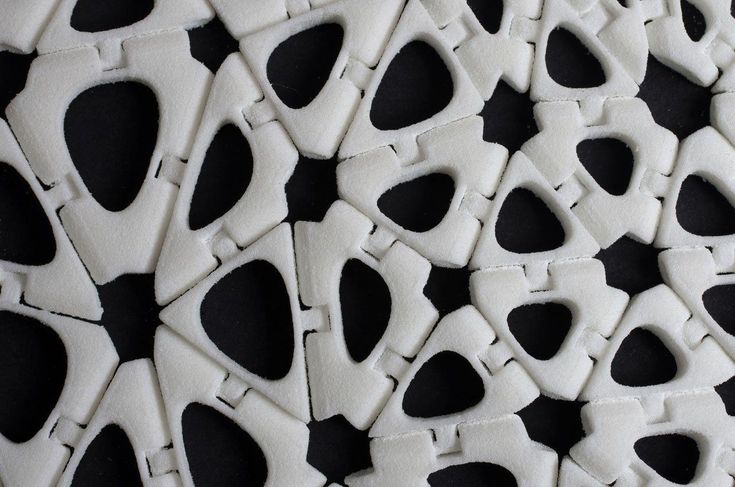 For example, Balenciaga released new pair of 3d printed decolletè, all made in transparent TPU.
Haute couture: Iris Van Herpen
Iris Van Herpen is for sure one of the most iconic example of 3d printed artworks in fashion industry. Her stunning dresses are famous worldwide, worn by actors and singers in gran galà and other important events. Her creations are unique pieces, like sculptures.
She has always combined art and technology, inspired by Leonardo Da Vinci mindset. Nature is her biggest counselor and all colors and shapes combinations come from animals and plants. This interest in nature and eco-systems leads Iris to care about sustainability and the purpose to create pieces environment-friendly.
Fashion and sustainability
Sustainability is one of our generation’s battles: choosing the suitable materials to produce in a more respectful way for the planet. Fashion is under pressure for the continuous turnover of new clothes production every season.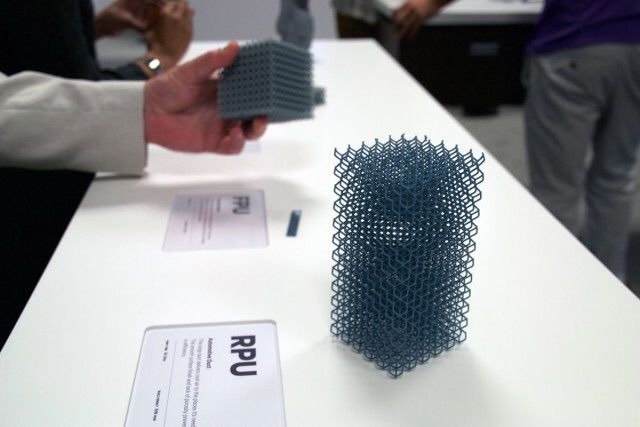
Fast fashion is one of the problems of these times, so everybody is now focused on trying to reduce the impact of the industry. 3D printing is a valid partner to face it because it permits avoiding waste of materials and can use recycled materials.
A student creates her 3D printed fashion line
Milan-based student of Politecnico di Milano, Chiara Giusti, has designed and produced a clothing line for her University project. She printed her collection at Superforma, Milan WASP Hub, using WASP’s large-scale 3D printer 3MT.
Chiara aims to create fashion and comfortable clothes, adding complex 3D printed patterns to textiles. This example demonstrates that 3D printing clothes can be done by everyone simply at home (with a little bit of practice).
Art, design and architecture
3D printing on textile is interesting to create something to wear, but it can also be a way to build remarkable structures and furniture pieces. The rigidity that 3D printed curves bring to the textile creates a steady system that can sustain itself.
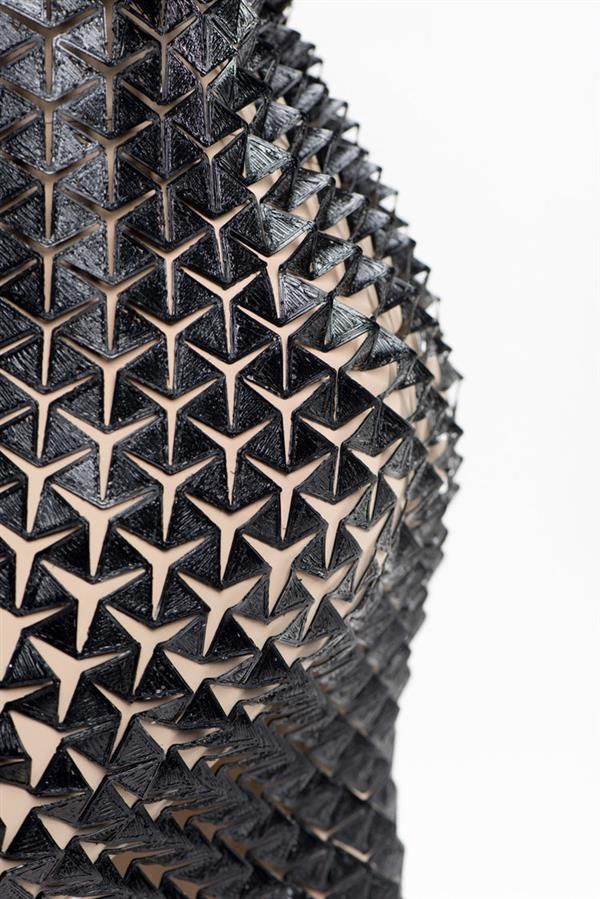
The shapes created on fabric are also interesting for furniture pieces like lamps. In these examples, created by Drag and Drop Design studio, emerges the structure and the articulate shape achievable with this process.
This large-scale piece exemplifies how 3D printing on fabric can also be applied to significant structures and challenge how we build installations and structures. This effect of soft spikes comes from the tensions of printed layers on the textile.
Large scale 3D printer
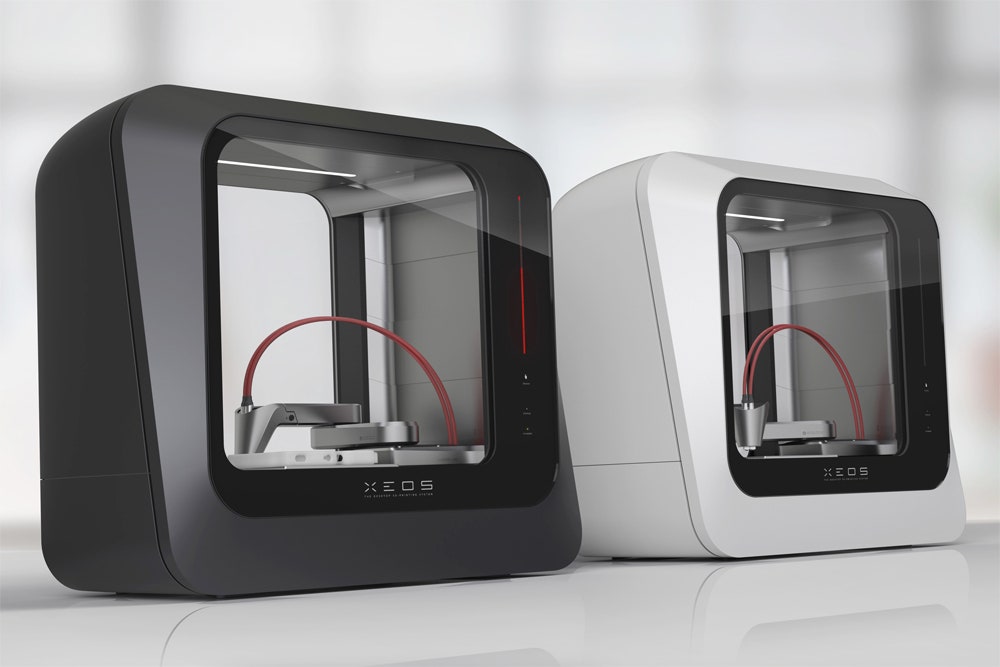
Delta WASP 3MT INDUSTRIAL 4.0All these masterpieces have been created with the 3MT 3D printer. This is the best printer for creating medium-large pieces thanks to its wide printing bed area of 1m in diameter.
3D Printing on fabric is easier than you think! – Geeetech
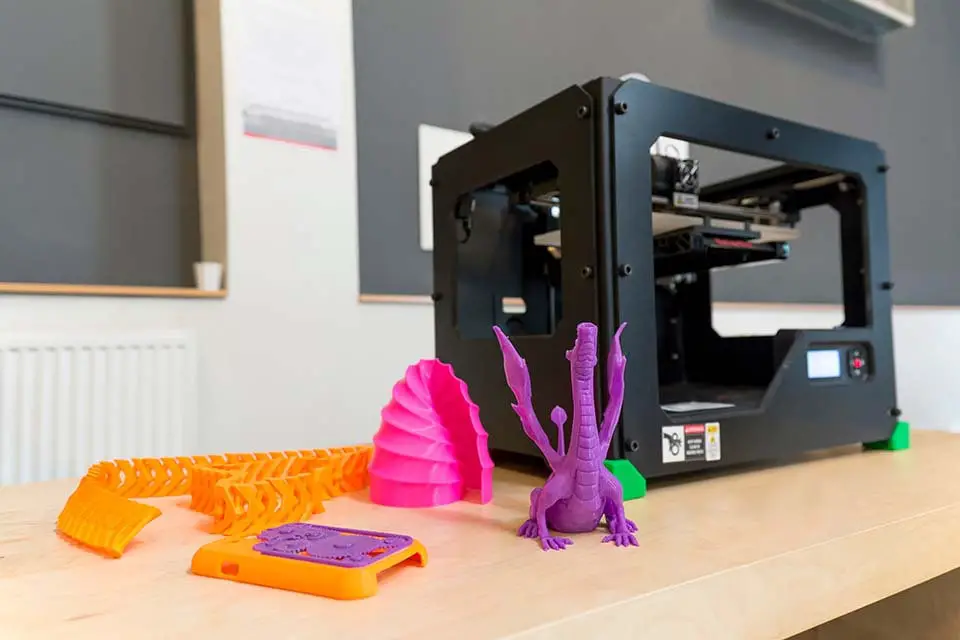
We’ve seen 3D printing make some big waves in the fashion industry and though 3D printing wearables still aren’t a part of our closet, so it doesn’t mean we can’t experiment at home! Whether you want to print something fancy on to your boring old t-shirt or are love making your own cosplay armor, therefore 3d printing can give a whole new dimension to a simple fabric. So luckily we have some easy ways for you to join in on the fun!
What do you need for 3D printing fabric?
–PLA or ABS filament.
-The fabric of your choices like cotton, polyester, or blends.
–3D model: Design your own or download them from sites like Thingiverse
-The software of your choice like EasyPrint 3D App
–Fabric glue (optional)
Instructions:
You can directly print onto a fabric of your choice OR first print on to material like tulle/mesh. Therefore, then sow it on to another. Follow these easy steps 3D print your own designs onto fabric!
1. Choose your design! You can create your own using TinkerCAD or download a cool design from Thingiverse, MyMiniFactory, etc. Geometric shapes are some of the best choices especially ones with spaces in between so that your fabric can still be flexible.
2. Using your print software, slice your model and convert it to G-code. An infill of 20-30% should be good enough for most designs.
3. Choose fabric! Materials like cotton are good since they can easily withstand the temperature of PLA. Smoothen your fabric over the print bed making sure that there are no creases or wrinkles. To make sure that your fabric sticks to the print bed, you can use double-sided tape or alternatively use clothespin clips to hold the fabric down from the edges of the print bed.
4. The first layer you print will soak into the fabric and bind directly to it. After you’ve checked all the settings, print as you normally would. Just be sure to occasionally check your print to see that the extruder head isn’t pulling the fabric too much.
5. After your print is done, wait for the print to cool and gently remove it from the print bed. And there, you’re all done!
Should you use fabric glue with 3D printing fabric?
Without fabric glue, your print may not be permanently stuck to the fabric below and could peel off if you apply enough force. So make sure to use some fabric glue both on the top as well as under the top surface so that the glue is absorbed through.
If you’re looking for a more full-proof method, check out Uncle Jessy’s awesome tutorial where you can fuse a fabric-like mesh of tulle between the layers of your 3D print!
You can download both the Dragon Scales and Hexagon Patterns from Thingiverse! So get printing and share your creations to inspire others. The article is helpful which will inspire you to 3D printing on fabric. Happy Printing!
Need a 3d printer to get started? Check out our Store for some great deals!
Credits: thingiverse.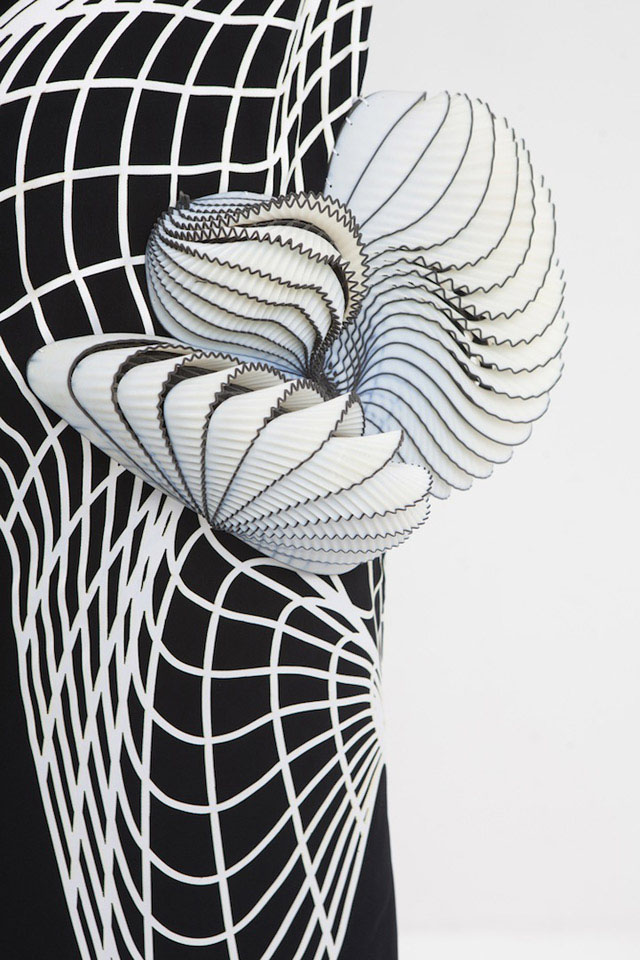 com, youtube.com, pinterest.com, 3dprintingindustry.com, craftsy.com
3D printing on fabric - technology features. Methods for applying three-dimensional images to fabric, phone cases, promotional products
Today, 3D printing on fabric is a fairly popular way to create exclusive items. This type of drawing, due to the visual volume and realism, easily attracts attention, which means that it will be in demand among people of different ages for a long time to come.
You can apply 3D drawings on different types of textiles, namely:
- On natural fabrics.
- For synthetic fabrics.
- For tarpaulin.
This type of print is also often used for large format printing, for example, for wallpapers, theatrical scenery or exhibitions. The range of use and application of this type of image is great, it would be a fantasy.
3D wallpapers can transform any space
For example, 3D printing on phone cases has also become a fairly popular service among the population.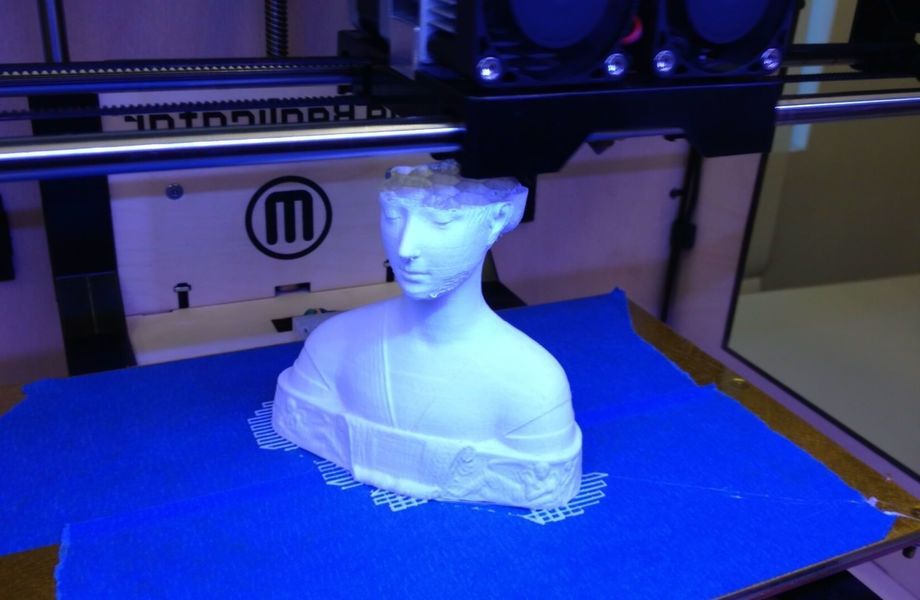
3D printing on fabric
In order for 3D printing to be applied by the desired method and the image to be bright and durable, it is necessary to take into account a number of factors when choosing the fabric on which the pattern will be applied. Namely, you need to pay attention to:
- Material composition.
- Structure.
- Density.
- Processing.
- Storage conditions for textiles.
Fabrics can be of textile and knitted weaving. Materials with textile weaving - jeans, linen, silk, velveteen, satin, and with knitted - footer, cooler, interlock, etc.
3D printing is an original way of applying high-quality images of any complexity to fabrics or clothes. Thanks to the latest printing technologies, such designs will perfectly behave after numerous washings and ironings. The main thing is to choose the right transfer method for the image.
There are several technologies for applying images of this type to textiles:
- Digital printing.
 The image is applied directly to the fabric, without the use of additional media.
 - Sublimation. A special dye is used that penetrates the fibers without changing the properties of the material.
- Screen printing. Drawing is applied through a special stencil by pushing paint, viscous consistency.
- Thermal transfer printing. Used film or paper, high temperature and heat press.
All of these 3D printing methods have their pros and cons. For example, digital printing is most often used because of its inexpensive cost, and the silk-screen printing method makes the image durable even on rough fabrics. But the sublimation method limits the client in the choice of fabric, as it is applied only to synthetic materials, but the colors of the image will remain for a long time. So if you need a print on a product that will not lose its appearance for a long time, then it is better to choose a sublimation printing method on a synthetic or semi-synthetic canvas.
3D printing on fabric and not only from PROpechat
Today, few people do not know what 3D printing is. Images of this type can be used for different purposes due to the originality of the result.
For example, it is practical and profitable to use this type of pattern for advertising purposes to attract customers - printing a three-dimensional image of the company logo will clearly attract potential buyers or partners. So the considered option of applying a print is not only a way to transfer pictures, but also an excellent method of promoting a business.
And so, we draw conclusions. In order for the image to turn out as realistic and durable as possible, it is necessary to take into account only a few components:
- Choice of 3D printing technology.
- Selection of the material on which the image will be applied.
- Scope of the finished product.
3D printing on fabric and more is a great way to make an original piece of furniture, a souvenir, promotional items, etc.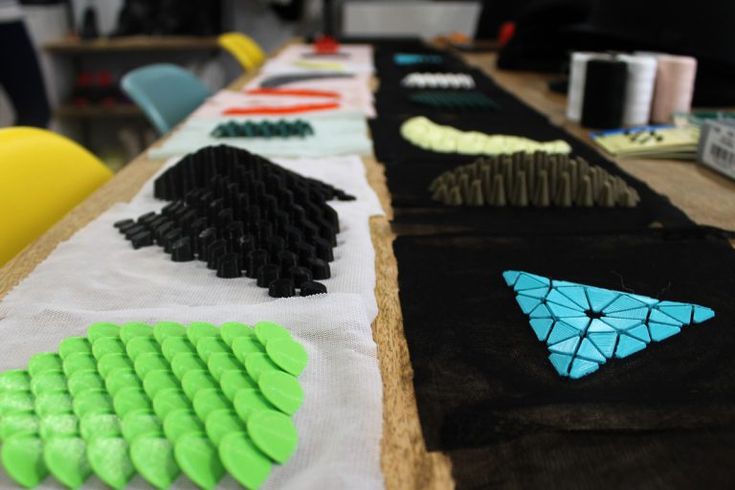 So turn on your imagination and act. Have questions? Call us right now or contact the manager online!
3D printed mesh fabric
Prologue
Hello everyone! I am developing "smart sequins" - electromechanical color-reproducing devices for designer clothes. Our team is passionate about the idea of creating clothes and accessories that can change their color at the request of the owner or depending on environmental conditions.
In this article I would like to talk about how we used 3D printing in our project, share our experience and tools.
3D printing on fabric
One of the tasks that I had to solve was to figure out how to make an elastic fabric out of plastic sequins, which in its properties would resemble textile materials. At the same time, it is necessary to provide for the possibility of easily creating electrical connections between the sequins.
There are quite a few articles and materials about making clothes on a 3D printer.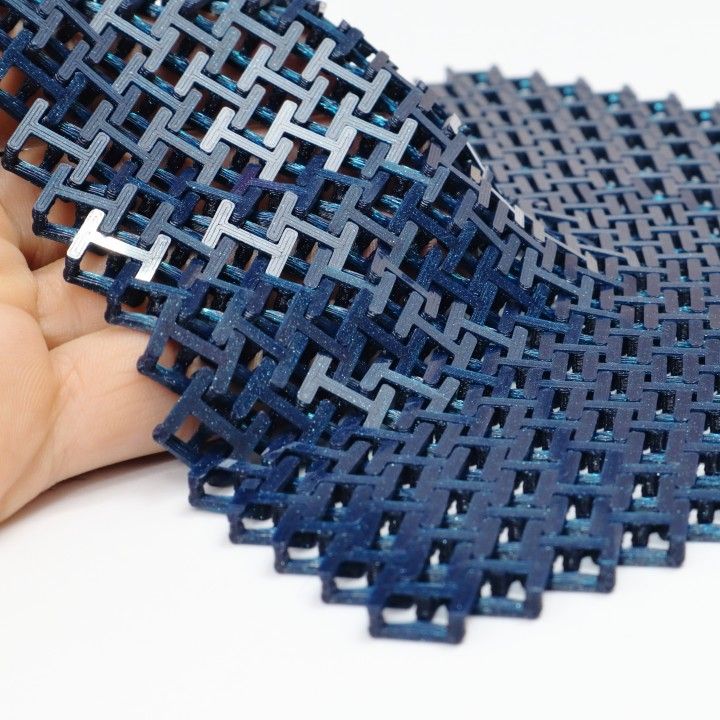 Many different methods have already been invented, from creating hinges right in the printing process to printing with elastic plastics.
While looking for a solution, I came across this video. From it, I first learned about the method of printing on mesh fabric using a conventional FDM 3D printer.
The author himself claims that he spied the idea here: Shorey Designs.
The essence of the method is very simple. We create a 3D model of a fragment of the future canvas, then arrange a lot of fragments so that we get a whole canvas. We start the slicer and prepare the G-code. Before sending it to the printer, you need to insert a pause and raise the extruder before printing a certain layer. The printer will stop during operation. At this point, we cover the printed layers with a mesh cloth. We continue to print. Due to the presence of large holes in the fabric, the layers of plastic will interlock with each other, as in conventional printing, and the mesh fabric will be firmly integrated into the parts.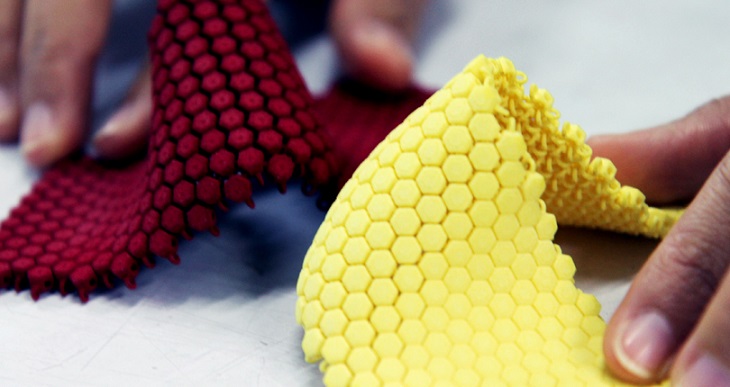
Modifying G-code
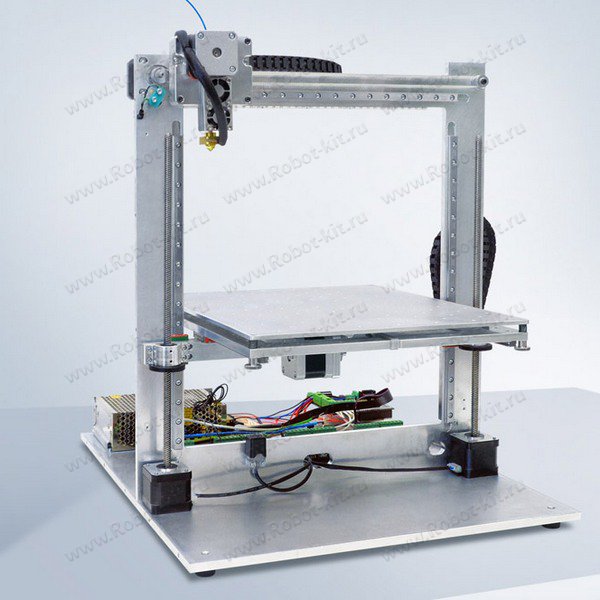
I use Cura version 3.2.1 as a slicer. 3D printer - homemade H-bot controlled by a board based on ATmega2560 (RAMPS 1.4) with Marlin firmware.
To pause the printer, there is an M25 command. Command for lifting in Z by 20mm: G0 Z20. It is noteworthy that the M25 must go before the ascent, otherwise the next command is processed first. Why this happens is a mystery to me, apparently somehow connected with the processing of commands by the printer.
Add commands to G-code:
Operation automation
Manually searching for the required line in the G-code file and inserting commands is not the most modern solution, I thought and wrote a simple program that allows you to open and view toolpaths.
For the convenience of viewing the layers, the "explode" command is provided, which allows you to visually increase the distance between the layers of the model. After pressing the "insert pause" button, the distance between the marked layer (red) and the previous one increases.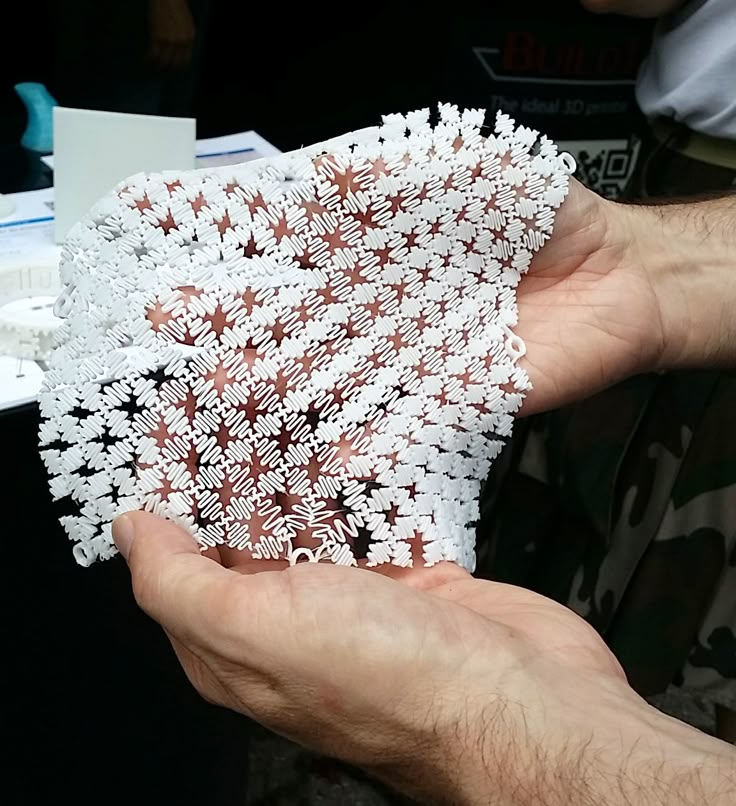 This means that the print will be interrupted precisely between these layers.
To understand where one layer ends and the next begins, I used the comments that Cura kindly provides in its output files. The keyword ";LAYER:X" allows you to accurately find the boundaries of layers in a text file.
Pressing the "write file" button allows you to save the modified G-code in the specified location.
Save the file to the SD card and bring it to the printer.
It's funny that only when preparing this article, I came across a video that tells how you can do the same thing using standard Cura tools ... But the process has already been started, it's too late to slow down! Here, starting at 7:30, it is described in detail how to do it. Well ... hurry up - learn how to parse G-code!
Trying to print
Formation of the first layers. We print on glass. Heated table. Table temperature 60⁰С, printing temperature 220⁰С. The print material is PLA plastic. Layer height 0.2mm.
During the pause, lay down the fabric and fix with magnets. Since the table is aluminum (paramagnetic), we put the magnets on the top and bottom sides of the table. Fixation is made in 4 places, in the corners of the part. This is quite enough. The main thing is not to place them too close to the print area, otherwise the magnets will stick to the print head.
After 40 minutes, this is the structure. The thickness of each 6 carbon element is 1mm. The gap between the elements is 2mm.
In this experiment, tulle was used as the backing fabric. It is a lightweight mesh fabric of medium stiffness, woven from polyester threads.
Experiments have also been made with mosquito net printing. In the hardware store, there were two types of them: fabric and fiberglass. Fabric mesh is softer than tulle, but has greater mechanical tensile strength, as well as less elasticity. The fiberglass mesh is harder than tulle, its mechanical strength is the highest of all participants in the experiment.
Hexagonal sequin printing on fiberglass mosquito net. The gap between the elements is 1mm. The matrix is very hard. Clearance is clearly not enough.
Round sequin printing on fiberglass mosquito net. The gap between the circles is 2mm. It has a lot of flexibility, but there is too much unfilled space between the sequins.
After several test prints, the fabric mesh was chosen. She formed the basis of the matrix of smart sequins. The resulting matrix can bend in all directions.
The video demonstrates the operation of the program, the printing process and the final result.
Conclusion
The method of printing on mesh fabric proved to be very good. This is an ideal solution for our task, because the fabric substrate allows us to weave conductive threads into it, which are used to provide electrical connection between the individual sequins of the matrix.